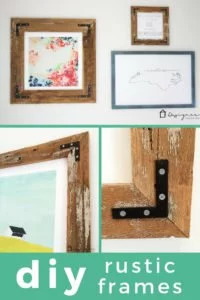
How to Make a DIY Picture Frame from Upcyled Wood
Looking for affordable and simple framing ideas? This easy tutorial produces a beautiful DIY picture frame using reclaimed wood.

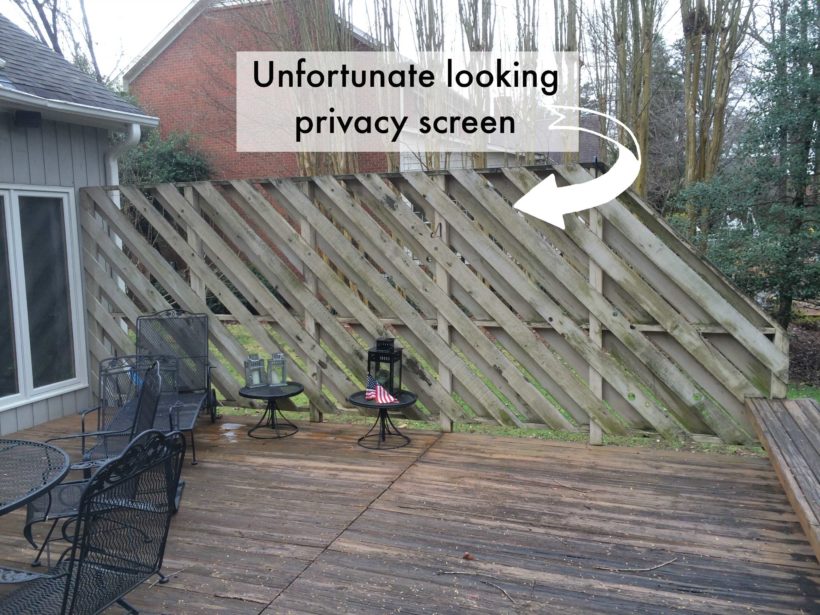
Framed artwork can be EXPENSIVE, am I right?! But it really doesn't have to be! When it came time to select artwork for our DIY dining room makeover a while back, we knew we would have to frame the art ourselves to keep the costs down. We tore down this old, cedar privacy screen from our back deck a while back, which has provided us with a ton of free wood! We used it in our kitchen to make an awesome DIY plank wall in a herringbone pattern, but we still had a good amount of wood leftover. So, we grabbed our free wood and got to work on our upcycled art frames. Read on to learn how to make a DIY picture frame. If you need to frame a piece of canvas art, check out this tutorial for making a DIY canvas frame ! {PS- You can find a source list at the bottom of this post}
This post contains affiliate links for your convenience. Click here to read my full disclosure policy.
How to Make a DIY Picture Frame
Materials and Tools Needed for DIY Picture Frame:
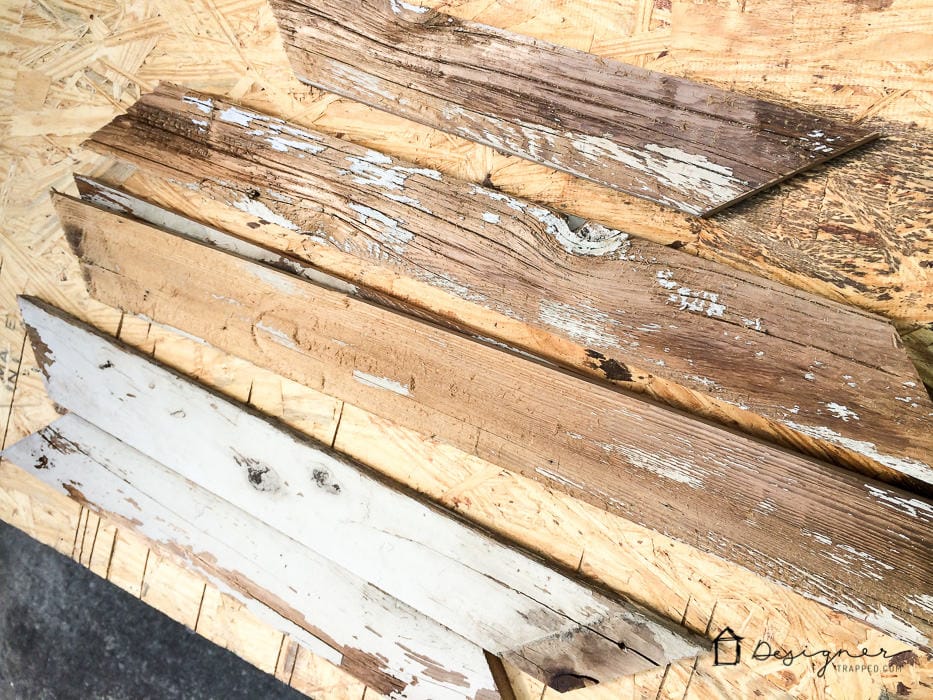
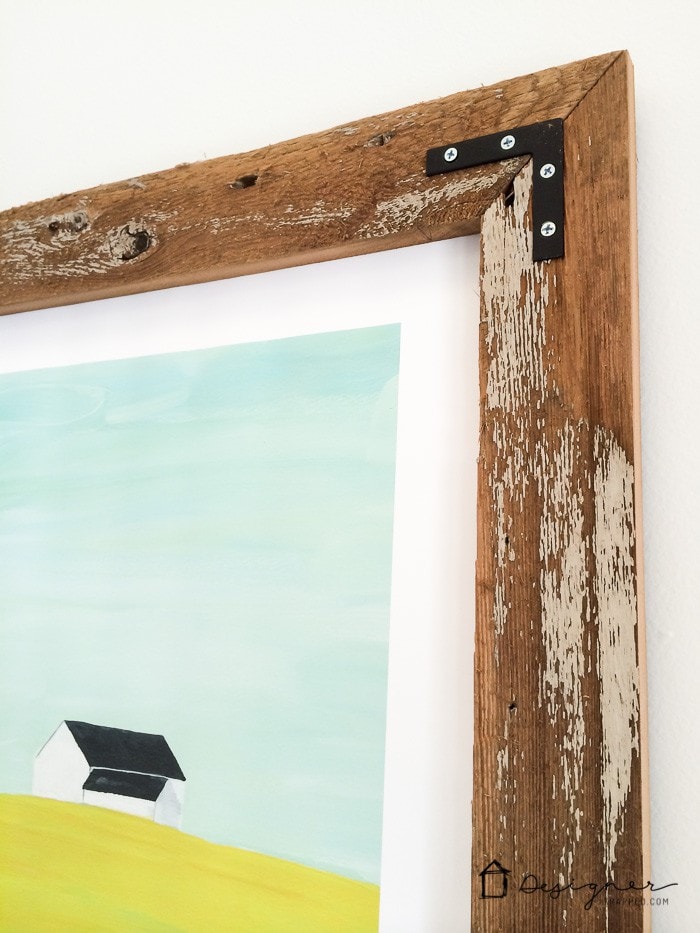
- Reclaimed wood. We used our old fence, but you could certainly use pallet wood or any other reclaimed wood that you can get your hands on. The older, the better, in my opinion. I pressure washed the wood I used to remove most, but not all of the paint because I liked the look of the chipped paint in places.
- Compound miter saw OR hand saw and miter box
- Carpenter square
- Flat corner braces
- Photo hanging hardware
- Spray paint (if you want to change the color of your brackets)
- Screw driver or drill driver
Materials and Tools Need to Mount Art Work:
- Craft knife
- Foam core board (I purchased mine at The Dollar Store)
- Spray adhesive
Steps:
1) Measure the art you are planning to frame. The inner edge of your frame will need to be smaller than the art so that the art can sit behind the frame and there will be some wood to attach it to. To accomplish this, cut four lengths of wood so that the inside edge of your mitered board is about 1-inch shorter than the dimensions of the art. For example, if you are framing a 16 x 20 piece of art, you will want to miter cut your wood 15 inches and 19 inches long on the inside edge. See the diagram below. Write down the dimensions that your frame needs to be cut to.

2) Mark your cuts with your carpenter square. Then cut your wood, making sure to set the angle of your miter saw at 45 degrees. It is VITAL that both long pieces are exactly the same length and that both shorter pieces are exactly the same length. This will ensure that your mitered corners line up perfectly. The best way to do this is to saw through both long pieces at the same time with your miter saw. Then saw through both short pieces at the same time with your miter saw.
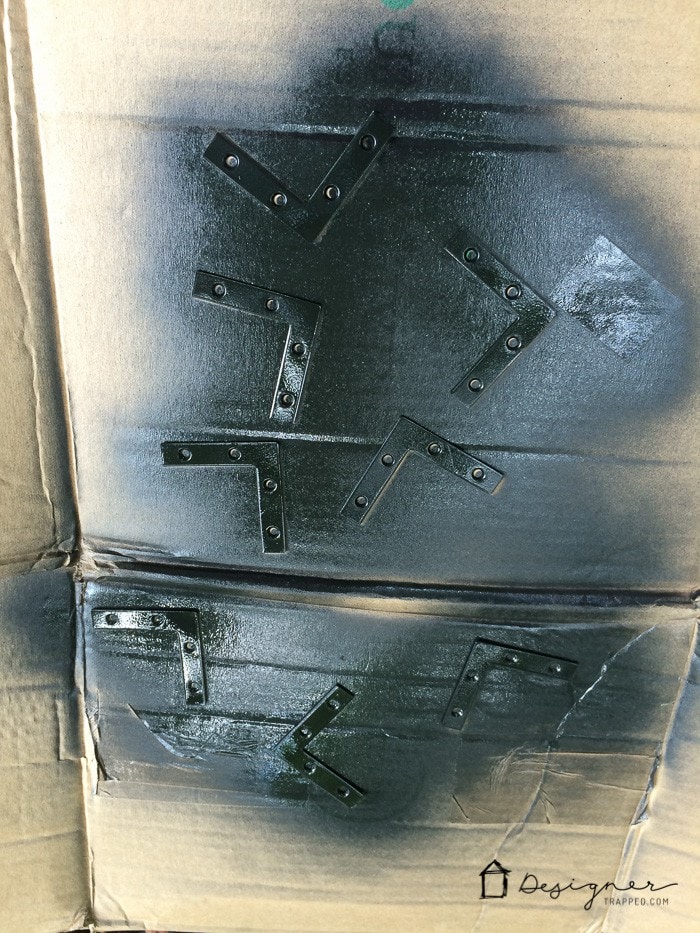
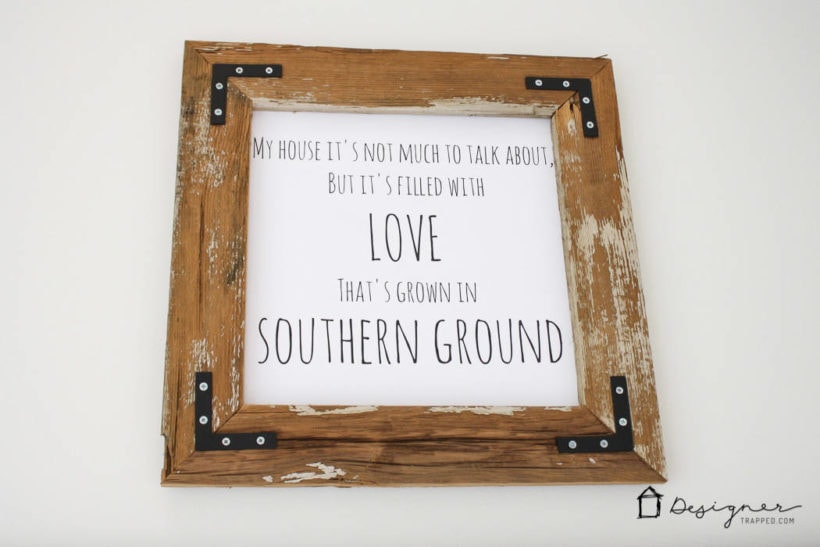
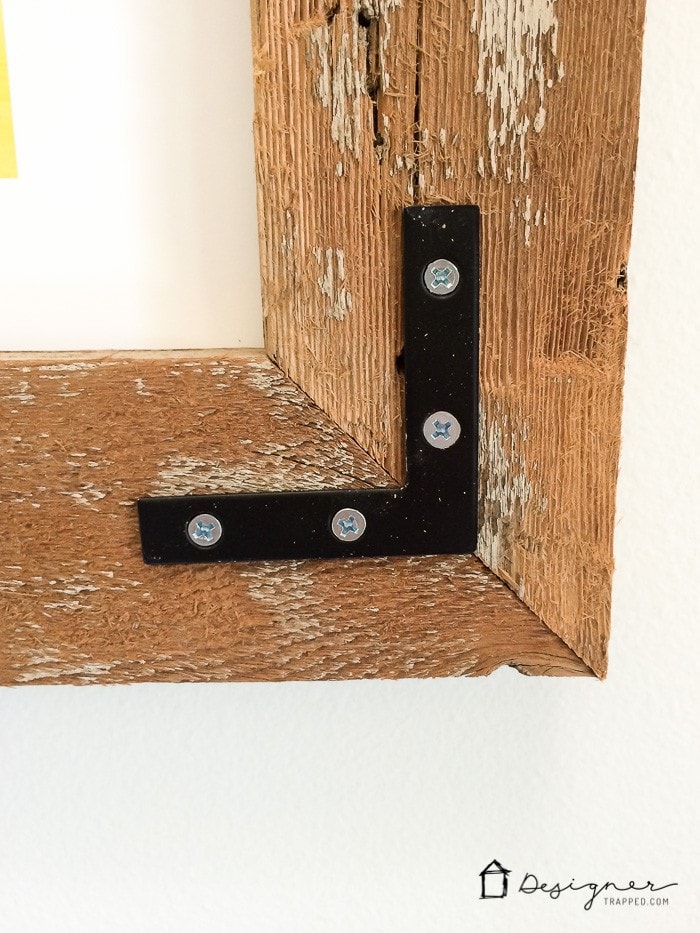
3) Paint your flat corner braces, if you wish. I chose to paint our braces black, but I wanted to keep the screws silver for some additional interest.
 |  |
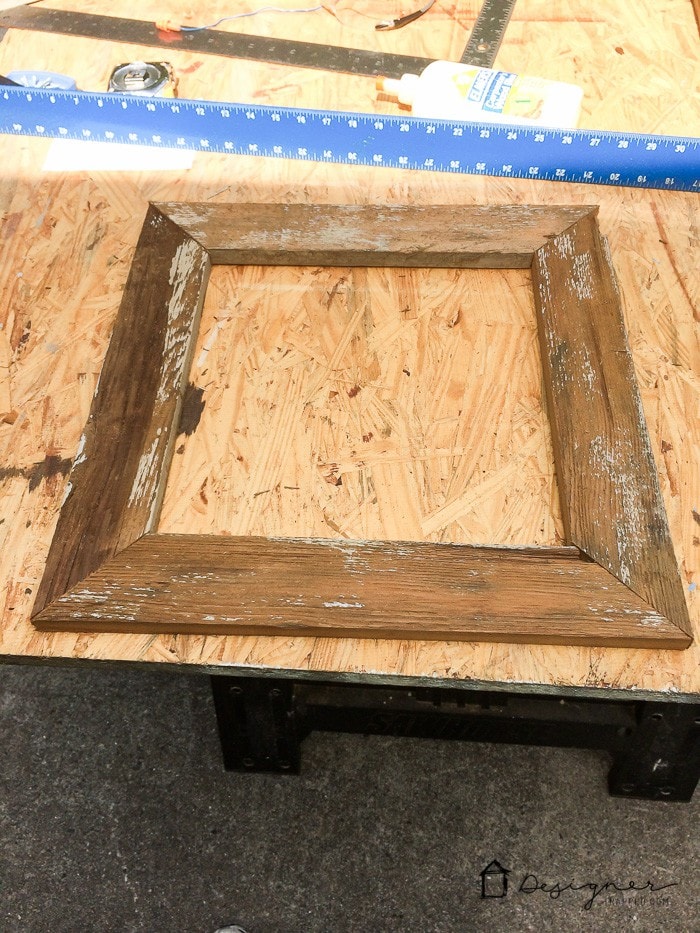
4) Lay out all your pieces to create your frame. Secure the pieces together using the flat corner braces.
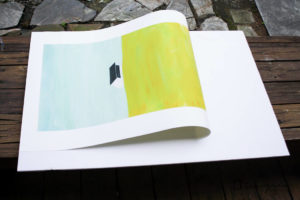
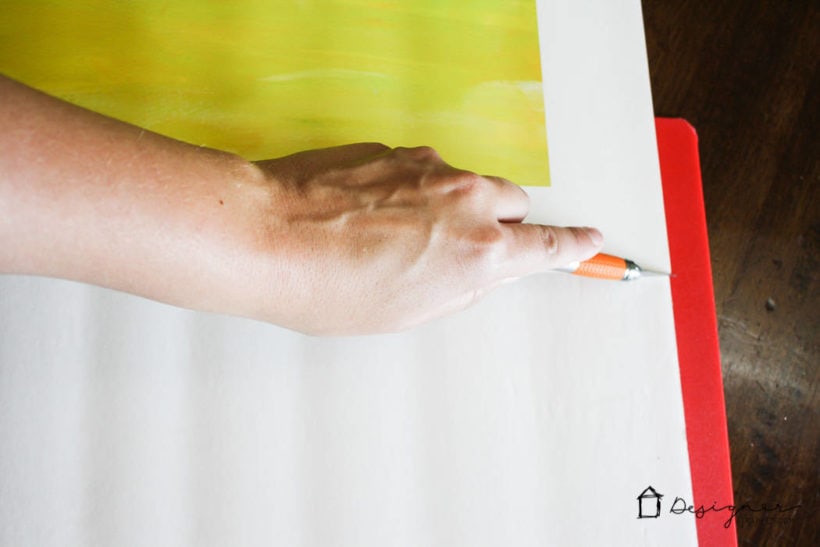
5) Use spray adhesive to attach your art to a piece of foam core board. We got our gorgeous art prints from Minted. Links to the specific prints we used are at the bottom of this post.
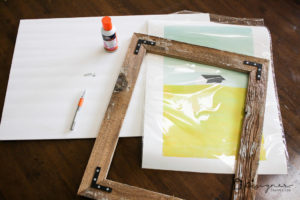 |  |
Then trim the foam core board to size using your craft knife.
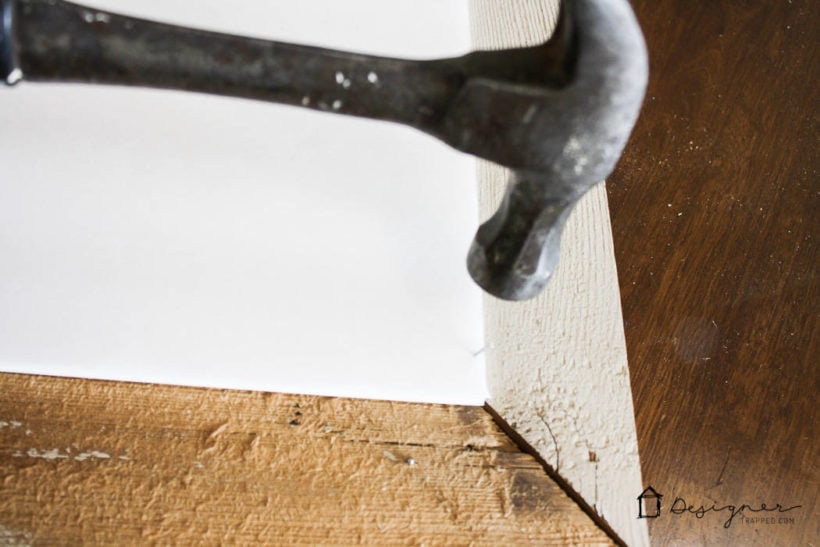
6) Attach the foam core to your DIY art frame using small nails or a staple gun.
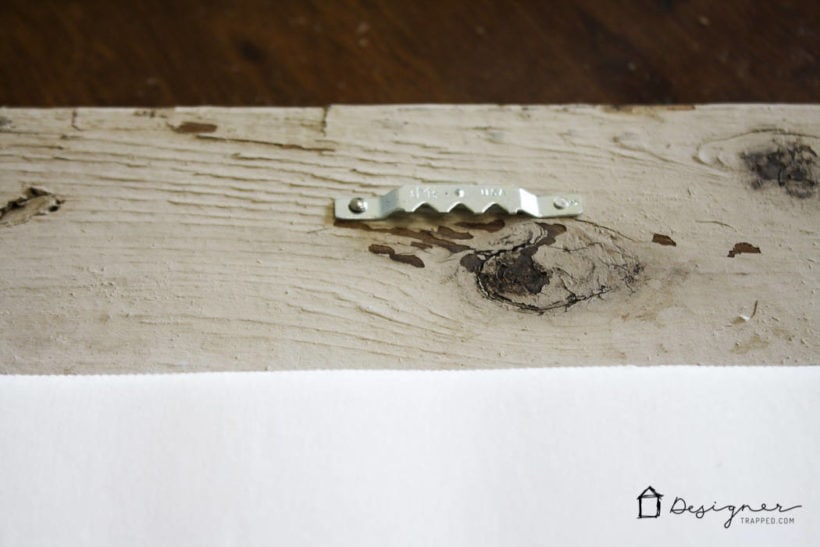
7) Attach frame hanging hardware to the back of your frame.
7) Hang it up and you are done!
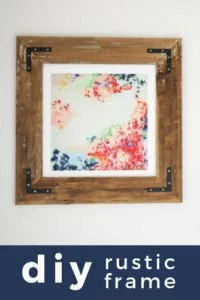
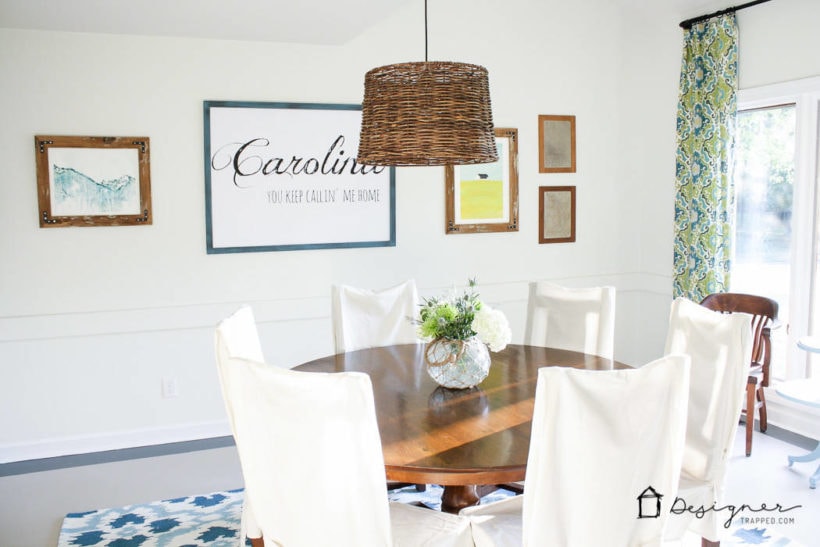
How easy is that?! We made three of these frames for 3 different art prints that we got from Minted. Because we used reclaimed wood that we already had on hand, the only cost to us was the hardware. So for around $5.00 per frame, we have something that we love more than anything we could have ever purchased in a store! Check out the finished project. I LOVE the rustic wood and industrial hardware. What do you think?
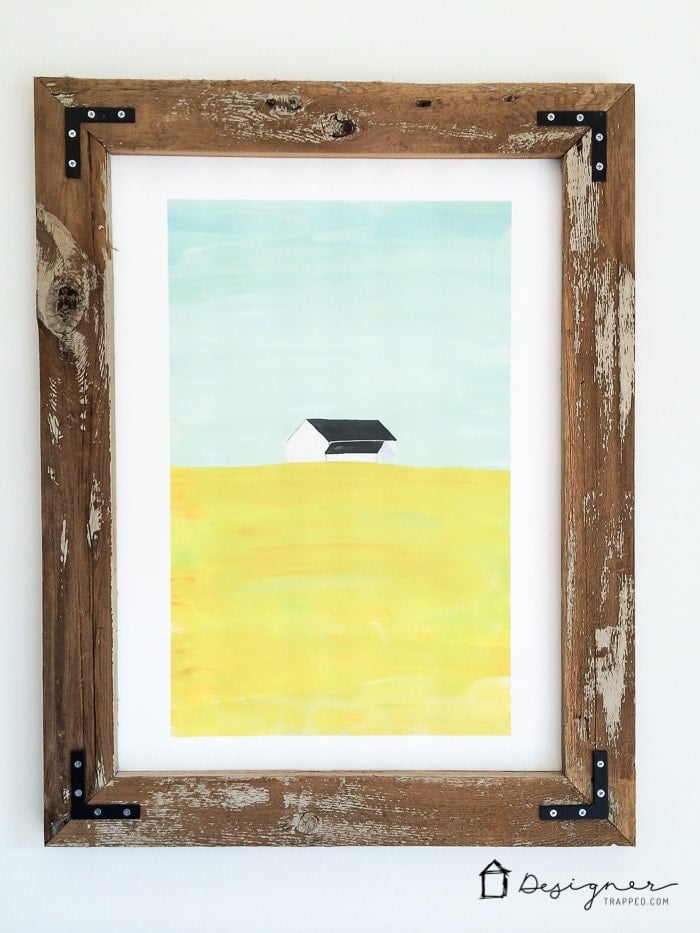
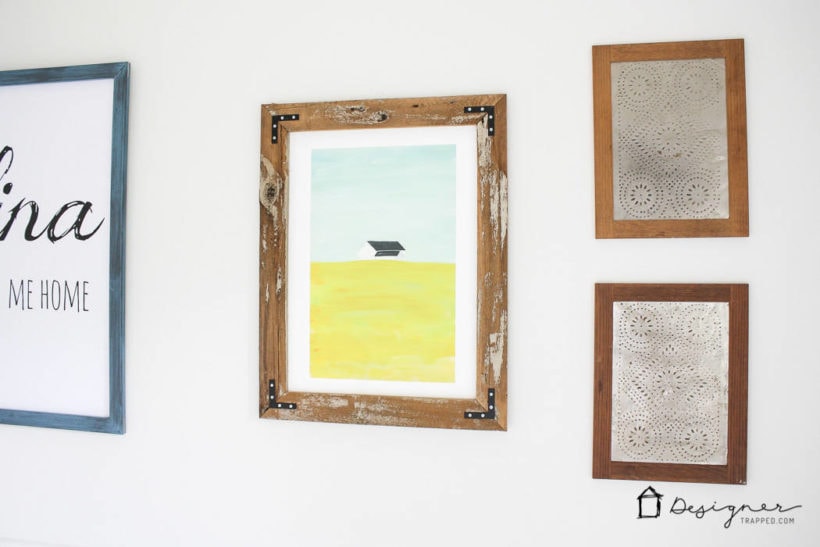
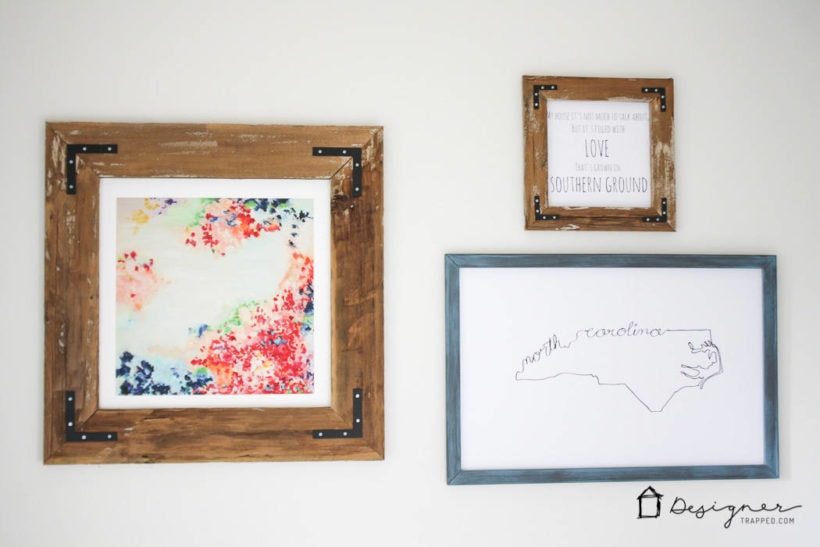
All of the frames we made are hanging proudly in our dining room. We LOVE them.
Source List
Art from Minted (click on any image for more info):

DIY Art also pictured in room:
DIY Large Scale “Carolina” Art Print tutorial
Now that you have some solid ideas about how to frame your favorite art, take a look at my guide below and give your entire room the same attention! It doesn't have to be overwhelming to have a beautiful home!

[mv_create key=”1″ type=”list” title=”Most Popular Projects” thumbnail=”<a href=”]

I was not compensated for this post, but I was fortunate enough to be provided with free art prints for our dining room from Minted to sample. As always, I would never recommend something I do not truly love!
Last Updated on March 3, 2022