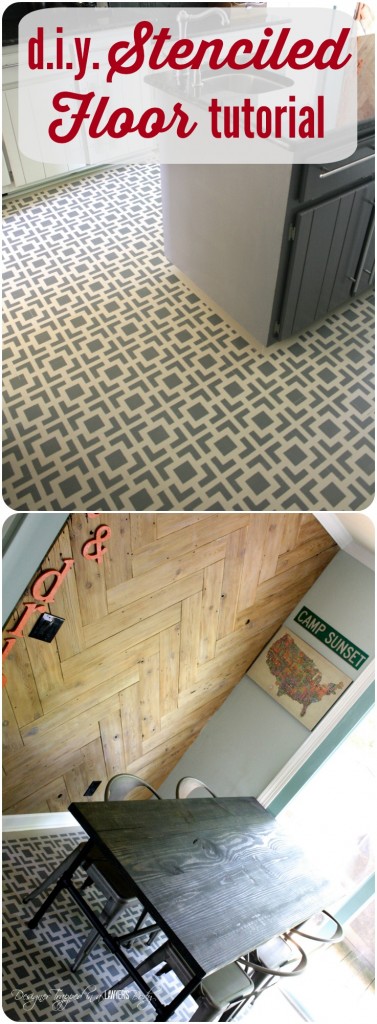
DIY Stenciled Floors ~ a full tutorial
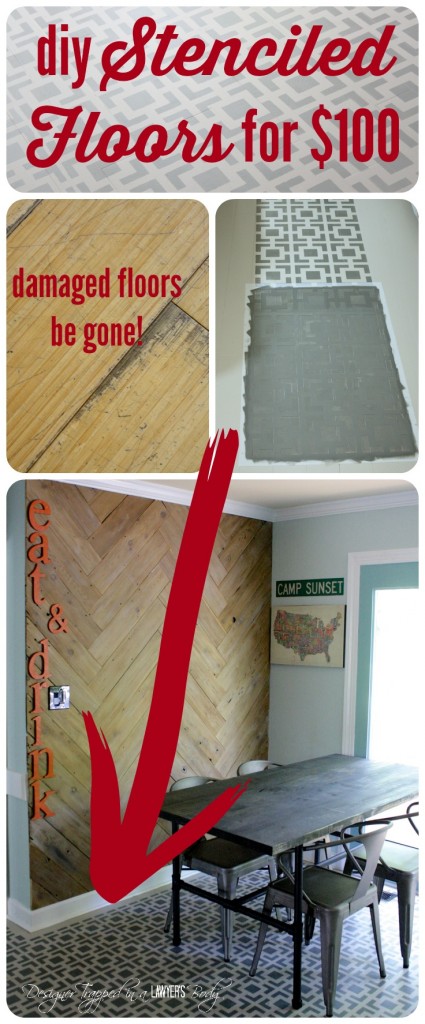 Hello friends! I am finally going to share with you a detailed tutorial for DIY stenciled floors. If you have been following my blog for a while, you know that I painted and stenciled the badly damaged bamboo floors in my kitchen. It is, HANDS DOWN, one of my favorite projects of all time and it was easy to do {albeit time consuming}. I have always loved the look of painted wood floors and we simply did not have the budget to refinish the bamboo floors {nor do we really love the look of bamboo flooring anyway}. This post contains some affiliate links. Click here to read my full disclosure policy.
DIY Stenciled Floors Tutorial
Materials Needed:
- Trisodium Phosphate (TSP)

- Paint brush
- Porch and floor paint in two different colors {it MUST BE porch and floor paint–we used Valspar Porch and Floor Latex Paint and had it tinted to our color choices at Lowe's Home Improvement. The two colors we used are: Ocean Storm and Weathered Oak by Valspar, satin finish}.
- Latex Primer
- Large paint roller frame, roller and extension rod
- Small paint roller frame and dense foam roller
- Paint trays {one large, one small}
- Stencil of your choosing
- Paper towels
- Card board
- A whole, whole, whole lot of patience :)

 and had it tinted to our color choices at Lowe's Home Improvement. The two colors we used are: Ocean Storm and Weathered Oak by Valspar, satin finish}.
Steps:
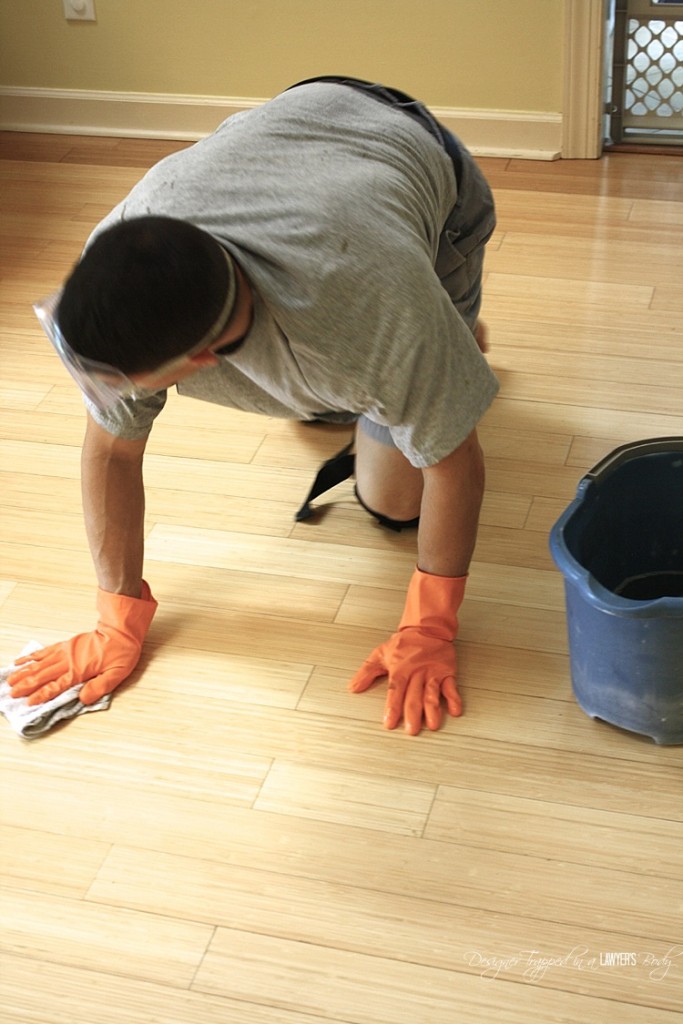
1) Prepare the surface- I cannot over emphasize the importance of this step. You must thoroughly clean your floor. We used TSP and mixed it according to the directions. We literally scrubbed the floors on our hands and knees and then hand dried them. I think rushing this step could compromise the whole project, so take your time and do it right.
2) Prime the entire floor- Using your large roller and extension rod, prime the entire floor. You will need to use a paint brush to cut in along the base boards. We allowed the primer to dry overnight.
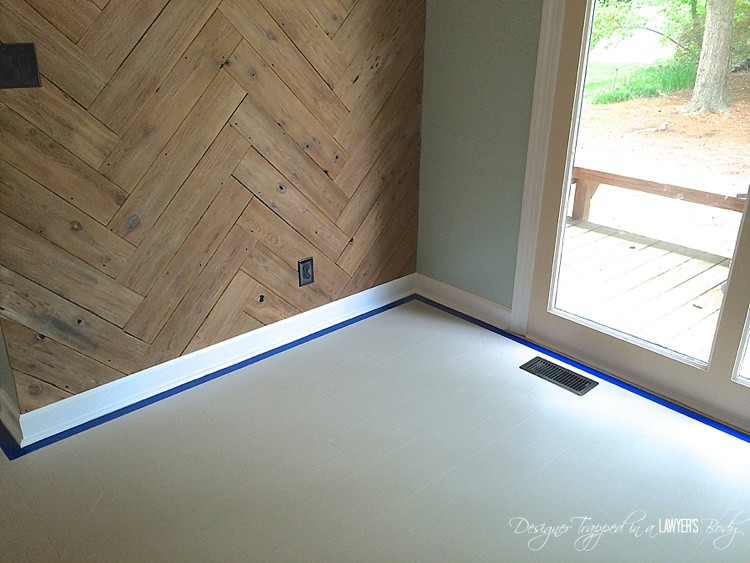
3) Paint the entire floor with your base color- Again, using your large paint roller, you need to paint the entire floor with your base color. Double coat if necessary. Again, we allowed the base coat to dry overnight.

4) Tape off the perimeter of your room- We started by taping off the perimeter of our room with 1 inch painter's tape. This was a personal choice. You can run your stencil all the way up to your baseboards if you choose.
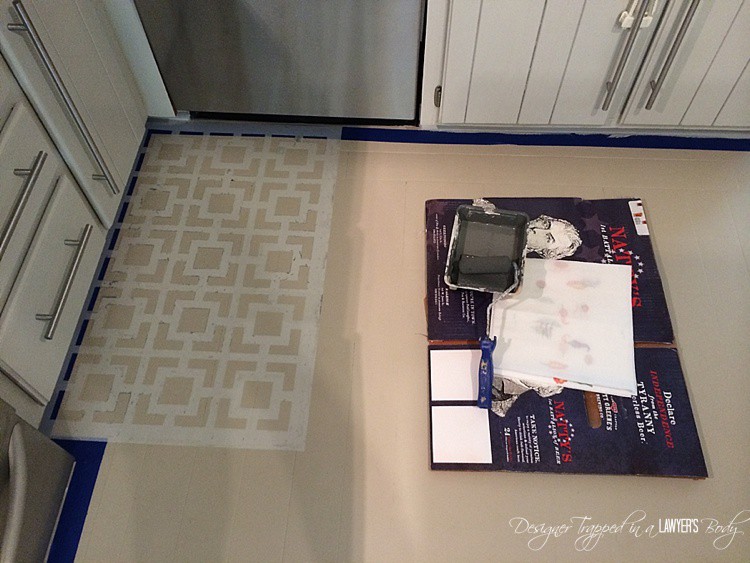
5) Stencil your floor- This is the fun part, but I am NOT going to lie… it is time consuming. It was not difficult, it just took a long time. I highly recommend listening to an audiobook while you work. That's what I did :) I used the Hollywood Squares stencil by Royal Design Studio. I LOVE the modern, contemporary look of it, but you can absolutely choose a more traditional stencil depending upon your own personal style!
First, you will need to gather your supplies. You need your small, dense foam roller, paper towels and a piece of cardboard {I used an old beer box–classy, I know}. Plus, of course, you need your secondary paint color in a small paint tray. You need the paper towels because you want to work with an almost totally dry roller–this will help prevent the paint from bleeding under your stencil. Every time you add paint to your roller, be sure to roll it over the paper towels to remove most of the paint.
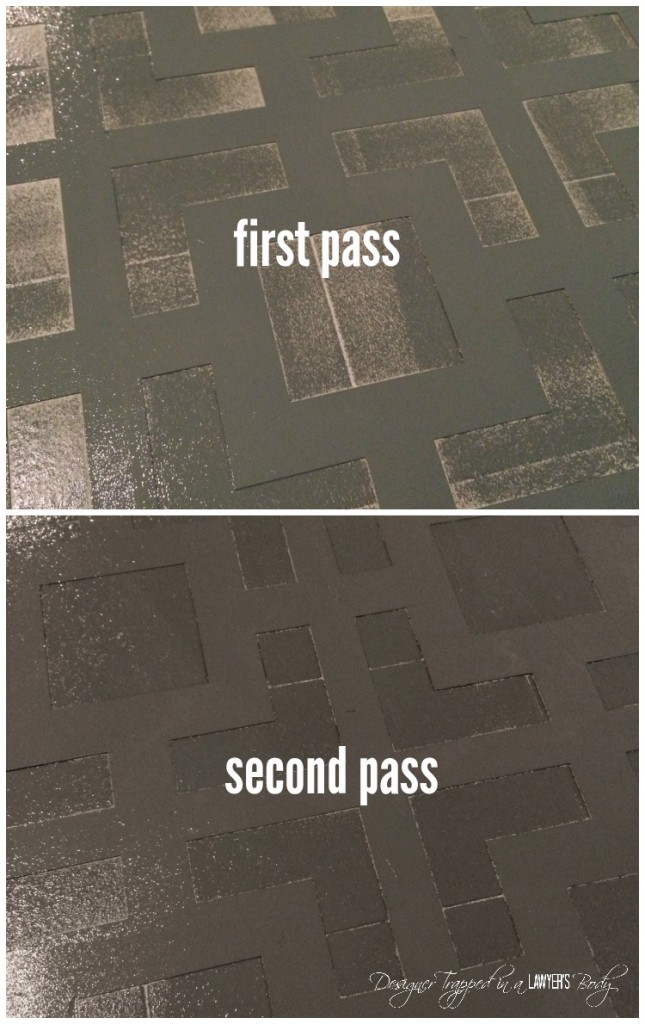
Because you will be working with a mostly dry brush, you will make two over the stencil each and every time you reposition the stencil. After the first pass, you will have poor coverage. After the second pass, you will be in good shape.
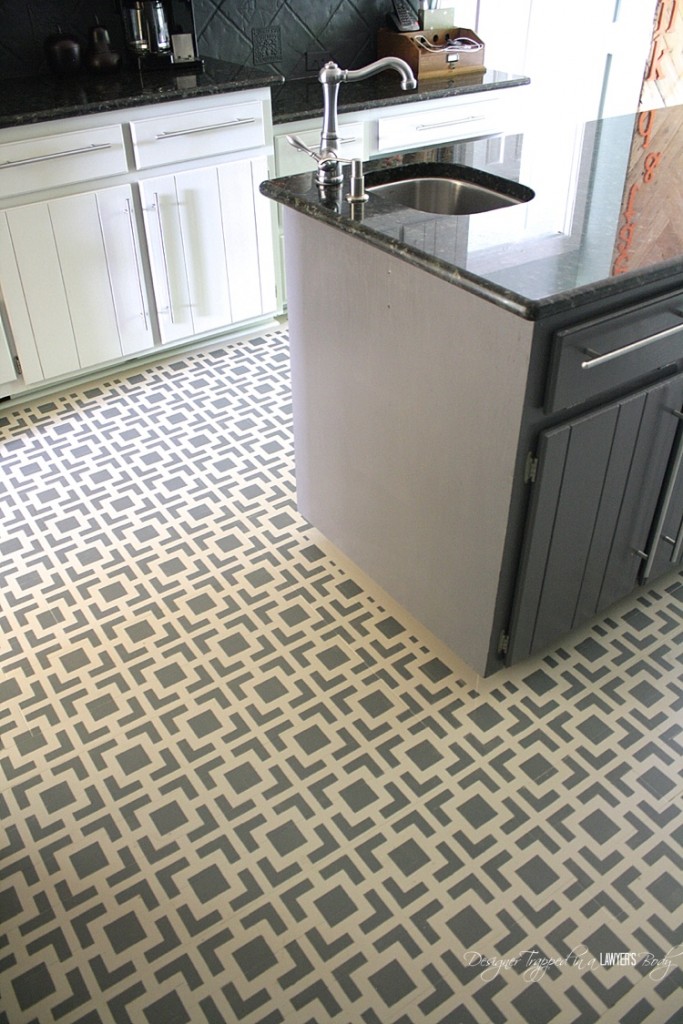
After you have good coverage, carefully lift and move your stencil to the next spot. Be sure to line it up using either the registration marks on the stencil. Or, you can do what I did, which was to line it up using the stencil pattern itself {because I kept getting paint on my registration marks and they were hard to see!}. Repeat over and over again until your entire floor is covered.  I stenciled the perimeter edges last, because that is the most time consuming work. To see how to position your stencil when working around the perimeter of cabinets or appliances, check out the photo below.

Check out the stunning result.
Time Spent and Cost for DIY Stenciled Floors
You can complete this project for around $100, depending upon the size of your room. The stencil I chose retails for $45 and the paint we purchased at Lowe's is $27 per gallon–we used two gallons {one of each color}. I didn't time myself, but I believe it took me around 5 hours to stencil the floor, plus another 2 hours or so to prep, prime and paint the floor with the base coat. So, again, it is a time consuming project, but it is one of my favorite projects of all time, so was 7 hours WELL spent!
Tips and Observations
- I am sure some people may disagree with this tip, but I recommend working from left to right to complete and entire row BEFORE beginning your next row. Think of it like reading a book. Left to right, then on to the next line.
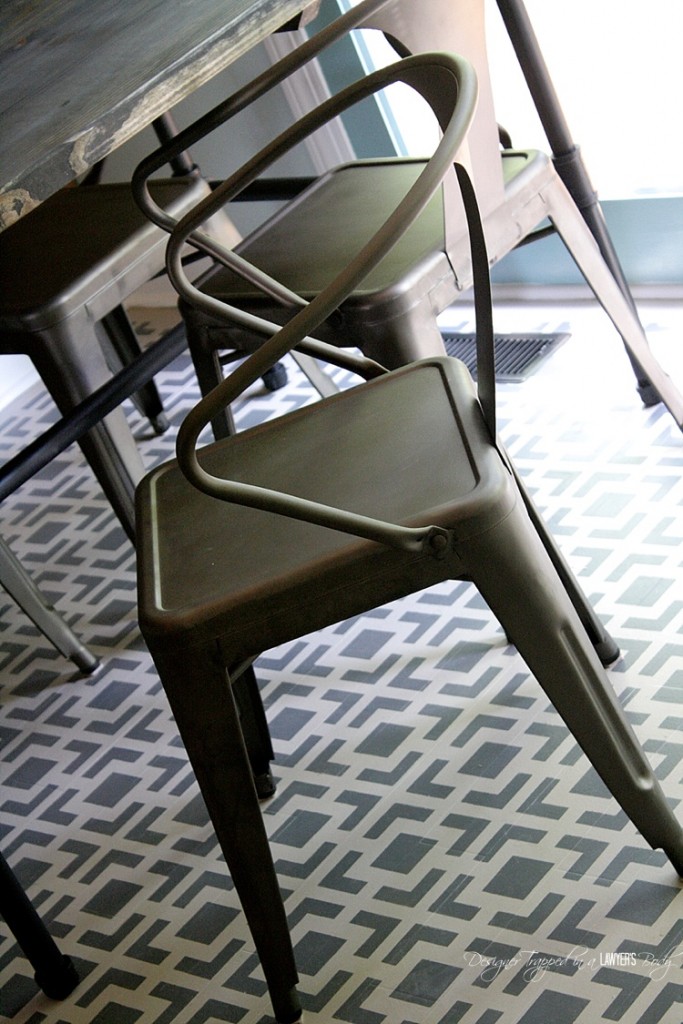
- I will also say that I have never encountered a room that is perfectly square, and our kitchen was no exception. With a geometric stencil, there will almost certainly be one corner of your room where the stencil does not line up perfectly with the perimeter of your room. For us, we planned to end our stenciling in the eat-in area of our kitchen, knowing that the stencil wouldn't line up perfectly in that corner, but that our kitchen table would essentially hide it. As it worked out, the stencil is off by about 1/4 of an inch in that corner, which is very minor and not noticeable at all with our kitchen table and chairs in place. We are perfectly happy with that solution, but if you don't want to see ANY imperfections, a geometric stencil may not be your best option.
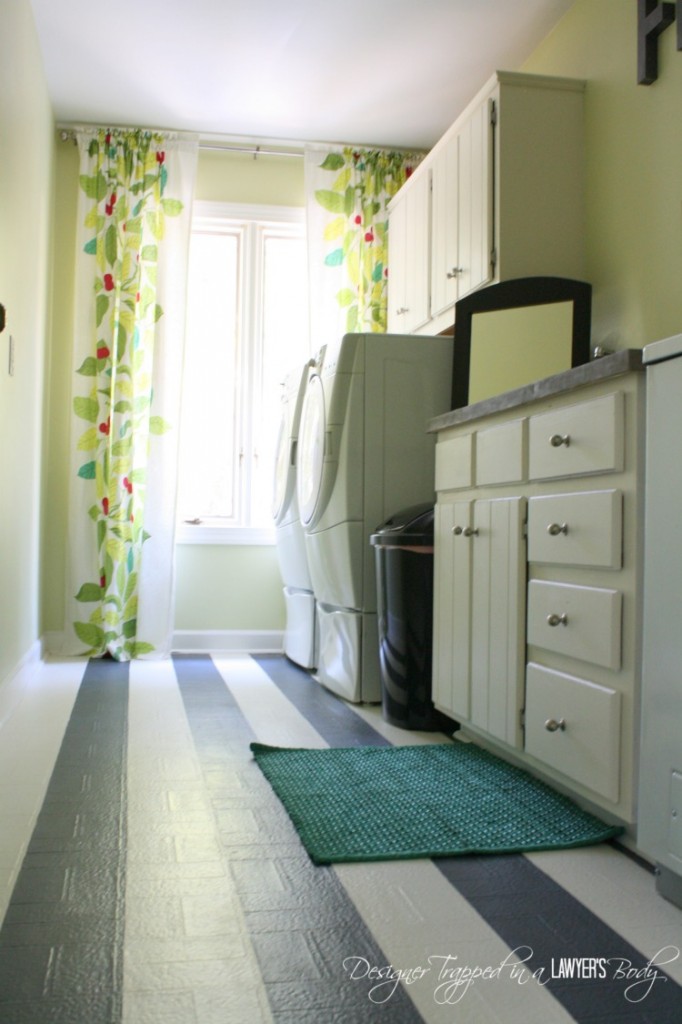
- Finally, IT IS NOT NECESSARY NOR DO I RECOMMEND adding a polyurethane finish on top of it. There is a very long story behind this that I will share at some point, but take my word for it. We finished painting our kitchen floors in April and they are holding up better than I ever could have expected. And our kitchen gets HEAVY use by us, our twin girls and our 90 pound Boxer. So far, we have no scratches or peeling. We do have some black marks from our shoes, but those wipe off with a magic eraser. In short, porch and floor paint is made for floors and should hold up well without any additional protective coat on top of it. That has certainly been our experience {in our kitchen AND our laundry room}.
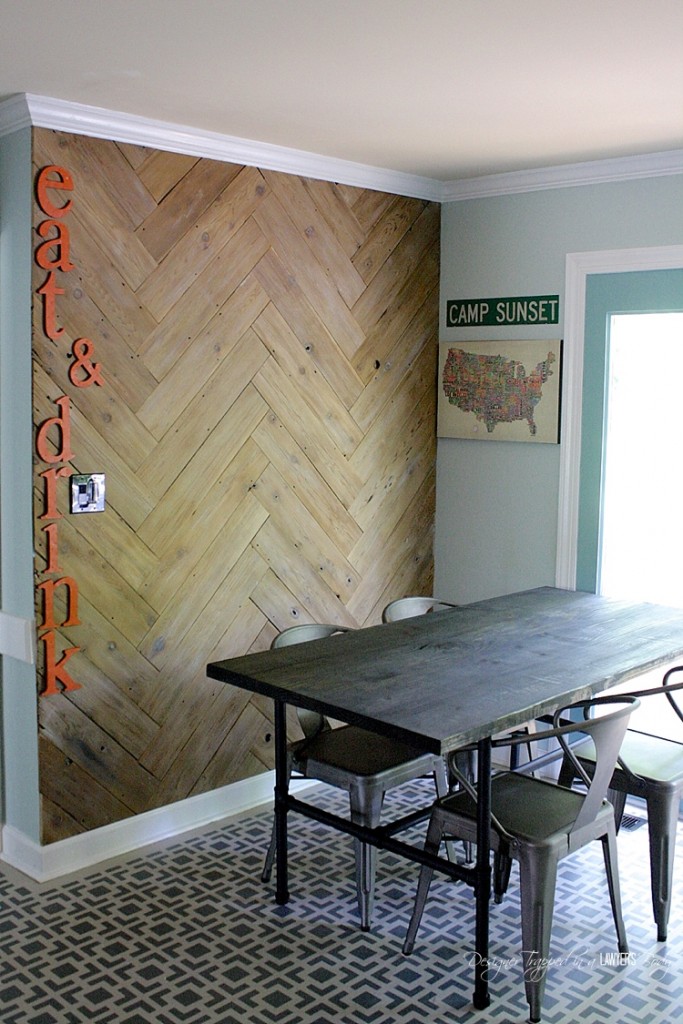
We LOVE the end result. If you want to check out the rest of our kitchen transformation, you can see how we totally transformed our kitchen for less than $700 here. You can also check out how we created that unique herringbone plank wall here. And you may also want to check out our amazing painted laundry room vinyl floors, as well–it is one of my most popular projects so far!
And if you want to save this tutorial for later, why not pin it?
[mv_create 1 11 200 2016 key=”1″ type=”list” title=”Most Popular Projects” thumbnail=”<a href=” https designertrapped com wp content uploads diy home decor projects blog jpg a]
Last Updated on March 3, 2022
Just a very important TIP, as I don’t recall seeing that you posted it:
–I have stenciled many pieces of furniture, as well as floors, in my own home. My husband is a construction contractor – and I tell you this to make this point – to find your starting point, you need to measure the width of the room to get the center most point and go out, up, below, left and right from that point. that will ensure the best look, compensating for uneven foundation settlement issues/building contractor’s miscalculations with measurements (door frames, cabinets, baseboard, etc…)
Otherwise, your floor looks fabulous. Good job!~
Great tip–thank you Megan!
Thanks for sharing this tutorial. Can you do an update on how the floors have held up?
Our painted floors held up perfectly for YEARS until we ripped them out as part of our full kitchen renovation :)
I loved reading this. Thank you. Your ideas for painted floors are wonderful. I have an ugly old vinyl tiled bathroom floor that I will now paint, instead of trying how to get them unstuck and dealing with floor prep that would follow the tile removal. I can do this!
Thank you Christina. You can do it! Good luck with your project :)
Hey Tasha,
I’ve only just discovered your great tutorial from this week’s newsletter. Thank you for re-sharing it. Not only will I be pinning this and giving it a go, but you’ve also helped a fellow blogger to see how easy it is to include old blog posts in a current newsletter. Thank you!!
Sue ~ The World of Suzy Homemaker
Thank you so much I love your projects! They’re all so inspiring:-) I want to paint our kitchen tiled floor and after seeing your design in suttle greys I think I shall copy!!
Thank you, Marie! Copy away!
Did you use the Large or Small stencil design with this project? I’m assuming it was the large one, hence the $45, but we plan on using this in our kitchen as well and I wanted to make sure that was correct first. :) Thank you for your blog. It has totally inspired me to redo our knotty pine 70’s kitchen….with paint :)
Yay! So glad to hear that Nedale! You are correct–we used the large stencil. Best of luck with your project!
Hello! Thank you so much for this great post. I’m going to paint my wood floors starting this weekend and have been researching methods. Did you skip the sanding phase before you primed? Also, the hallway I’m painting leads to all of our bedrooms so will need to be used to some extent. Realistically, how long before you walked on the porch paint? I will limit the family somewhat, but won’t be able to limit completely. Thank you in advance for your time!
Hi Kristen! No, we did not sand the floors before we primed. We only let it dry about 12 hours before we started using the rooms again. I hope that helps!
Thank you so much for these wonderful tutorials!
Did you wait for the paint to dry you lifted up the stencil to move it? Does the stencil tend to stick to the floor when the paint is dry?
Love this idea and many try to copy the idea!
Best to you.
Hi Kay! I didn’t wait for the paint to dry before moving the stencil. Since the paint is applied in such thin layers, I was able to pick the stencil straight up and move right on to the next section. I didn’t have any problems with the stencil sticking. I hope that helps!
I absolutely love this tutorial! I was wondering if you used anything to seal or top coat the paint so that it holds up over time?
Thank you, Merasi! We did not use a top coat and the floors are holding up perfectly. The porch and floor paints is incredibly durable.
I am looking into painting my kitchen floors and we have a hyper lab the runs over this floor and slides across it se earl times a day. My hubby doesn’t want to paint them unless we can poly them after. Would LOVE to hear this poly story so I can convince him not to.
Hi Leigh! The poly YELLOWED the floors and we had to completely repaint them and re-stencil them a second time. It was AWFUL. Our kitchen chairs slide all over them and our twins and dog run around on them and I assure you, they are holding up perfectly with just the porch and floor paint. I hope that helps!
I have carpet in a bedroom that has plywood underneath. Do you have any ideas on how to paint a bedroom and a design to use?
Hi Linda! You could paint and stencil your subfloor. Check out Royal Design Studio stencils. They have loads of awesome stencils that would be gorgeous on floors!
You mentioned that your painted floors have held up well so far – yeah! Valspar product online description mentions that household cleaners can be used. I’m curious what product you use to wash your floors?
Fantastic job Tasha!
Thank you, Christine! We use Ms. Meyer’s cleaner and it works wonderfully–no affect on the floor at all! I hope that helps!
Holy smokes!! Your floor is gorgeous!!
Thank you, Sherry!
Wow, Tasha! You are the queen of painted flooring. First the linoleum, then your rug and now THIS! You rock. I am so impressed!
Thanks, Carrie! I do love paint!
wow, looks great!
b
Ok, this is the coolest thing I’ve ever seen. LOVE it!!! That pattern is great, and it adds such an amazing pop to your kitchen! You’ve totally inspired me to either stencil or use stripes to paint our guest bathroom linoleum. Such a great idea!!
Absolutely fabulous! Congrats on a great job with the tutorial and walking us through each step.
~ Ashley
Thanks so much, Ashley!
Oh my goodness!!! These may just be my favorite floors of all time! The pattern is fantastic and I absolutely LOVE how they turned out Tasha!!! I may just have to find some floors to paint in our home now too ;)
Awww, thank you, Kristi!!!!