4 Steps to Restoring Teak Furniture
Sometimes restoring teak furniture is necessary. After neglecting ours for a couple of years, we had no choice but to figure out how to restore teak furniture. The good news is we did it and it's beautiful! Read on to learn how to bring your teak furniture back to life.
Y'all, we recently had some FUN (insert sarcasm) restoring our teak furniture (AND acacia furniture) and we learned a lot in the process. So this post is for all of you who have outdoor teak furniture that has seen better days. You absolutely can restore it to its former glory and it's NOT hard, but it is time-consuming. That said, it's well worth it and going forward, ours should really be simple to maintain.
This post contains some affiliate links for your convenience. Click here to read my full disclosure policy.
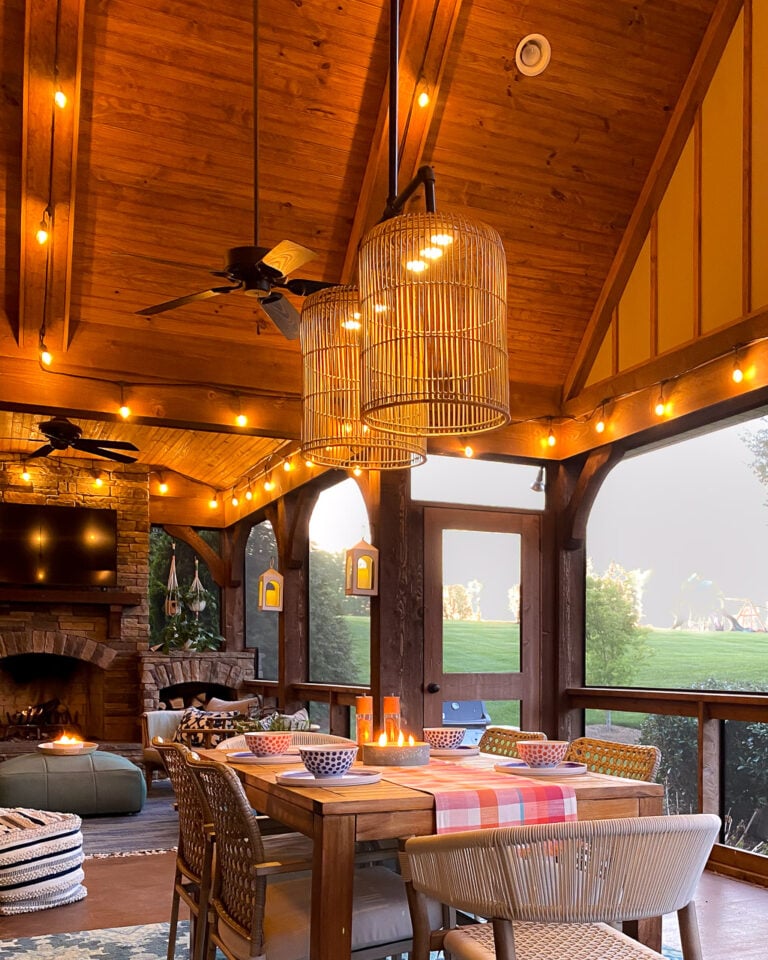
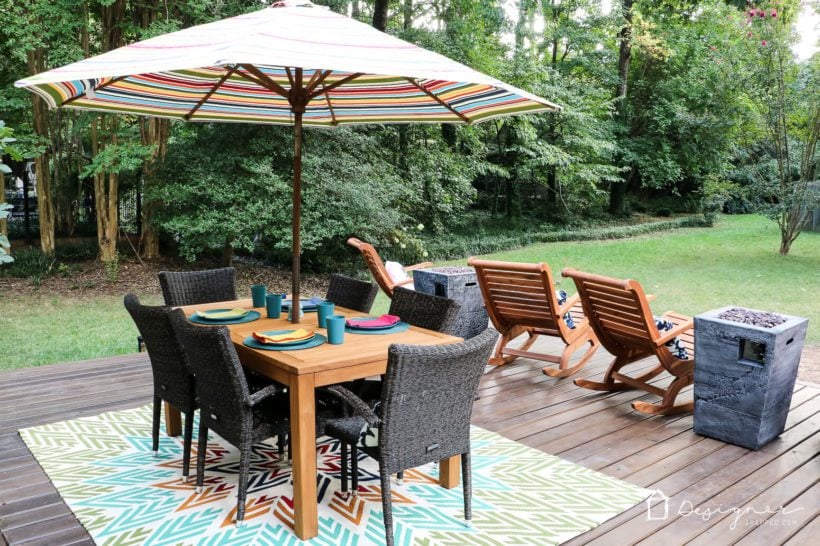
We chose a teak dining table set and some oversized (and insanely comfortable) acacia rocking chairs when we tackled our deck makeover a couple of years ago. We LOVED all the pieces we picked out. This is what they looked like brand new. (You can see more of our deck and house in our full home tour).

Unfortunately, we figured out after the fact that the pieces we ordered were not just protected with natural oil. They were actually coated with a tinted protector (we knew because they sent a bottle of the protector for us to use with the table–it looked like a semi-transparent deck stain). Sigh. In other words, they weren't just going to naturally “gray” like some pieces do.
If you aren't sure what I mean, let me explain. The key to teak and acacia restoration is in the wood itself. Teak is a naturally dense hardwood that has its own protective oil built right in. When the wood is fresh, the oil content gives teak a really pretty golden color. But, after sitting out in the hot and cold weather, teak grays.
Unfortunately, the tinted sealer did not weather well AND it prevented our furniture from naturally graying out in a way that was pretty. Now, I'm certain it didn't help that we didn't reapply the tinted sealer at any point over the past 2 years. But in a way, I'm kind of glad we didn't. It would have made it even harder to get down to the raw wood. But I digress…
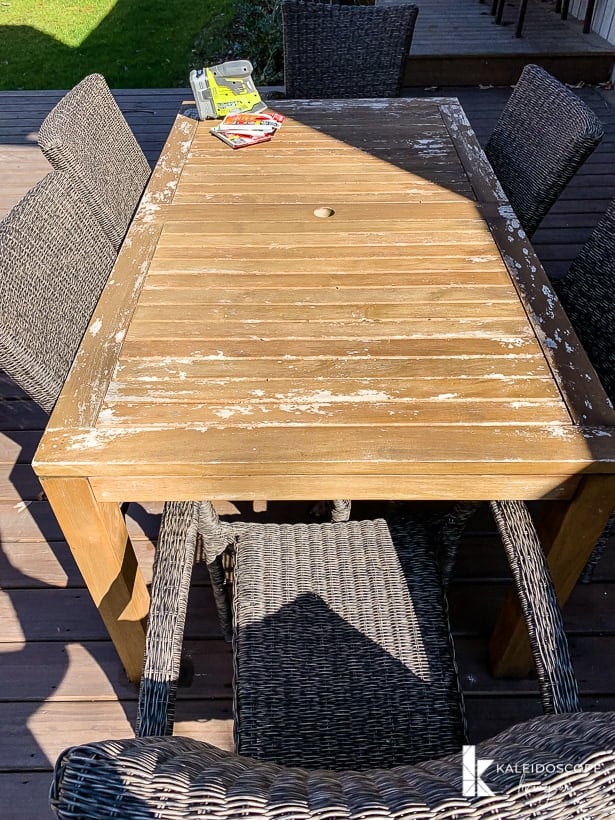
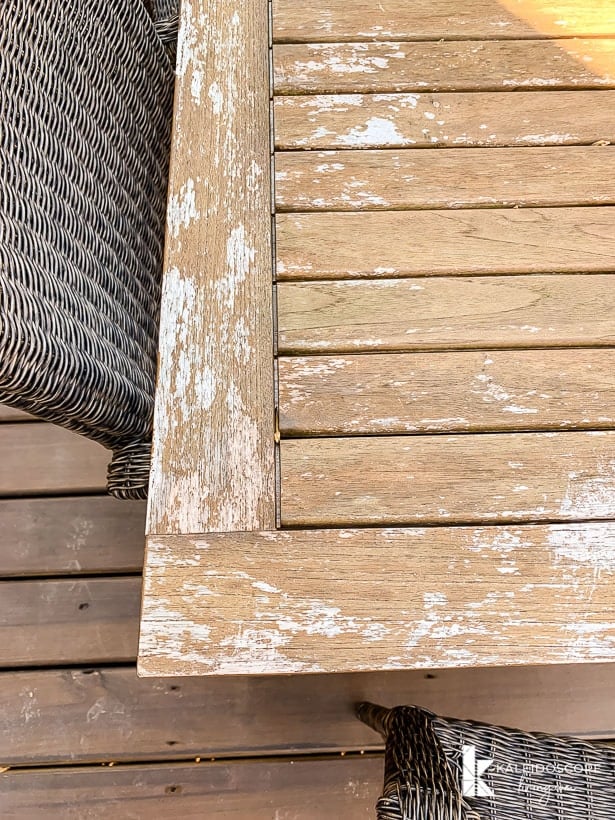
Two years later, THIS is what our outdoor teak table looked like. You can see that the natural graying process had only happened where the pigmented coating had chipped off. Not a good look.
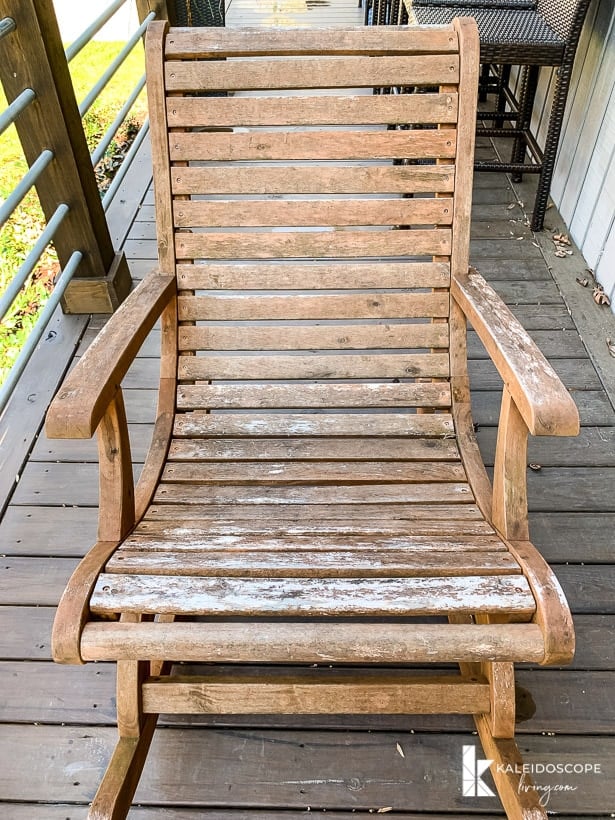
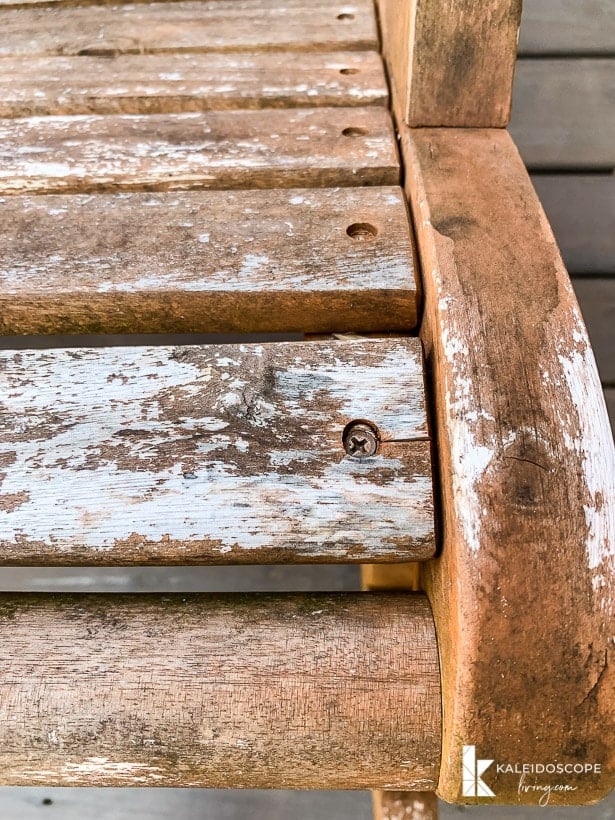
And this is what our acacia rocking chairs looked like. So unfortunate.
Now that you know the background, let's move on with the tutorial.
How to Restore Teak and Acacia Outdoor Furniture
Materials needed to restore teak and acacia furniture
- Sandpaper
- Electric corner sander and/or an orbital sander. You COULD hand sand, but I don't recommend it.
- Pressure washer (optional, but helpful)
- Teak Oil (we used 2 gallons of Watco Teak Oil for our 4 oversized rocking chairs and dining table–we applied 2 coats to everything)
How to Restore Teak and Acacia Furniture
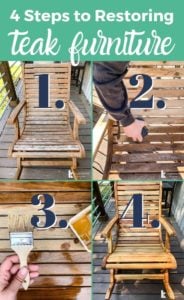
Step 1: Sand
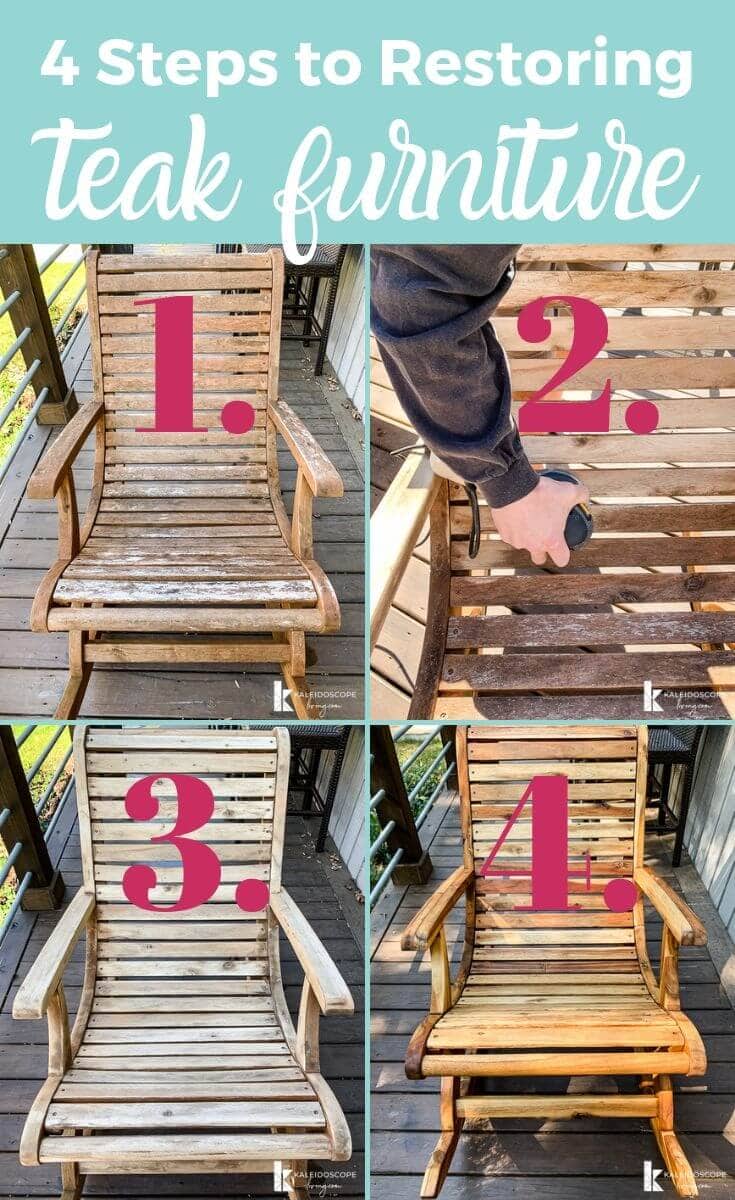
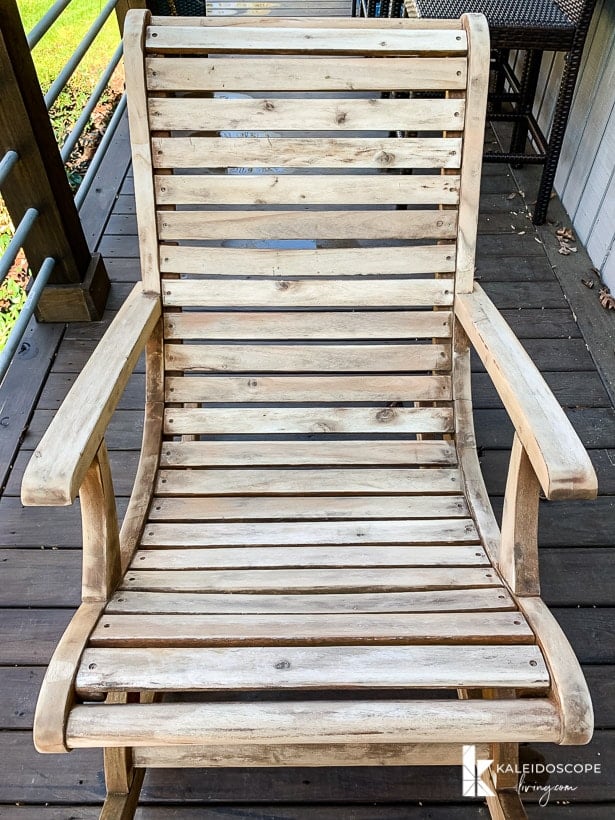
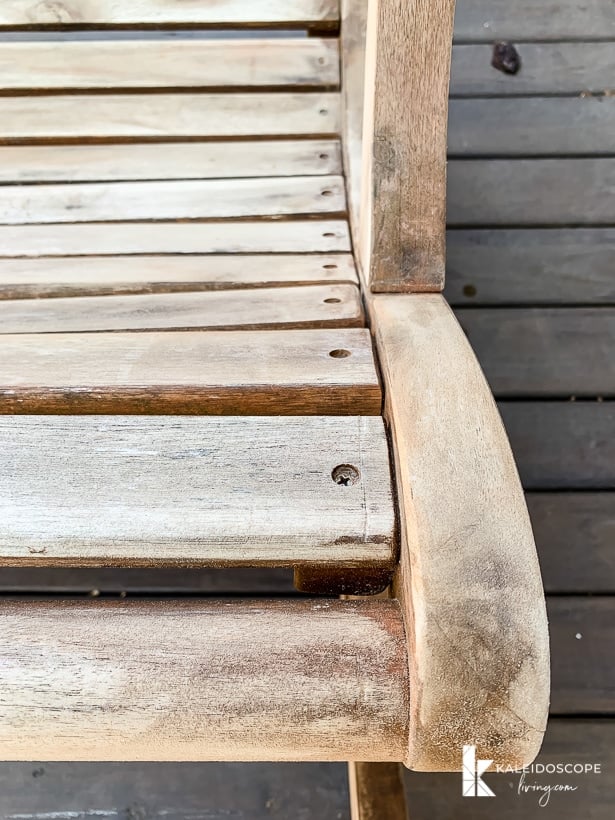
Start by sanding down your wood surfaces until you expose the raw wood surface. Sanding our table was quick and easy. Sanding the rocking chairs was a bit more cumbersome because of the curves and the fact that we had 4 to do. This is what they looked like AFTER we sanded them down. Better already.
Step 2: Wash
Next, pressure wash your furniture (or if you don't have a pressure washer, thoroughly rinse it with a hose and sprayer) to get all the sawdust off and to ensure it's otherwise clean.
Step 3: Dry
After you have washed it, you need to let it completely dry out for a few days. If you are expecting rain, be sure to cover it with a tarp or move it inside. We timed it so that we knew we had a few sunny days and were able to leave them outside to fully dry.
Step 4: Oil
Now you are ready to start applying your teak oil.
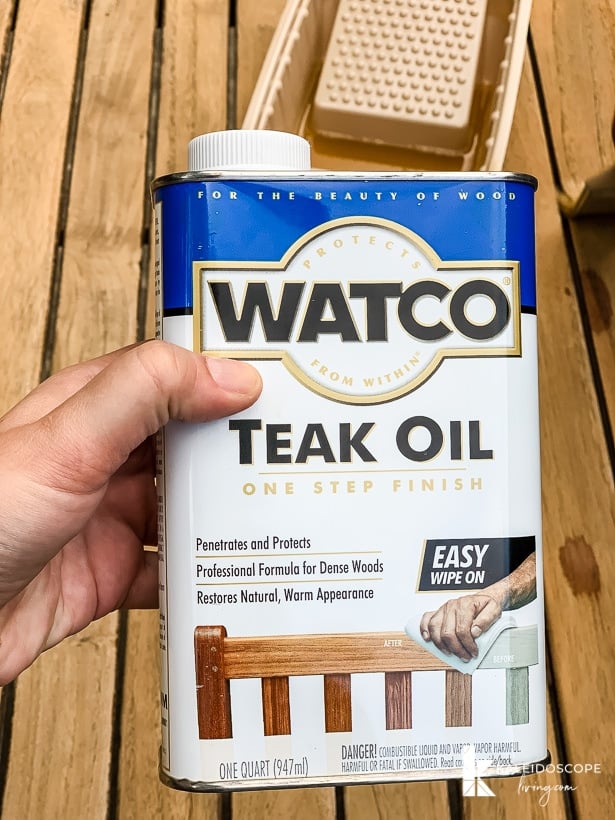
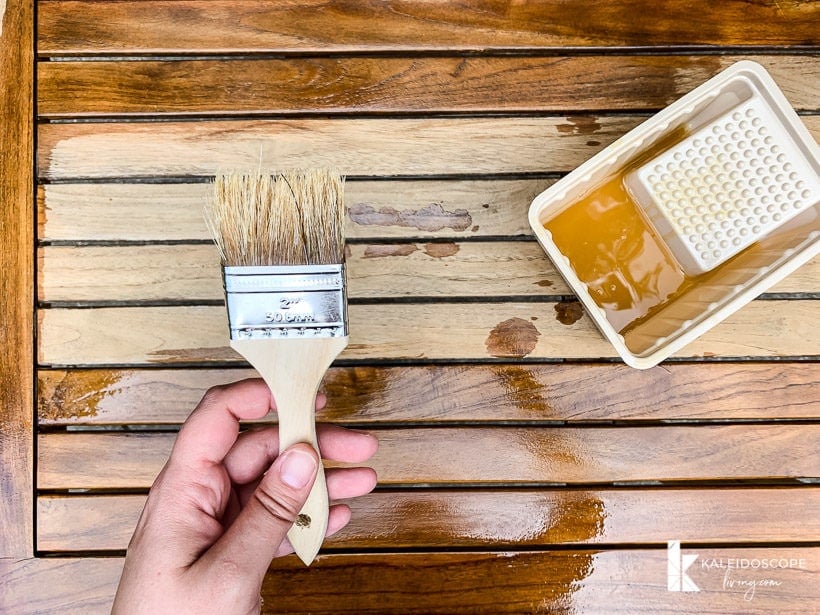
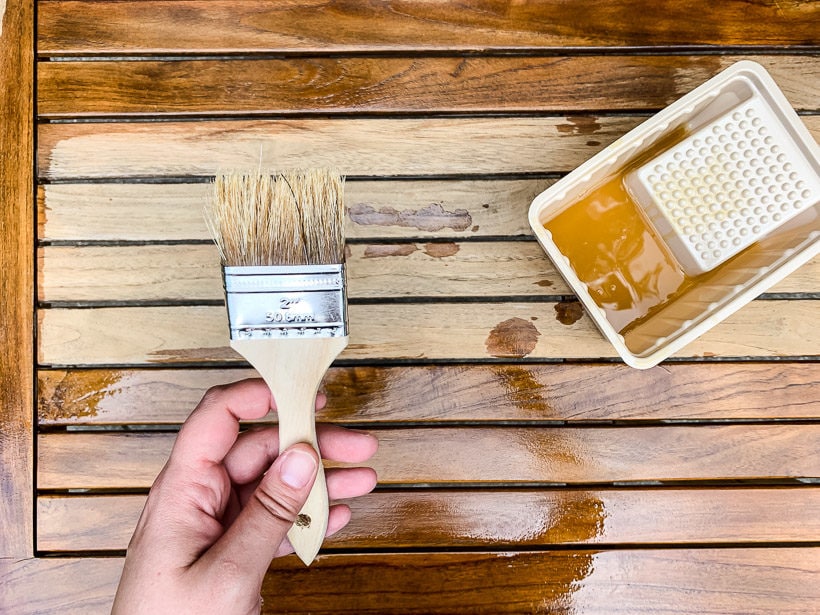
There are no special instructions. Simply apply the oil. We were pretty liberal with our first coat. Then we let it sit for a few days before applying the second coat. Waiting that long isn't necessary; it was just necessary because of our schedules.
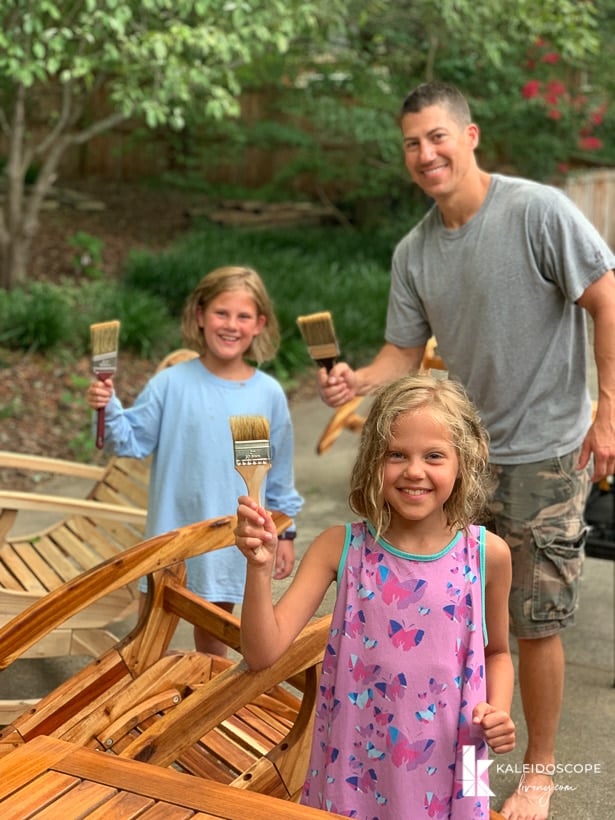
This part was actually kind of fun and it was REALLY easy. Our girls even helped us.
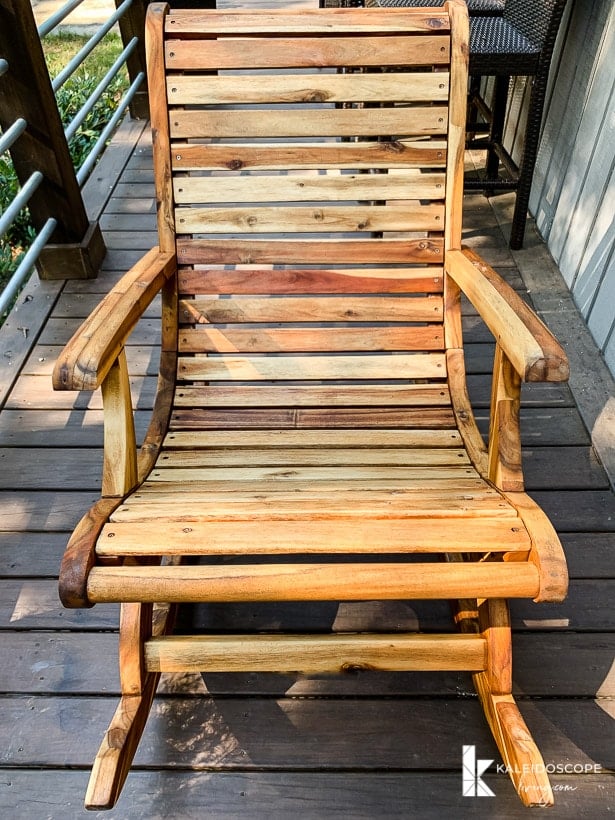
That's it. Pretty simple and straight-forward, right?! Here's how our chairs look now that they are done. You can really appreciate just how much pigment there was in the original protective coating now that it's gone–there are so many beautiful color variations in this wood that were covered up!
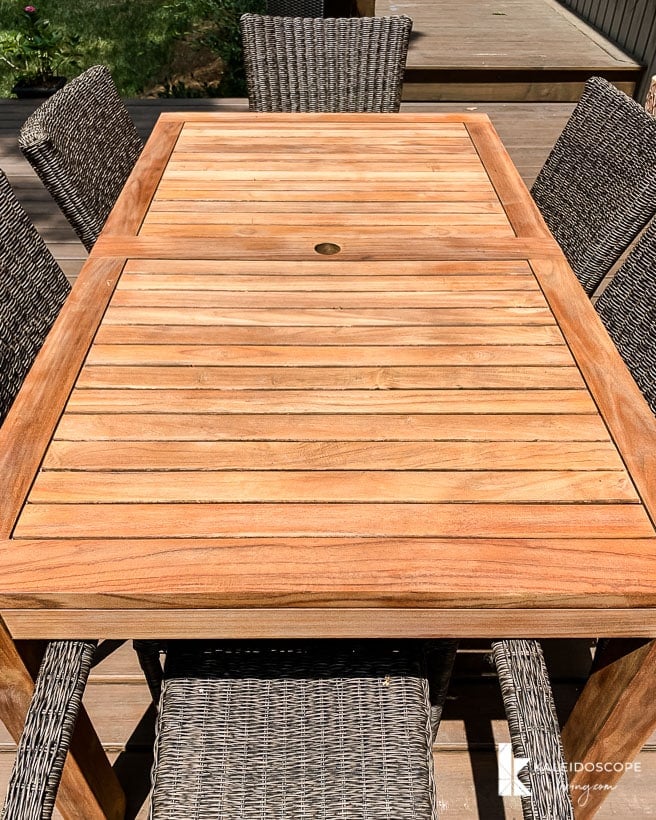
And here's how our outdoor teak table turned out.
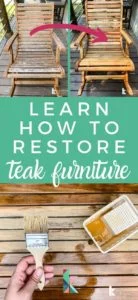
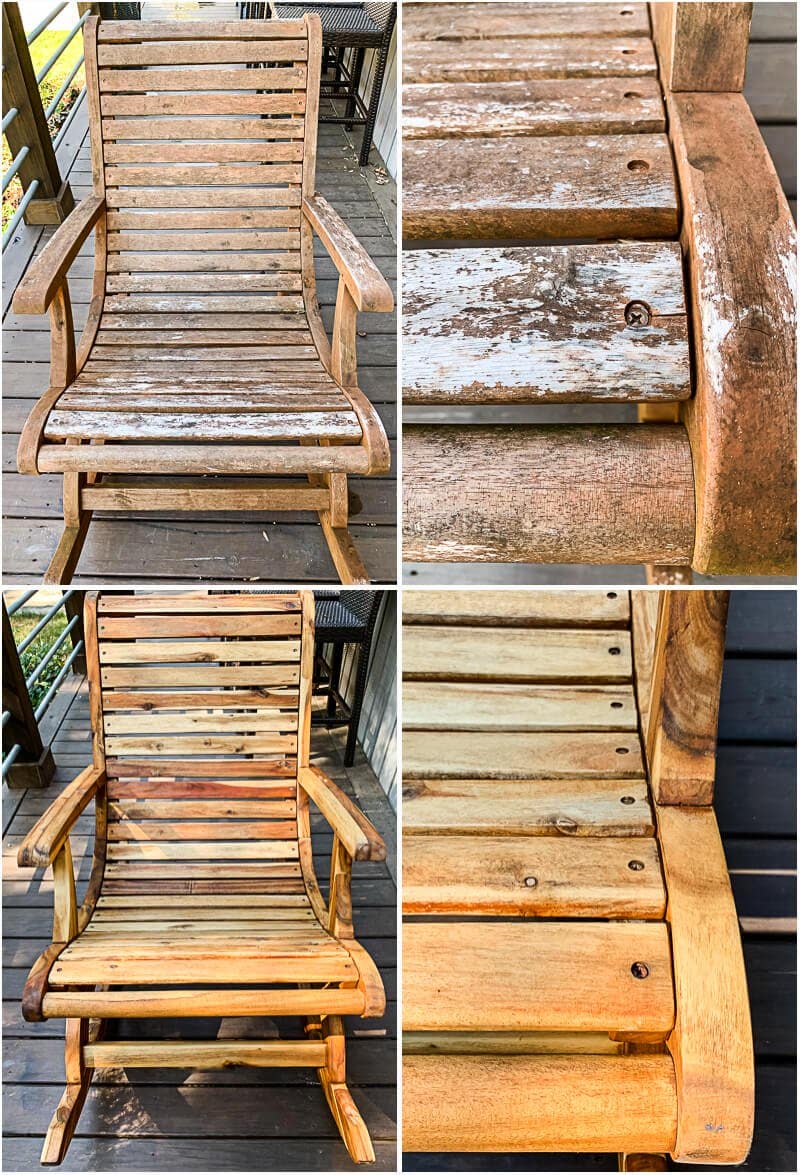
Here are a couple of before-and-after collages for you that make it really easy to appreciate the transformations!
If you loved learning how to restore teak and acacia furniture in this post, you will love these other outdoor projects of ours:
- DIY Deck Bar
- DIY Outdoor Chalkboard
- Outdoor Games for Families (That Both Kids & Adults Actually Like)
And don't forget you can take our full house tour by clicking HERE.
Wondering how I approach transforming rooms and spaces in our home? Check out Designer in a Binder®.
And if you want exclusive content and behind-the-scenes sneak peeks, be sure to subscribe before you head out!

Last Updated on July 6, 2024
