How to Make a DIY Outdoor Chandelier
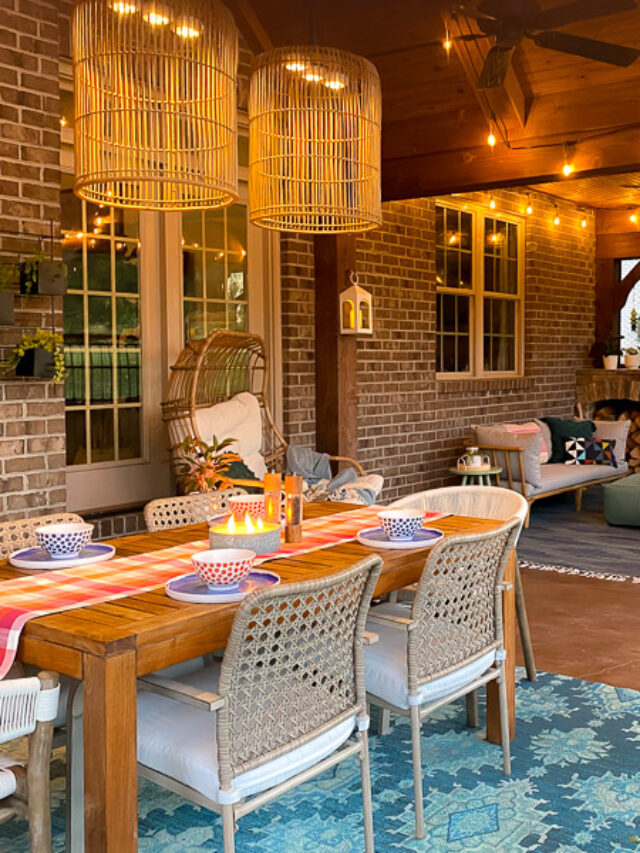
A few years ago, we made this huge DIY outdoor chandelier to hang above our outdoor dining table. It was easy and makes a HUGE impact. No power tools or electrical wiring required! Read on for the full tutorial.
When I shared the reveal of our screened-in porch and gave a tour of the space on Instagram, y'all went nuts for the easy DIY outdoor chandelier that Joe and I made in just a couple of hours. I guess I shouldn't be surprised since including overhead and ambient lighting in outdoor spaces is one of my favorite porch decorating tips! So I figured I should write up a full tutorial for it so you can create a DIY outdoor chandelier for yourself!
This is absolutely a beginner-level DIY project. The only tool we used was a drill driver to screw the chandelier into place! And because we used the “magic light trick,” no electrical wiring or skill is required either. We've used the magic light trick before when we created this colorful DIY gallery wall of family photos–it's one of my favorite hacks! Can I get a wooo hooo?!
This post contains affiliate links for your convenience. Click here for my full disclosure policy.
How to Make an Outdoor Chandelier
Materials and Tools Needed
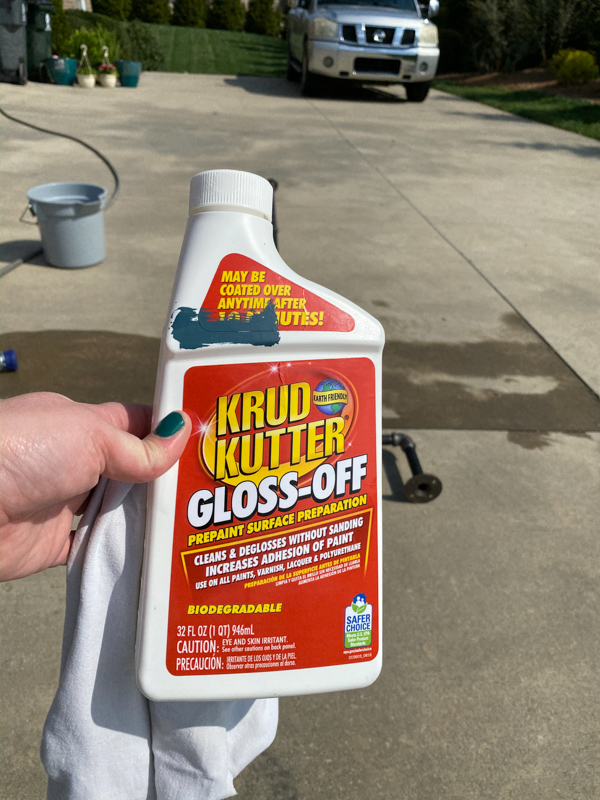
- Krud Kutter
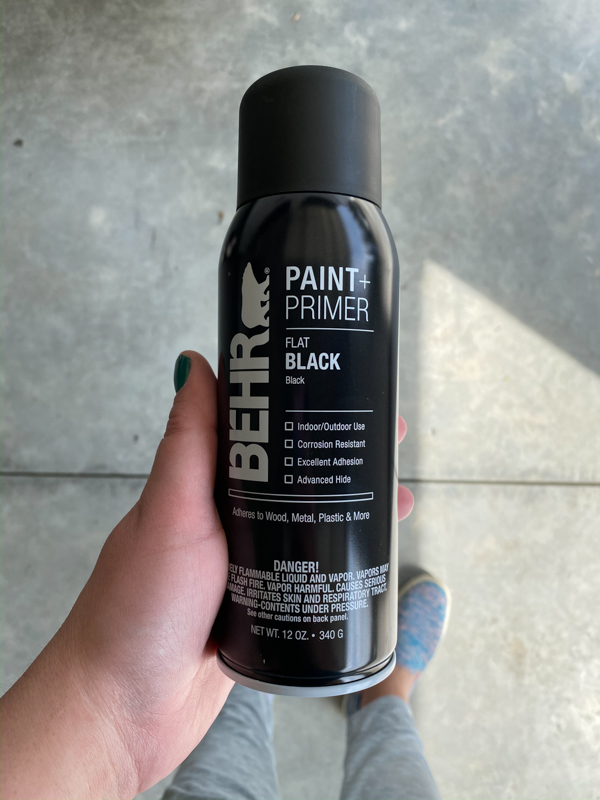
- Flat Black Spray paint
- 2 large baskets
- 6 battery-operated puck lights with a remote
- Hot glue gun
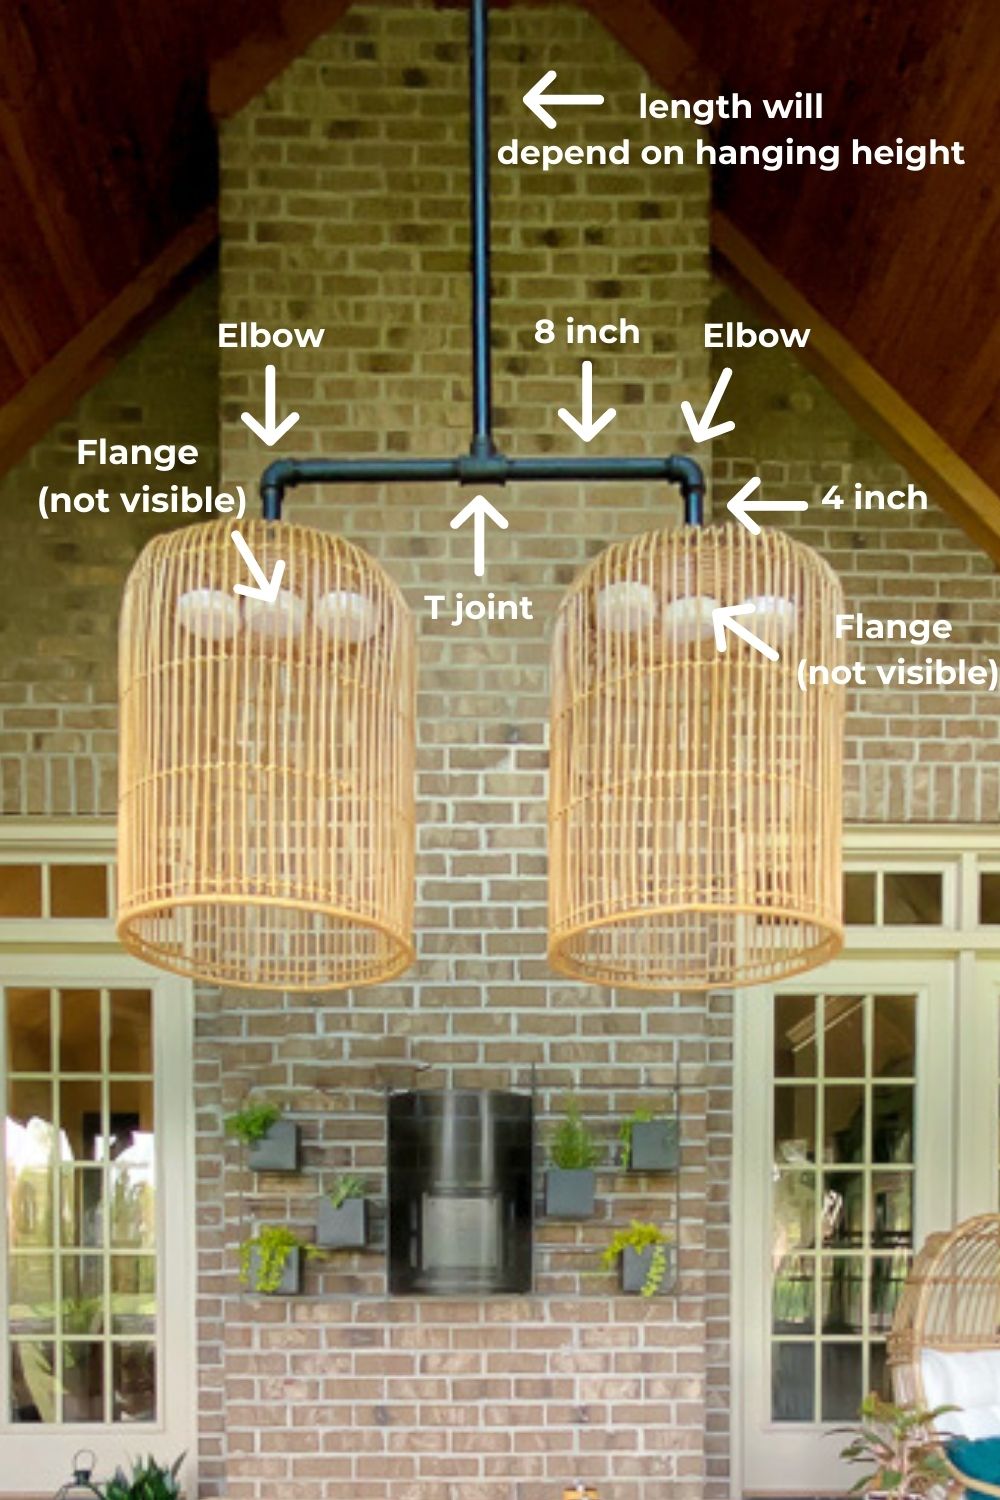
- 1 “T” joint
- 2 elbow joints
- 3 floor flanges
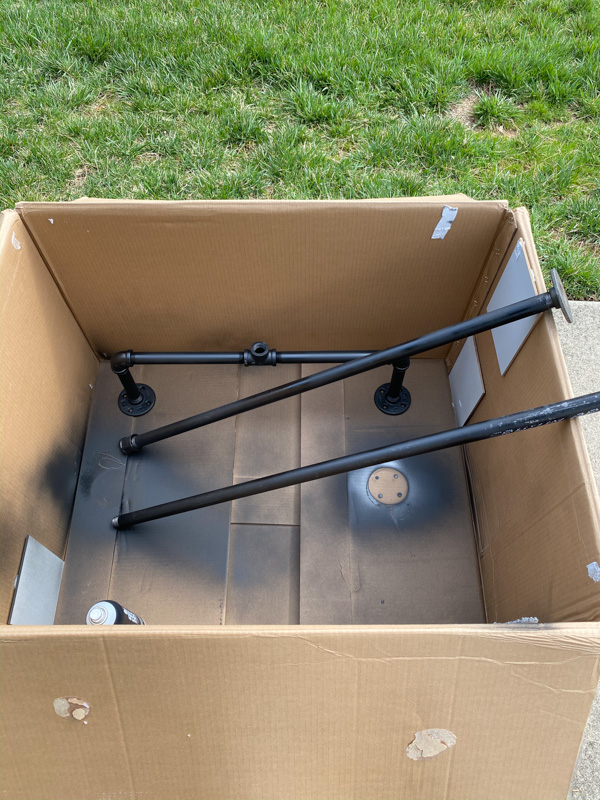
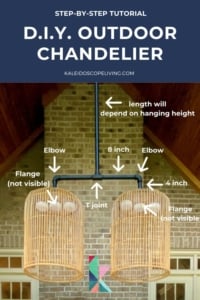
- 3/4 inch gas pipe (amount varies depending on how high your ceiling or hanging point is). NOTE: If you use a different diameter of pipe, all of your fittings will need to match that same diameter. We used gas pipe since it is already black and spray paints a bit easier. We also purchased only lengths that were pre-cut so that we did not have to worry about having the pipe cut and threaded. The lengths you choose will depend on what you want to use your shelving for. You can see the lengths we used in the diagram below.
Steps to Make This Project
If you prefer seeing a video of how we made this, you can check out this Instagram reel or these Instagram story highlights where I walk through it in more detail.
Step 1: Clean all of your pipe with Krud Kutter or something similar. All pipe has grease on it when you buy it and you definitely want to get all of it off.
Step 2: Assemble the base of your chandelier as shown in the diagram.
Step 2: Spray painting all of your parts is optional. We spray-painted our pipe with flat black spray paint because we didn't want to see any of the printed branding/size info that is stamped on the pipe.
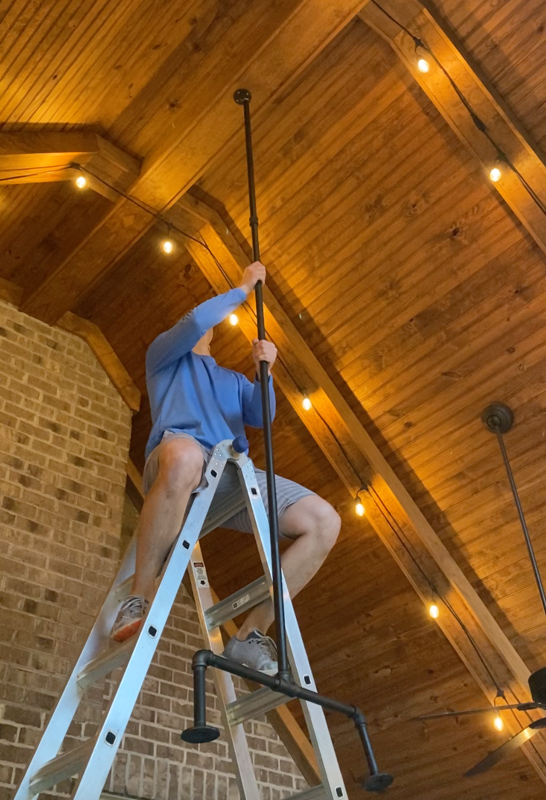
Step 4: Attach the long, straight pipe to the base of your chandelier.
Step 5: Hang your chandelier by screwing a floor flange onto whatever surface you will be hanging your chandelier from. Then thread/screw the chandelier into the floor flange that you've attached to the hanging surface.
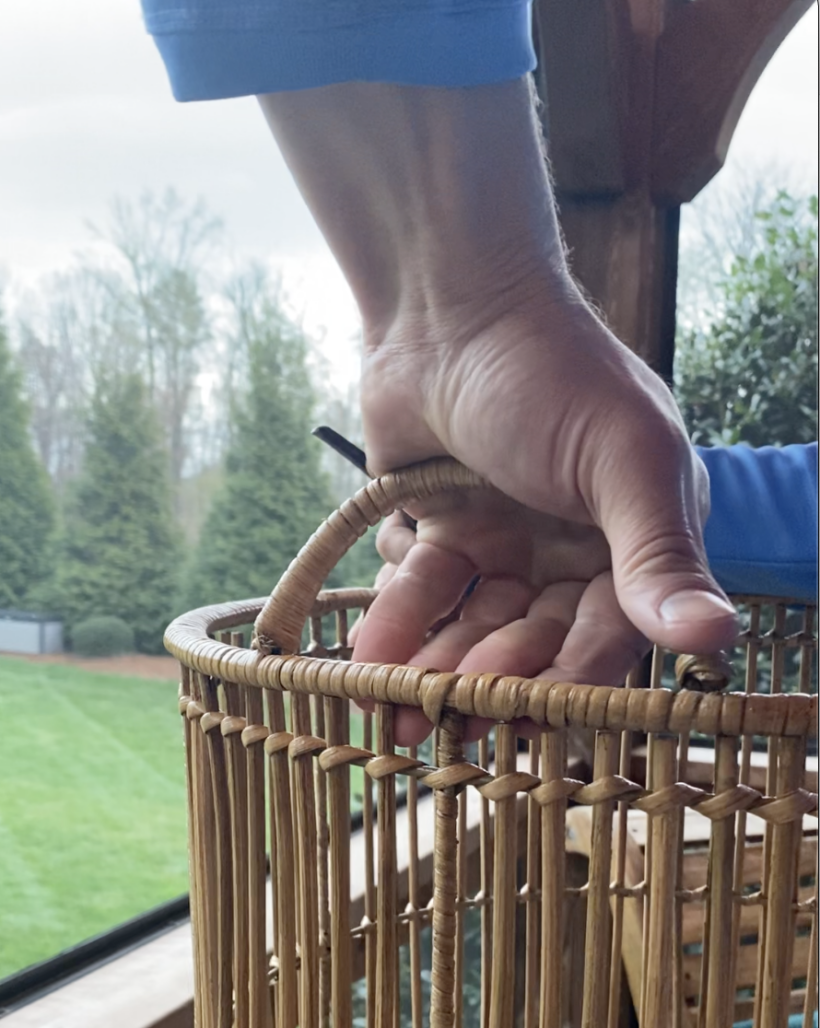
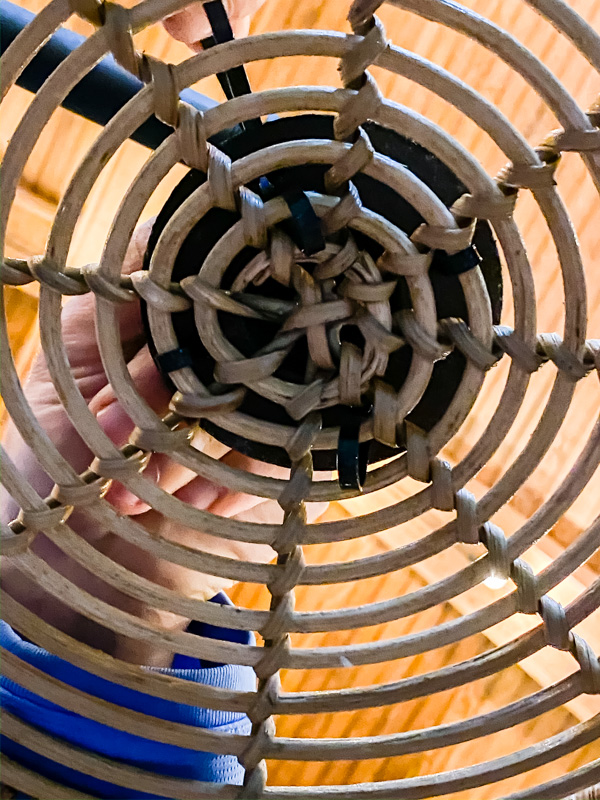
Step 6: Remove any handles from the baskets that you've chosen to act as your lamp shades. We were able to remove ours easily by just bending them back and forth several times until they snapped off.
Step 7: Use zip ties to attach the baskets to the flanges on your chandelier base.
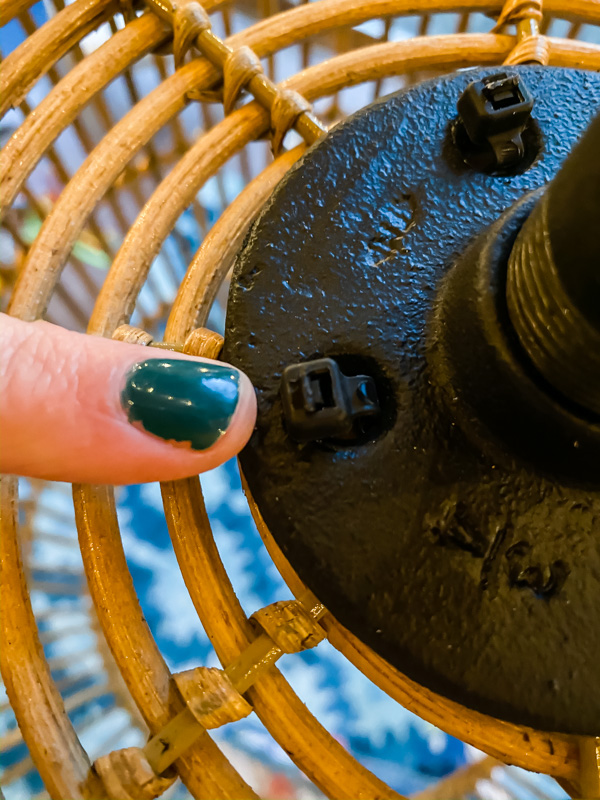
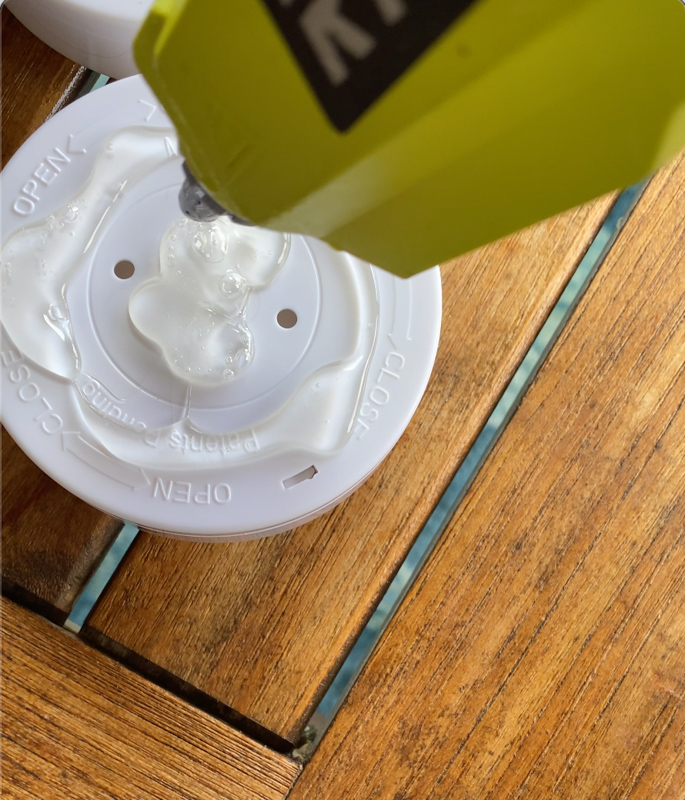
Step 8: Use a hot glue gun to attach 3 puck lights to the top of each basket.
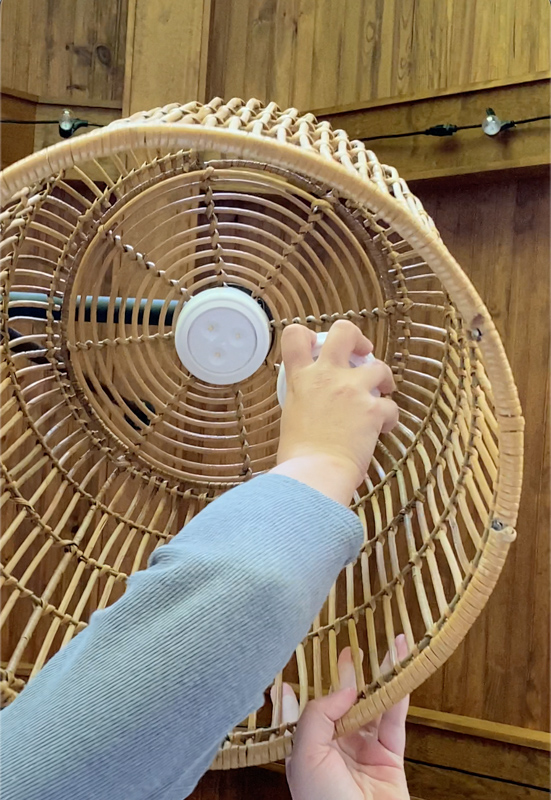
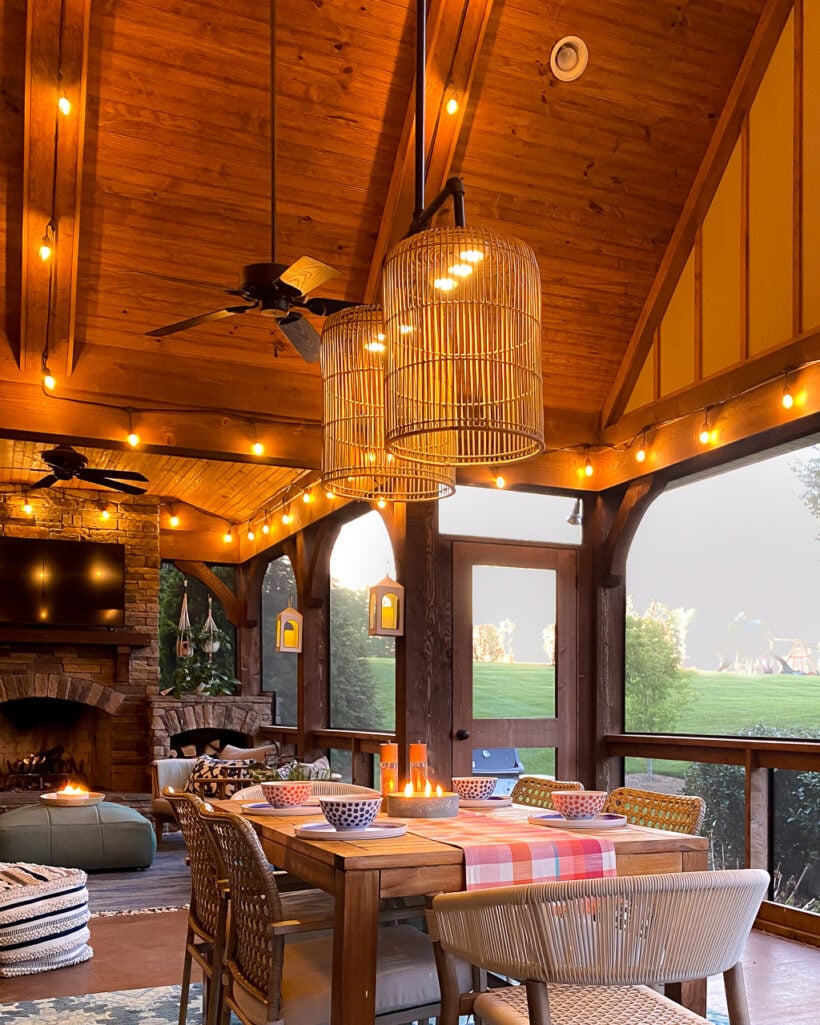
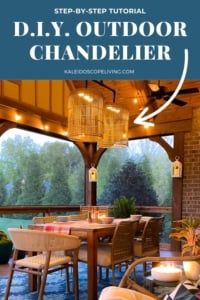
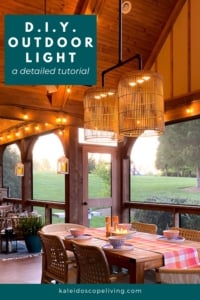
That's it! The puck lights we ordered are operated by a small remote that we keep on our outdoor dining table. They put off the perfect amount of light for some ambiance and visibility. Here's a look at them in our screened-in-porch!
What do you think?! This isn't our first DIY lighting project. You can check out our other lighting projects and more outdoor ideas below:

Wondering how I approach transforming rooms and spaces in our home? Check out Designer in a Binder®.

And if you want exclusive content and behind-the-scenes sneak peeks, be sure to subscribe before you head out!


Love, love, love this ‘magic light trick’s using puck lights, and the baskets. So ingenious!!
Thank you Michelle!