How to Make a Wood Bead Chandelier
Are you looking for the perfect wood bead chandelier for your home? A wood bead chandelier pairs well with any style – modern, farmhouse, bohemian, and even traditional. There are plenty of beautiful options you can buy, but they can be pretty expensive! The good news is that you can make your own chandelier using wood beads or a fraction of the cost. The result is stunning!
In this post, I'm sharing the step-by-step tutorial for how to make a beautiful wood bead chandelier from scratch, so let’s get started!
One of my favorite things to DIY is a light fixture. It is the perfect way to get a high-end look on a budget! I learned early in my DIY career that lighting can be VERY expensive, but making your own is so much simpler than it seems. This DIY bentwood chandelier was my first DIY light fixture and I'm still in awe of how well it turned out! I've since made this wood stacked lamp and this DIY outdoor chandelier.
When I needed a new light fixture to replace the outdated boob light in the guest room of our old home, I really wanted a wood bead chandelier to complete the look. And I found some absolutely gorgeous options (see below).
Scroll through and click on any image for full product details.
SHOP THE LOOK

So I had fallen in love with wood bead chandeliers, but I was just not willing to spend hundreds of dollars on one. You know where this is going, right? I decided how to make my own wood bead chandelier and today I am going to show you how I did it!
This post contains some affiliate links for your convenience. Click here to read my full disclosure policy.
How to Make a Wood Bead Chandelier
Materials Needed
- (1) 10 inch quilting hoop
- (2) 3 inch quilting hoops
- Thin gauge wire
- Wood glue
- Super glue (my favorite brand is DAP Rapid Fuse All Purpose Adhesive)
- Electrical tape
- Scissors
- Quilting thread
- Quilting needle
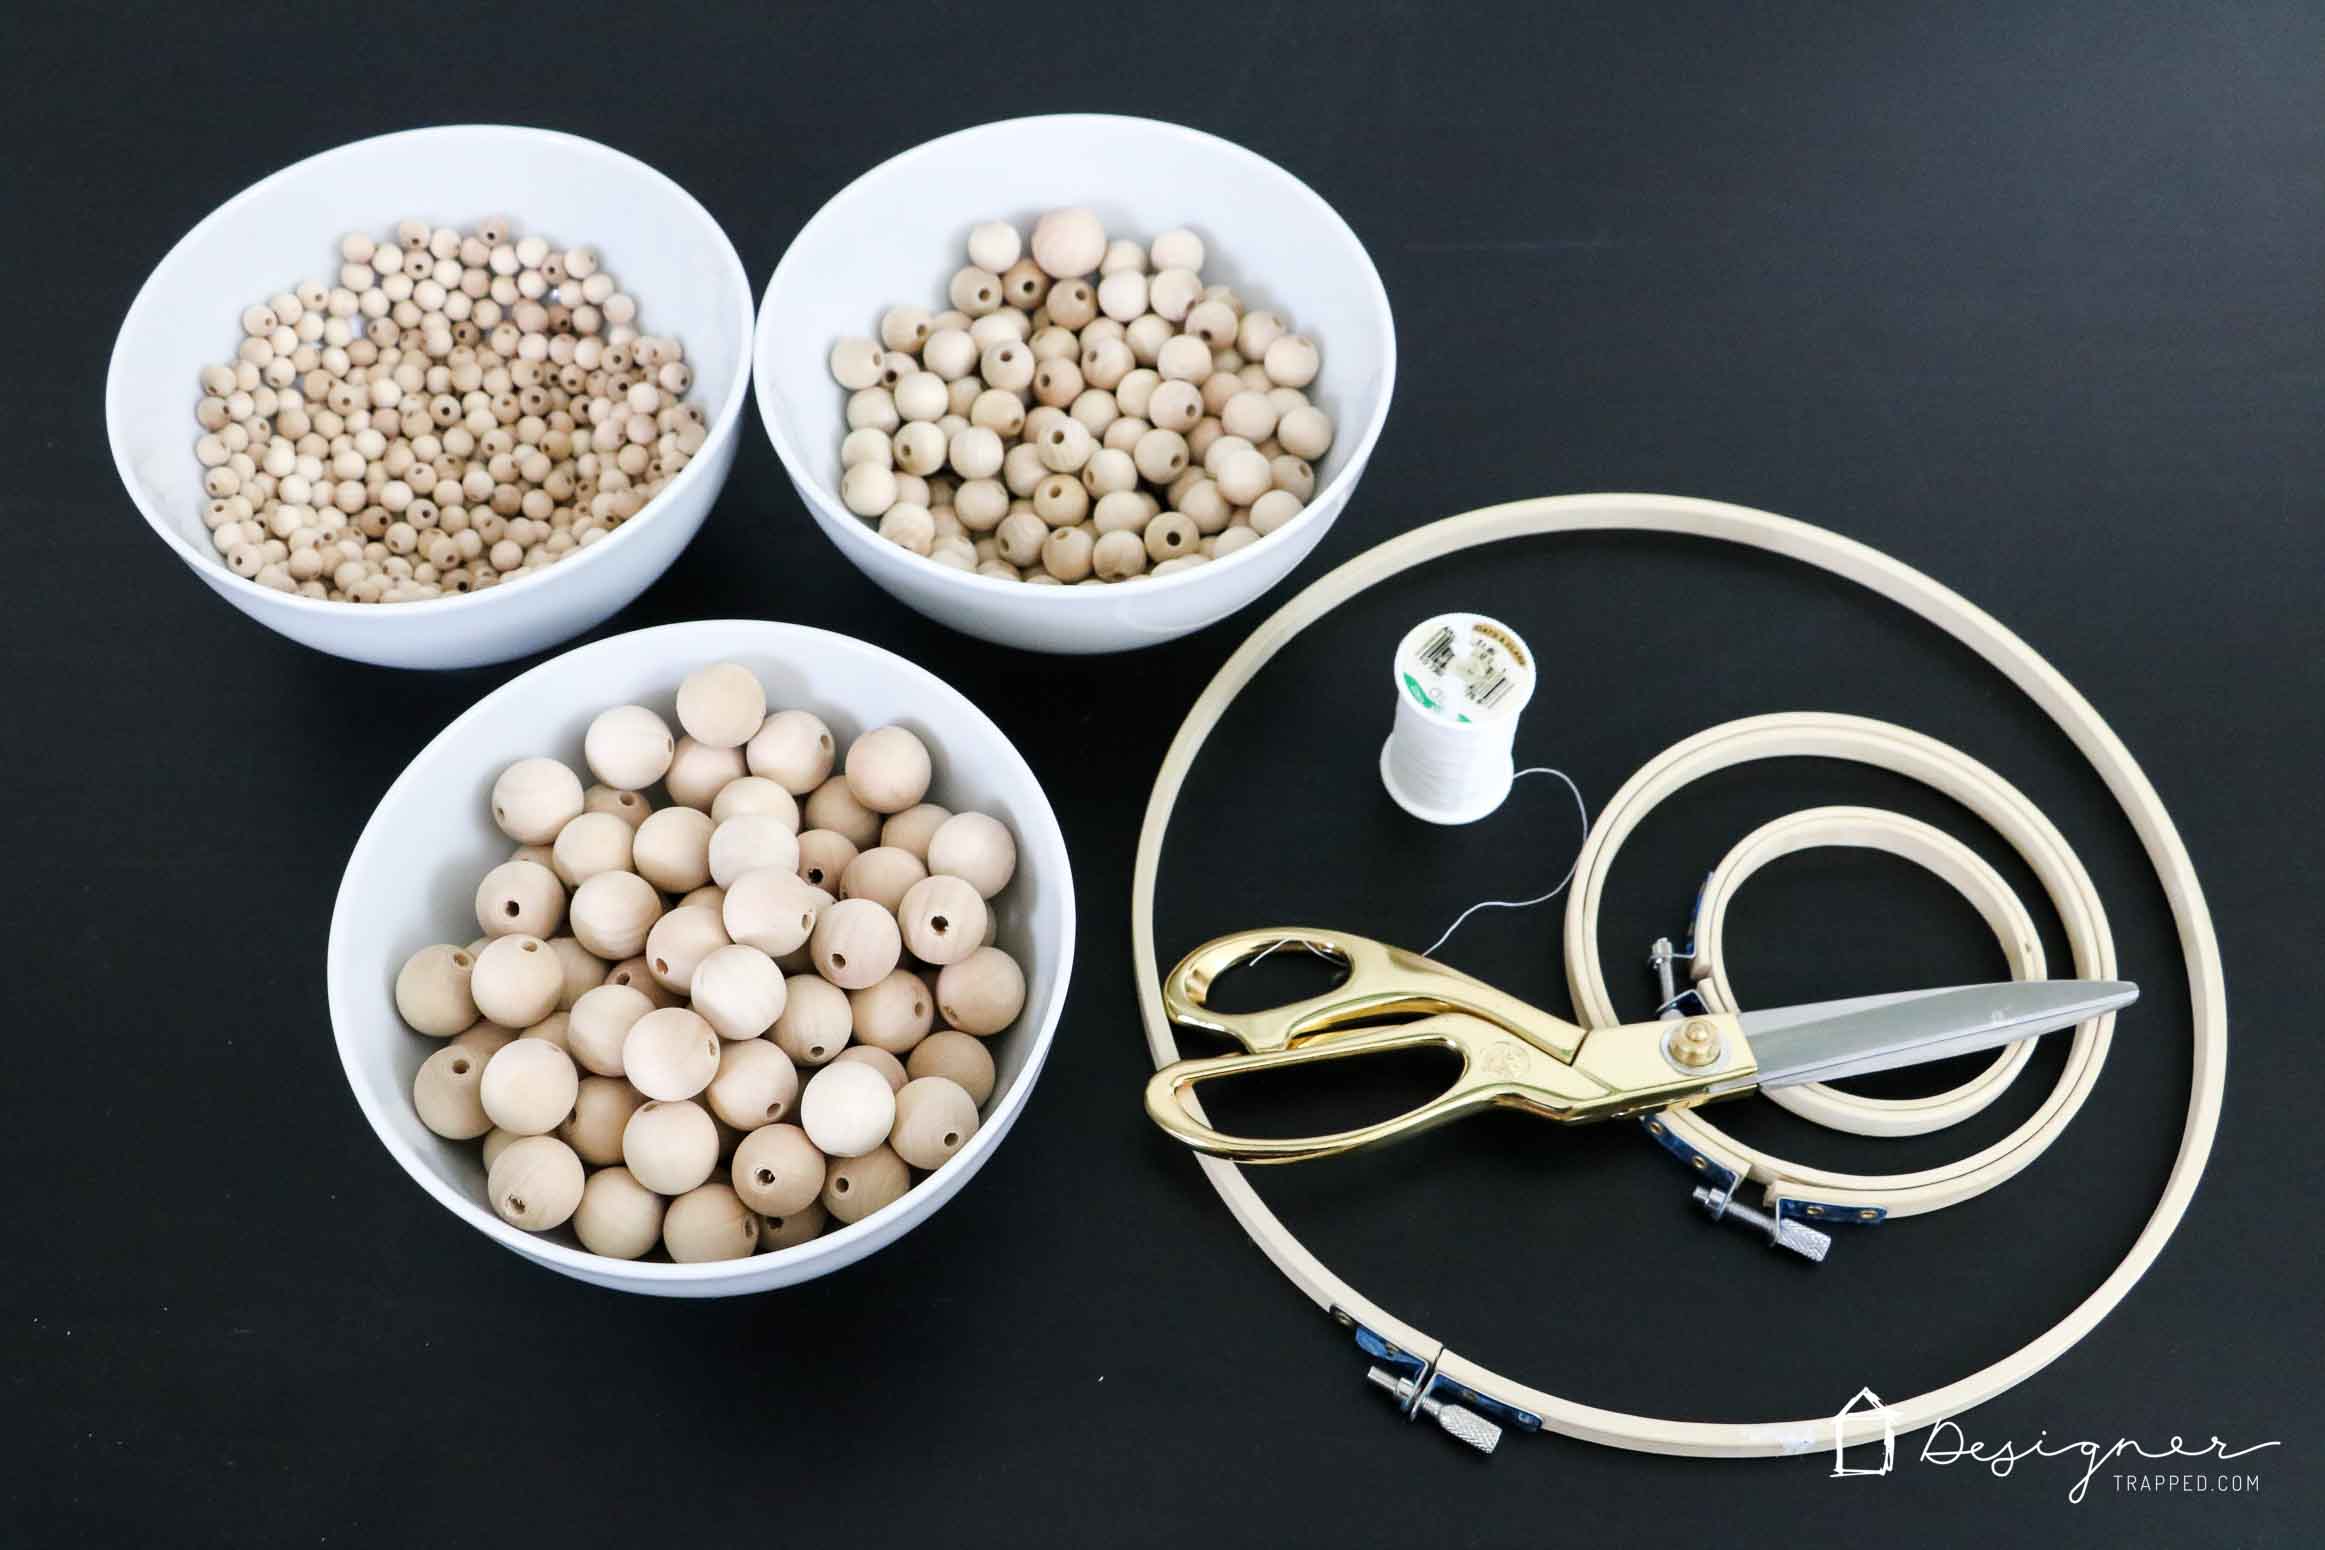
- Wood beads (the number of beads you need depends a lot upon what size your DIY chandelier will be). I ordered mine online from this site and spent around $40 for the beads. I used natural wood beads, but you can go darker or even choose colors (like these–love them)! I used the following:
- Small beads- 8mm. I used approximately 600.
- Medium beads- 14mm. I used approximately 400.
- Large beads- 19 mm. I used approximately 75.
- Mini pendant light kit (I used the oil-rubbed bronze finish)
I recommend that you watch the short video below for a brief overview of this project. It will play after a brief ad.
Step-by-Step Tutorial
Time needed: 4 hours
It took me about 4 hours to make my wood bead chandelier. It may take you more or less time depending on how many strands of beads you choose to use.
- Remove the outer hoops.
You will be working with the 3-inch and 10-inch quilting hoops first. Remove the outer hoops–for now, you will work only with the inner hoops.
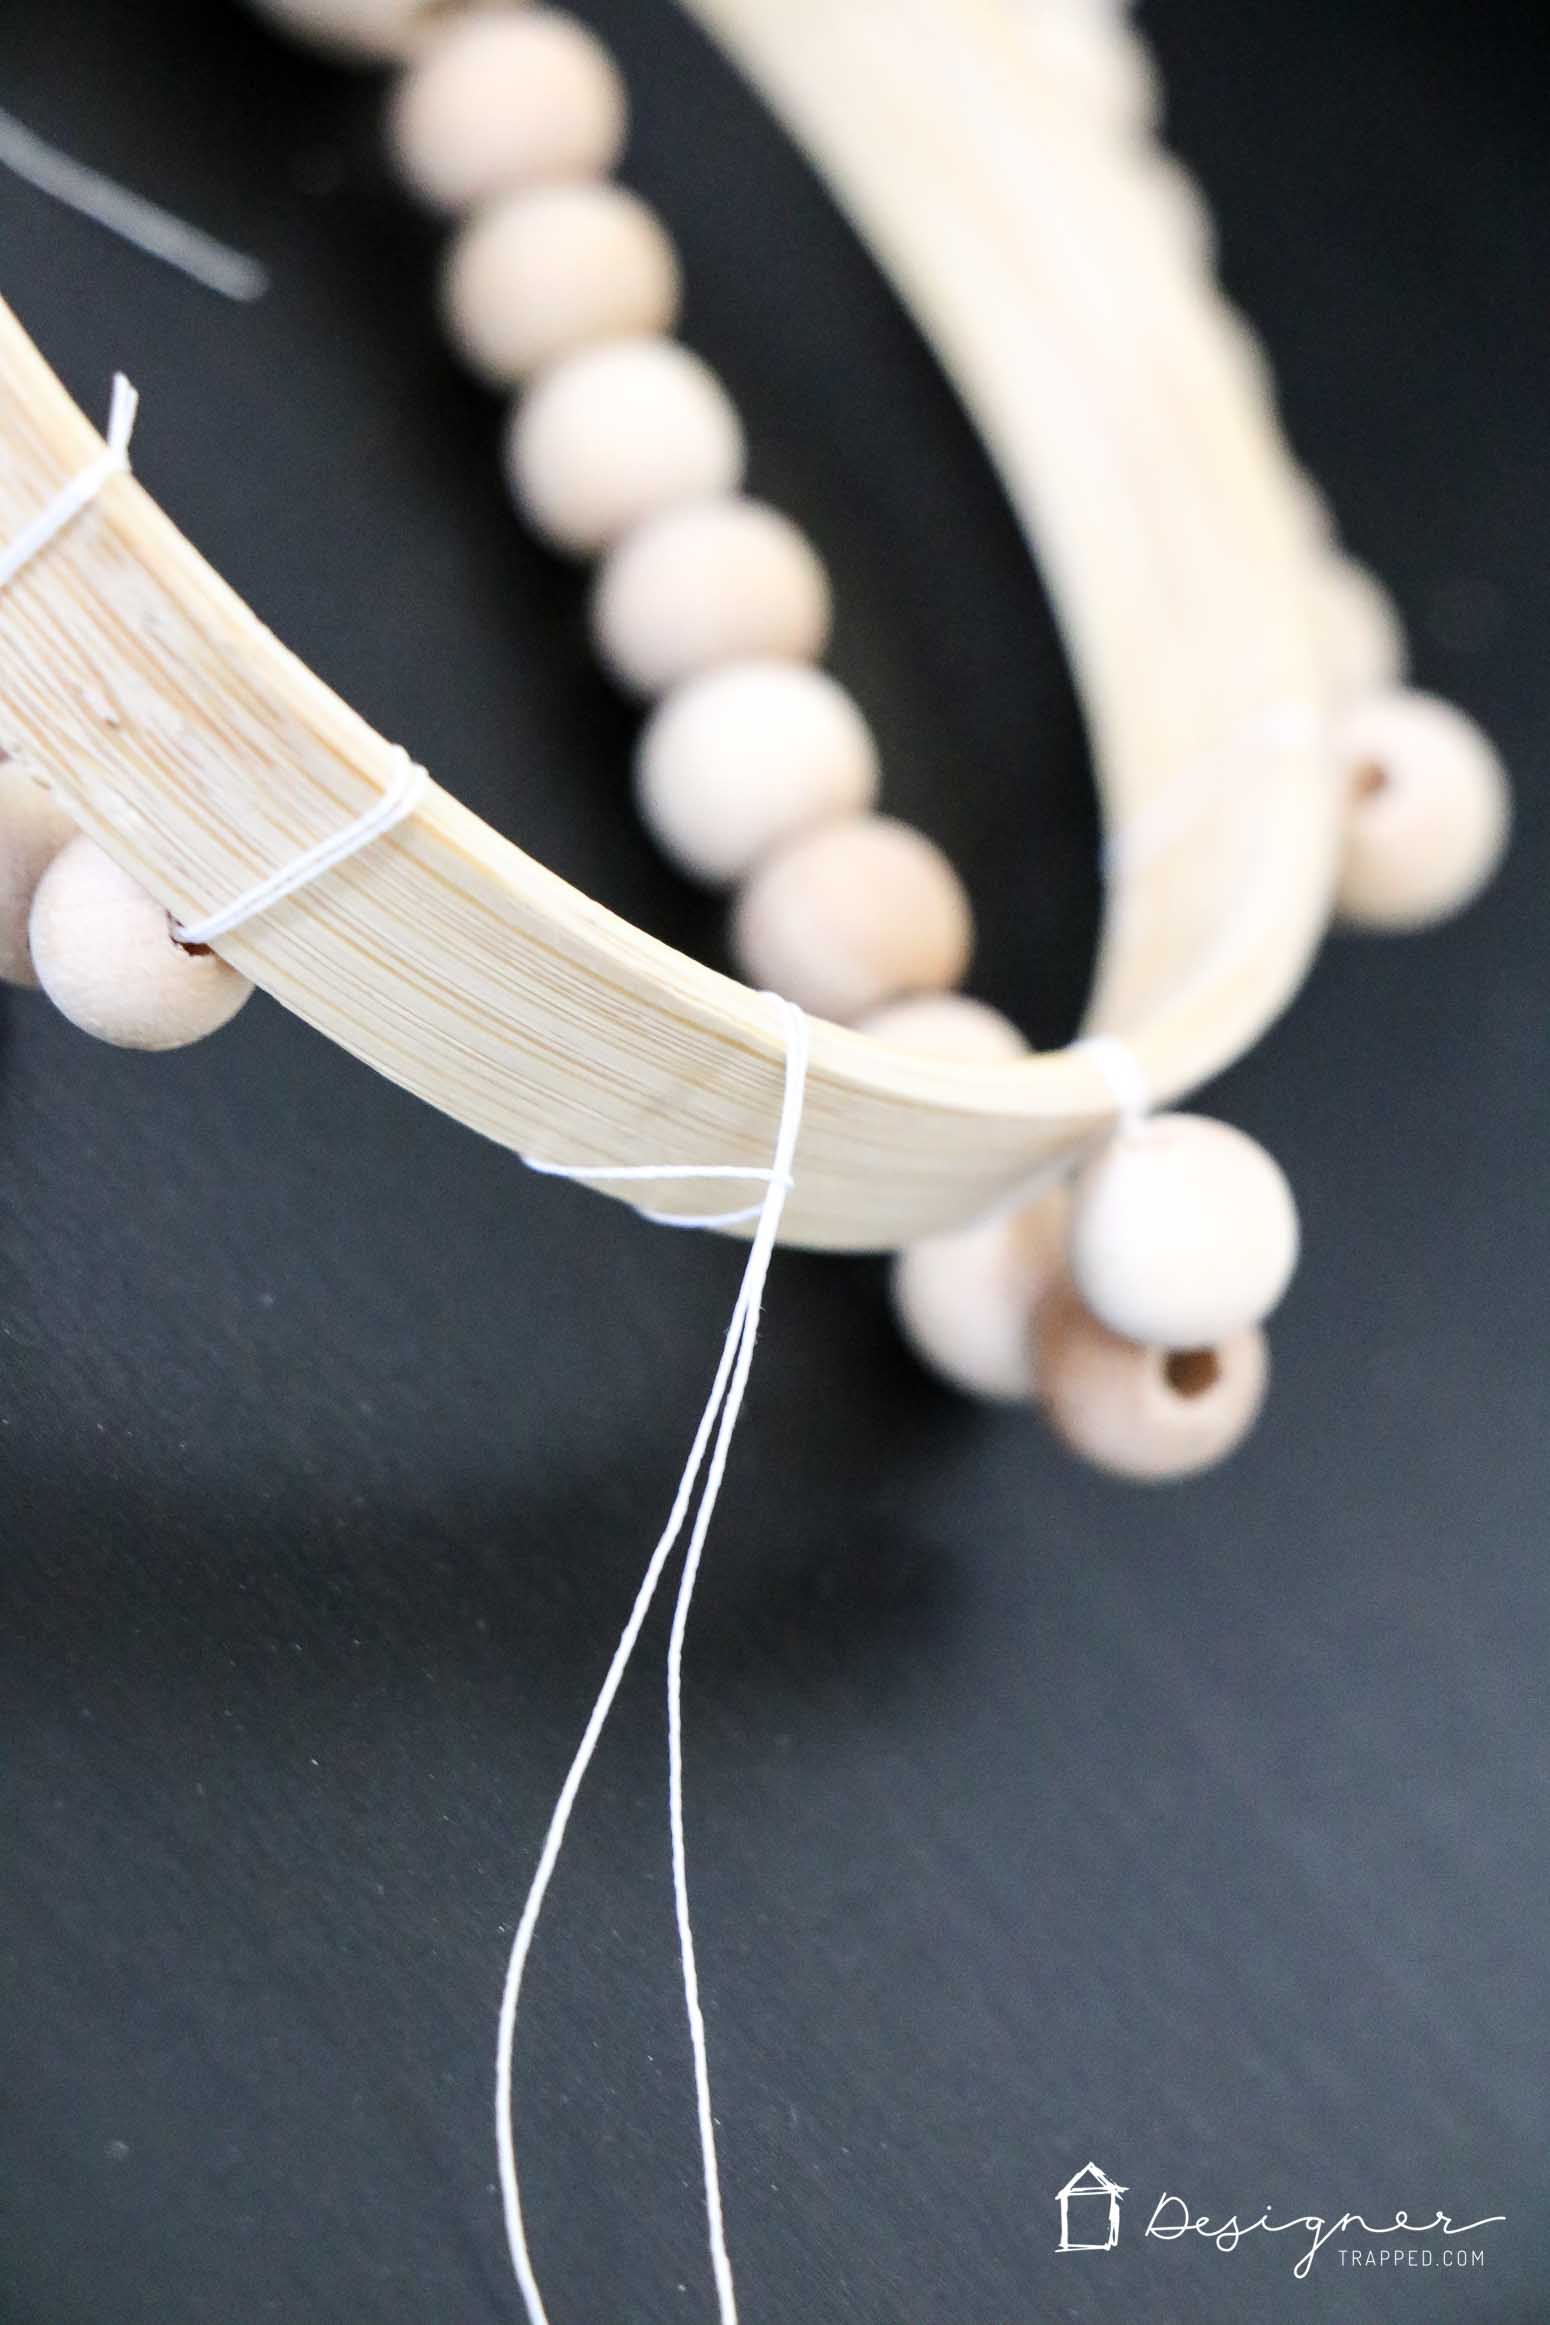
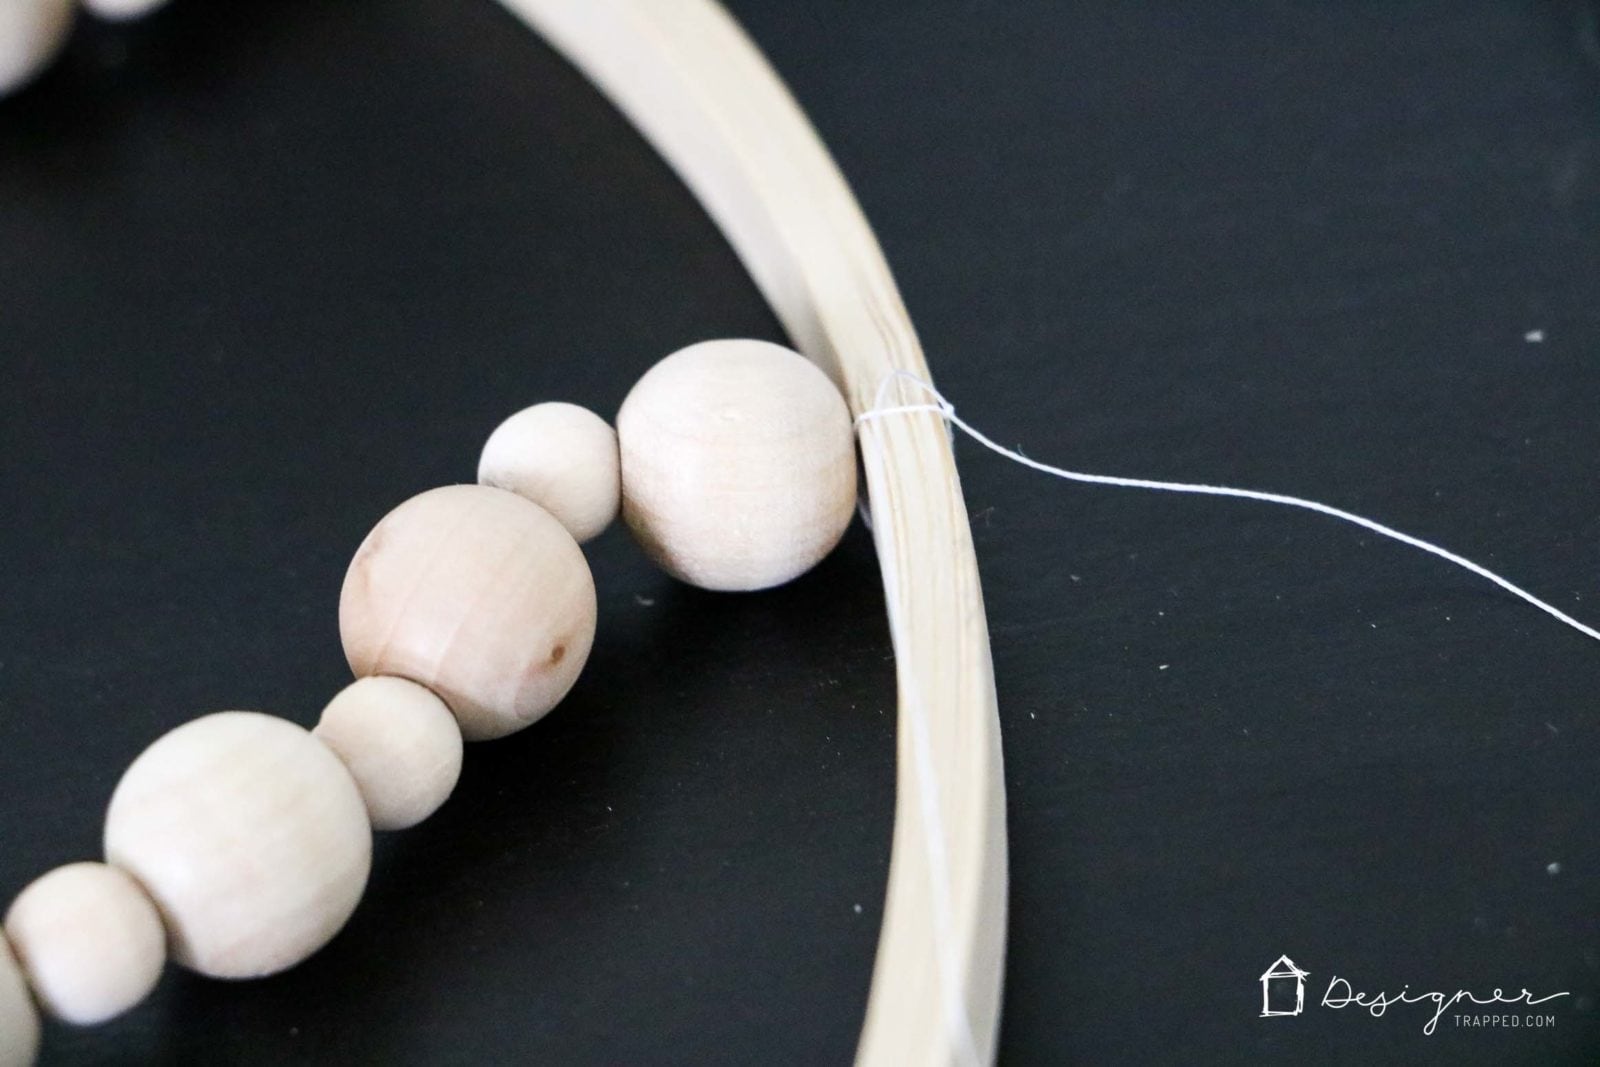
- Prepare your thread.
Thread your quilting needle with quilting thread, being sure to double up and knot it at the end. Then loop the thread over the 3-inch quilting hoop.

- String your beads.
String your beads onto the thread. The pattern is 10 small beads followed by 1 medium bead/1 small bead x 12. Finish each row with a medium bead, so that you have a total of 13 medium beads.

- Tie the end of the thread onto the 10-inch quilting hoop.
After you finish beading your strand, tie the end of the strand to the 10-inch quilting hoop with a double or triple knot. BE SURE NOT TO ALLOW YOUR STRANDS OF BEADS TO CROSS OVER EACH OTHER (I learned that lesson the hard way).
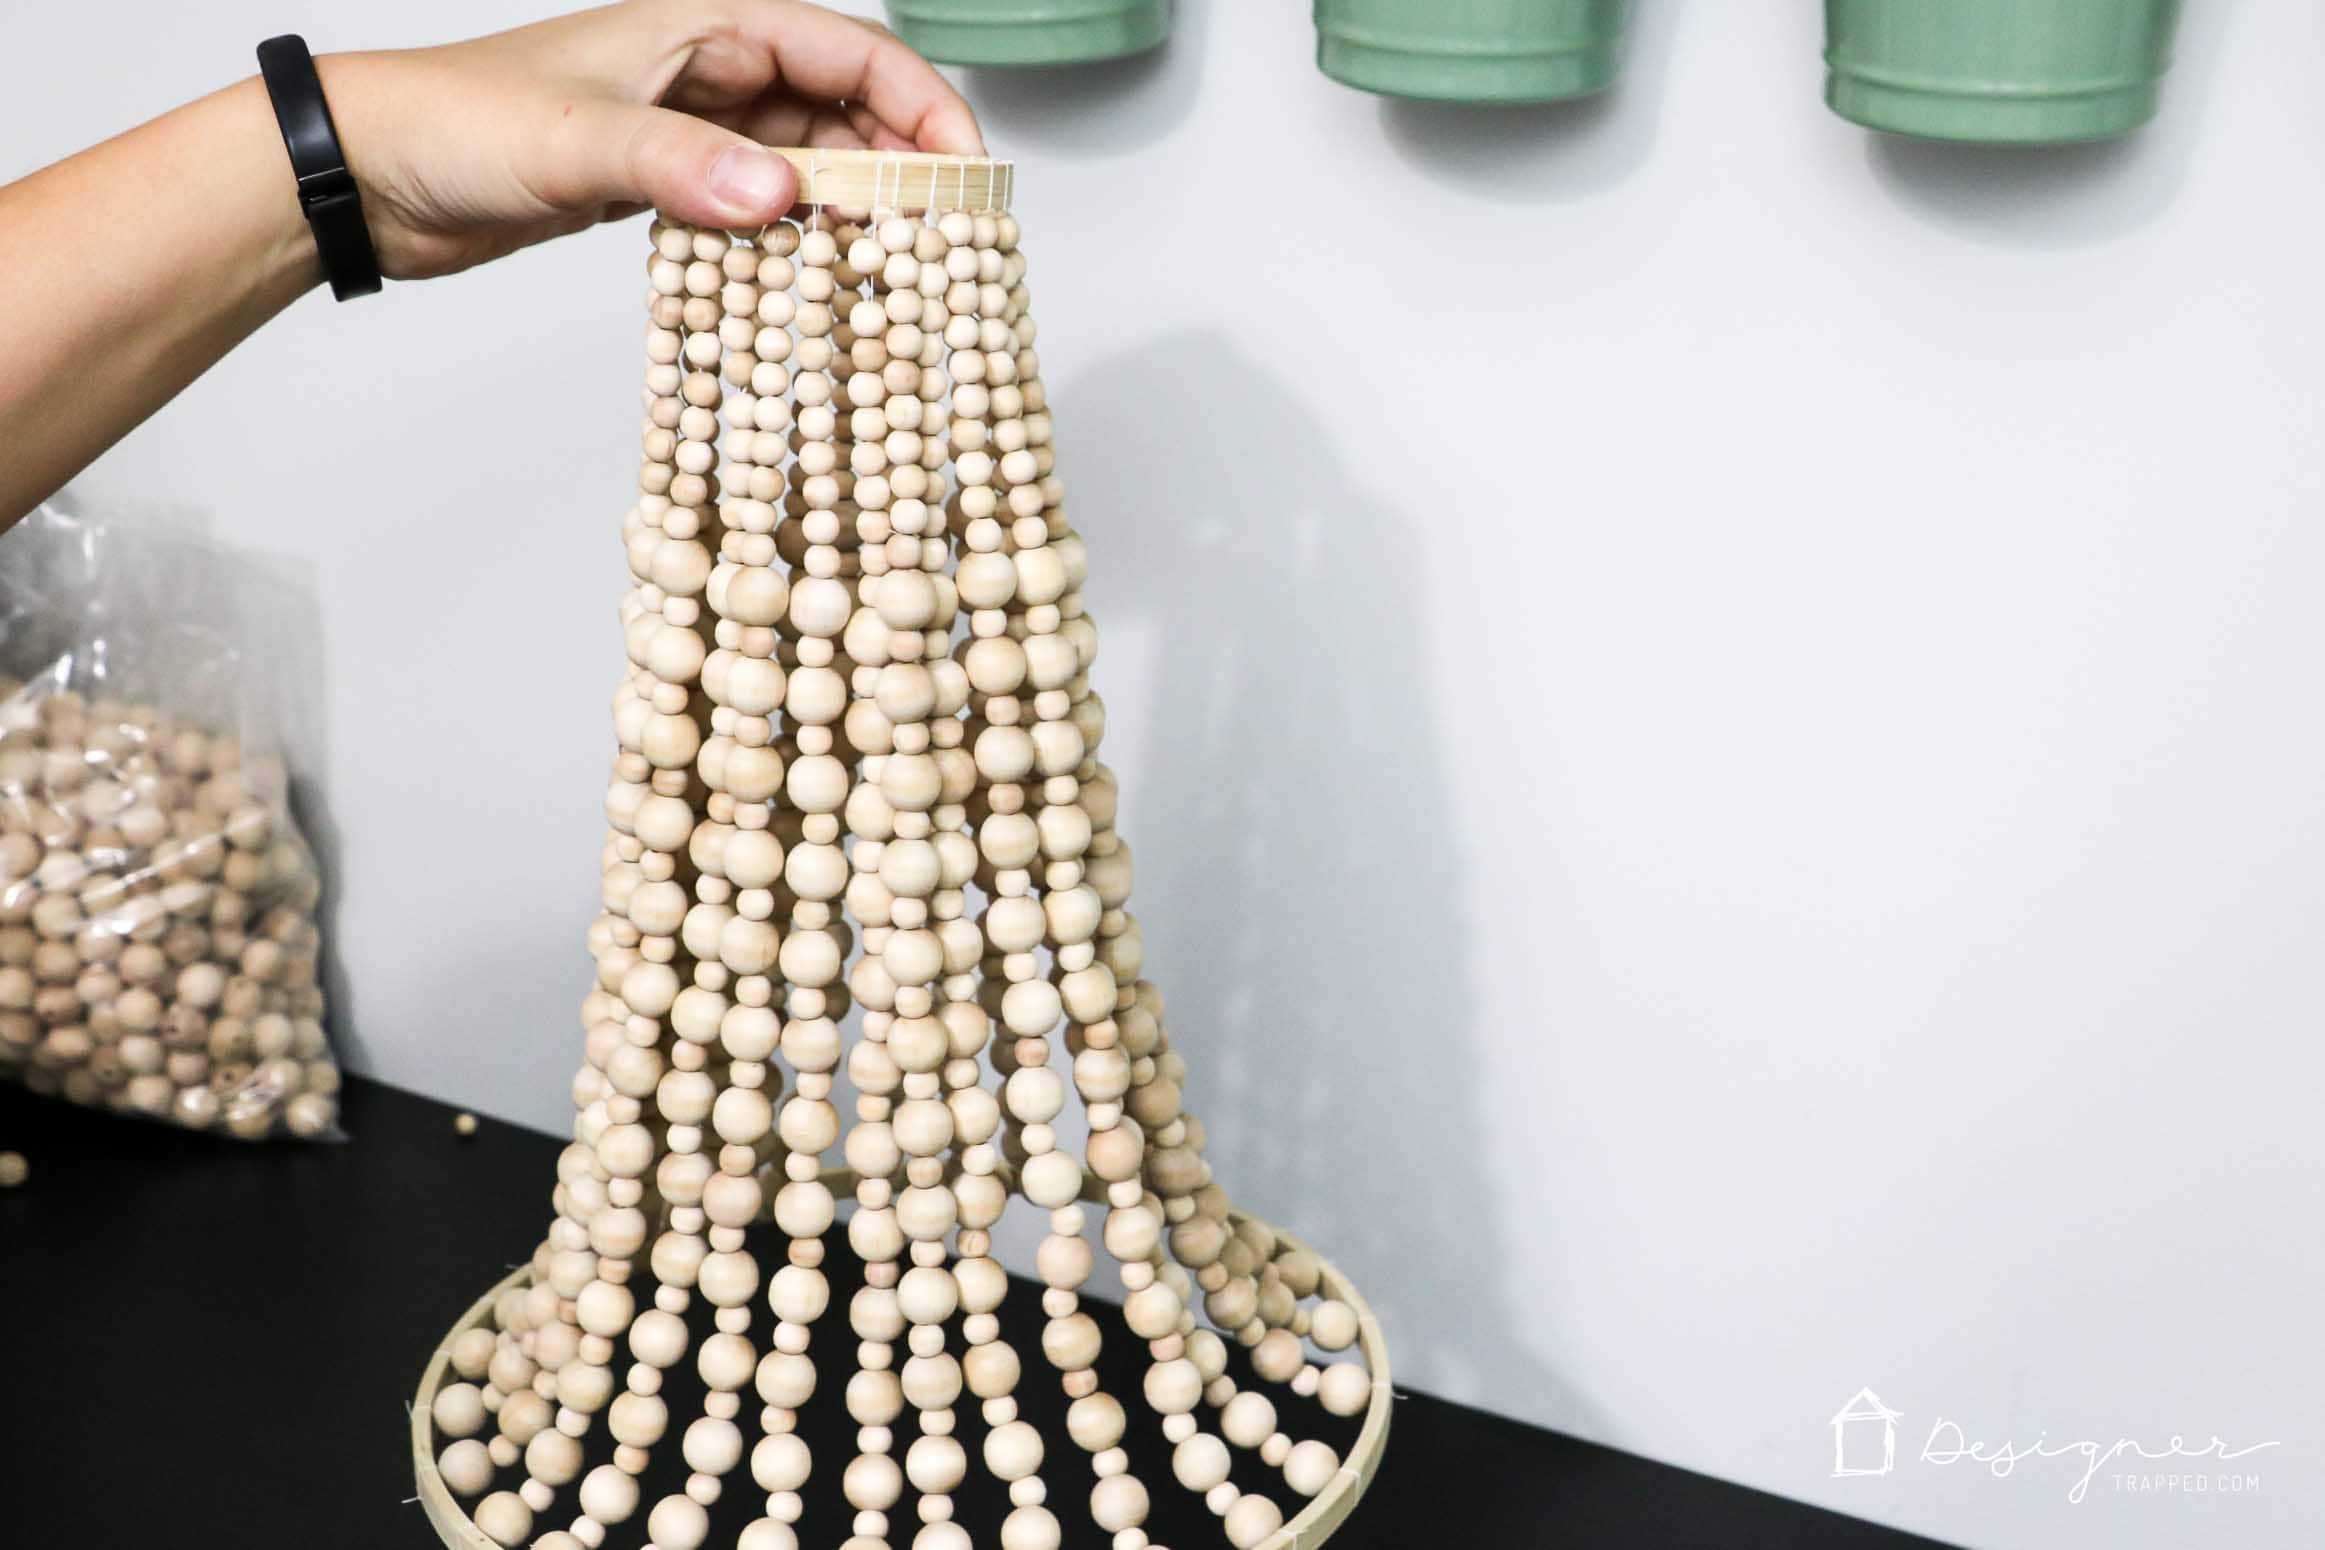
- Repeat until you have added all the strands you would like.
Repeat until the top of your DIY chandelier is as full as you like. Then cut away excess thread. This is what your DIY chandelier will look like at this stage.

- Prepare another 3-inch hoop for the bottom of your chandelier.
Grab your second 3-inch hoop and remove the outer hoop. Thread your quilting needle with quilting thread, being sure to double up and knot it at the end. Loop the thread over the 3-inch quilting hoop, just as you did before.
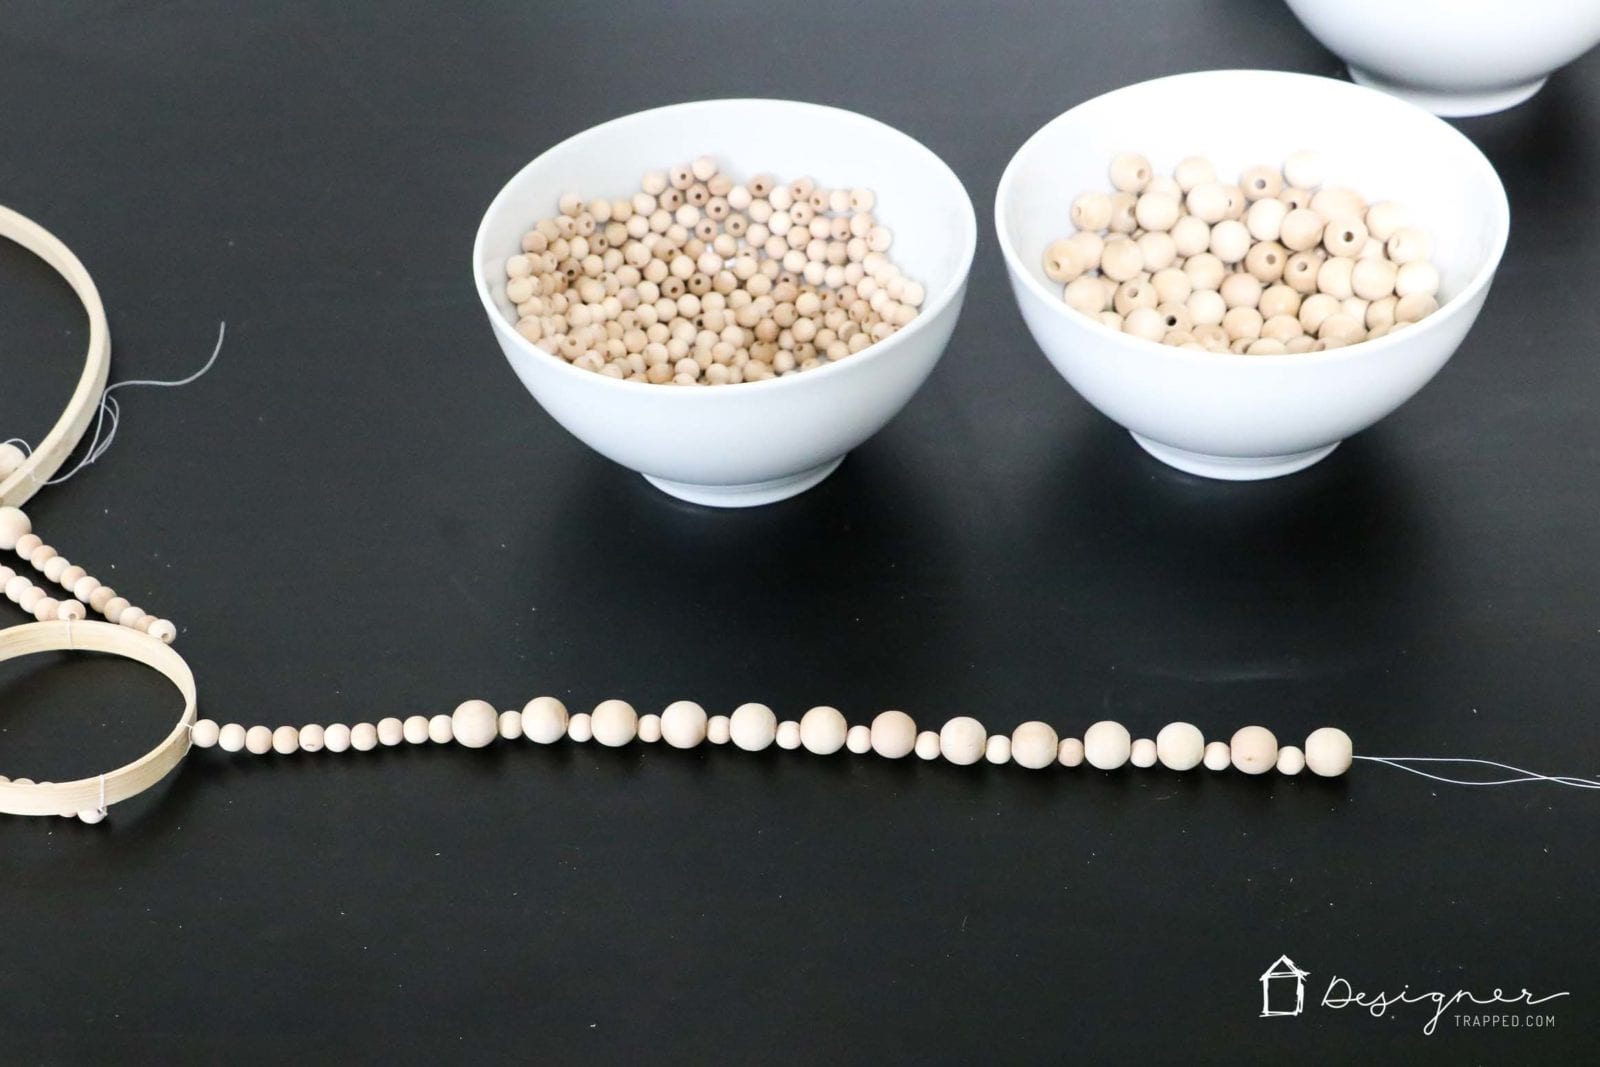
- String your beads.
String the beads onto your thread using the following pattern: 1 small, 1 large. Repeat the pattern for a total of 5 times.
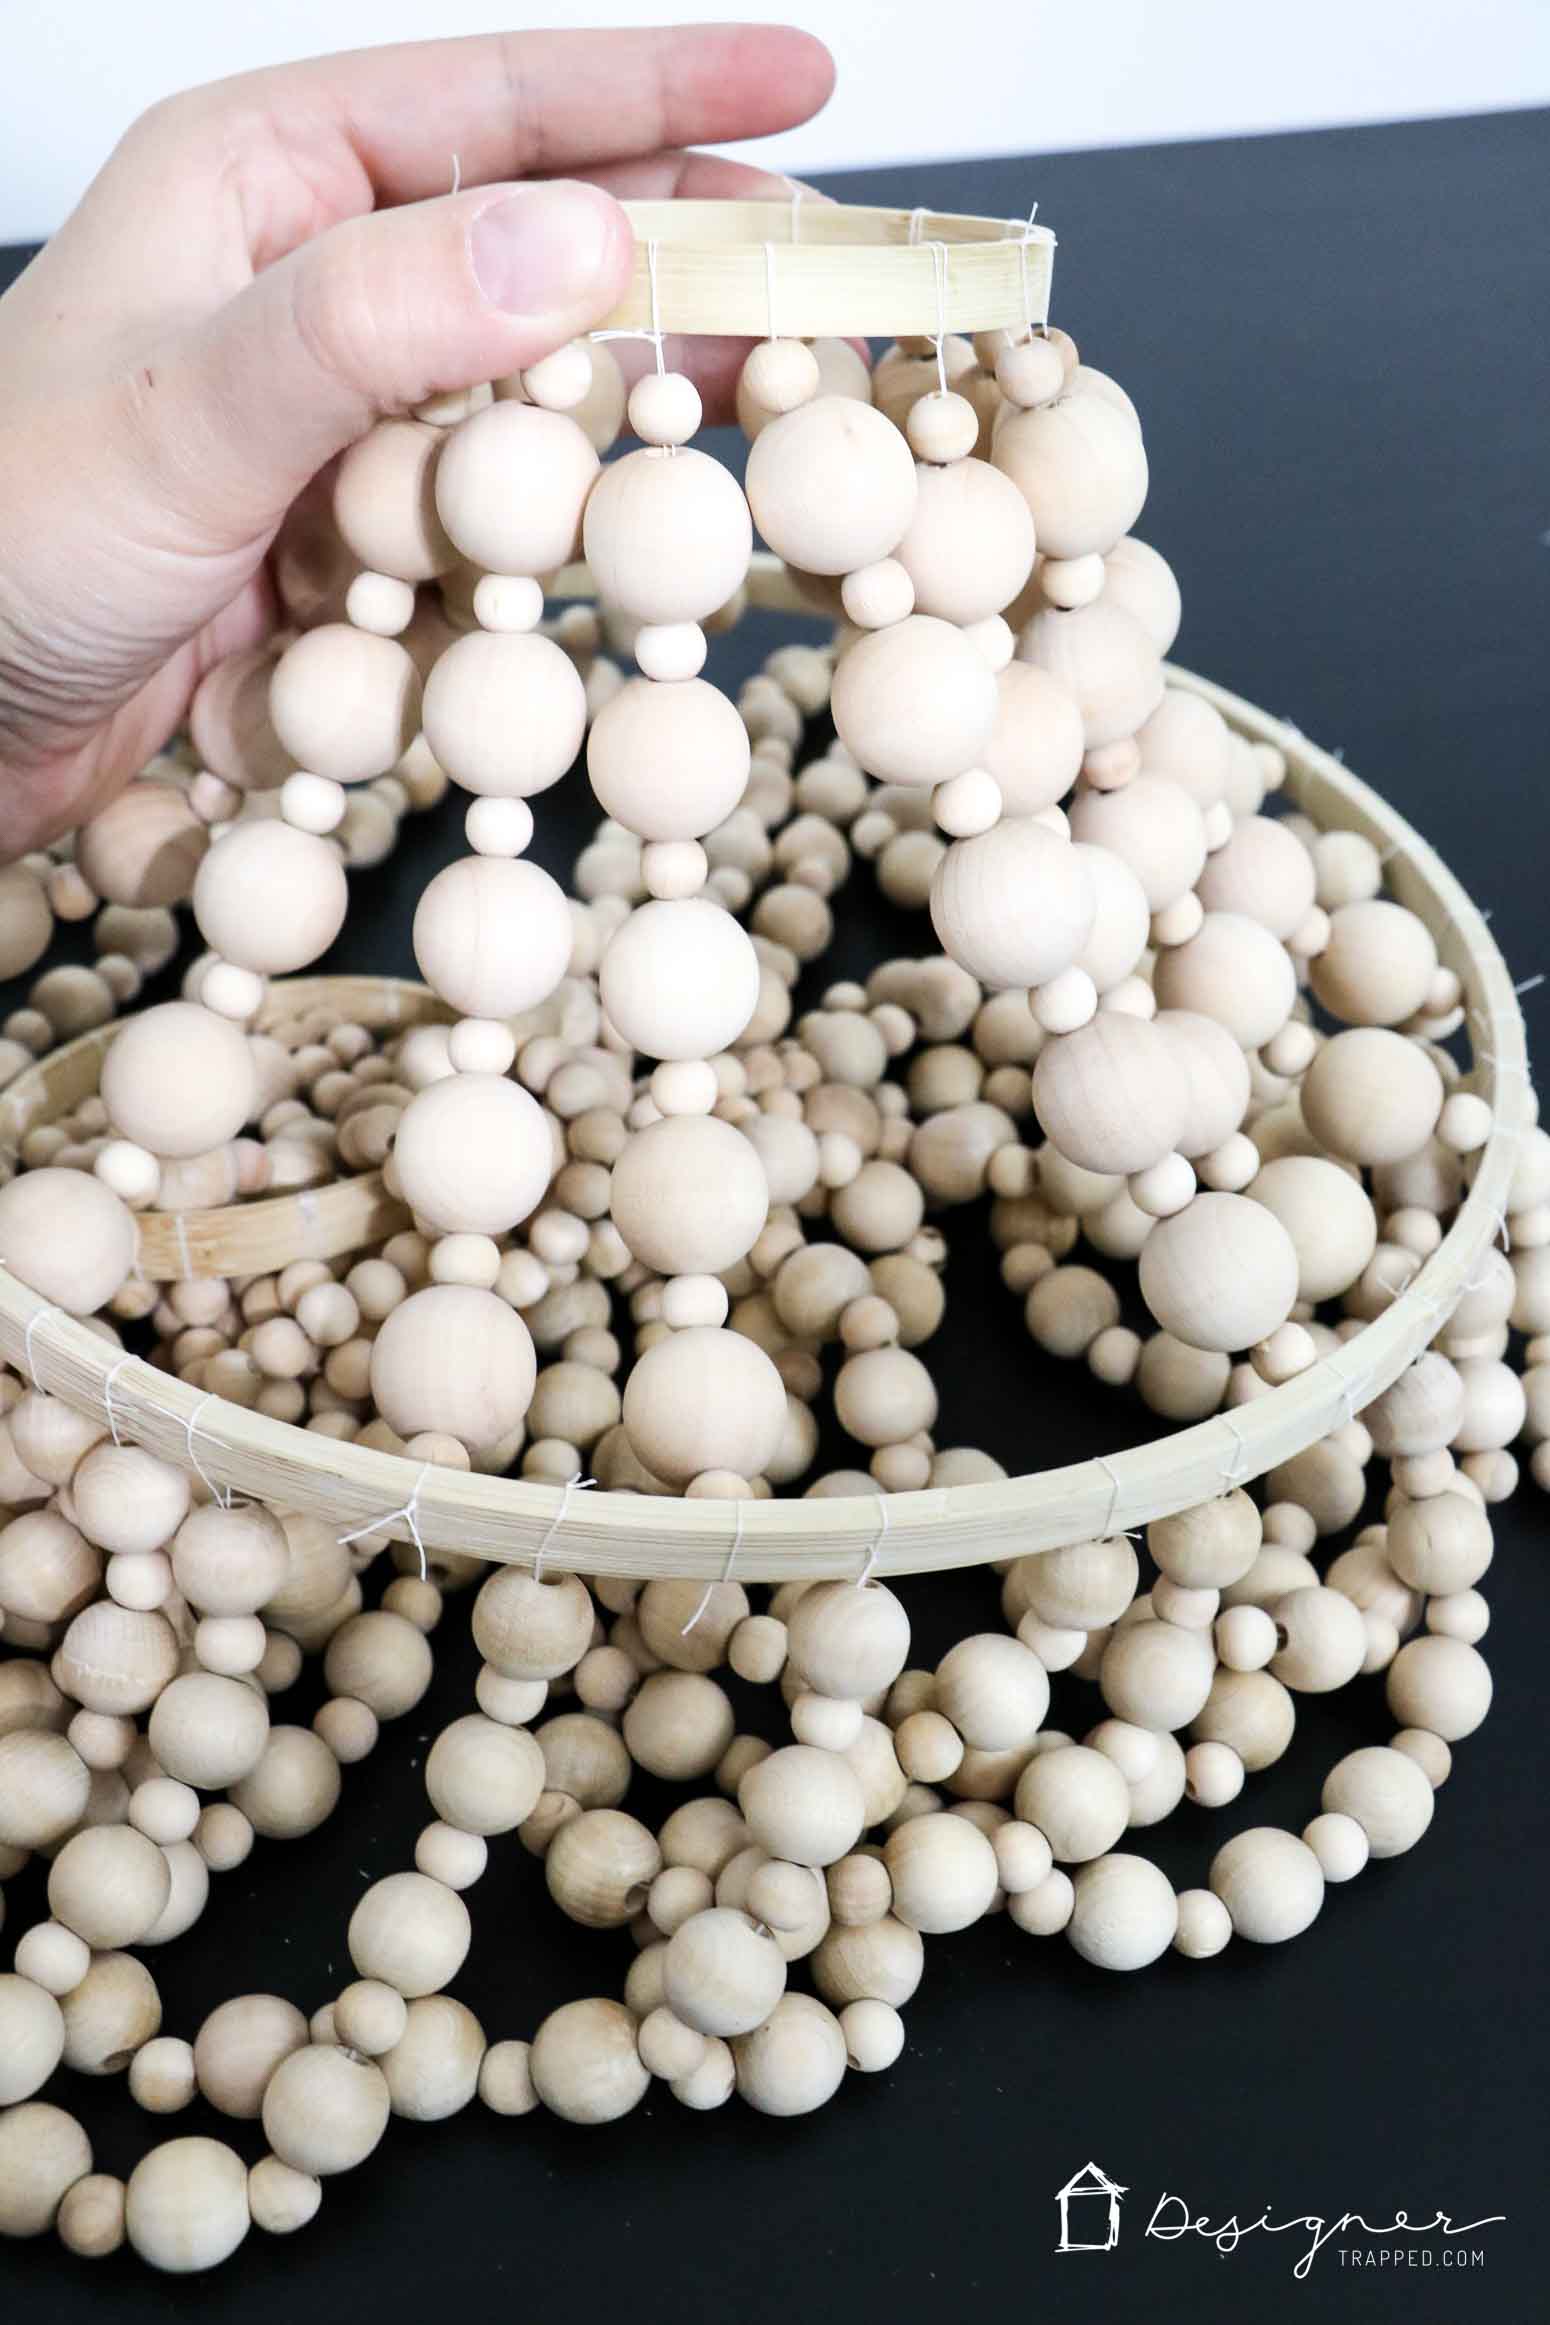
- Tie the end of the strand to the 10-inch hoop.
Tie the end of your strand to the same 10-inch quilting hoop with a double or triple knot. The 10-inch hoop will sit above the 3-inch hoop you are working with, which will serve as the bottom of the chandelier. AGAIN, BE SURE NOT TO ALLOW YOUR STRANDS TO CROSS OVER EACH OTHER. Below is a photo of how your DIY chandelier at this stage–bear in mind that you are working with it upside down at this point. Repeat until you have added as many strands as you like.
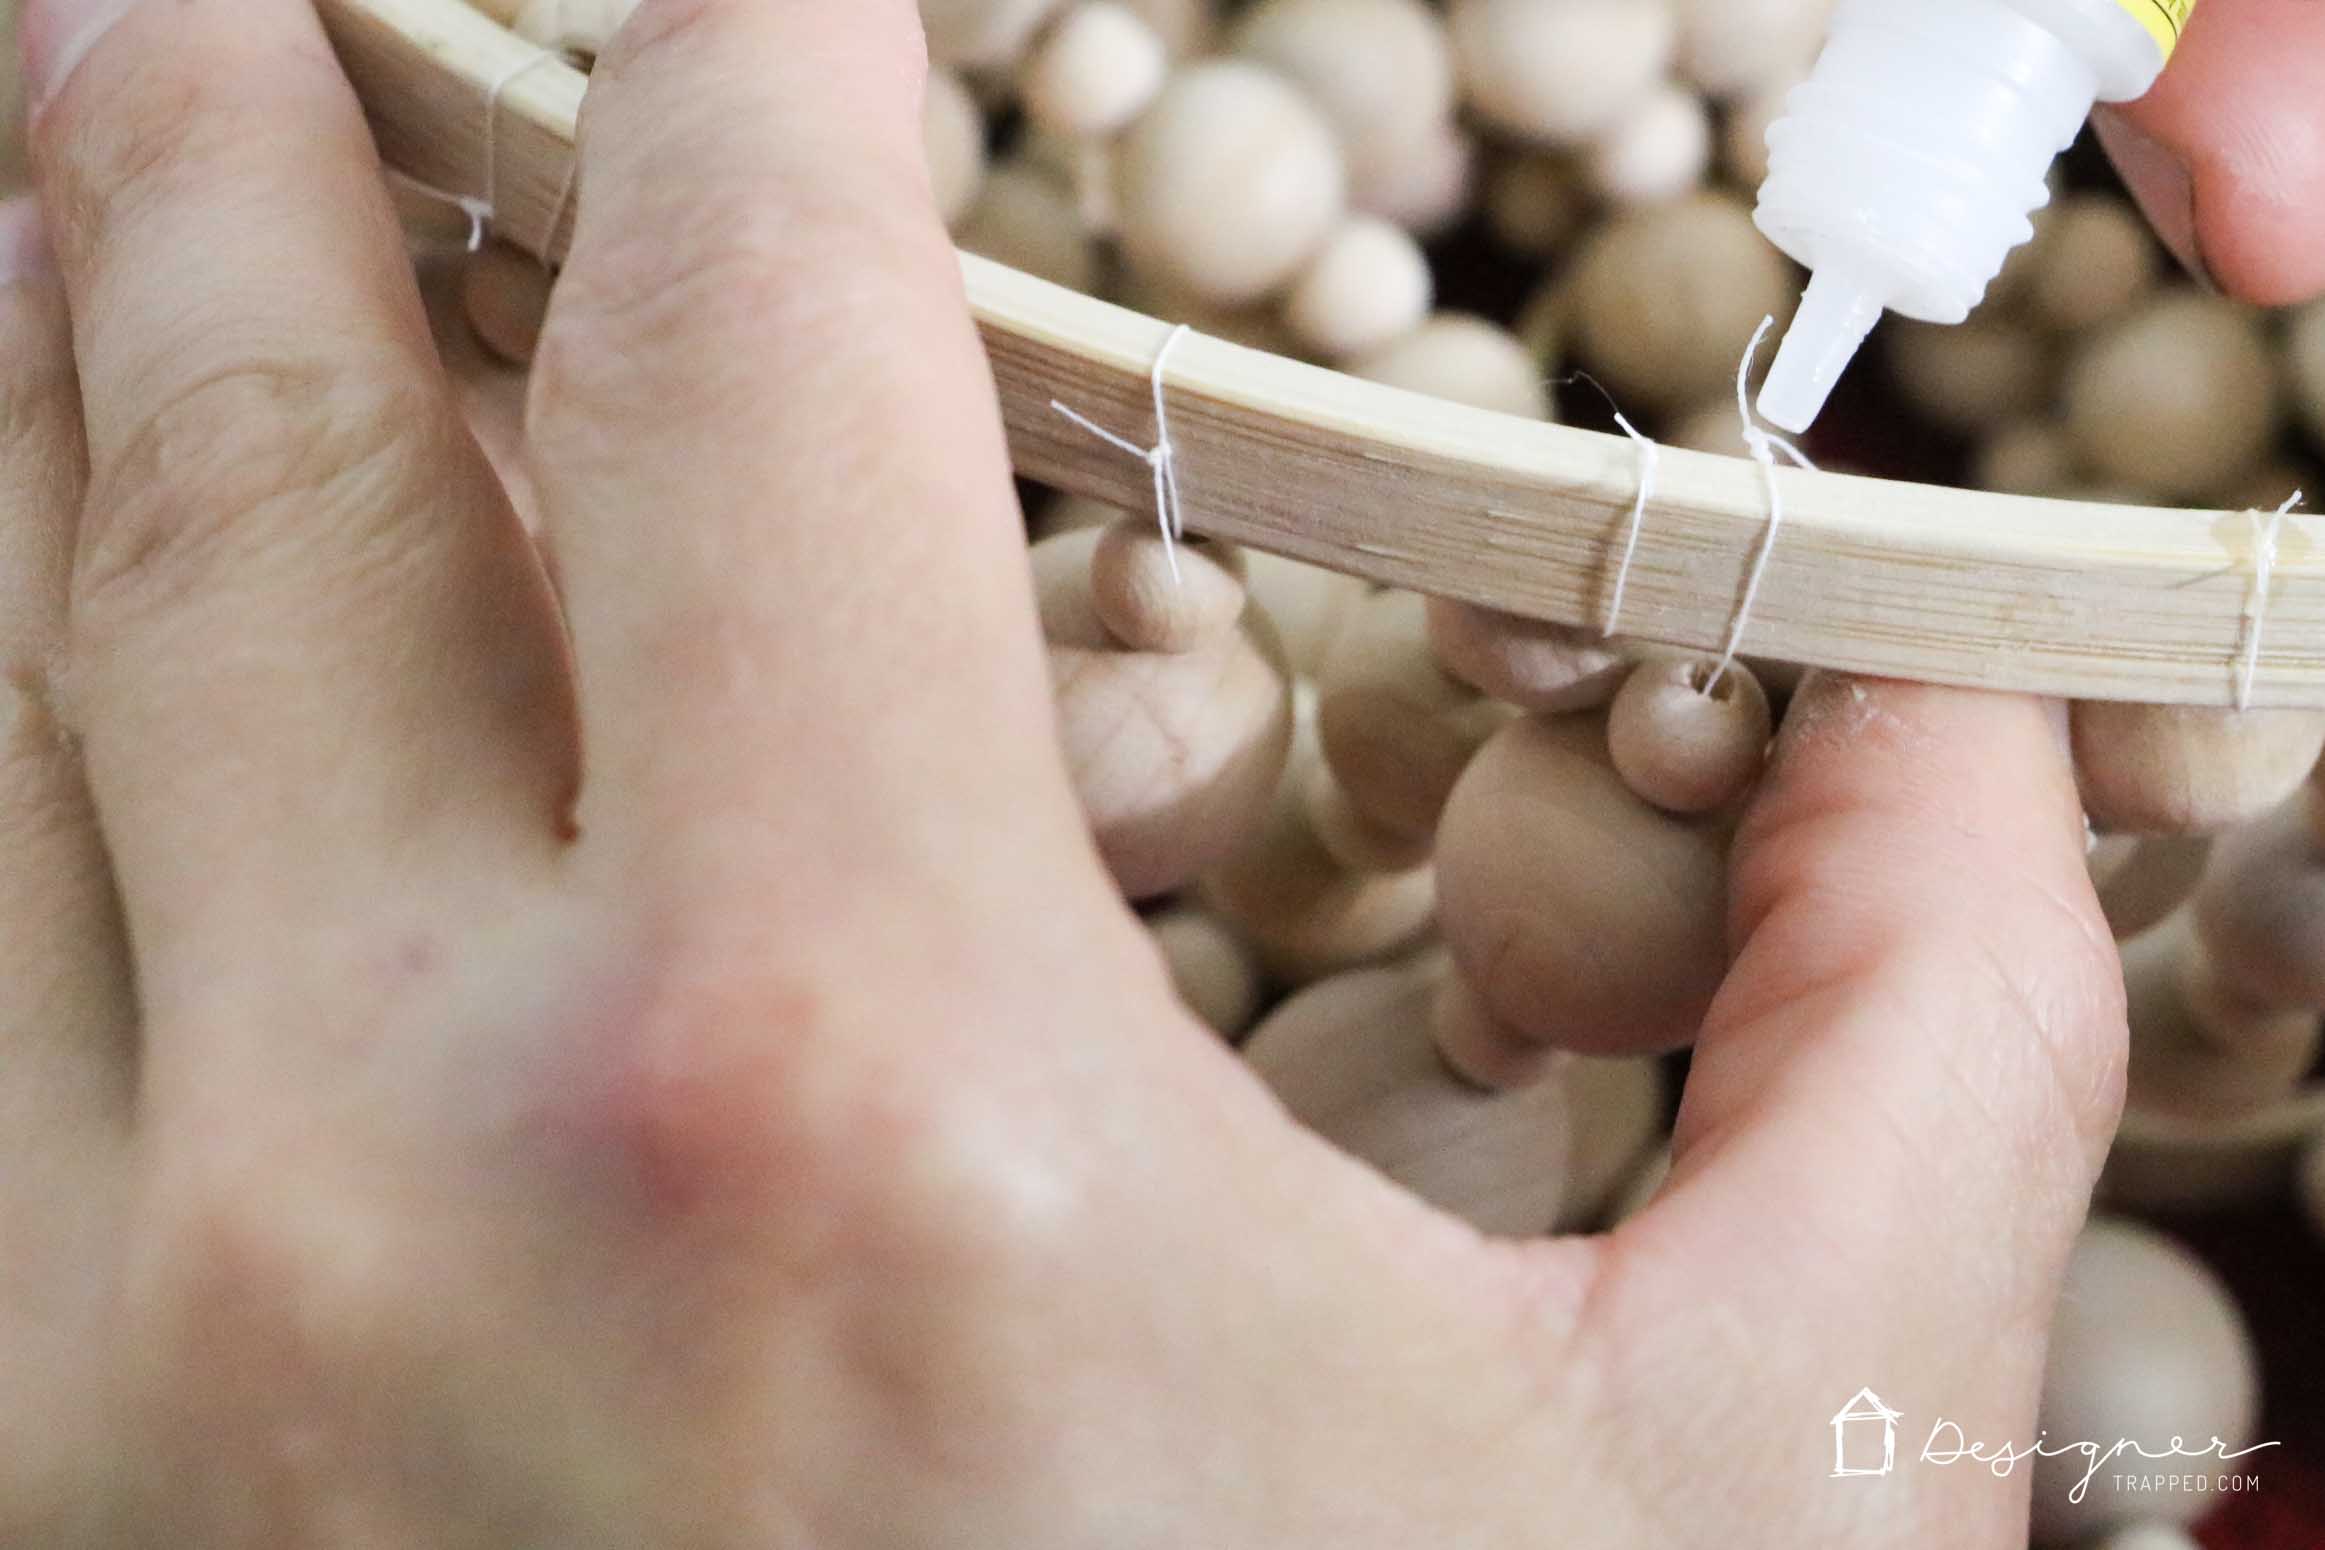
- Secure your knots.
Add a drop of super glue to each knot. This will help ensure that your knots do not come loose.
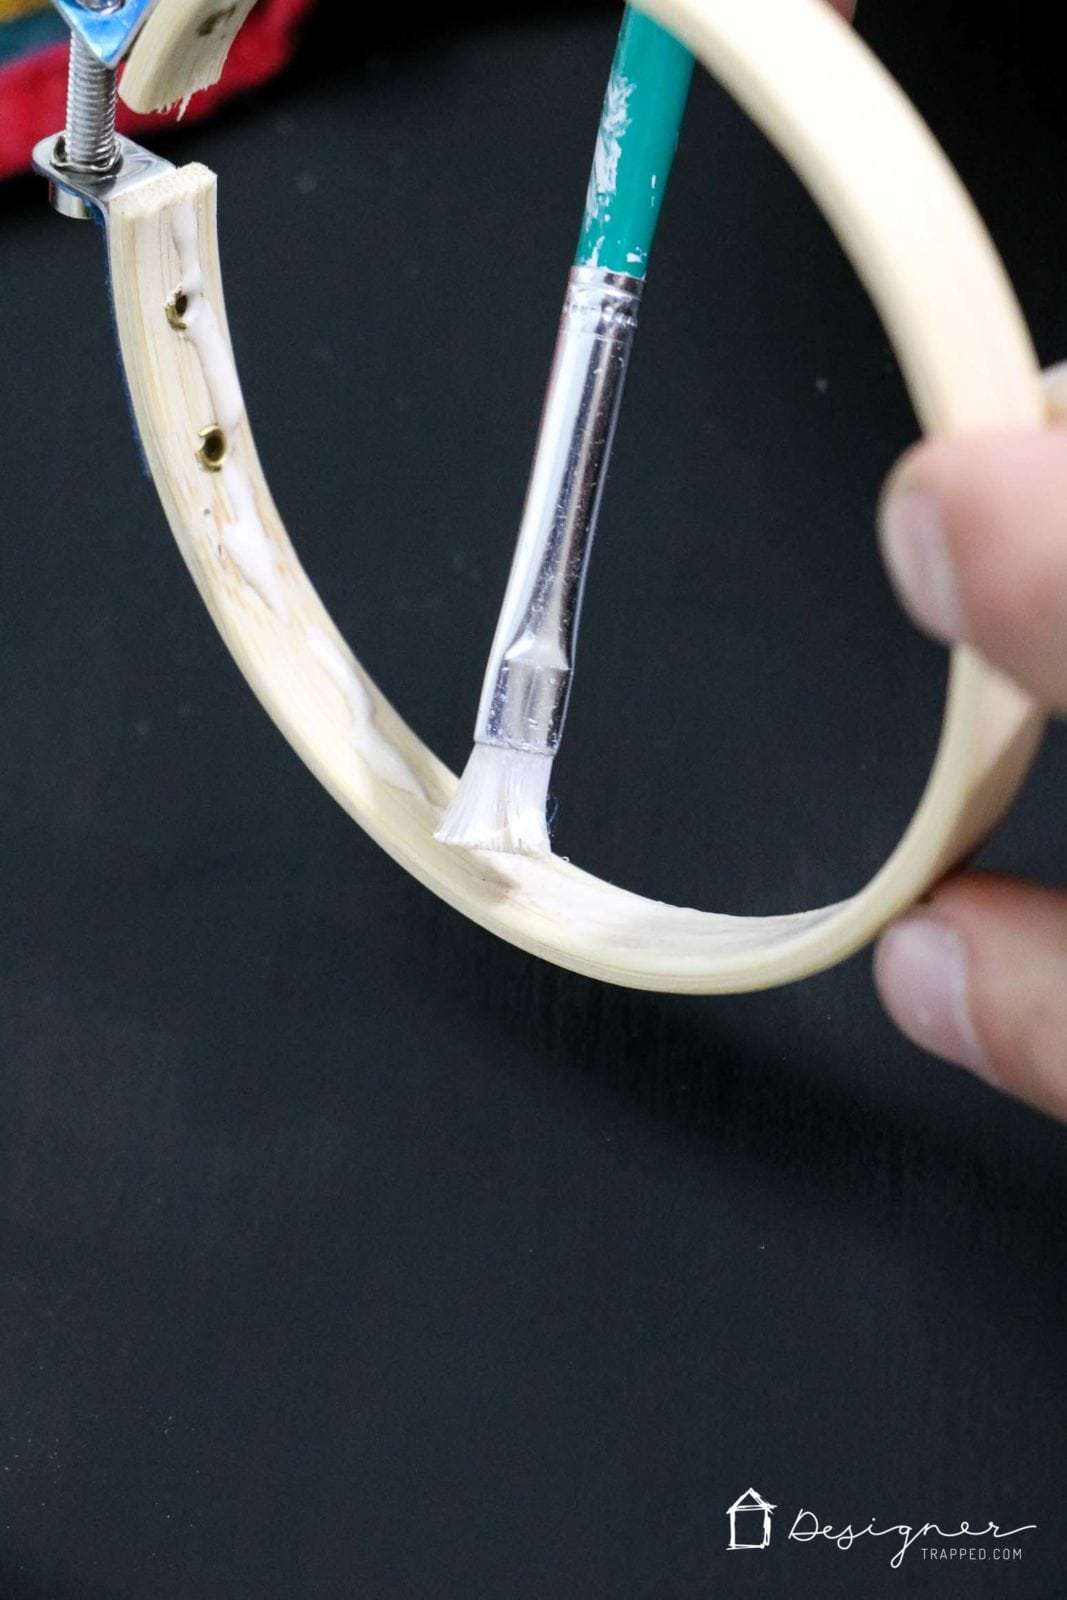
- Glue the outer hoops over the inner hoops.
Grab your OUTER hoops and paint some wood glue along the inside of each one. Then, secure them in place over the inner loops, tightening them into place.

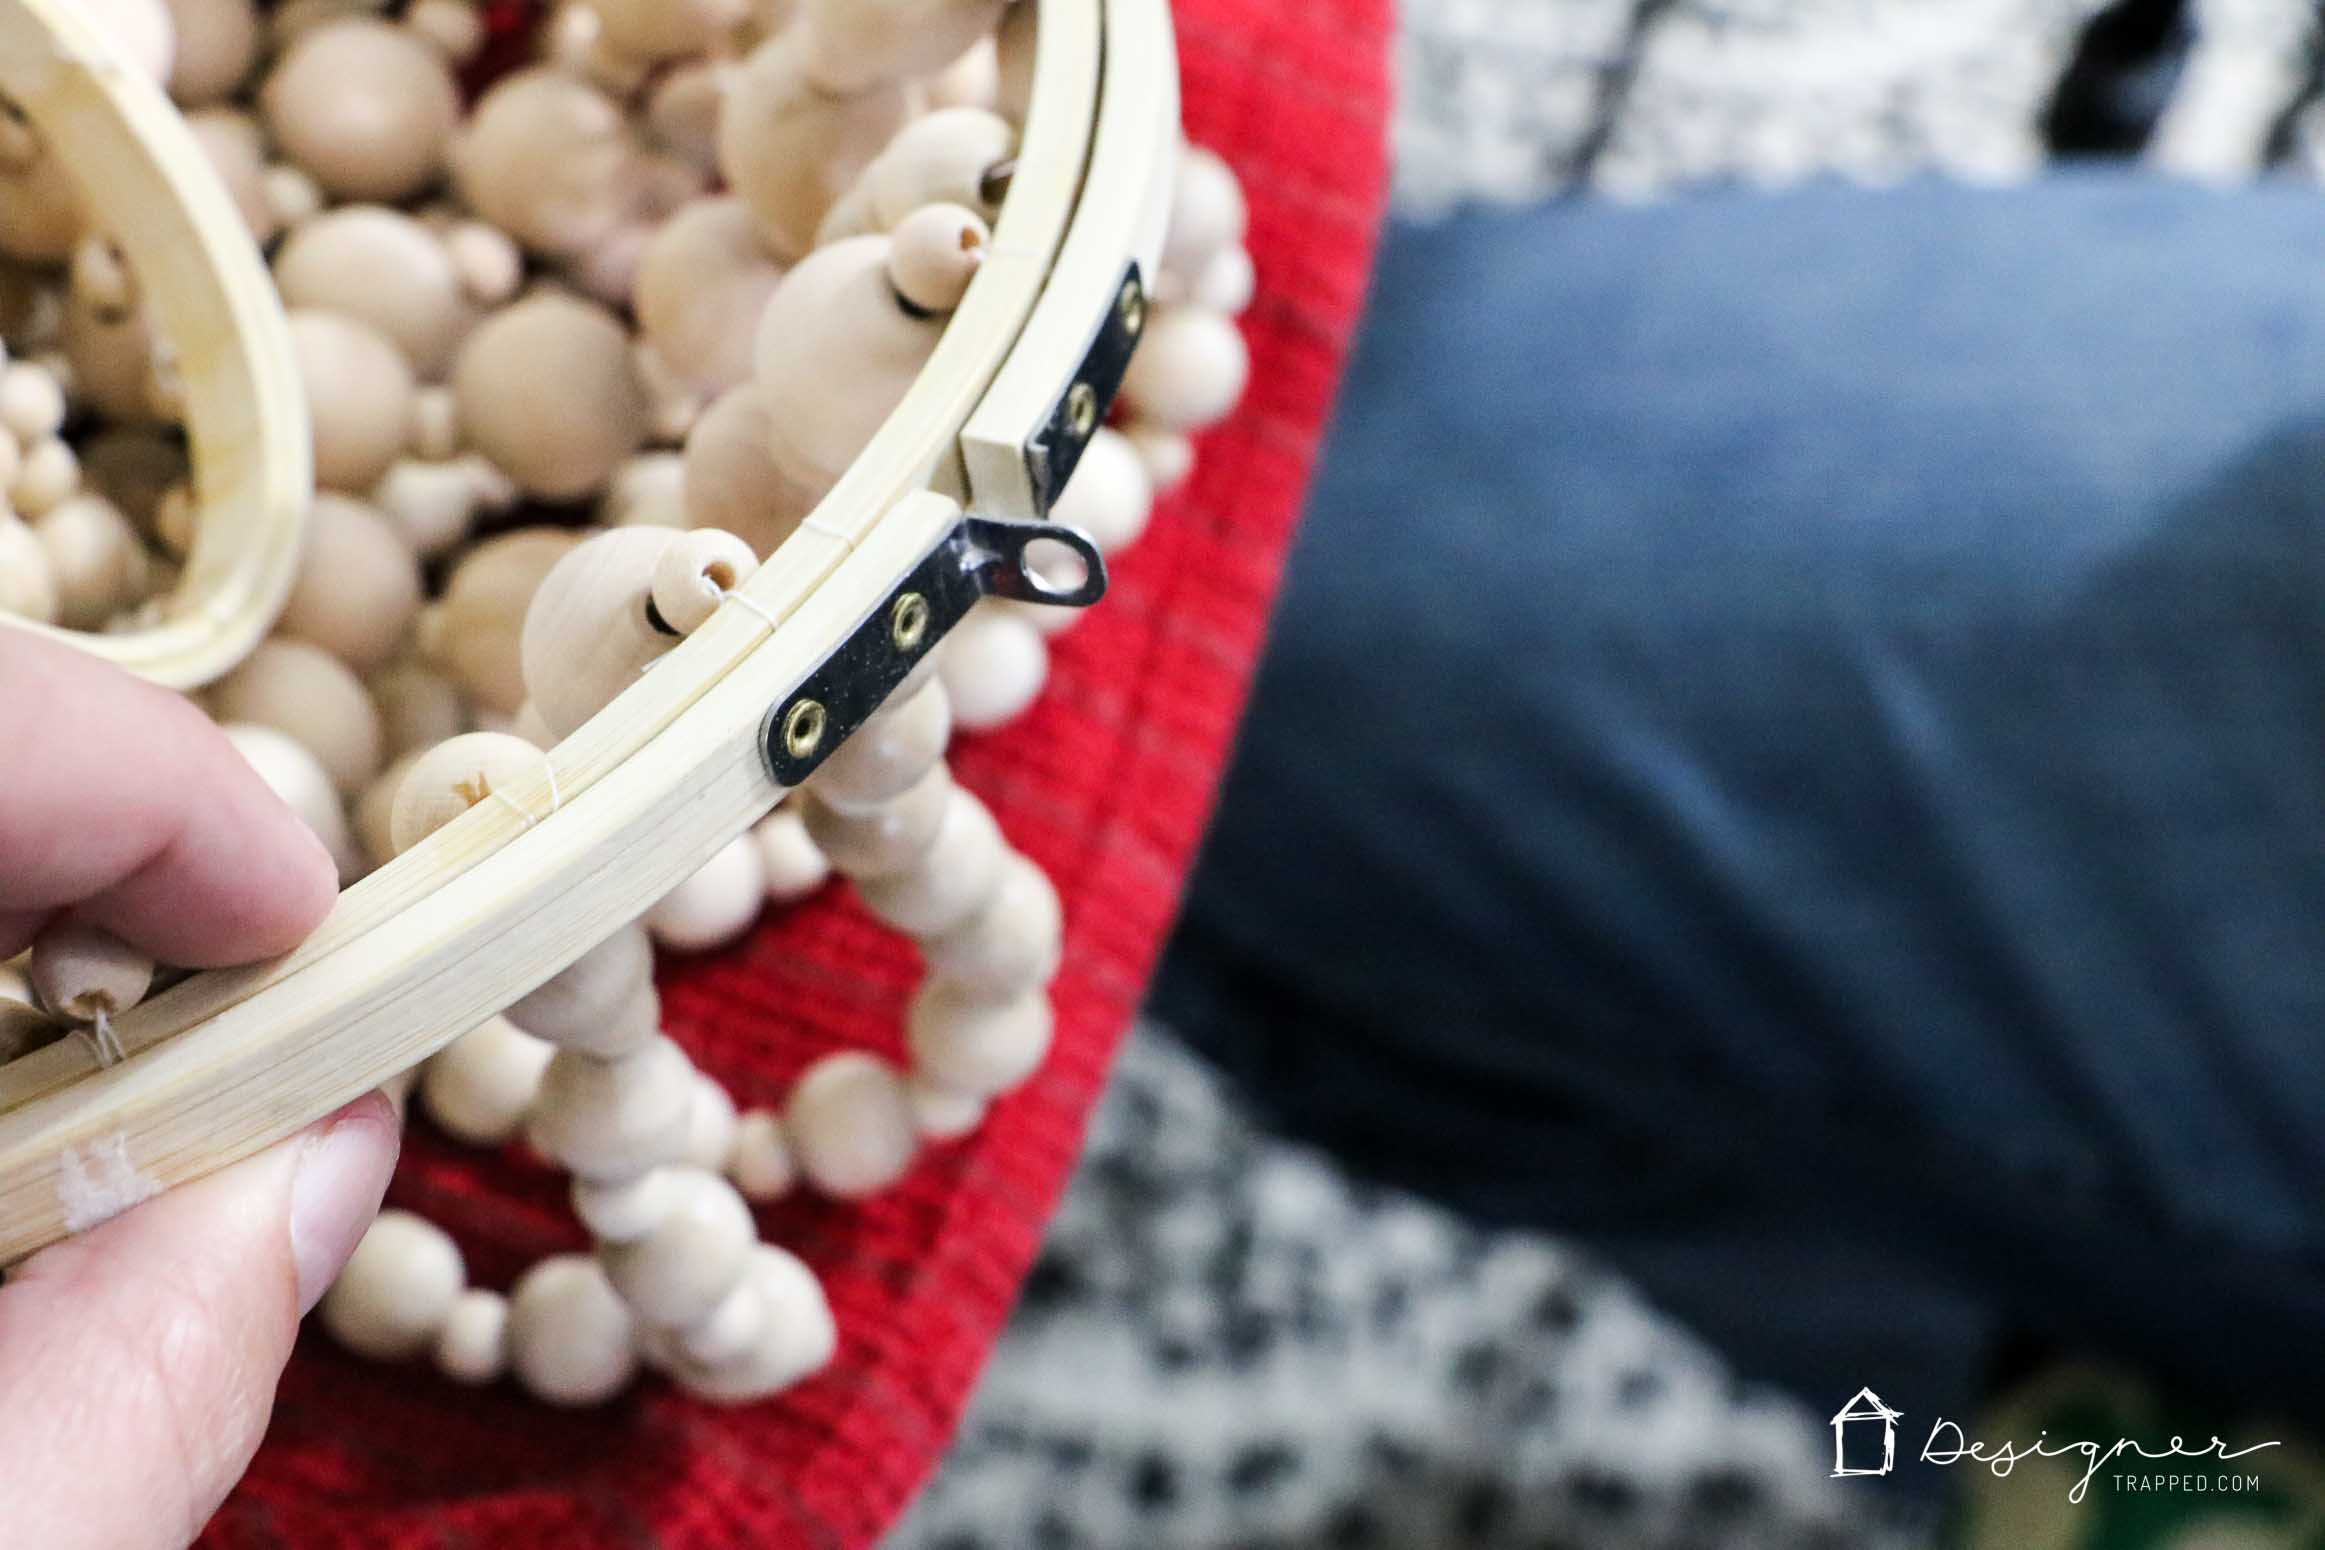
- Remove the hoop hardware.
After your wood glue has dried, remove the screw from each of the outer hoops. Then use cutting snips to remove the part of the hardware that sticks out. You can see in the photo below where we had snipped one piece off already. It will leave a little gap, but that is not an issue since it is glued.
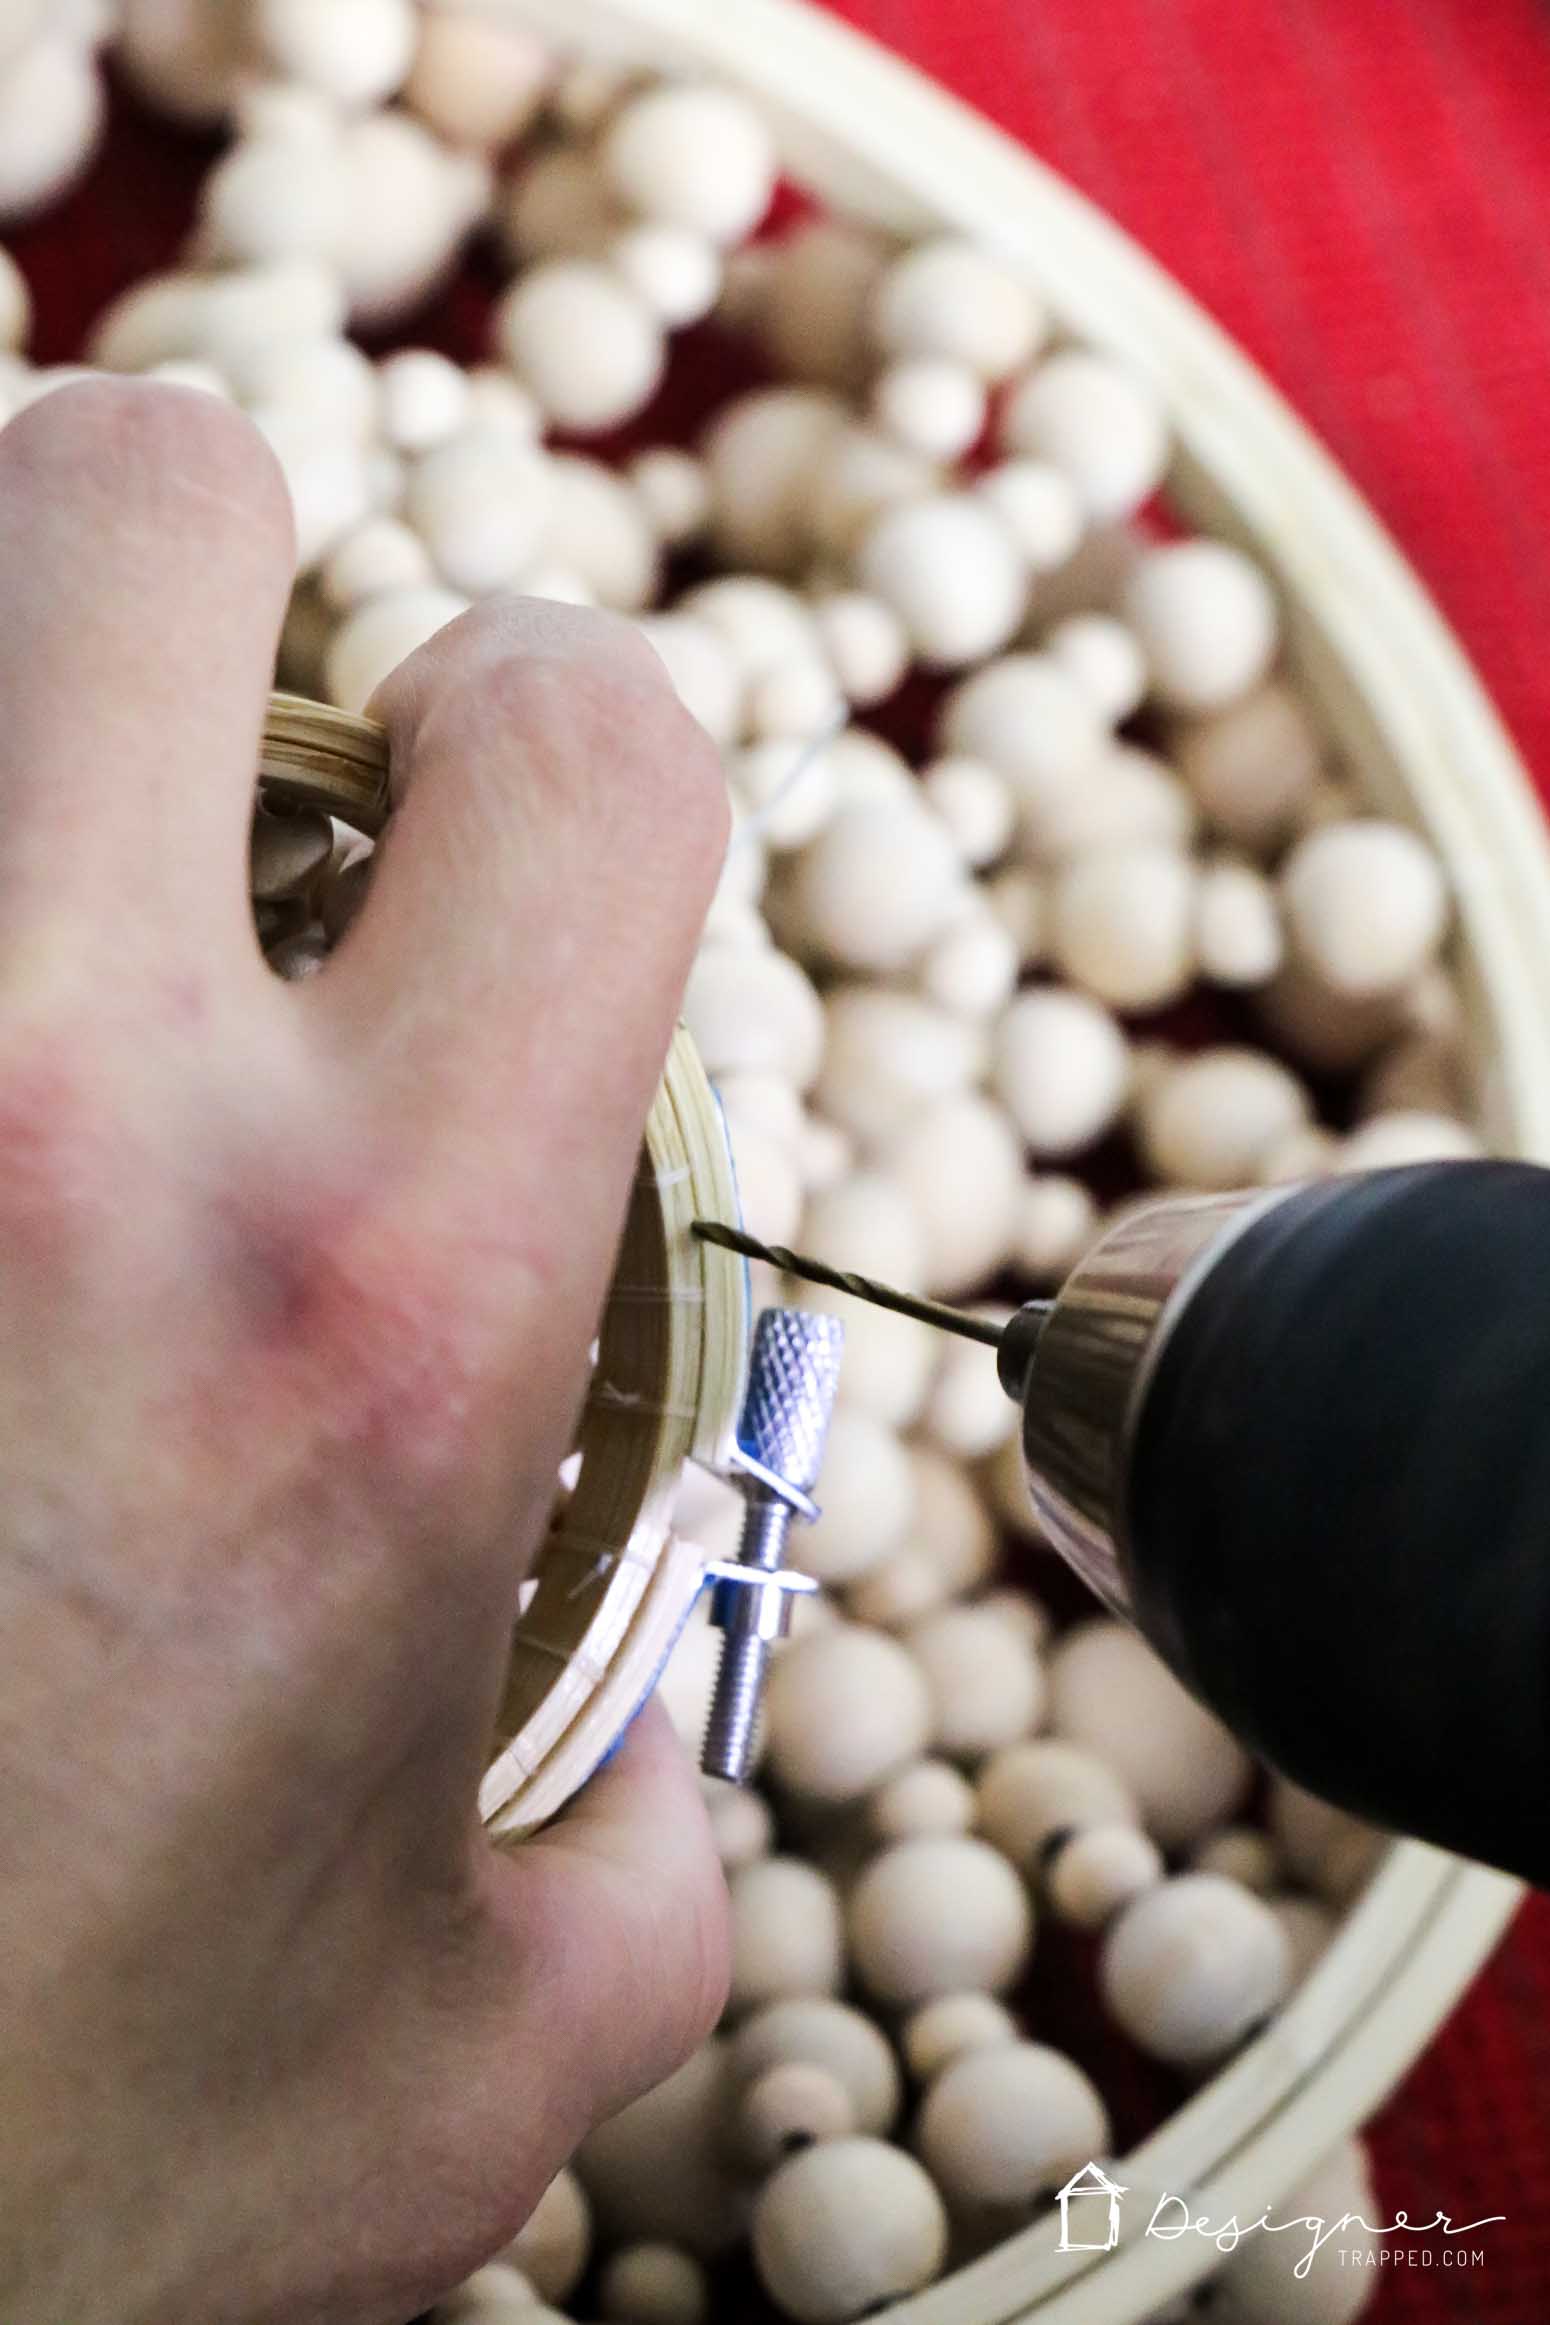
- Attach your pendant light kit.
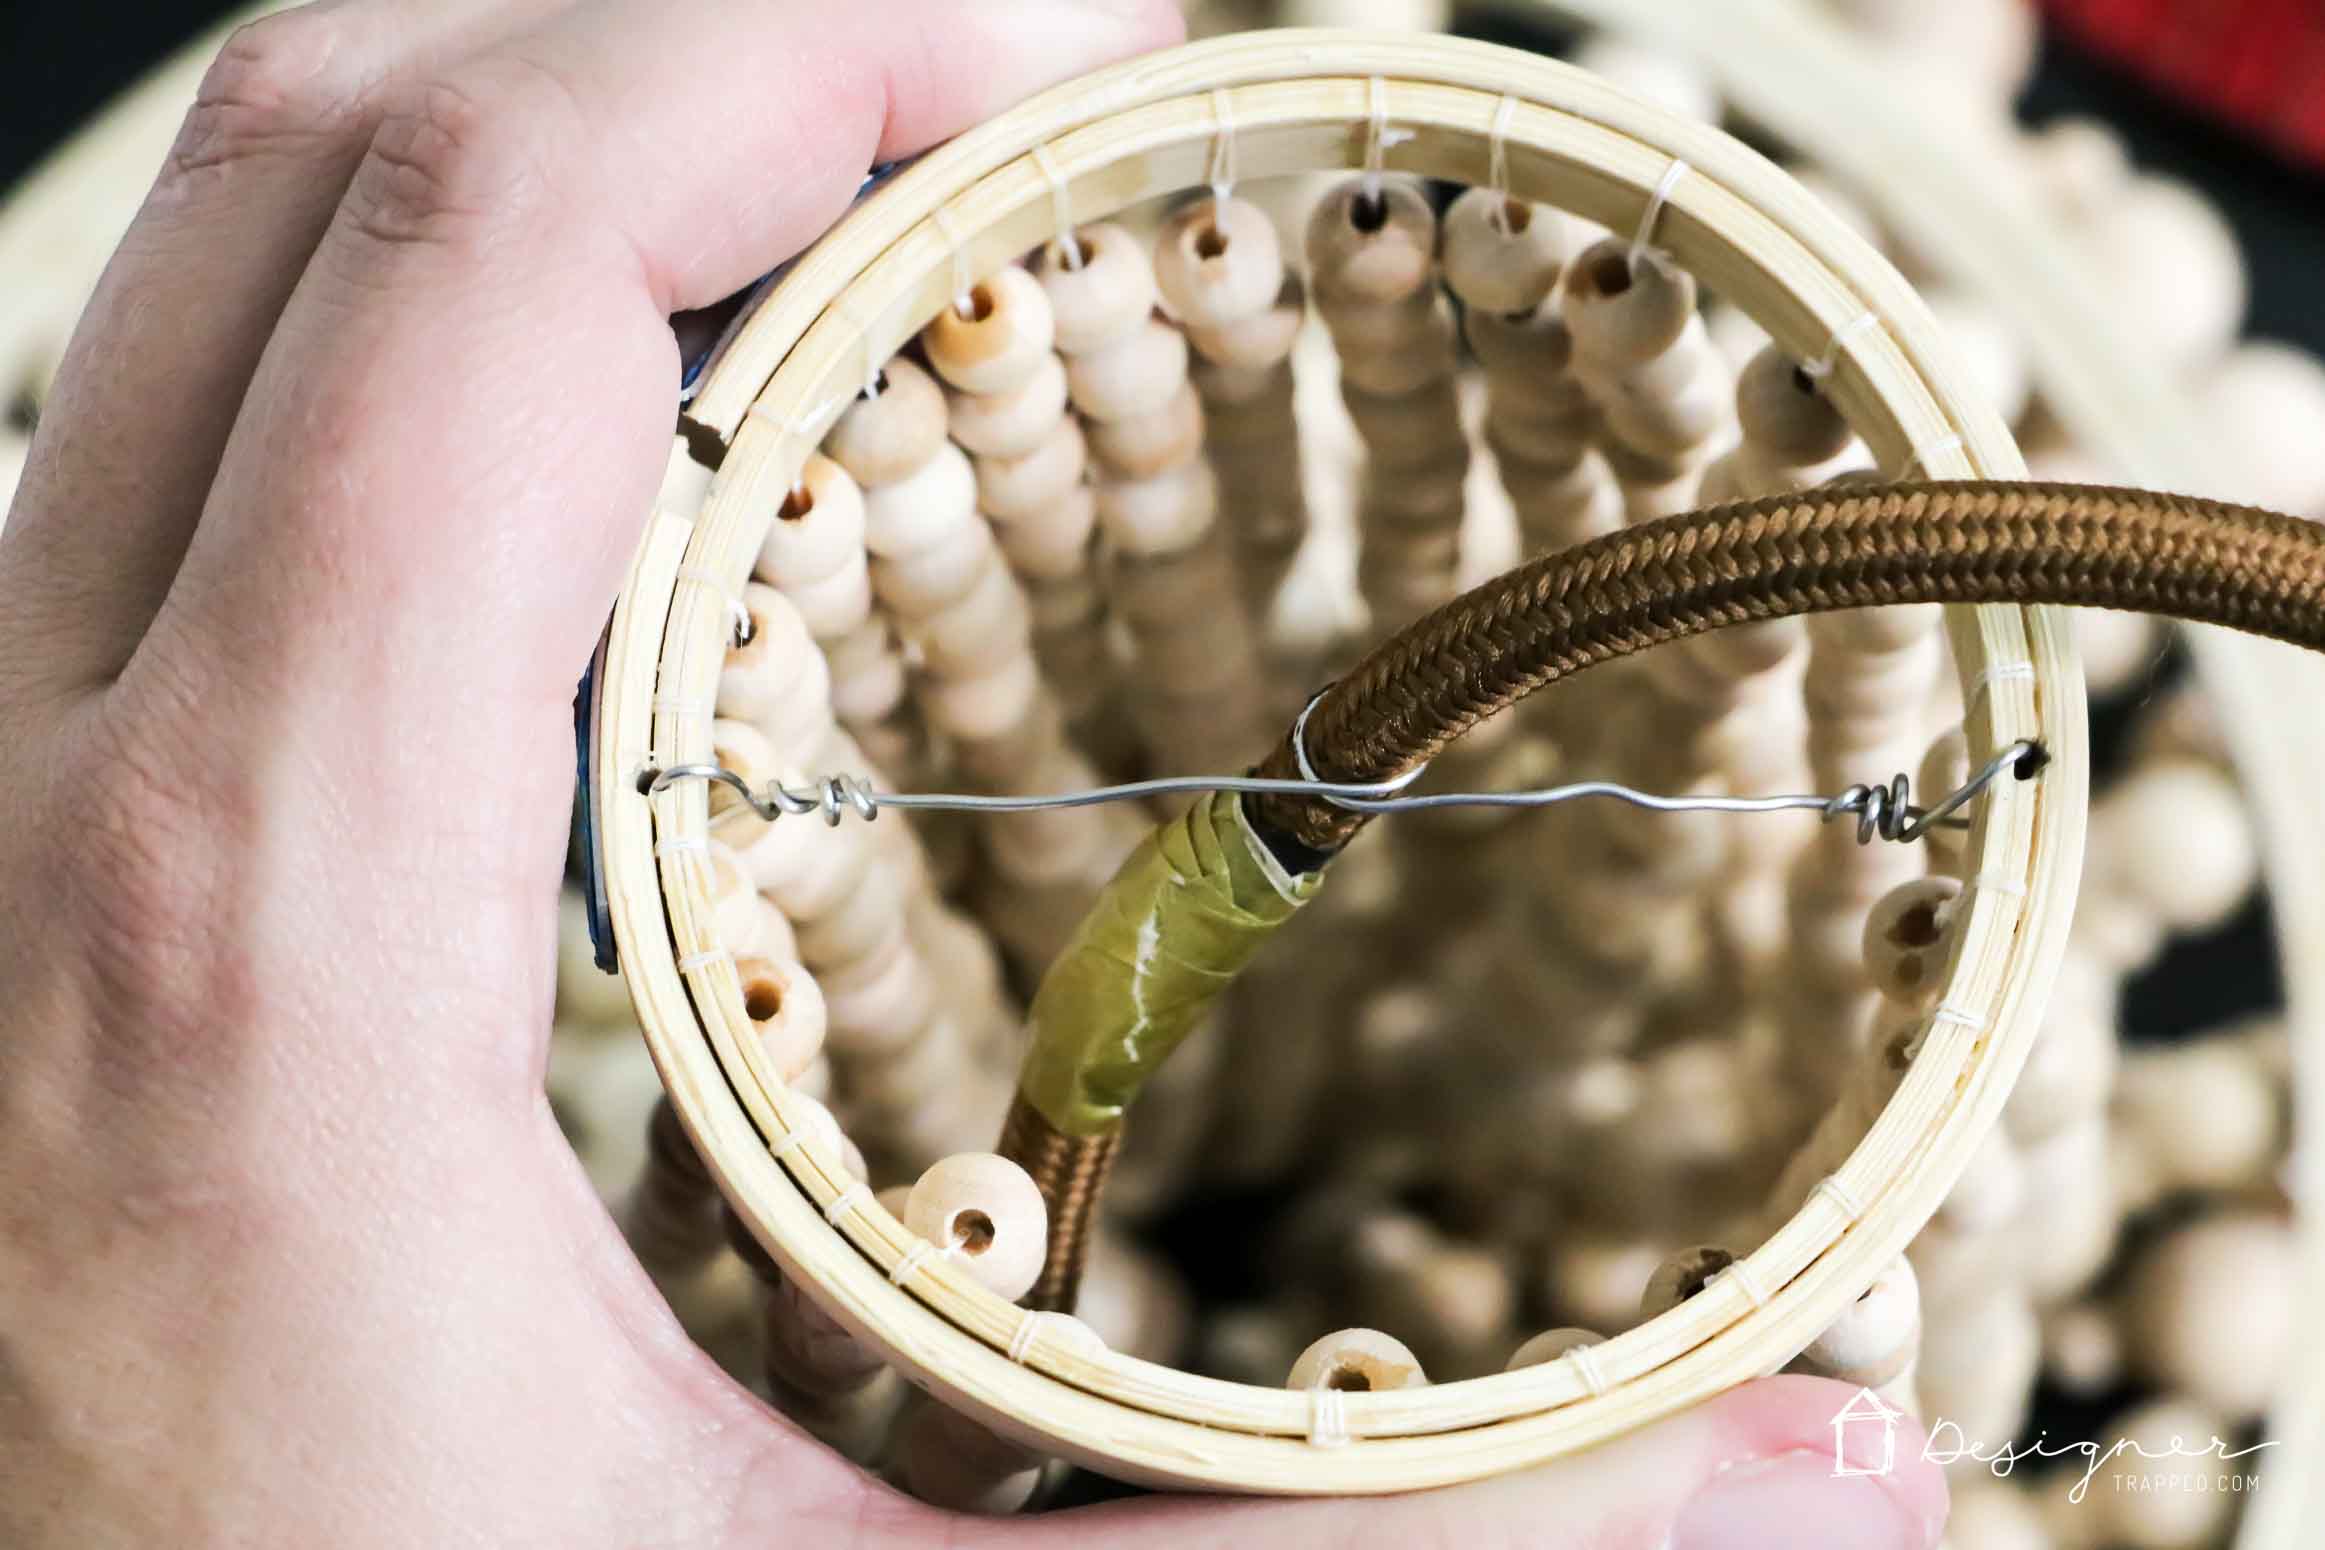
Use a small drill bit to drill two very small vertical holes along each side of the TOP hoop.
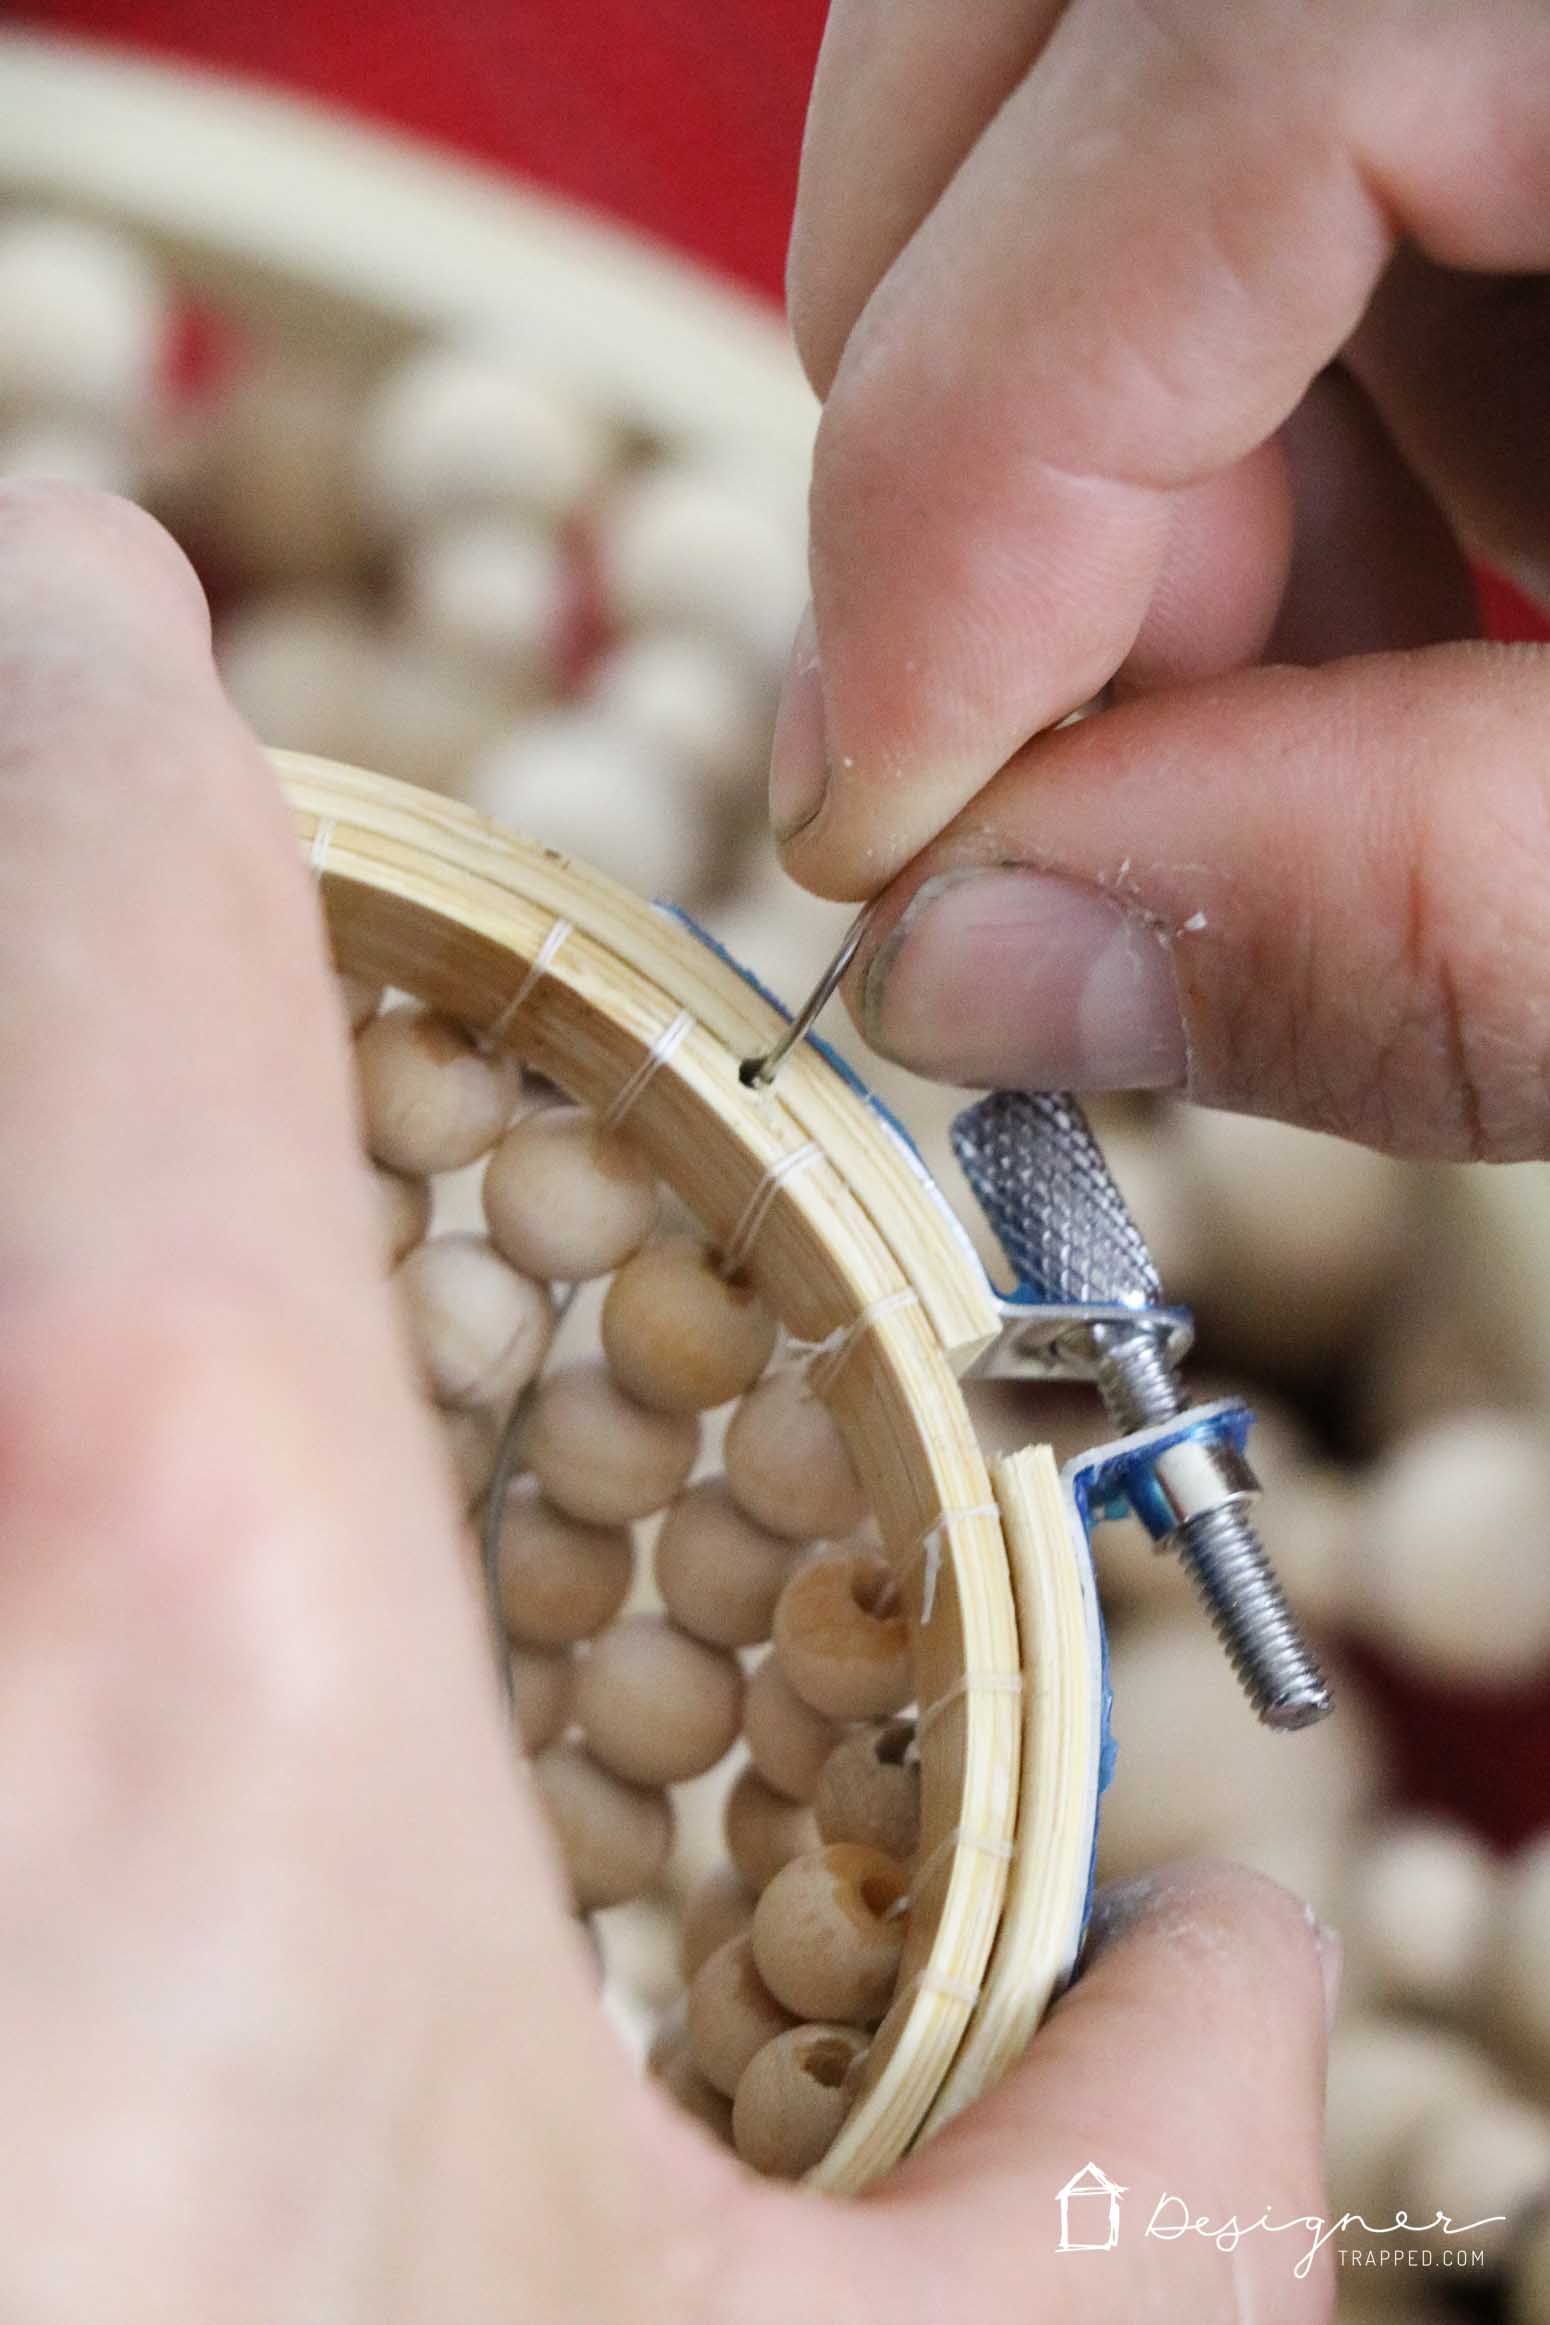
Run a wire through one hole and circle the wire around the cord of the pendant light. Then thread the wire through the opposite hole. These create your hangers to hold the fixture to the pendant light.
Wrap electrical tape below the circle of wire around your cord–this will ensure that the light does not slip down and the lightbulb stays where you want it. I covered my black electrical tape with some gold washi tape to make it less noticeable. Be sure also to secure the ends of your wire by wrapping them. This is what the top of your DIY chandelier will look like when you look down into it. - Hang your light.
Follow the instructions in your pendant light kit to wire and attach your light fixture in place.
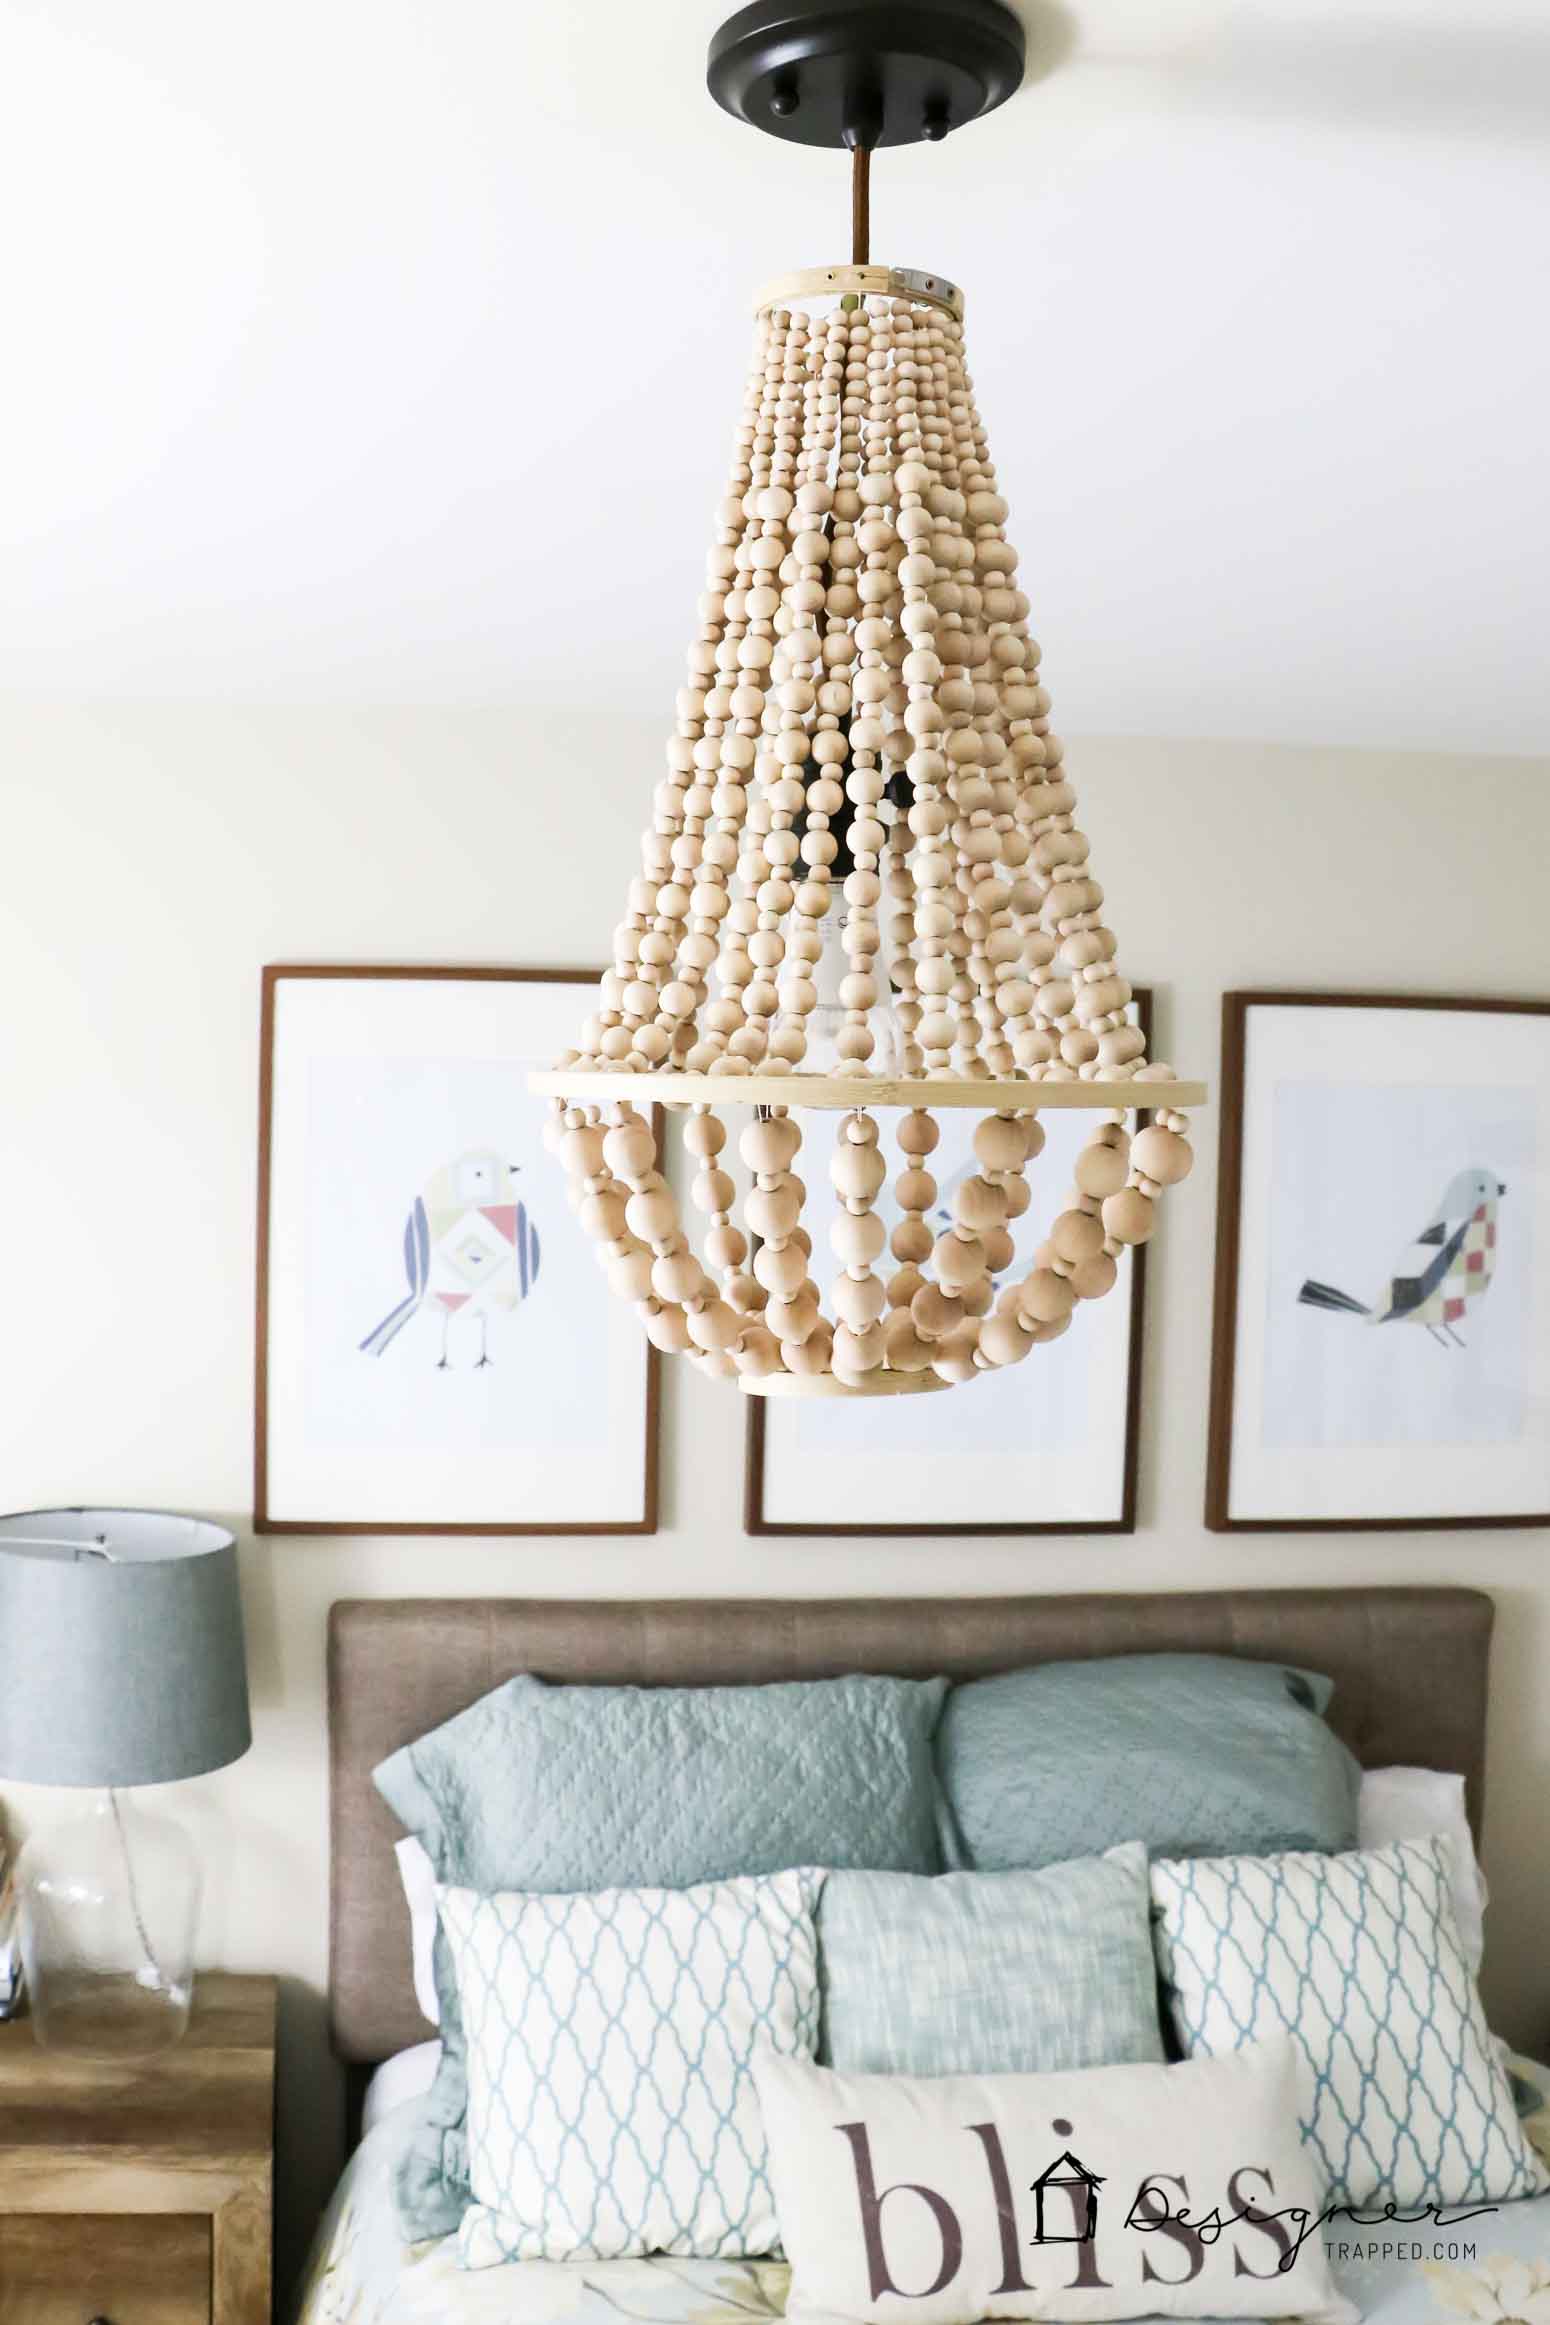
That's it! You are ready to hang your wood bead chandelier and admire your handy work! Check out the finished DIY chandelier. We hung ours in our guest room ourselves to replace an outdated flush mount fixture (no professional installation needed!). We are in love with it! Isn't it pretty? And it certainly cost way less than some of the expensive store-bought options I had found.
I love that you can totally customize this wood bead chandelier any way you want! Use colored beads, add tiers or use larger quilting hoops for a larger size chandelier, add a tassel, or change up the size of beads you use. Make it your own to match your style–these can be boho, farmhouse, or anything in between!
Other posts you may enjoy:
- Stylish Boob Light Alternatives to Elevate Your Home
- How to Make a DIY Outdoor Chandelier
- 20 DIY Chandeliers That Will Blow Your Mind (but not your budget!)
- DIY Lampshade – Ombre Style!
- Creative DIY Light Fixtures That Won’t Break the Bank
- DIY Bentwood Pendant Tutorial
Wondering how I approach transforming rooms and spaces in our home? Check out Designer in a Binder®.

And if you want exclusive content and behind-the-scenes sneak peeks, be sure to subscribe before you head out!


I love your instructions for making the bead chandelier! My problem is ceiling fans that have outdated light fixtures on the bottom of them. We HAVE to have ceiling fans in South Louisiana!! We have them in 4 bedrooms and kitchen. The familyroom has been updated but was not cheap. We don’t want to spend all that money on the other replacements. Any ideas?? The metal plate on the bottom of the motor is a bright brass, which I might soften that to a flat brass with rub and buff or something similar.
I have searched for different light fixtures and different globes but haven’t found any I like. Any help you or anyone else would be appreciated! Thank you in advance.
Such a great idea! You are ever so talented, Tasha!
Thanks Brenna! I do still really love this light :) Thanks for reading!