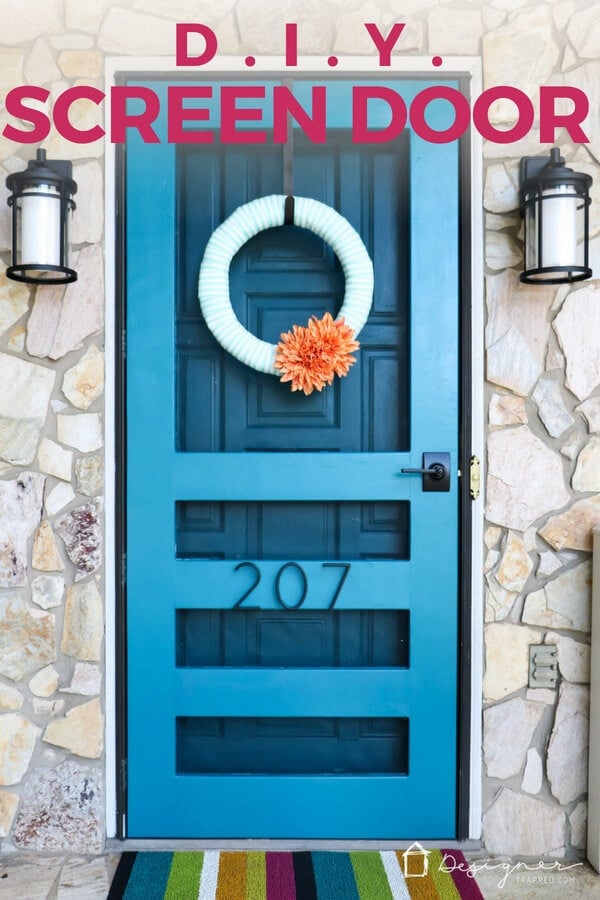
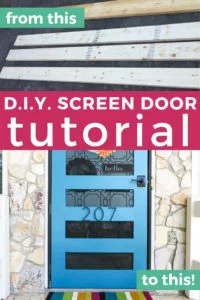
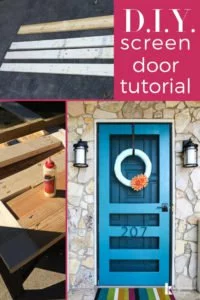
How to Build Your Own Screen Door
Screen doors are an essential part of any home. They keep the bugs out while letting the fresh air in! They can also enhance your curb appeal. But buying a screen door can be tricky–you may be limited by your budget and you may not be able to find exactly what you want. The good news is that you can design and build your own DIY screen door! In this blog post, I'm sharing the step-by-step tutorial for building a screen door that is prettier, sturdier and more affordable than what you can find in stores!
Now that spring has arrived and summer will be here before we know it, it's a good time to give some thought to a quality screen door. After all, don't you want to be able to open your door and let the fresh air in, WITHOUT letting in all the bugs?
We knew we wanted to be able to take advantage of the fresh spring air, but that just wasn't going to happen with our old, run-down and outdated storm door. Joe and I wanted a high-quality, stylish screen door for our old home and we just could not find one that met our needs. If we found one that we liked the look of, it was too flimsy. And if it was sturdy, it was ugly.
So, we decided to make our own DIY screen door and we just love how it turned out. This is a project of intermediate difficulty and requires that you have some basic knowledge of woodworking terms and cuts. But, if you have some basic DIY projects under your belt already, I am confident you can tackle this one.
This post contains affiliate links for your convenience. Click here for my full disclosure policy.
How to Build a DIY Screen Door
If you would like FREE printable instructions for this project, just fill out the form below.
Materials and Tools We Used
- (3) 2x6x8 (that means a 2×6 that is 8 feet long)
- (1) 2x8x8
- Screening
- Screen molding
- Wood putty or spackle
- Sandpaper
- Staple gun and staples
- Table saw
- Circular saw
- Router (if rounded edges are desired)
- Kreg pocket hole Jig and Kreg pocket hole screws
- Kreg wood plugs
- Utility Knife
Step-by-Step Tutorial
Time needed: 5 hours
Read on to learn how to make your own screen door!
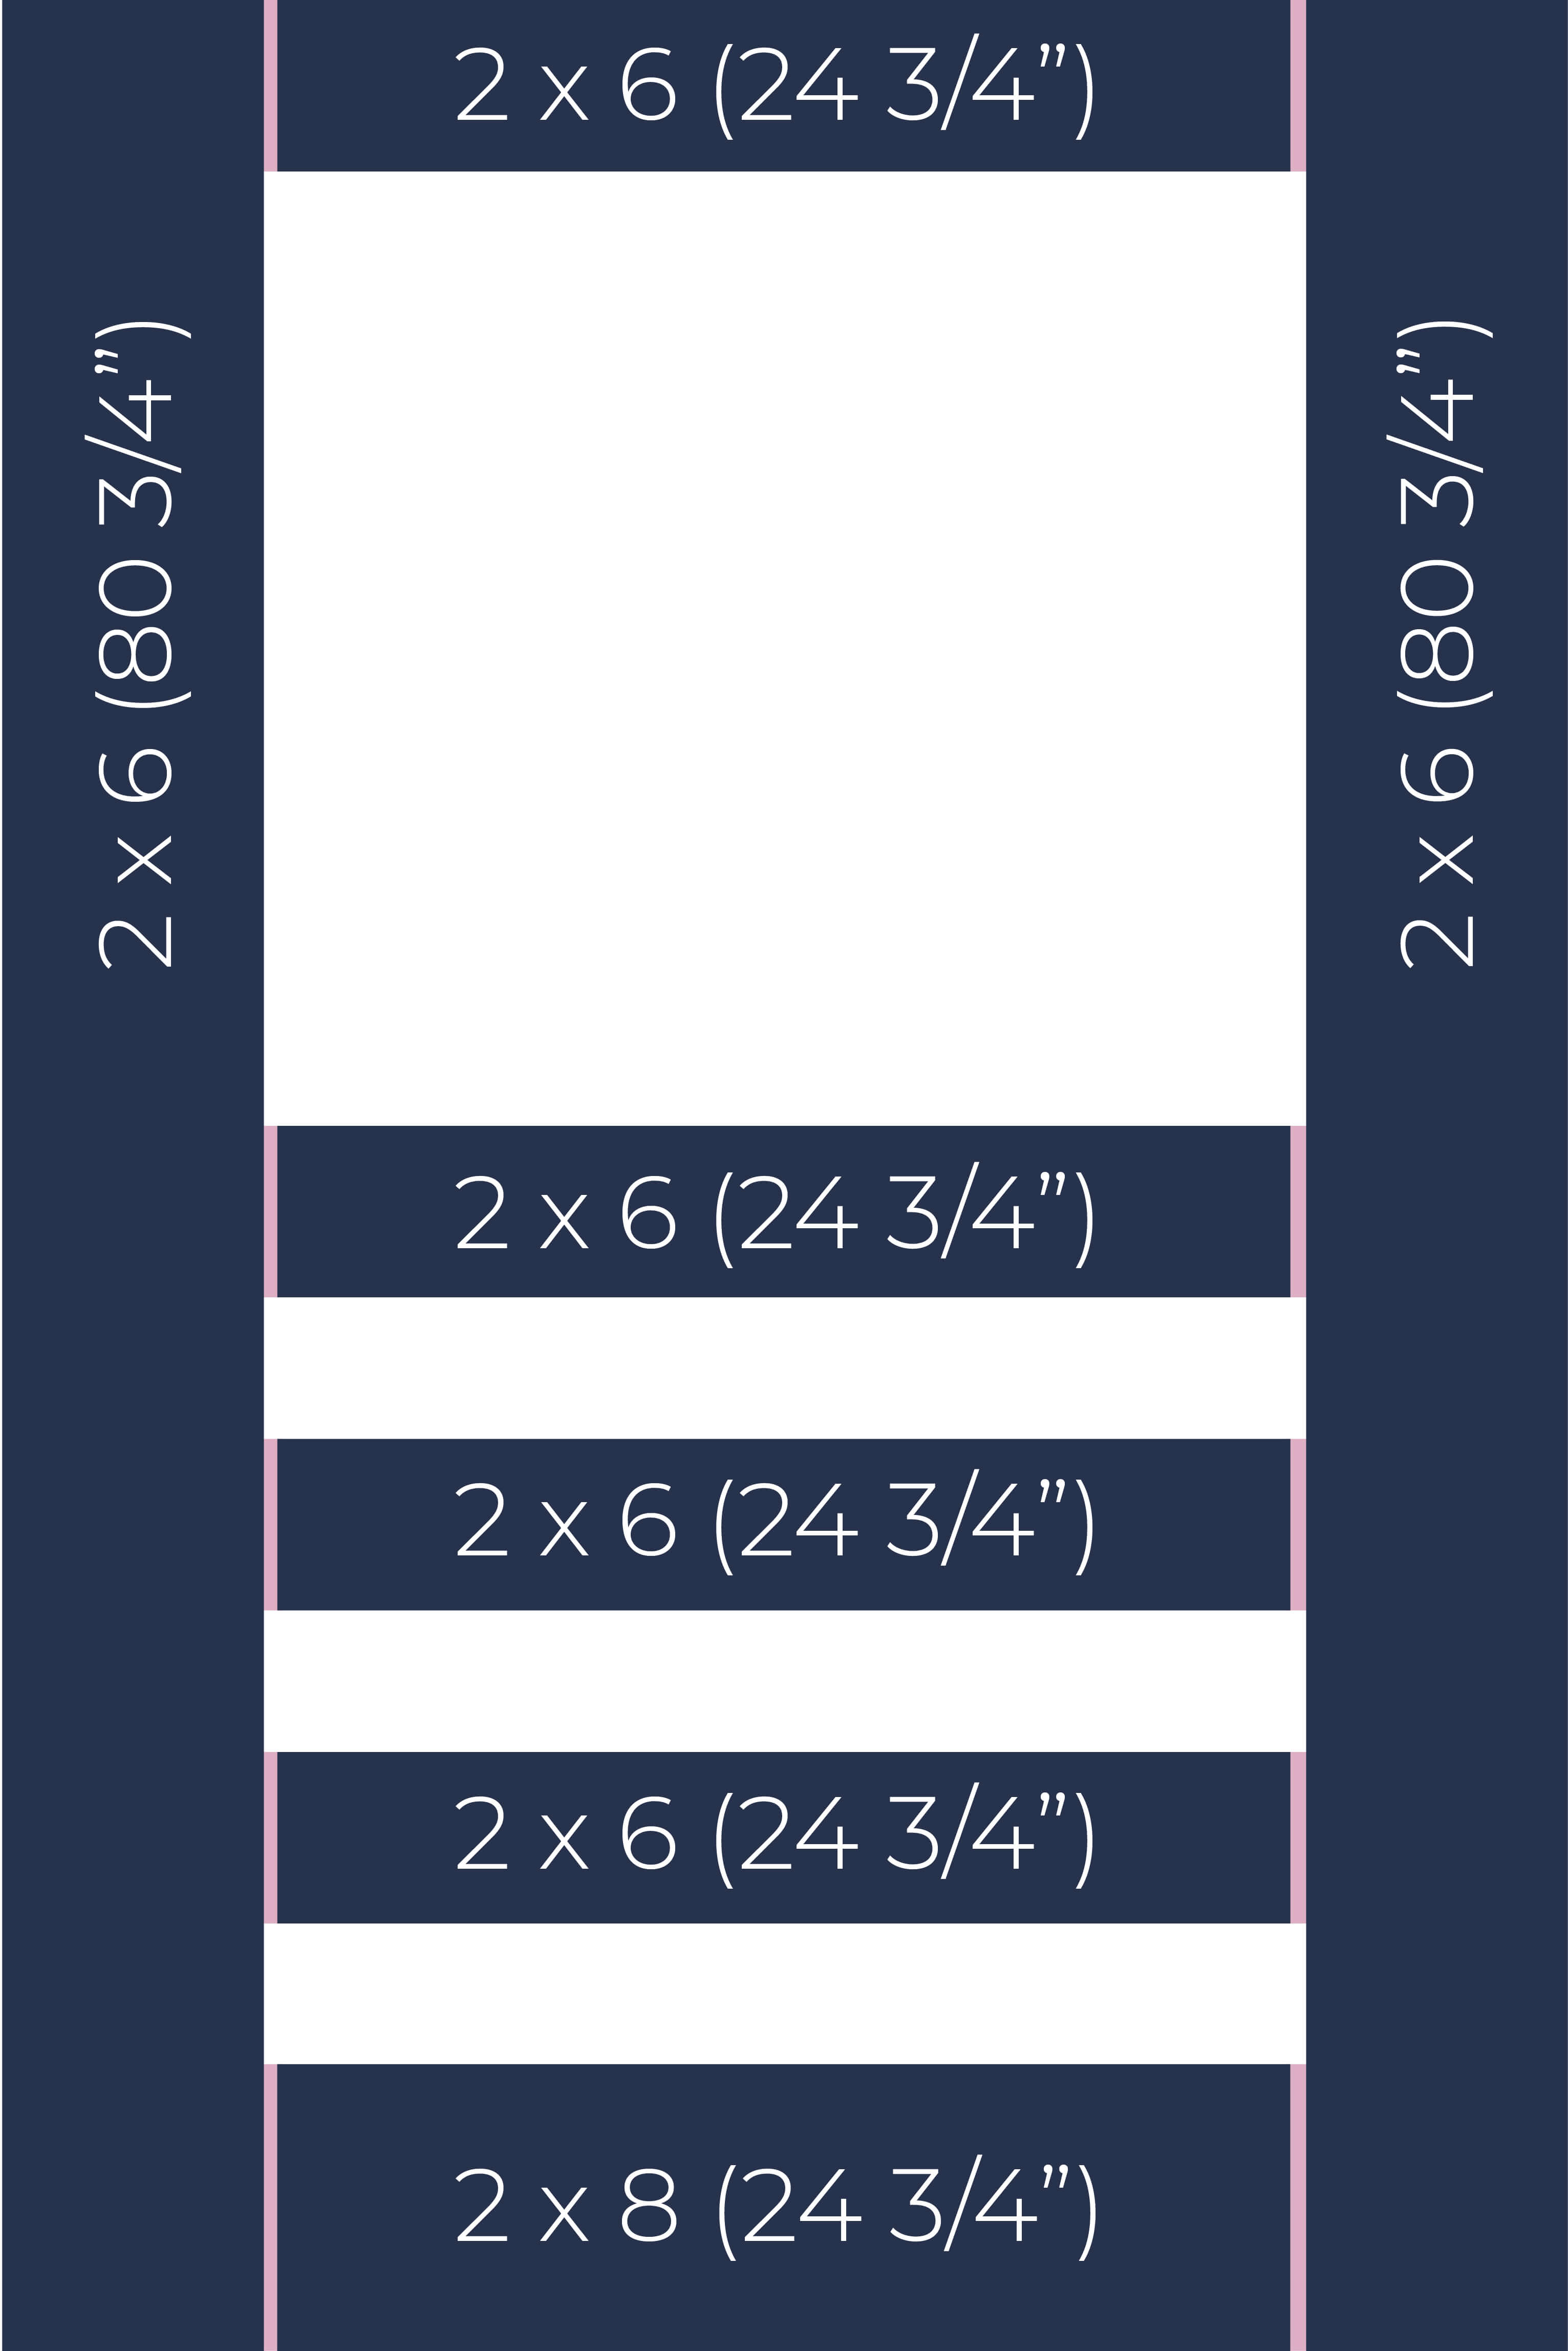
- Determine your dimensions.
The dimensions of your screen door will depend on the size of your door frame. Our door measures 35 1/4 x 80 3/4, which is pretty standard. Below you can see a diagram of the door (NOT to scale), which shows where we used the various sizes of wood. In parentheses, I note the cut lengths. The pink lines mark where the wood pieces join together, so as you will see, all the cuts are straight and easy.

- Cut your wood to size.
Cut your wood pieces to length with a circular saw or miter saw. Note that in order to reduce cut waste, after cutting our 24 3/4 inch length of 2 x 8 for the bottom of the door, we ripped the remaining 2 x 8 to the same width as the 2 x 6 pieces.
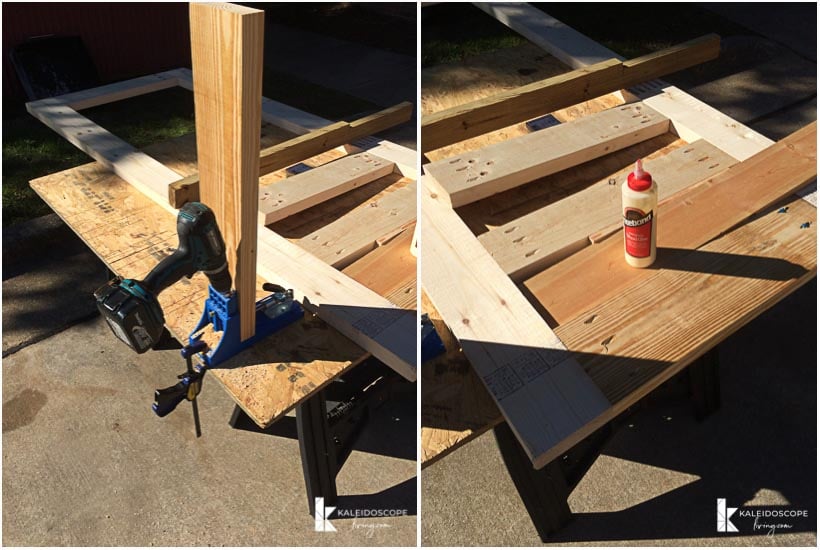
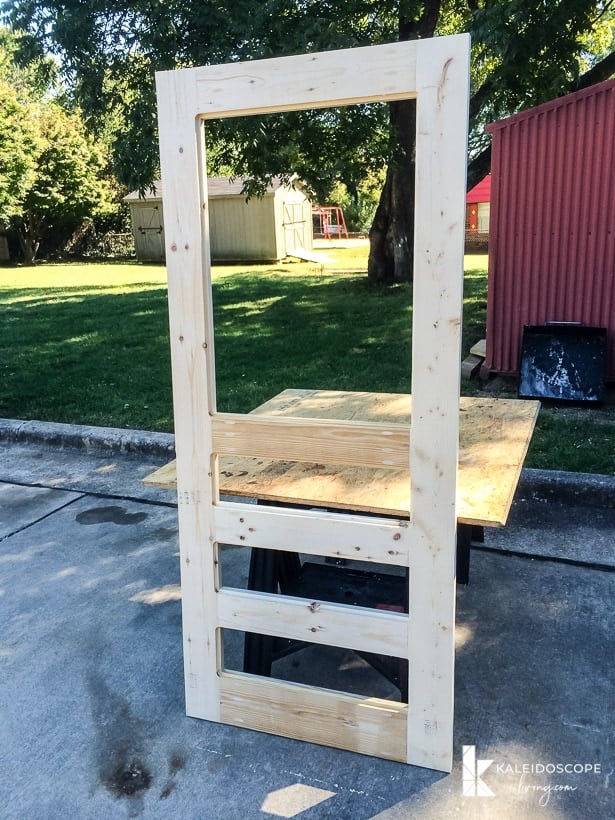
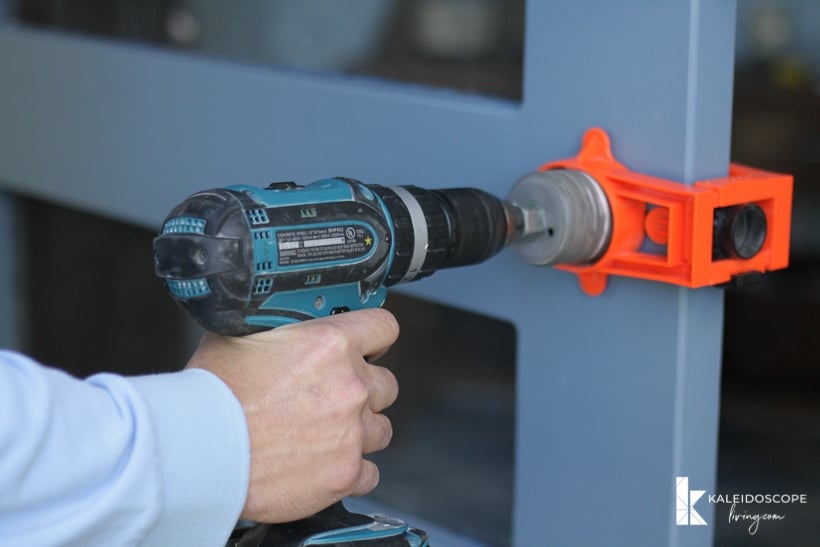
- Assemble the outer frame of your door.
After all of your pieces are cut, use a Kreg jig to make pocket holes to join your pieces together. Assemble the outer frame of the door first. Once your outer frame is assembled, dry fit it in your door in your door frame to ensure it fits.

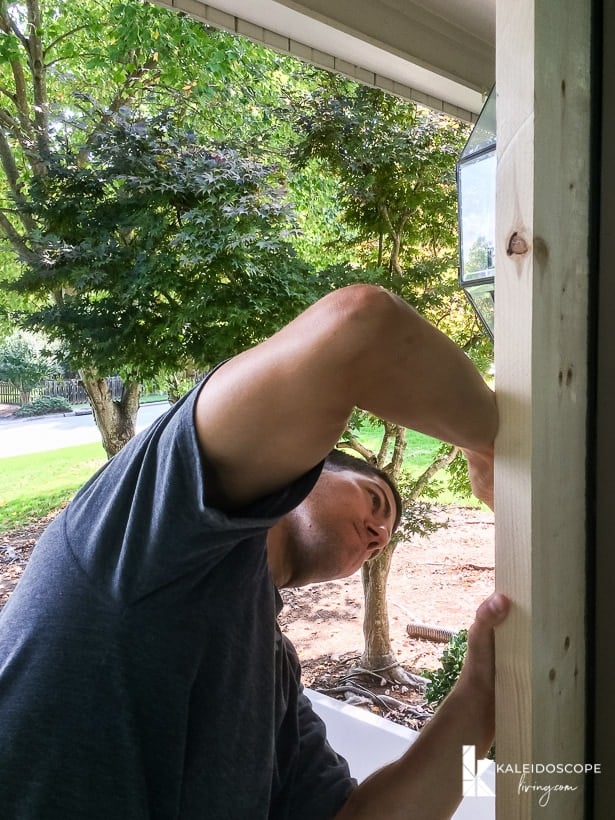
- Mark your hinge placement.
Since we were replacing an old storm door, we were able to place the new hinges in the same place on the door frame. We marked where the hinges needed to be attached to the screen door when we dry fit it in the door frame.

- Finish assembling your screen door.
After you are certain that the outer frame fits properly, use your Kreg jig to make pocket holes to attach the horizontal pieces of your screen door to the outer frame.

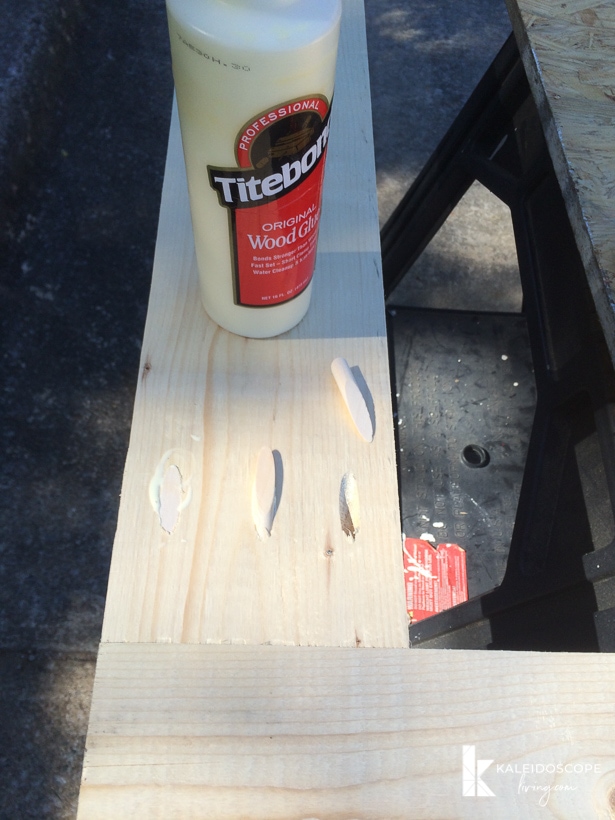
- Fill all holes and gaps.
Use wood putty or spackle to fill in any gaps between the joints. Then use your Kreg wood plugs to fill the holes left by your screws. After everything is dry, sand it down until it is smooth.
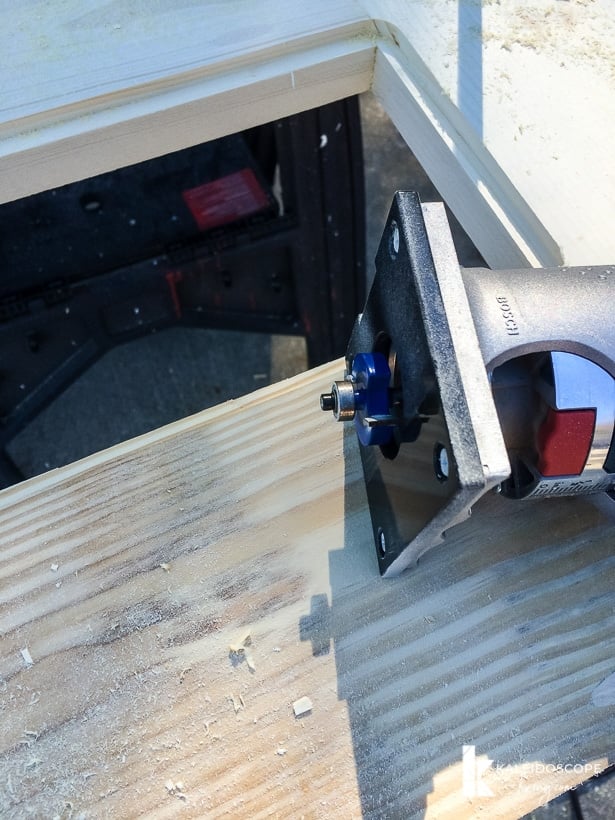
- Create a groove for your screening material to sit in.
Next, you will need to rabbet out a groove with your router on the back side of the door for the screening to attach to. Bear in mind that you will need to use a chisel to square the corners up after you route out the rabbeted area. We used a 3/8 inch routing bit for to make our rabbet 1/2 inch deep.
However, if we had it to do over again, we would have routed it out to a depth of 1/4 inch so that we could use ready-made 1/4 x 3/4 inch screen molding that is sold at home improvement stores and could have skipped making our own. We would highly recommend that you rabbet out a 1/4 inch depth to save yourselves some time. - Paint the FRONT of your screen door.
Paint the front side of the door. It's easier to do this now so you don't have to worry about the screening while you paint it. We waited to paint the back of the door until after we attached the screen molding, as described later.
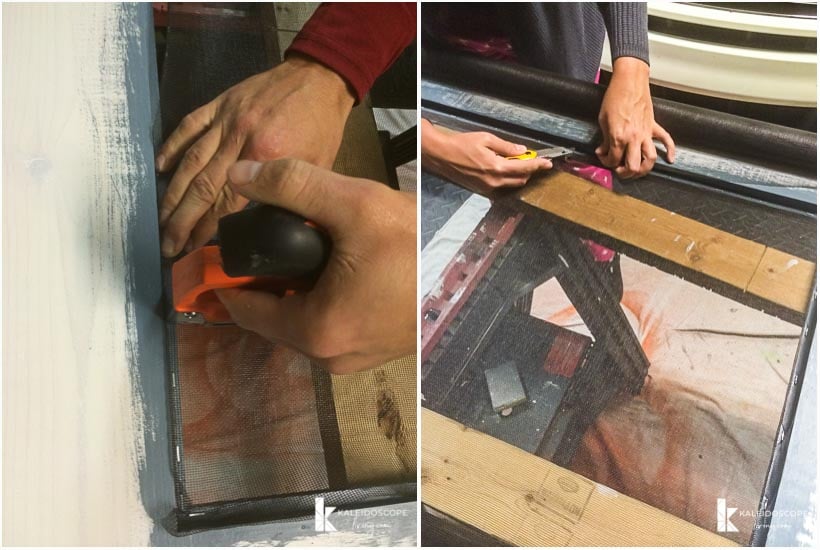
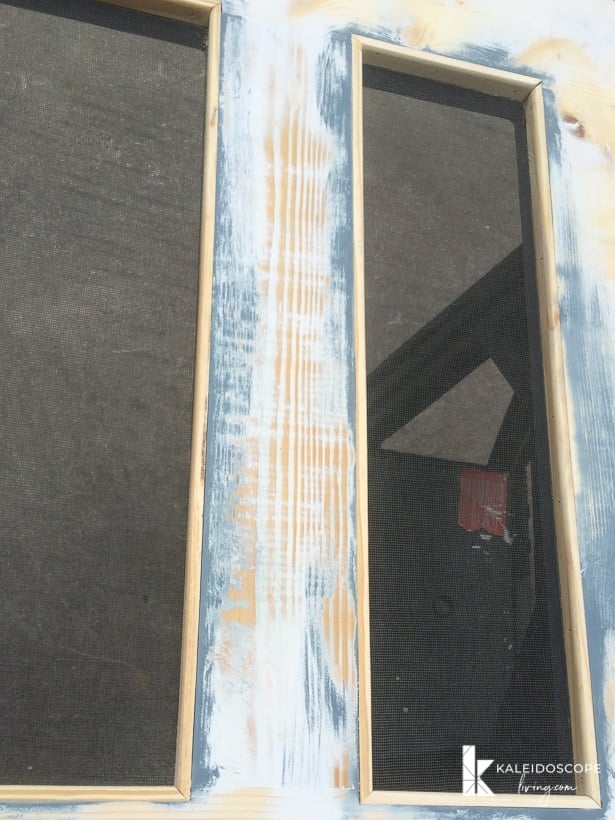
- Attach your screening to the back side of your screen door.
Now you are ready to attach your screening to the back side of the door. Simply lay your screening out on the area to be screened and attach it with your staple gun in the rabbet grove. You want to pull the screen taut, but not too tight, or it may rip. It's best to have two people for this part of the project. After you staple it in place, trim off the excess with a utility knife.
- Cut and add screen molding.
After your screening is attached, you are ready to cut and attach the trim pieces to cover the ugly staples in the screening. We made our own trim pieces to fit the area, but see my comments in step 7. We aren't going to even tell you how to do this because it's not worth the extra work–trust us! You should purchase ready-made screen molding at your home improvement store. It is generally 1/4 x 3/4 inch and should work perfectly.
- Paint the back side of your screen door.
Once your trim is attached, you are ready to paint the back side of the door. Be sure to tape off your screening with painter's tape, so that you do not inadvertently get paint on it.
- Hang your screen door.
Attach the hinges to your screen door and hang it.
- Attach door hardware.
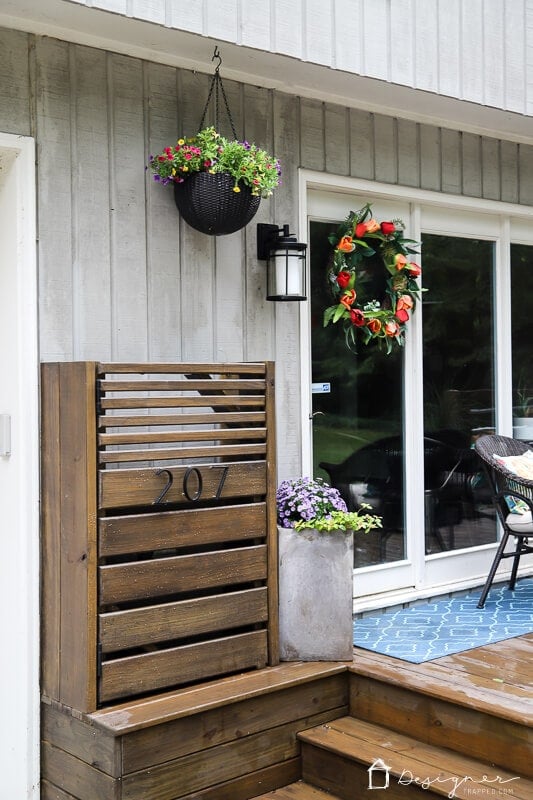
Next, attach your door handle and address numbers, if desired. We used a doorknob installation kit that we already had–it makes installation so simple!


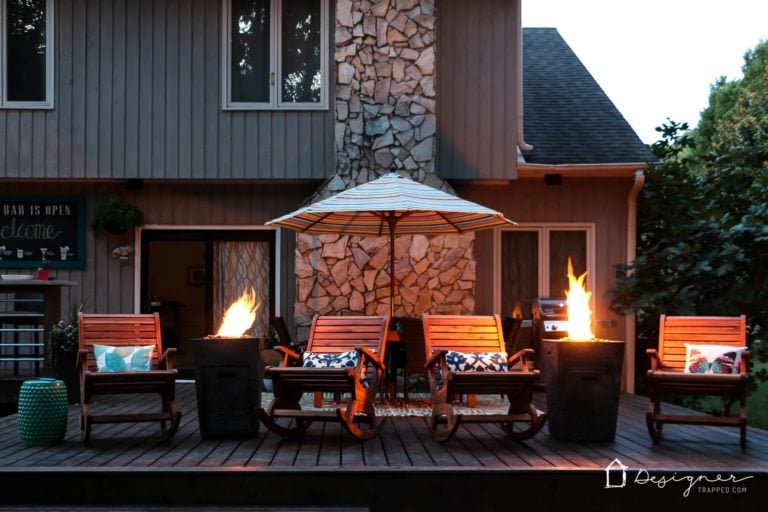
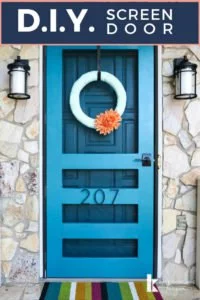
That's it! We love how our DIY screen door turned out! UPDATE: We have repainted the screen door a different color (Velvet Curtains by Valspar) so that it would match our front door and LOVE it even more now :)

Time and Cost to Build
This is not one of those DIY projects that saved us a ton of money or time. Our primary reason for building a screen door ourselves is because we couldn't find one that was exactly what we wanted. By building this one from scratch, e got EXACTLY what we wanted and this screen door is far superior in quality to those screen doors that you can purchase for $75 to $100. The lumber cost us around $32.00 and the screening cost $10.00. So we did save some money, but not a ton.
It took us around 5 hours to build our screen door (excluding drying time for the paint and spackle). It was well worth it to get precisely the door we wanted!
By following this step-by-step tutorial, you can create a DIY screen door that is high quality AND that looks exactly the way you want it to. So, gather your tools, get your materials, and begin building your unique DIY screen door today!
Other posts you may enjoy:
- 4 Steps to Restoring Teak Furniture
- 5 Steps to Prepare Your House for Exterior Paint
- Porch Decorating Ideas and Designer Tips
Wondering how I approach transforming rooms and spaces in our home? Check out Designer in a Binder®.

And if you want exclusive content and behind-the-scenes sneak peeks, be sure to subscribe before you head out!

Last Updated on May 6, 2024
Love this!!!! Does anyone know the original color on this door before the homeowner changed it to velvet curtain, I love the blue color!
I’d be happy enough to make metal screen doors, let alone beautiful wooden ones like that. I usually just buy a pre-made frame, and go from there. You went the extra mile to match the door with the style of the house. And the color is perfect too! Good job!
Great post! We will be linking to this particularly great post on our site.
Keep up the good writing.
This is exactly what I was looking for and I didn’t even know it!
I have a shed out back that I’m converting into a bug-free respite but couldn’t figure out what to do about the necessary screen door since the shed was ‘custom’ built and the doorway isn’t a standard size. Now I know exactly what I need to do. Thank you so much for the project directions.
Happy to help! The shed idea sounds great!
I love the simplicity of this design – kudos!
Did you use any kind of gasket / seal on the door frame or door itself to prevent insects from crawling under or around the door?
Thanks so much, Adam! We did not use a gasket/seal, but you certainly could!
Tasha, this is an awesome tutorial! Thanks so much for sharing it – I know it will come in handy soon :)
My pleasure, Shelly!
Fabulous tutorial and I love the color! Well done!
This looks great! I’m especially loving your glamor shot standing in the doorway :)
LOL! Thanks, Aimee!
This is amazing Tasha. It looks absolutely fantastic.
wonderful tutorial, thank you! I’ve been wanting to build a custom screen door for our back door for years and this might finally get me kick-started :-)
Yay, Cynthia! Let me know how yours turns out!
Great job Joe and Tasha. Looks like a real sturdy door. Sorry to hear the girls were sick and hope they’re doing better. Love, Kathy
Hi, Beautiful job!
Could you tell me what color you used?
Hi Heather! Thank you. The color is Phillipsburg Blue by Benjamin Moore.