5 Steps to Prepare Your House for Exterior Paint
We are finally getting the exterior of our house painted after dreaming of it for 7 years! House painting is hard and expensive. Properly preparing your house for its paint job will ensure that it will last as long as possible.
Woooo hoooo! At long last we are tackling the exterior painting of our home. I have been sharing daily updates in my Instagram stories for everyone that is following along.
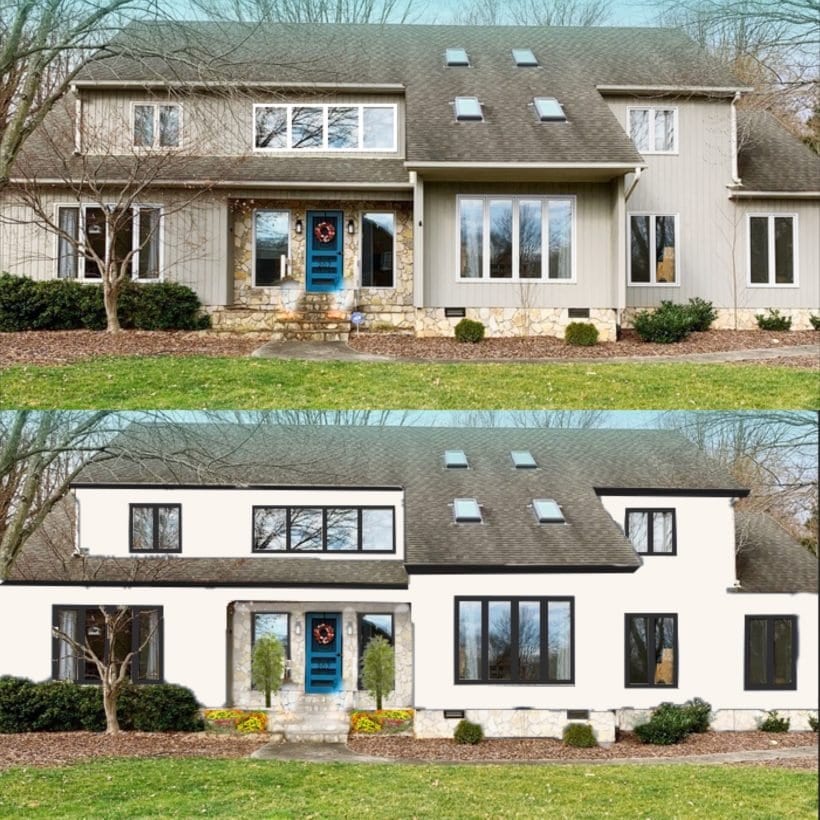
We have NEVER liked the exterior of our house and we've been here for over 7 years. But we couldn't justify painting it just for aesthetics because it's so darn expensive. Instead, we've spent our time and money tackling all kinds of interior projects (you can take our whole house tour here). So we waited. And waited.
We started seeing signs of the exterior paint peeling a couple of months ago. We really thought about tackling the entire exterior paint job ourselves, but in the end we gathered several quotes and decided to hire it out to a professional crew. In case you don't know already, the exterior painting of a home is NOT CHEAP. We are paying $6,200 to have our house painted. GASP.
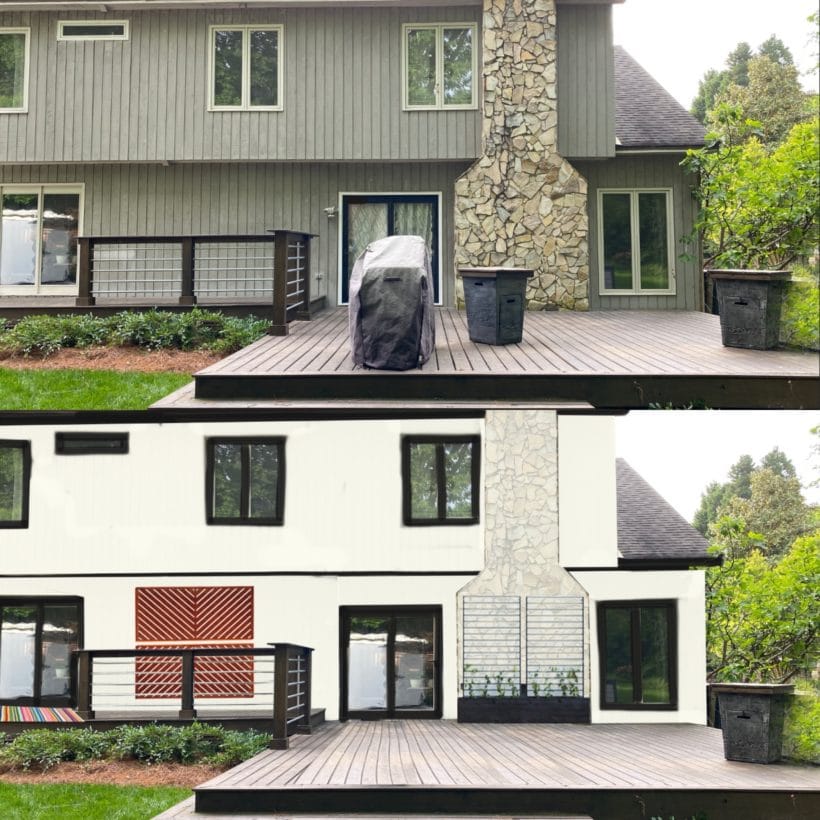
Below you can see photos of what our house has looked like for the past 7 years (the top photos) and what it should look like once the painting is all done (gotta love the power of Photoshop)!
So you better friggin believe that we want this paint job to last as long as possible! So we knew proper preparation was going to be CRUCIAL. Nearly half of the house painting process is preparation! These 5 steps will ensure your exterior paint job will look beautiful and last for years.
Thank you to DAP for sponsoring this post. This post contains some affiliate links for your convenience. Click here to read my full disclosure policy.
5 Steps to Prepare Your House for Exterior Paint
Step 1: Clean the entire exterior of your home.
Before you start painting the exterior of your home, be sure to wash your house from top to bottom. Our painting crew did the pressure washing with a bleach solution. It took an entire day with multiple people working on it. It was no small task. But the surface of our home was squeaky clean when they were done, which will maximize the paint's ability to adhere to the siding and trim. You want your home to dry for at least a day before moving on to the next step. If you choose to pressure wash your house yourself, this is the pressure washer that we have and are obsessed with!
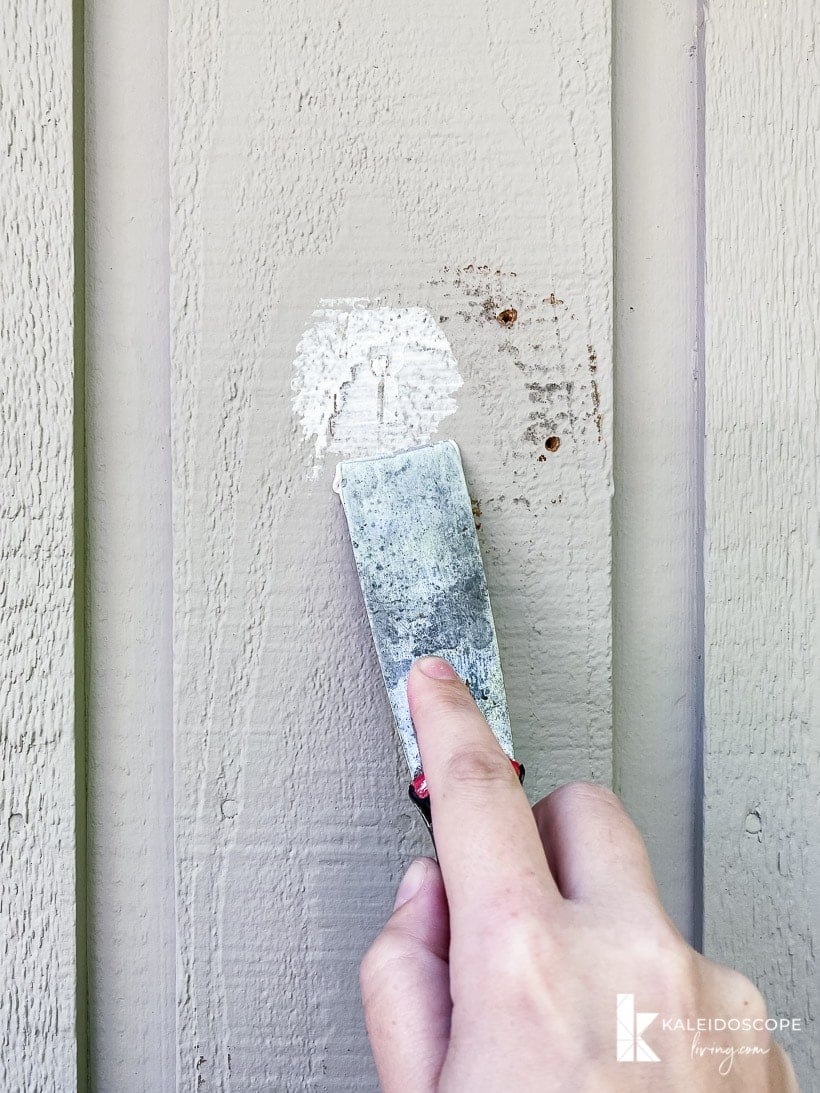
Step 2: Scrape and sand away loose paint.
Once your house is totally dry, all the loose paint needs to be scraped away and then bare spots need to be sanded. Our painting crew did this work as well.
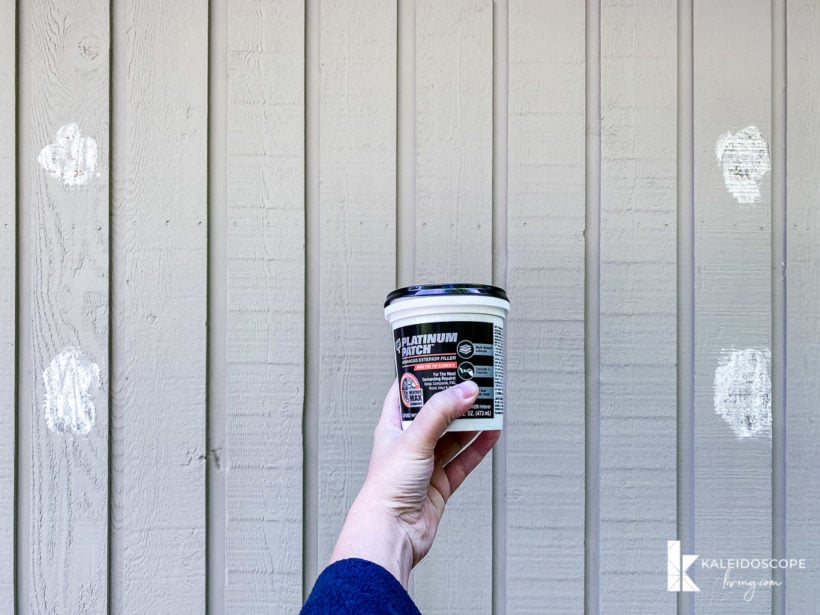
Step 3: Caulk gaps and fill holes.
This was finally a step we could do some of ourselves (may as well reduce the cost of the job as much as possible)! I used DAP Platinum Patch™ Advanced Exterior Filler to fill the holes left by the decorative shelves and outdoor chalkboard we used to have hanging along our back deck. Platinum Patch™ is formulated with weathermax technology for powerful weatherproof protection that prevents discoloration, cracking and crumbling. It results in a waterproof repair that won’t swell, soften, blister or break down. Plus it’s mold, mildew and algae resistant making it perfect for outdoor repairs.
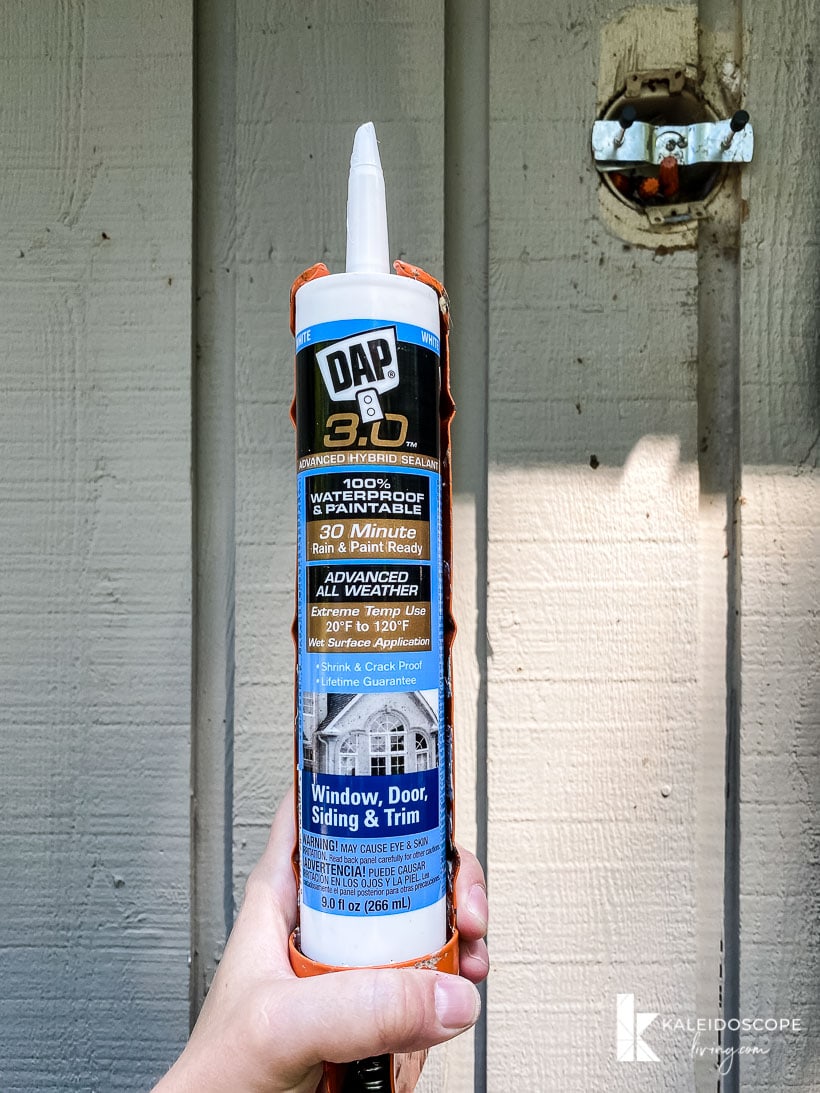
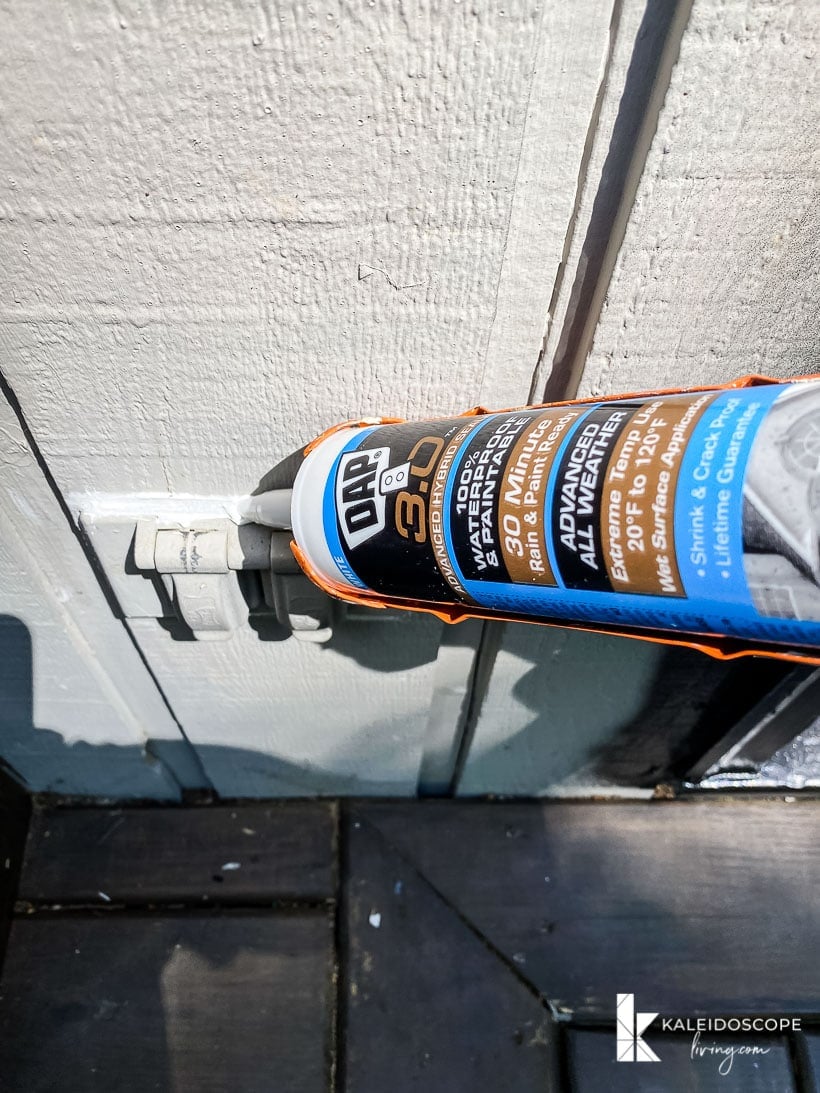
Then we used DAP®3.0™ Window, Door, Trim & Siding High-Performance Sealant to caulk the gaps around our windows, doors and even outdoor outlets. It is 100% waterproof and is water-resistant in 30 minutes. That means you can seal up gaps and cracks just 30 minutes before rain is forecasted (which was super helpful since we've been dealing with rain and off through this entire project).
Step 4: Trim back landscaping as needed.
This part isn't super fun or awesome, but it is necessary. We had to pretty much butcher the shrubs on the side of our house in order for the painting crew to be able to properly paint the siding. Fortunately, we are pretty sure they will grow back.
We were nervous that we were going to have to severely prune our prized fig tree, but fortunately Joe was able to cleverly tie it up and gently pull it away from the house long enough for the painters to do what they needed to do.
Step 5: Prime any bare spots.
Last step! You need to prime any bare or exposed areas or patches to seal any bare wood before you paint.
That's it! Yes, it's a lot of work. If you hire the job out, your painting crew will likely handle all of the prep work EXCEPT trimming landscaping if necessary. We did some of the patching and caulking because as DIYers at heart, we couldn't help ourselves and it reduced the cost a bit! Bottom line… properly preparing the exterior of your house before painting it will look better and last longer.
Other posts you may enjoy:
- Porch Decorating Ideas and Designer Tips
- 4 Steps to Restoring Teak Furniture
- Screened-In Porch REVEAL + Outdoor Decorating Tips
- How to Make a DIY Outdoor Chandelier
- DIY Utility Box Cover that Opens Easily
- DIY Fire Pit Ideas + Buying Options for Non-DIYers
Wondering how I approach transforming rooms and spaces in our home? Check out Designer in a Binder®.

And if you want exclusive content and behind-the-scenes sneak peeks, be sure to subscribe before you head out!

Last Updated on May 6, 2025