The Easiest DIY Desk Ever
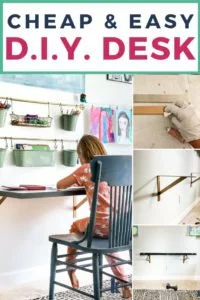
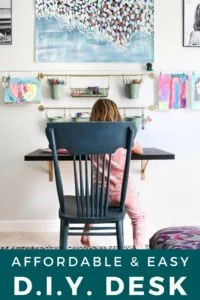
If you need a desk that won't take up a ton of room that it is affordable and easy to make, this DIY desk tutorial is for you! The floating desk design takes up very little floor space and it's easy enough for even inexperienced DIYers to tackle.
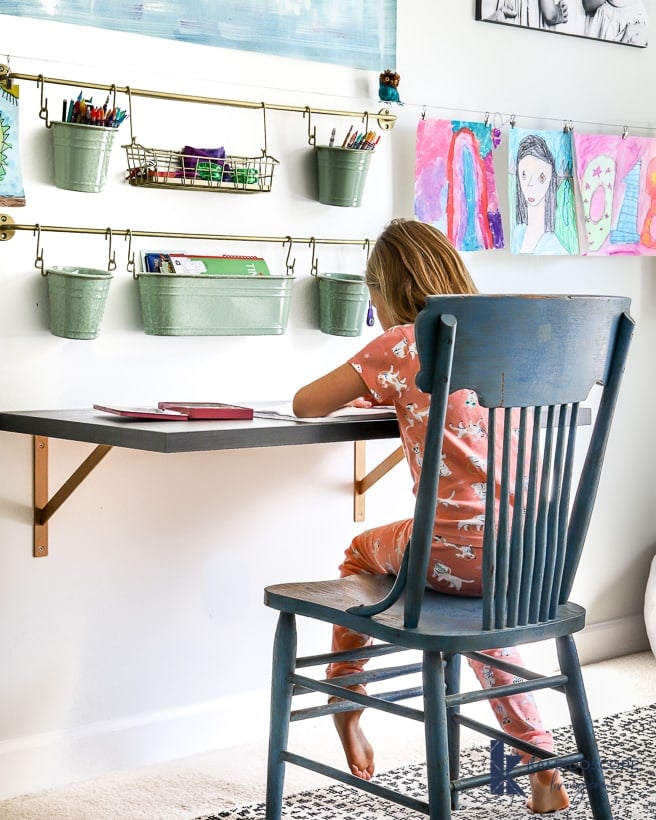
We have been trying to get a bit more organized around here, and that has included tackling some minor projects in our girls' bedrooms.
We loved the customized IKEA kid's table that used to sit in Avery's room, but now that our girls were 8 years old, they were way too tall to sit at it comfortably. So, we sold the table and chairs that I transformed and put this DIY floating desk in its place. It is one of my favorite IKEA desk hacks ever, and it was possibly the easiest project we've tackled in the past year. Plus, it was super affordable!
Follow the step-by-step tutorial below to learn how to make your own DIY desk just like it.
This post contains some affiliate links for your convenience. Click here to read my full disclosure policy.
DIY Floating Desk Tutorial
Materials Needed
- Electric driver
- Screws & drywall anchors (if needed)
- Tabletop or wood piece to form desktop
- We used the LINNMON table top from IKEA (47 1/4″ x 23 5/8″ in the black/brown color)
- Brackets
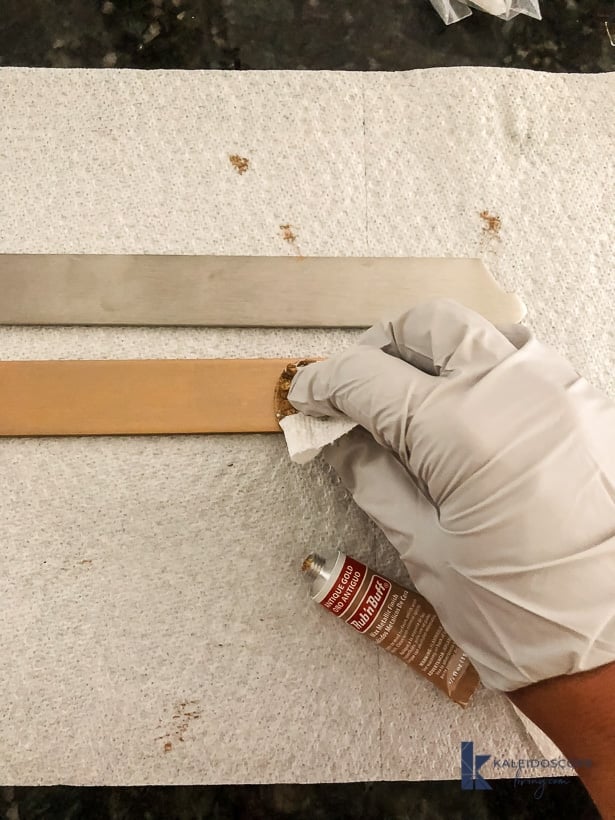
- Rub N' Buff (if you want to change the color of your brackets like I did)
- I used the Antique Gold color
- Level
Steps
1) If you want to alter the color of your brackets, use your Rub N' Buff before you get started with the desk installation.
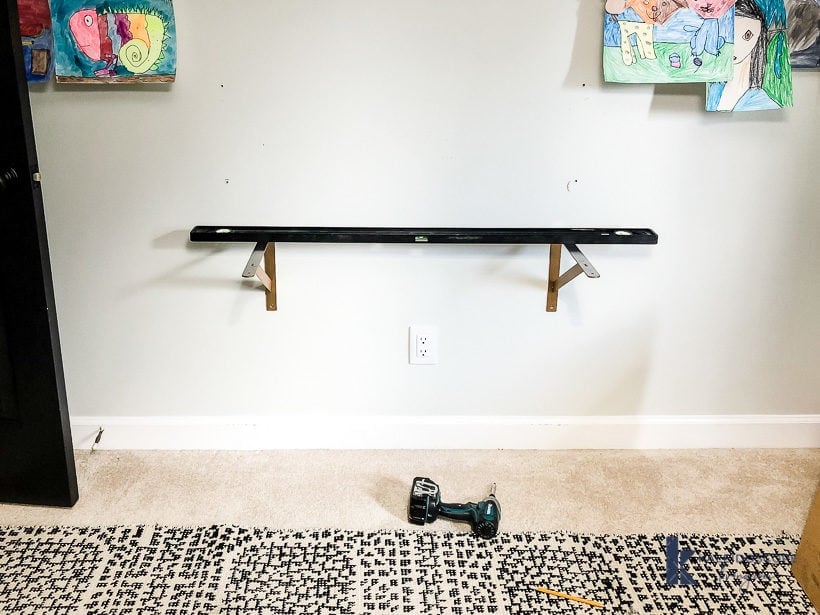
2) Decide on where you want to place the brackets on your wall. We spaced them so that we were able to screw them directly into wall studs. Be sure to level them as you secure them to your wall.
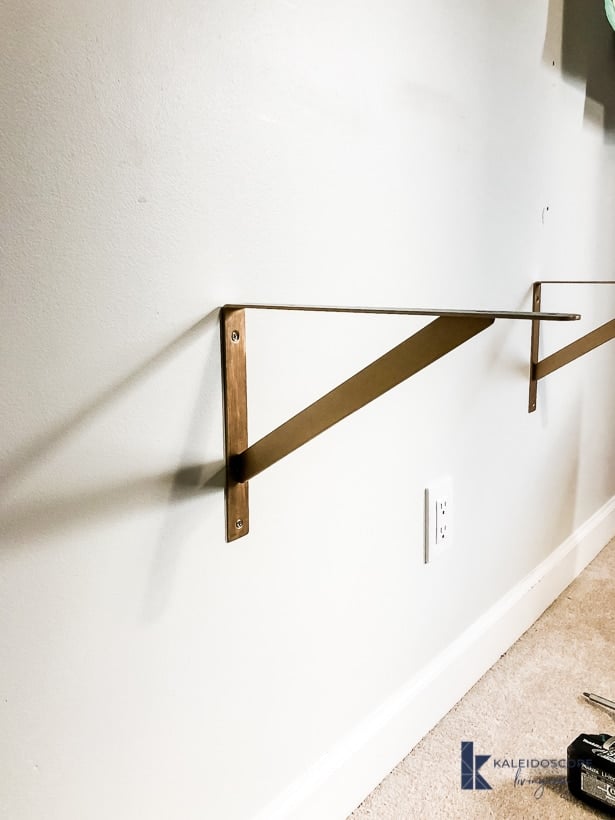
3) Attach whatever table top you are using to your brackets. We used 2 screws for each side, so it's nice and secure.
That's it! I told you it was easy! We love how it turned out.
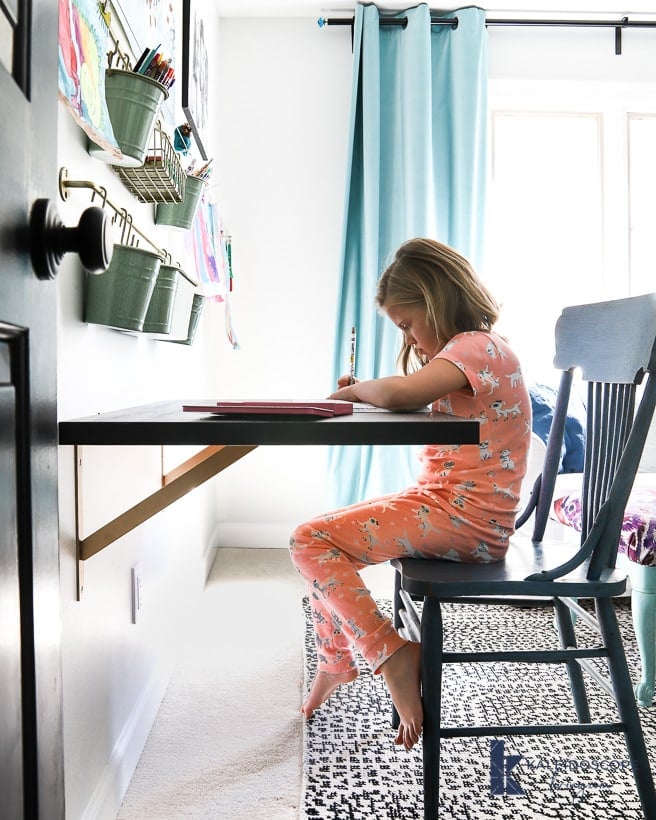
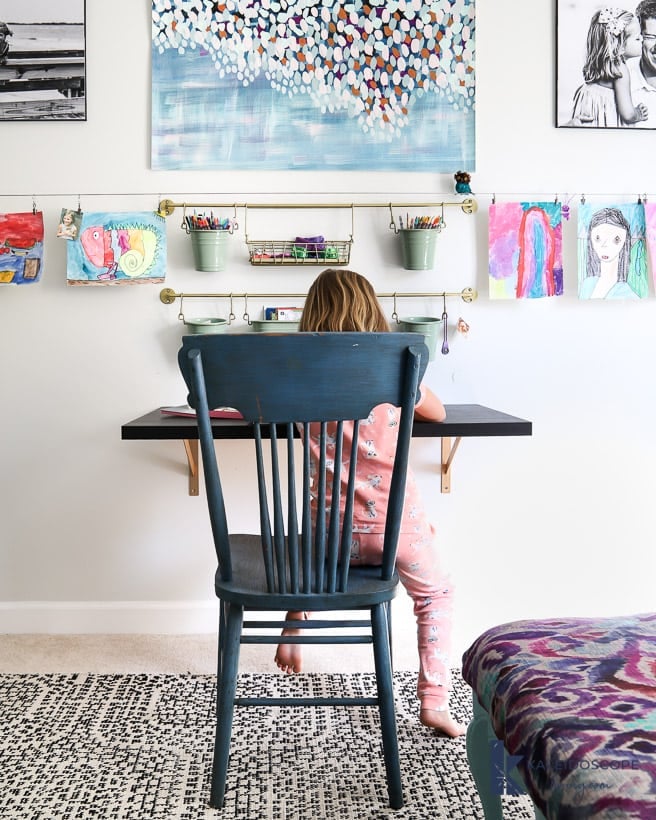
What do you think?! Are you tempted to make one for yourself? Be sure to check out our other DIY furniture posts before you head out :)
More DIY Furniture Posts
Wondering how I approach transforming rooms and spaces in our home? Check out Designer in a Binder®.
And if you want exclusive content and behind-the-scenes sneak peeks, be sure to subscribe before you head out!

Last Updated on October 16, 2024

What’s the color on the door? Is it the same on the chair?
They are two different colors. The door paint color is Midnight in the Tropics by Behr.
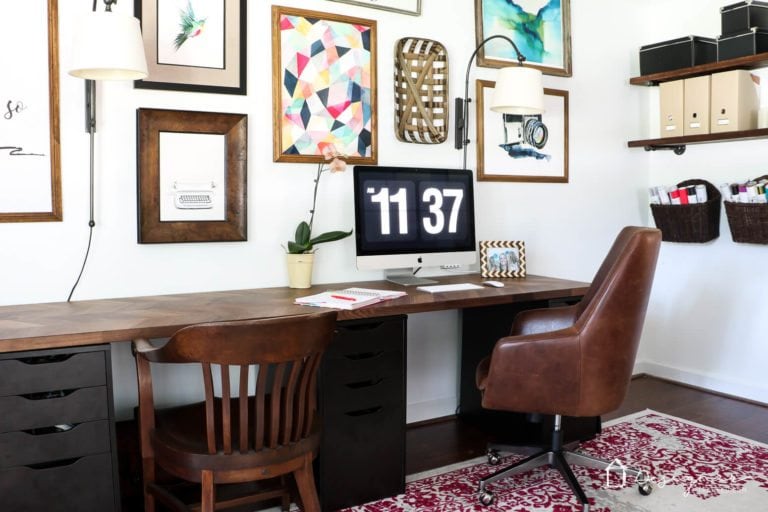
Where did you get the baskets l. Working on the same project for my boys :)
The organizers hanging on the wall were from the kitchen section of IKEA :)