Custom Bedroom Art for the Mr. and Mrs.
Last Updated on March 3, 2022
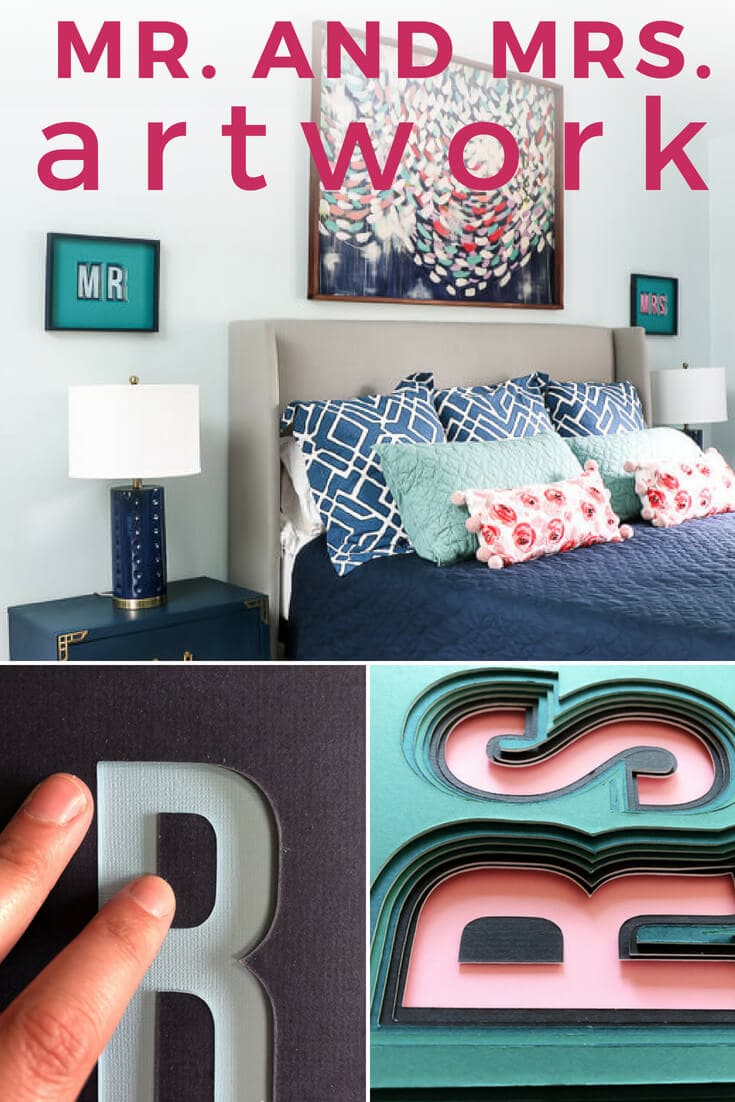
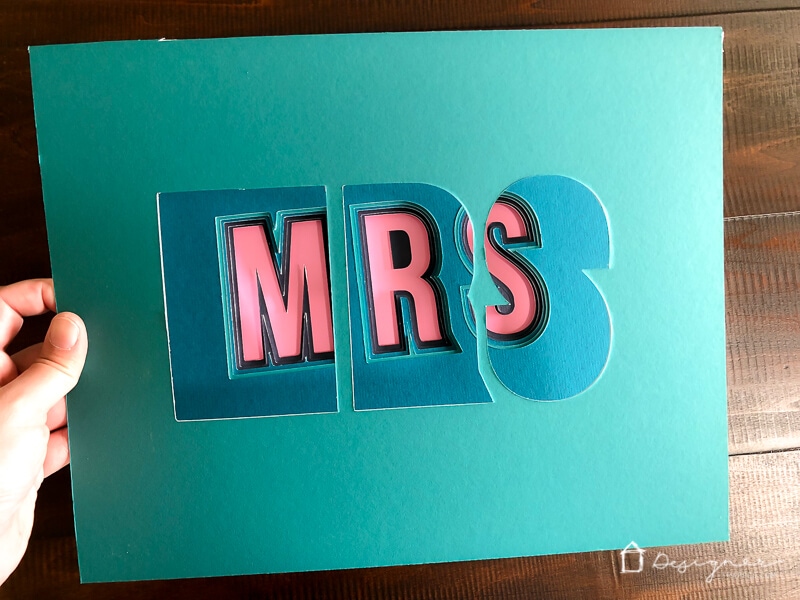
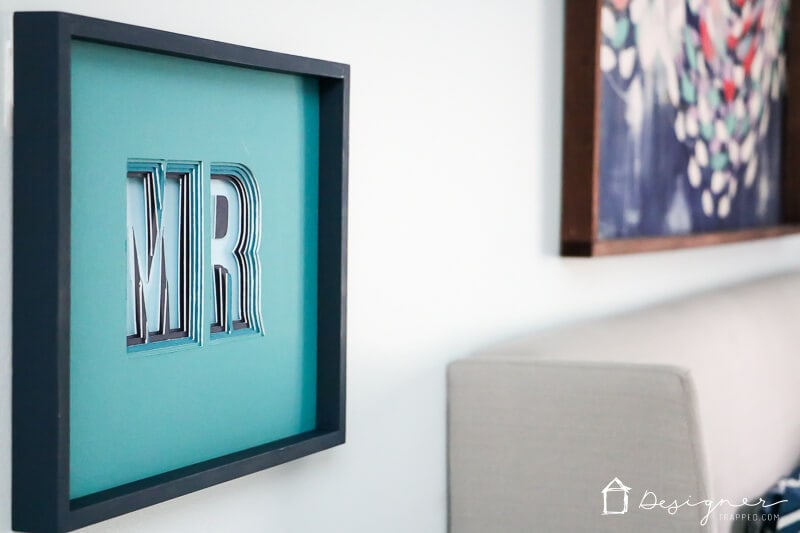
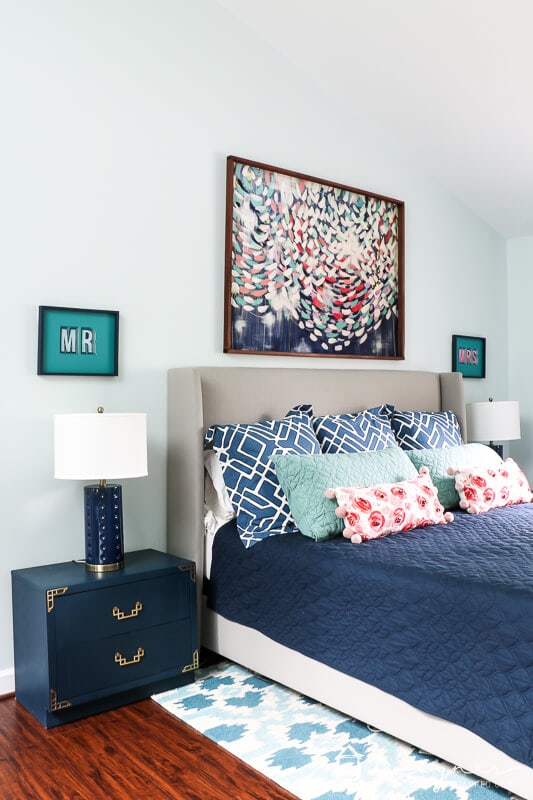
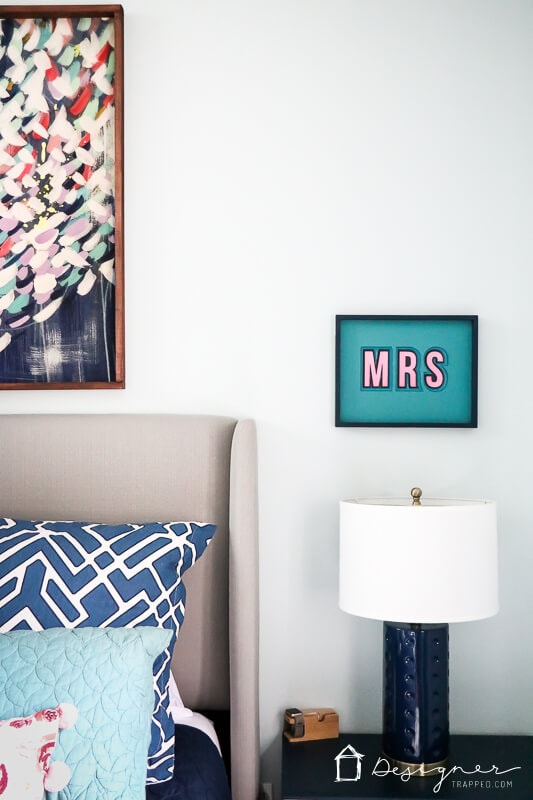
This Mr. and Mrs. bedroom art is perfect for married couples! The 3D effect makes it incredibly unique. Use any colors to completely customize the look!
 Thank you so much to Cricut for sponsoring this post. This post contains some affiliate links for your convenience (which means if you make a purchase after clicking a link I will earn a small commission but it won't cost you a penny more)! Click here to read my full disclosure policy.
I'm so friggin' excited about this project! I've been waiting on the Cricut knife blade ever since the Cricut Maker was released so that I could tackle this project. Well, I have not been disappointed! This Mr. and Mrs. bedroom art project was a BEAR to figure out, but I powered through and figured out all the hard stuff for you. So now you can make it easily for yourself!
DIY Custom Bedroom Art Tutorial
Materials Needed
- 6 pieces of 4 ply mat board in colors of your choosing (I used 3 colors total–2 layers per color)
- I purchased large sheets of 4 ply mat board at Hobby Lobby and used an exacto knife to cut them down to size
- You can buy 11 x 14 uncut mat board online–click here to see some options
- Cricut Maker cutting machine
- If you are curious about cutting machines in general, you can read my comparison of Silhouette vs. Cricut in this post.
- You can read my full review of the Cricut Maker in this post.
- I use my Cricut machine all the time. You can check out all of my Cricut projects here.
- Cricut knife blade
- 2 frames in a size of your choosing (I used 11 x 14 inch frames)
- 1 piece of card stock in whatever color you choose (this will serve as very bottom layer of your art)
- Painter's tape
- Cricut cutting mat (I used the standard grip 12 x 24 inch mat)
Steps
1) Click here to access the cut file for this bedroom art that I created for you. Once you open it click “customize.”
2) Then watch the video tutorial below. It covers all you need to know to cut out the various layers with your Cricut Maker. Cutting with the knife blade takes a while because it makes multiple passes per cut (for the 4 ply mat board, it makes 8 passes). So, be prepared. This is not a super fast project. Also, as I mention in the video, be sure to calibrate your knife blade before using it for the first time. Calibration IS quick and easy :)
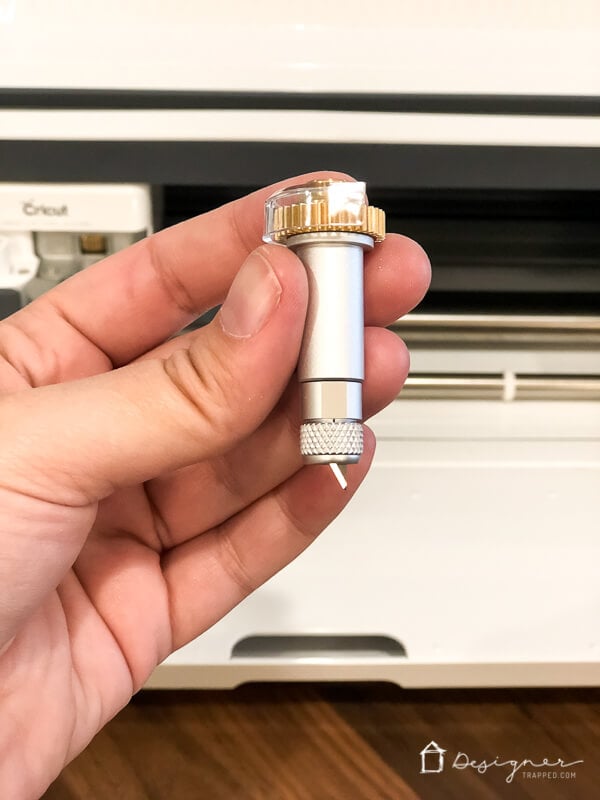
3) Calibrate your knife blade BEFORE you make any of your cuts for this project. Remember, the knife blade is basically like an exacto knife for your Cricut machine and it makes multiple passes for each cut, so it needs to be VERY precise. Here's a peek at the Cricut knife blade.
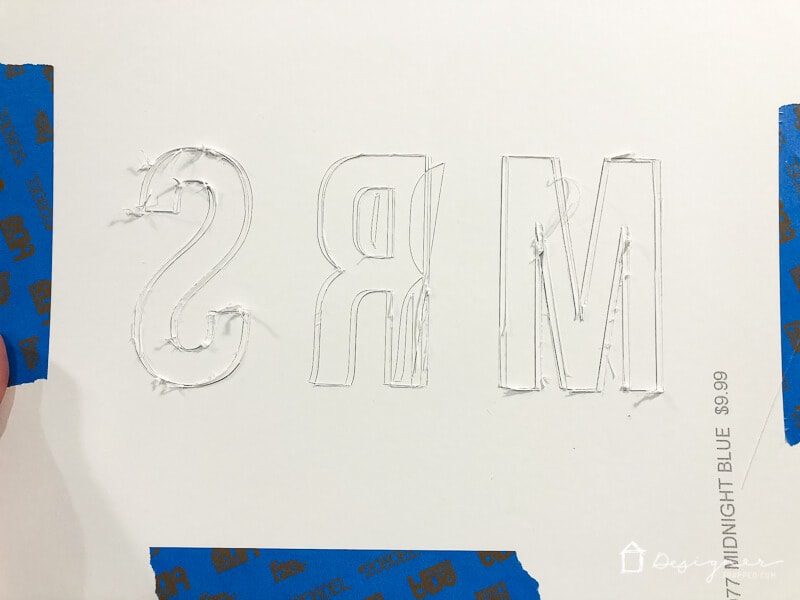
I didn't calibrate my knife blade before using it and this is what my first cut looked like. I was more than slightly panicked. But after I calibrated it, my cuts have been perfect and clean every time. YAY!
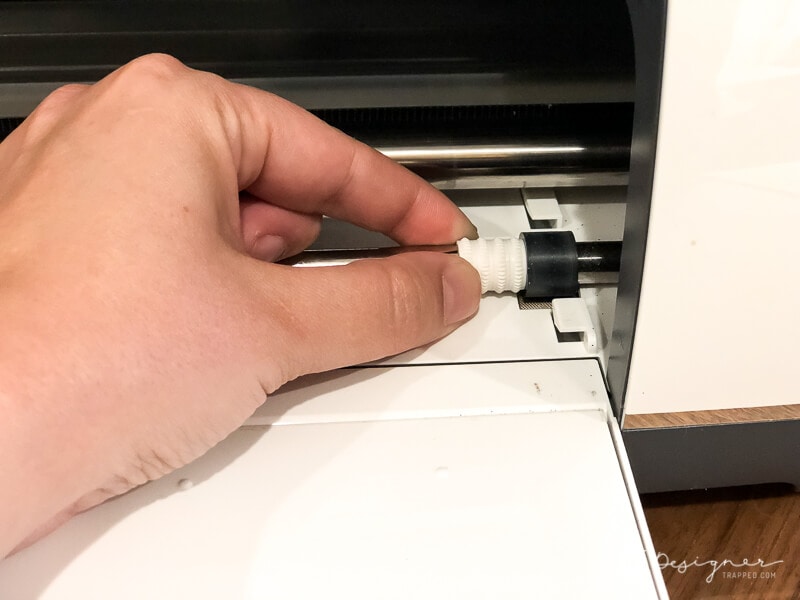
4) After calibrating your knife blade, move all of your star rings to the far right (so that they don't make an indentation on your mat board).
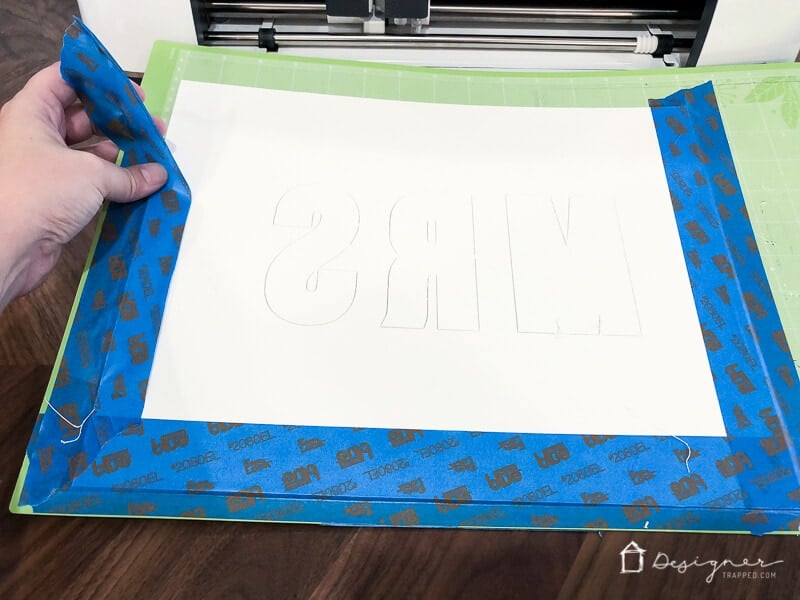
5) Next, place your mat board (which should already be cut to size) face down on your mat and tape it in place using painter's tape. This is necessary because the knife blade uses a lot of force to cut, so the adhesive on the mat isn't enough to keep the mat board in place. Because you placing the mat board face down, be sure to mirror all of your cut. Repeat this step until all 6 layers of your bedroom art are cut.

After you complete each cut, carefully remove your painters tape and remove your mat board from the cutting mat. Just look at that beautiful cut! With some of the more intricate cuts, you may have to do a little bit of clean up by pulling off white “lint” that results along the edges of your cuts because of the 4-ply nature of the material.
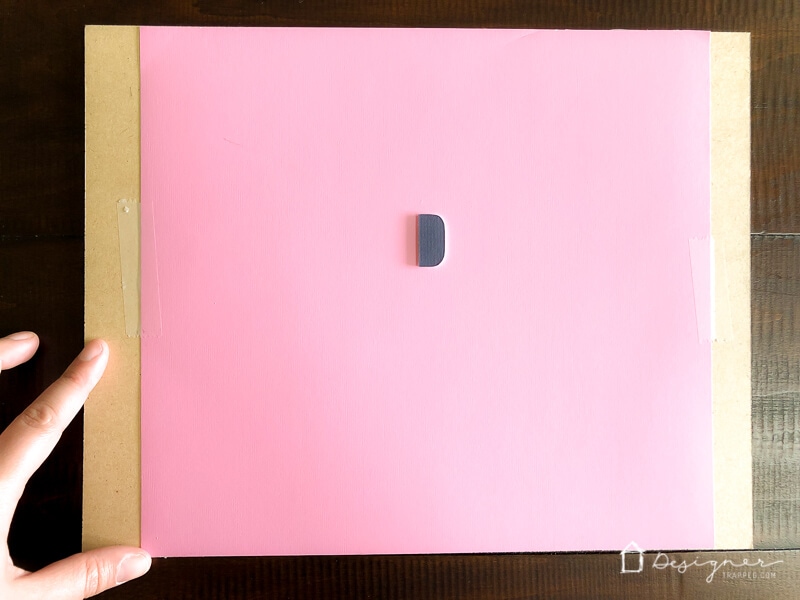
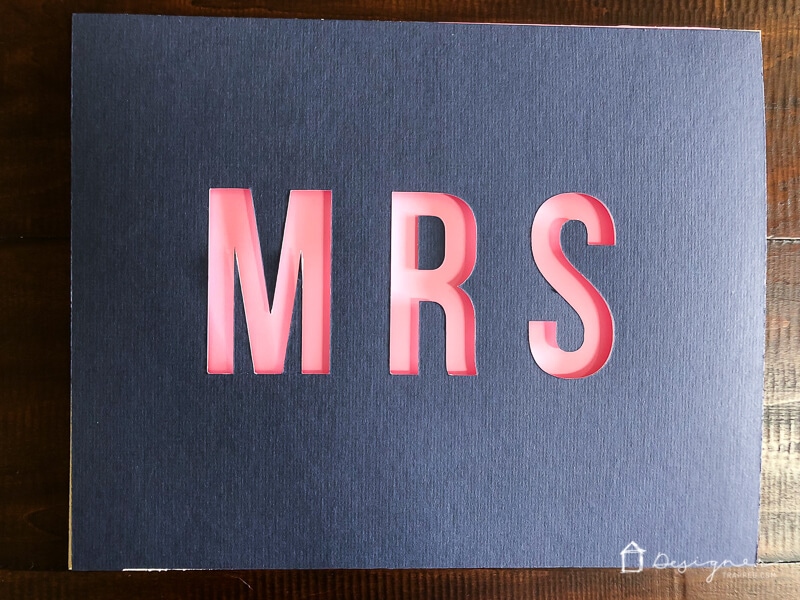
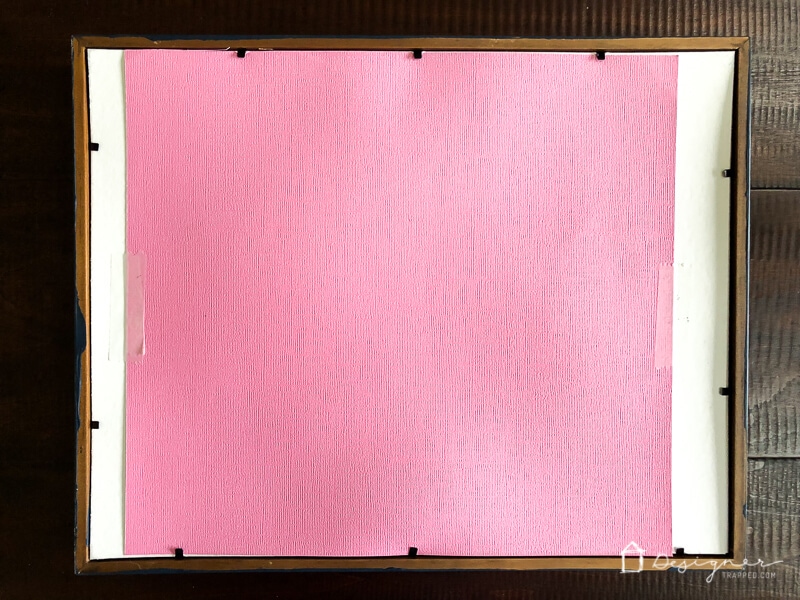
6) Once all your layers are cut, you are ready to assemble your Mr. and Mrs. art. Start by placing a piece of card stock cut to the size of your frame on a table. Next, lay the layer of mat board with the thinnest font on top of the card stock–be sure to include the inner portion of the “R” that was cut out on this bottom layer only. Then place the additional layers on top, going in order of the thickness of the font. Your top layer will the the largest font.
7) Once all your entire stack is done, place it inside your frame. Depending on how thick your frame is, you may have to come up with a creative way to secure them inside the frame. I was lucky and was able to use the metal tabs on the frame to hold mine in place, but there was just barely room. In fact, I had to remove the back frame piece to make it all fit.
8) Hang it up and enjoy :)
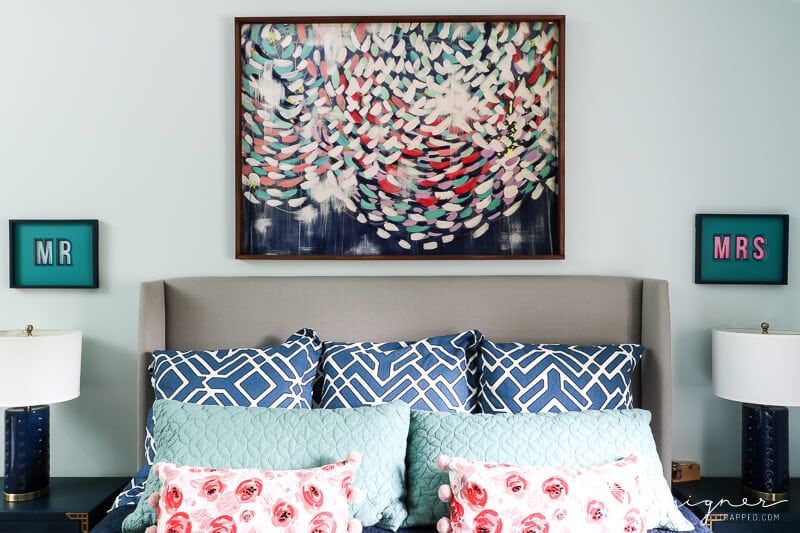
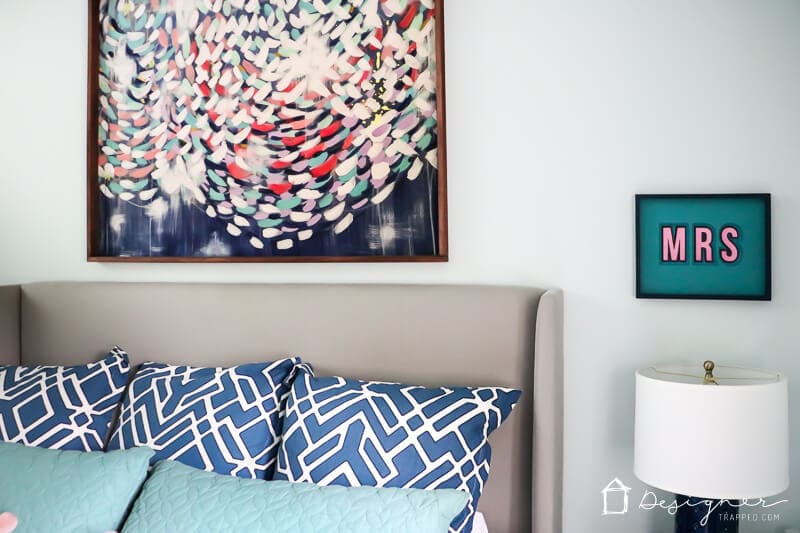
Take a look at how mine turned out.

Before you head out, be sure to grab my free guide that will help you design any space in your house!

[mv_create 1 11 200 2016 key=”1″ type=”list” title=”Most Popular Projects” thumbnail=”</span><a href=” https designertrapped com wp content uploads diy home decor projects blog jpg target=”_blank” a span]

This is a sponsored conversation written by me on behalf of Cricut. The opinions and text are all mine.

Hey Tasha,
You have done nice work and I love your DIY, but I loved more that artwork painting hung on your wall. Can you please tell from where you bought?
Hi! Thank you :) You can find links to the art in our bedroom in this post: https://designertrapped.com/colorful-master-bedroom/