DIY Art Ledge: An Easy Step-by-Step Tutorial
This simple DIY art ledge is a stylish way to display your favorite art. And since you can make it as large as you need to, it's perfect for displaying large and oversized art!
In the 9 years since I started this blog I have tackled countless DIY projects. And this DIY art ledge is one that I get asked about the most! It usually comes in the form of “can you share a link to where you bought that art ledge?!” But folks, I don't think you can buy an art ledge this big which is why we made our own. So I always wind up sharing the link to this tutorial! You may be surprised to hear that this is truly one of the easiest DIY projects we’ve ever completed. You could even have the wood cut to length at your home improvement store to make it easier!
I have tried lots of different art arrangements and ideas on the large wall in my family room over the past few years, but everything felt a bit off. And I didn't want to spend a fortune, so I started brainstorming DIY wall decor ideas and LOVE this DIY art ledge that we came up with. I loved the pipe and reclaimed hanging frames we made a few years ago for our old family room, but I wanted even larger art on the wall!
This post contains some affiliate links for your convenience. Click here to read my full disclosure policy.
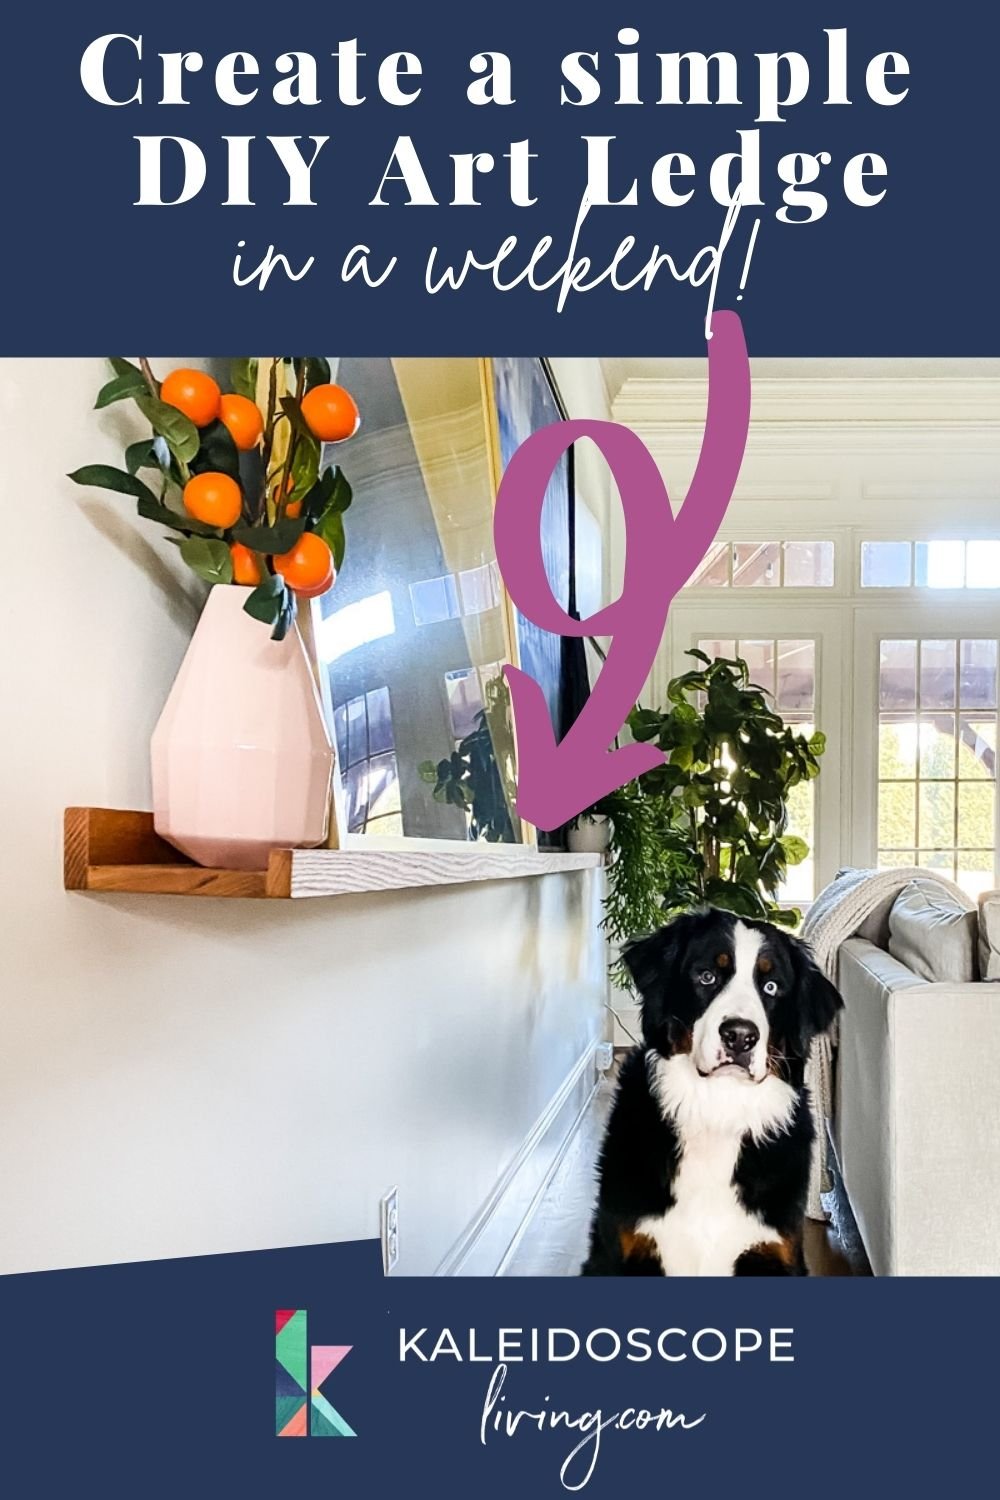
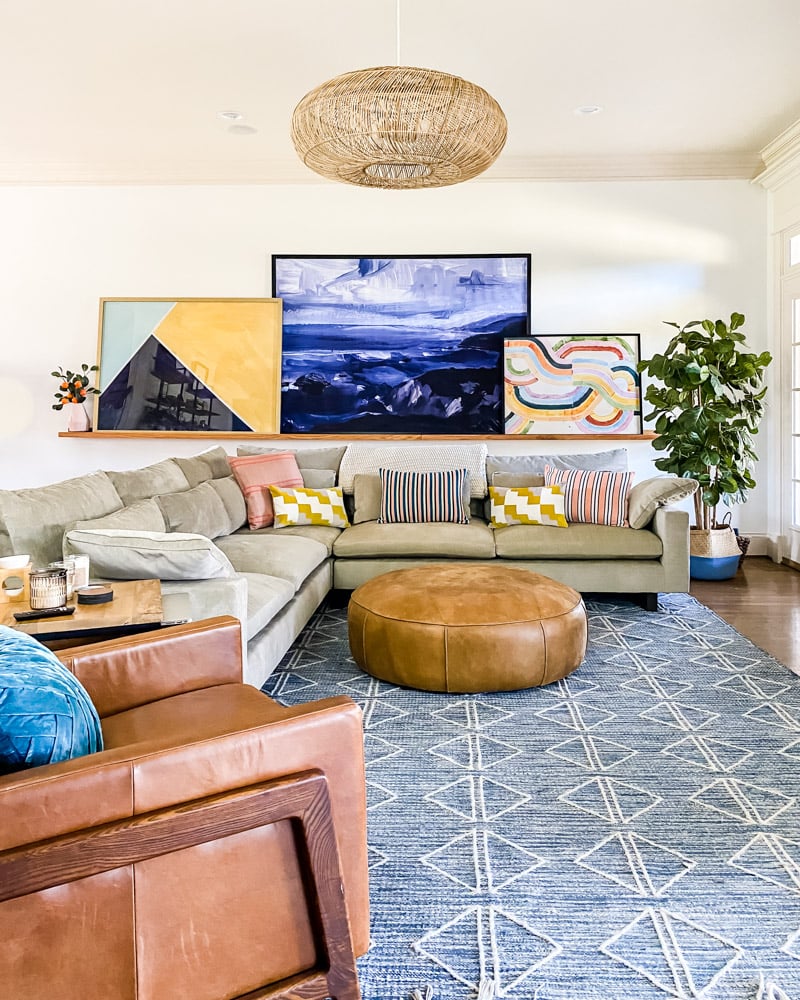
This art ledge we designed and made was the perfect solution. I love that it spans the whole length of the wall so it is a big impact and I can easily switch my art around (right now I am obsessed with these gorgeous pieces from Minted and Juniper Print Shop). Bonus it was simple to design and build to fit our space. You can easily customize this simple DIY to fit your space!
We loved the ledge so much that when we moved to our new house we brought it with us and put it in the family room again. I played around and I love the arrangement of art I landed on. And the best part is with the art ledge it is simple to move and change the art with no holes in the wall!
How to Make Your DIY Art Ledge
We decided to take make our art ledge the whole length of the wall and I’m so glad we did. Initially, we made it about 13 feet long. But after it was hung and I looked at it, I knew it would be better if it went the entire distance of the wall. So, we took it down and expanded it. The good news is for the 18-foot span, we would’ve had to piece shorter lengths of wood together, no matter what, so no money was lost when I changed my mind.
Supplies Needed for Making Your Art Ledge
- Wood of your choice (we used red oak)
- We used 1 x 4s to form the back of the ledge, 1 x 6s to form the bottom of the ledge, and 1 x 2s to form the front of the ledge
- You can have all of your wood cut to length at the store if it's easier for you
- Danish oil or hemp oil
- Wood glue
- Clamps (these are the clamps we use)
- Screws and drill driver
- Handsaw or electric saw if you plan to cut the wood yourself
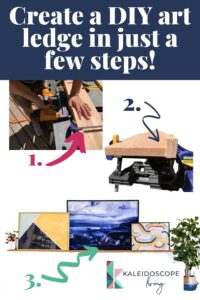
Steps to Make Your DIY Art Ledge
Step 1
The first thing you want to do is measure the length that you want your picture rail to be. In our space, the distance from one wall to the other was 15′ 7″.
Step 2
Head to your local home improvement store or lumber store to pick up the wood of your choice. As I mentioned, we used red oak. 18-foot length pieces were not sold, so we had to purchase 12′ and 6′ lengths of each size of wood that we needed. We essentially built 2 separate ledges and hung them on the wall side-by-side to get the length we needed.
We used 1 x 4s to form the back of the ledge, 1 x 6s to form the bottom of the ledge, and 1 x 2s to form the front of the ledge (which holds all the art in place).
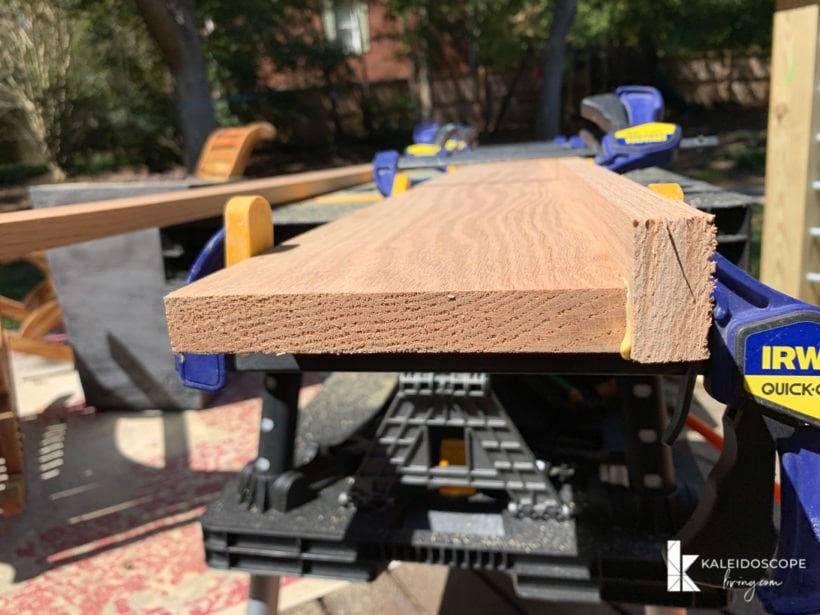
Step 3
Cut all of your wood pieces to the exact same length. (As I mentioned before, you can have this done at the store where you purchase the wood and save yourself that step!)
Step 4
Finish your wood in whatever way you choose. We wanted to keep a natural look and just enhance the beauty of the wood, so we used Danish oil. Hemp oil would also be a great choice.
Step 5
Attach the bottom piece to the back piece using wood glue and screws. I recommend that you apply the wood glue and then clamp the pieces together as you drive the screws in.
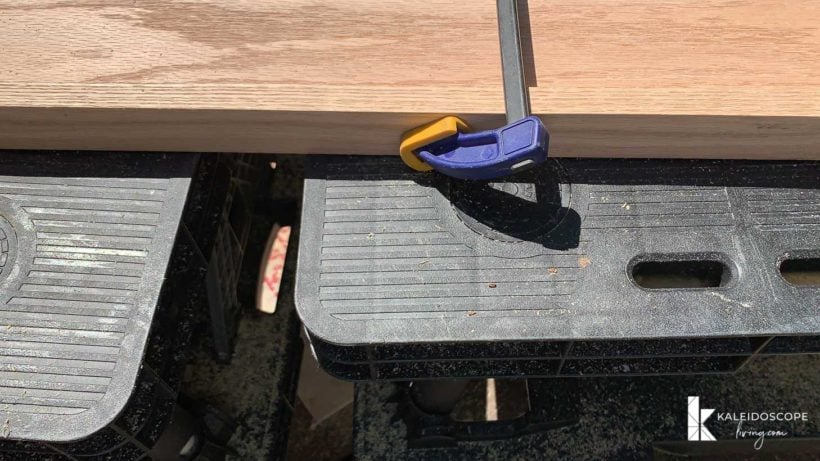
Step 6
Repeat that process to attach the front rail. The only difference in this step is that I recommend using wood glue and finishing nails to attach the front piece because you don’t want to see exposed nail heads.

Step 7
Locate the studs in your wall and attach your ledge to studs using whatever screws are appropriate for your wall type. We did not join our ledges together to create the nearly 16-foot span. We just hung them side-by-side on the wall. You can't even see where they butt up next to each other unless you get close to them and really hunt for it!
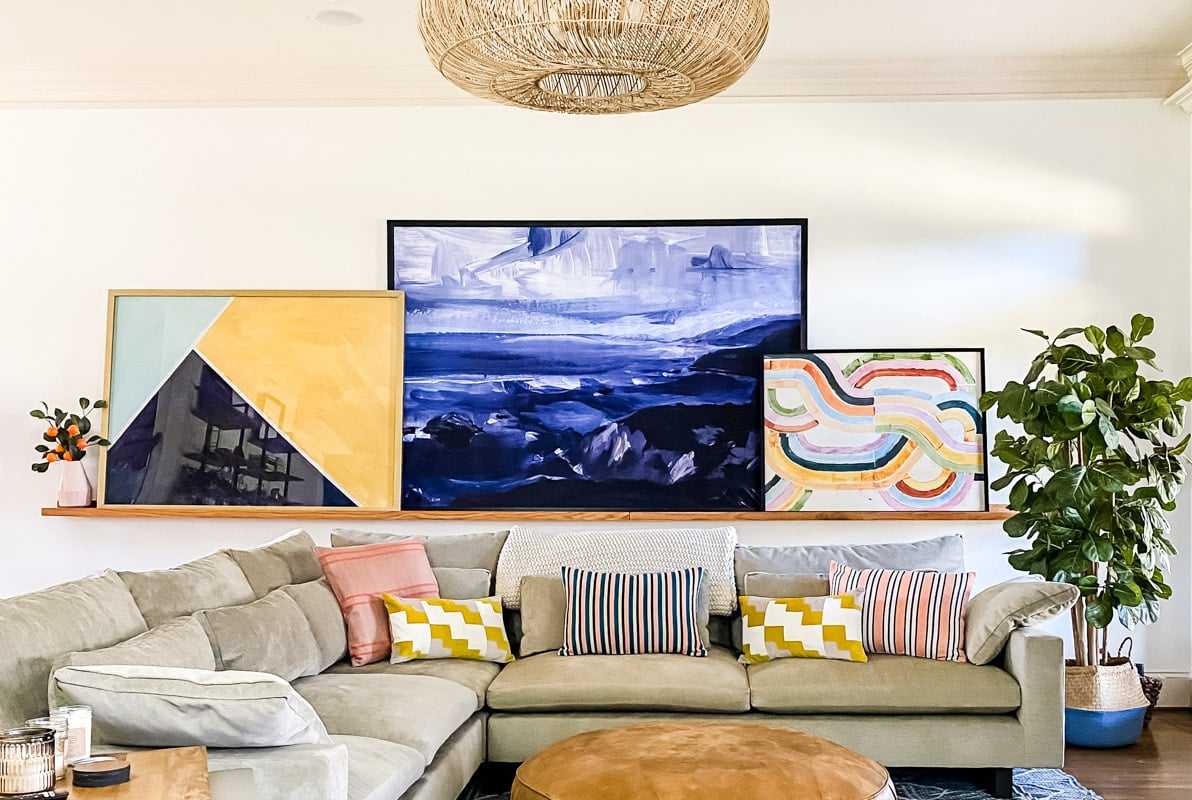
That’s it! We couldn’t possibly love this picture rail more. We have a huge wall with no windows and I love oversized art. This art ledge is the perfect way for us to add color and art of an appropriate scale for this space. Aren't you shocked at how simple it is? This is such an easy project, you can totally do this quickly and easily for your own room. Just customize your length and finish and collect some beautiful art and pictures to display!
Other posts you may enjoy:
- 8 Interior Design Mistakes You Don’t Even Know You are Making (and How to Fix Them)
- How to Display Art On Any Smart TV + Affordable TV Update
- 16 Gallery Wall Ideas (and Tips) To Inspire You
- How to Choose Art that Flows: Tour Our Colorful Artwork
- Living Room Art: Top Designer Picks
- Why You Need Big Wall Art (and where to find it!)
- Stylish Family Photo Wall Display Ideas
Wondering how I approach transforming rooms and spaces in our home? Check out Designer in a Binder®.

And if you want exclusive content and behind-the-scenes sneak peeks, be sure to subscribe before you head out!

Last Updated on August 5, 2022