DIY Pipe Shelves- Easiest Tutorial EVER
DIY pipe shelves are affordable and super stylish. Learn how to make them yourself with this easy tutorial.
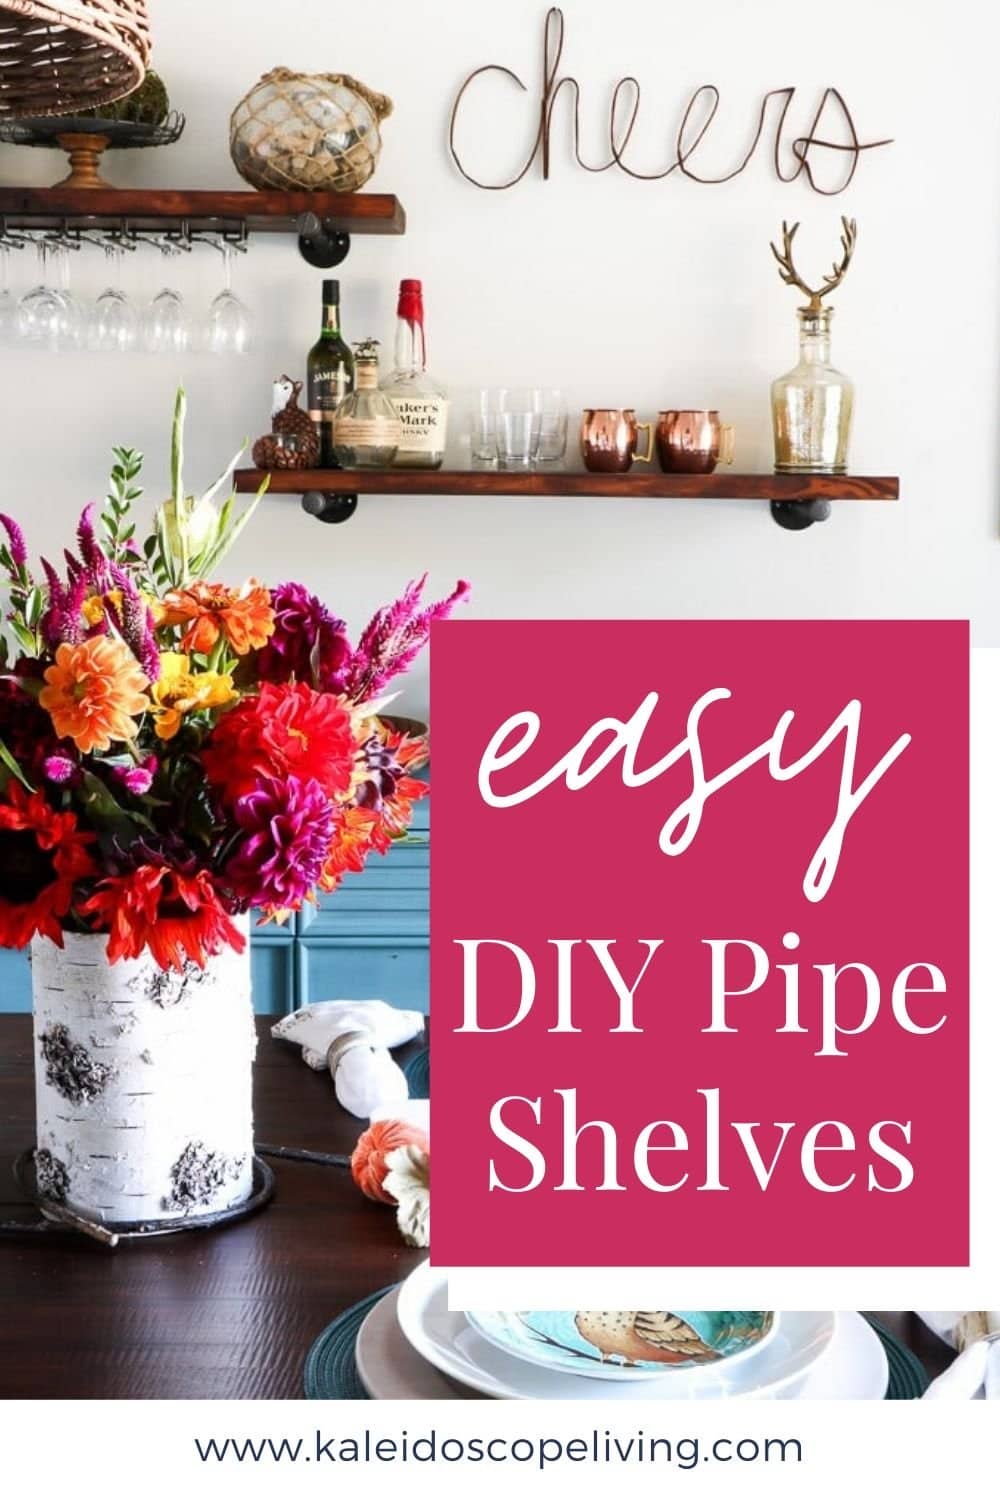
Wow y'all… This is kind of embarrassing. We made these DIY pipe shelves almost 2 years ago for our dining room and I am just now getting around to posting the tutorial. Sorry about that (I'm hanging my head in shame). But, sooooo many of you have asked about the DIY pipe shelves tutorial is finally here. Better late than never, right?
The good news is that I can report that we still LOVE our DIY pipe shelves and they are holding up perfectly. If pipe shelves aren't your jam, we have a whole blog post full of tutorials for a huge variety of DIY shelves . This is truly one of the easiest industrial shelving projects out there and the hardest part about it is cutting your wood to length (but rest assured the friendly folks at your home improvement store will generally do that for you). Otherwise, the installation could not be more simple.
This post contains some affiliate links for your convenience. Click here to read my full disclosure policy.
DIY Pipe Shelves Tutorial
Materials needed:
- 2 x 12 pine boards (cut to whatever length you want your shelves to be)
- 3/4 inch gas pipe (amount varies by project size). We used gas pipe since it is already black. NOTE: If you use a different diameter of pipe, all of your fittings will need to match that same diameter.
- Floor flanges (two per shelf–we could not find black floor flanges so we spray painted ours black)
- 12 inch Steel nipples (two per shelf)
- 3/4 inch caps (two per shelf)
- 3/4 inch steel two-hole pipe straps (we spray painted ours black)
- Wall anchors (appropriate for your wall construction/material and weight of shelves)
- Screws (appropriate for your wall construction/material and weight of shelves)
- Wood stain (we used Brown Mahogany gel stain–it’s my favorite stain!)
- Protective top coat (we used this water based High Performance Top Coat in Satin finish)
- Wine glass rack (optional)
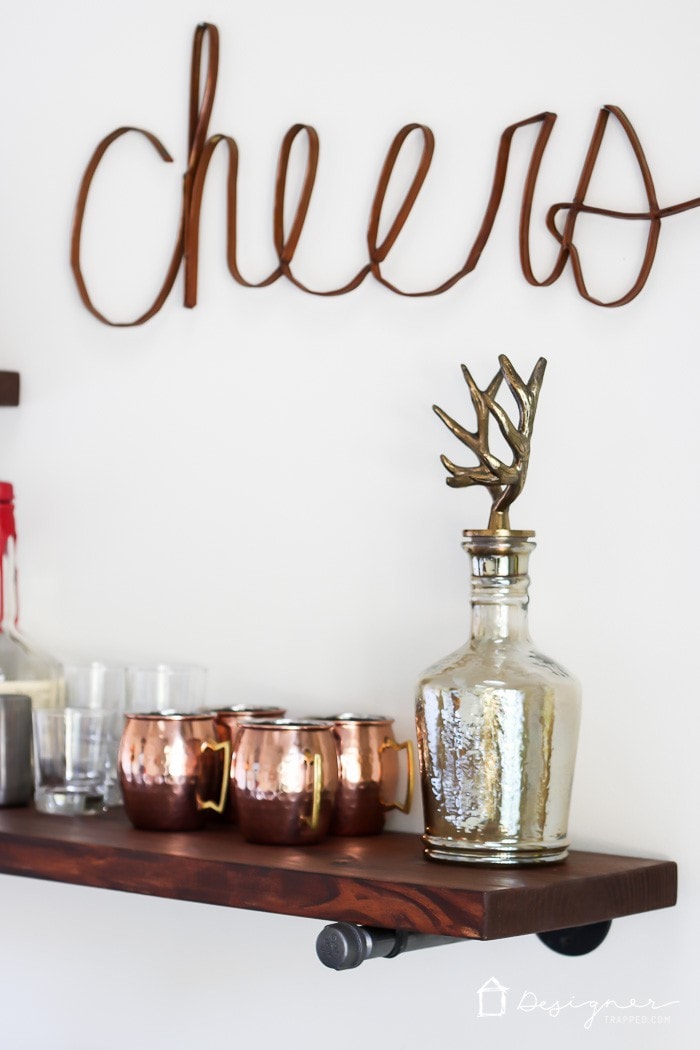
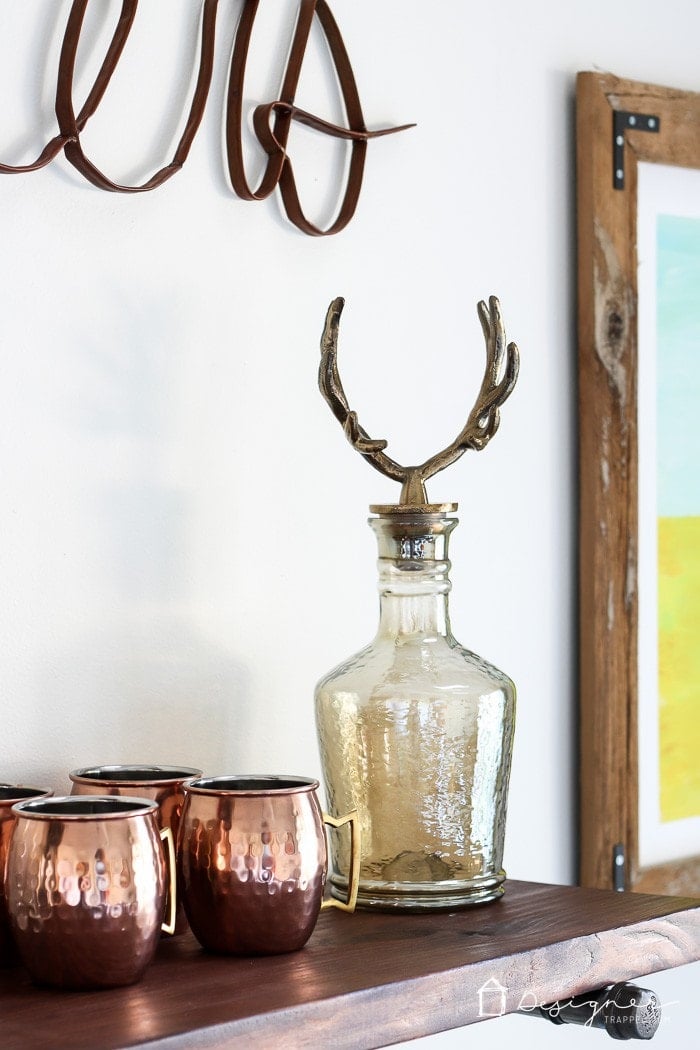
And because I know some of you will ask, we got that awesome scrap iron Cheers sign here :) You can also find a full source list for the other items in the room (including the other DIY projects) at the end of this post.
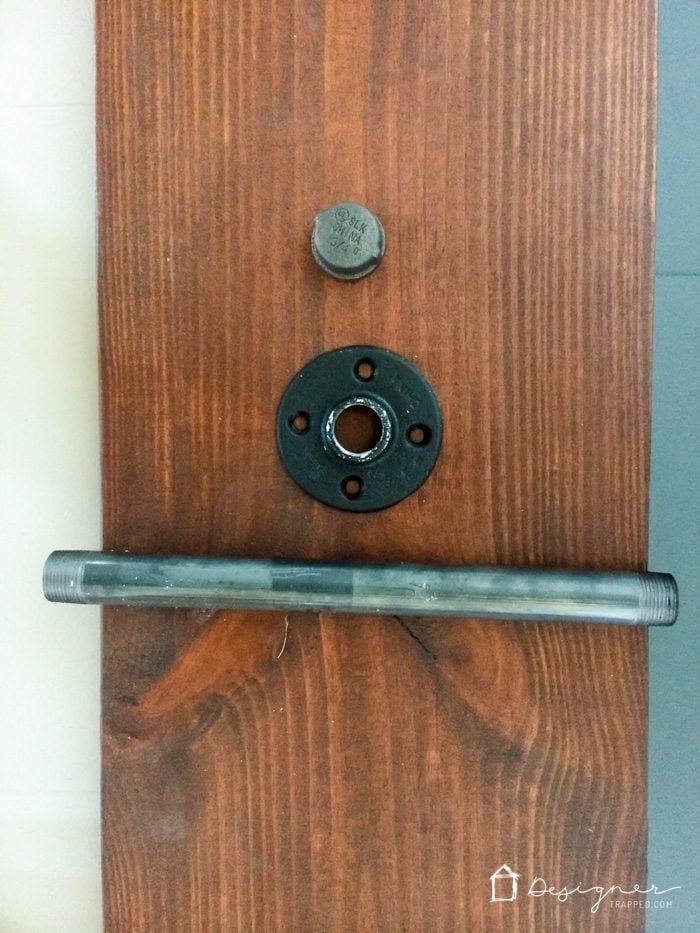
Steps:
1) Cut your pine boards to the length you want your shelves to be and stain them.
2) Assemble your “brackets.” To do this, screw one end of each steel nipple into a floor flange on one end and into an end cap on the other end. These will form the brackets for your shelves, so you need at least two completely assembled brackets per shelf (you may need additional support if you plan for shelves longer than 4 feet or so).
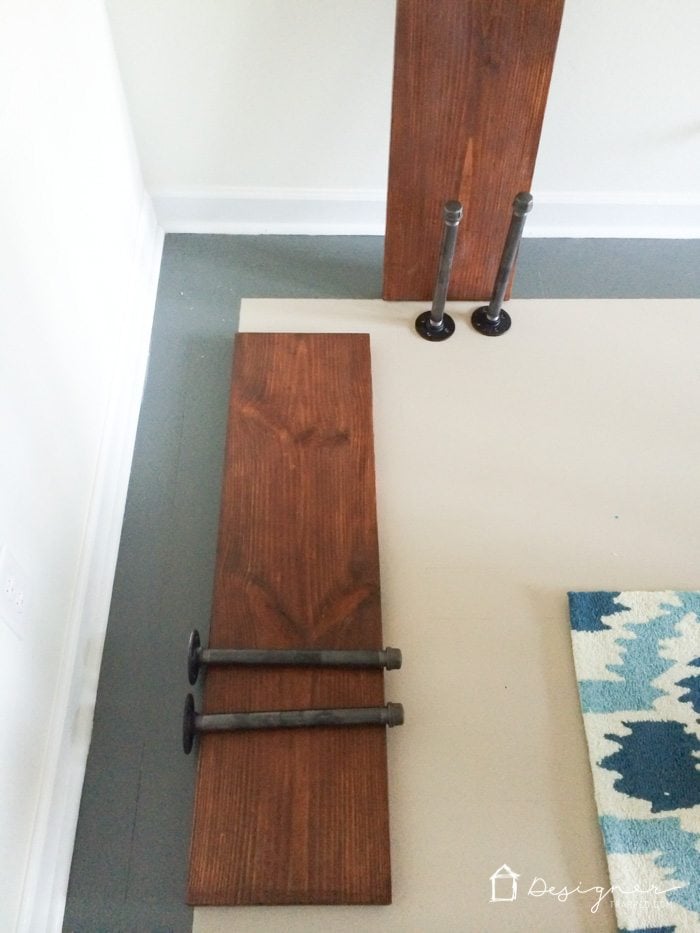
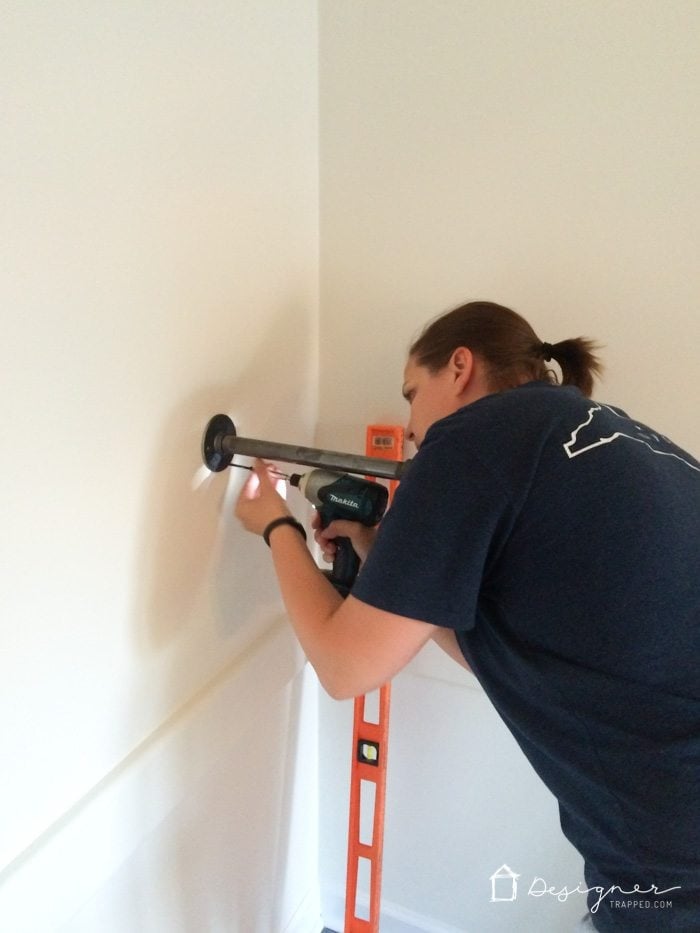
3) Attach your assembled brackets to your wall by screwing an appropriate screw/fastener directly through the holes on your floor flanges. You will want to be sure to select a screw with a large enough head to fill the hole and firmly hold the floor flange in place.
4) Place your wood boards on top of your brackets and use 3/4 inch steel two hole pipe straps to secure your shelves to the brackets. We used two straps PER bracket (one on the front and one in the back, for a total for 4 per shelf). This serves TWO purposes: 1) it's a bit safer in a house with kids since they won't be able to accidentally pull a shelf down on themselves and 2) pine boards are inexpensive and imperfect, so the brackets help correct any warping.
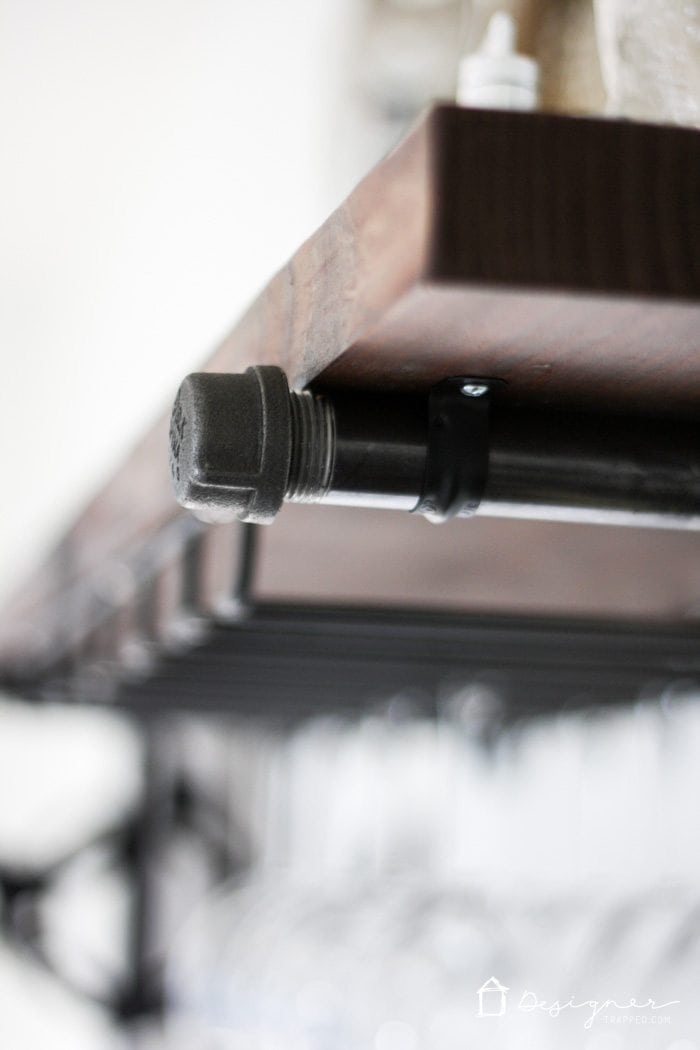
That's it! So, so simple. And the impact in our dining room is HUGE! I added one of these simple wine glass holders (that I spray painted black) beneath one of the shelves since we use ours as a bar area.
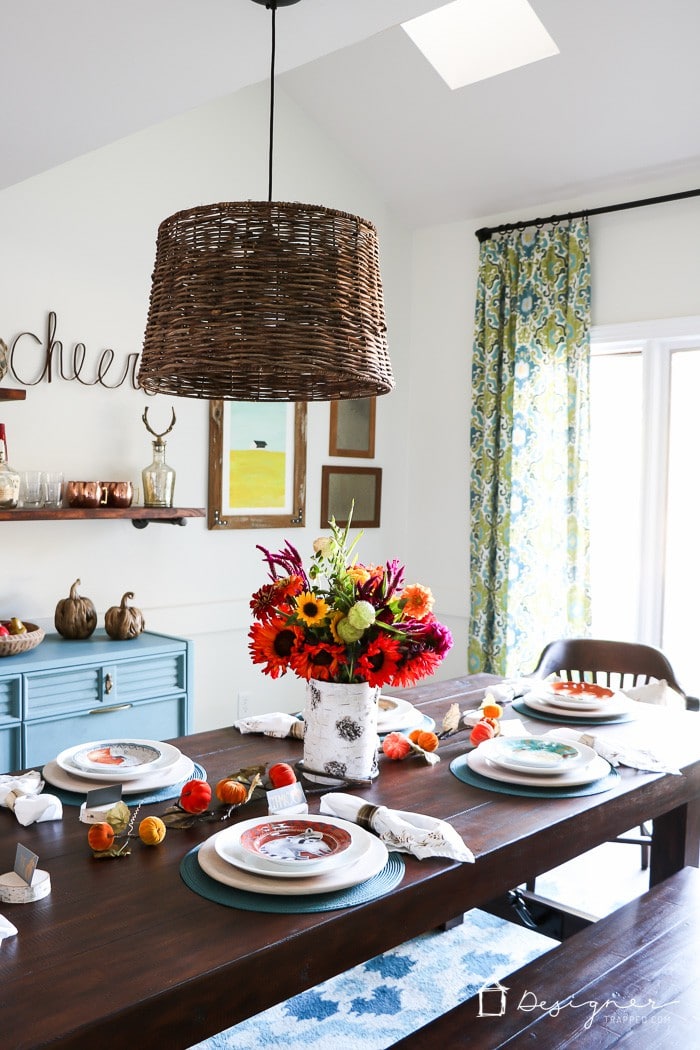
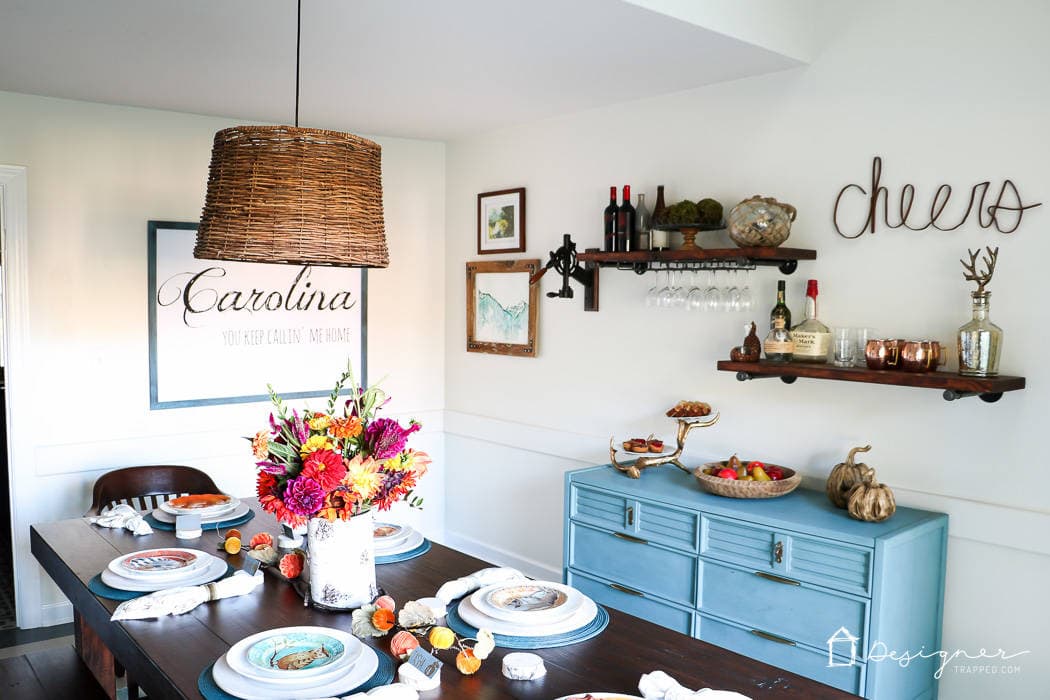
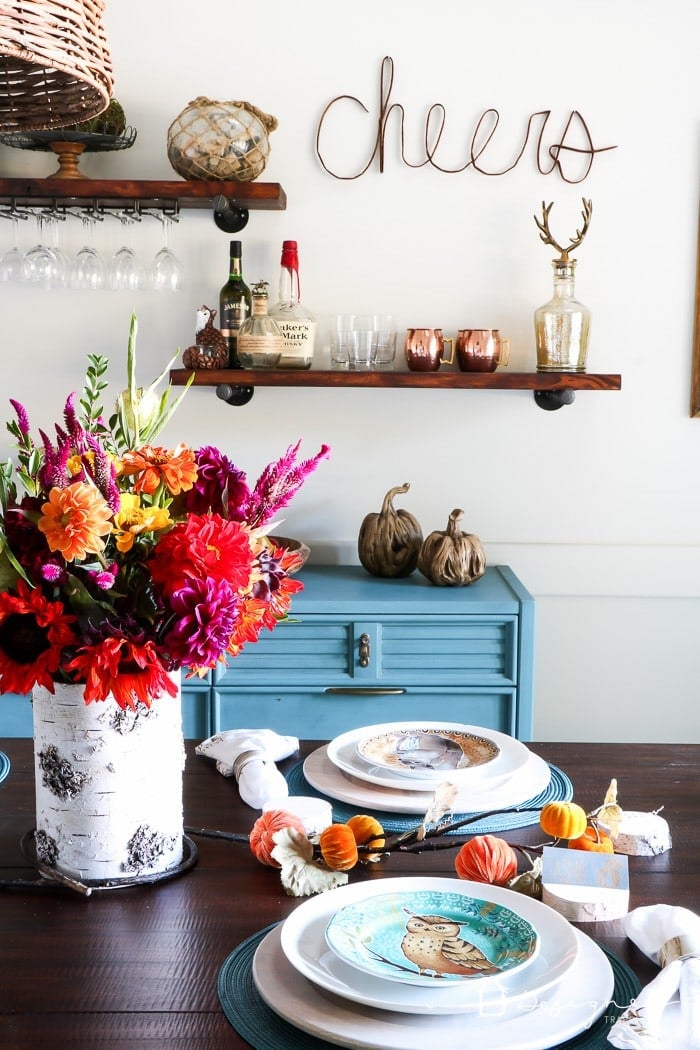
Check out the finished DIY pipe shelves in our dining room. We LOVE them!
Source List:
Wall paint: Opal White by Clark+Kensington, eggshell finish.
DIY Projects:
- DIY pendant light
- DIY Birch Place Card Holders
- DIY blue painted dresser
- DIY reclaimed wood art frames
- DIY large scale “Carolina” art
- DIY curtains
- DIY curtain rod
Purchased items:
- scrap iron Cheers sign
- Eastwood table and benches
- Confetti art print
- Rural midwest art print
- Mountain escape art print
- Curtain fabric from Joann Fabric
- Wall mounted wine bottle opener
- Ikat Rug
Need more dining room design ideas? Check out our updated dining room. It got a complete makeover when we renovated our kitchen last year.
Before you head out, be sure to sign up to be a VIP! You get all my design guides, printable instructions, and more in one easy-to-access place.

[mv_create key=”1″ type=”list” title=”Most Popular Projects” thumbnail=”</span><a href=” target=”_blank”]
Last Updated on February 13, 2022


I love those diy shelves!! I work at a new restaurant and we have been wanting and needing to install desks. Do you think this method would work for desks??
Thank you,
Chelsey
Absolutely! Check out this tutorial on the pipe desks we made our girls https://designertrapped.com/diy-pipe-shelves-built-in-desks/ Best of luck!
I love, love, love this project!! & your table looks beautiful!
Thanks so much Kellie!
Oh, I have to build these! They look awesome and so easy. I actually have left over pipes from when I built Gavin’s wall unit (inspired by your wall units) These would be perfect in the boys’ Bathroom
Awesome!!! Thanks Lesley :)