The Absolute Easiest DIY Wall Shelves
There is no shortage of tutorials for DIY shelves out there. But friends, I am here to tell you that this is the absolute easiest way to make wall shelves. It one of the easiest DIY projects out there– you can be an absolute beginner and pull this project off like a pro. And they are a great idea to add storage space to a blank wall. Read on to learn how to make these wall shelves yourself.
We have been completing DIY and home renovation projects for over 20 years now. During that time, we have built DIY floating shelves, DIY pipe shelves, a giant DIY art ledge for our family room and many other versions of wall shelves.
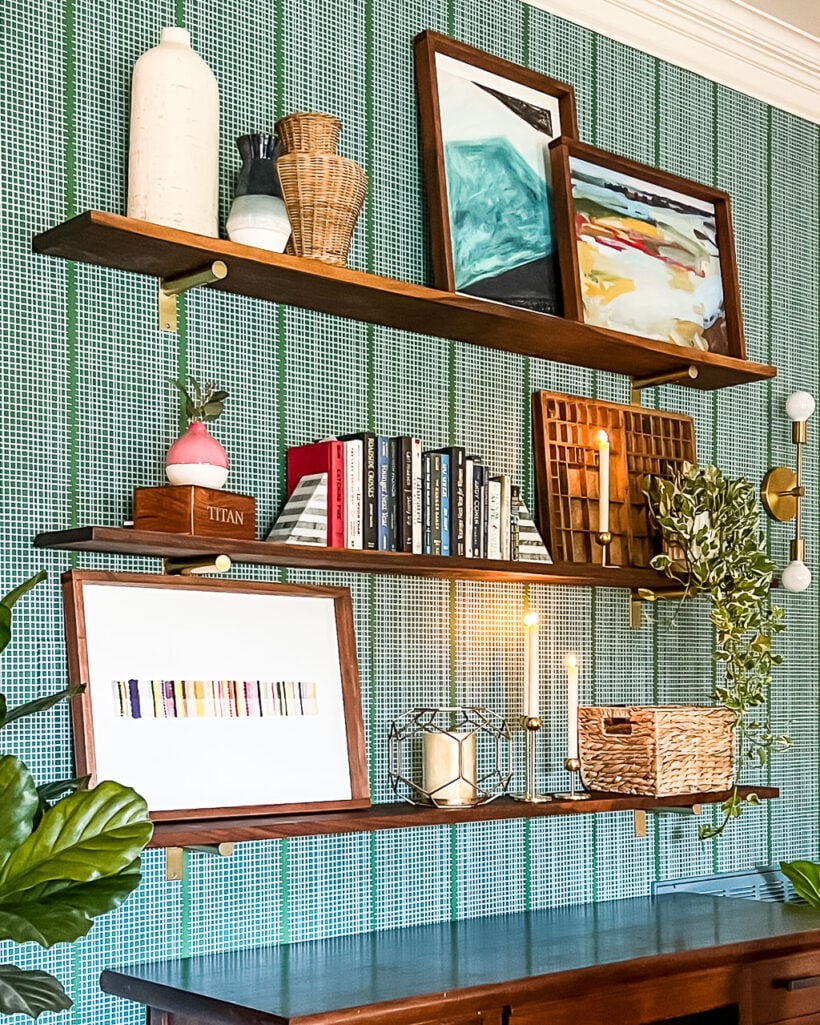
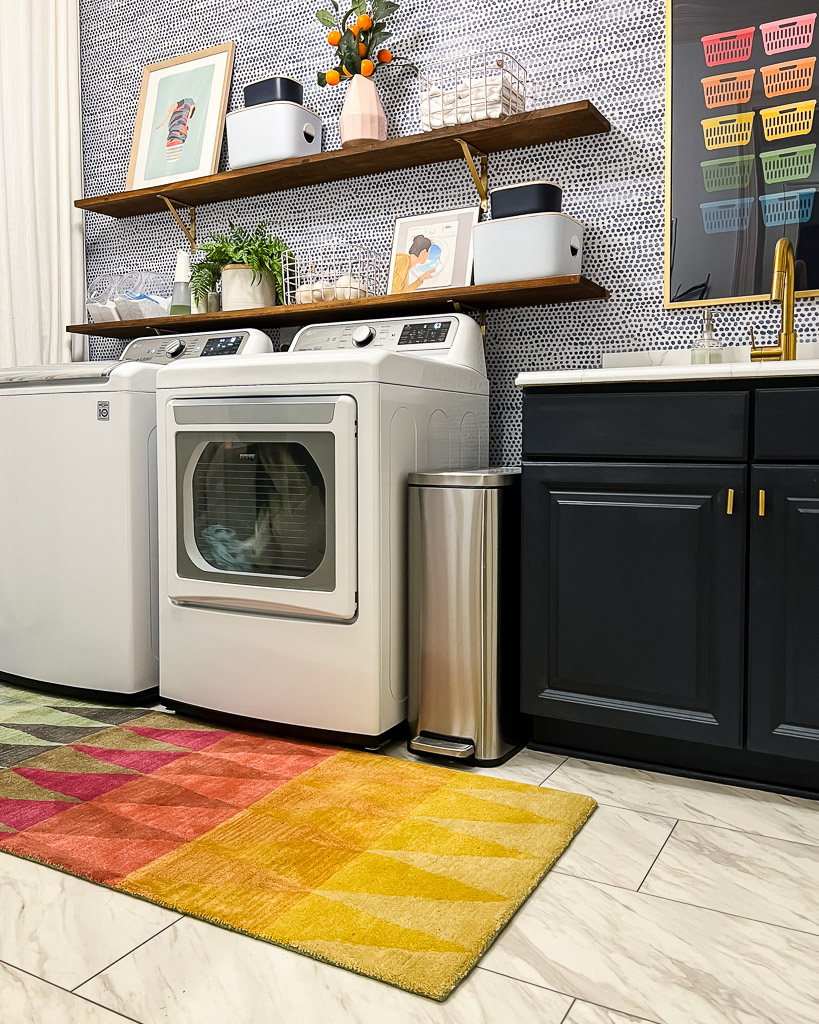
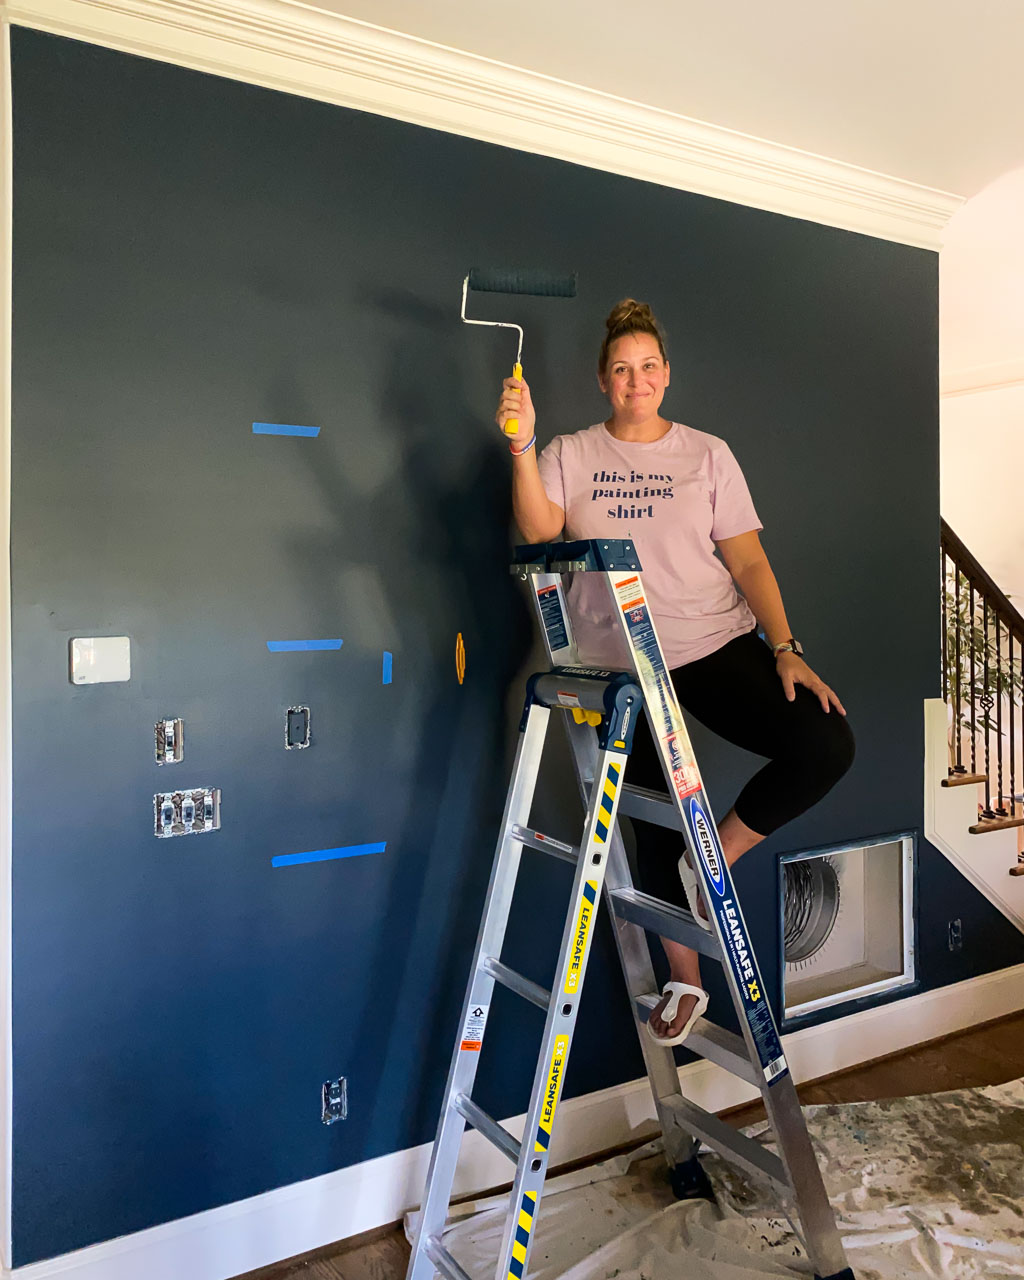
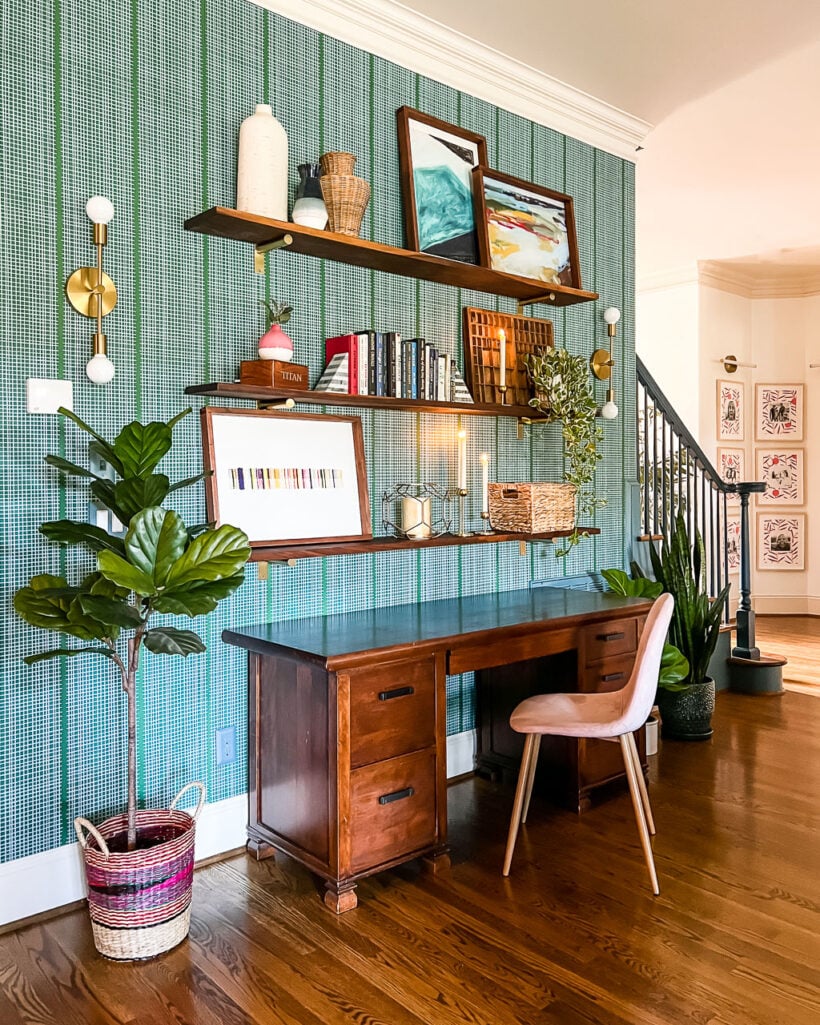
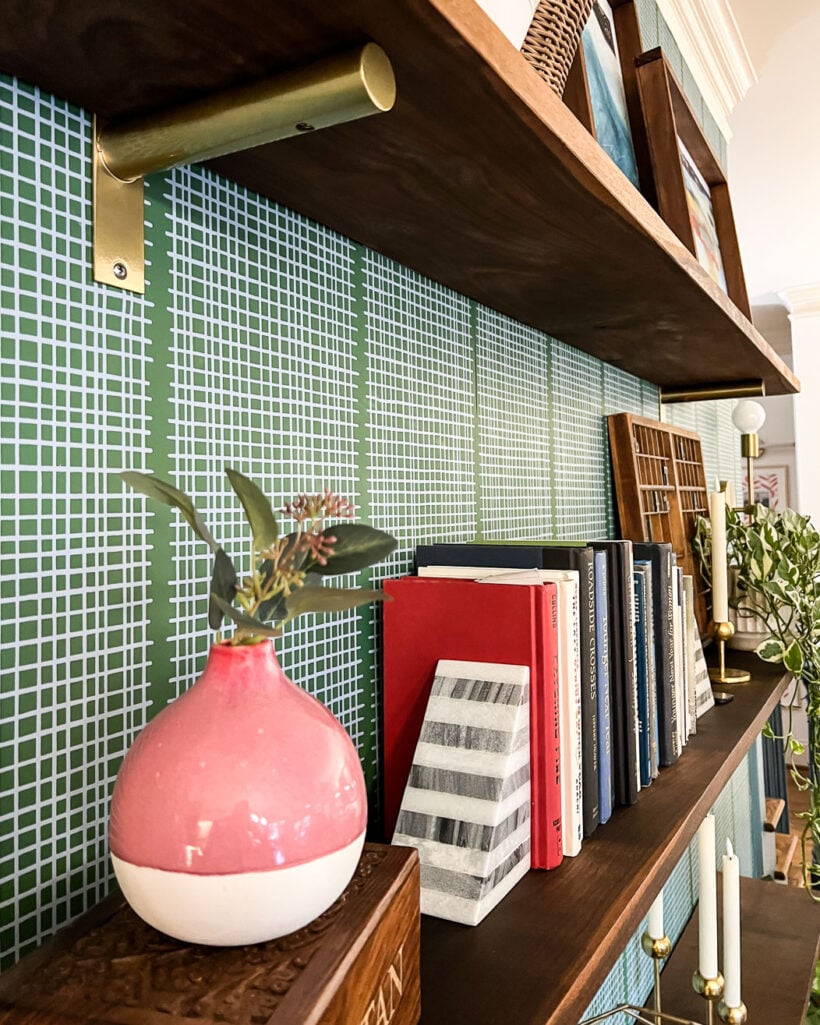
And these are not only the easiest wall shelves we've installed, they are absolutely my favorite. We love them so much that we have installed them in our living room (seen above) and in our laundry room (seen below). The only difference is in the brackets that we chose for each project :)
This post contains affiliate links for your convenience. Click here for my full disclosure policy.
How to Make DIY Wall Shelves
First and foremost, you need to decide how long and deep you want each wall shelf to be. Our shelves around 6 feet long and 8 inches deep.
Materials & Tools Needed
- Wood boards long enough to span the length you want your shelves to be.
- Note: We purchased solid walnut wooden planks from a local supplier. Believe it or not, it wasn't much more expensive than mediocre poplar planks from Home Depot. We were shocked.
- If you want your wall shelves to be deeper than wood boards you are finding, you could connect two or more boards by using wood glue and pocket holes.
- Pre-made shelf brackets
- These are the brackets we used in our laundry room.
- These are the brackets we used in our family room, but it looks like the brackets are no longer sold separately.
- Circular saw or miter saw (if you need to cut your wood to length–often stores will do this for you)
- Stud finder (this magnetic stud finder is the only one I use–so inexpensive and it works GREAT)
- Painter's tape
- Drill and electric screwdriver
- Measuring tape
- Level
- Safety glasses
- Dust mask
- Sandpaper
- Wood stain (optional) or finishing oil (we like using Danish Oil)
You can find more pretty bracket options below. Just scroll and click on any image for full product details.

You can watch an overview of the process in the short video below. It's followed by detailed, written instructions.
Step-by-Step Tutorial
Time needed: 4 hours
Learn how to install these DIY wall shelves in an afternoon!
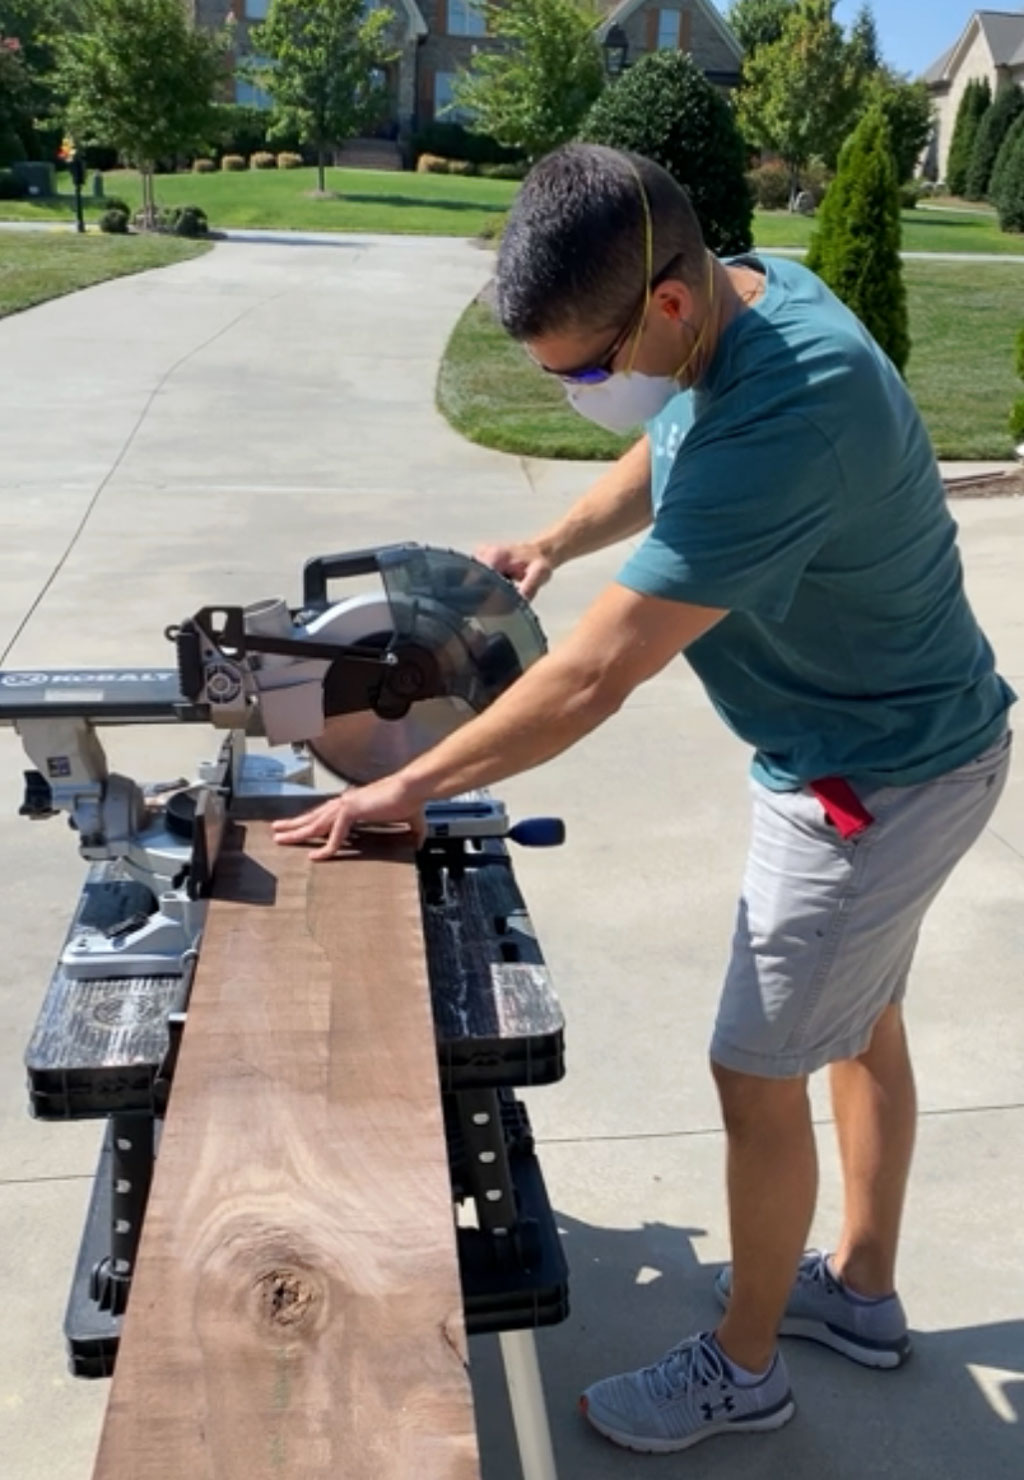
- Cut your wood to length
If the wood you purchased to make your shelves isn't the correct length already, use a circular saw or miter saw (or even a hand saw) to cut them to length.

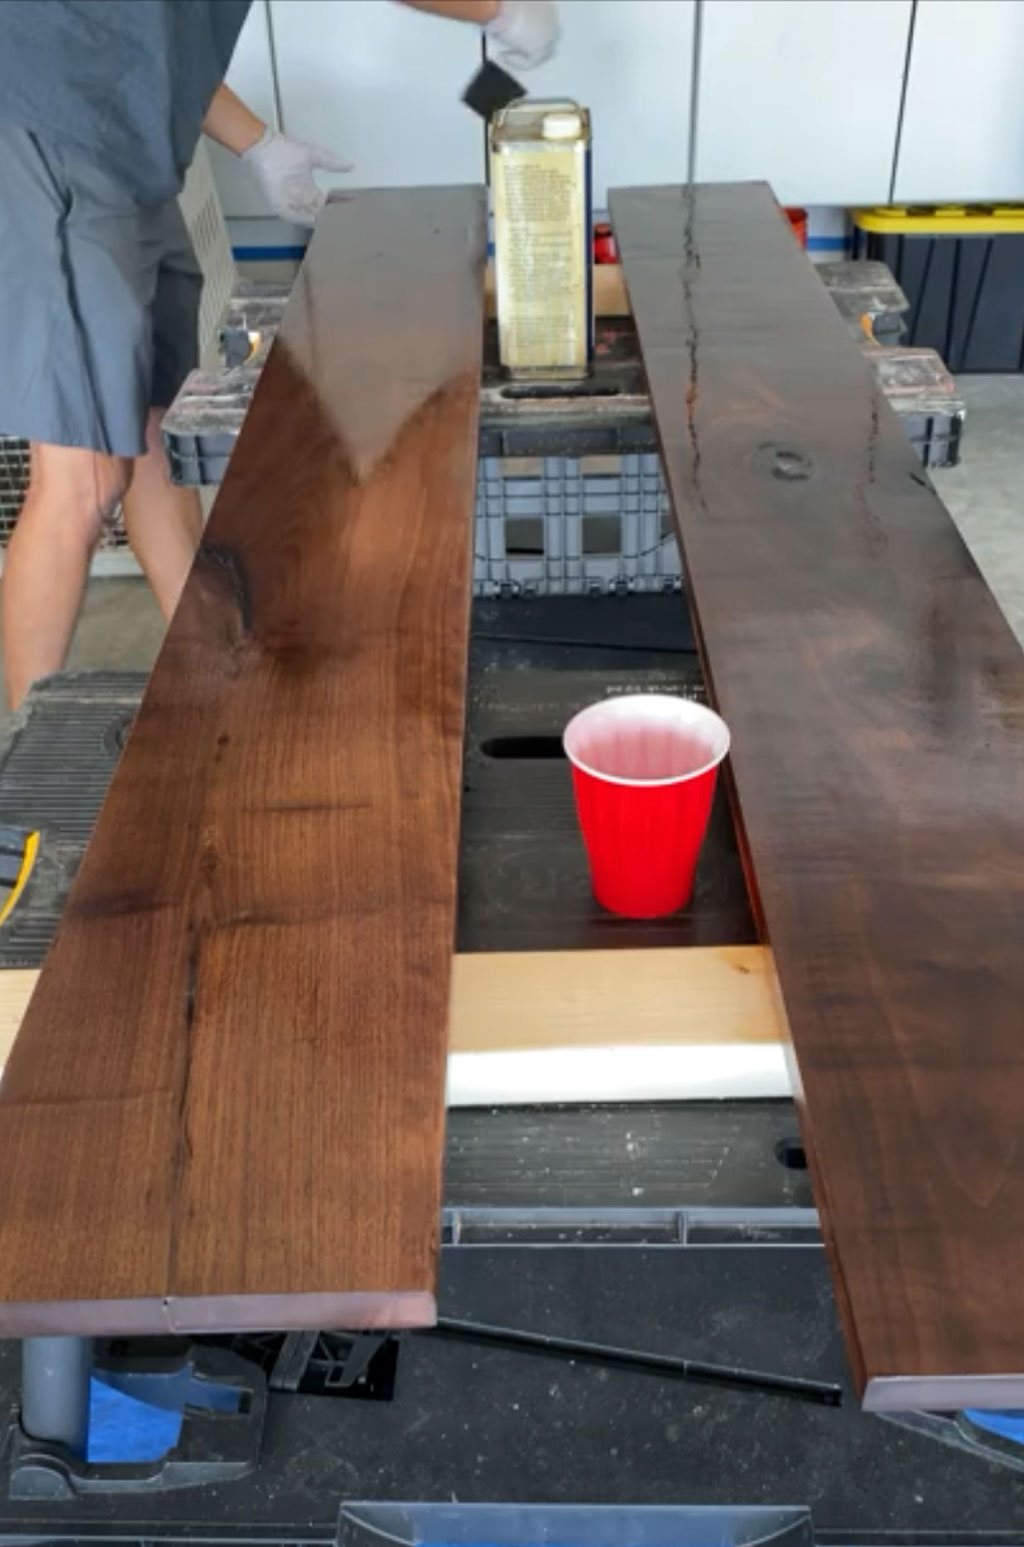
- Sand and stain or oil each shelf
Sand each of your wooden shelves until smooth. If you want to alter the color of your wood, now is the time to apply wood stain in whatever color you like. We didn't want to change the color of our walnut shelves. We just wanted to enhance the natural color of the walnut we used for our shelves, so we applied Danish Oil. It goes on wet, but you wipe it off after 30 minutes. The end result is a rich, matte finish that protects the wood.

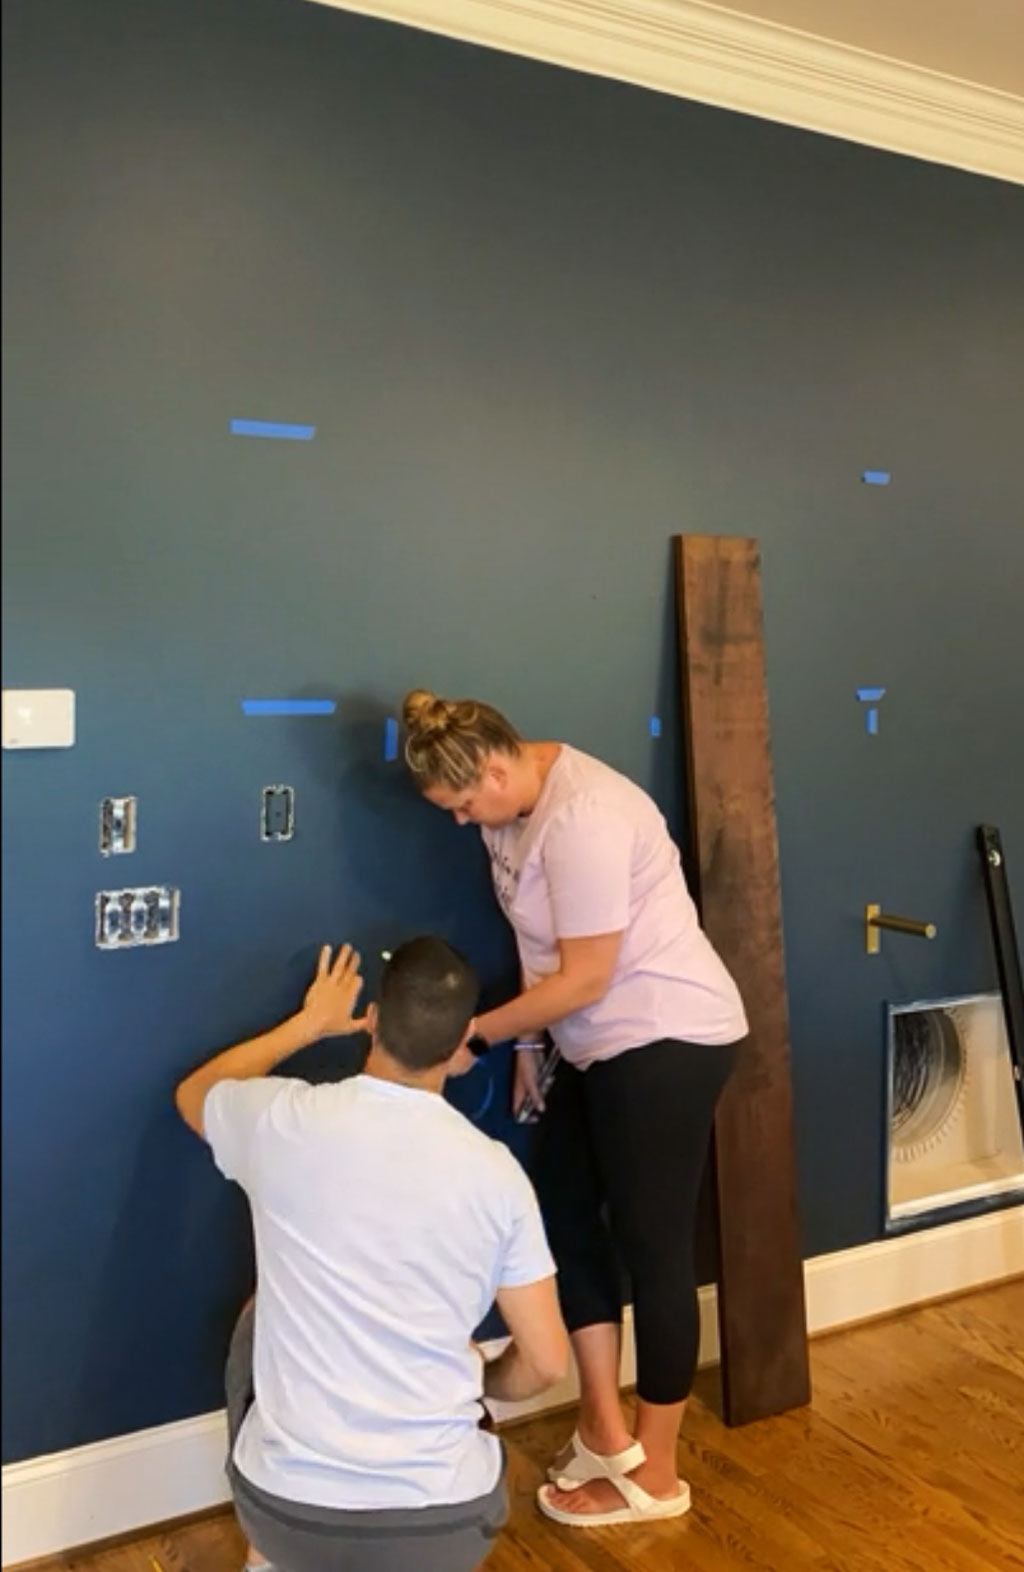
- Mark your wall studs & your shelf placement
Use a stud finder to mark the studs in whatever wall you will be hanging your shelves on. We marked ours with painters tape. We also decided the height we wanted to hang our 3 shelves and marked the positions with tape also.

- Install your brackets
My recommendation is that you catch at least one stud per shelf. You can use wall anchors to hang your brackets if you absolutely have to, but be careful to purchase anchors that can support the weight of your shelves and whatever you plan to put on them.

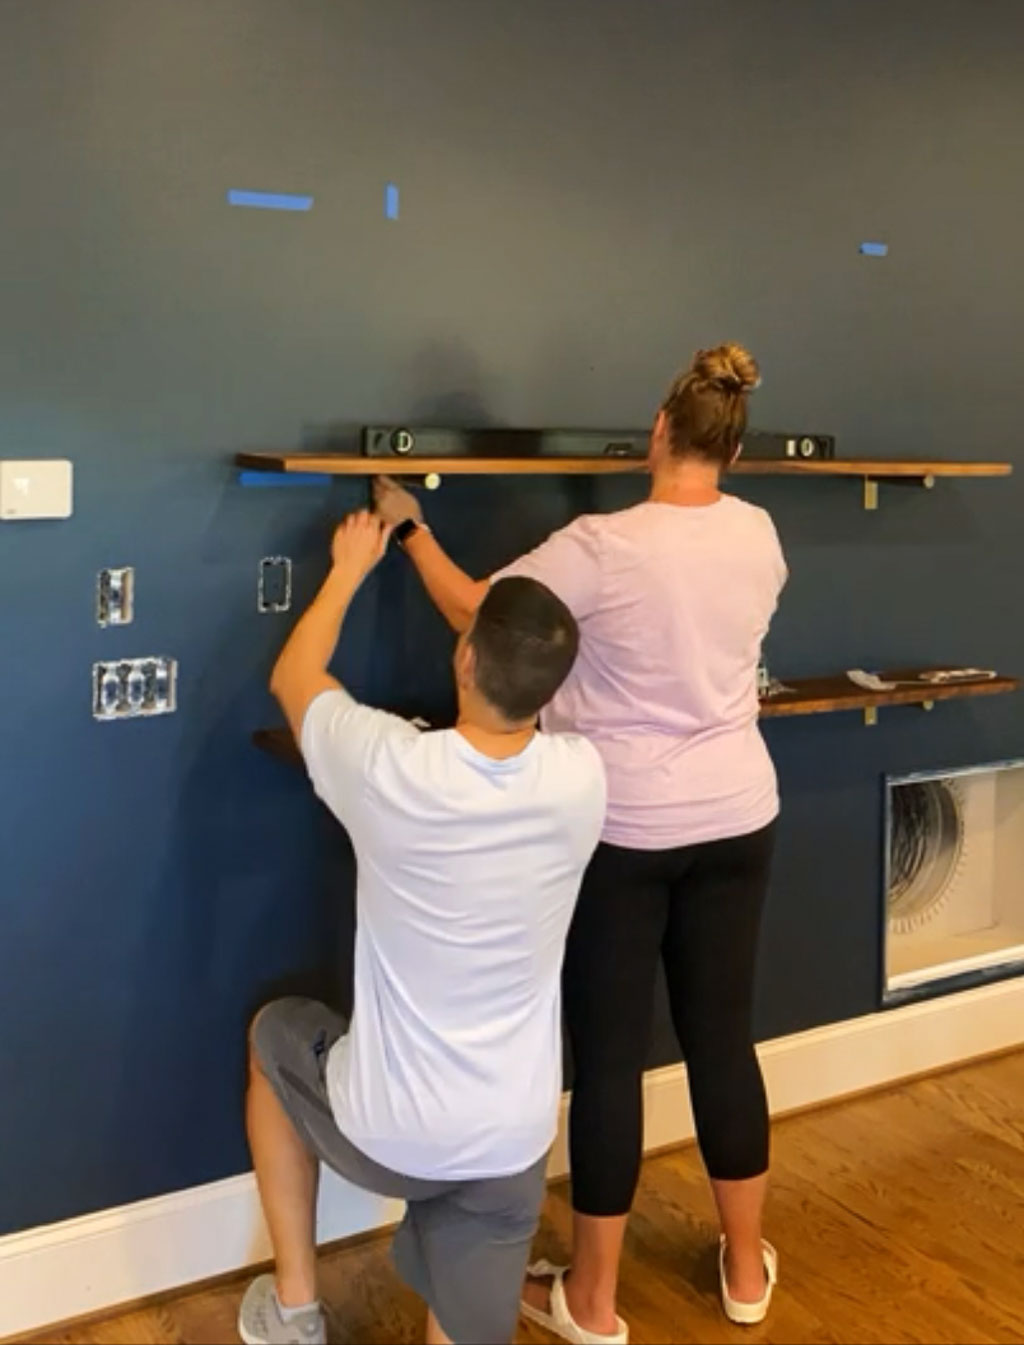
- Install your shelves
Place your shelves on top of the brackets and ensure that they are placed so that the brackets are even on both sides. Then attach your shelves with setting screws (both types of brackets we have used include set screws) to attach the shelves to the brackets. The setting screws will ensure that your shelves don't move around and can't accidentally tip off, etc.

That's it! I told you this is an easy wall shelf DIY. And the look is so high-end! We get asked about both sets of shelves very frequently, which is why I decided to finally write up this tutorial. I hope you have found it helpful!
You may have noticed that we have since wallpapered the wall behind the shelves in our family room, which is why the wall isn't painted navy blue anymore. We didn't want the wallpaper to be difficult to remove in the future, so I figured out how to make any wallpaper removable and renter-friendly!
Other posts you may enjoy:
- Easy DIY Floating Shelves & Desk for an Awkward Nook
- 19 Creative DIY Floating Wall Shelves
- DIY Shelving using Wood and Leather
- DIY Pipe Shelves
- Creative Hacks for IKEA Built-In Cabinets and IKEA Bookshelves
Wondering how I approach transforming rooms and spaces in our home? Check out Designer in a Binder®.

And if you want exclusive content and behind-the-scenes sneak peeks, be sure to subscribe before you head out!
