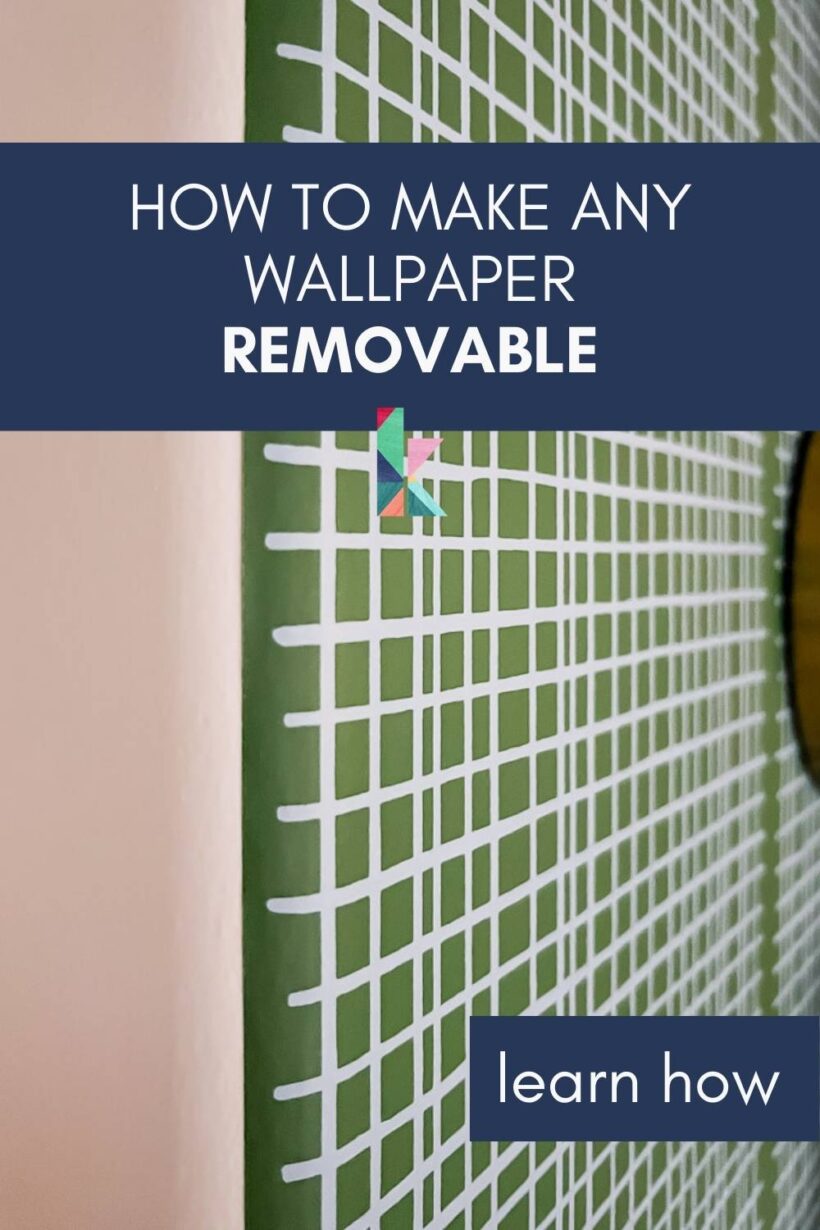
How to Make Any Wallpaper Removable & Renter-Friendly
Love the look of wallpaper but live in a rental? Or maybe you just have a fear of having to remove wallpaper down the road? This is the solution for you! Learn how to make ANY traditional wallpaper removable. It's renter-friendly AND smart for homeowners who don't like removing wallpaper.
I looooooove wallpaper. In fact, I love it so much that I have a whole post dedicated to unique wallpaper ideas). I love how much color and interest wallpaper can add to a space. But I have removed sooooo much wallpaper in our former homes. And I'm going to be frank…removing wallpaper SUCKS. We had one room that no matter what we did (rented a steamer from Home Depot, scored it and applied the best wallpaper removal paste), it would only come off in tiny strips. It was a terrible experience.
So even though we own our home and don't rent, I wanted to find a way to make traditional wallpaper easy to remove. Not only would it be the perfect solution for hesitant homeowners like me, but I knew it would also be a good renter-friendly solution. Why not just use peel-and-stick wallpaper? I have installed removable wallpaper many times (it is TRICKY at first–I've gotten pretty good at it), but it tends to be far more expensive than traditional wallpaper and it wasn't available in the wallpaper I wanted to use.
I did my research and found that many people have used liquid starch to apply traditional wallpaper AND remove it easily! It's such a cheap and simple solution. So let's dive into the tutorial!
How to Make Traditional Wallpaper Removable
Materials needed
- Wallpaper–it MUST be unpasted!!!!! (this is the wallpaper I used)
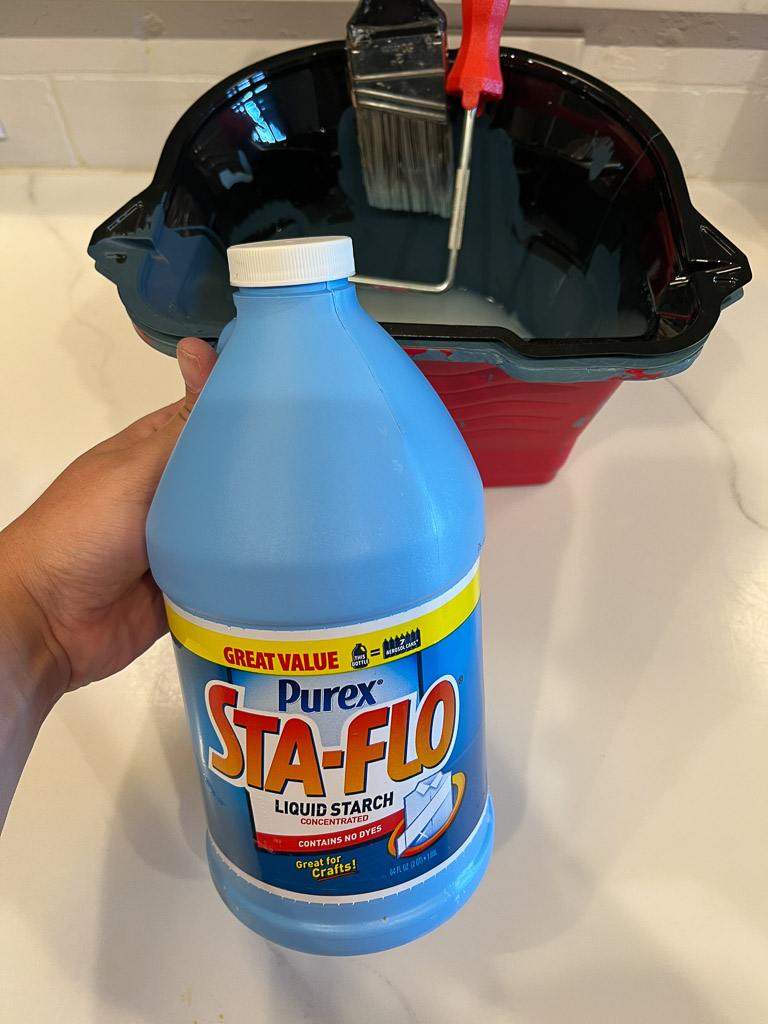
- Liquid starch
- Paint tray or bucket
- 6-inch paint roller
- Straight edge or laser level (this is my laser level that I use all the time and love)
- Utility knife blades
- Damp rag or sponge
- Painter's tape
You can watch an overview of this project in the short video below, but don't worry–I've also written out all the instructions for you below the video.
Time needed: 4 hours
Follow these steps to make any wallpaper removable and renter-friendly!
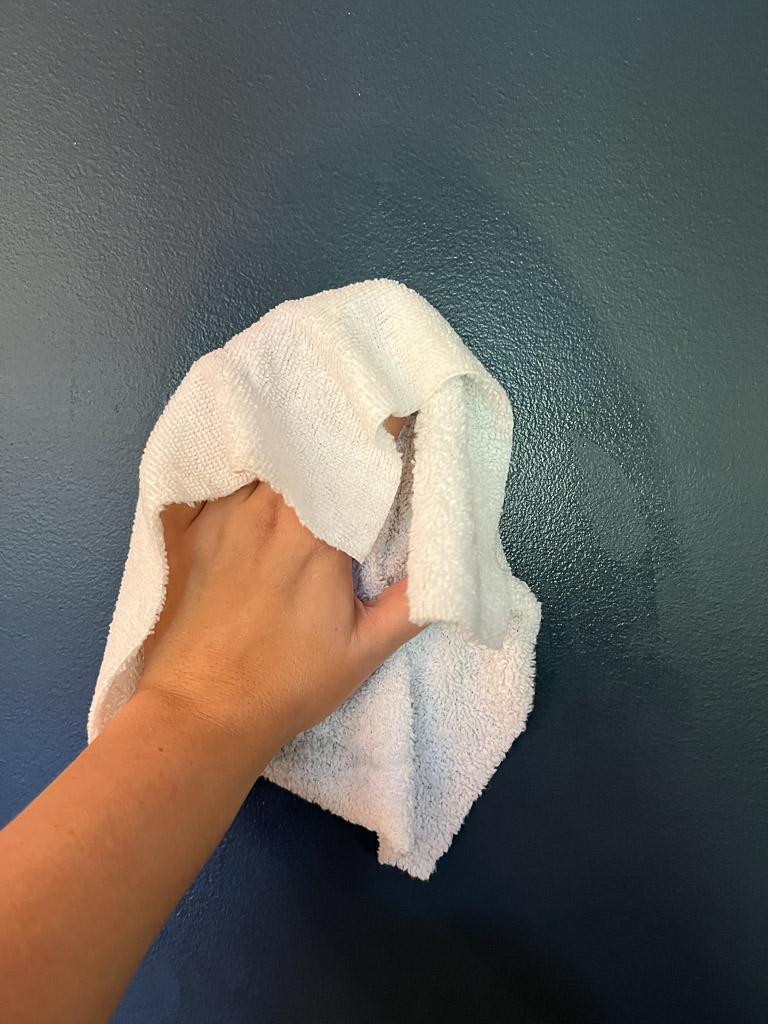
- Clean your walls.
Clean your wall(s) with a damp rag and let it dry completely. Your wall has to be clean for this to work!

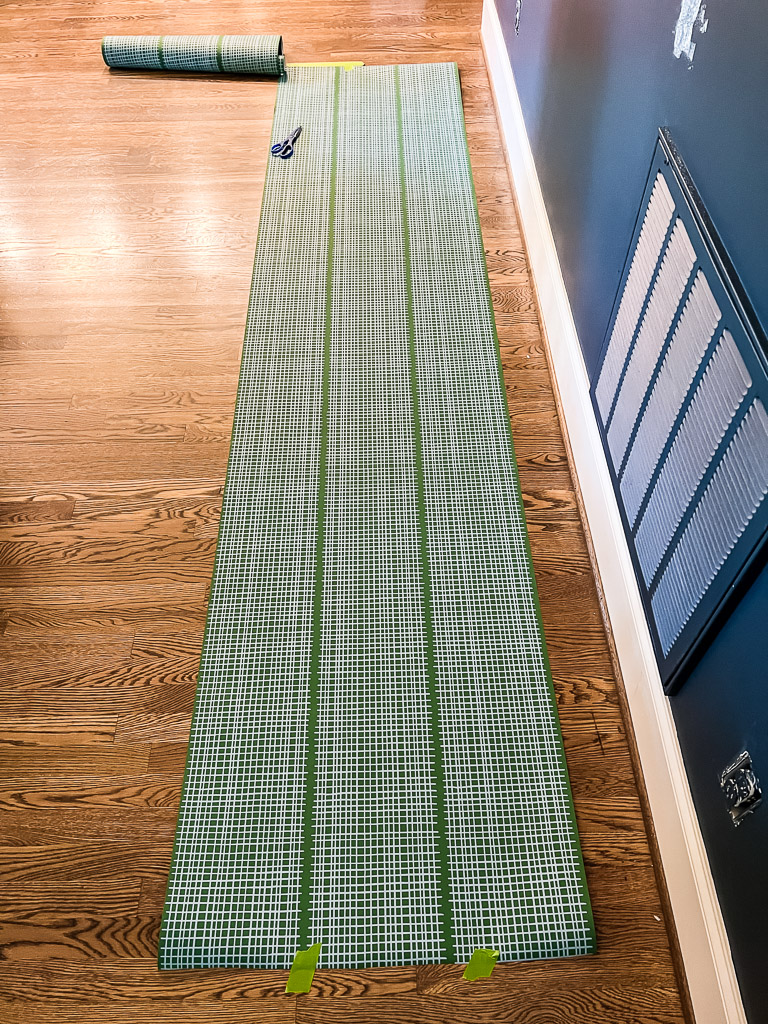
- Cut your wallpaper to length.
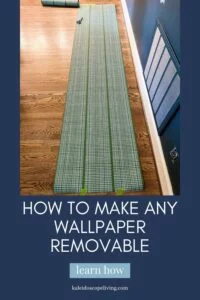
Next, cut your wallpaper into strips that are at least 4 inches longer than the height of your wall. Why have excess? You need to leave yourself enough room to trim off the excess at the top and bottom after the wallpaper is attached.
I did this by measuring out the length on our floor and marking the length with painter's tape. That way I only had to measure once. Then I taped down one end of the wallpaper as I rolled it out and cut it to length. Since I tackled this project solo, this was the easiest way to do it without the wallpaper rolling back up on me! If you have a wallpaper with a pattern repeat that is hard to match up, you may want to pre-cut all your strips. But this wallpaper was NOT hard to match up so I didn't pre-cut all my panels at once. - Mark your plumb line.
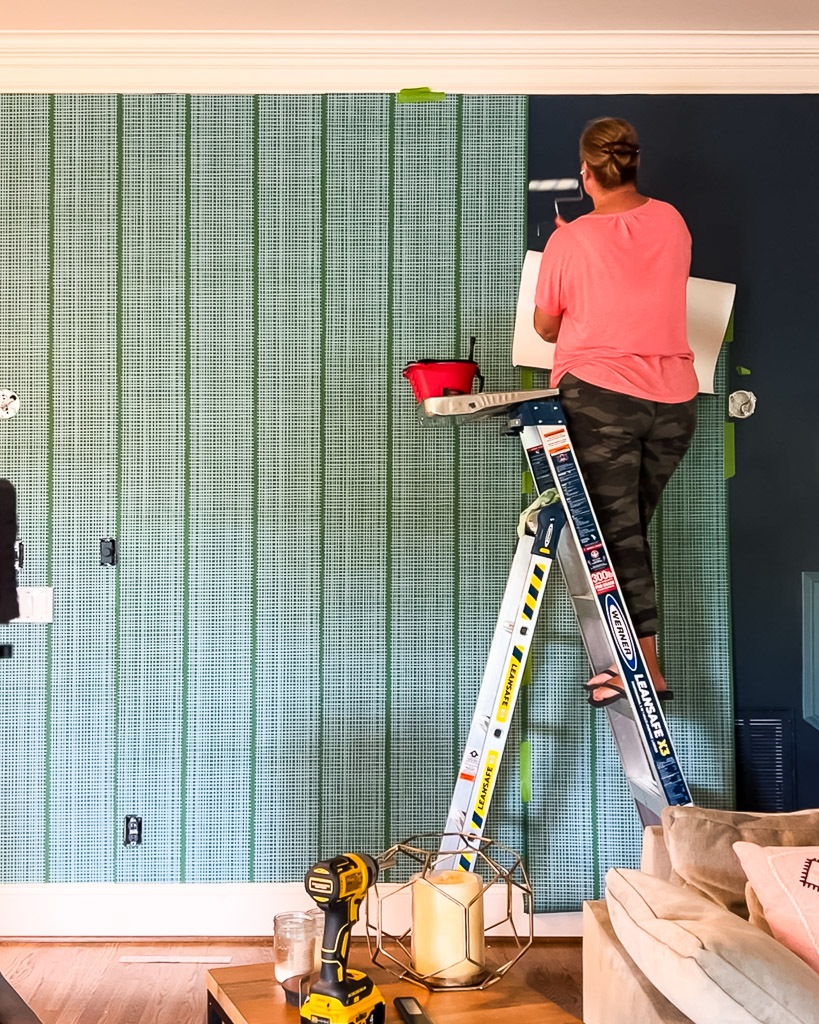
Use a laser level (this is the one I have and LOVE) or a level and pencil to mark your vertical plumb line. Do NOT assume your ceiling and/or trim are perfectly straight and level and rely on it when lining up your wallpaper. You can see my green laser line along the right edge of my first wallpaper panel below.
See where it extends onto the ceiling as well? It's green so it blends in a bit with the wallpaper in the photo.
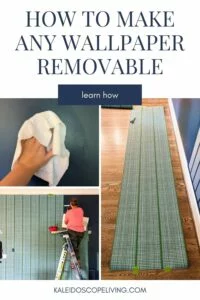
- Apply the liquid starch to your wall in sections.
Pour your liquid starch into your paint tray or bucket and saturate your paint roller with it. Gently roll off the excess in your tray. Then apply it liberally to your wall in sections. You do not need to apply it to the wallpaper, just the wall. I worked in about 5-foot sections because I found that the liquid starch dries pretty quickly.
- Apply your wallpaper.
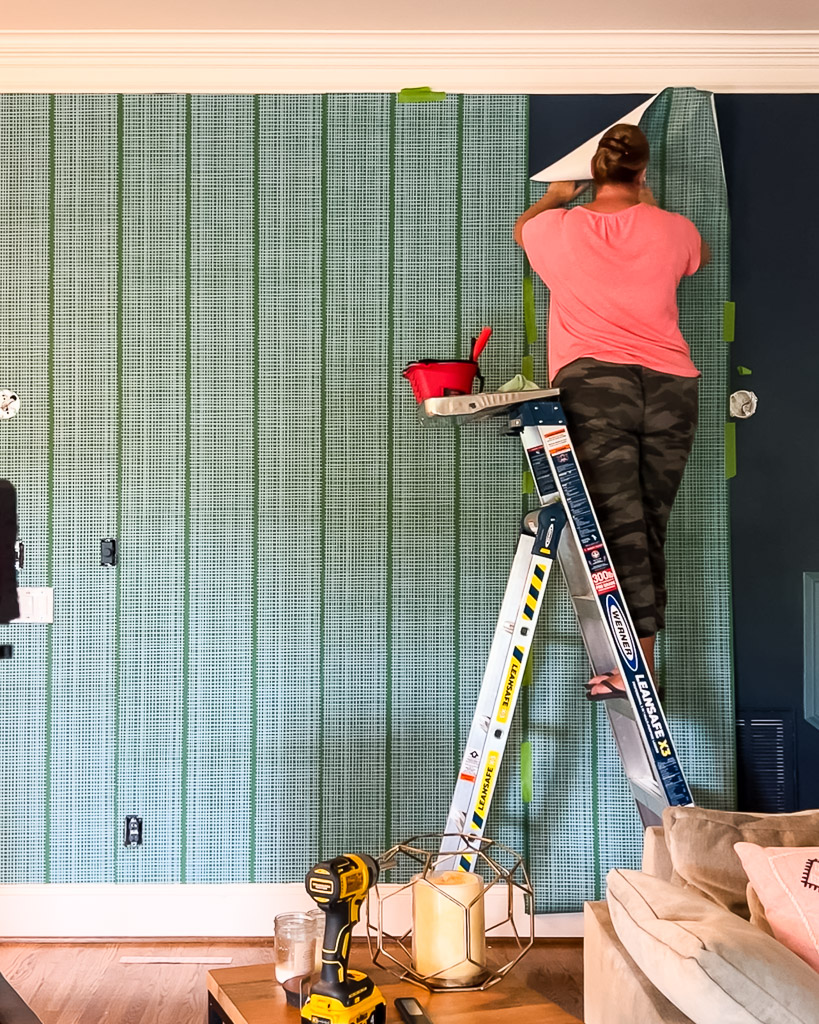
Using your plumb line as your guide, start applying your wallpaper from the top of your wall leaving a bit of overlap at the top (that you will trim off later). Gently smooth the wallpaper into place with a damp rag or sponge working from the center out, smoothing out any wrinkles as you work. When you reach the bottom, use a straight edge to firmly hold the wallpaper tightly against the edge of your trim (or floor if you don't have trim) and use a VERY SHARP utility knife blade to cut off the excess.
Repeat this step at the top of your wall as well. A sharp blade is important. If you use a dull blade you will rip your wallpaper. You also need to use a sharp blade to trim around any outlets/light switches along the way. I had a ton of obstacles to trim out with my first panel. Just carefully feel for and follow the edges of the electrical boxes under the wallpaper and go slowly.
The first panel was the easiest to put up since I only had to line it up with the plumb line. The remaining panels were a bit trickier since I was doing this solo. It would be much easier with 2 people. But Joe was on shift and I wanted to get this wallpaper hung. So in lieu of a second set of hands, I turned to my trusty friend painter's tape.
As you can see in the photos below, I matched up my pattern and seam BEFORE putting any liquid starch on the wall and taped it into place along the edge where it matched up with the edge of the prior panel. Then I flapped the top section back to apply the liquid starch and then rubbed the top of the wallpaper into place. Once the top of each panel was in place, I could remove the rest of the painter's tape and work my way down the wall working in 5-foot sections just as I did with the first panel.
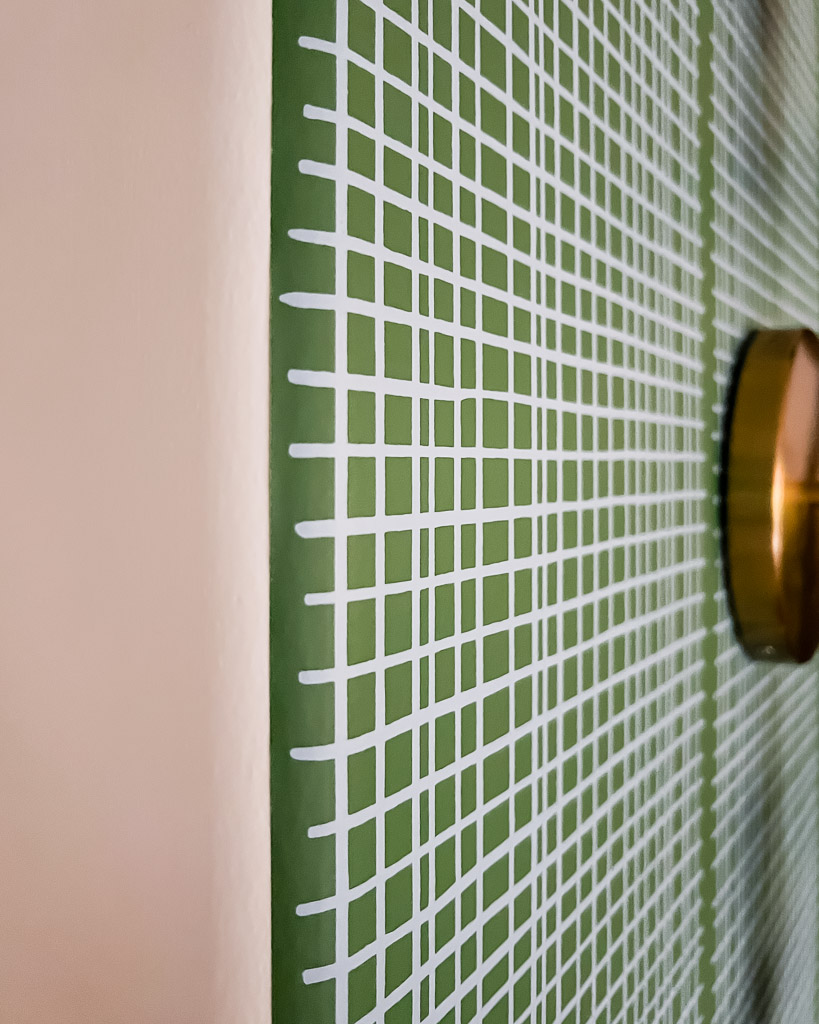
Because the liquid starch isn't quite as sticky as wallpaper paste, it sometimes took a bit more work to get the edges to stick, especially since the corners of our walls are rounded. I just had to apply a bit more liquid starch to the edges and hold them in place a bit longer to get this curved edge to stick.
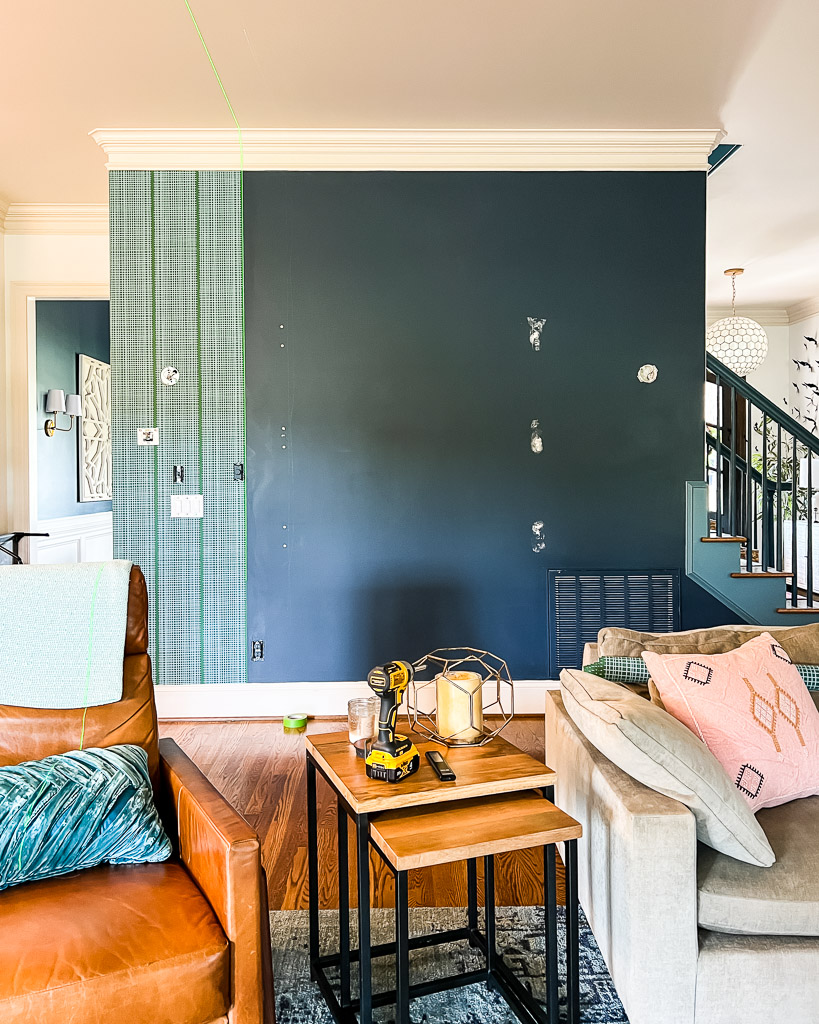
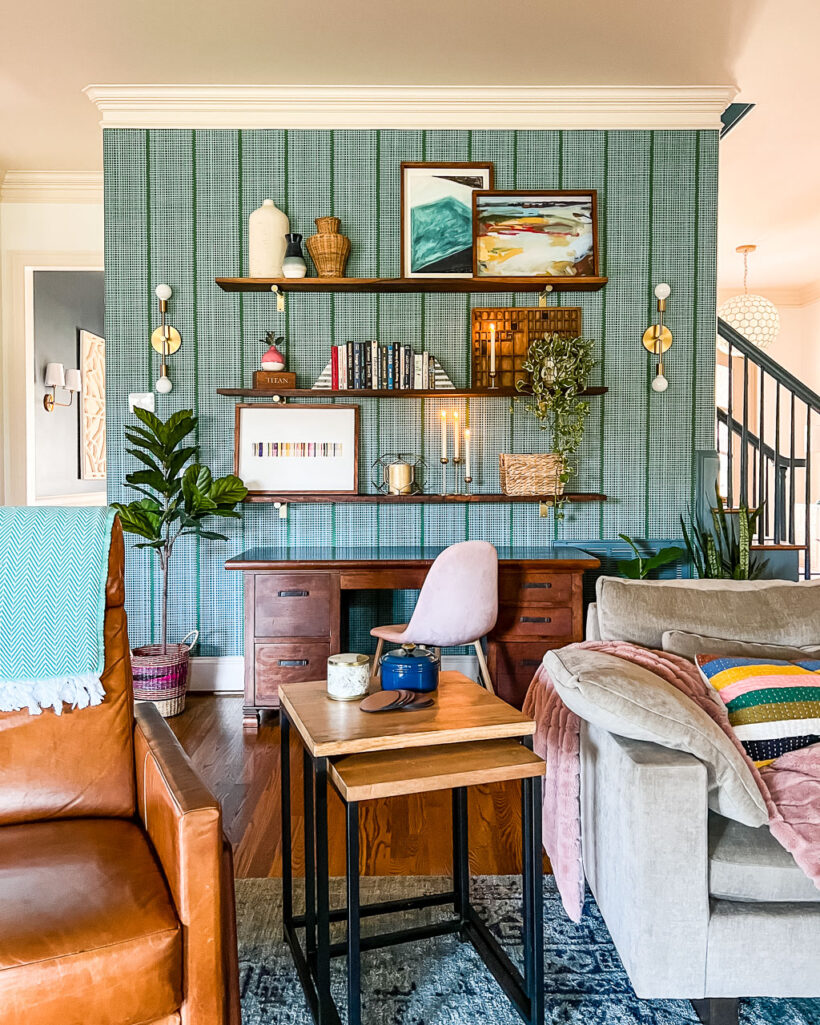
That's it! This wall (which is about 14 feet wide by 10 feet tall) took me about 4 hours to install this wallpaper. And several more hours to remove the shelves, lights, etc. and replace them all after the wallpaper was done.
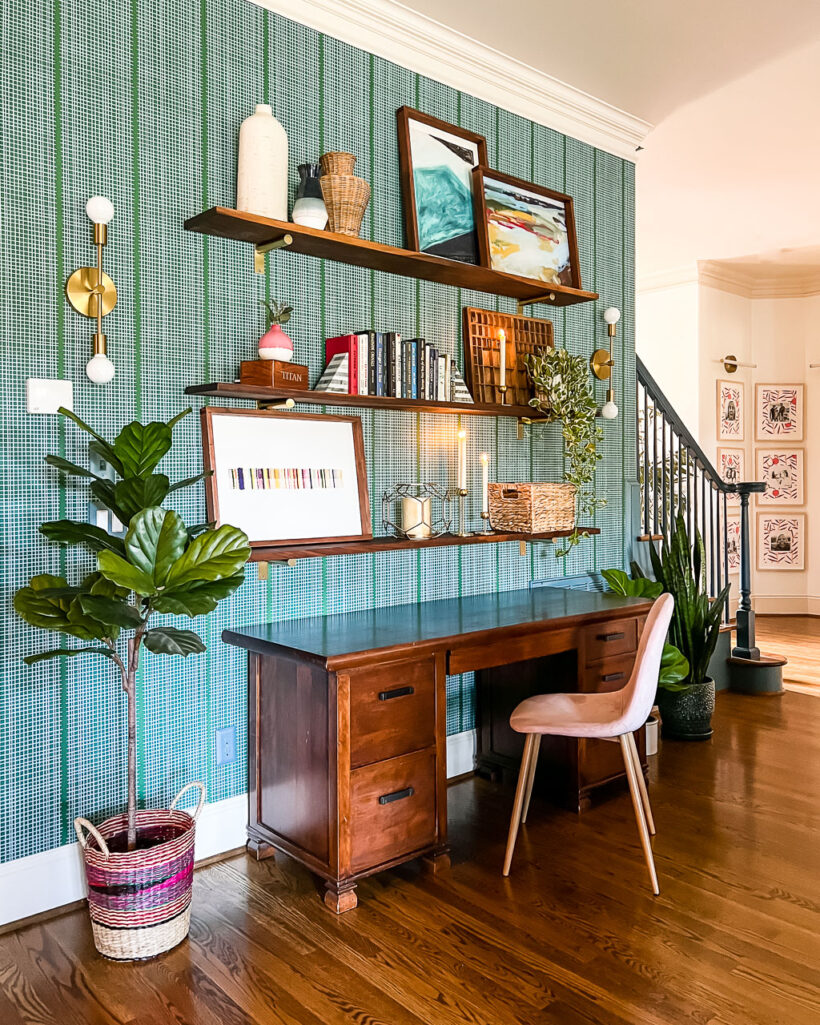
I do think it would have been faster/easier to install with traditional wallpaper paste (see why in my important notes below) BUT I think the extra effort will be well worth it with how easy it will be to remove down the road (as much as I freaking LOVE this wallpaper, I know myself well enough to know that I'll want to change it after a few years, lol).
Important notes about using liquid starch to hang wallpaper
- The liquid starch is pretty forgiving. If I made a mistake or there were too many wrinkles, I could easily peel the wallpaper back, apply a little more liquid starch and do it again.
- I do feel like there are more wrinkles to smooth out as you work with liquid starch vs. traditional wallpaper paste.
- The liquid starch is not as sticky as traditional wallpaper paste and you can't wiggle your wallpaper around to get it into the perfect position like you can with traditional paste. So, in some ways, it was more challenging to work with especially if you don't have an extra set of hands.
- If you don't care about the ease of removing wallpaper, use traditional paste! It's easier to work with.
- The liquid starch application is easier than installing peel-and-stick wallpaper (which I've installed many times) and it's FAR more affordable!
What do you think? Does knowing how to make any wallpaper removable make you a little less nervous about committing to wallpaper?
If you want to save this post to refer back to it later, be sure to pin it to Pinterest :)
Other posts you may enjoy:
- 18 Unique Wallpaper Ideas
- How to Install Removable Wallpaper in 5 Easy Steps
- Stunning Accent Wall Ideas to Transform Any Room
- How to Choose Paint Colors for Your Home: 6 Simple Tips to Follow
- 5 Tips to Decorate With Color (Even When It Scares You)
Wondering how I approach transforming rooms and spaces in our home? Check out Designer in a Binder®.

And if you want exclusive content and behind-the-scenes sneak peeks, be sure to subscribe before you head out!

Hi Tasha,
Do you have other alternatives to Sta-Flo? Now that it’s out of production it’s very hard to find. I heard not all replacement products work.
Thanks!
Holly
Hey Tasha! I love the idea of this! My question is would this work this work with peel and stick wallpaper? I know you said it won’t work with pre pasted, just wondering if this is any different. I am moving into an apartment and I am terrified that even with the peel and stick, it will still damage the walls.
Hi Morgan. No, this wouldn’t work with peel and stick wallpaper. Sorry!
Thanks for sharing!
Can the wallpaper be reused after this process?
Hi Katie- Great question. Unfortunately no, the wallpaper will not be reusable, which is a bummer when you find the perfect look.
Hello, I can’t seem to find the longer video, only the 50 second one. Could you please share the link for the full video please? Really looking forward to trying this. Thanks
Hi April. There isn’t a longer video. The more detailed instructions are written out below the video. I hope that helps :)
Thank you for this awesome tutorial & tips!! I have read on other blogs that the edges start peeling up when using starch, so I was wondering how your wall is holding up? Also, does it hurt the wallpaper (or show) if you get starch on top of it?
Hi Macy! A tiny bit started peeling along the curved corner of the wall where we ended it, but I was able to add a bit more liquid starch to hold it down again. But otherwise it’s holding up perfectly. I’m sure I got starch on the front of the wallpaper as I installed it, but it wipes right off with a damp sponge. I can’t see anywhere that it left a mark on the wallpaper. Hope that helps!
Hi Tasha,
Thank you for the awesome tutorial! Do you think I would be able to use old movie posters as wallpaper with the liquid starch technique? Also, is there a strong smell during this process?
Hi! There really is no smell at all–I believe the starch I used was unscented. I don’t know that it would work well with old movie posters because the paper is likely too thin and will be very prone to wrinkling. But you could try it! Wallpaper tends to be pretty thick and less prone to wrinkling than typical paper. I hope that helps!
PSA to folks before using this method: I want to say that I learned the hard way that this does NOT work for *any* wallpaper. I used this technique on expensive wallpaper that I purchased for my daughter’s nursery and was obsessed with the technique—it worked beautifully. It worked so well that I recently decided to buy more wallpaper, this time from a home improvement store for 1/4 of the price. This time the technique did not work well at all. You have to use a decent amount of liquid starch for the wallpaper to stick and because this wallpaper was lower quality (thinner) the starch bled through the paper and it looks just dreadful. I already cut all the pieces, so it’s money down the drain and now I’m back to square one on what to do with the room. So for folks wanting to try this technique, make sure it is with thick, high-quality wallpaper :/
Oh no! Thank you for sharing, Jill! I’m so sorry to hear that happened to you!
HI Tasha! I am getting an error message when clicking the link to get to the wallpaper product. Can you help?
Hi Ashleigh! It looks like the colorway I used is out of stock, but there are some other color options here: http://shrsl.com/jp7z-206p-kh0gvo_1-1
You explain everything so well! Thank you!! Can you tell me how exactly you remove the paper, when it comes time to do that? I know you say it’s easier than removing regular wallpaper, but is it as easy as just peeling it back and it coming right off, or is it something that still needs to be professionally removed? I guess I would love to know exactly how “easy” is it to remove & what the process is for that.
Hi Trudy! I haven’t removed mine yet, but from what I understand you moisten it (to reactivate the liquid starch) and then it should easily peel right off in full sheets. From my friends who have done it, it’s FAR easier than removing pasted wallpaper.
Thanks for explaining the removable wallpaper idea! I also love wallpaper and am delighted it’s making a comeback. I enjoy and learn from your posts and have your Designer in a Binder. Thanks for doing what you do!
Thank you so much Jennie!
Great tutorial – thank you for being so detailed, I’ll for sure give this a go 😀💛
My pleasure Michelle! I hope it goes well for you!
I didn’t think I was going to like it more than the blue — but I do! Well done!!
Oh thank you! We love it so much!
How do you remove it?
I haven’t removed mine yet, but from what I understand you moisten it (to reactivate the liquid starch) and then peel it right off!