How to Caulk a Bathtub (A Cautionary Tale)
Read this cautionary tale BEFORE you start your bathroom DIY! I will show you how to caulk a bathtub and give you tips for what not to do. I learned the hard way but you don't have to!
Thank you to DAP Products for sponsoring this post. As always, all opinions are 100% my own based on personal experience. This post contains some affiliate links for your convenience. Click here to read my full disclosure policy.
How to Caulk a Bathtub
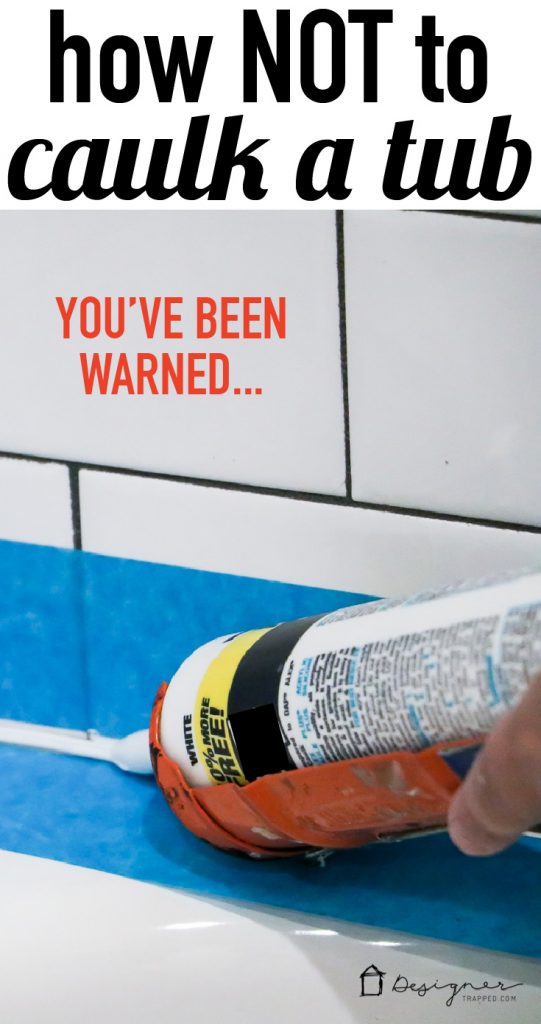
This is where the cautionary tale begins, y'all. We decided to do the tile work in the girl's bathroom our self. But that wasn't where I messed up. See, I did know how to caulk a bathtub, but it turns out I purchased the WRONG kind of caulk to do it with. BLERG. But it just goes to show you, even experienced DIYers like me make silly mistakes all the time. You see, when standing in the caulk aisle of our home improvement store, I scanned all the DAP caulk options (I only use DAP, and that was true even before I started working with them as a blogger).
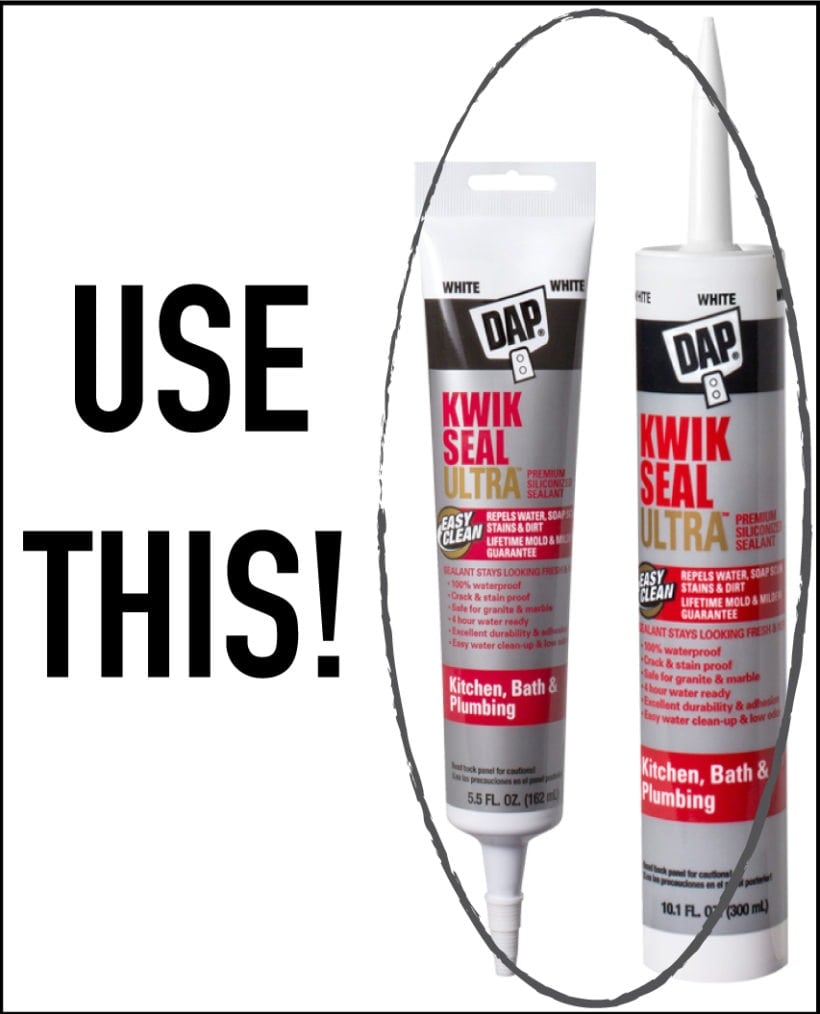
At one point, I thought, “Hmmmm, I'm really not sure what kind of caulk I should be using.” But did I find an employee and ask them? NOPE. Did I call the super helpful folks at DAP to ask? NOPE. I found one that said, “waterproof seal” and rushed back home to finish my project. Sigh…. What I SHOULD have purchased was DAP Kwik Seal ULTRA. KWIK SEAL ULTRA is a premium kitchen & bath sealant that repels water, stains and dirt. You'll see that instead I purchased Alex Plus latex caulk–it's a GREAT caulk, but isn't the best choice for bathrooms or kitchens. With that, let's turn our attention to the materials you'll need for this project.
Materials Needed:
If you are ever in doubt about which caulk to choose for your job, call DAP's technical customer service team–they are amazing and it's FREE! You can reach them at 1-888-DAP-TIPS.
Steps:
1) Carefully remove any existing caulk from the joint between your bathtub and tile wall surface–a 5 in 1 tool works really well for removing caulk. Scrub away any mildew and/or soap scum from the tub as well. After you have cleaned the seams, wipe them down with denatured alcohol to remove any moisture from the seams.
Now you see, I was working with a BRAND new tub and BRAND new tile and my seams had never been caulked before. So this is the only reason my story has a happy ending. After caulking my tub, I talked with an expert at DAP who told me the DAP Kwik Seal ULTRA is what I should have chosen. But, he said that because I was working with a brand new surface that had never been caulked before, the Alex Plus caulk I used should hold up fine. He explained that if I had been applying it to an old tub that had ever had silicone caulk applied to it, the latex caulk would have problems adhering to the surface. But, since I was working with a clean slate, I should be okay. I'm keeping my eyes peeled for any signs of failure, such as peeling or softening. If that happens, I'll need to remove it and start again with DAP Kwik Seal ULTRA, but I probably dodged a bullet on this one.
But if you are applying caulk to anything other than a brand new surface, you absolutely need to use DAP Kwik Seal ULTRA. And if you are better than me and ARE applying it to a brand new surface, you should STILL use Kwik Seal ULTRA (and you will, because you will be older and wiser after reading my cautionary tale, right?!).
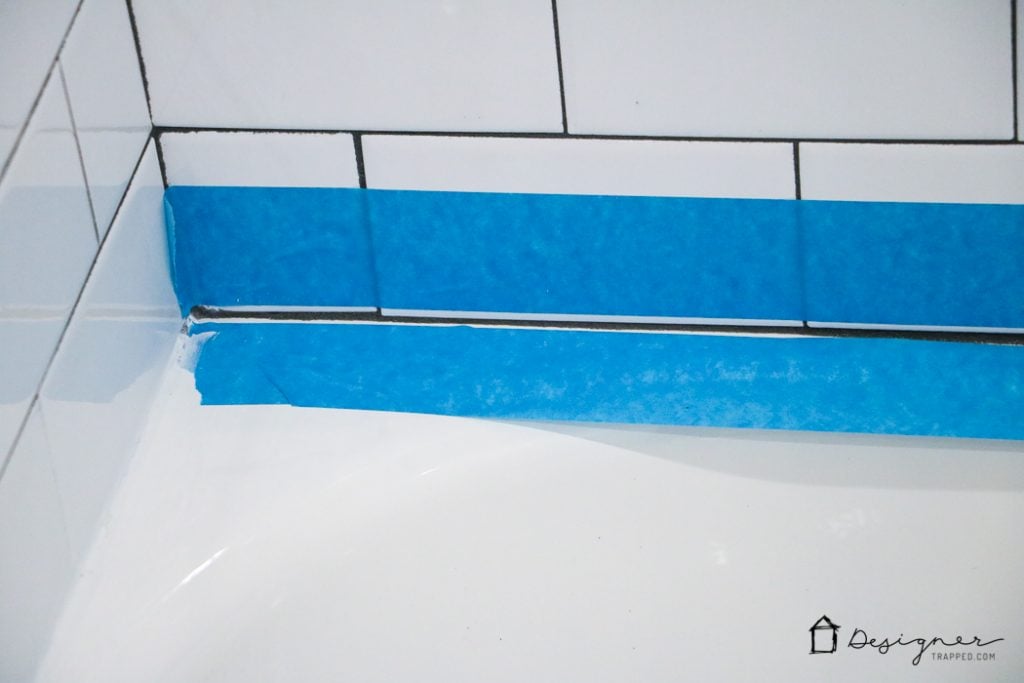
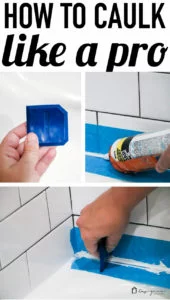
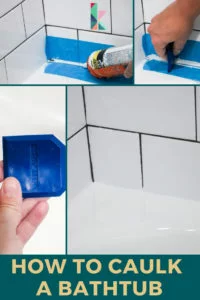
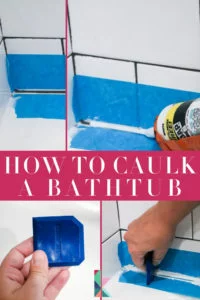
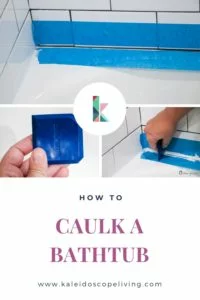
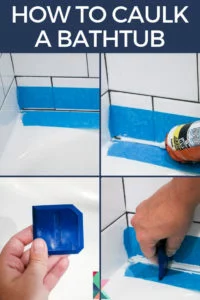
2) Next, apply painter's tape to both sides of the seam where you will be applying the caulk. Be sure to line the edges of the up to exactly where you want the bead of caulk to stop. This will give you a perfectly even-looking bead of caulk. This is such a quick and easy step, but it really does make all the difference in the world!
3) Load your caulk gun and prime it for caulking. Cut the tip to leave an opening that is large enough to form a nice bead of caulk–be careful not to make the opening too large (getting the correct size takes some practice–I recommend starting small because you can always make it larger if needed). Most tubes have a thin barrier inside the tube to prevent the caulk from curing. Pierce the barrier with something long and sharp (many caulk guns have a built in poker for this purpose). Squeeze a bit of caulk out onto a paper towel to make sure you are ready to go. Whenever you are not actively caulking be sure to release the trigger lock on your caulk gun to relieve the pressure inside the tube so that caulk doesn't leak out.
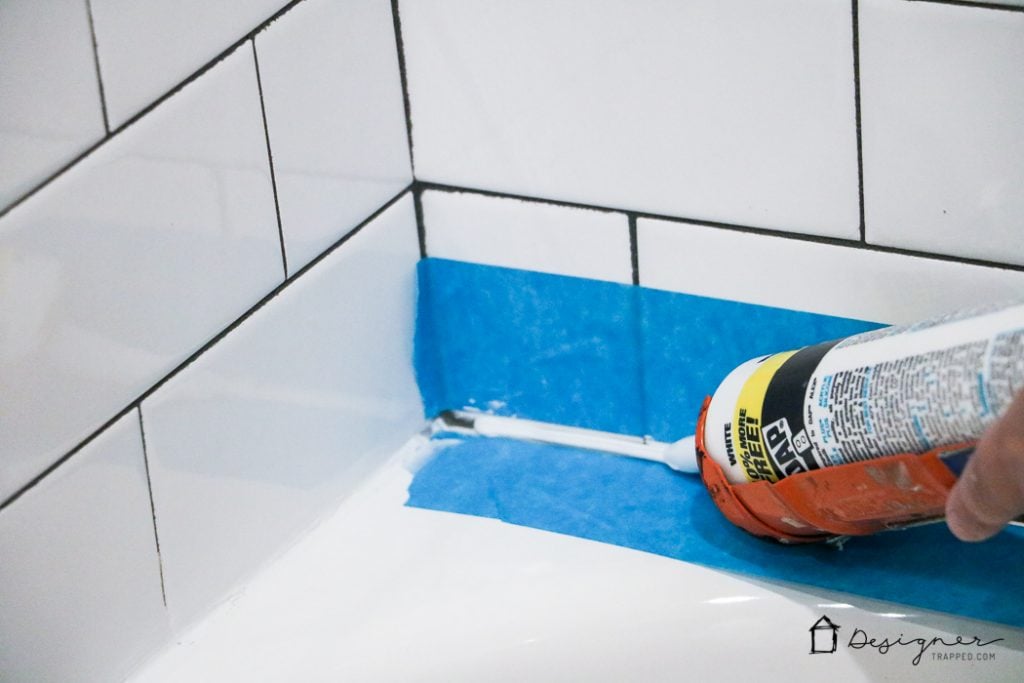
4) You are ready to caulk! Position the tip of your caulk tub slightly above the surface. Press the caulk gun trigger and move it in a straight line along the seam, using a steady motion and even pressure. Try not to stop the flow of caulk until you reach a corner.
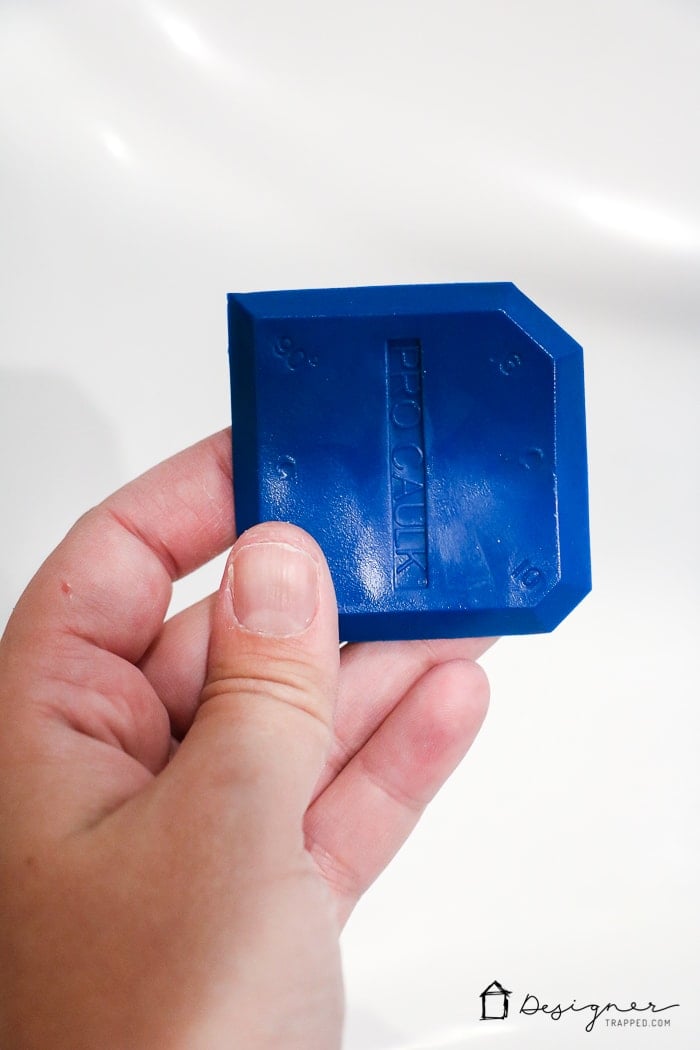
5) Smooth the caulk out between the pieces of painter's tape, pressing it into the corner with the Pro Caulk tool as you go, removing excess caulk.
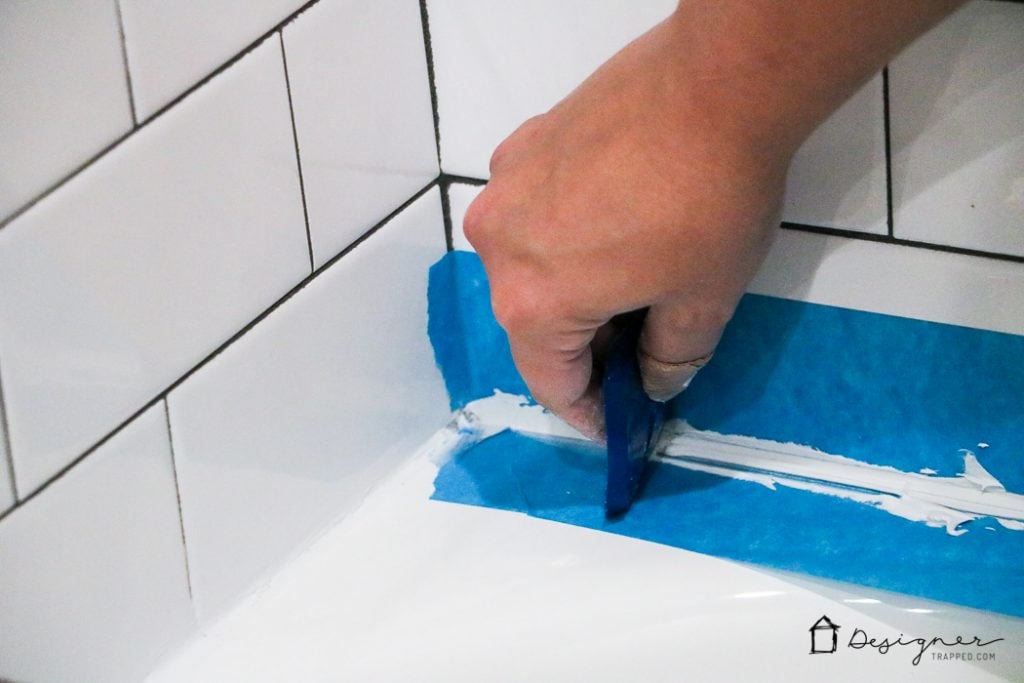
6) Remove the painter's tape right away–you definitely need to remove it before the caulk starts to cure. Pull it away carefully so that you don't disturb your perfect bead of caulk!
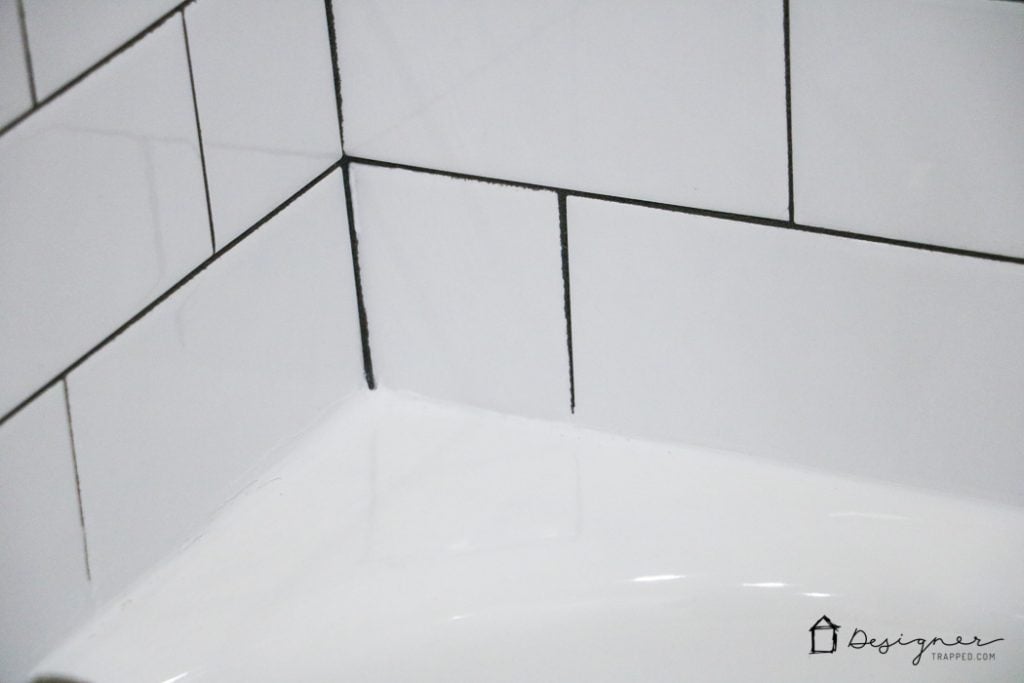
7) Allow the caulk to cure the recommended amount of time before exposing it to any water.
That's it. It's a really, really simple process, but it's super important to use the correct caulk and for bathroom and kitchen applications, go with the DAP Kwik Seal ULTRA. Now you can go teach someone else how to caulk a bathtub (and how to ask the right questions of the right people ahead of time so that they pick the right caulk for the job, lol)!
Want to see the finished product for this bathroom? We completed the entire renovation and it looks amazing. You can see all the details for it in DIY Bathroom Remodel REVEAL. If you want more awesome bathroom inspiration, make sure to check out the amazing powder room renovation we did. And there are some great ideas here: 13 DIY Bathrooms You Have to See to Believe.
Want to get VIP access to more DIY advice, design guides, organization and more? Become a subscriber and you can access it all in one place–just click below to subscribe and get it all for free!


[mv_create key=”1″ type=”list” title=”Most Popular Projects” thumbnail=”<a href=”]
Last Updated on August 10, 2021
We did the exact same thing, and purchased this type of caulking instead of the quick seal you mentioned! Literally just showered and the caulking I applied a few hours ago basically disintegrated haha. Learned that the hard way!
Hi Michelle. Live and learn, right?! At least we both know now, lol!
Did you fill the tub up with water to mimic someone in the tub b4 caulking? I didn’t a few times and it busted a ND I ended up having to do it all over again.
We did :)
Thank you so much for posting your caulking tutorial! I apply bathtub caulk like a toddler applies lipstick! As soon as the holidays are over, I’m heading to my hardware store to buy your list of materials and I’m getting to work on making my caulk (almost) as neat as yours! I’m crafty but not handy around the house- this looks like a tutorial that will work for me.
Good luck Bridgett! I am sure you will do great :) Thanks for reading!