Stunning Light-Up Paper Snowflake Lanterns
I'm a big proponent of creating dramatic and magical moments in your home year-round, but especially during the holidays. And it really doesn't have to be hard or complicated. It's so easy to create this stunning look with light-up paper snowflake lanterns. You only need a few supplies and less than an hour of time. Read on to learn exactly how to create this magical, glowy look in your own home for the holidays.
My love for light up paper snowflakes and ornaments began back in 2021 when I decorated the cased opening to our dining room with realistic faux garland and these light-up lanterns (see below). When I shared the videos and photo on Instagram, everyone went nuts! They were beautiful during the day, but absolutely fabulous all lit up at night.
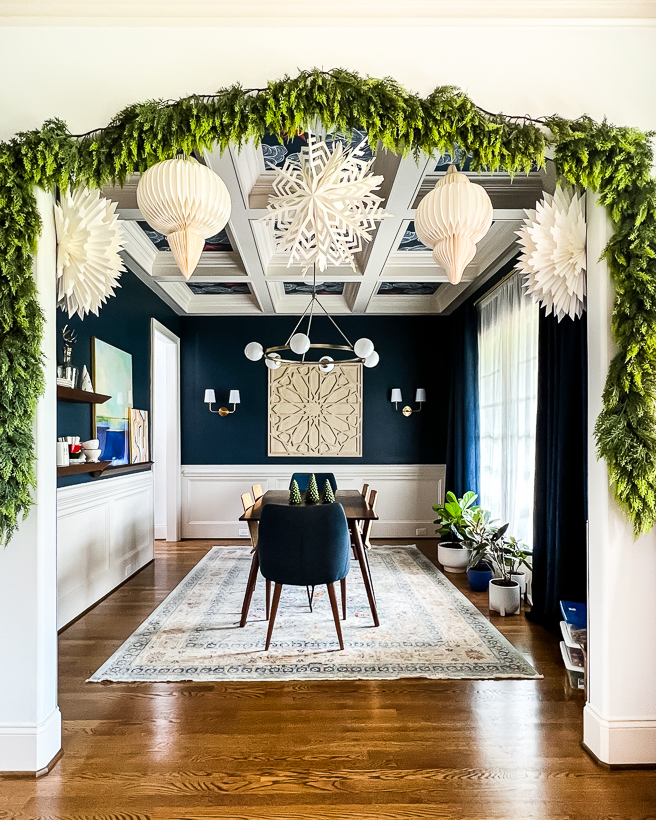
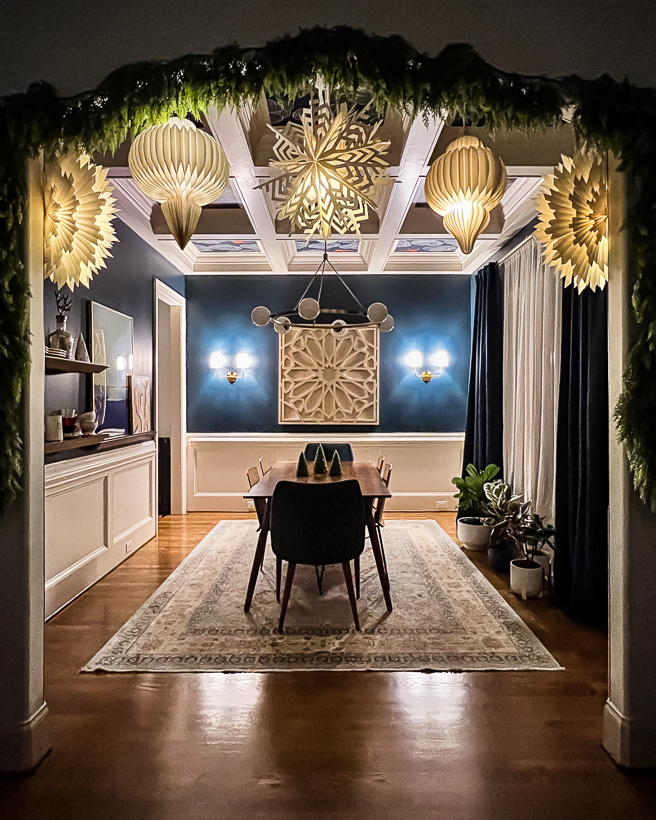
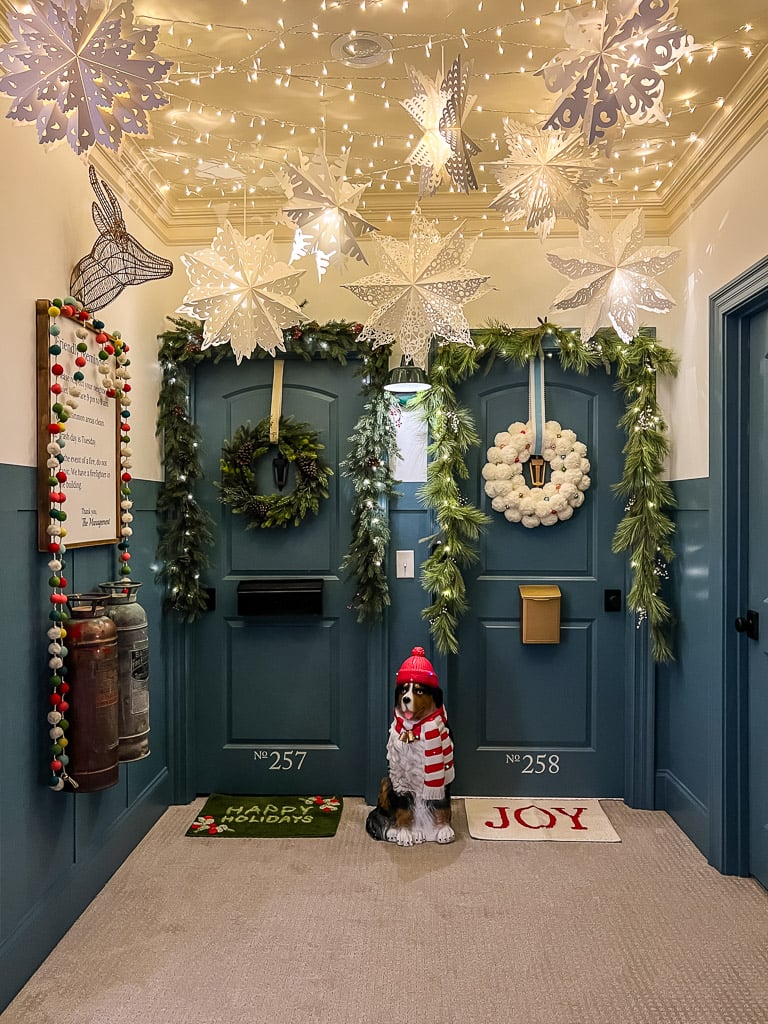
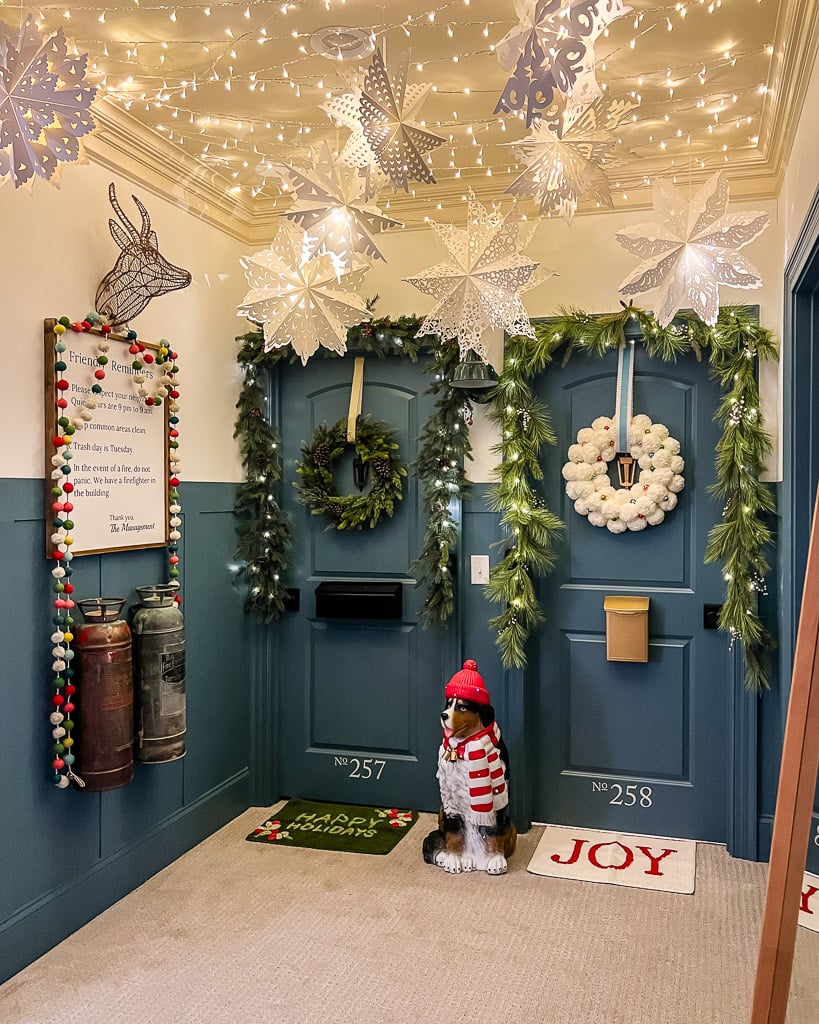
This year, I decided I wanted to do something similar for my daughters' bedroom doors that we decorated to look like apartment doors several years ago. We decorate the area each year for Christmas and I thought light-up lanterns hanging from the ceiling in front of their doors would be a magical addition. The paper ornament and snowflake lanterns we use in our dining room for Christmas are no longer available. Luckily, I found a set of paper snowflake lanterns that I love EVEN MORE!
This post contains affiliate links for your convenience. Click here for my full disclosure policy.
Materials Needed
- Large paper lanterns that are hollow inside once assembled.
- I purchased the paper lanterns we use in our dining room from World Market in 2021, but they are no longer available.
- I used this set of 10 light-up paper lanterns on the ceiling in front of my girls' bedroom doors and love them even more!
- Remote-controlled LED lights
- NOTE: The set of 10 light-up paper lanterns includes LED lights, but they have to be turned on and off manually, which wasn't practical for us. That is why I ordered separate remote controlled LED lights to use with them.
- Clear command hooks for hanging them on your wall OR
- Command ceiling hooks for hanging them from the ceiling
- OPTIONAL: We also strung 99-foot long LED twinkle lights in a random pattern across our ceiling for extra glow.
How to Assemble & Create Light-Up Paper Snowflake Lanterns
I highly recommend that you watch the 2 minute video below so that you can see exactly how to assemble the lanterns–the video will play after a short ad. I've also written out instructions below the video.
For whatever reason, the snowflake lanterns I received didn't come with any instructions, which was fine because I understood how to assemble them since I had used similar lanterns in the past. But after sharing the process in my Instagram stories, MANY people commented that they didn't understand how to make their snowflakes fully open or keep them closed, so I realized it's not totally self-explanatory. I promise it's easy! Again, you can see exactly how to do it in the video above, but below are written instructions as well.
Step 1: Gently open one snowflake at a time by pulling the ends towards each other.
Step 2: When you have it open about half-way, insert an LED light into the hollow cavity in the middle. Then finish opening the snowflake. Note: If your LED light falls out of some of the larger snowflakes, see “hot tips” below.
Step 3: This is VERY IMPORTANT. The cord on each snowflake is NOT just to hang it front. Tightening the cord is what fully opens the snowflakes and holds them closed. You will notice that each cord includes a plastic cord stop on it. Once your have opened your snowflake as much as possible, hold it closed while you press the spring toggle down and scoot it as far down the cord as you can–you may need an extra set of hands to do this, especially with the largest snowflakes. Then release the spring toggle so that it stays in place. Your snowflake should look fully open and feel secure. If your snowflake seems resistant to staying open or doesn't look like it is fully open, see the “hot tips” below.
Step 4: Some snowflakes (depending on the shape/design) also include velcro to ensure the two paper ends of the snowflake press against each other properly. The velcro is not intended to hold the snowflakes closed! It is not strong enough.
Hot Tips
If you find that your snowflake won't full open or stay closed, make sure that each segment of your snowflake is fully expanded. I struggled with a couple only to realize that a segment or two hadn't fully expanded, which is why they seemed difficult to close with the cord (as described in step 3). Once I make sure each segment was properly open/unfurled, I didn't have any problem tightening the cord enough to hold the snowflakes open.
If your LED light falls out of some of the larger snowflakes because the center cavities are too large, wait until after hanging your snowflakes to insert them. At that point, you can easily find a spot to balance them on so they won't fall out. If you need to, you can use museum putty to hold them in place, but we were able to balance ours without any issue.
Step 5: Use command hooks to hang them on your wall or ceiling. After hanging ours, I did adjust some of the LED lights to make sure they were pointing up because I felt like that allows the light to be distributed more evenly.
That's it! So easy and so, so magical. What do you think?!
Frequently Asked Questions
I have linked to them in the “materials needed” section above.
At the end of the season, we take them down, remove the LED lights and collapse the lanterns so that they are flat again. Then we store them in a plastic bin with other Christmas decorations.
The LED I use lights come with a remote control. I wish I could have found remote control LED lights that also included a timer function, but didn't have any luck. It would be nice to have them stay on for 4 to 6 hours each night. But it's easy enough to turn them on and off with the remote each night :)
We didn't even try them because they have to be turned on and off manually, which did not seem practical since I knew ours would be hanging from a ceiling. And they are so small, I can't imagine they give off enough light. But they may be a great option for others!
I have an entire post with all the details about the easy DIY board and batten in our upstairs hallway, including the brand and color of the paint!
More Seasonal Posts
Wondering how I approach transforming rooms and spaces in our home? Check out Designer in a Binder®.
And if you want exclusive content and behind-the-scenes sneak peeks, be sure to subscribe before you head out!

