Cheap & Easy Oversized Lumbar Pillow (No Sewing Skills Needed)
Want an extra-large or oversized lumbar pillow without the high price tag? So did I! I really wanted a beautiful oversized lumbar pillow for our bed, but I couldn't find an affordable option. So instead I came up with a super easy way to make my own for a fraction of the price, no sewing machine or skills required! And today I'm sharing the step-by-step tutorial with you!
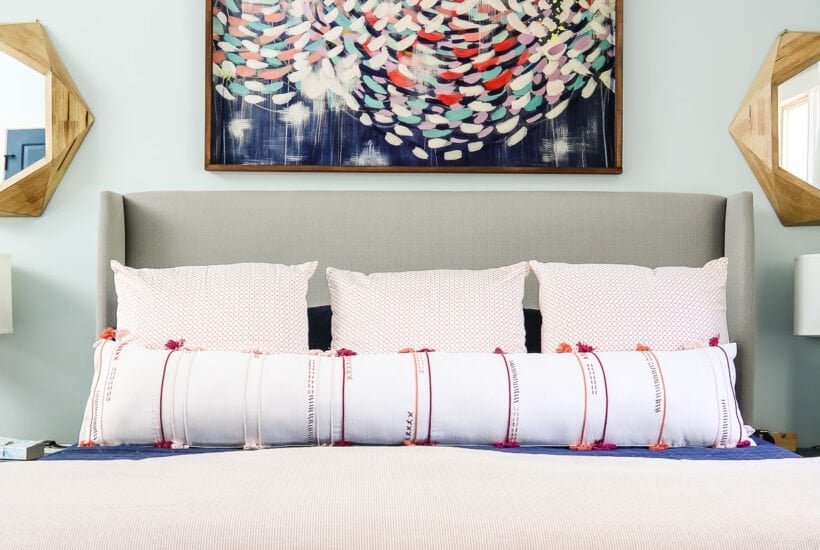
Several years ago I was searching for an oversized lumbar pillow for our king size bed. Not only were they hard to find, but they were incredibly expensive. Then one day, I was shopping in Target, and I saw a beautiful green and pink reversible table runner and I had a total light bulb moment. The runner was the perfect length to fit our king-size bed (which is 72 inches wide), so I knew I could easily make a lumbar pillow out of it. And y'all, it was SO easy. I promise you can make your own oversized lumbar pillow even if you've never sewn anything before!
A few months later I found myself at Target again, and you guessed it, I had ANOTHER light bulb moment. After seeing another beautiful table runner, I realized I could easily make extra covers for my lumbar pillow to change the look up whenever I wanted. Keep reading to learn how to make the lumbar pillow + extra covers!
This post contains affiliate links for your convenience. Click here for my full disclosure policy.
How to Make an Oversized Lumbar Pillow
Materials Needed
- A double-sided table runner with two layers of fabric sewn together
- Polyfill–I used two large bags of this type
- If you have some old pillows laying around that you no longer want, you can rip them open and use the polyfill from them!
- Seam ripper
- Scissors
- Needle and thread
- Iron-on velcro
Table Runners Perfect for Making Oversized Lumbar Pillows
Check out my favorite runners to create your own oversized lumbar pillow and additional covers! The table runners I used are no longer available but we found lots of great options, you can see them below. We did our best to find double-sided runners, but please verify!
Scroll and click on any image below for full product details

Video Tutorial
If you prefer video tutorials, you can watch the video below–it will play after a short ad. I've also included detailed written instructions below the video.
Step-by-Step Instructions
Time needed: 1 hour
Learn to make an extra-large lumbar pillow the easy and budget-friendly way with this simple tutorial! This is a very beginner-friendly project. My kids helped me!
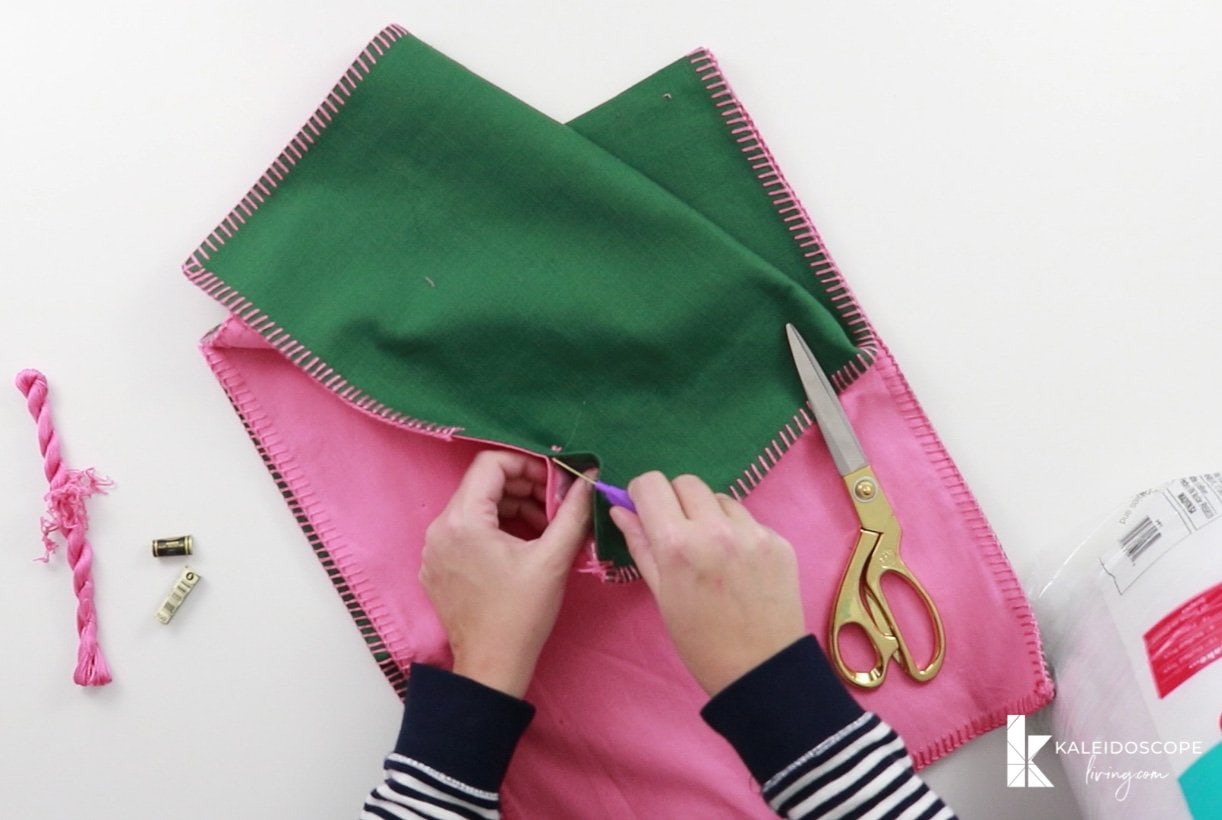
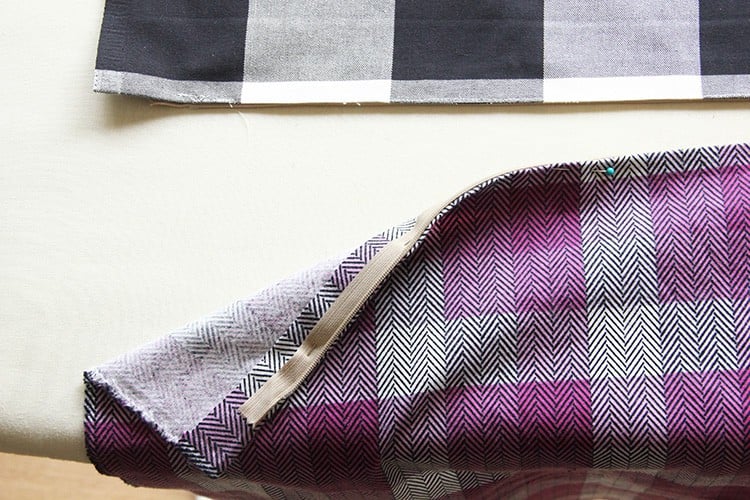
- Open 4 to 6 inches of one seam on your table runner.
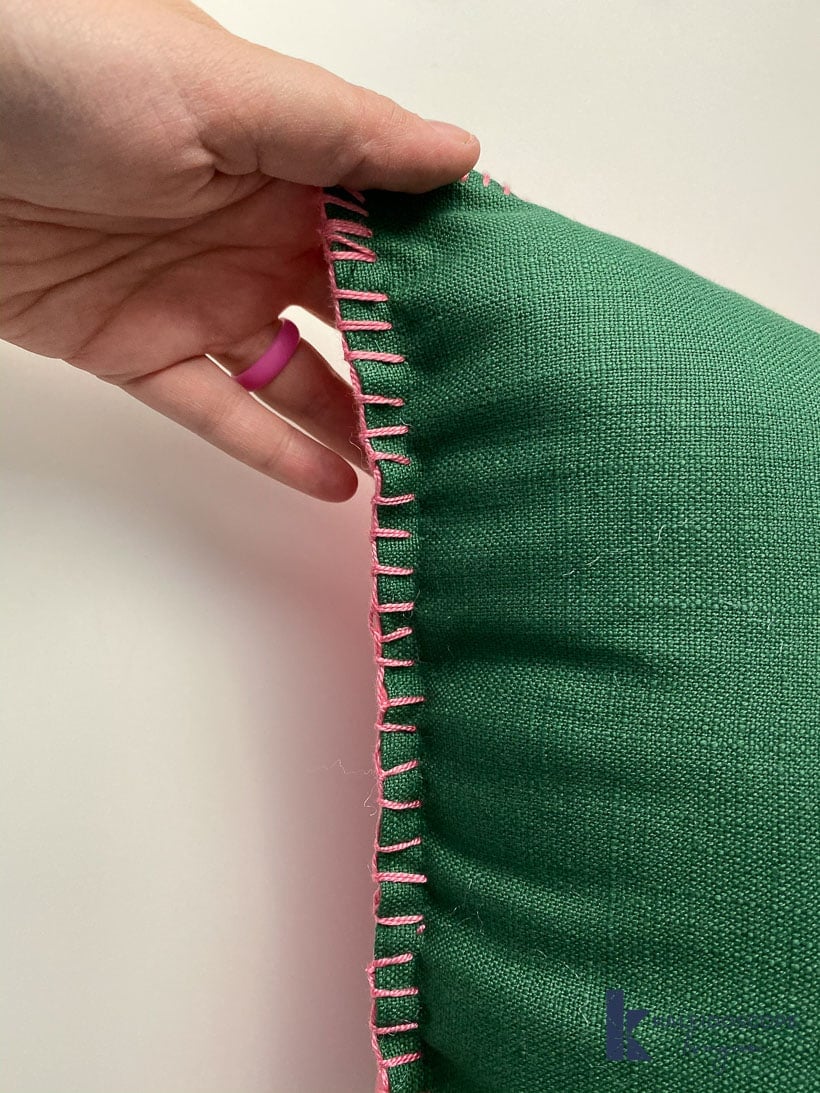
The key to making a large lumbar pillow the easy way is starting with a table runner that is double-sided (two pieces of fabric sewn together). Open one end of your table runner about 4-6 inches. Snip the seams carefully with a seam ripper or scissors. The hole should just be large enough to jam your hand full of polyfill into it!

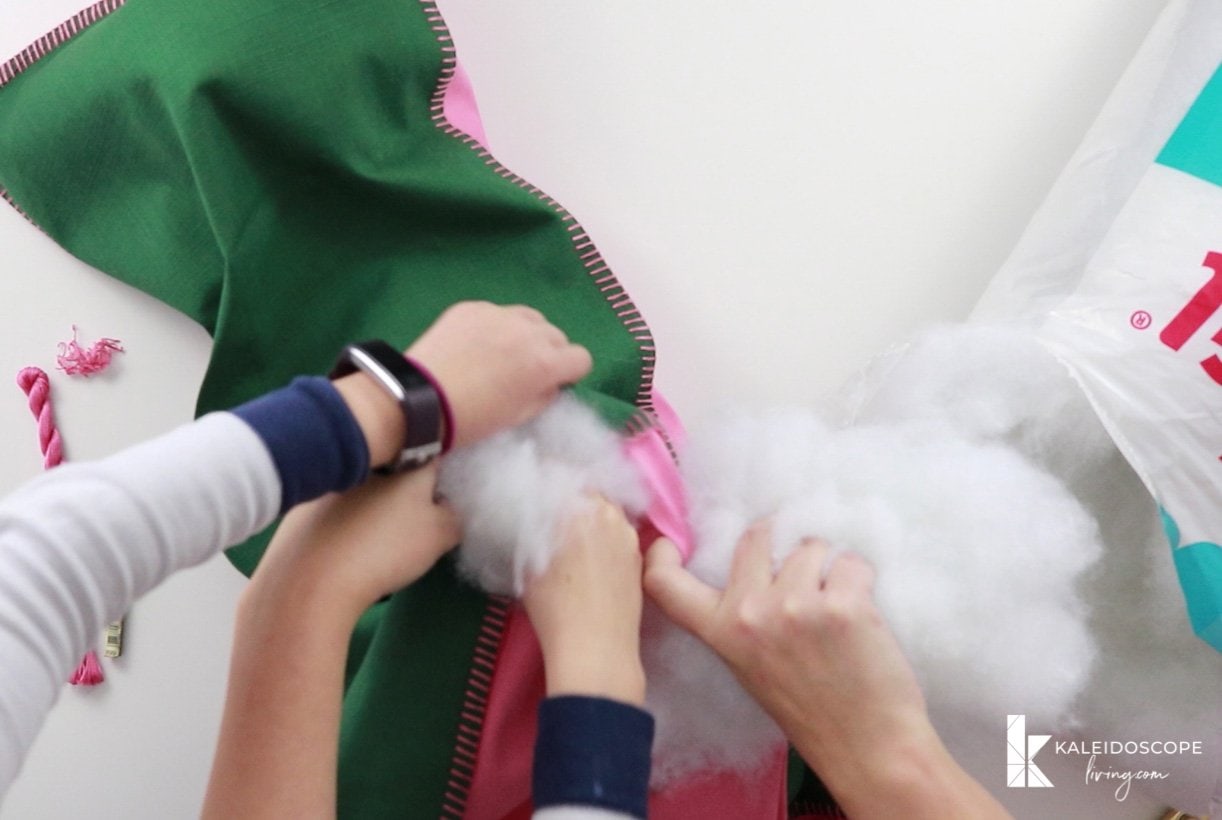
- Stuff your runner with polyfill.
Stuff your table runner with polyfill. This is about as simple as a DIY gets, and so easy for kids to do with minimal supervision! We used two bags of polyfill because I wanted our pillow really full, but you can use as much or as little as you want. Add polyfill until you like the firmness of your pillow!
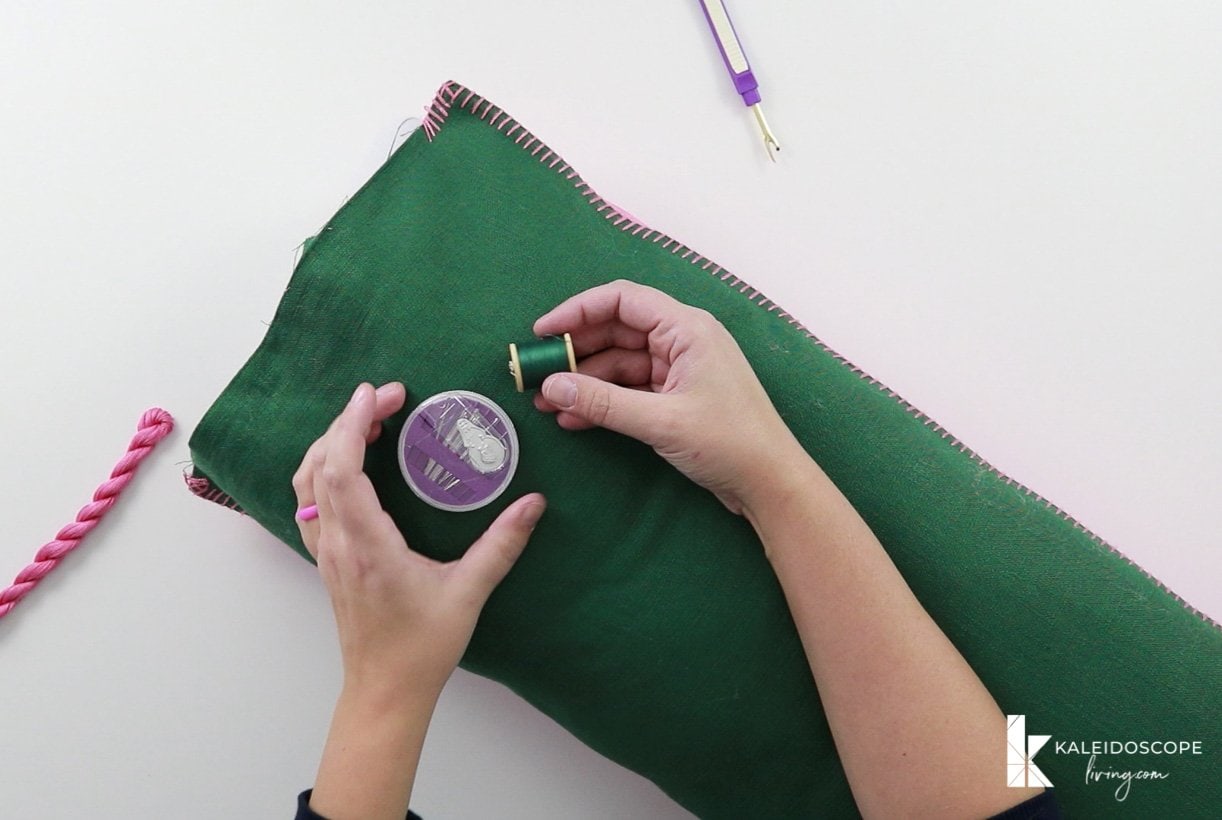
- Close the seam.
Once the runner is filled to your liking, close the seam that you opened up to stuff your pillow. If you don't want to sew (or can't!) you can use iron-on hem tape or self-adhesive velcro to close it. I hand-stitched mine closed with green thread first and then did my best to match the pink blanket stitching. It's not perfect, but it's good enough!

- Bonus Step! Make Extra Covers
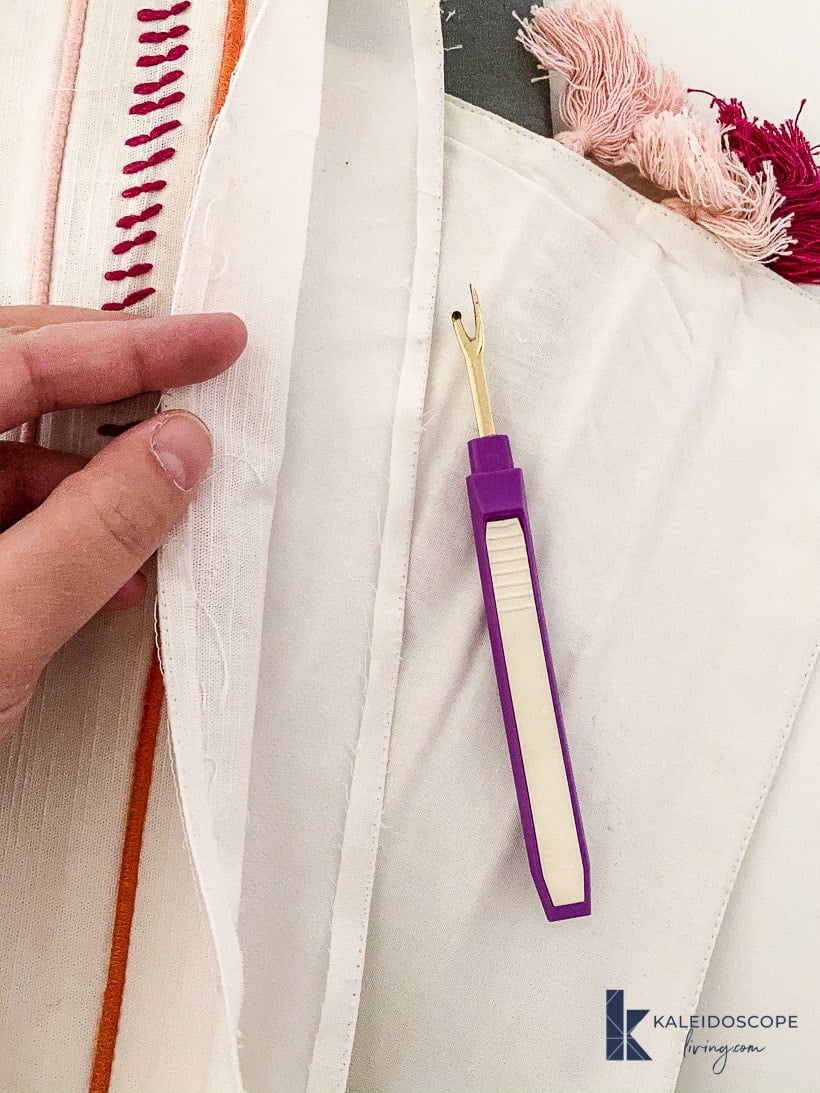
Choose another runner that is double-layered. Open the seam of the two layers at one end all the way across with a seam ripper to create a pillowcase.
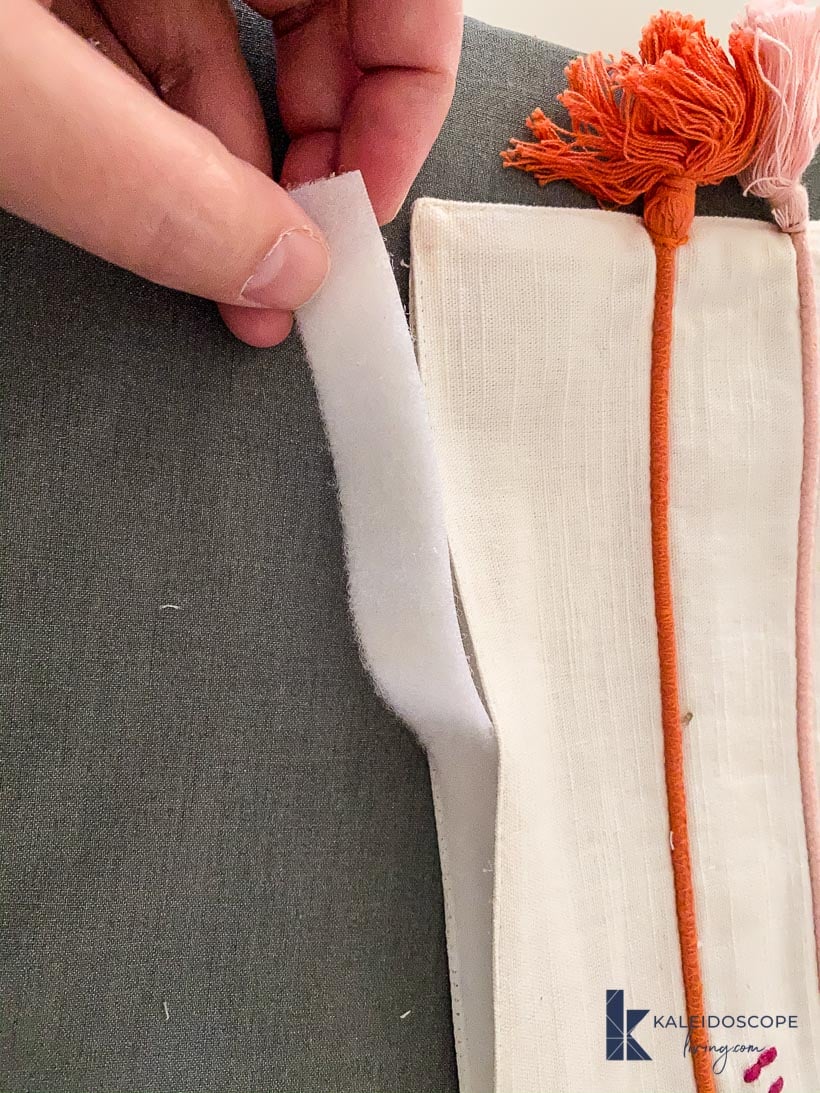
Attach iron-on velcro on the open end. This will allow you to close it easily. Then slip the new cover on your DIY lumbar pillow and enjoy!
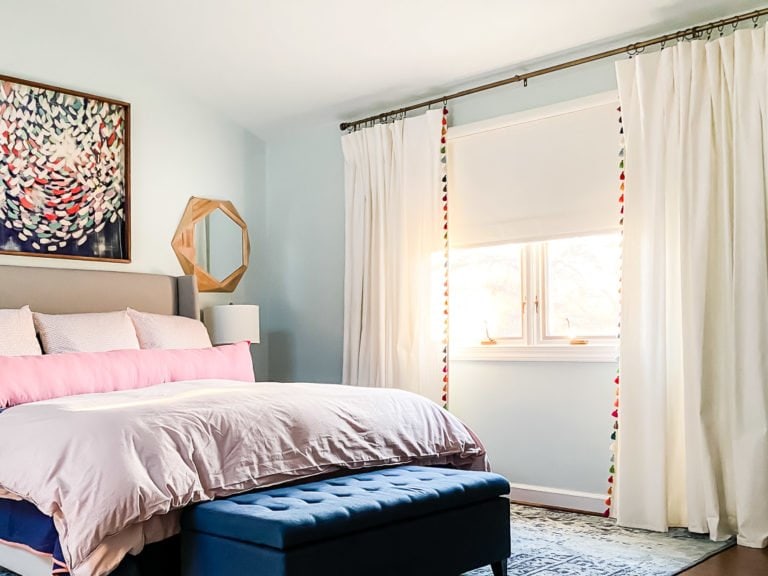
Make as many as you want–they are so simple to change out. I love switching them up seasonally. We've used this lumbar pillow with a variety of covers on it for years now. I originally made it when we lived in our old house (see below).
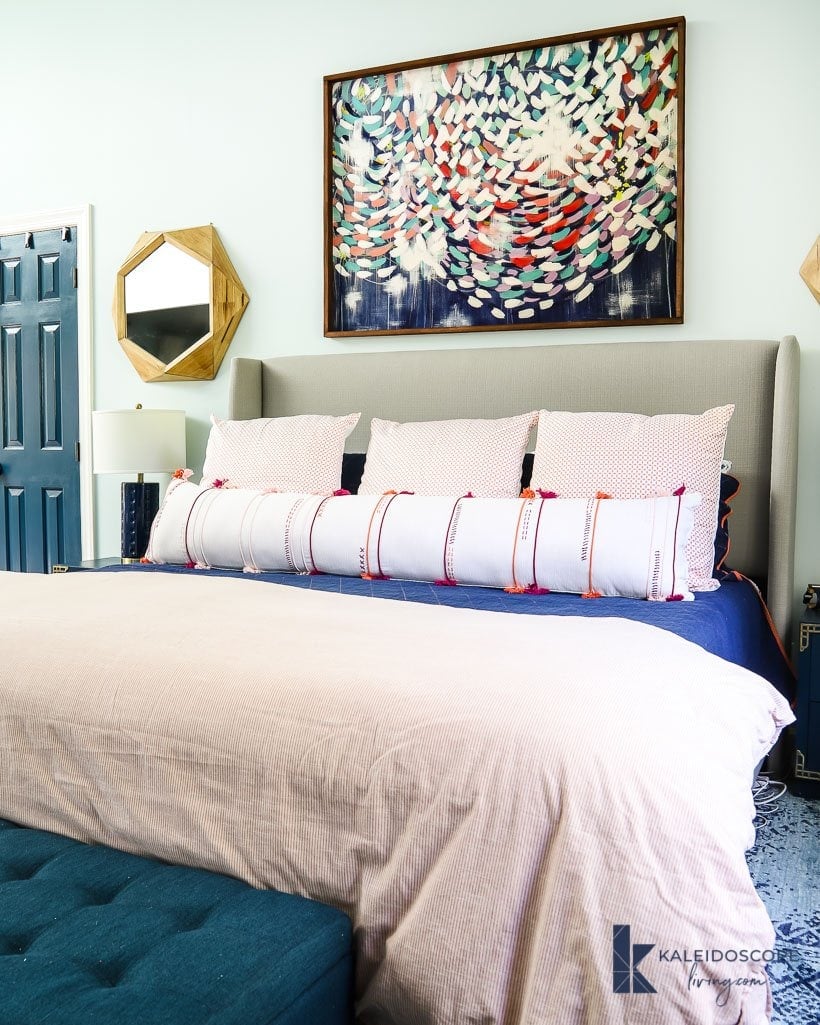
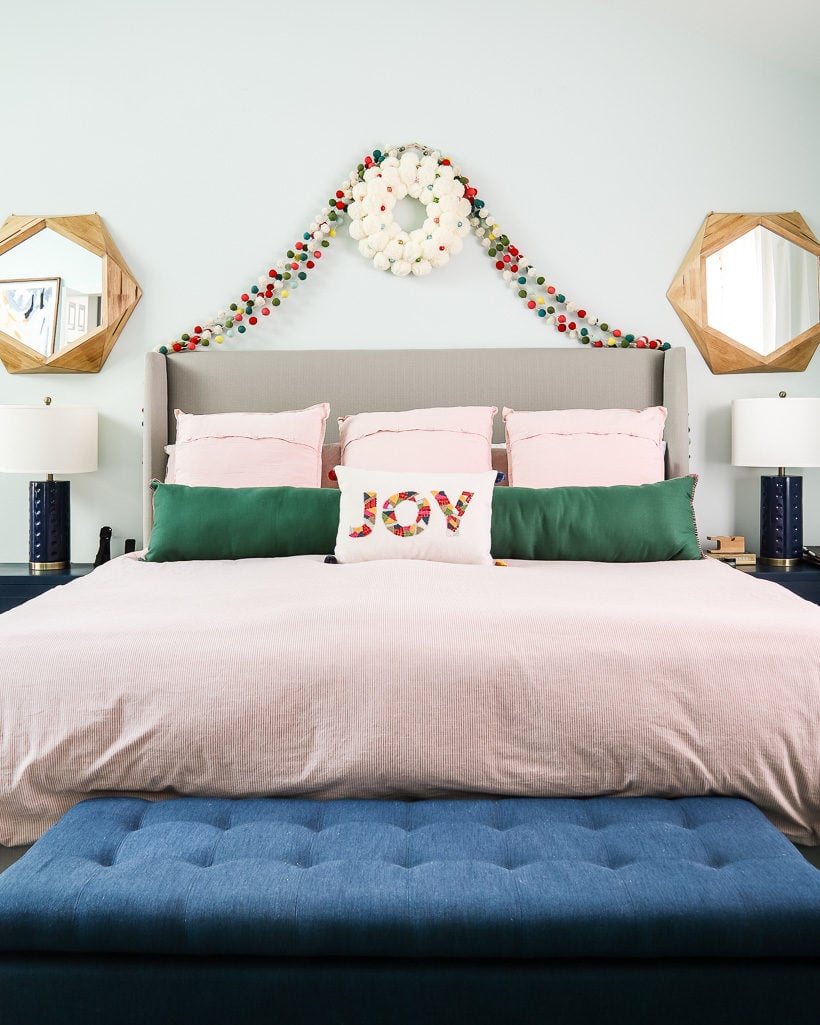
I am still using this in our new house and it has held up perfectly! I have made additional slipcovers, and sometimes I still use it with the solid pink or green side. I love that it's easy to change the cover of our lumbar pillow as we change the decor in our bedroom.
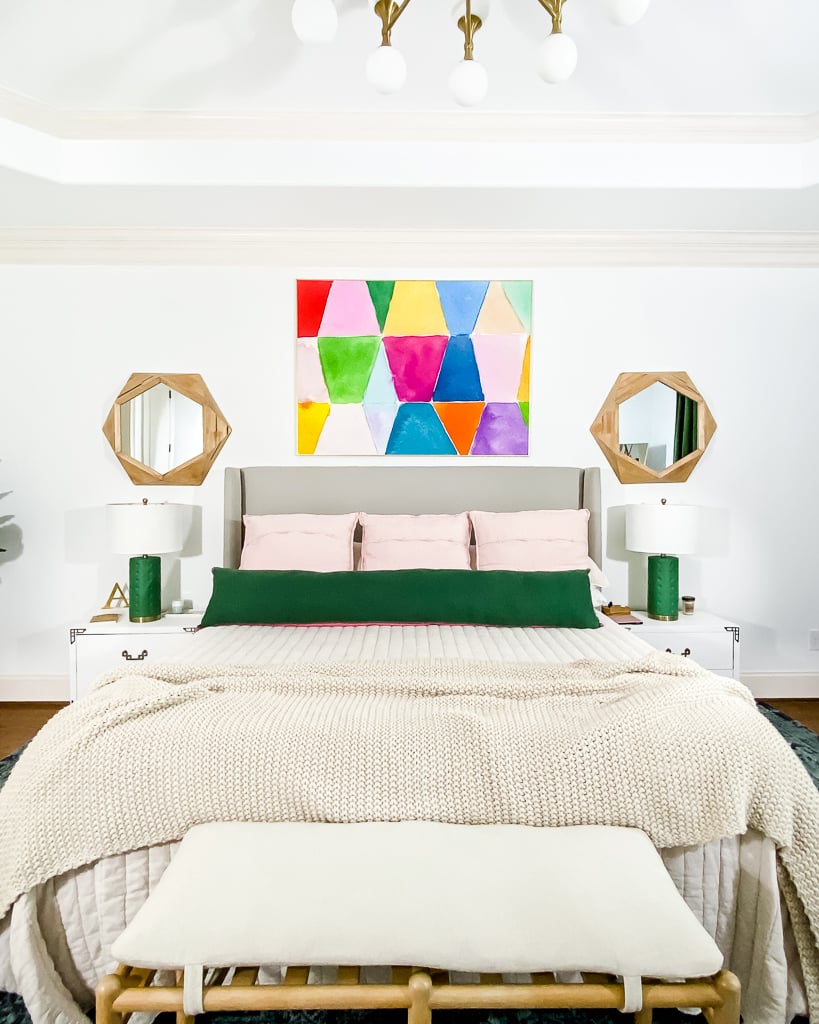
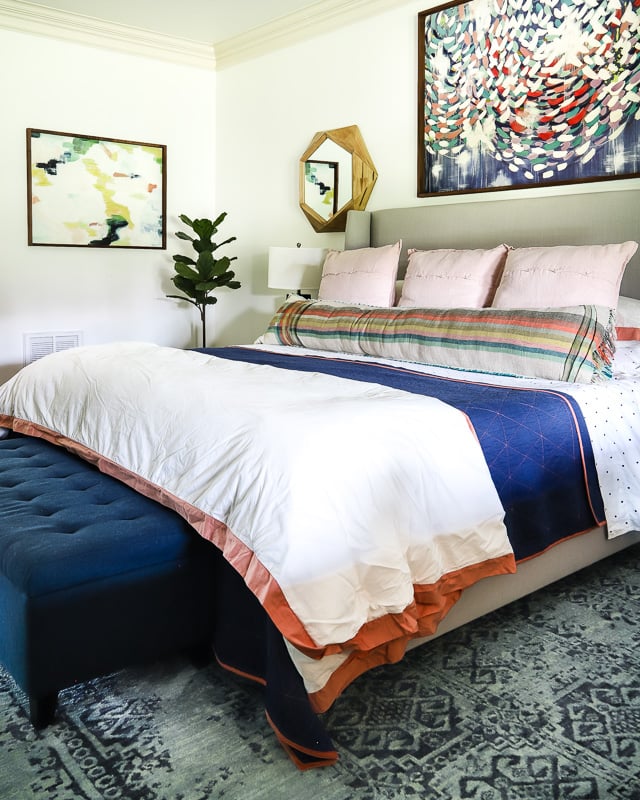
That is it! This DIY lumbar pillow is such a simple project that creates an awesome end result. Doesn't it look amazing? Let your imagination go wild and make as many covers as you want! My favorite part about the whole project is that it is so simple to switch them up depending on your mood or the season.
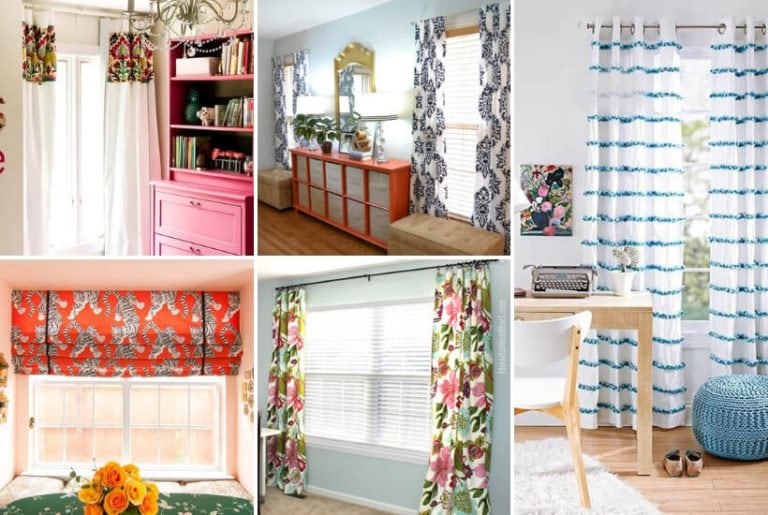
More DIY CURTAINS & PILLOW Posts

Wondering how I approach transforming rooms and spaces in our home? Check out Designer in a Binder®.

And if you want exclusive content and behind-the-scenes sneak peeks, be sure to subscribe before you head out!