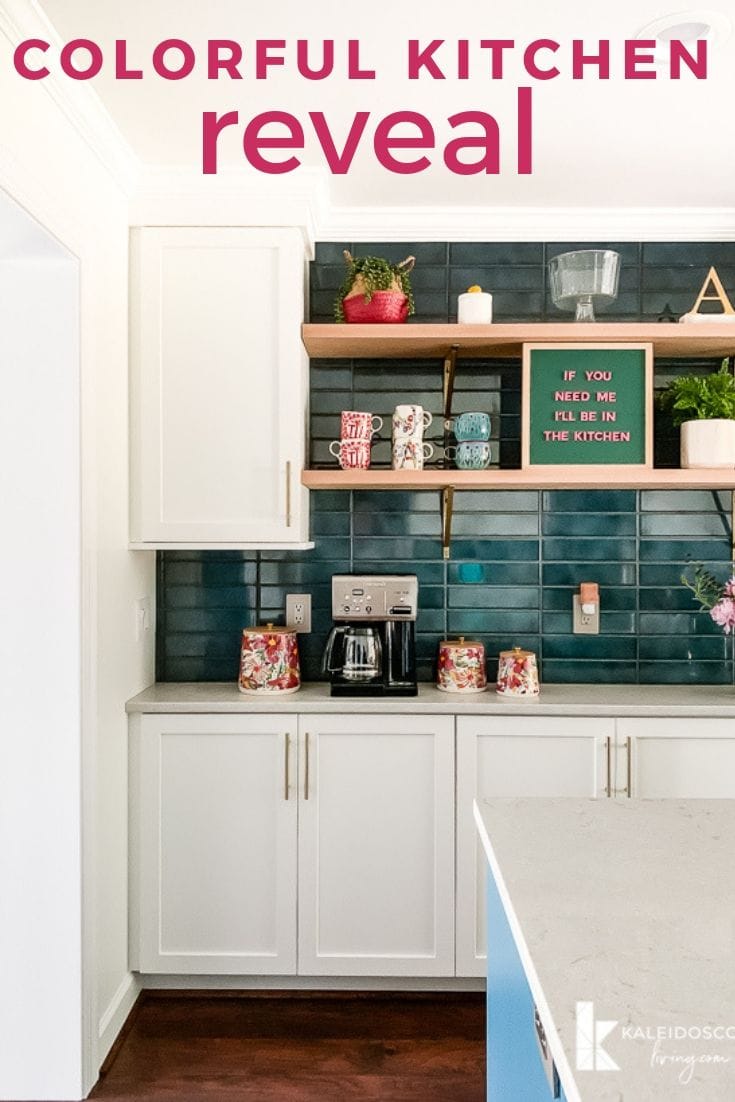
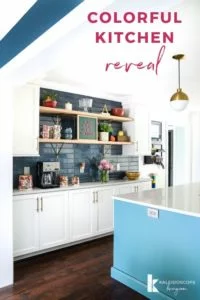
Our Colorful Kitchen Remodel Reveal: Before and After
Our colorful kitchen remodel is done. I'm sharing all the details as well as lots of before and after photos. The wall removal and big island make such a dramatic difference!
Well friends, I can hardly believe that it's kitchen reveal day! I know many of you will just be here to see the before and after photos, which is cool! I totally get it. So I'm going to try to keep the writing to a minimum, but know that I am going to be writing a whole series of posts about our kitchen renovation timeline, tips for staying sane during a kitchen remodel, etc. So more details will be coming!
If you missed all the details, floor plan changes and renderings of the kitchen remodel that I shared a couple of months ago, you may want to start with that post by clicking here.
Today's post is just about the dramatic transformation :) If you like what you see, I be so grateful if you could take a moment to pin your favorite image to Pinterest!
I've added in sources throughout the post, and you can find the complete source list at the bottom of this post as well :)
A very special thanks to Build.com, Article and Select Surfaces for gifting us with some products for this kitchen renovation. We are so grateful for their support!
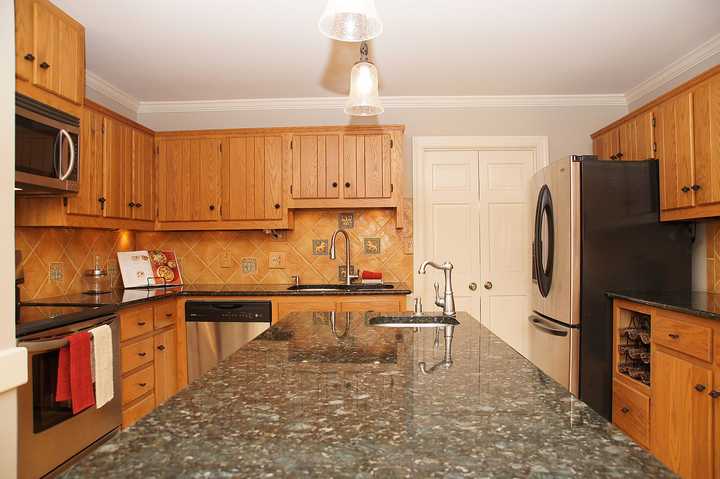
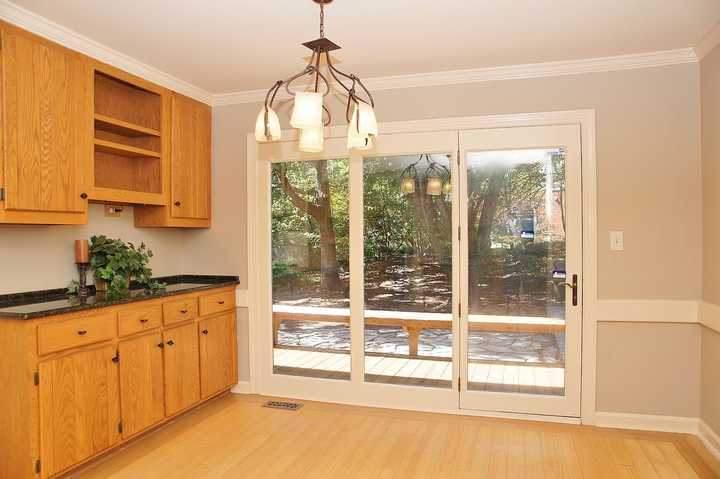
The Kitchen Before the Remodel
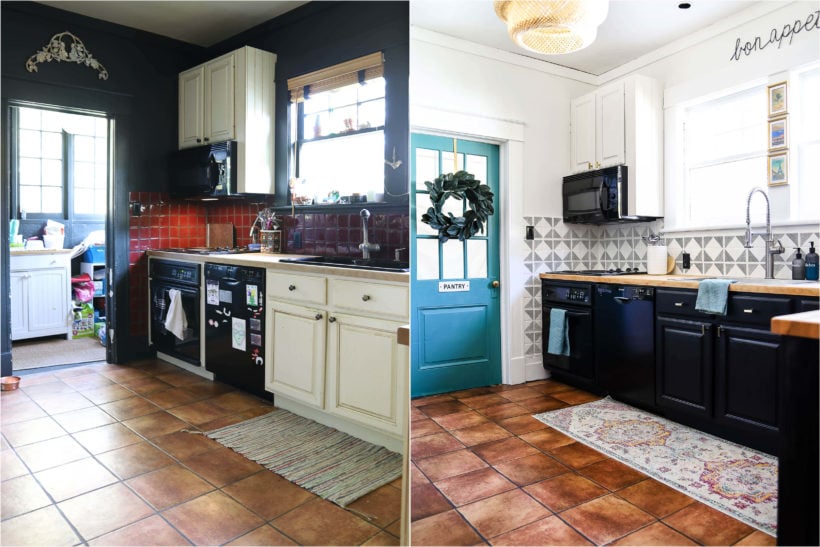
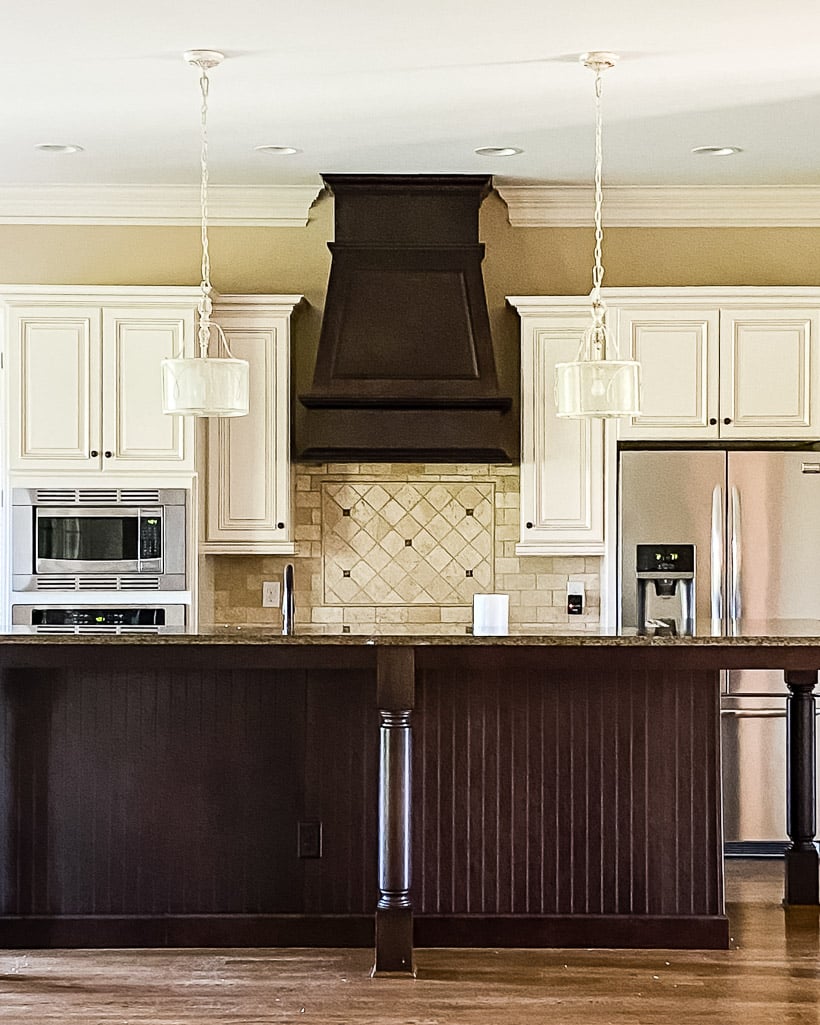
Before we dive into all the photos of the new kitchen, let's travel back in time for a bit. This is what the kitchen looked like when we moved in.
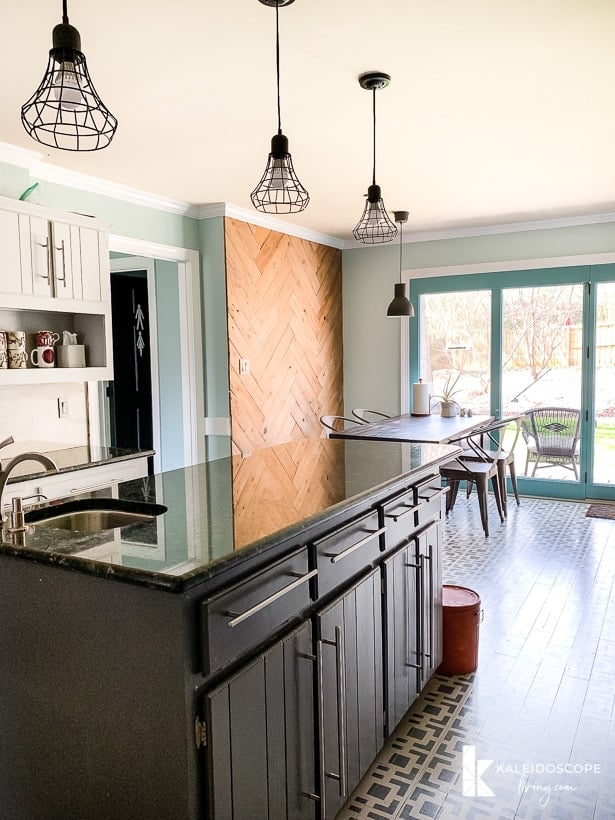
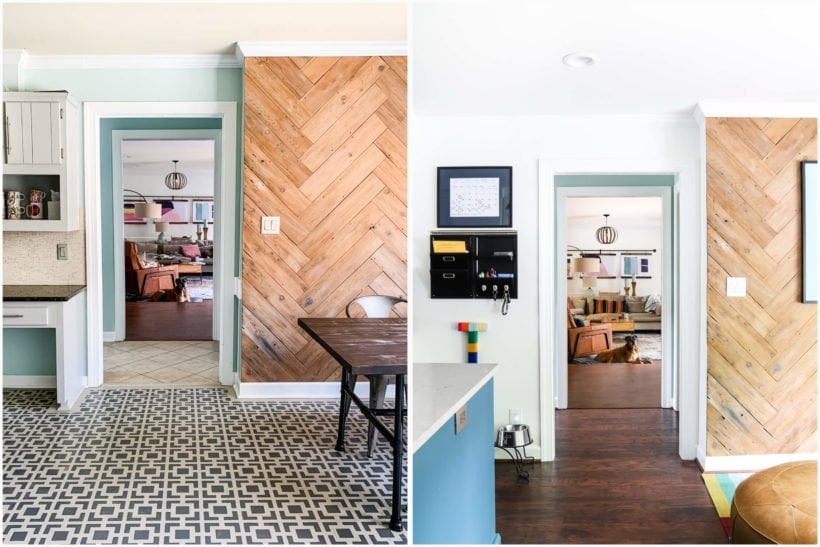
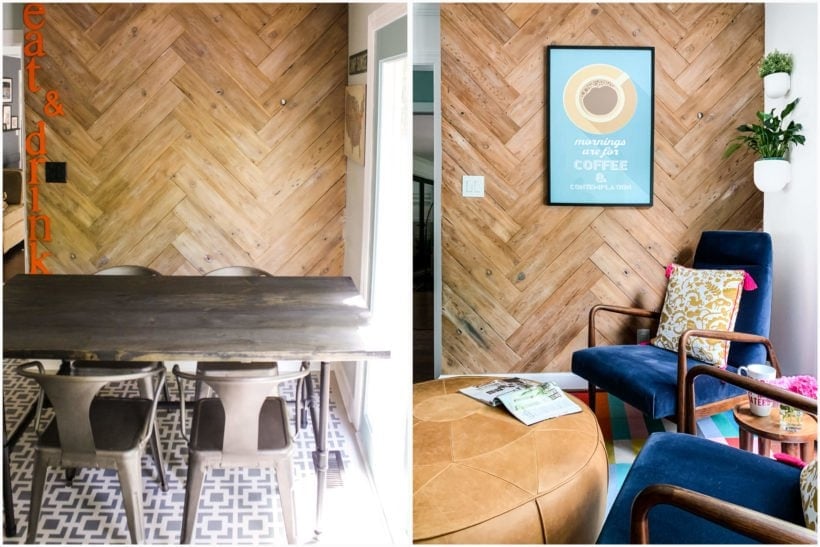
And this is what it looked like after we painted the kitchen cabinets, painted the floors, moved some cabinets around, added this DIY herringbone wall and a whole lot of other inexpensive changes (we only spent about $700).

This post contains some affiliate links for your convenience. Click here to read my full disclosure policy.
The Kitchen After the Remodel
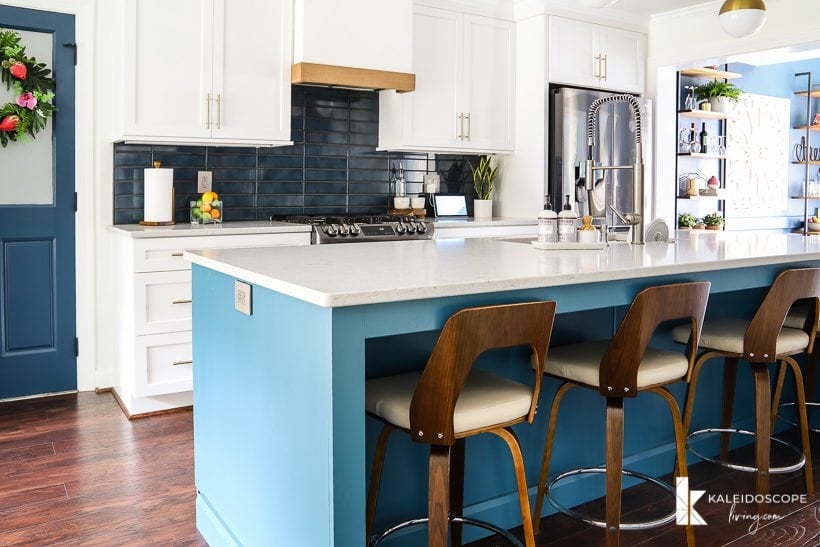
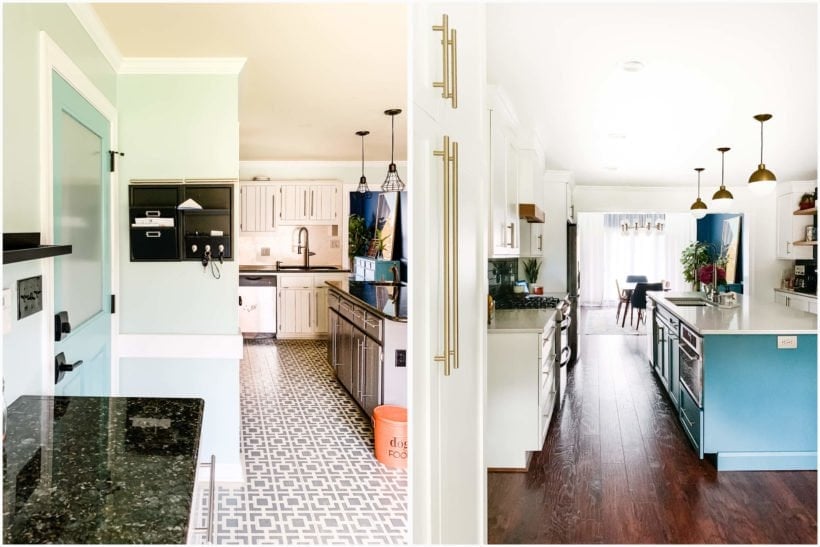
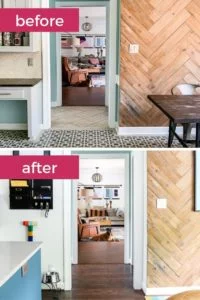
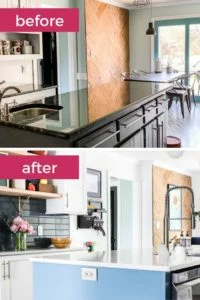
And here's the kitchen now! You'll notice that the wall removal between the kitchen and dining room makes a HUGE difference. Removing that wall not only allows sooooo much more natural light into the kitchen, but it also allows for the much larger island, which was a must for us!

This before and after shot gives you a better idea of just how much removing the wall between the dining room and kitchen impacted the space.
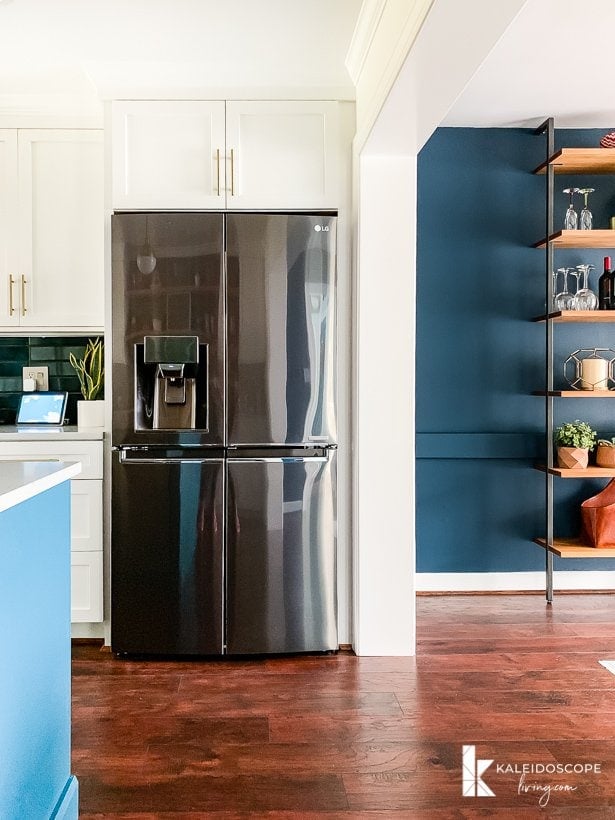
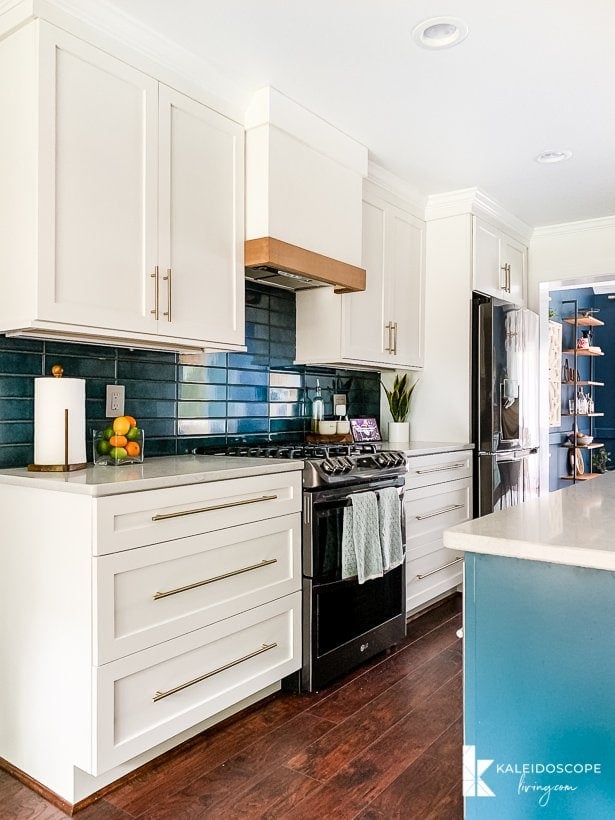
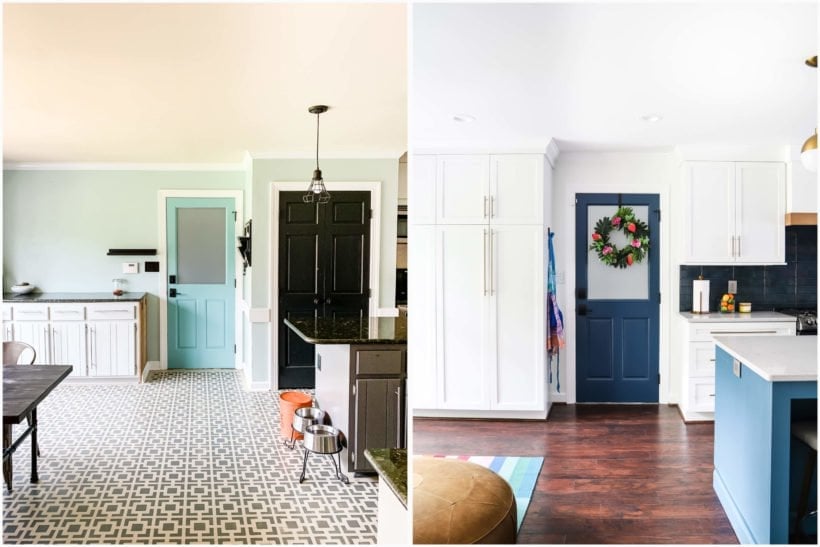
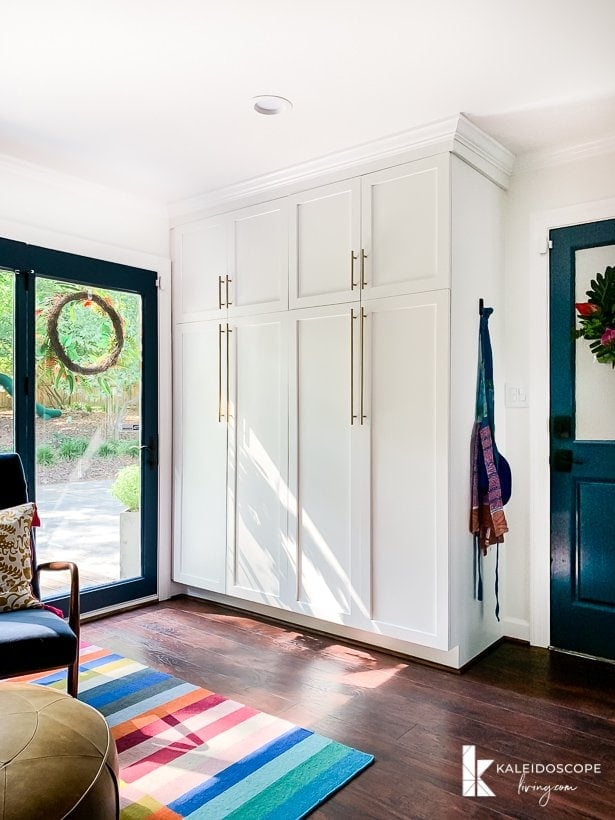
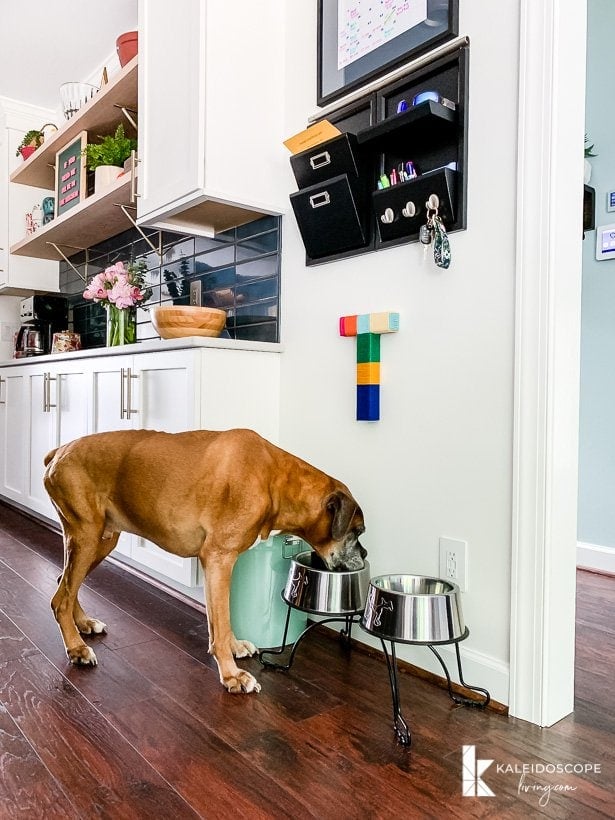
We didn't have room to add a walk-in pantry, but we did greatly improve our pantry storage! Ripping out the old pantry not only allowed us to add counter space to BOTH sides of the oven range, it also allowed us to add far more functional pull-out pantry space to this wall space where fairly useless base cabinetry used to be. This new pantry storage is such a game-changer. More details on that in a future post!
The New Flooring
Okay, now that I've given you some after photos to satisfy your curiosity, let's go into some of the details. Aside from the wall removal, I think the flooring had the next biggest impact in this space. The first floor of our home used to have THREE different types of flooring (bamboo, tile, and carpet). We had replaced the flooring in the room that is now my office Select Surfaces laminate flooring before I even started blogging! Needless to say, it was not a sponsored project, lol. But we completely fell in love with the flooring, so when it was time to replace the flooring in our family room and master bedroom, we used the same product.
So naturally, we wanted to finish off the entire first floor with Select Surfaces as well. We used Select Surfaces Canyon Trail to replace the flooring in the kitchen, dining room, hallway and foyer downstairs. You know what that means?! Now we have one uniform type of flooring downstairs. Wooo hooo! You can tell what a difference in makes in the before and after shots below.
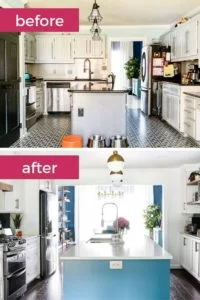
The New Island
Y'all, the new island was what the entire kitchen design revolved around. We wanted a BIG island. And this sucker is over 9 feet long and is 4 1/2 feet deep. Mission accomplished! Why did we want it so large? Three reasons. First, I wanted to be able to put the sink in it. I was sooooo sick of staring at a wall while cleaning up after dinner. Second, it was vital that we be able to fit the trash can on one side of the sink and the dishwasher on the other PLUS fit the microwave. Third, we wanted to actually be able to sit at our island. To fit 4 stools comfortably, it needed to be big.
And y'all, this is now the island of our dreams! Not only can we sit at it for breakfast and sometimes lunch (we eat dinner in our dining room every night), but cleaning up after meals is sooooo much easier. We have trash and recycling to the right of the sink and the dishwasher to the left. Perfect workflow.

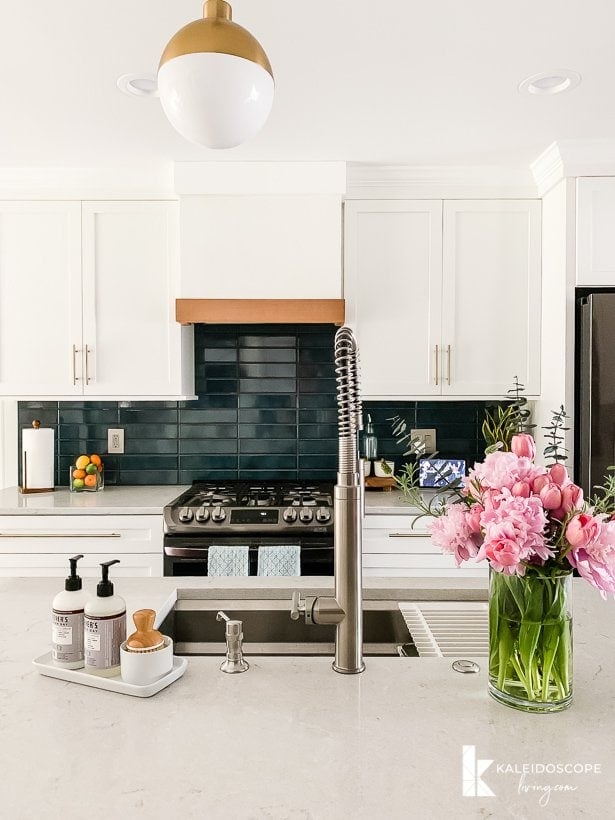
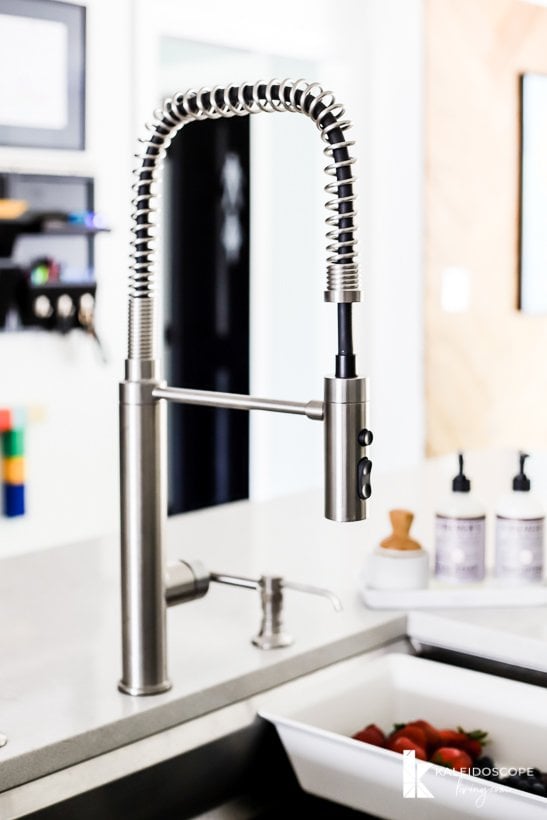
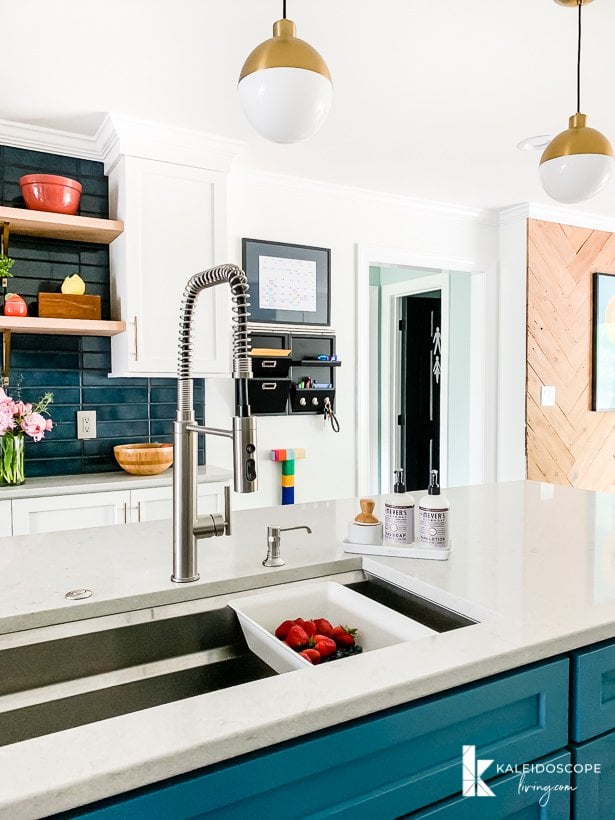
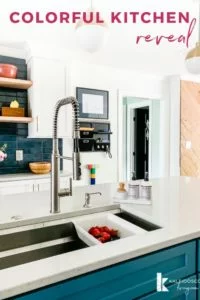
I cannot even tell you how obsessed with the sink & accessories I am! It's the coolest sink I've ever seen. It includes modular pieces so you can use it in so many different ways. We use the colander, drying racks and washing bin A LOT, but it also comes with a cutting board. So cool.
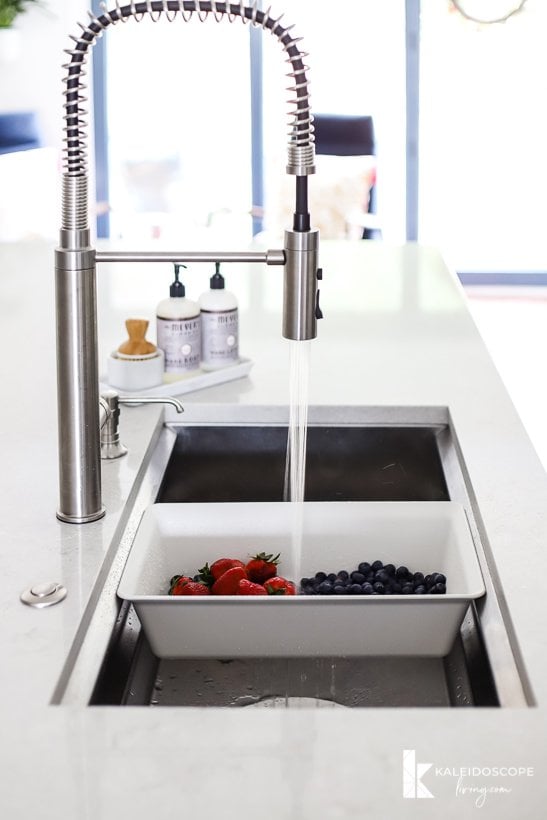
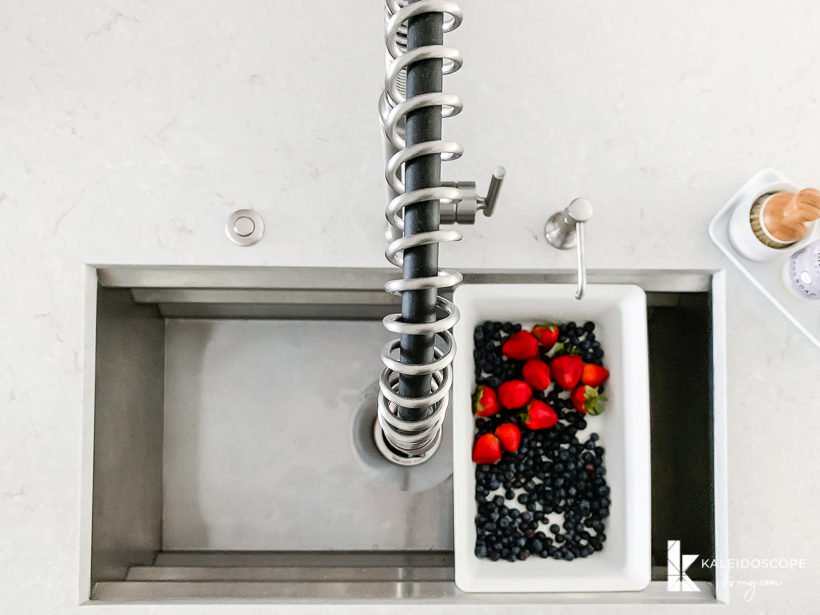
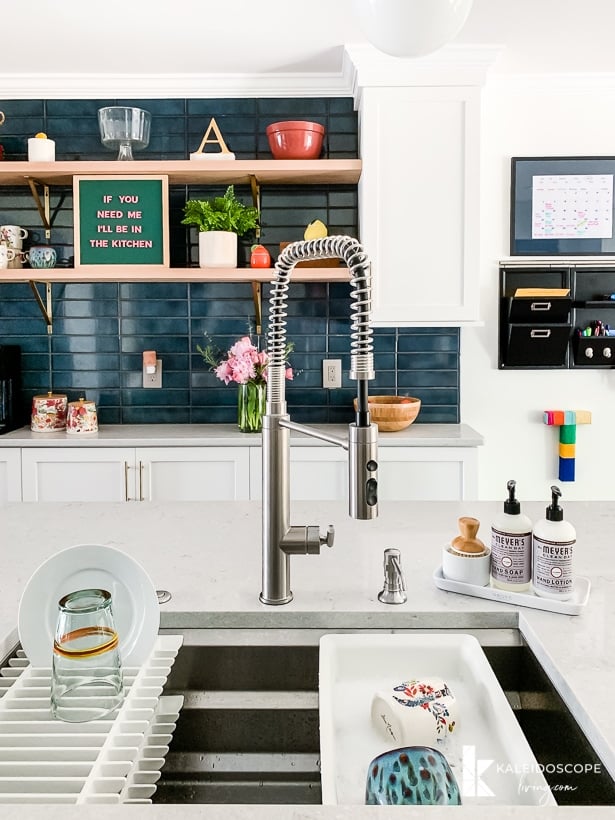
And the beautiful contemporary faucet and soap dispenser that we got from Build.com compliment the sink perfectly.
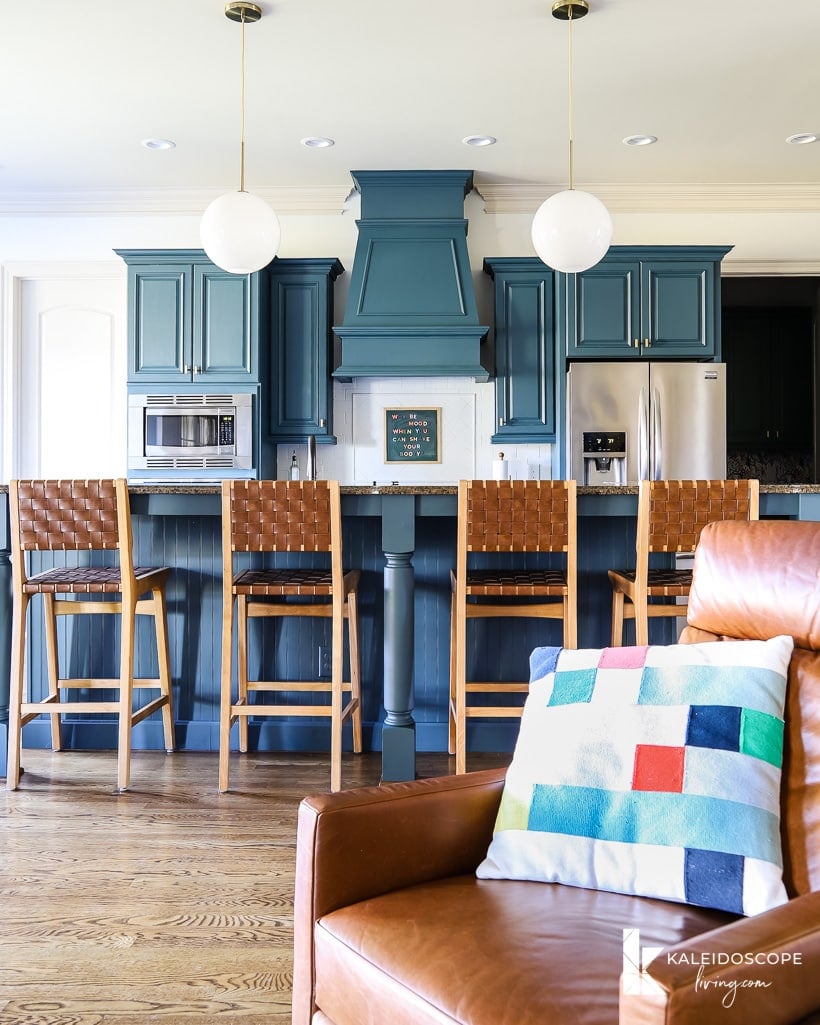
The New Seating Area
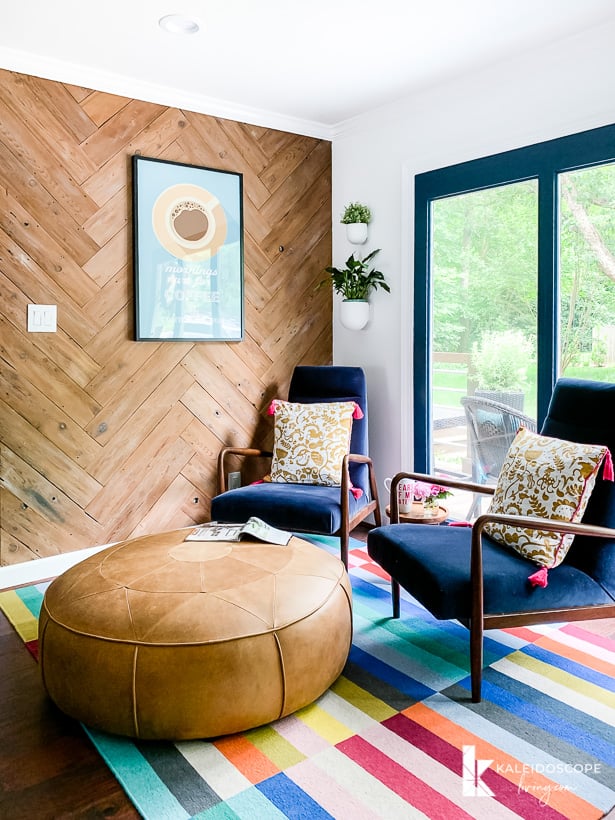
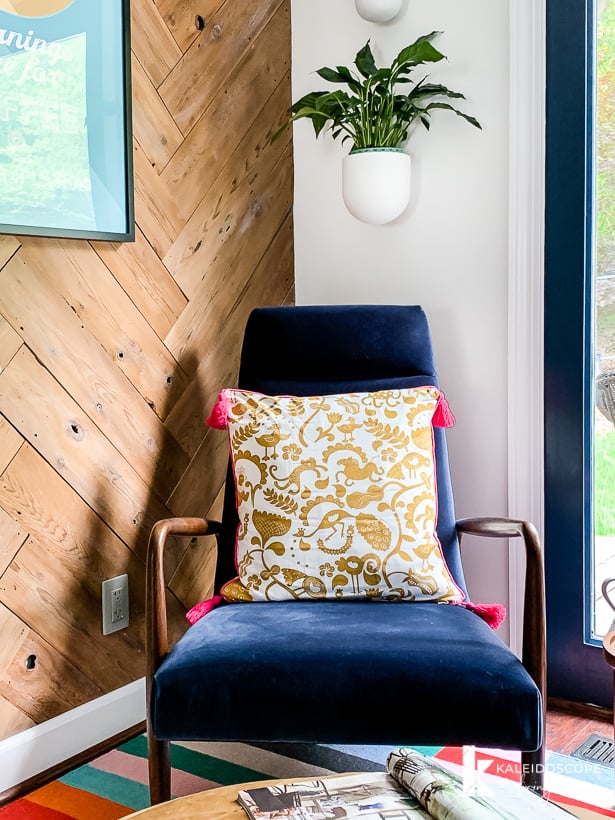
One of the goals of the new, much larger island was to be able to sit at it for breakfast. I'm thrilled that it comfortably fits all four of us with room to spare. Seating at the island means that we no longer need a table and chairs in our breakfast nook. So after debating lots of ideas, we decided to create a comfy seating area where Joe and I can sit and drink our coffee in the mornings and tea at night (yep, we love our Sleepytime Tea).
I fell in love with blue velvet lounge chairs (no longer available–similar option here) and leather ottoman (no longer available–similar option here) from Article. This seating area turned out EXACTLY how I wanted it to.
It's such a big change from how it used to look. Check out this before and after comparison.
The “Jewelry” (a.k.a. hardware and lighting)
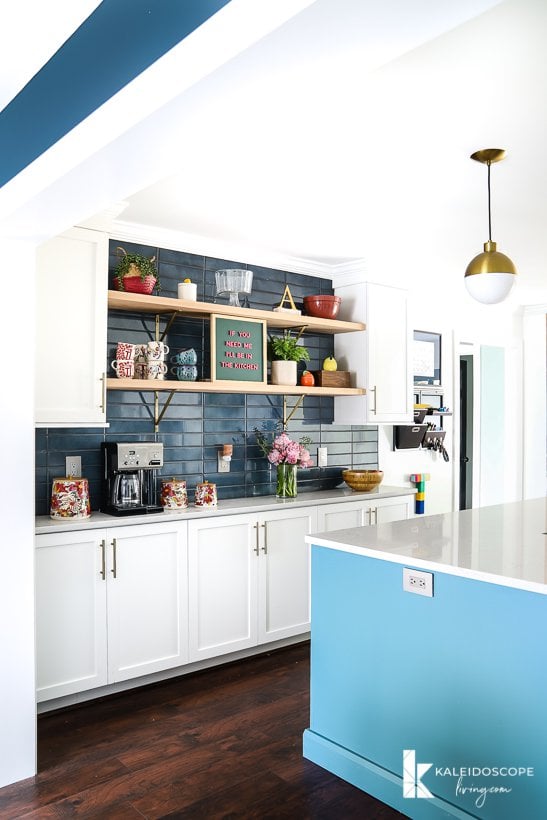
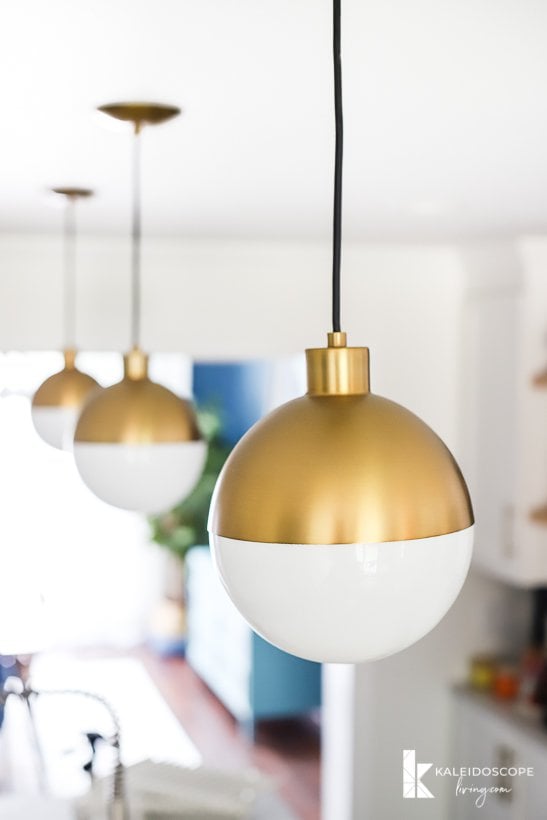
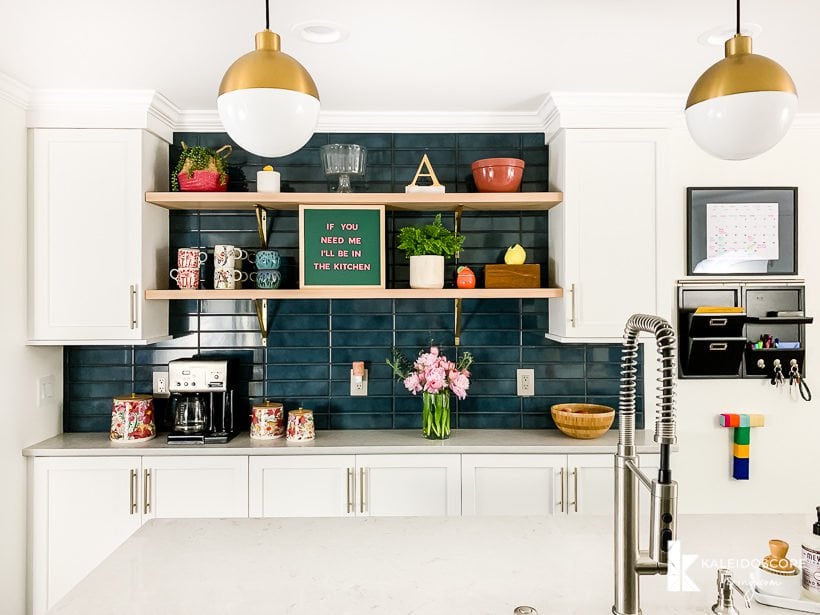
We've covered most of the big changes in the kitchen, but let's talk about those seemingly “little” details that make alllll the difference. Our kitchen wouldn't be what it is without the new pendant lights and hardware from Build.com. They give our kitchen that modern vibe that we wanted.
The pendant lights are EVERYTHING. It took me forever to find the perfect lights, but I'm glad I was so persistent because I am so obsessed with these lights!
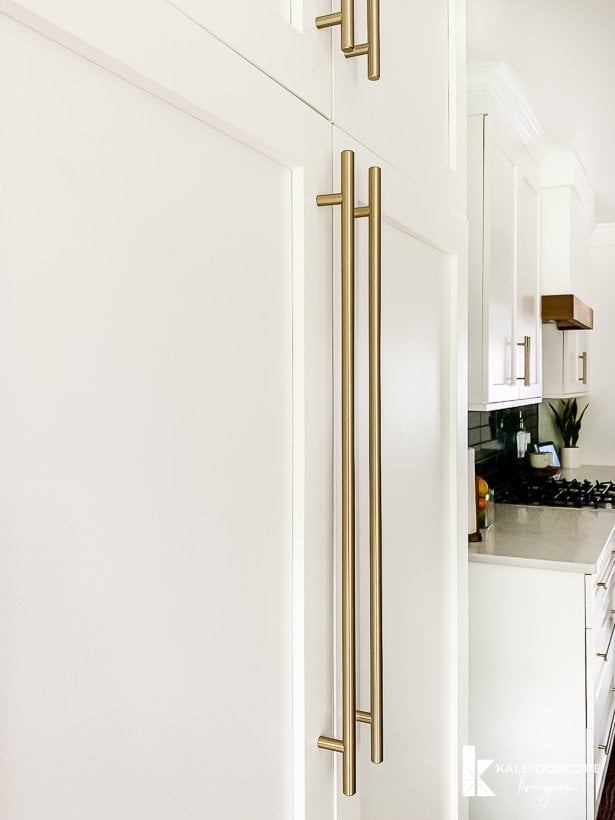
And the hardware is perfect. We knew we wanted bar pulls because they are so comfortable and easy to use. And I definitely wanted a yellow metal, but I wanted a soft, subtle tone. I have to tell you, it wasn't that easy to find hardware that fit the bill. But these bar pulls in a golden champagne finish are exactly what I was looking for.
Phew! I think that pretty much covers it. I'm going to wrap this up with some more photos and then you can scroll all the way to the bottom for the complete source list for our kitchen.
Kitchen Remodel Source List
Wall Color: Falling Snow by Behr
Trim Color: Midnight in the Tropics by Behr
Island Color: Silken Peacock by Sherwin Williams
backsplash tile | countertop | similar leather ottoman | similar blue velvet lounge chairs | Flooring | pendant lights | sink & accessories | faucet | soap dispenser | cabinet hardware | gas range | refrigerator | dishwasher | bar stools | laminate flooring | rug | garbage disposal | range hood insert
Feeling inspired, but no budget for a huge kitchen renovation like this one?
I get it. I really do! It took us 8 long years to save up for this renovation. But there is SO MUCH you can do to completely transform the look of your kitchen on a small budget. If you want to see a $1,000 kitchen makeover that will seriously blow your mind, click here to check out what I did in my friend Thea's kitchen.
And click HERE to see our budget-friendly kitchen makeover in our current kitchen (yep, we moved and left this beautiful kitchen behind–I still miss it every single day)!
Other posts you may enjoy:
- How To Paint Kitchen Cabinets Without Sanding or Priming
- Budget-Friendly Kitchen Makeover (under $1,000) REVEAL!
- How to Organize Kitchen Cabinets (In a “Normal” Kitchen)
- Kitchen Pantry Organization Tips & Ideas
- Affordable DIY Countertops That Will Blow Your Mind
- How to Paint Countertops (and What You Need to Know First)
- Budget-Friendly DIY Backsplash Ideas for Kitchens
Wondering how I approach transforming rooms and spaces in our home? Check out Designer in a Binder®.

And if you want exclusive content and behind-the-scenes sneak peeks, be sure to subscribe before you head out!

Last Updated on May 8, 2025


Hi Tasha!
I am looking to refinish my kitchen cabinets in this beautiful teal blue/ green. Can you share the color you used?
Thank you,
Michelle
Hi Michelle! We had the factory paint them Silken Peacock by Sherwin-Willams :) Best of luck with your project!
Beautiful Tasha. I was trying to get information on your new sink, but the link is not working. Can you update it?
Thanks,
Meg
Oh no, thanks for letting me know Meg. I will update the link for the sink. In the meantime, here is the link for you: https://rstyle.me/+ke3AfTSBA9t615Ri3pmHwA
Your new kitchen looks amazing!!!! I love what you guys did with it!!
Thanks so much, Phoebe! We are loving it!
What a beautiful transformation, Tasha! The barstools and the pendant lights are my favorite. Beautiful job! Way to survive a kitchen remodel!
Thanks so much, Janice! Those are two of my favorite elements of the new kitchen as well!