DIY Light Up Wall Art
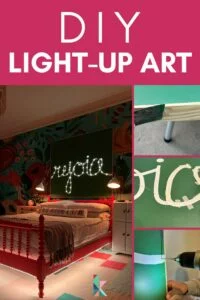
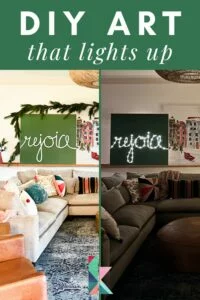
There's nothing more cozy and magical than the soft glow of fairy lights or dewdrop lights, am I right? Well, you can easily make a custom DIY light-up wall art piece that will give off a magical glow at night. We created our light-up art to say “Rejoice” for Christmas, but you could use this step-by-step tutorial to make any kind of lighted wall art you want!
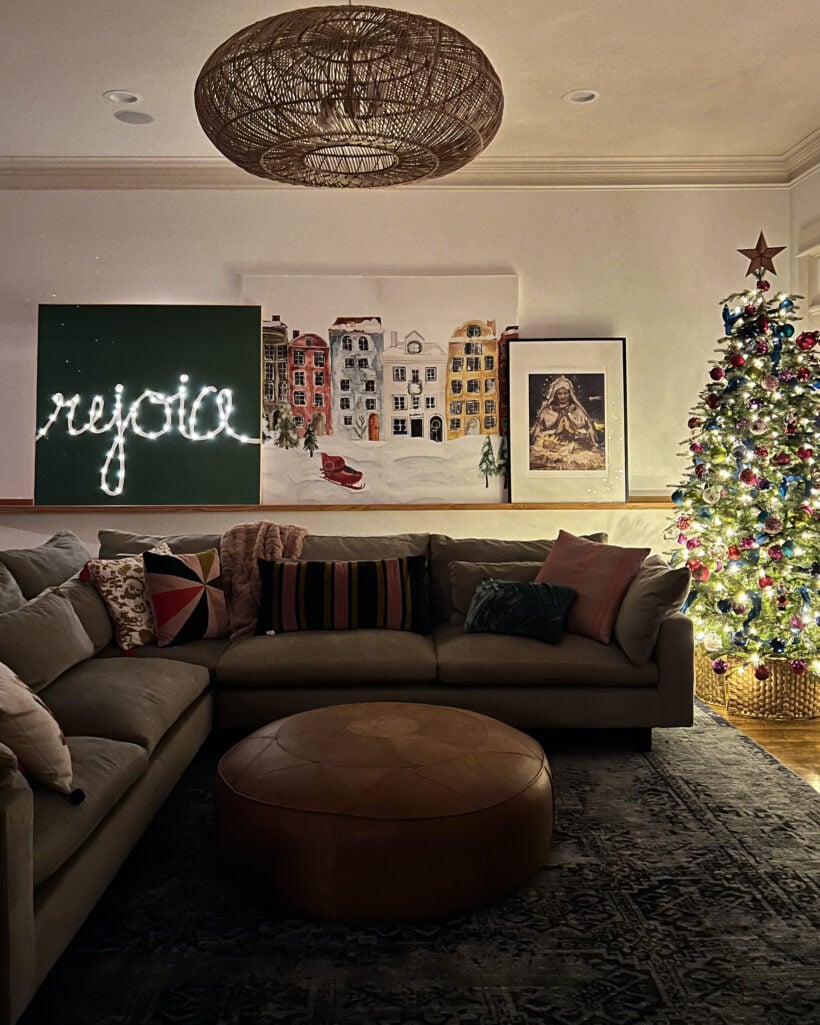
A couple of years ago we wanted large-scale holiday art for our family room but we didn't want to spend a ton of money on ordering something that was pre-made. So we created this special “Rejoice” art piece that lights up! It's so magical at night.
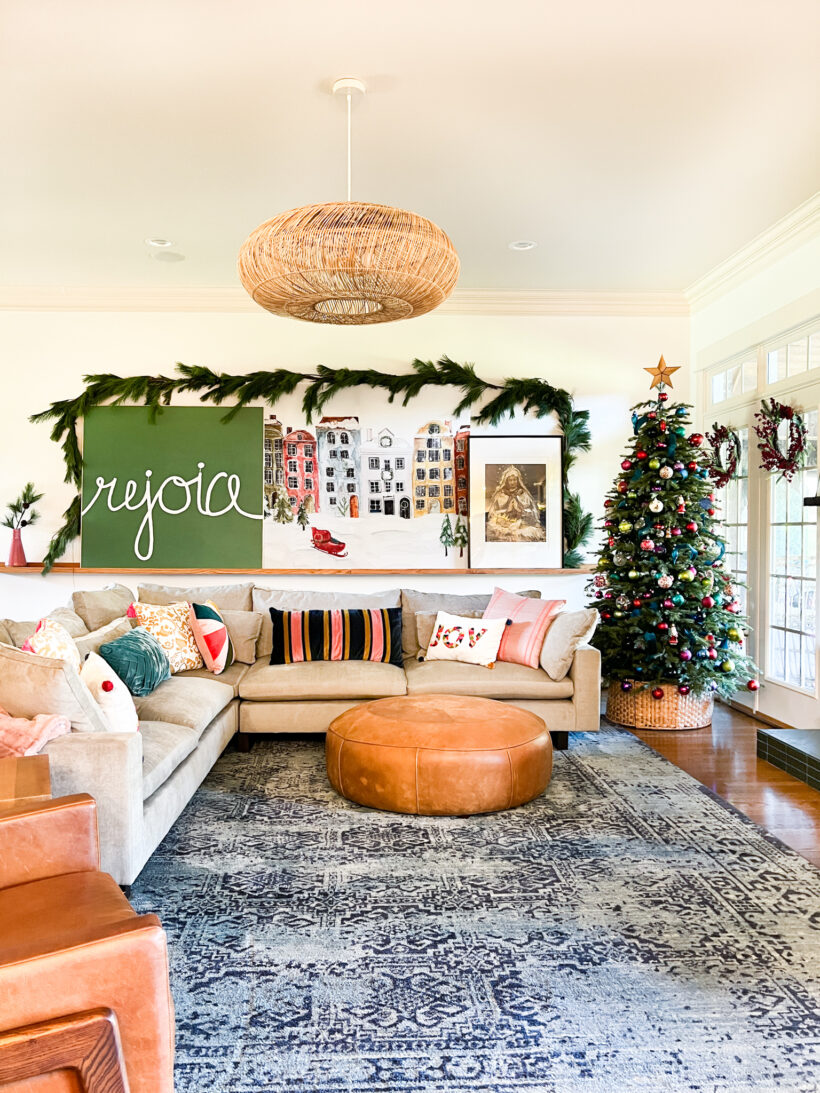
This art project is awesome because you can make it in any size, shape, color, etc. You customize it to exactly what you need! We made ours to be BIG because I'm a big believer that your artwork needs to be significantly larger than you realize. The first year we sat it on this DIY art ledge that we made several years ago and it turned out even better than I imagined. Read on to learn how to make your very own.
Thank you to DAP Products for sponsoring this post. This post contains affiliate links for your convenience. Click HERE for my full disclosure policy.
How to Make a Custom Light-Up Art Piece
I encourage you to watch the short video below for a really good overview of this project first. Then read the step-by-step written instructions below.
Materials Needed
- 1/2 inch plywood (we used a scrap piece that was 52″ x 48″ so we didn't even have to cut it!)
- Paint (this is the green paint I used)
- Wood lattice strips to frame your art
- Battery-operated dewdrop lights (we used 3 strands of these exact lights)
- DAP RapidFuse Ultra Clear
- Masking tape
- Drill
- Brad nails
- DAP Plastic Wood X
Step-by-Step Tutorial
Time needed: 4 hours
This project took us about 4 hours total. It's a perfect weekend project and is beginner-friendly.
- Cut your plywood to size.
Cut your plywood to the size you want your light up wall art to be. We used a scrap piece of plywood that was 52″ x 48″ so we didn't even have to cut it. I love it when that happens. PRO TIP: If you don't have a table or circular saw, you can usually have plywood cut to size for you at the hardware store.
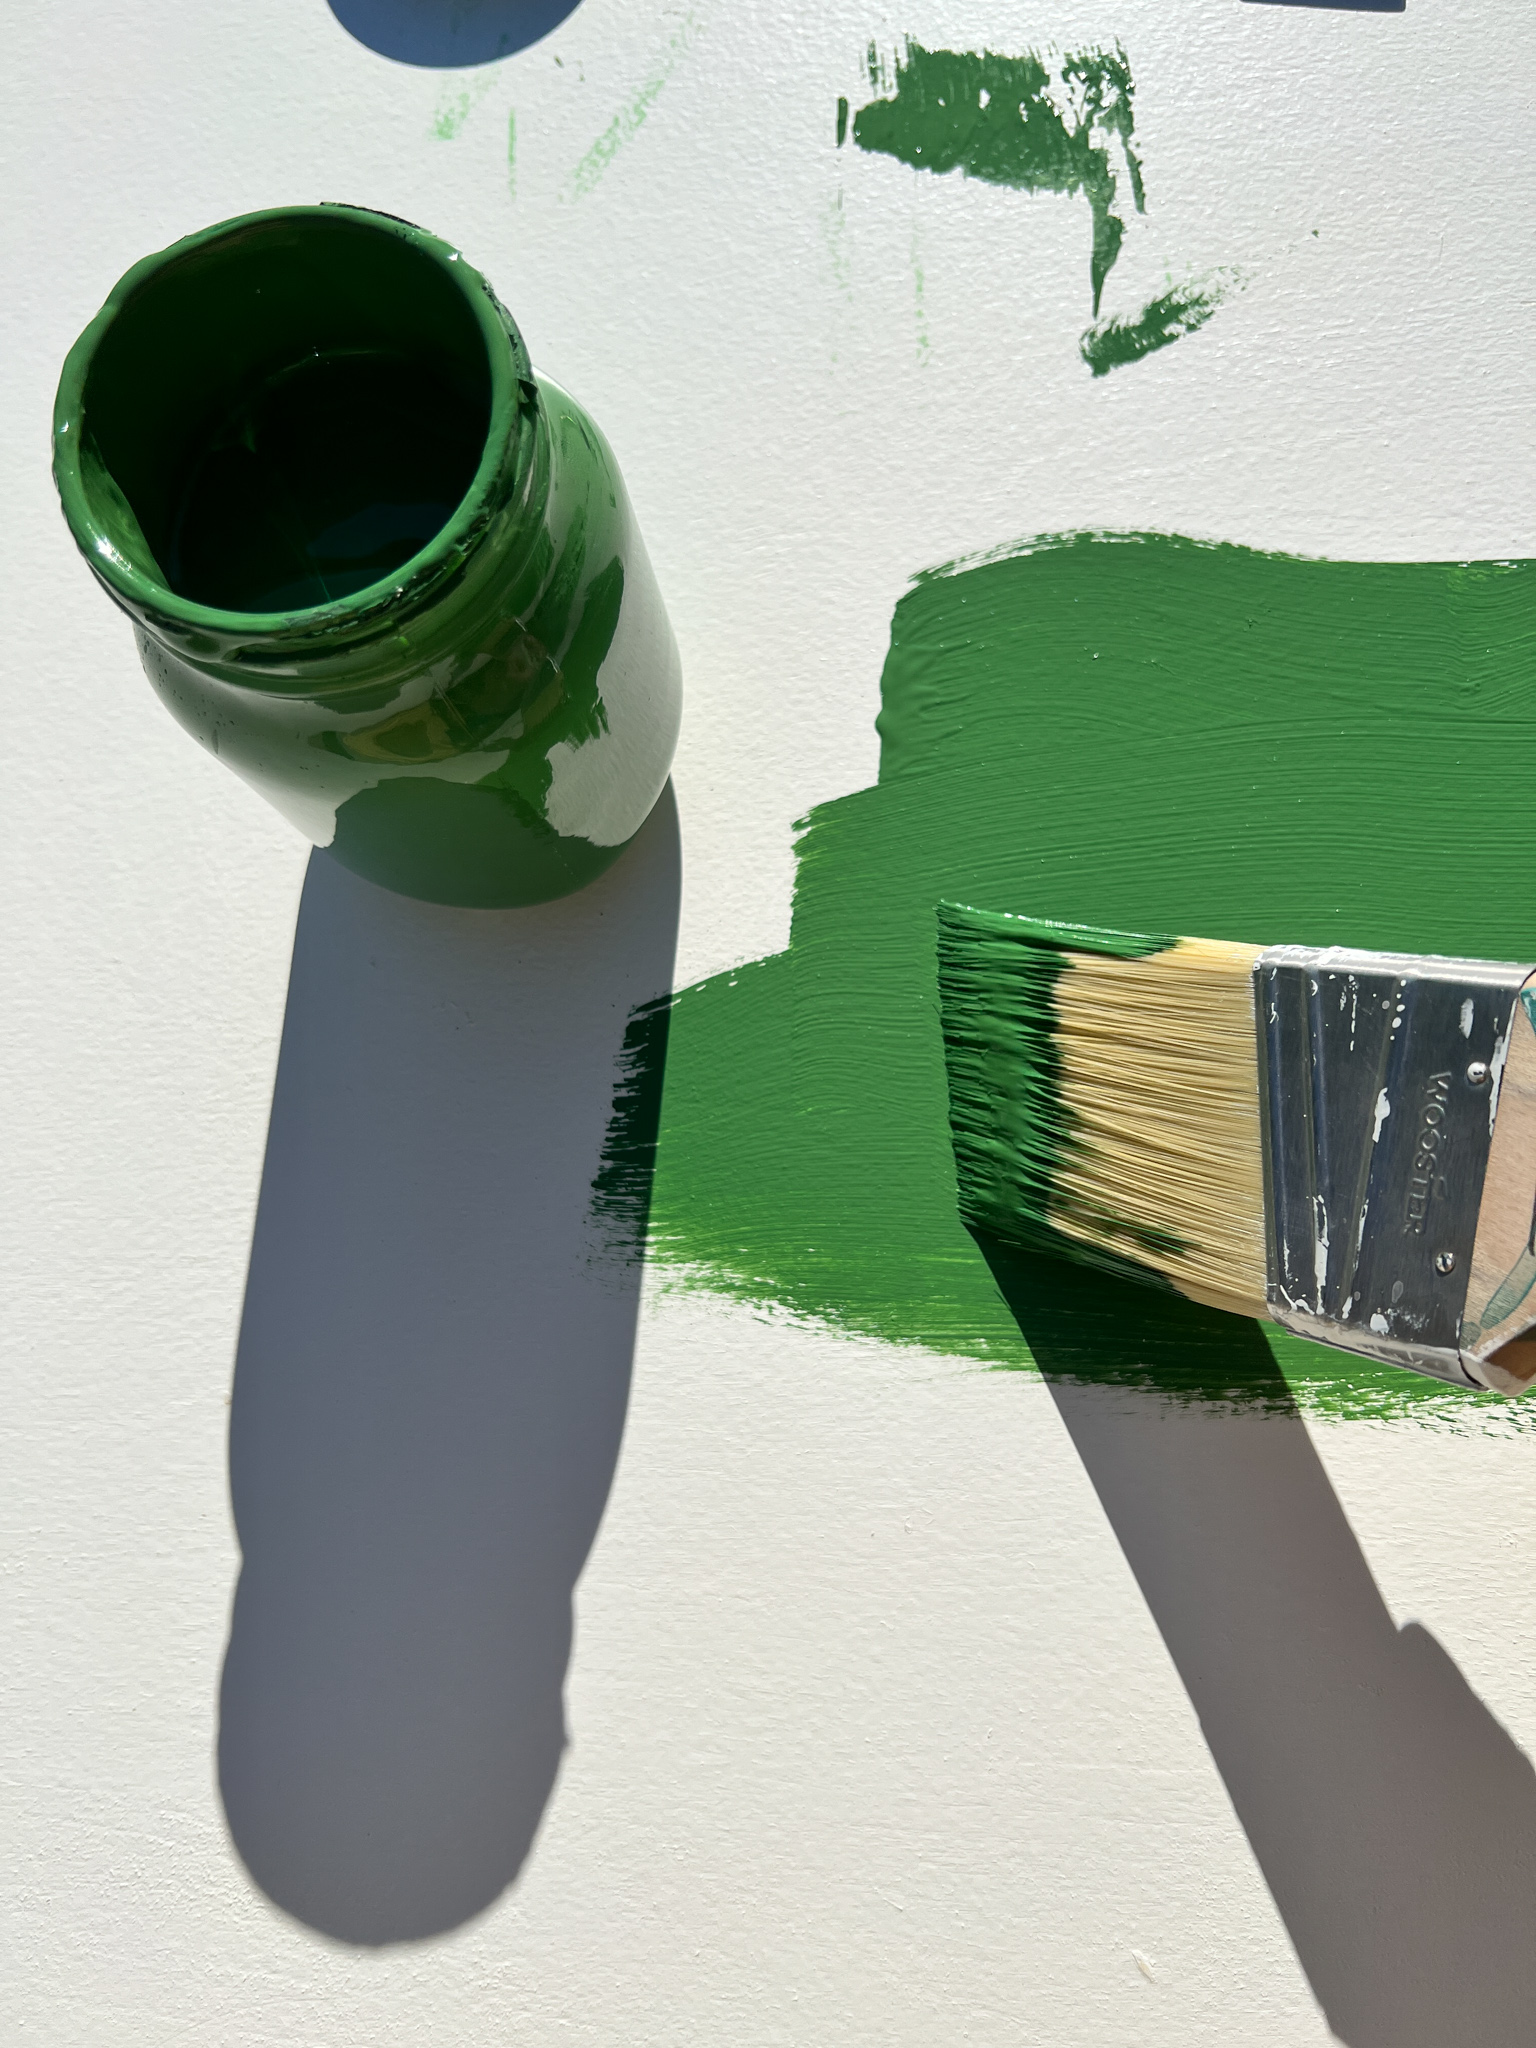
- Paint your plywood.
Paint your plywood in whatever color you choose. I used this pretty green color.

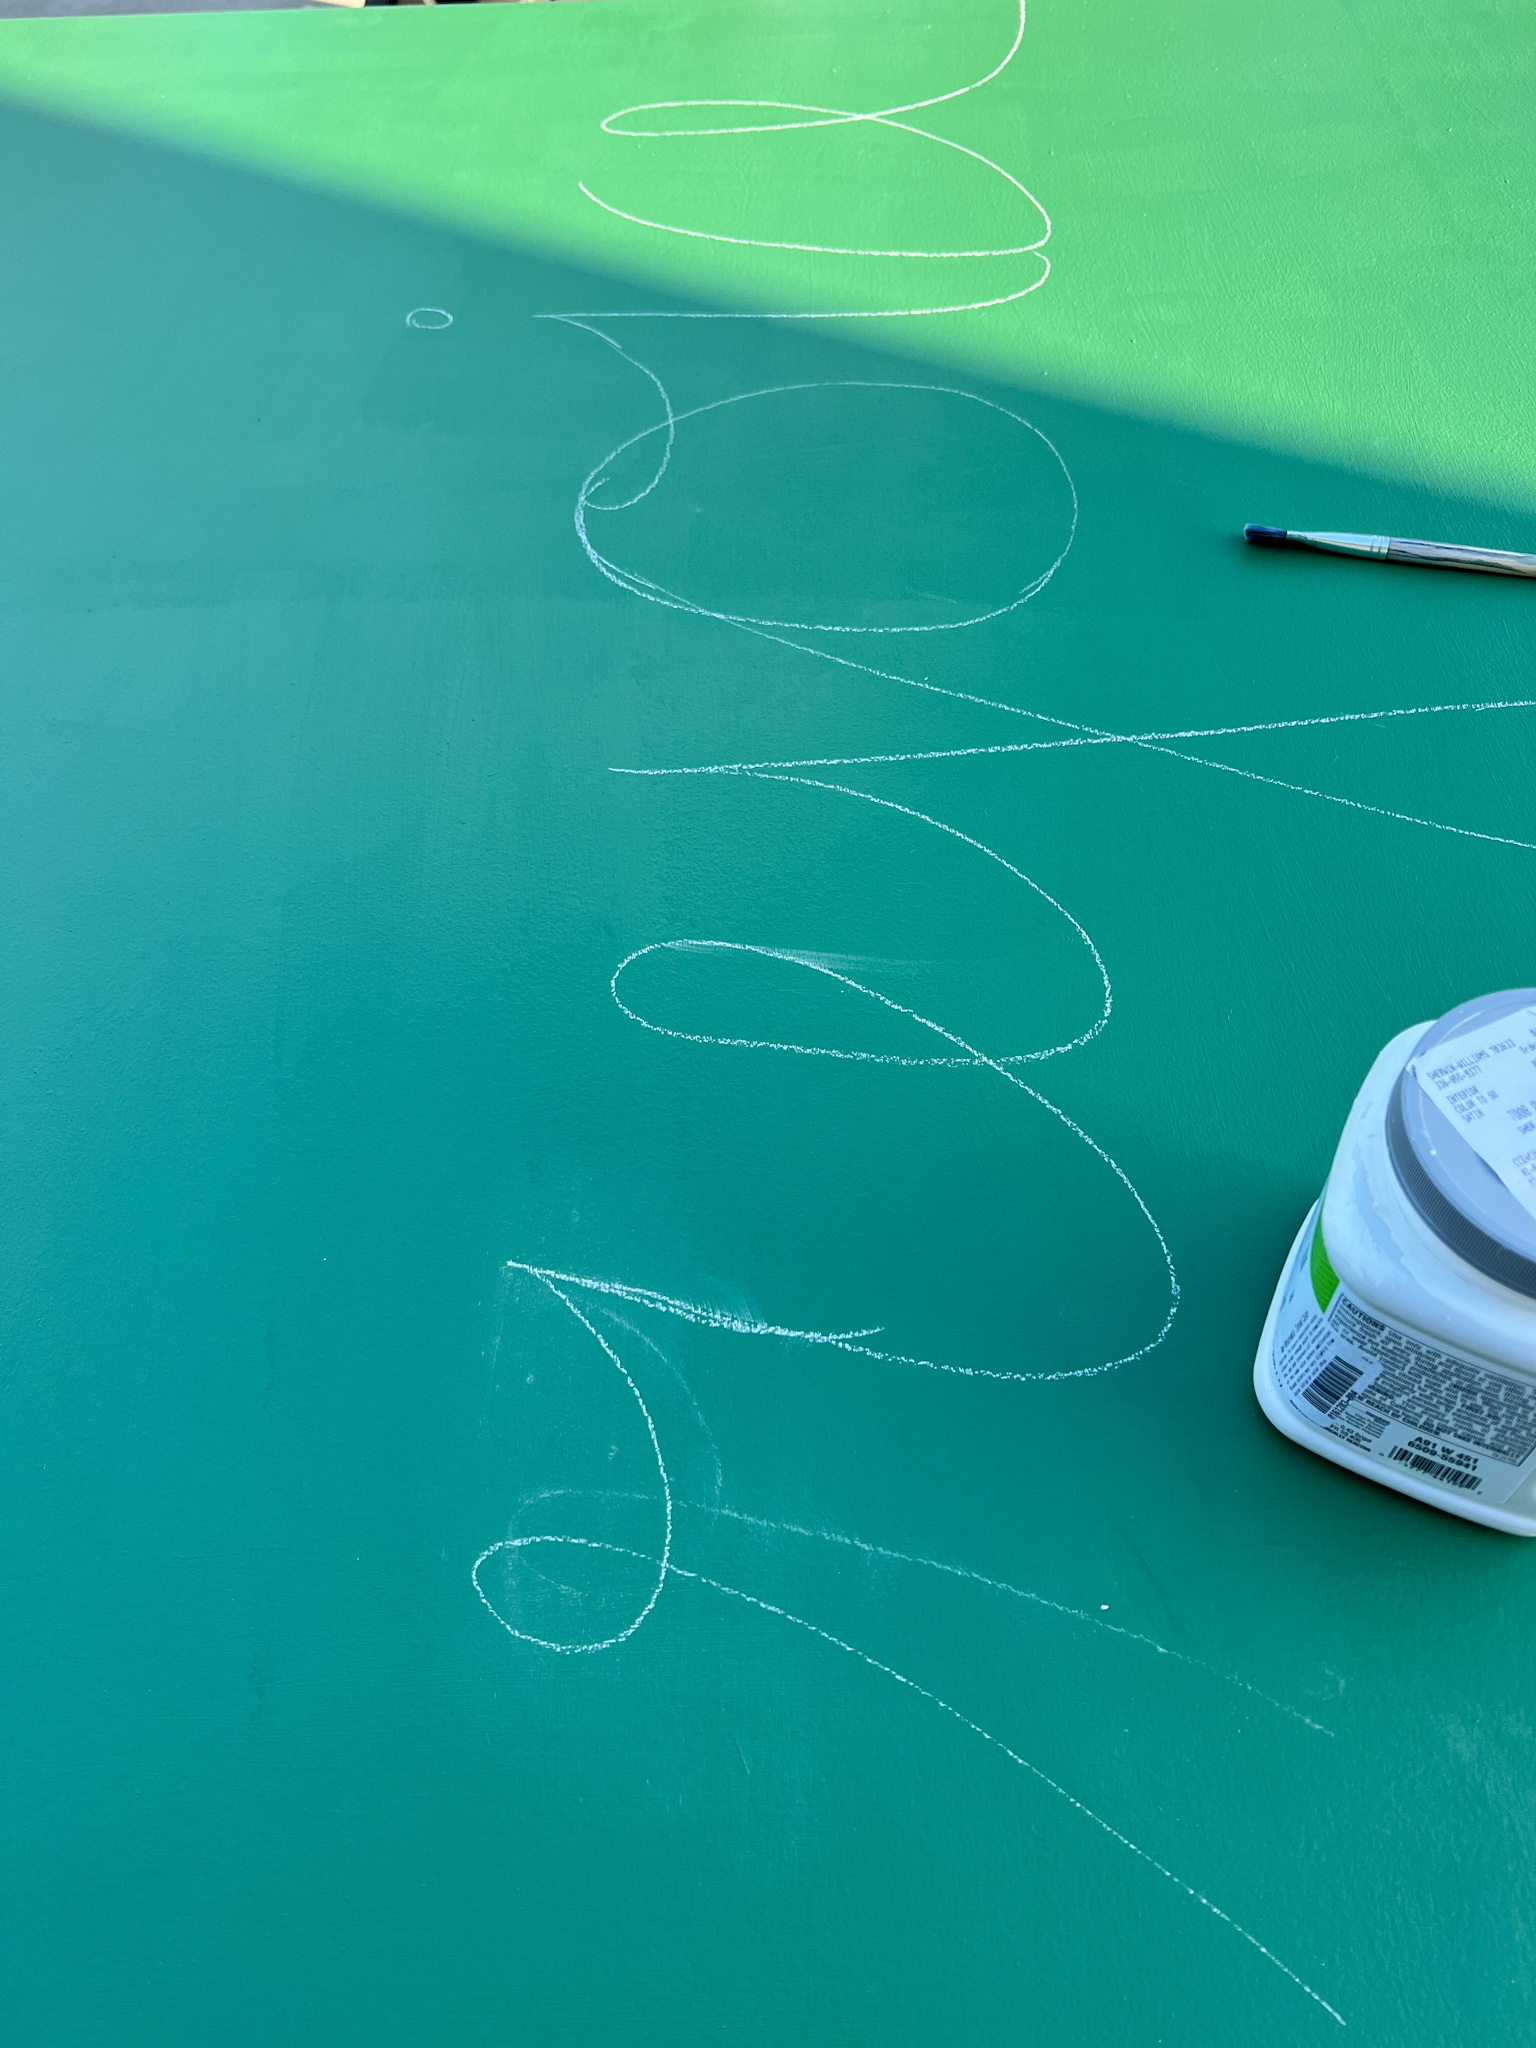
- Sketch out your design with chalk.
Once your paint dries, sketch out whatever design you want. I used chalk to lightly draw out “Rejoice” until I was happy with it. Chalk is great because it easily wipes off (unlike pencil which can often be seen even after you paint over it). So if you make any mistakes or want to make changes, it's super easy.

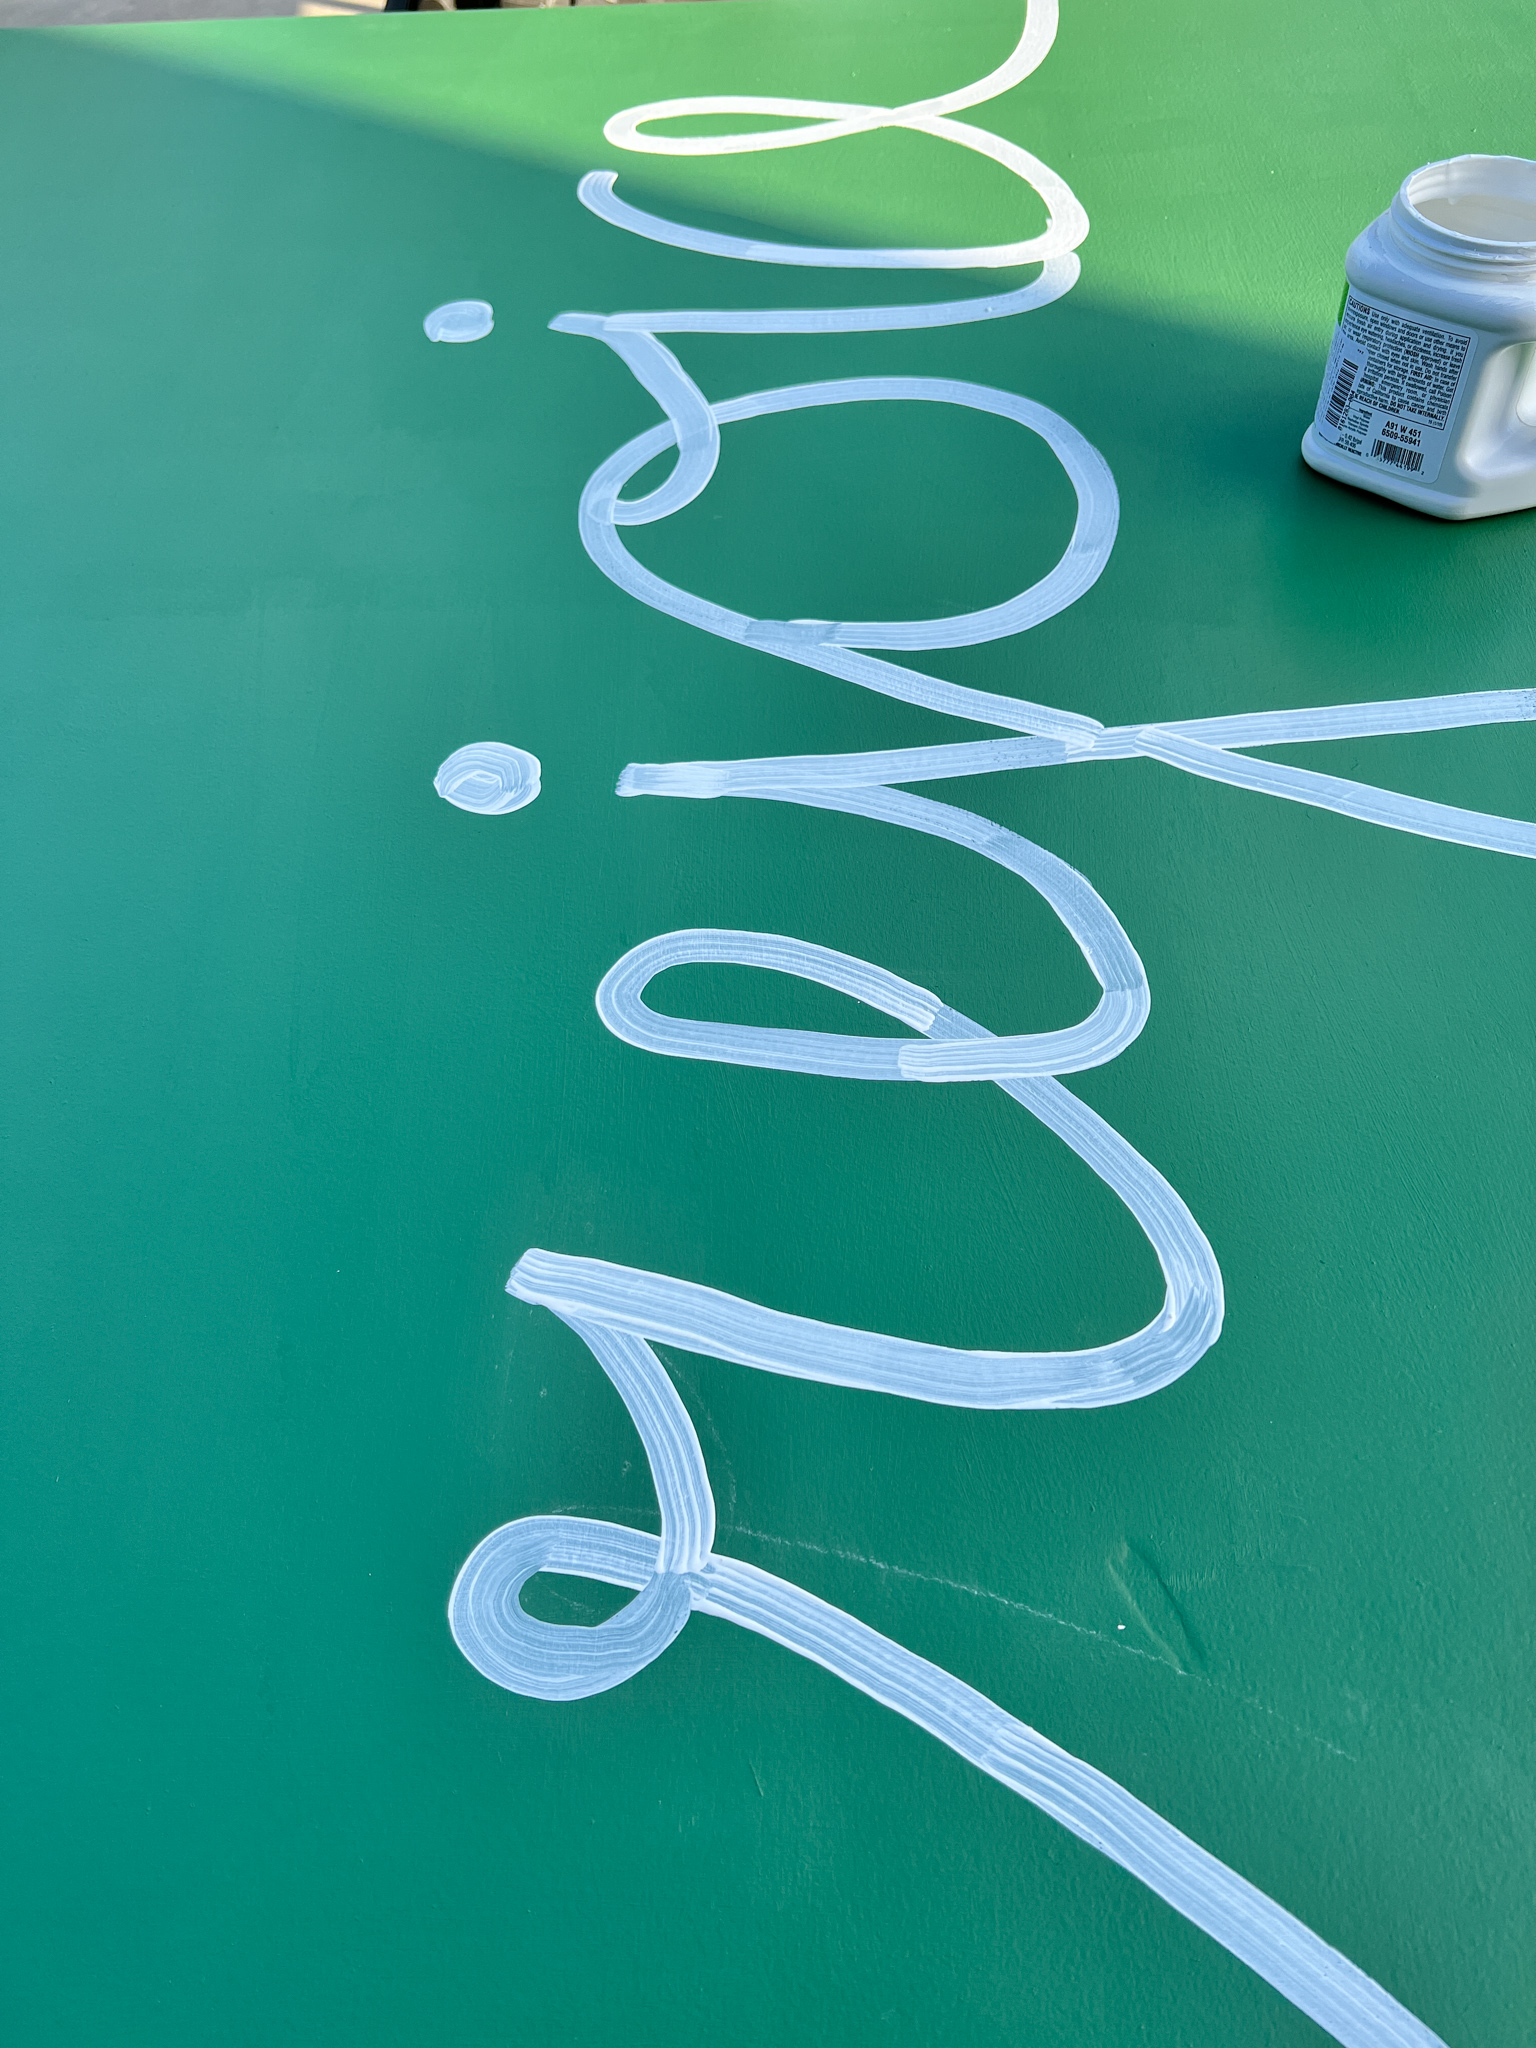
- Paint your design.
Once you are happy with what you have sketched out, use an artist's brush to paint over your chalk lines. I used a leftover white paint that we had lying around. Since it wasn't great quality paint, I had to paint over the “Rejoice” three times. But it was quick and easy! The photo below is how it looked after only 1 coat of white paint.

- Attach your frame.
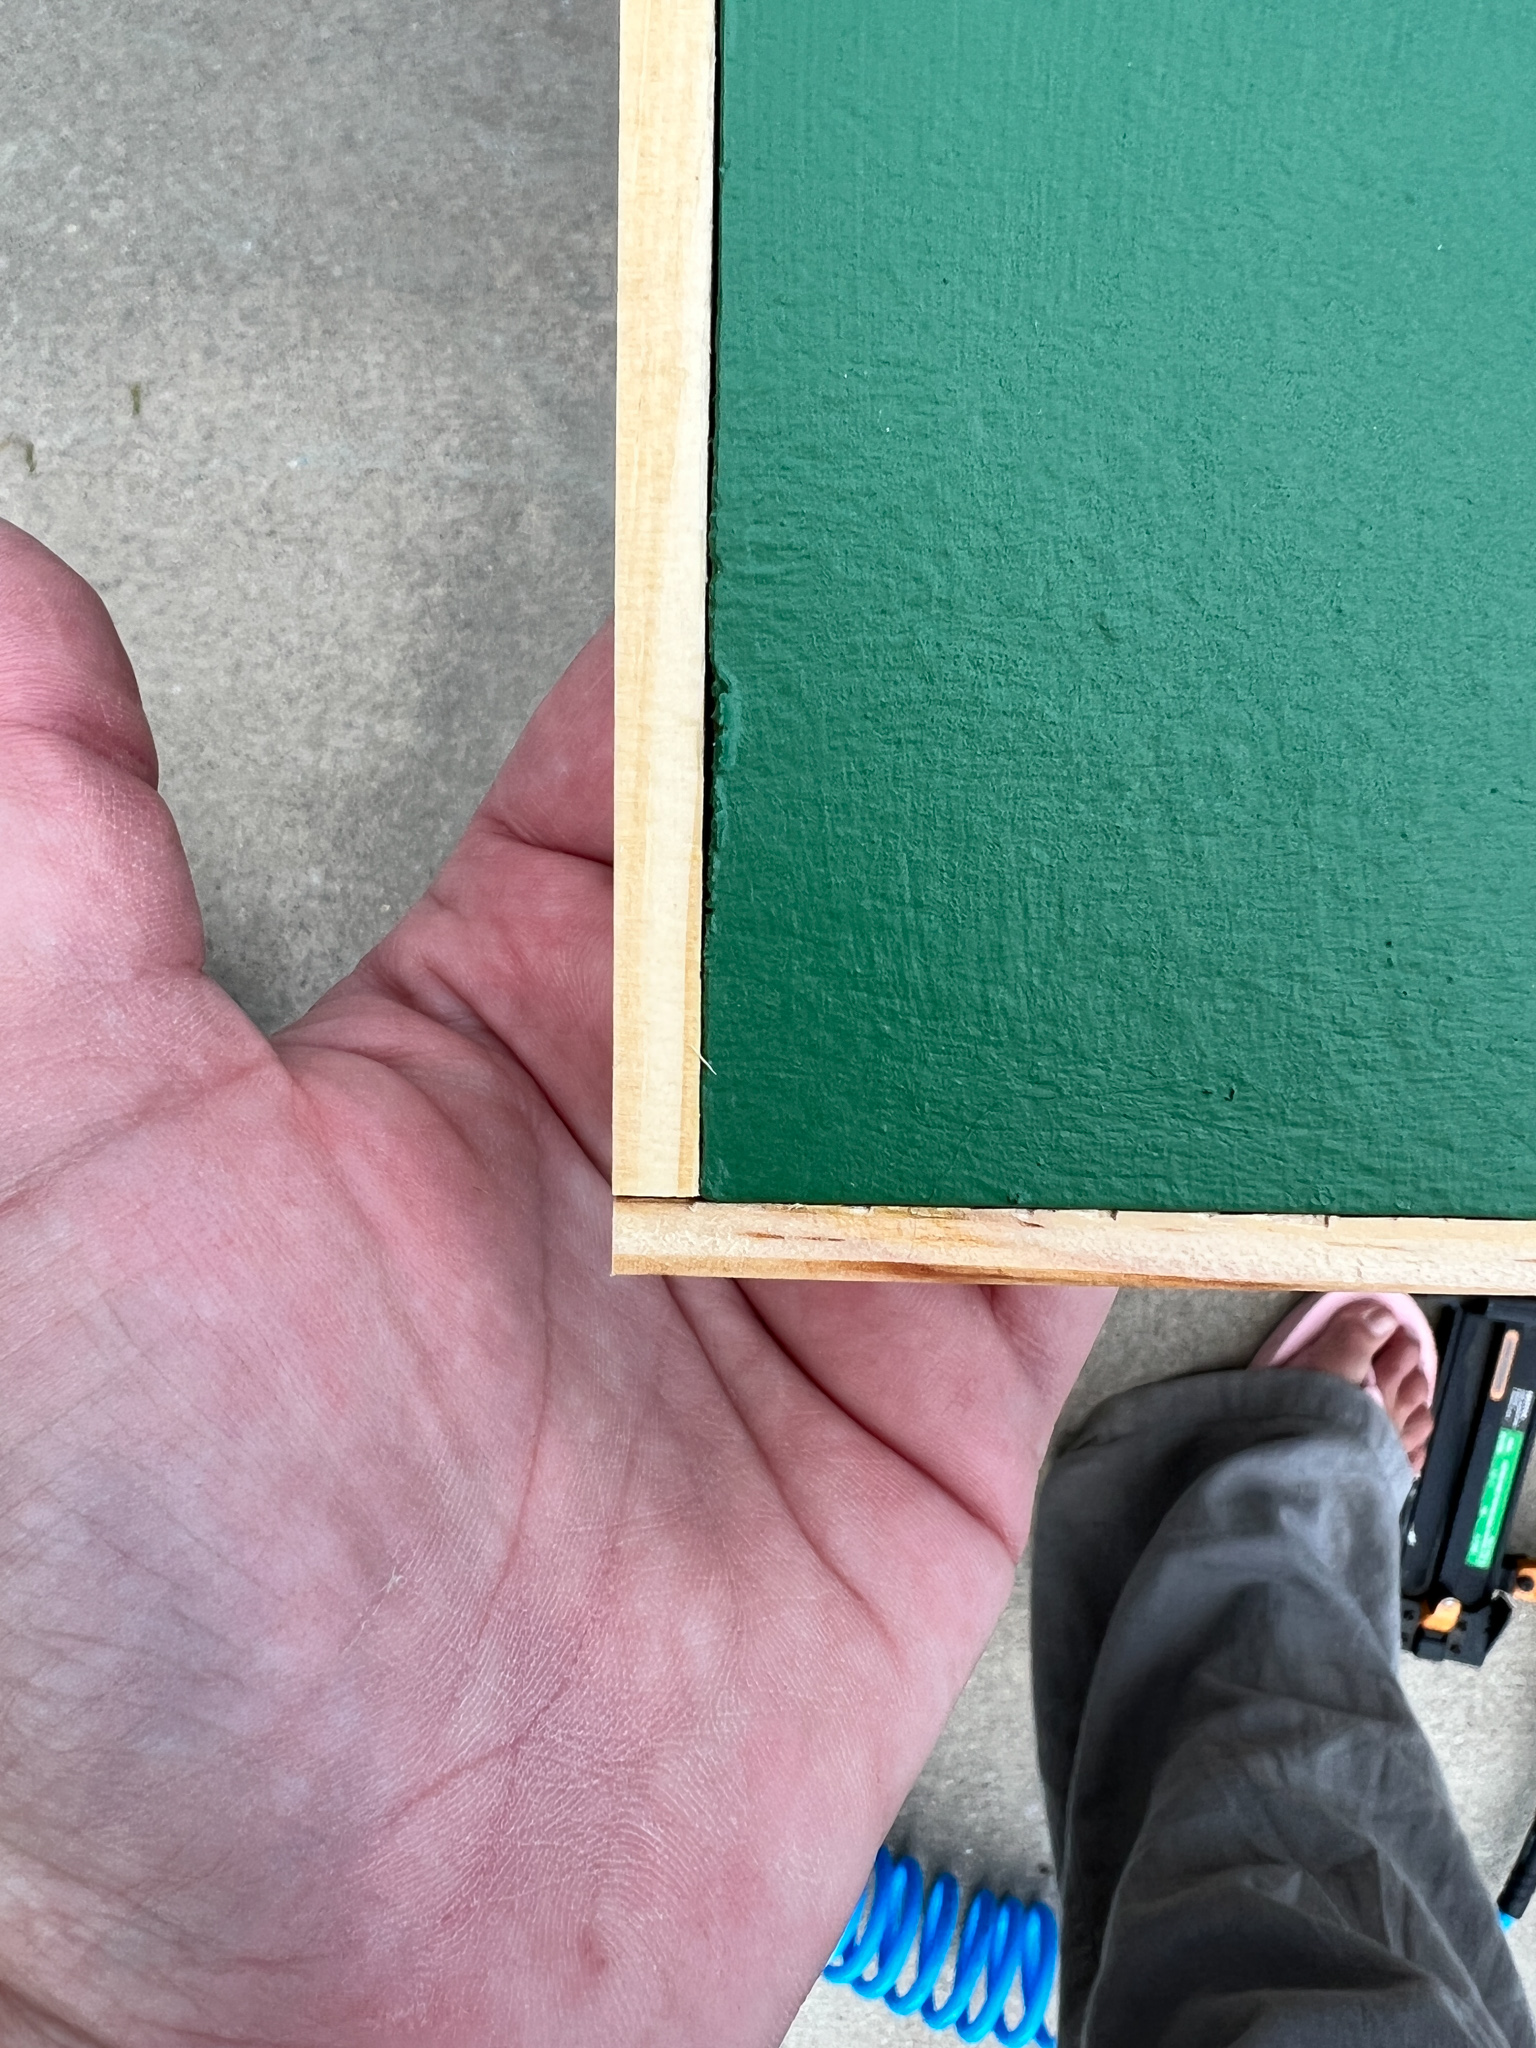
Once all of your painting is done and dry, you can frame out the edge of your DIY Christmas art with the wood lattice strips. Cut them to length. We decided to keep the natural pine, but you could paint or stain them if you prefer. We use a simple butt joint to keep it easy!
You want to attach the strips so that they sit flush with the front of your plywood. This means the strips will overhang the back of the plywood, which will hide the battery packs for the lights once you attach them :) We used simple butt joints and attached our strips with a brad nailer.
- Fill any nail holes with wood filler.
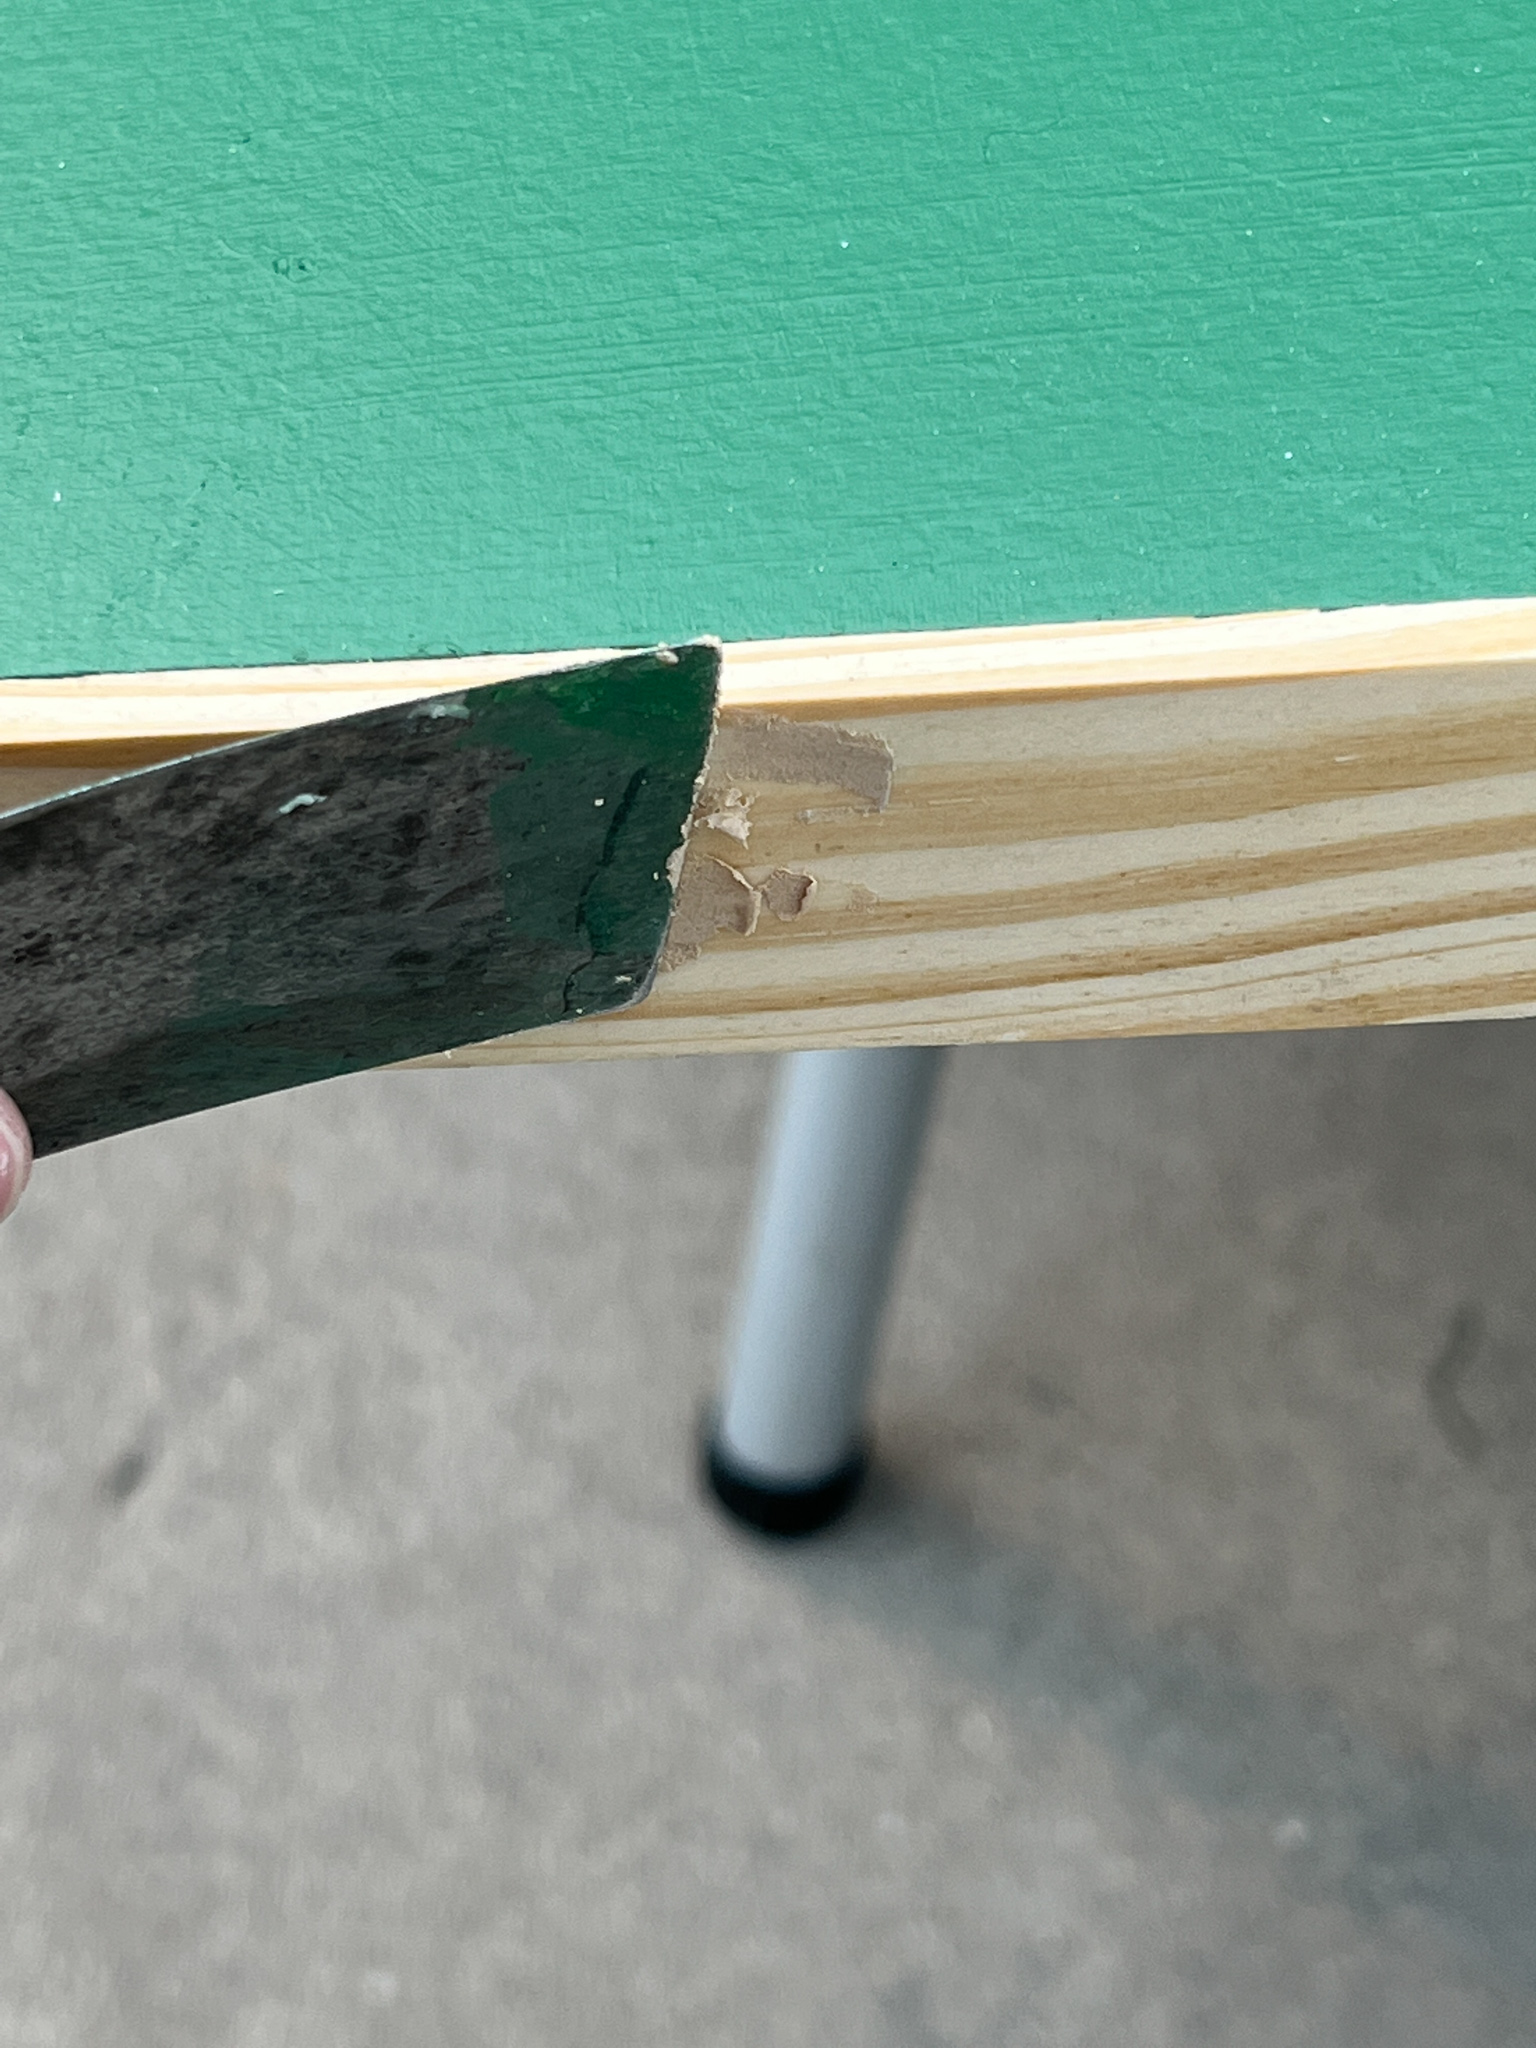
We used DAP Plastic Wood X to fill in our nail holes. Once it was dry, we sanded it smooth.

- Prepare your fairy or dewdrop lights.
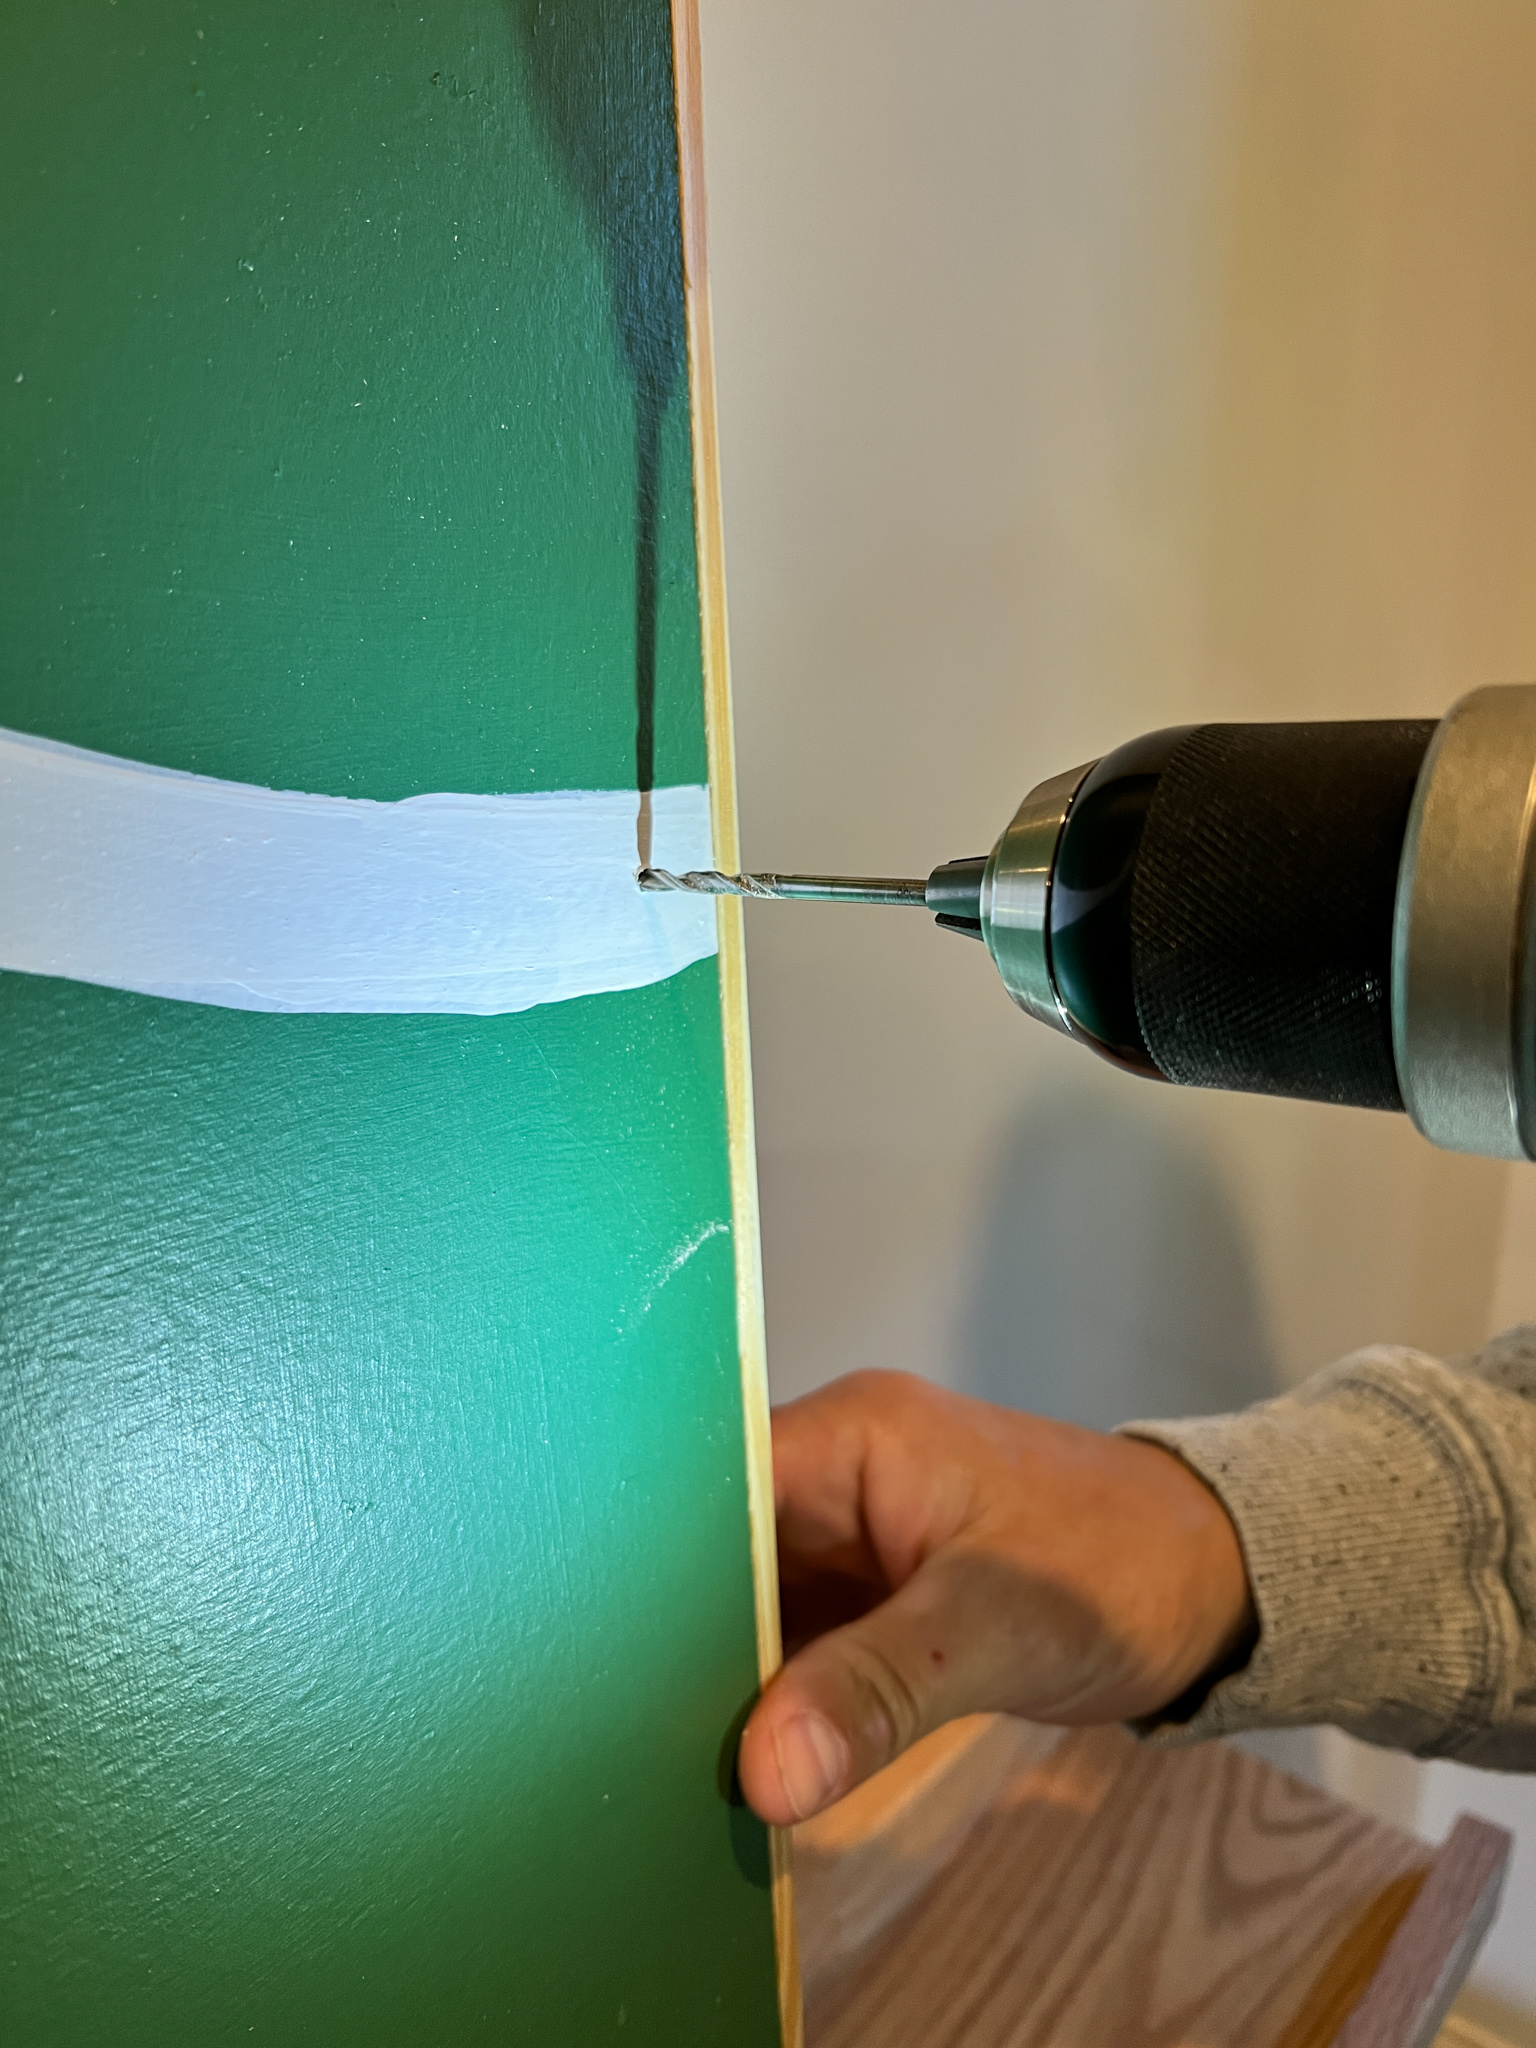
Now it's time to transform your art into light-up wall art! It's time to attach your battery-operated lights! Start by drilling 1 small hole near the edge wherever your design begins or ends. Thread the dewdrop light strand through the hole so that the battery pack remains hidden on the backside of your plywood. Attach it with a hot glue gun or tape to the back of your art piece.

- Attach the lights.
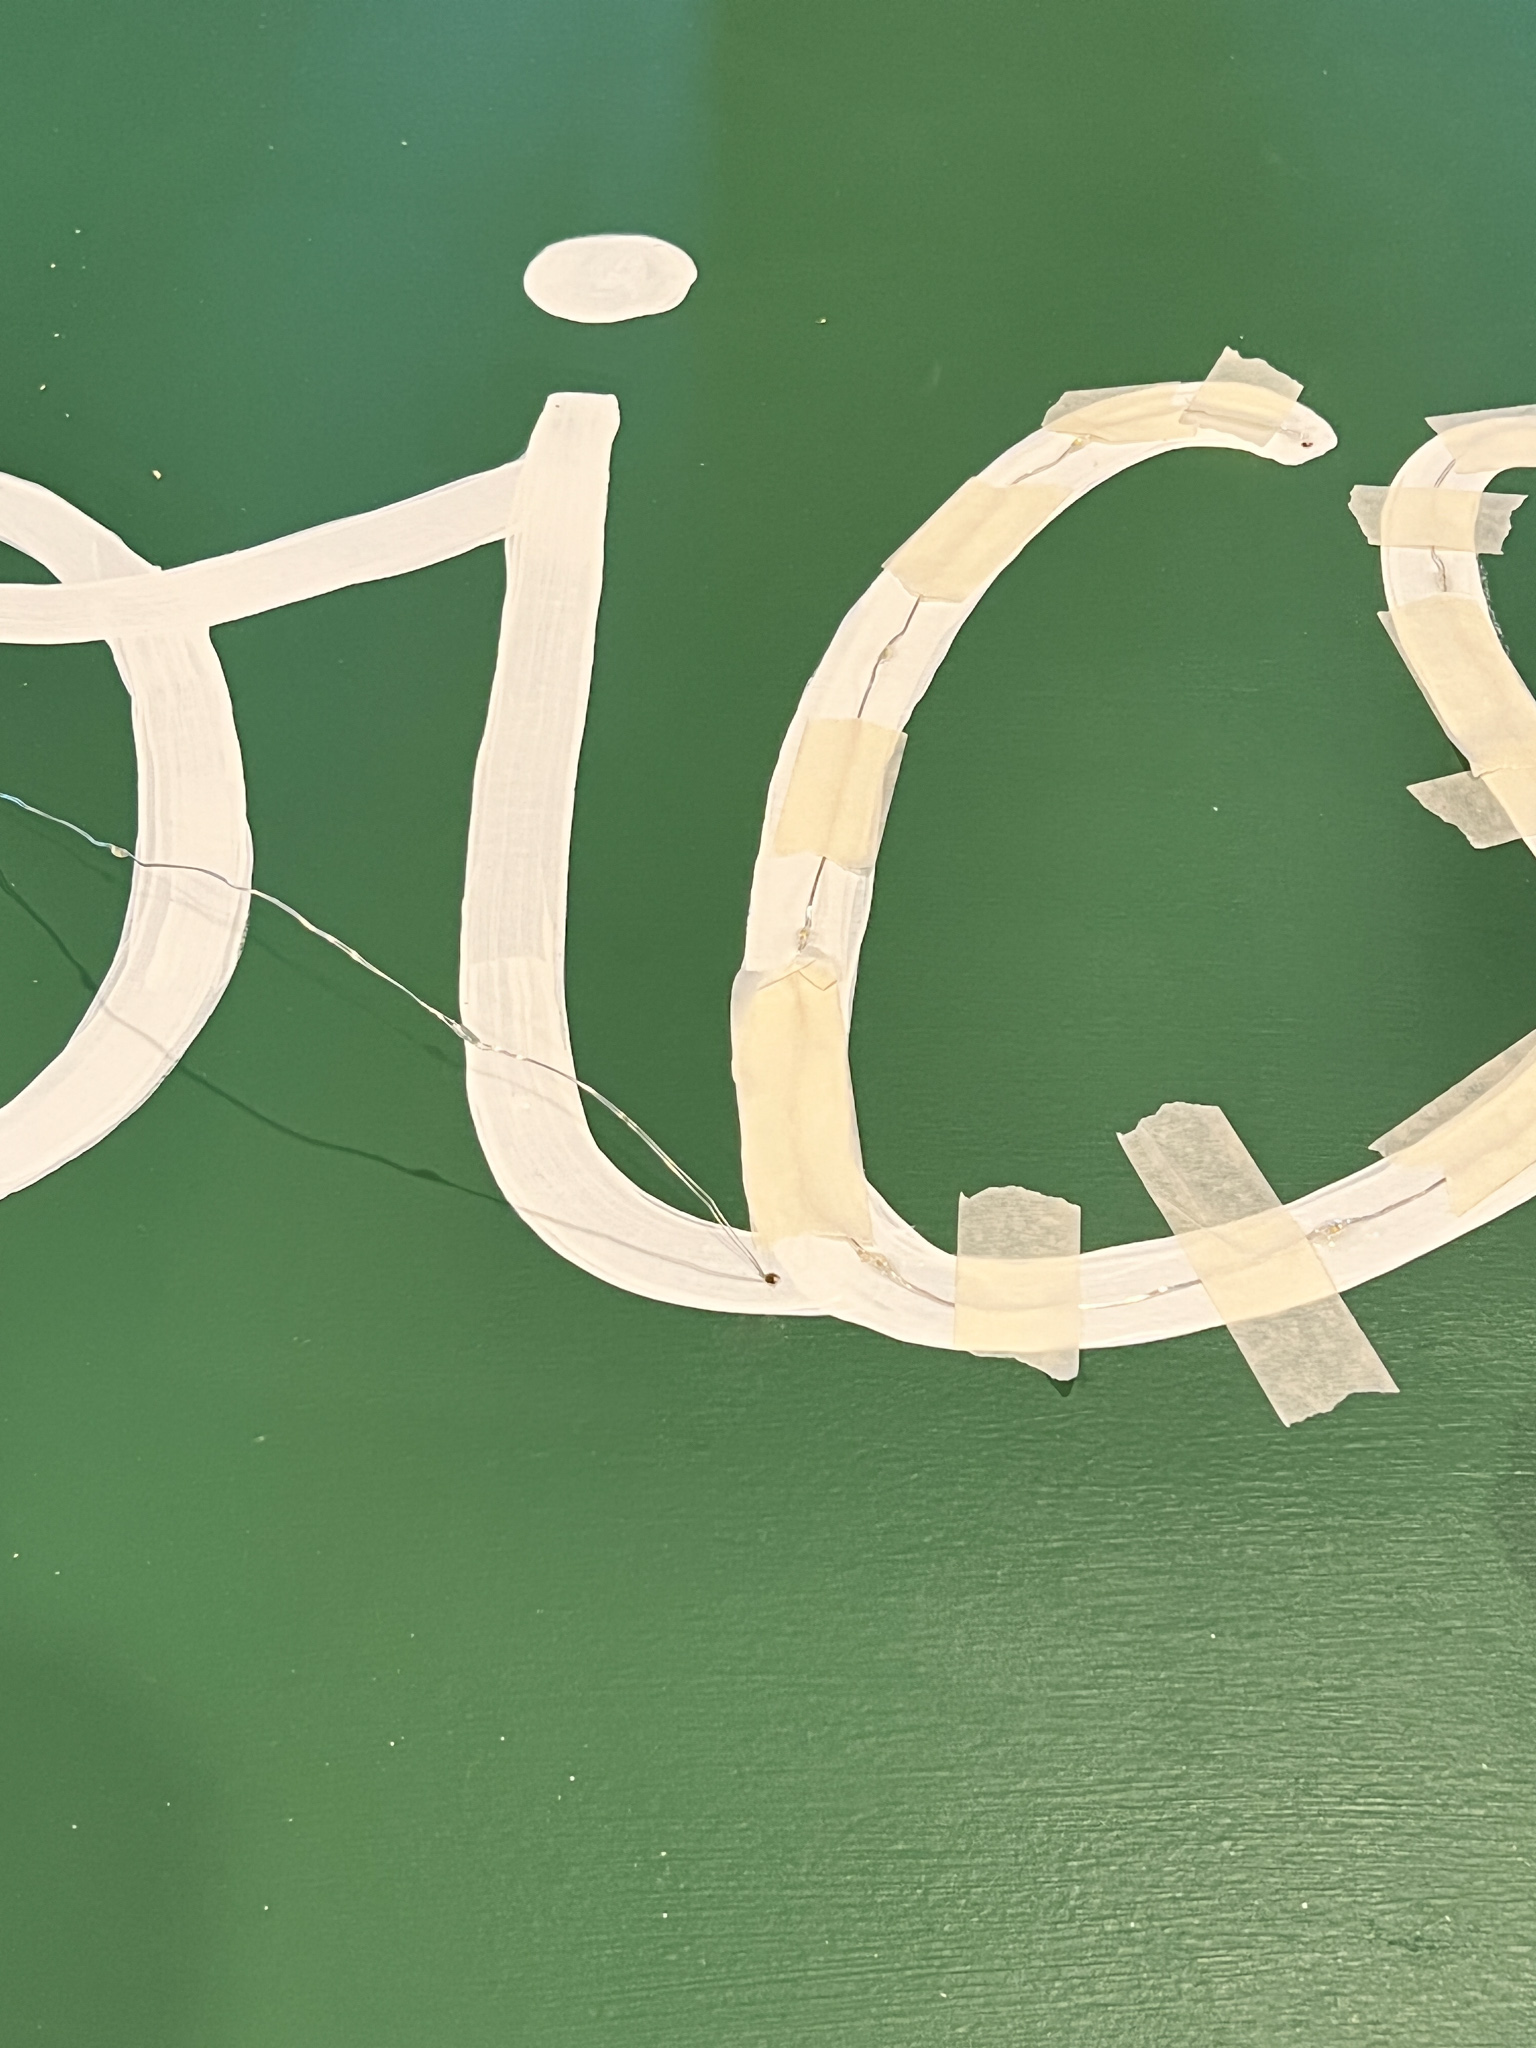
Run your dewdrop lights along the center of your design. Add a drop of DAP RapidFuse Ultra Clear underneath each light and press the light into place. It's important to use this glue so that it dries perfectly clear! No one wants to see dabs of hot glue or regular glue all over their art! Then tape the wire on each side of the light to hold it in place while the glue cures. Repeat over and over again until you are done.
NOTE: We had to drill 2 more small holes to thread additional light strands through because our art is so large. So we have a total of 3 battery packs glued to the back of our art. Fortunately, the lights we used have a timer so they run for 6 hours automatically every day without us having to turn anything on or move this piece (it's pretty heavy and awkward).
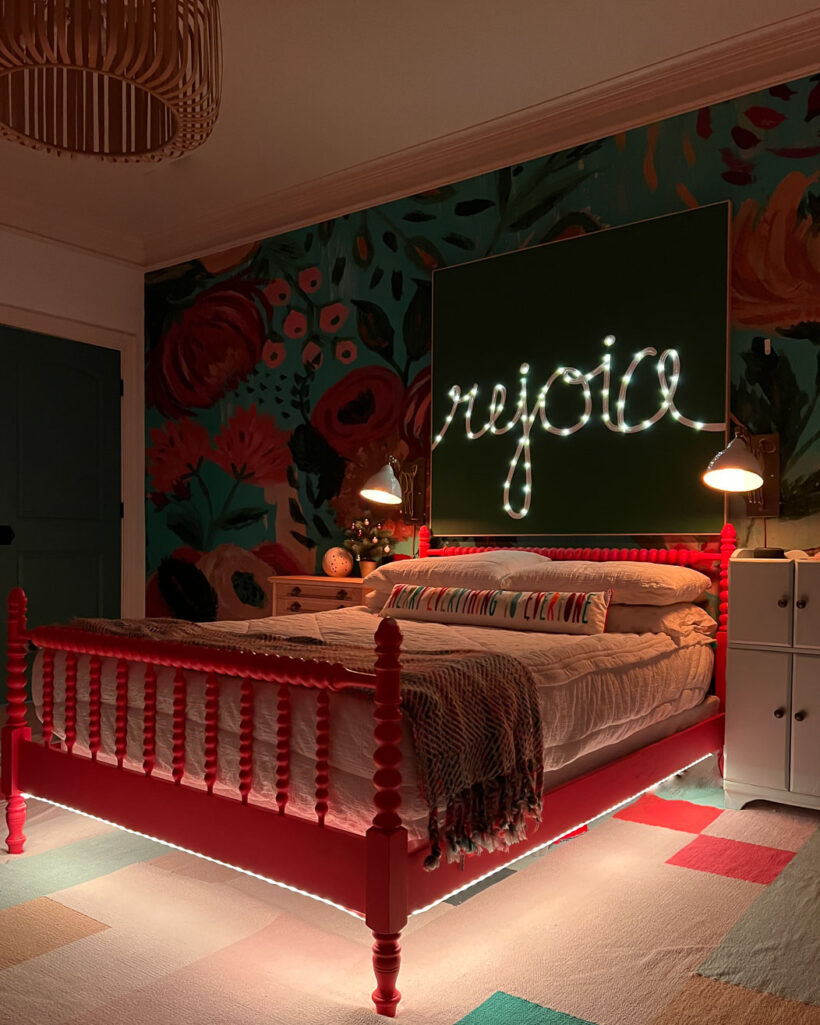
We are so, so happy with how our DIY light-up wall art turned out! We displayed it in our family room in 2021 and loved how it looked on our art ledge.
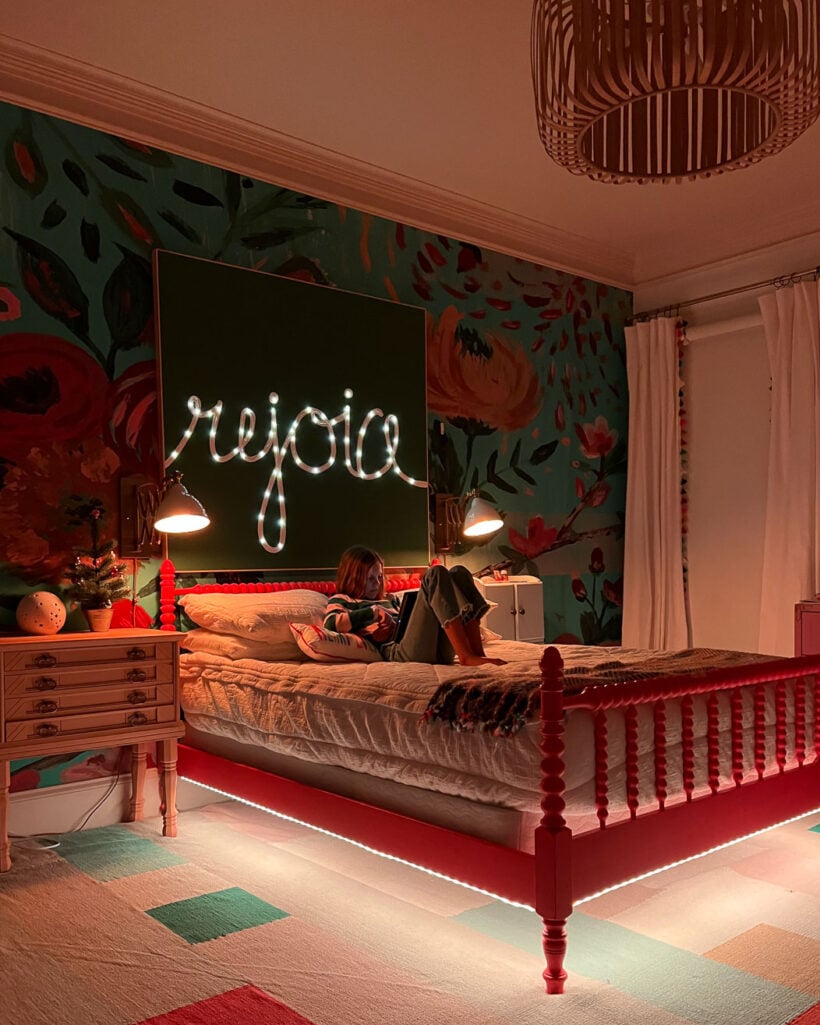
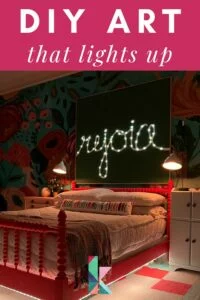
And in 2022 we displayed it in one of our daughter's rooms for Christmas. Who knows where we will put it this year?!
What do you think?! Are you going to make some light-up wall art for yourself? I hope so!
More Seasonal Posts
Other posts you may enjoy:
Wondering how I approach transforming rooms and spaces in our home? Check out Designer in a Binder®.
And if you want exclusive content and behind-the-scenes sneak peeks, be sure to subscribe before you head out!




Love the rejoice art. I don’t see the link to Pinterest.