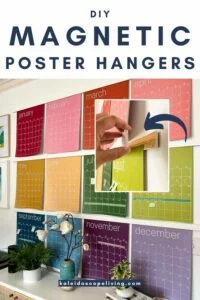
DIY Magnetic Poster Hangers
Want a creative and fun way to hang art, posters, or calendars? Learn how to make these oversized magnetic poster hangers! This is a beginner-friendly DIY project and it's such a great way to display anything that you want to be able to change out or rearrange whenever you feel like it (like all the different masterpieces your kids paint for you)!
Thank you to DAP Products for sponsoring this post. This post contains affiliate links for your convenience. Click here for my full disclosure policy.
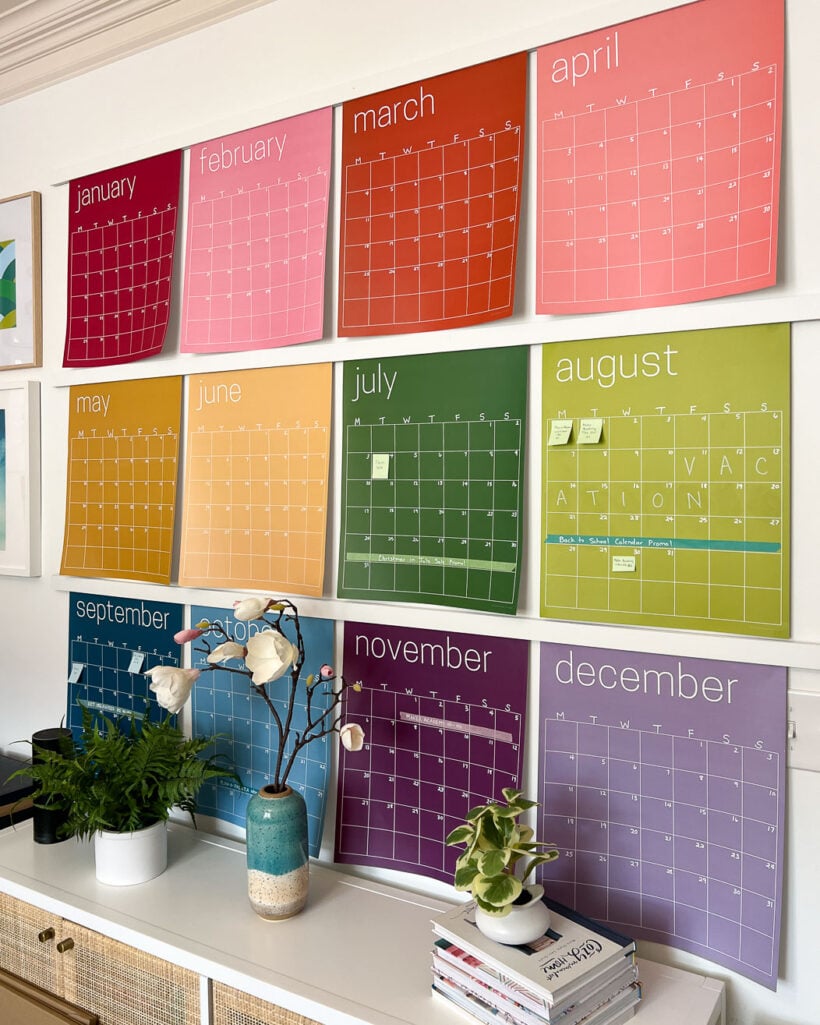
I love these magnetic poster holders that are easy to find online, but I couldn't find any longer than around 4 feet. I needed mine to be 6 feet long to hang my colorful wall calendar the way I wanted to. So, we figured out a way to make oversized magnetic poster hangers with inexpensive and easy-to-find materials.
Materials Needed
- 1/4″ x 2″ lattice strips in whatever length you need.
- We purchased 8-foot lengths and cut them to length because our local hardware store didn't have 6-foot lengths in stock.
- You will need 2 lattice strips per magnetic hanger (one for the front and one for the back–the art/poster gets sandwiched in between the wood strips).
- Small, heavy-duty round magnets that are thinner than the wood you are using. These are the magnets we used–they are only .12 inches thick so they sit nicely in the .25 inch thick lattice strips.
- DAP Plastic Wood-X
- DAP Rapid Fuse All-Purpose Adhesive
- Compound miter saw (if you don't have one, this project is totally doable with a hand saw and miter box)
- Sandpaper
- Drill
- Forstner bit in a size that corresponds with the magnets you'll be using
- Paint or wood stain (optional)
- Painter's tape
- Command picture hanging strips
How to Make Oversized Magnetic Poster Hangers
Video Overview
I highly recommend that you watch the short video overview of this project below before reading the instructions to give you context as you read them. The video will play after a brief ad.
There's an easier, alternative method!
I get asked about these magnetic hangers all the time. People love the look and idea of them, but don't want to have to go through all of these steps and worry about the magnets being space and aligned properly.
So I recently came up with a quicker and easier method to get this exact same look without the need for any hard math, measuring or power tools! If that sounds like it is more your speed, check out my tutorial for how to make faux oversized poster hangers.
Step-by-Step Tutorial
Time needed: 2 hours
This project only took us about 2 hours (excluding the time it took the paint to dry). It's pretty quick and easy!
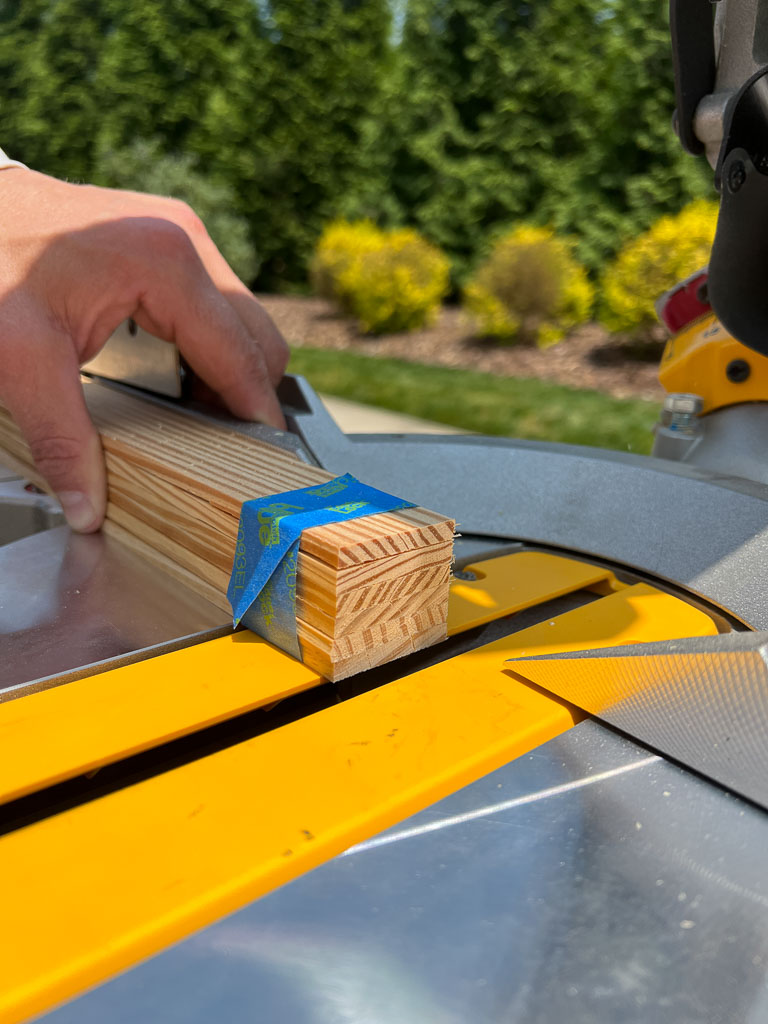
- Cut your lattice strips to length, if needed.
We wanted our magnetic poster hangers to be 6-feet long, but we could only find 8-foot strips in stock. So we used our compound miter saw to cut them to length. We stacked them up and wrapped painter's tape around them so that we could cut them all at once. The painter's tape keeps them from sliding or shifting.
* TIP: If you don't have a compound miter saw, you can use a hand saw and miter box to cut your lattice strips OR have them cut them to length at the hardware store (yep, most Home Depot and Lowes stores have cutting stations for this purpose).
- Decide on your magnet spacing and placement.
First we figured out the horizontal spacing of the magnets. Because I planned on hanging my colorful wall calendar on our magnetic rails and each month is 16″ wide, we decided to space our magnets so that each month would make contact with at least 2 magnets.
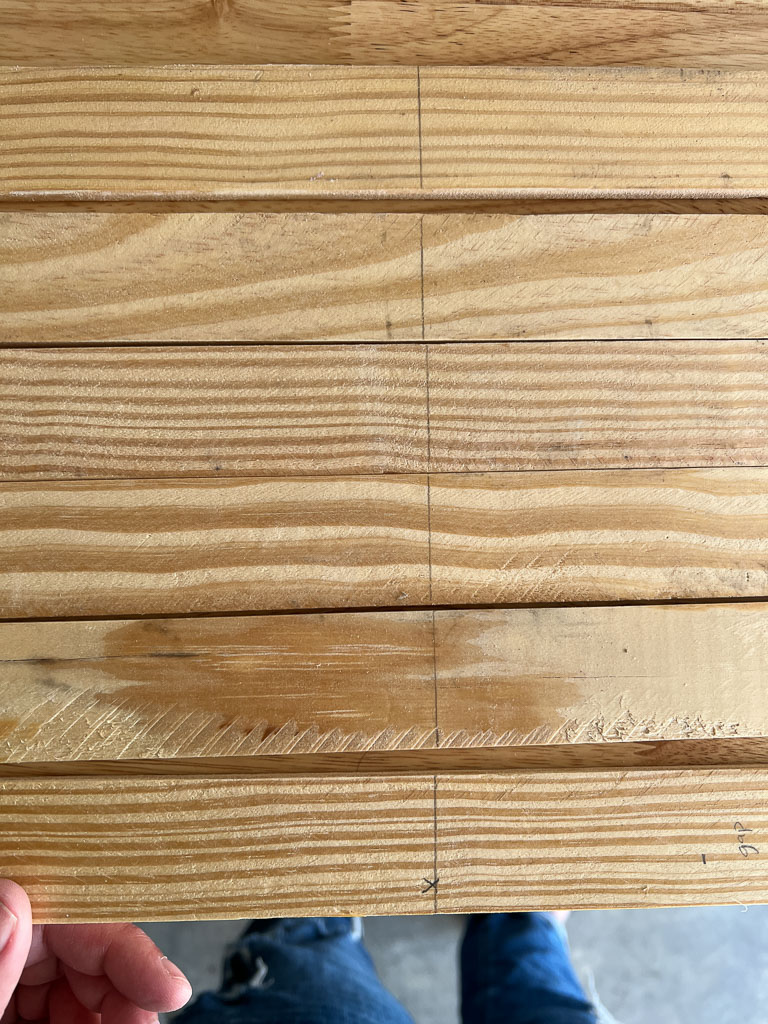
Once we decided on how they should be spaced, we drew a line down all 6 of the lattice strips so that our spacing would be consistent as we drilled the holes for the magnets.
Then we decided on the vertical placement of the magnets–we chose to place ours on the lower 1/3 of the lattice strip and marked all the pieces of wood accordingly.
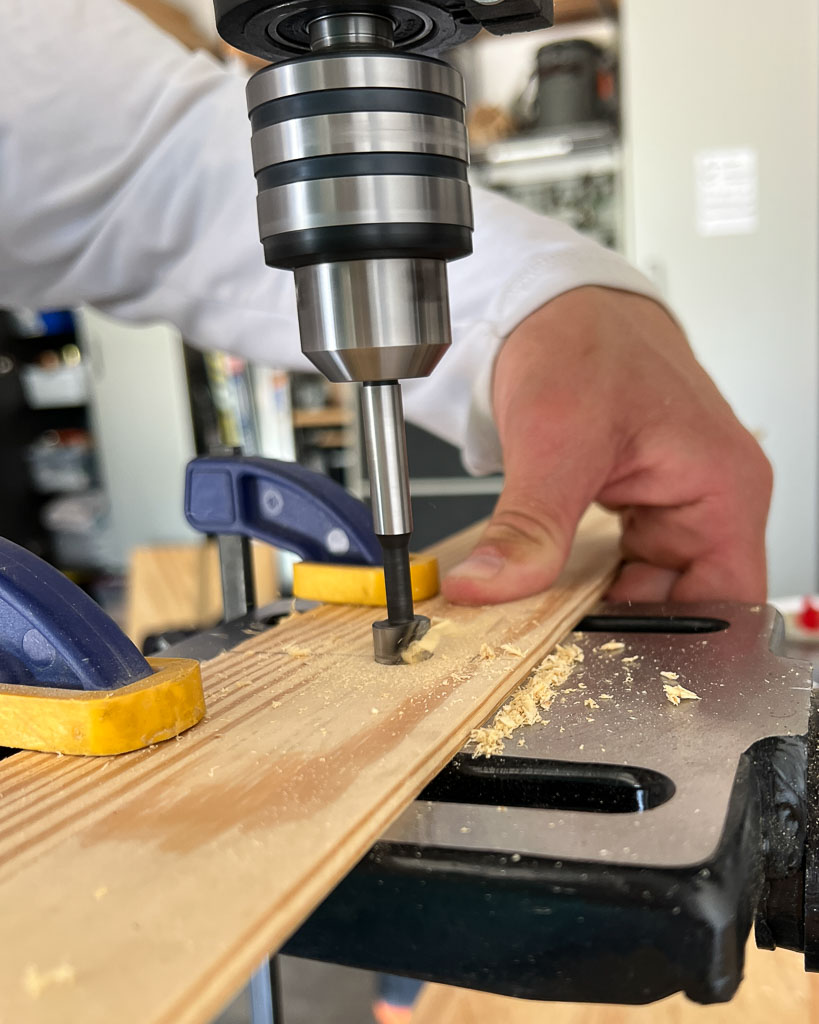
REMEMBER, your magnets will have to match up perfectly on both the front and back rails so take your time on this step. - Drill the holes for your magnets.
After you have carefully marked where your magnets will go, drill the holes using a Forstner bit that is just slightly larger than your magnets. You want to drill the hole deep enough so that the magnets sit flush (or nearly flush) with the surface of the wood. Be careful not to drill all the way through the wood! Most drills have depth gauges you can set to keep you from drilling too far if you don't want to just eyeball it.

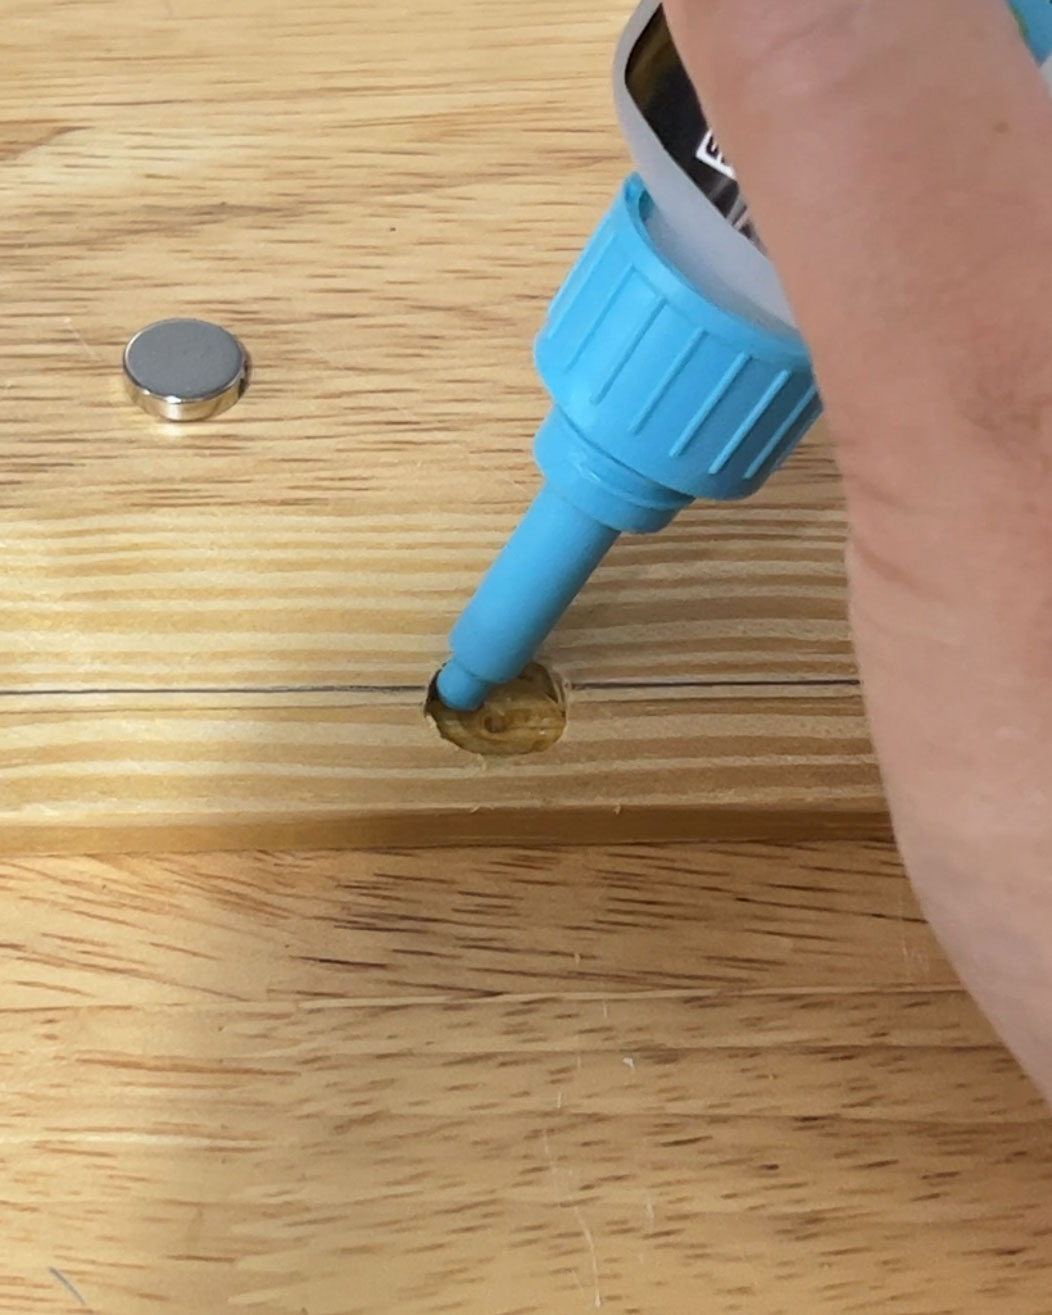
- Glue your magnets in place.
We used DAP Rapid Fuse All-Purpose Adhesive to glue all of our magnets in place. Take your time with this step! All magnets have north and south poles. Opposite poles are attracted to each other, while the same poles repel each other. So you have to make sure that your magnets are facing the correct direction so that they will work properly!

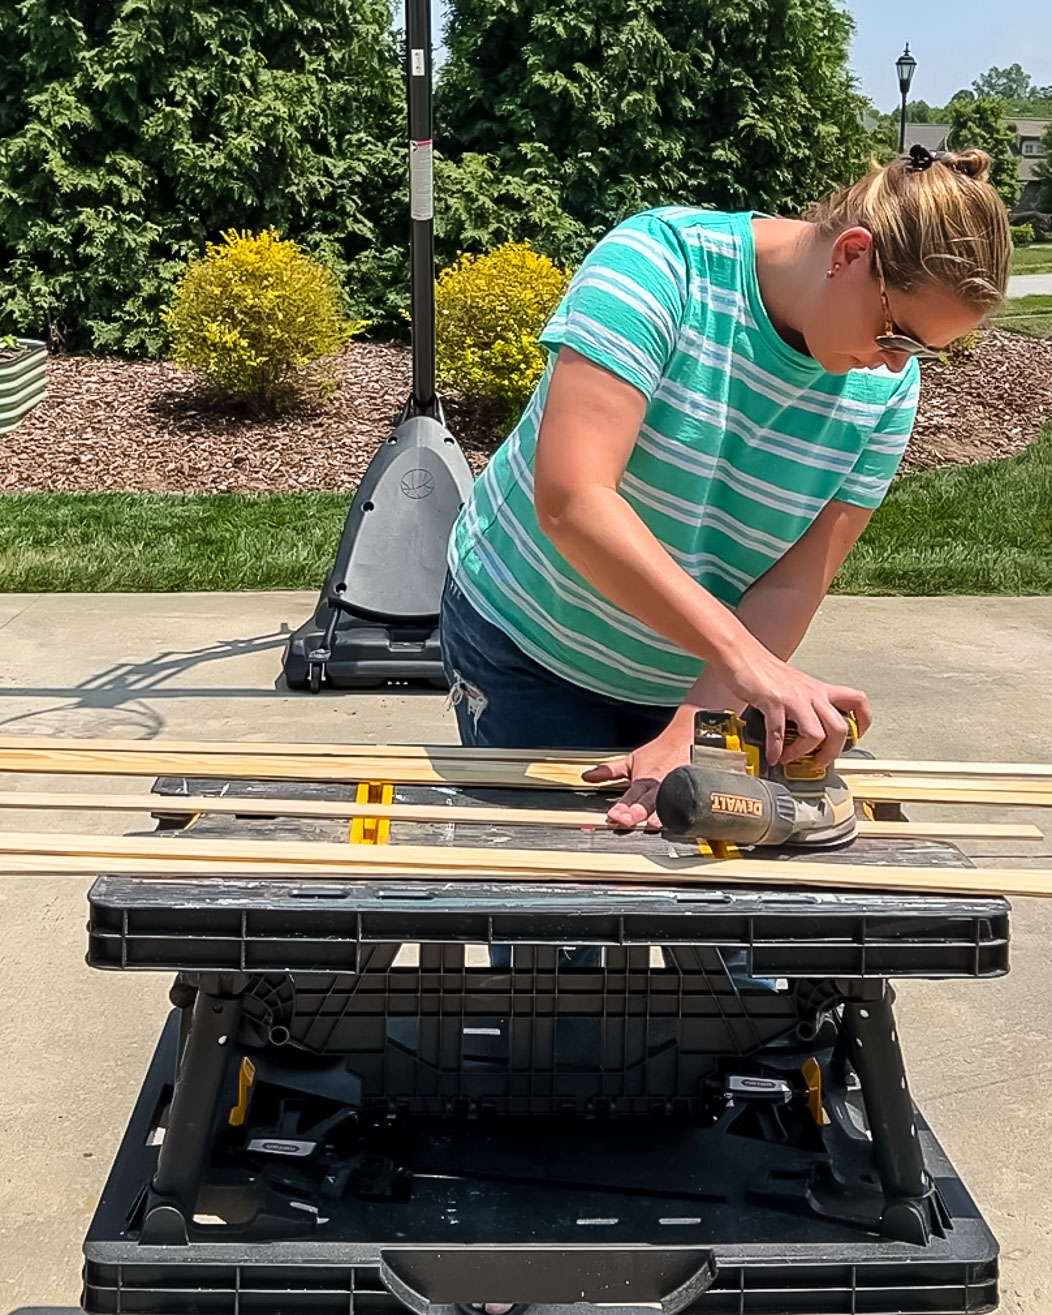
- Smooth out the rough texture of the lattice strips.
The lattice strips were perfect for this project and I love that they are inexpensive. But the surface of them is pretty rough (as you can see from the photos above). So I applied DAP Plastic Wood-X with DryDex Dry Time Indicator wood filler to the rough areas. It's my favorite because it goes on pink and dries to a natural, wood finish, so you know when it's ready to sand!
Then I sanded everything smooth. - Paint or stain.
I only painted the front of our rails because I'm kind of lazy, lol. Because I wanted my magnetic poster hangers to blend in with my wall, I used the exact same white paint that we used to paint the walls in my office–Pure White by Sherwin-Williams. But you could certainly stain them or paint them any color you want.
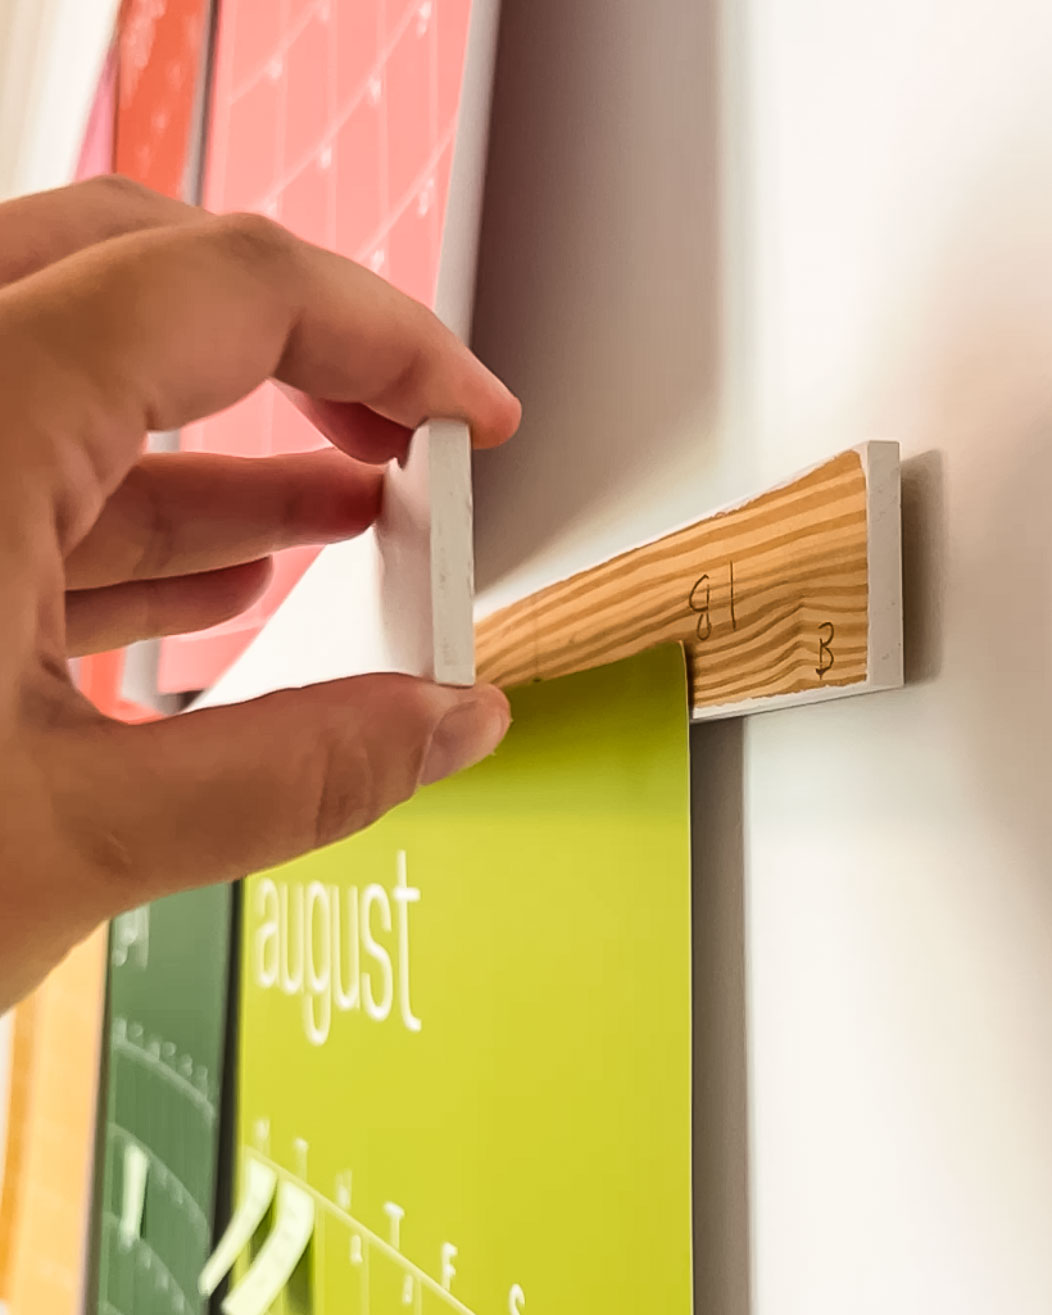
- Hang your magnetic poster hangers.
I used these picture hanging strips to hang mine up, but you can attach them to your wall with nails or screws if you prefer. I used my laser level to make sure everything was straight and level.
- Add your posters or art and enjoy!
I realized that it’s pretty much impossible to simultaneously hang 6 feet worth of posters/art at the same time with only two hands so I used a tiny amount of sticky putty in the top corners of each calendar to temporarily hold my calendars in place while I got the top rails on. It worked like a charm.

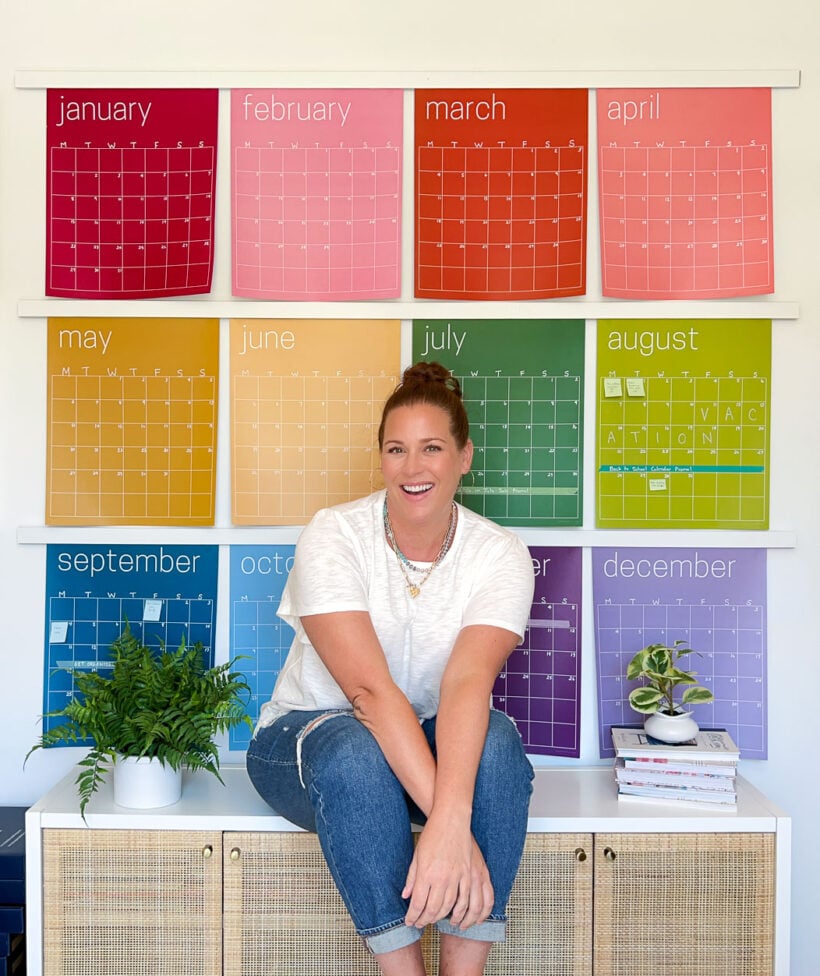
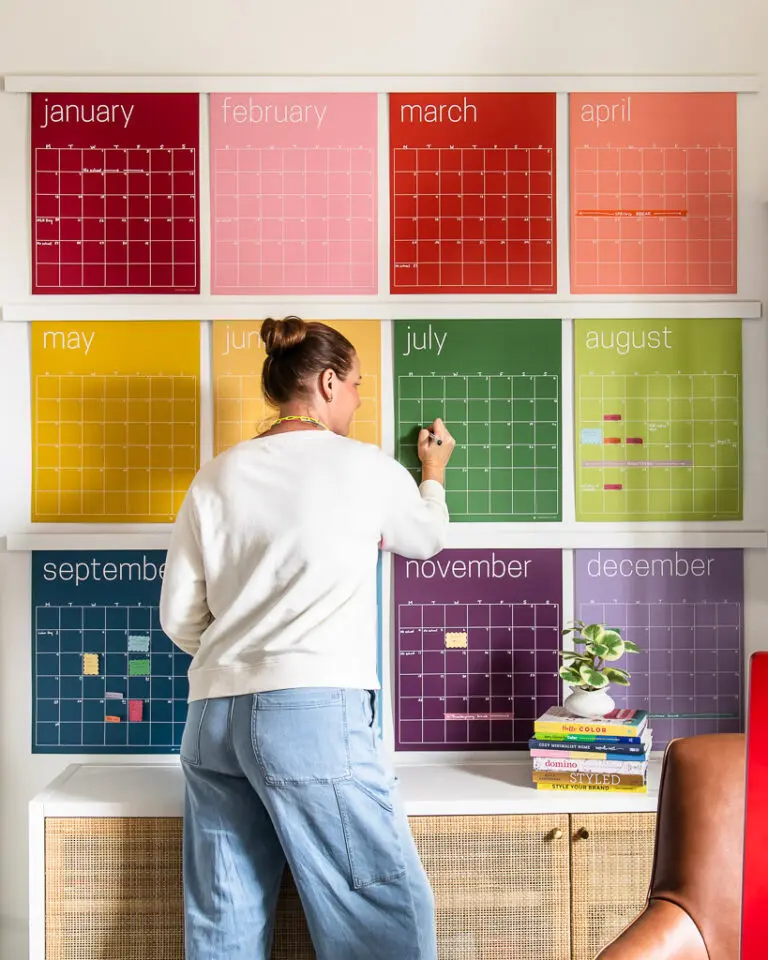
That's it! I couldn't be happier with how our magnetic poster hangers turned out. They are perfect for my large monthly wall calendar because I like to rotate the months as needed to make the upcoming months the easiest to reach. But you can use these oversized magnetic art hangers for pretty much any kind of poster or art! They are perfect for any area where you want to be able to rearrange or change out your art frequently.
What do you think?!


Wondering how I approach transforming rooms and spaces in our home? Check out Designer in a Binder®.

And if you want exclusive content and behind-the-scenes sneak peeks, be sure to subscribe before you head out!