How to Make a DIY TV Frame
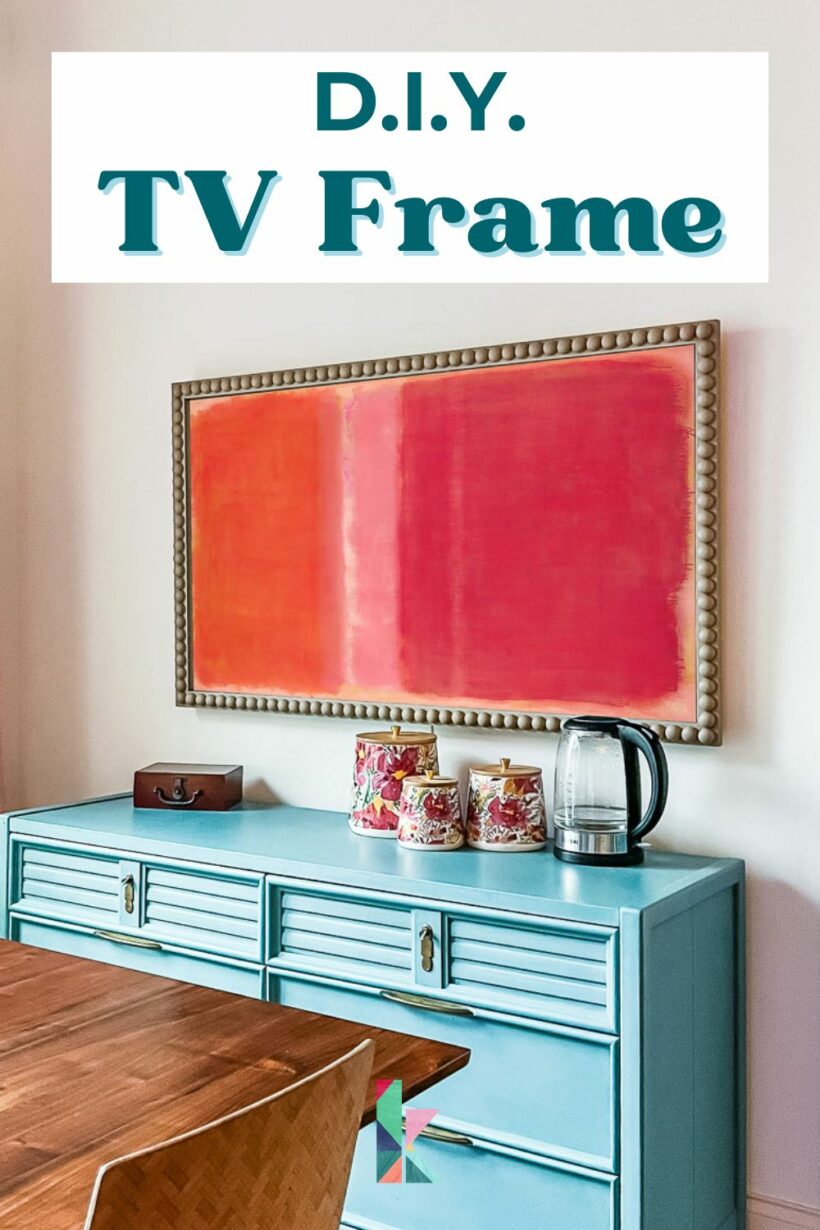
If you have a Samsung Frame TV or any other flat-screen TV that is mounted on your wall and want to make it a bit prettier, make a DIY frame for it! You will be amazed by how it can transform what is kind of an eyesore into a pretty feature in any space. Not to mention this DIY frame is a much more affordable option than the frames and bezels you can purchase online for the Samsung Frame TV. This tutorial is simple and could even be completed without power tools. Let's dive in!
Thank you to DAP Products for sponsoring this post. This post contains affiliate links for your convenience. Click here for my full disclosure policy.
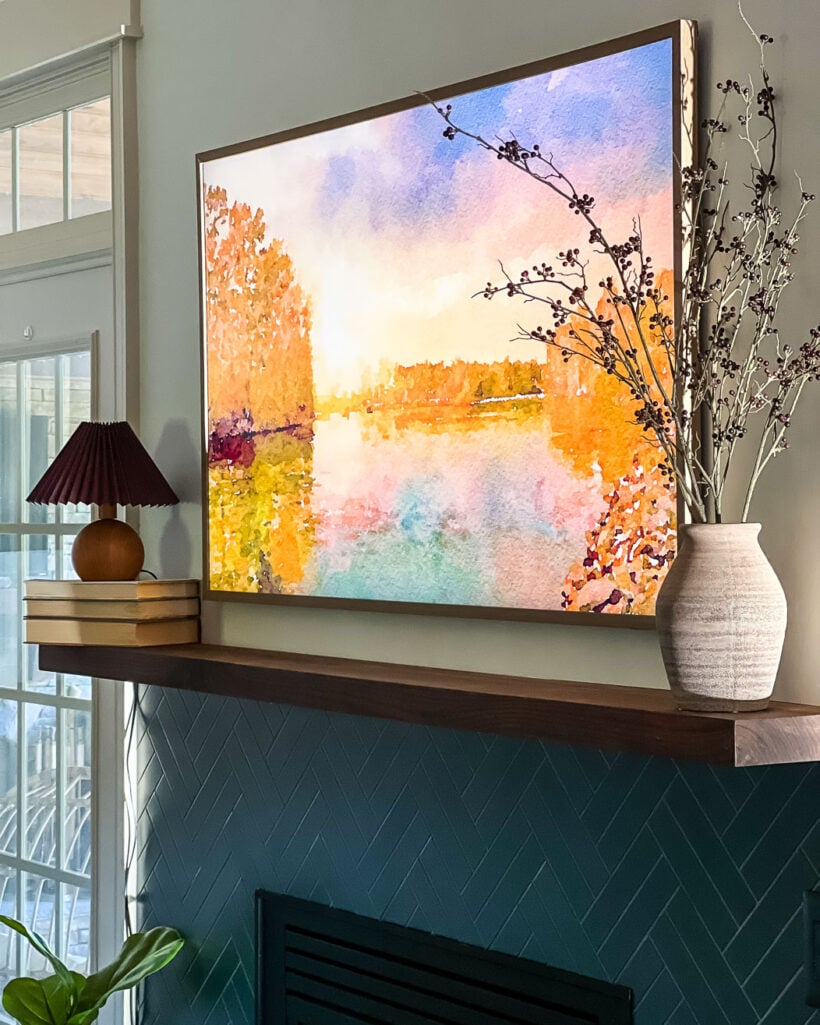
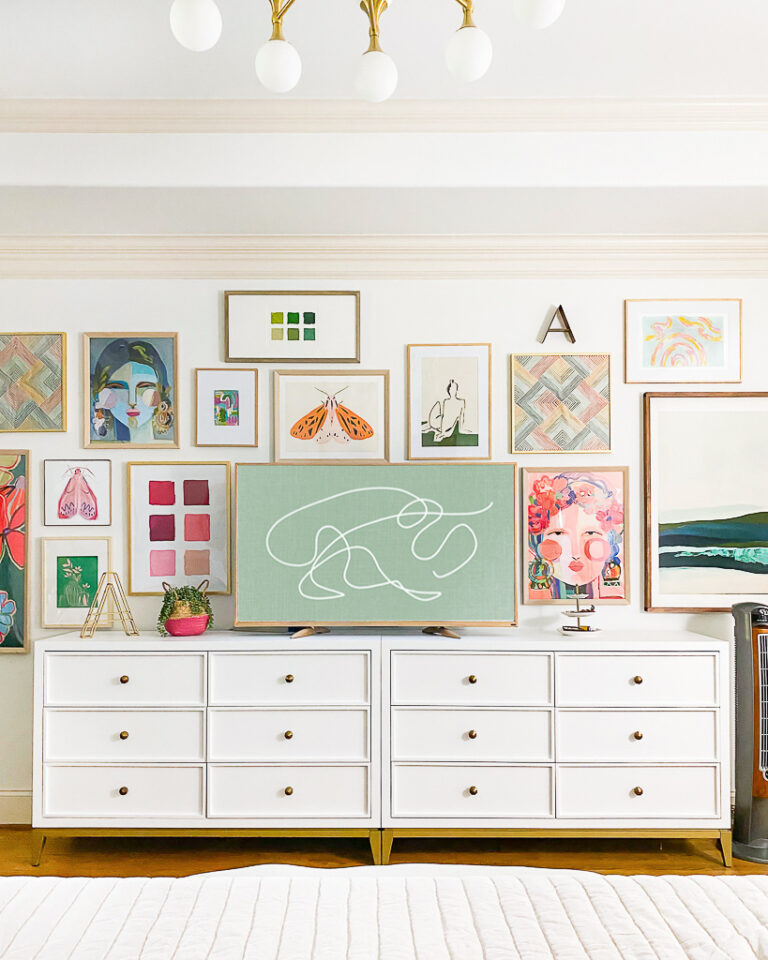
It's no secret that I'm a big fan of making TVs as pretty as possible. I updated the basic smart TV in our bedroom and figured out how to display digital art on any smart TV so that it would blend in with our gallery wall. We also splurged on a Samsung Frame TV for our family room several years ago so that it would look like art above our fireplace.
I very candidly shared in my unbiased review of the Samsung Frame TV that I don't think a Frame TV is always worth the cost and I wouldn't personally pay for one that would hang in a bedroom. But I do think they have some features that make them worth the extra expense in highly visible rooms. So when we decided to add a TV to the eat-in kitchen of our home, we purchased another 55″ Samsung Frame TV.
We bought a Samsung Frame TV Bezel for the TV in our family room. It was not inexpensive (it looks like they are now $250) and I do wish it was a bit more substantial. But I figured we'd order another one for our new Frame TV….until I realized that they were sold out of the size and style we wanted and there was no estimated “back in stock” date. I know many people love Deco TV Frames, so I did take a look at them. But they just aren't our style and cost around $600 for a 55″ frame. No thank you.
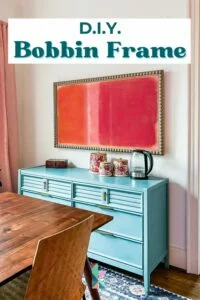
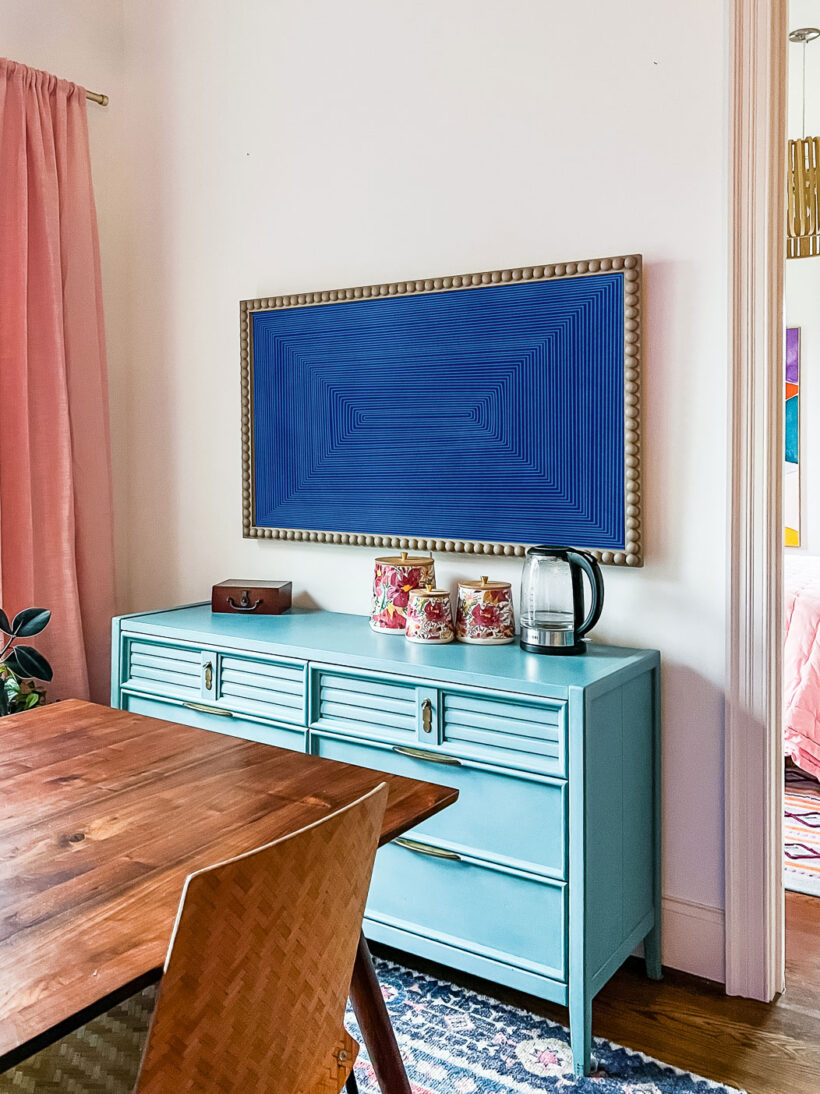
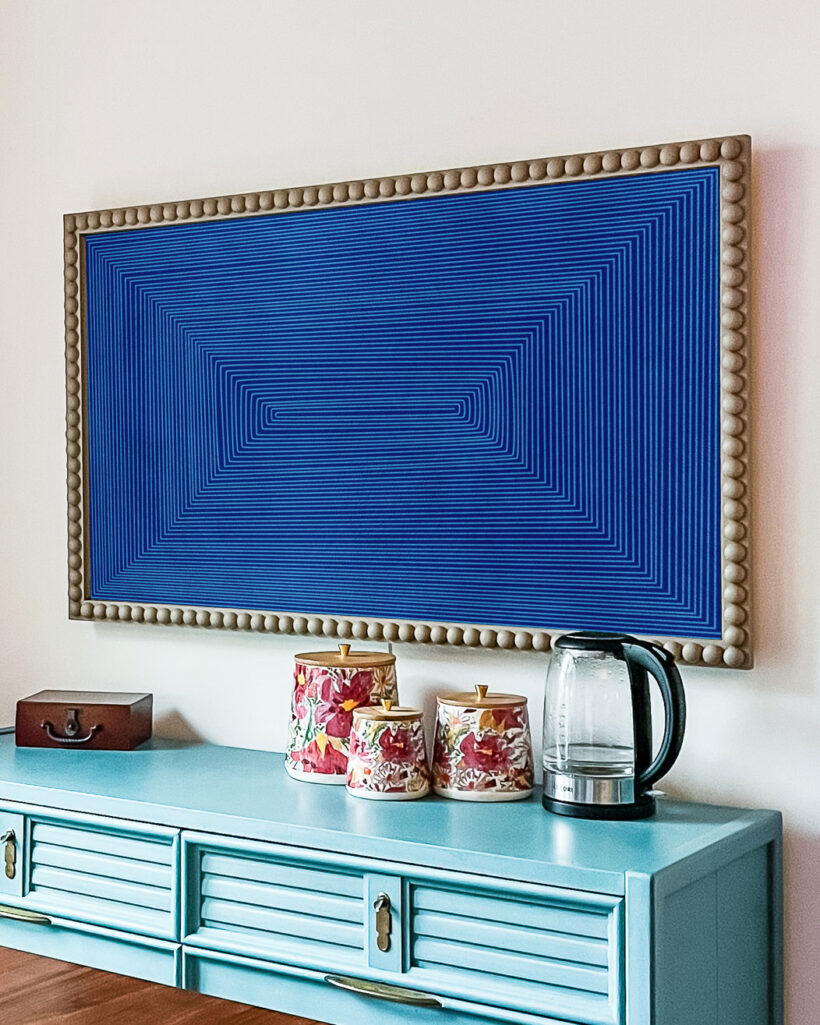
So, we decided to make a DIY bobbin frame for our TV! In the end, it cost us around $80 and I love it so much more than the frames you can order online. It's so substantial and the style is exactly what we wanted. Win-win.
Will this DIY frame work for any TV?
Though we made this frame for our Samsung Frame TV, this tutorial could really be used to make a frame for any slim/thin TV that is mounted on a wall!
Why bother framing a TV?
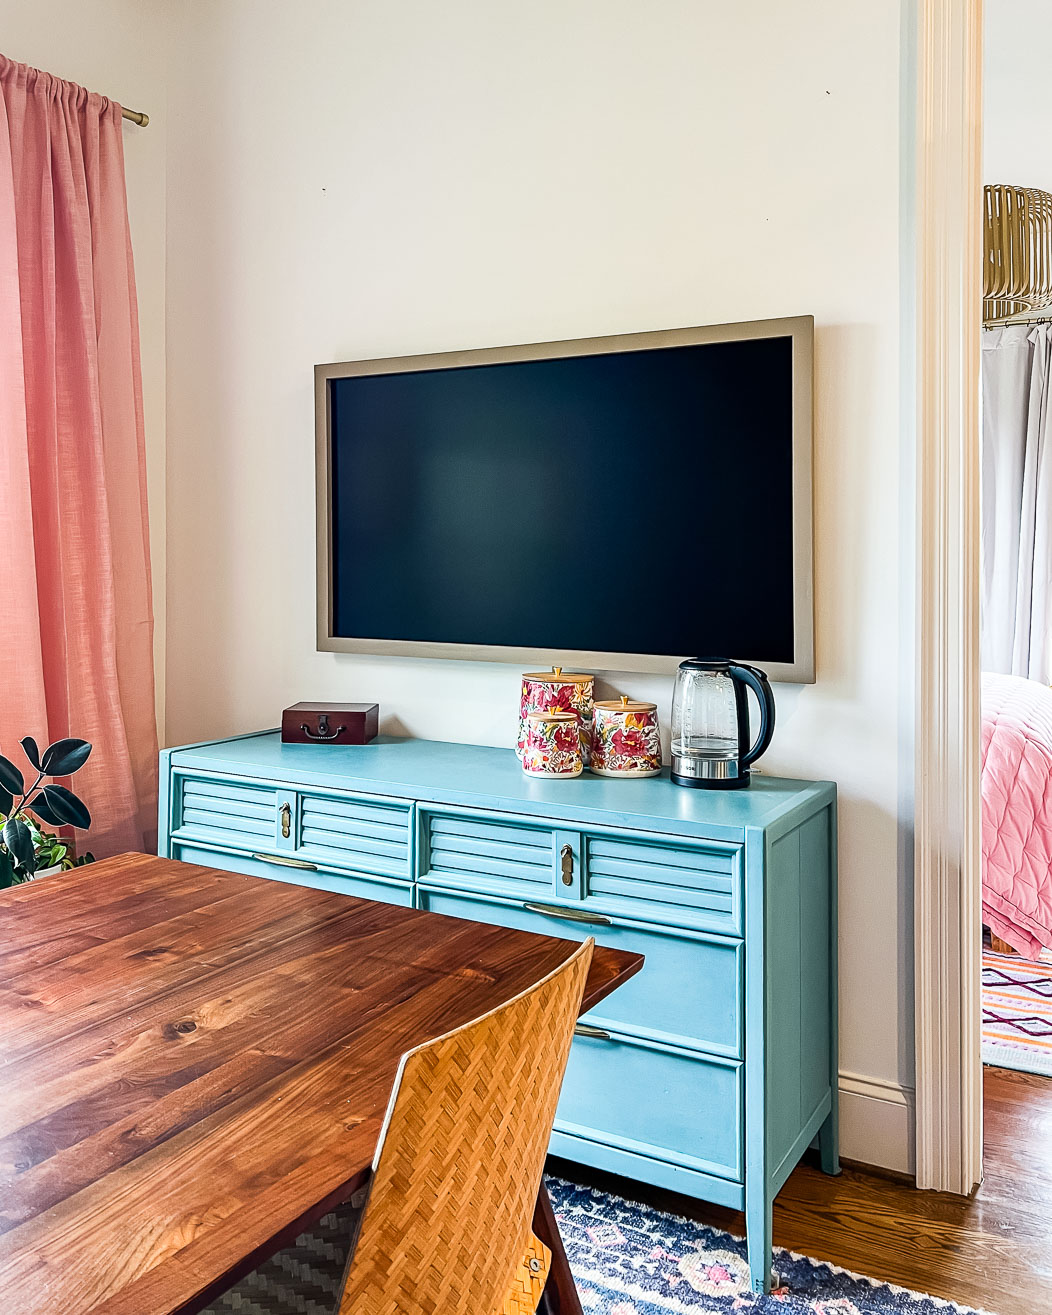
If you are wondering why in the world we even bothered with this project, this is why… Unframed TVs that are mounted on a wall just don't look great. Who wants to stare at a big, black rectangle when the TV is off? Not me!
A frame alone will completely transform how your TV looks. But adding digital art takes it to a whole other level! If you aren't sure how to do that, check out my tutorial on how to display digital art on any smart TV).

How to Make a DIY Bobbin Frame for Your TV
I highly recommend that you watch a short overview of the process below before reading the instructions so that you have some visual context first :) It will play after a short ad.
Materials & Tools Needed
- Tape measure
- 1 x 2 inch pine boards– For our 55″ Frame TV we used (3) 8-foot boards.
- 1/2-in thick x 11/16-in wide pine lattice molding– Again, for our 55″ Frame TV we used (3) 8-foot lengths.
- 1.25″ / 30mm half wood balls– I ordered 3 bags of 50 and had about 20 left over.
- Measuring gauge (optional, but VERY helpful)
- Paint
- DAP Weldwood Instant Adhesive
- DAP Premium Wood Filler
- Sandpaper
- Miter saw (or hand saw and miter box)
- Nail gun (or small finishing nails and hammer)
DIY Bobbin Frame Cost Breakdown
We already had the glue, wood filler and paint from other projects, so we only had to buy the wood and wood balls. But even if you had to buy those supplies as well, you should still be able to stay under $150!
- Wood- $51
- Wood half balls- $30
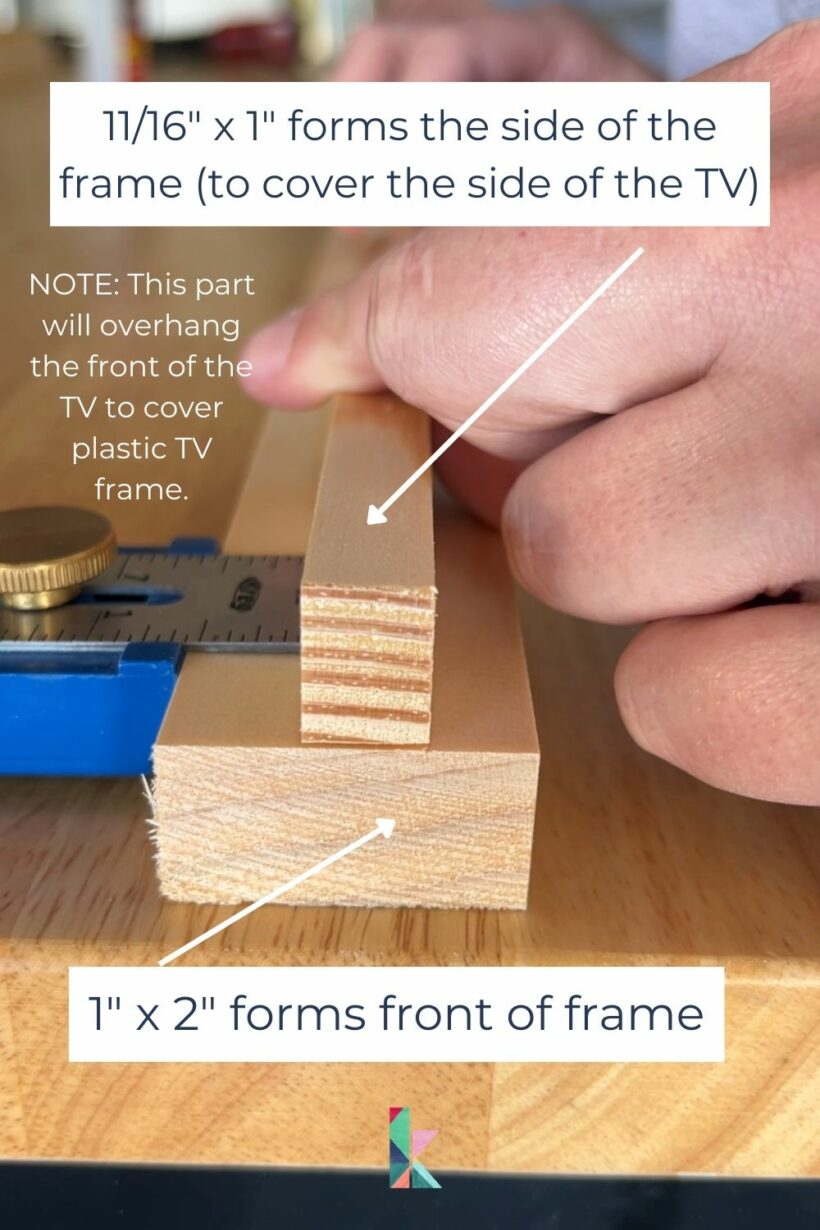
Anatomy of this DIY TV Frame
Before you read the tutorial, take a look at the diagram below to understand how we used the two different wood sizes to create the frame for our Samsung Frame TV. The instructions will make more sense if you understand this diagram first :)
Time needed: 4 hours
Follow the steps below to learn how to make this DIY TV frame for under $50 in around 4 hours!
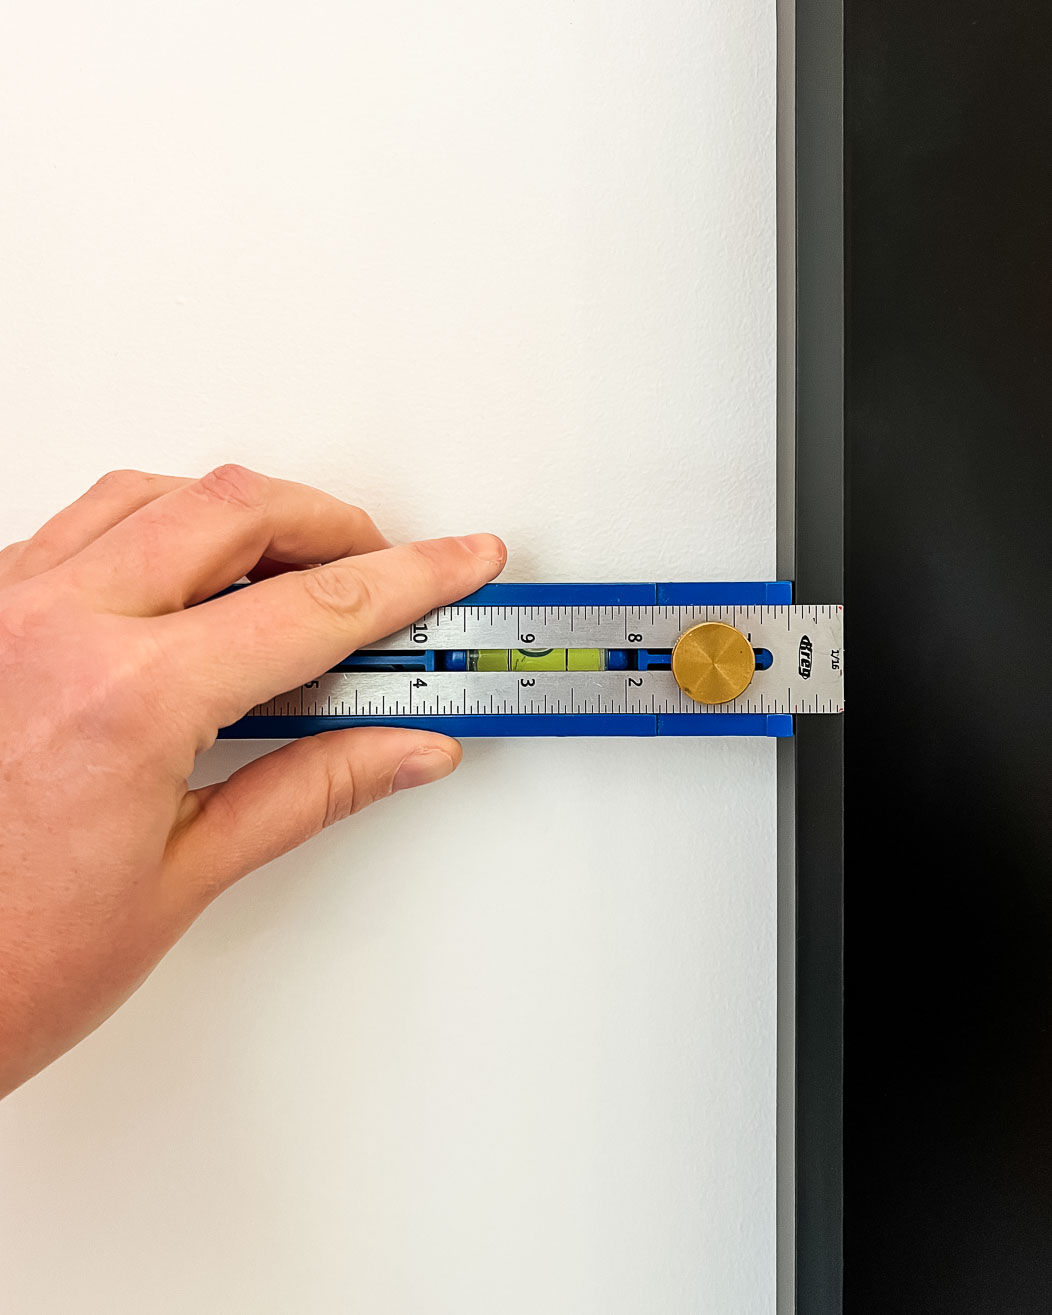
- Measure your TV AND determine the overhang.
Take precise measurements of the length and width of your TV to determine how much wood you need.
You also need to determine how much your frame should overhang the front of your TV without covering any of the TV screen itself. All TVs have a plastic frame around the TV screen. We used this measuring gauge to measure the width and depth of the plastic TV frame.
- Glue your wood pieces together before making any cuts.
Gluing everything first means you have fewer cuts and miter joints to worry about later.
We used the 1″ x 2″ to form the front of our frame and the smaller lattice molding to form the side of the frame (to cover the side of the TV). Check out the diagram below the list of materials needed if you have questions about how the two different wood sizes are used.
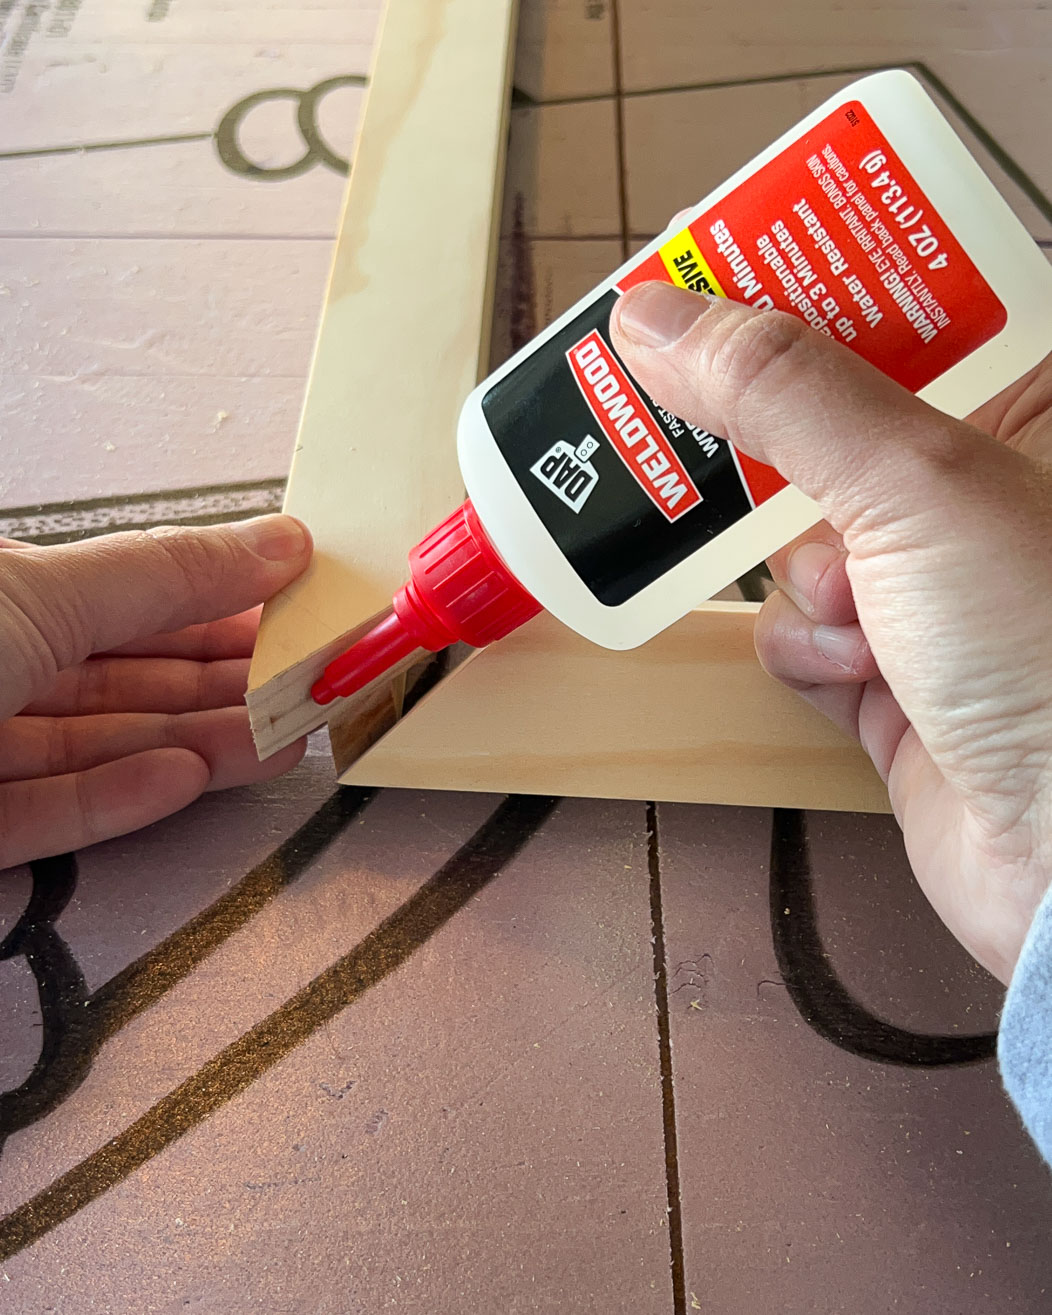
Because the plastic frame around our TV was only 1/2″ wide, we used DAP Weldwood Instant Adhesive to glue the lattice molding to the back of the front pieces exactly 1/2″ from the edge. That is how we ensured that the frame would only cover the plastic TV frame and not accidentally cover part of the TV screen itself. - Miter cut your wood to length.
After all of your pieces are glued together and the glue has set, you are ready to start cutting.
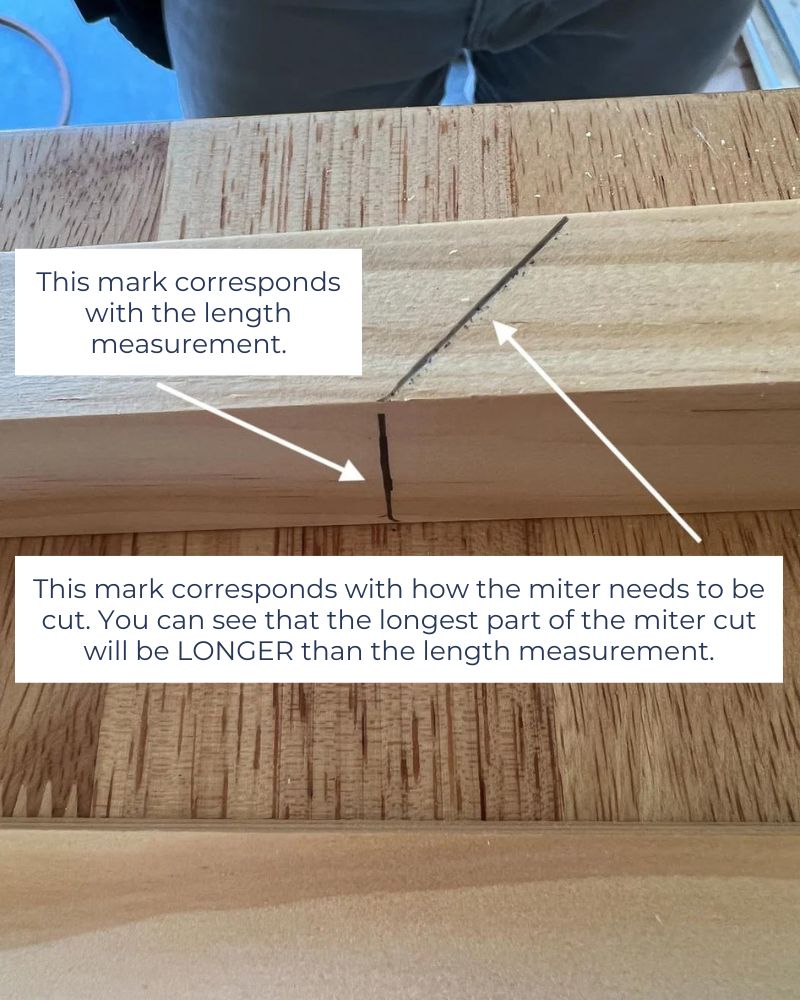
Note that when you are measuring for mitered cuts, the SHORTEST part of your miter needs to correspond to the length of your TV. In other words, if you cut your wood so that the longest portion of the mitered wood is the length of your TV, it will be too short.
To avoid this common mistake, we mark the TV measurement on the piece of wood and draw the miter mark before cutting it. Trust me, if you just mark the length, you might end up getting confused and cutting it too short (ask me how I know).
- Assemble and glue your frame.
Once all of your wood is cut is cut to length, use DAP Weldwood Instant Adhesive to each mitered edge glue your corners together. We used 1-inch pin nails (23 gauge) to nail the corners of the frame together. Any small, finishing nails would work, or you could also use clamps if you prefer.
I prefer using DAP Weldwood Instant Adhesive instead of regular wood glue for a project like this because it cures so much more quickly than regular glue and I am impatient, lol.
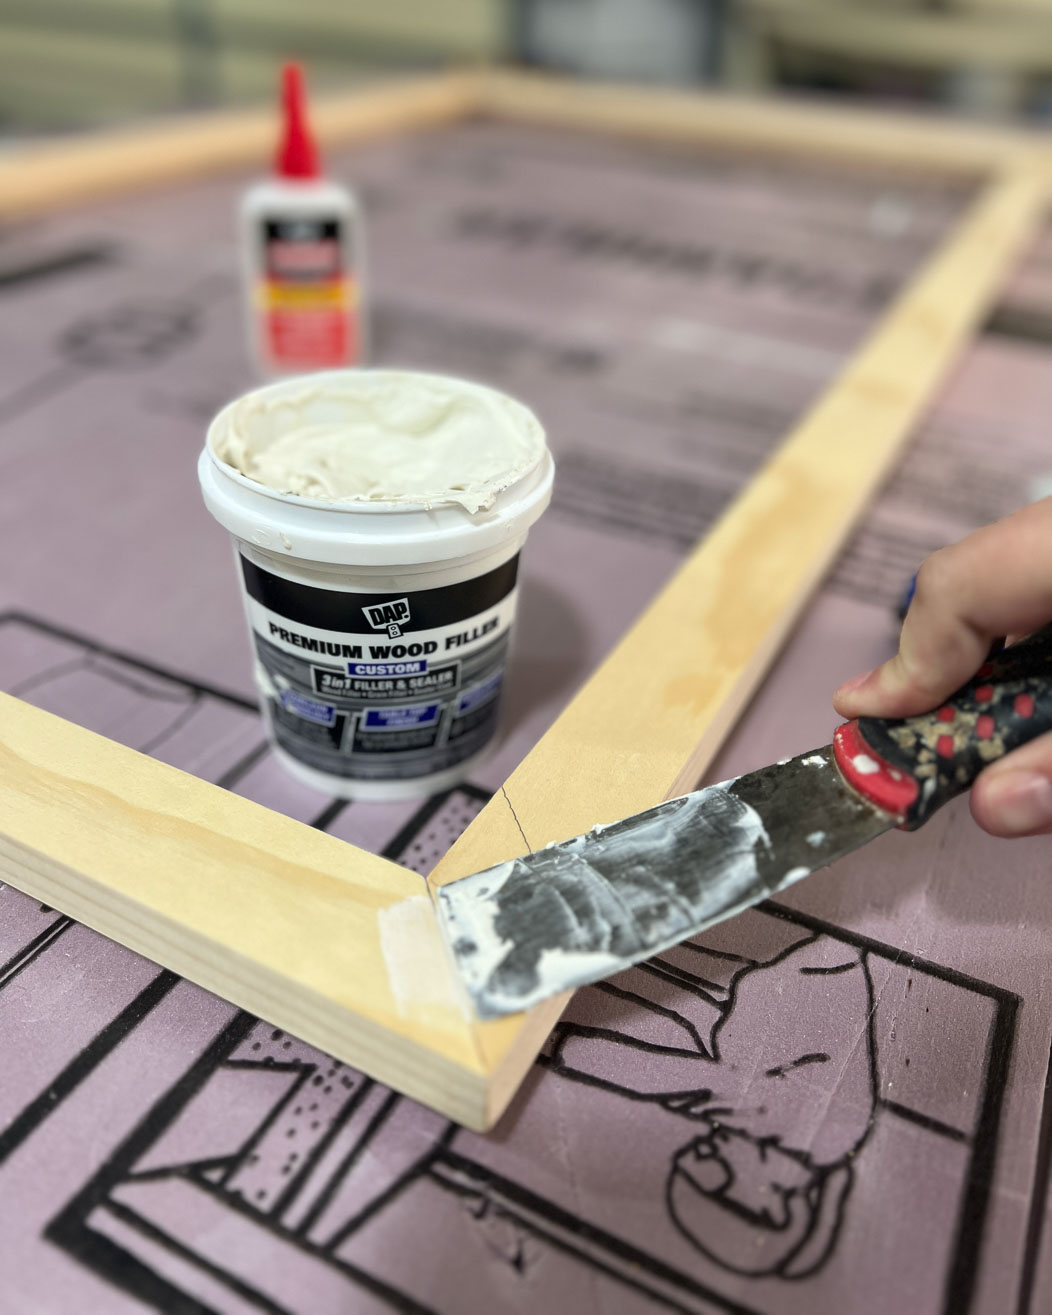
- Fill nail holes and any gaps.
Use DAP Premium Wood Filler to fill any nail holes and any gaps in your mitered joints. Once it's dry, sand it smooth.
- Paint your frame.
I used Algonquin by Fusion Mineral Paint. The TV already frame looked really good at this point! But of course, I wanted to make it a bit more special. I wanted to create a bobbin frame (sometimes called beaded frames) because I love them!
- Make any adjustments needed to accommodate your TV sensor.
This step will vary from TV to TV, but we needed to chisel out part of our frame in order so that it would not block the sensor on our TV. The sensor on a Samsung Frame TV isn't just for the remote–it also detects movement and lighting conditions in the room, which are important functions for the art mode display to work how you want it to.
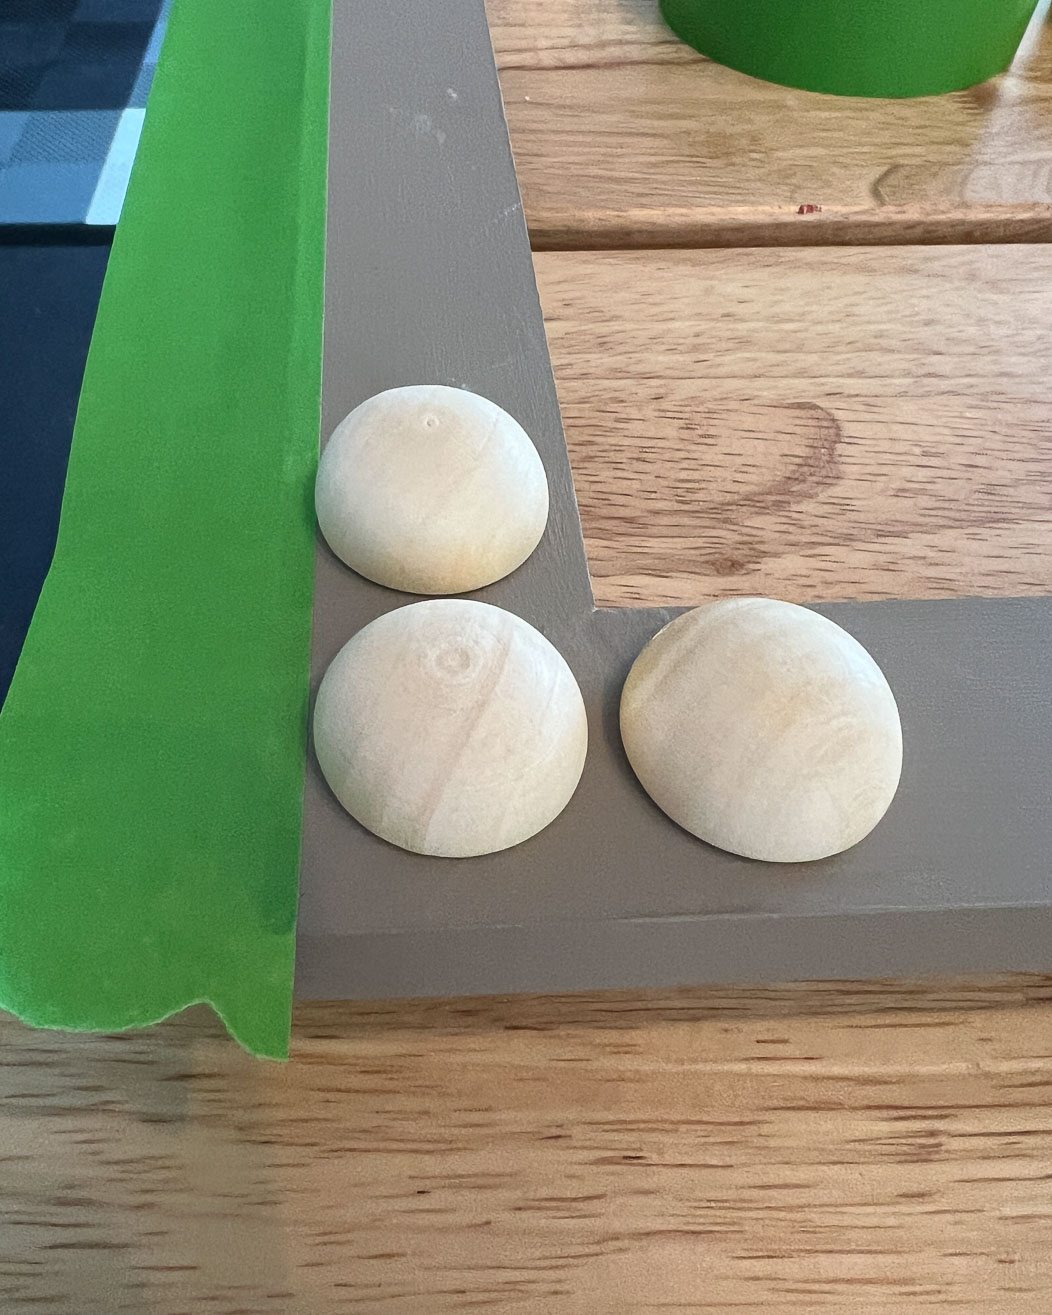
- Plan the spacing of your half-wood balls.
Though we could have stopped after step 7 and had a beautiful and substantial frame for our TV, I wanted to add a little something extra since I've been swooning after the bobbin/beaded frames I've seen popping up on Pinterest. So I ordered some wood half balls to create the look on my own.
I knew I wanted one ball perfectly centered in each corner. So to determine the best spacing for the rest of the balls, I started by gluing a ball in each corner of the frame. Next, I placed one ball on each side of the corner balls, making sure to center them on the wood frame–I used painter's tape to keep my spacing on the face frame consistent.
I did not glue the second and third balls yet—I just dry-fitted them in place! Then, I dry-fit the rest to determine the perfect spacing. - Glue the wood balls into place.
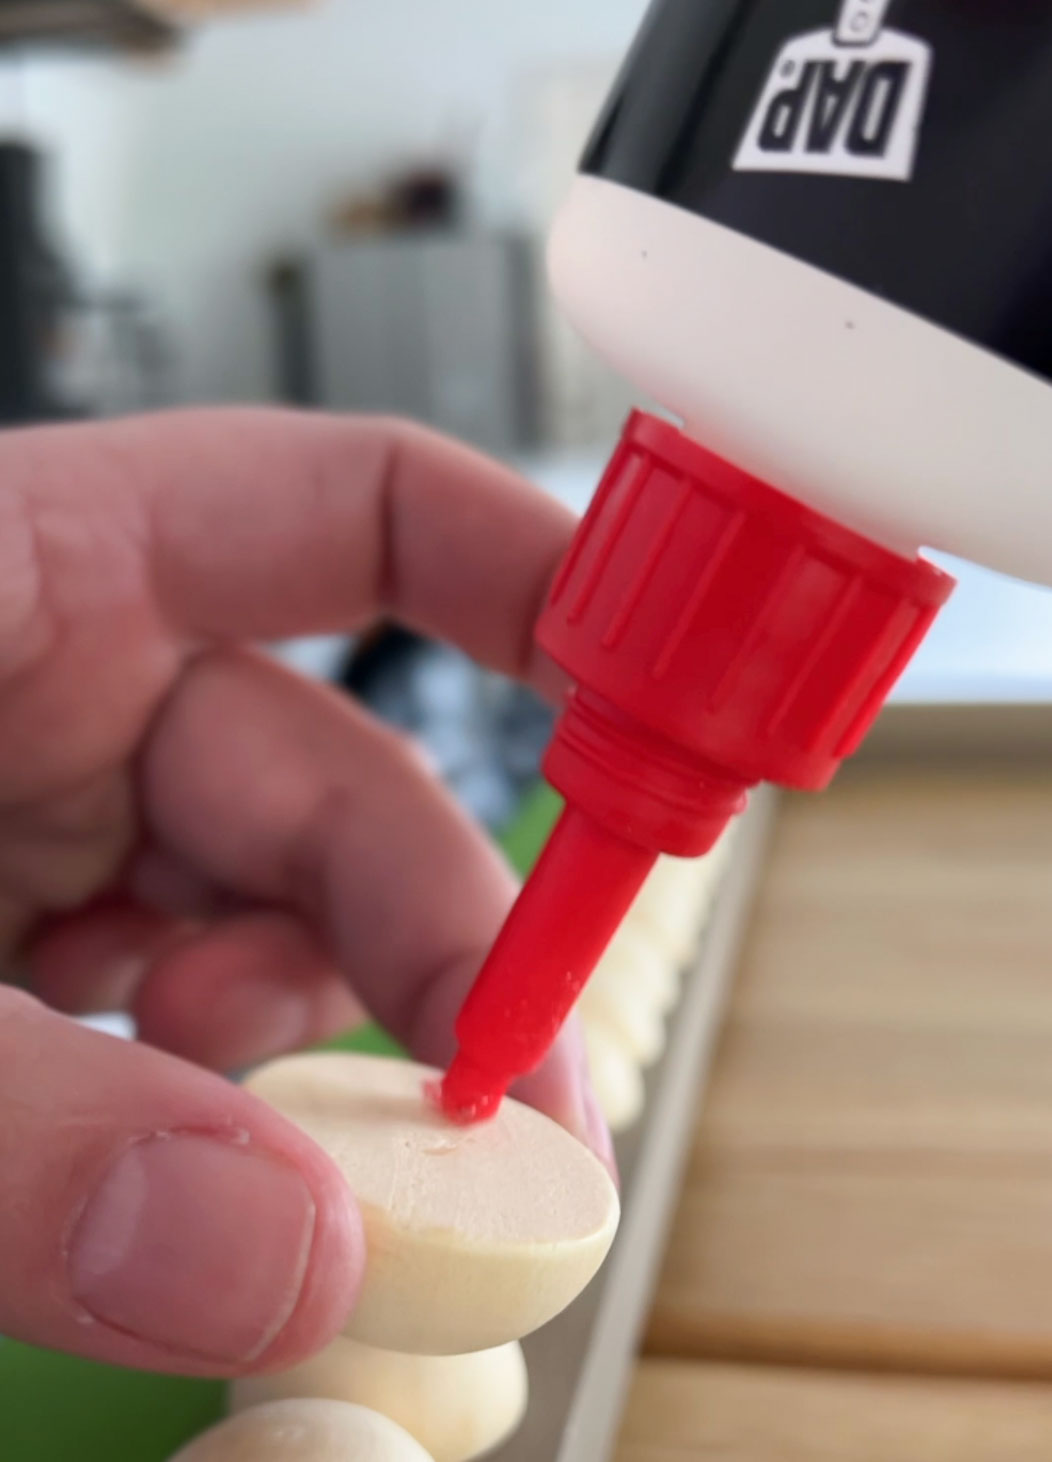
Once I was happy with the spacing, I used painter's tape along the outer edge of the frame as a guide to help me center them on the front of the frame. Then I glued each ball on one at a time. Again, I used DAP Weldwood Instant Adhesive because it sets so quickly.

- Paint again.
Once everything was dried and cured, I painted everything the same color. It was kind of tedious, lol. I am glad I painted the frame before adding the balls because it would have been even harder to get good coverage on the frame after the balls were glued on.
- OPTIONAL: Staple elastic onto the back of your frame.
Our frame fits our TV well and we aren't worried about it falling off or bumping into it. But if you have any concerns about your frame staying on your TV, I have seen people suggest stapling elastic to the back of the frame–it can be placed over the TV to hold the frame on.
- Position the frame onto your TV.
Last step! Slide the frame onto your TV, add some digital art and enjoy!

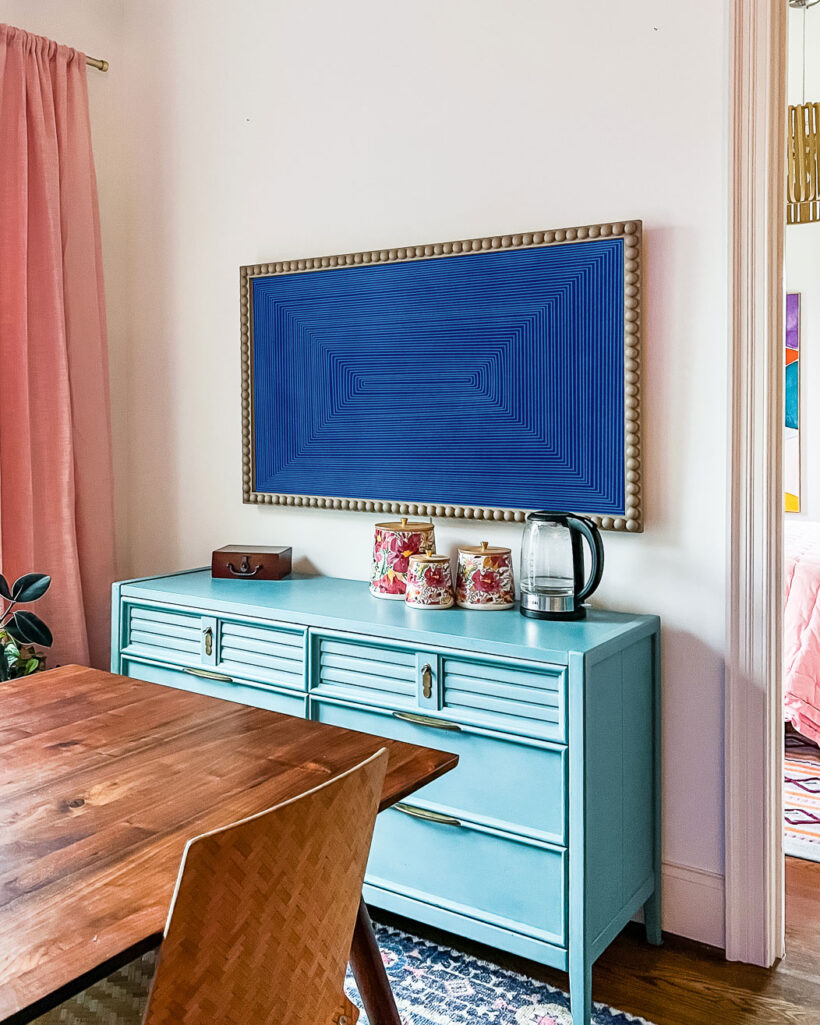
That's it! It looks so much more finished and high-end now. For those of you who may have been surprised that I chose such a neutral paint color, it's because I knew I wanted to display colorful art on the TV and I didn't want to feel restricted by the frame color. I've been playing around with a few options. Stay tuned… I'm going to be creating a whole gallery wall around this TV very soon :)
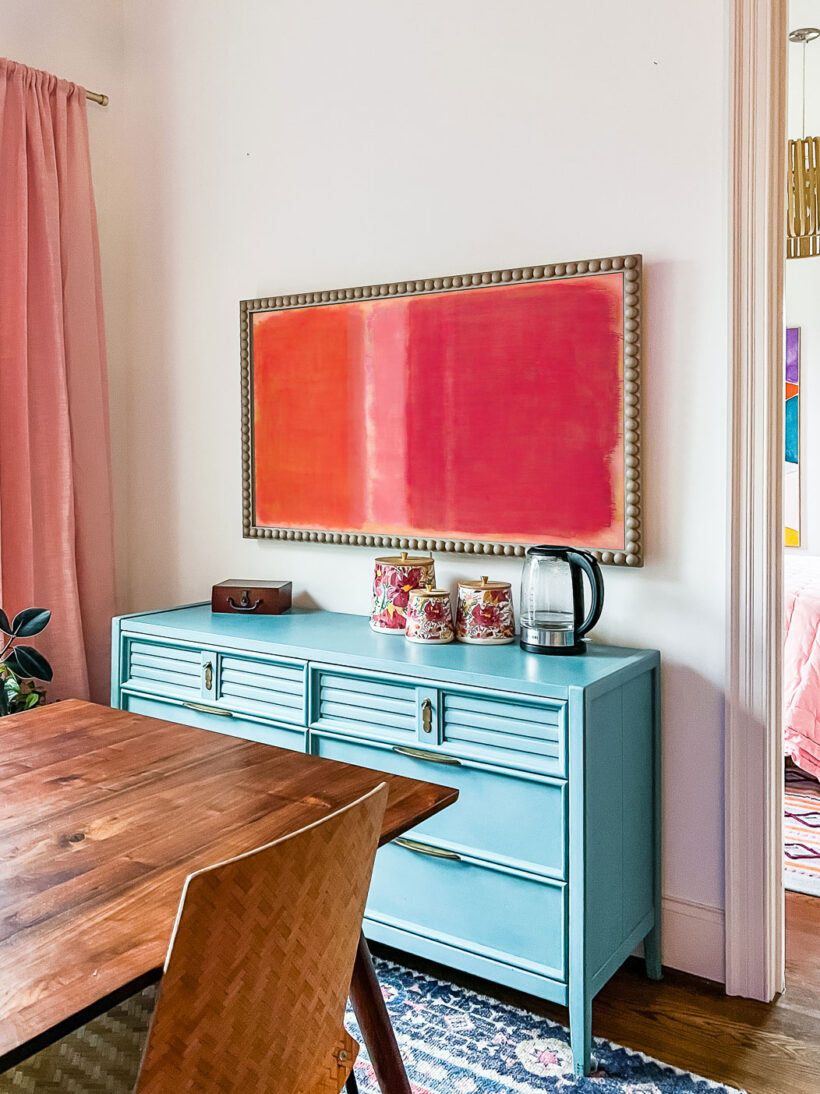
It cost us under $85 instead of hundreds of dollars. And I like it so much more than the frame we bought for the TV in our family room. See how much more substantial our DIY bobbin frame is than the Samsung Frame TV Bezel?
That's it! I hope you are feeling inspired to make your own DIY frame for your TV. If you do, I'd love for you to DM or tag me on Instagram (@tasha.kaleidoscope) so I can see how yours looks!
Wondering how I approach transforming rooms and spaces in our home? Check out Designer in a Binder®.

And if you want exclusive content and behind-the-scenes sneak peeks, be sure to subscribe before you head out!