How to Make Faux Oversized Poster Hangers
Wood poster hangers give your posters or art a more elevated look than just sticking them on the wall with tape or push pins. If you love the look of magnetic poster hangers but need one that is oversized or extra long, this is the easy solution you have been looking for. This beginner-friendly DIY project is an affordable and easy way to display everything from art to calendars. And you don't need any power tools!
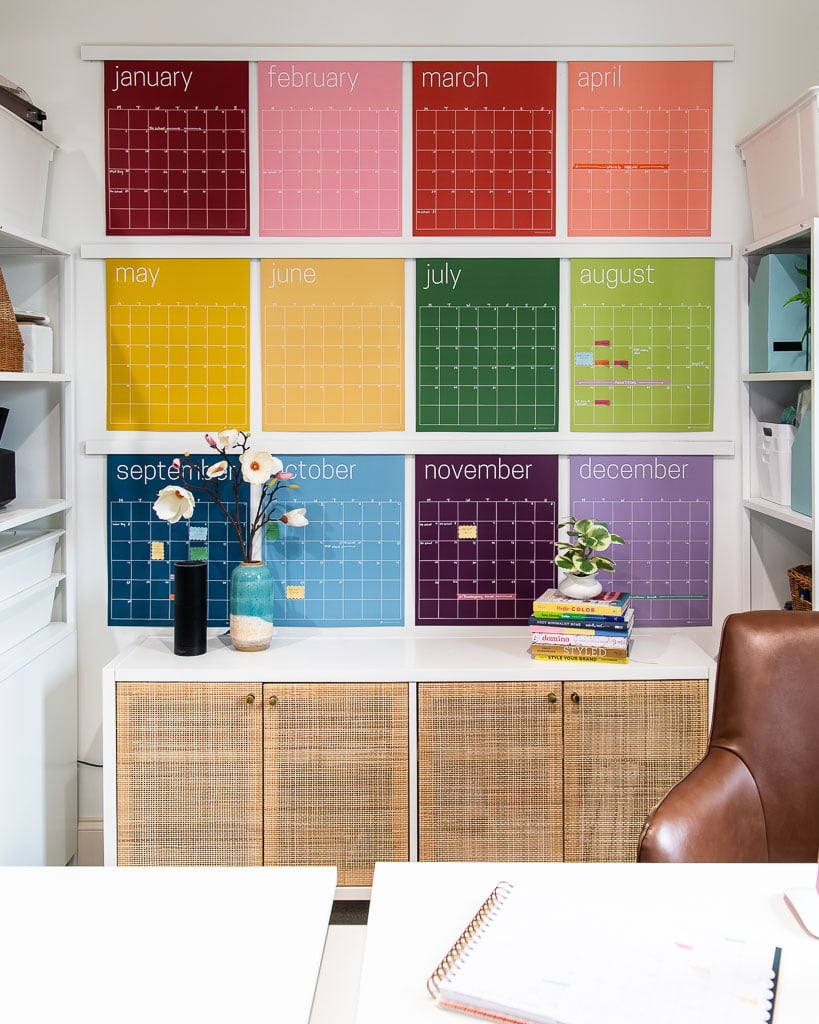
I love these magnetic poster holders for hanging posters and art prints. It's a more elevated and classy look than just slapping posters directly on the wall, which makes me think back to Teen Beat posters hanging on bedroom walls.
But when it came time to hang my large reusable wall calendar, I needed an option that was 6-feet long. I shopped around but couldn't find any longer than 4-feet. We made these DIY magnetic poster hangers a few years ago and they are GREAT, but a lot of people want the same look with far less effort. So I brainstormed ways to make getting this look easier for people and figured it out. I recently rehung my calendars using this “faux” method and it worked perfectly!
Materials Needed
- 1/4″ x 2″ lattice strips in whatever length you need. We purchased 8-foot lengths and cut them down to size. They are very inexpensive!
- Hand saw and miter box (or a compound miter saw if you have one)
- Sandpaper
- Paint or wood stain (optional)
- Command picture hanging strips (to hang the lattice strip)
- Command poster hanging strips (to hang your posters or art prints)
- NOTE: These are removable adhesive strips that should remove cleanly from compatible surfaces, but read the product limitations and instructions carefully!
- Level
How to Make Faux Poster Hangers
Video Overview
I highly recommend that you watch the short video overview of this project below before reading the instructions so that you have some context as you read the instructions. The video will play after a brief ad. It's less than 2 minutes long and will help, I promise!
Step-by-Step Tutorial
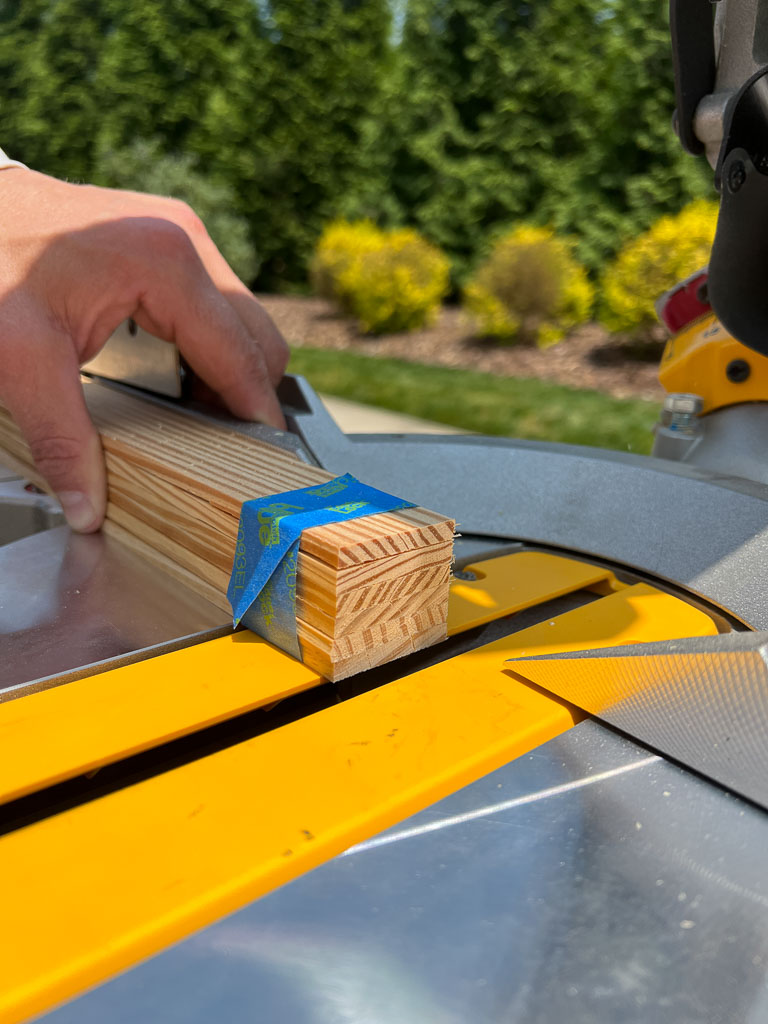
Step 1: Cut your lattice strips to length, if needed. If you don't have a compound miter saw, you can use a hand saw and miter box to cut your lattice strips OR have them cut them to length at the hardware store (yep, most Home Depot and Lowes stores have cutting stations for this purpose). We cut ours down to 6-feet with our compound miter saw.
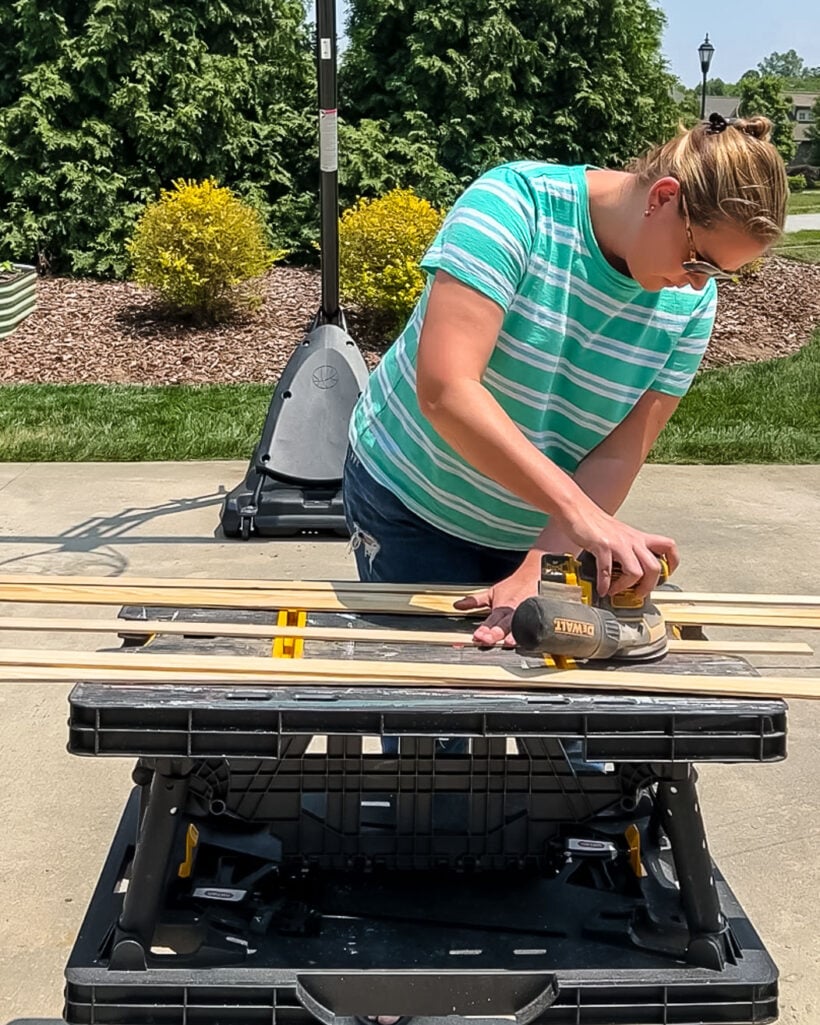
Step 2: Sand your lattice strips until they are smooth. This is really optional, but lattice strips are inexpensive for a reason–they can be pretty rough in spots. A quick sanding will make a big difference.
Step 3: Paint or stain your lattice strips. I only painted the front of our rails. Because I wanted my magnetic poster hangers to blend in with my wall, I used the exact same white paint that we used to paint the walls in my office–Pure White by Sherwin-Williams. But you can stain them or paint them any color you want!
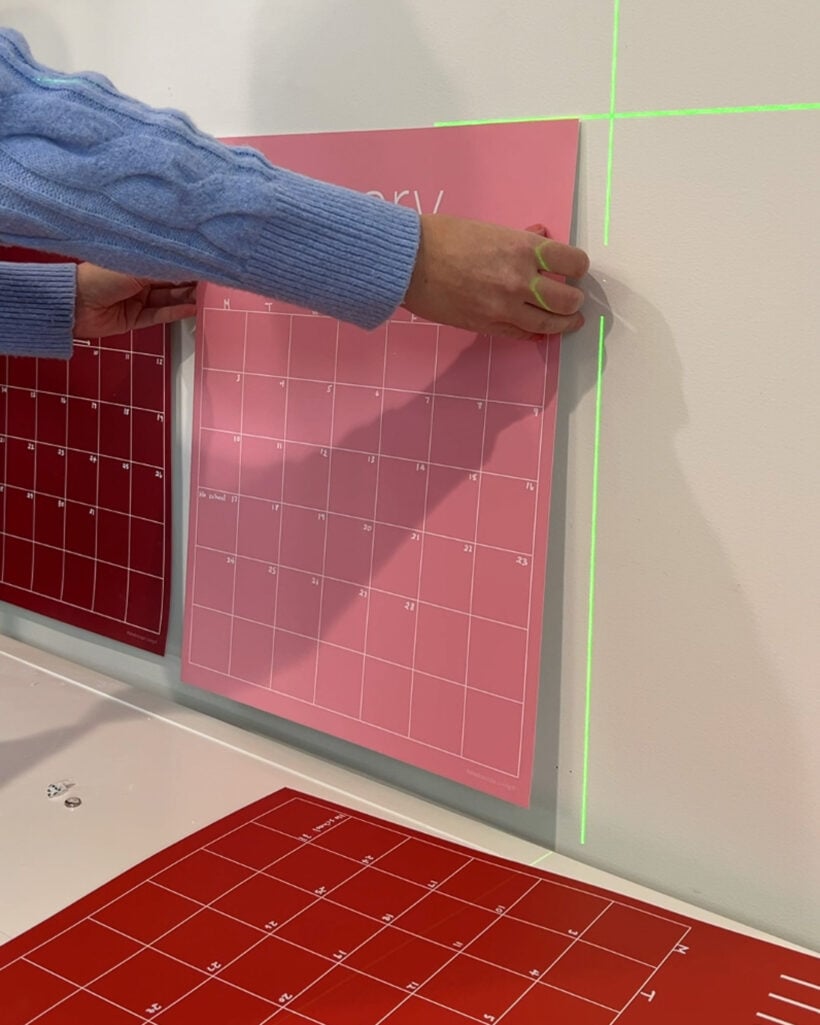
Step 4: Hang your posters, art prints or calendars using Command poster hanging strips if what you are hanging is compatible with the strips. We have smooth walls that were not freshly painted and they worked great for us.
If you watched the video above, you can see that I hung April in the wrong spot and had to remove it. I followed the instructions, and the poster hanging strips came off easily without damaging my wall OR my calendar. I was careful not to bend the calendar too much to get my hand behind it. The calendar paper is THICK so if you bend it too far, it will crease.
WORD OF CAUTION: I have noticed that a ton of people don't actually read or follow the instructions for Command strip products and wind up damaging things as a result. I have never once had a problem with a Command strip product and have used pretty much all of them at this point. And no, I have never been paid or sponsored by 3M, lol.
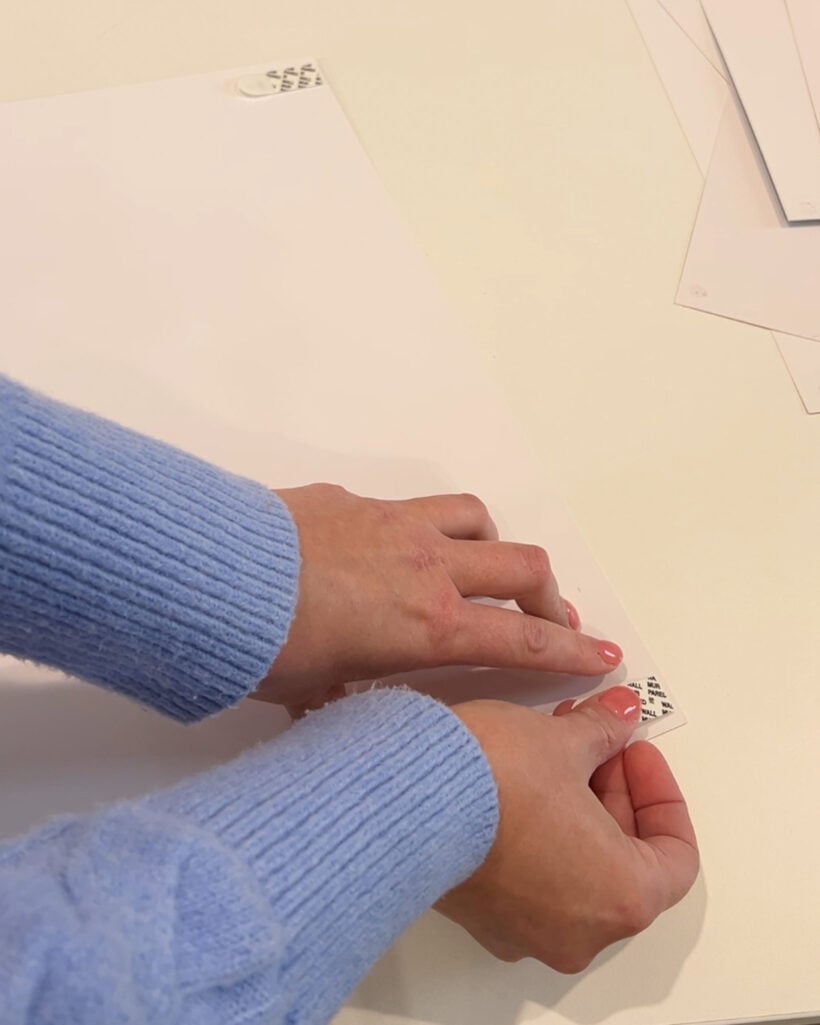
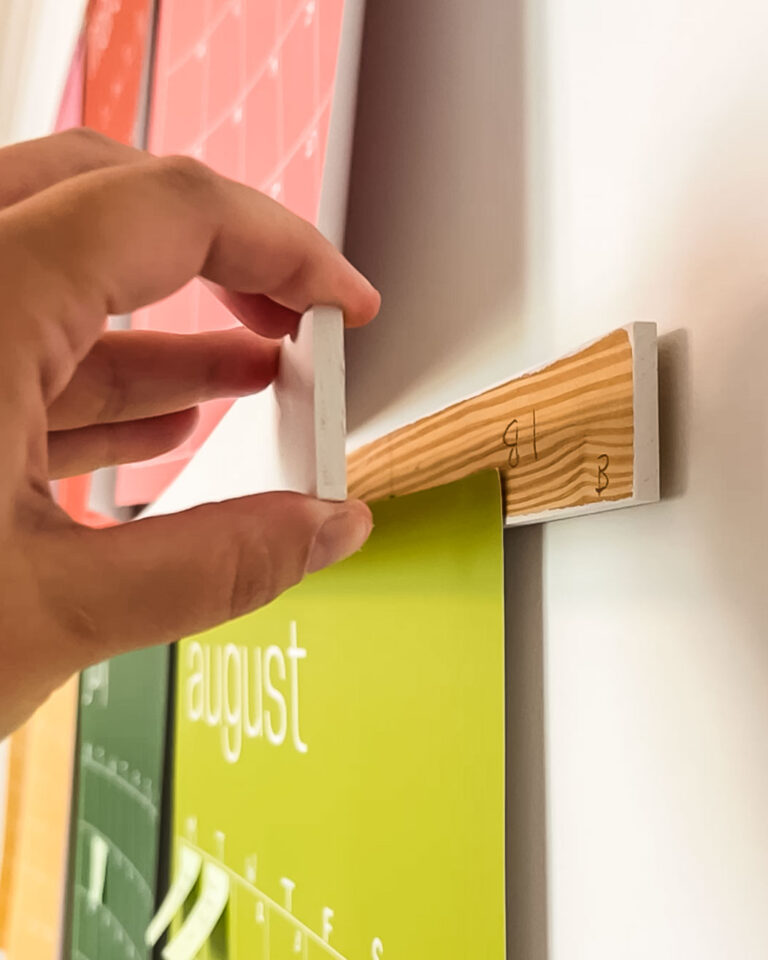
Step 5: Attach two Command picture hanging strips to each lattice strip–one at each end.
Note that these are different than the poster hanging strips, which wouldn’t be strong enough to hold the wood strips. I made sure that the long edge of each strip sat flush with up the top edge of the lattice strip. This is essential because you want to hang the strip directly on the wall just above your posters/art. Be careful to ensure that the strip adheres to the wall, not your posters/art/calendars! Watch the video if you have any questions about this step. And of course, use a level to ensure your strip is level when you attach it to your wall :)
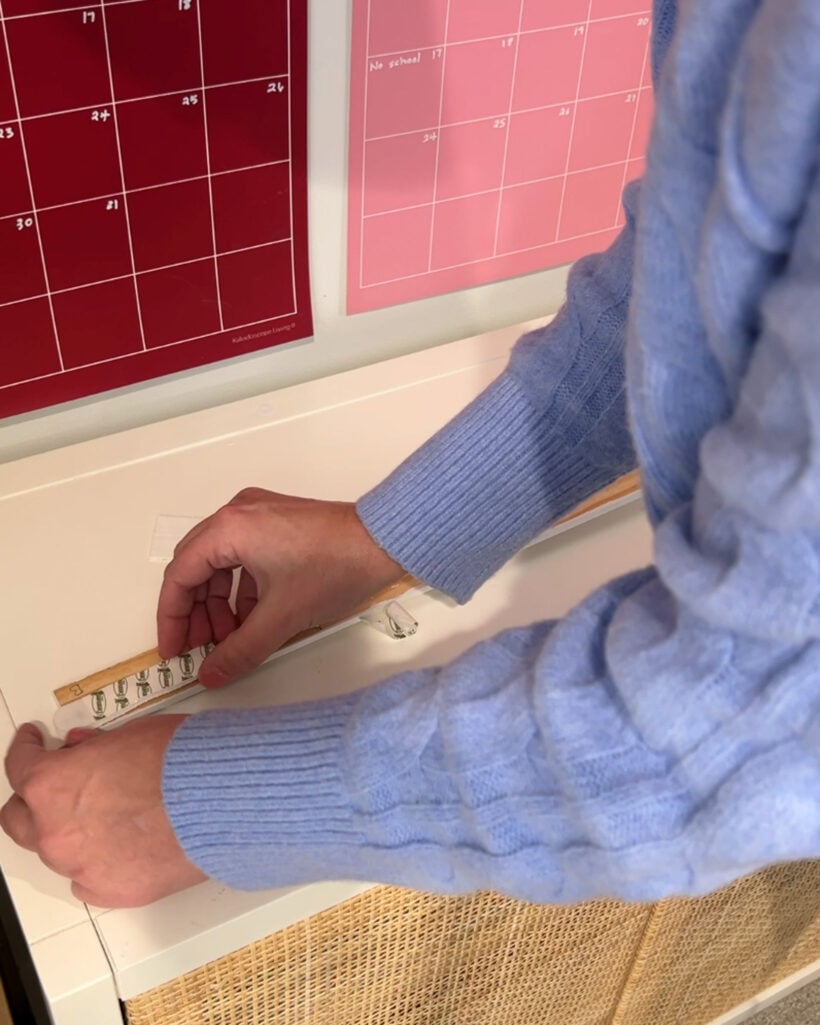
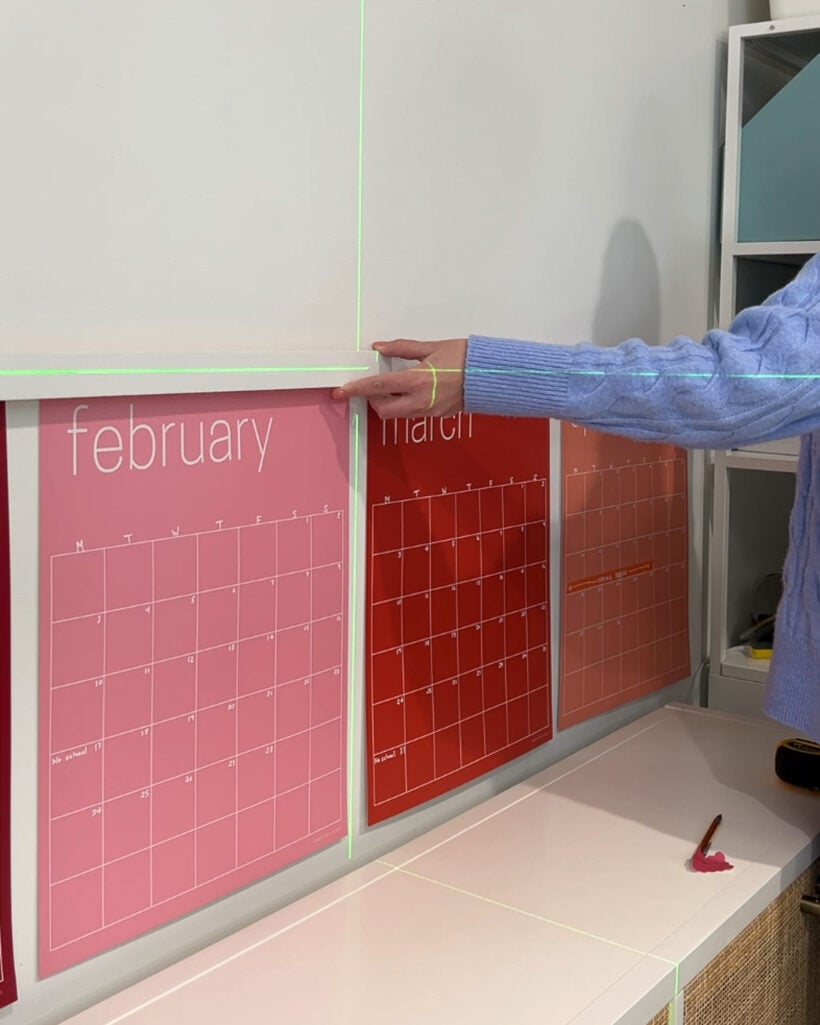
That's it! It looks like a custom magnetic poster hanger, but this method is much easier because you don't have to worry about counter-sinking a bunch of magnets in the wood lattice strips, which is tricky because the spacing and alignment have to be perfect. The only downside is that if you like to rearrange your posters, it's a bit more time-consuming because you have to remove them and use new poster hanging strips each time.
I like to rearrange my calendars a few times a year so that the upcoming months are at the bottom. It's just something to keep in mind! If you like being able to rearrange things more easily, you may find that making magnetic poster hangers is a better long-term option.
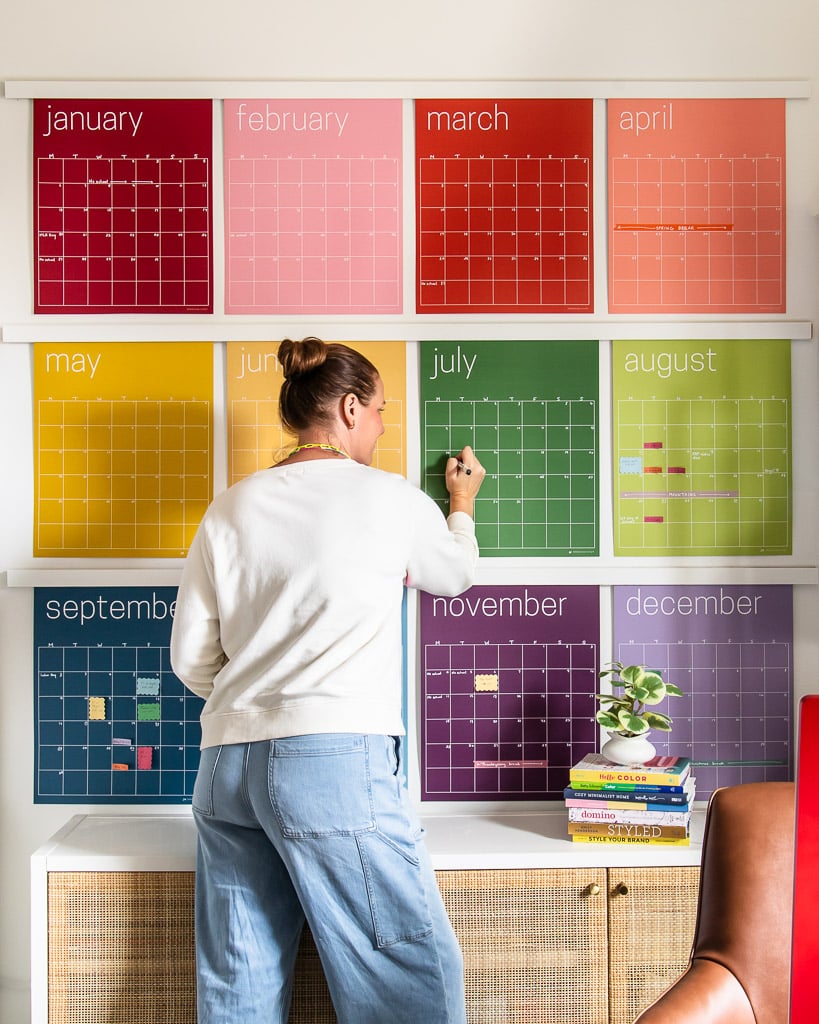
That's it! What do you think?!
Wondering how I approach transforming rooms and spaces in our home? Check out Designer in a Binder®.
And if you want exclusive content and behind-the-scenes sneak peeks, be sure to subscribe before you head out!


