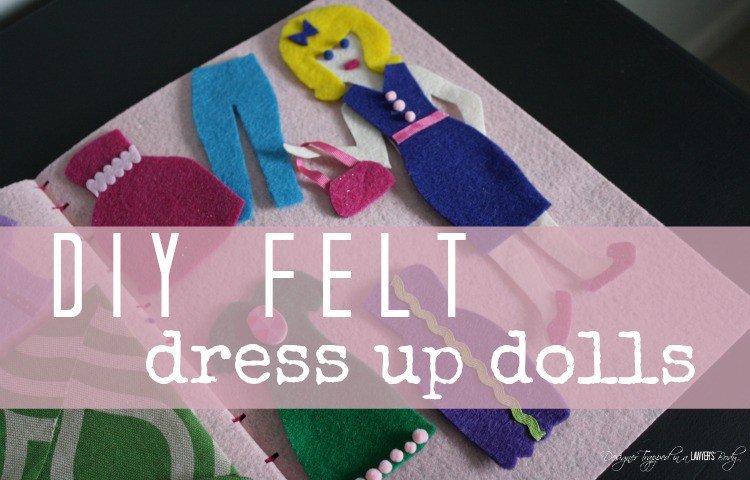
How to Make Felt Dress-Up Dolls
These DIY felt dress-up dolls are a fun, easy and inexpensive project that will absolutely delight any little girl in your life! You don't need any sewing skills or fancy tools.
Did you love playing with dress-up dolls when you were a little girl?
I did. I remember having the paper dolls with clothes that were attached with tabs (if you don't know what I am talking about, then you are MUCH younger than me). Well, I wanted to create some fun DIY dress-up dolls for my sweet girls, but I wanted to use something other than paper so that they would be more durable. So I decided to make them with felt. It was so fun and easy. Read on for the full tutorial.
This post contains affiliate links for your convenience. Click here for my full disclosure policy.
How to Make Felt Dress-Up Dolls: A Detailed Tutorial
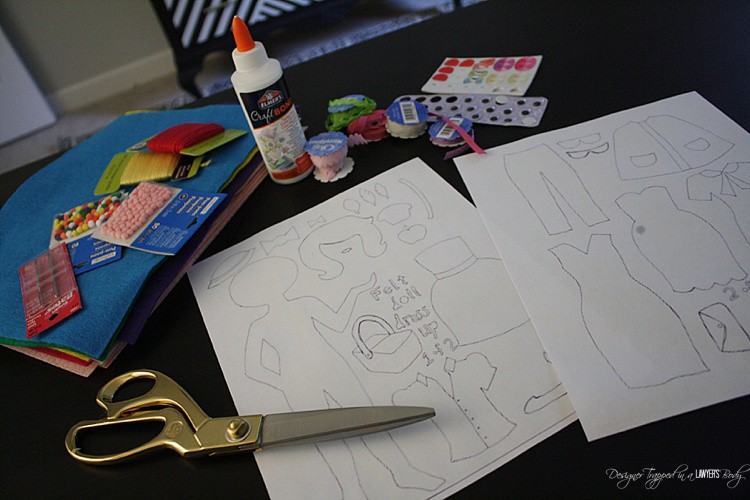
Materials Needed
- 2 pieces of Sticky Stiff Felt
 in a color of your choosing (these will make up the book covers)
 - 2 pieces of stiff felt in a color that will mimic whatever skin color you want for the doll bodies (I used a peach color)
- 5 or more sheets of regular felt in colors of your choosing (for clothing and accessories)
- 1 piece of felt in yellow, brown or black (for the doll's hair)
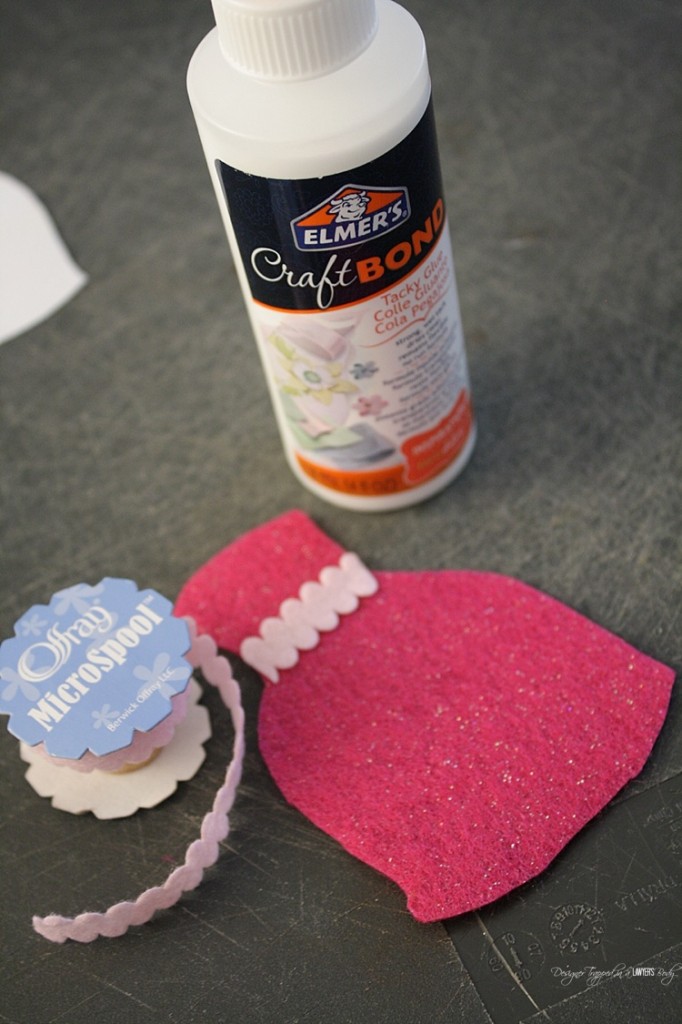
- Elmer's Craft Bond Fabric and Paper Glue
- Yarn and Yarn Knitting Needle
- Hole punch (I used aRectangle Hand Punch)
- Scrap fabric
- Ribbon, ric rac, Tiny Pom Pomsand other embellishments that you like
- Doll and clothing templates (I used the awesome templates I found at Smile and Wave)
- A ruler
- A marker
- Scissors and/or a cutting machine
Make your Doll and the Clothes
1) Cut out your doll templates.
2) Next, prepare your doll. First, cut out your doll body, using the stiff felt in whatever color you selected. Then, cut out your doll's hair, using regular felt in whatever color you choose. Since my girls are blonde, we chose blonde. Use your craft glue to glue it in place. You will also want to cut out small lips for your doll and use glue to secure them. Finally, glue small pom pom eyes onto your doll.
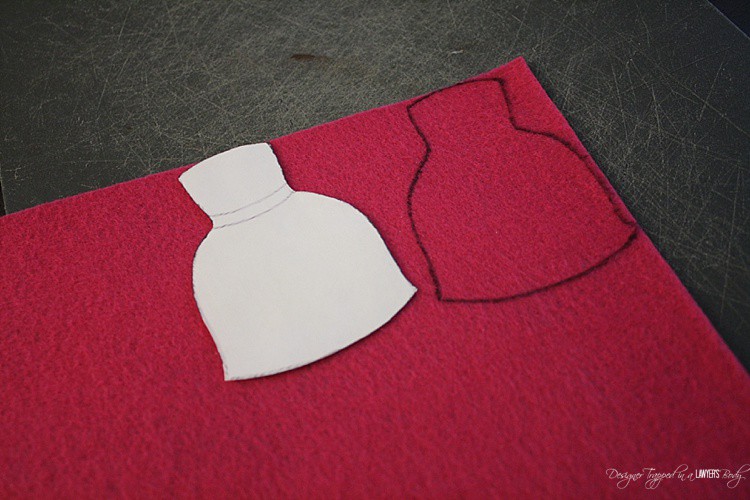
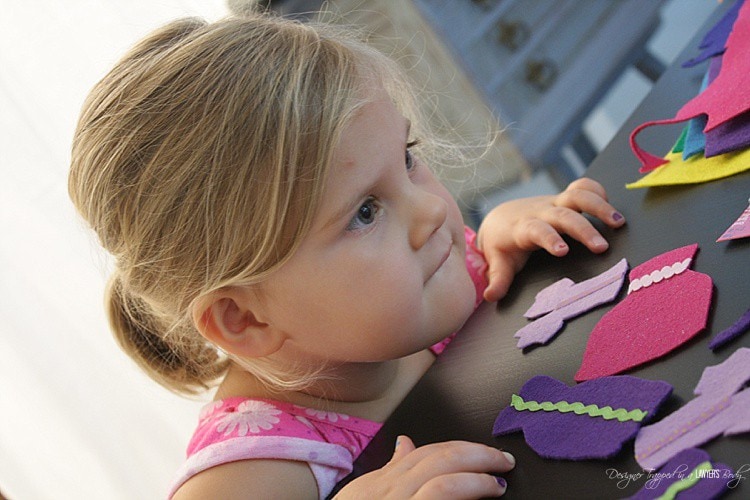
4) Cut out your clothes and accessories using regular, soft felt.
5) Glue embellishments onto your clothes. Be creative! There is no right or wrong here, people!
It helps if you have cute little assistants helping you every step of the way.
Make the “Book” for your Dress-Up Dolls:
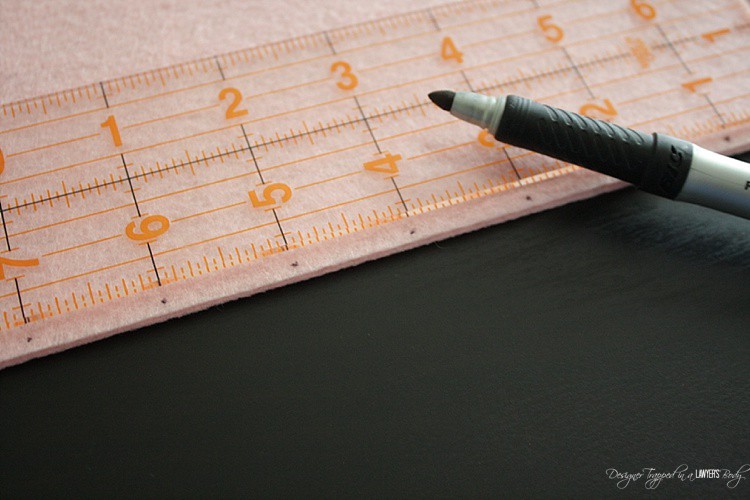
1) Grab two pieces of stiff felt, in whatever color you like. Use your ruler to mark 1-inch increments along the edge of both pieces of felt.
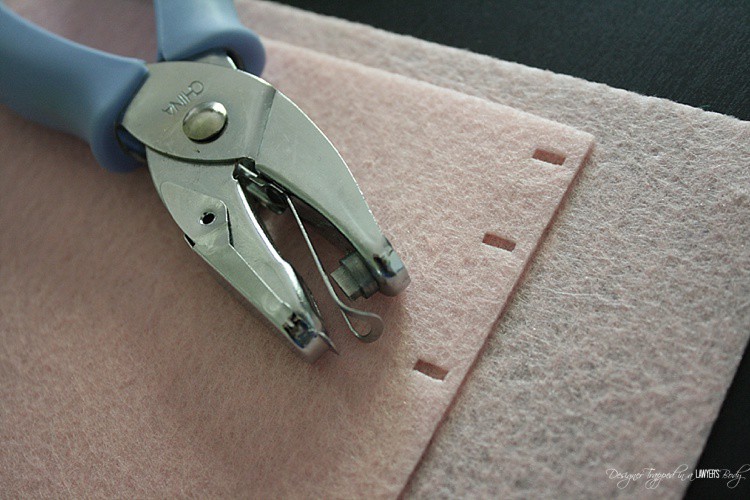
2) Now punch holes on each of the marks that you made.
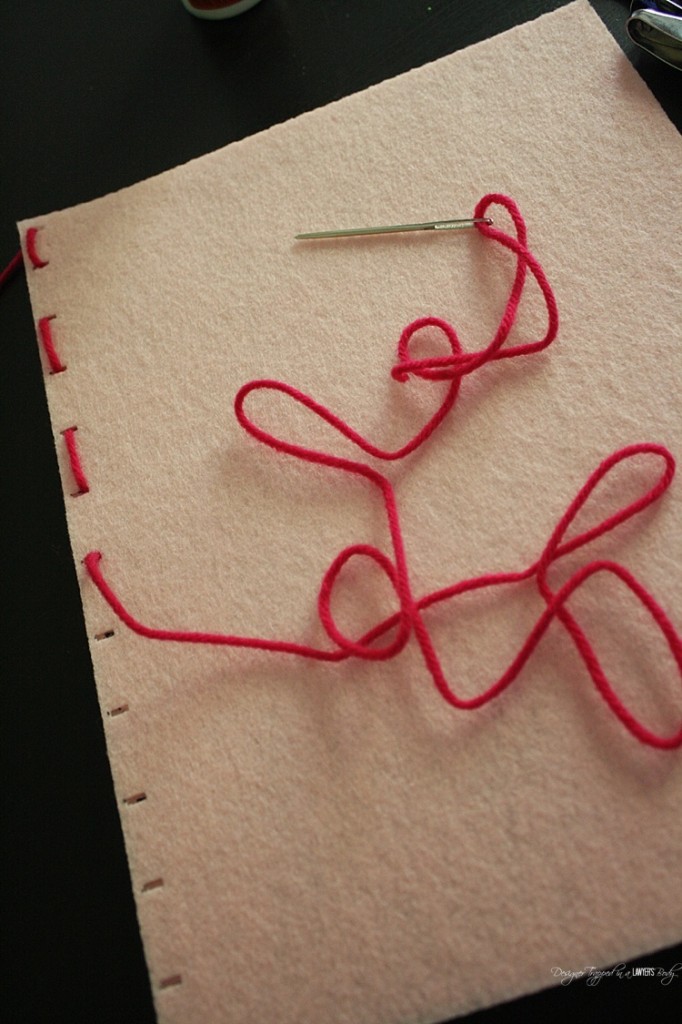
3) Now, thread your yarn through your yarn needle and stitch your book together.
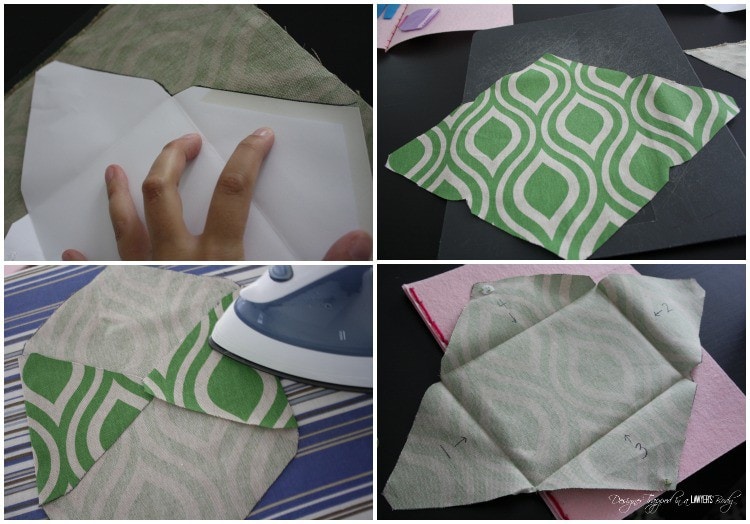
5) Next, you want to make an envelope to store the doll's clothes in when not in use. I used a paper envelope as my template–I traced it and cut it out using some leftover fabric I had from another project. Then I ironed the seams and sewed on little round velcro circles to keep the envelope closed. Next, I labeled the flaps by writing on them with a permanent marker so that my girls could follow the numbers to fold the envelop back all by themselves. It works like a charm! Finally, I used my craft glue to attach it to the inside of the “book.”
Add your child's name to the “book” cover
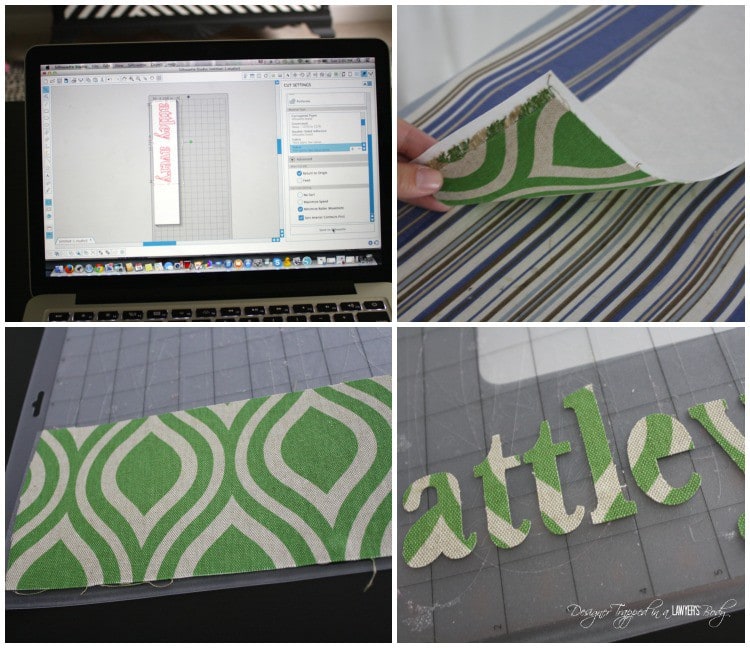
1) This is totally optional! I used my Silhouette CAMEO to cut out my girls' names so that I could customize the outside of their books. Trust me, with twins, it is sometimes important for them to feel like certain things belong to them. I started by ironing my Silhouette Clean Cut Fabric Interfacing![]() to the back of my fabric.
to the back of my fabric.
2) Next, I used my Silhouette Fabric Blade![]() and my Silhouette Studio software to cut out my girls' names.
and my Silhouette Studio software to cut out my girls' names.
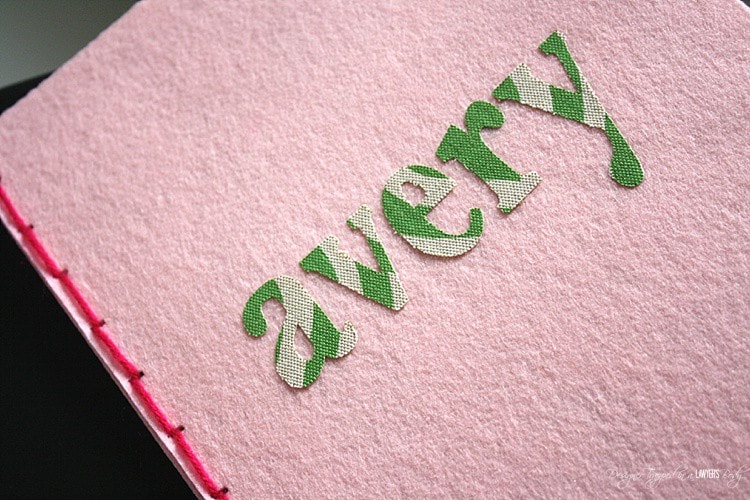
3) Finally, I used my craft glue to glue the letters of their name onto the front of the “books.”
That's it! Check out the final product. Talk about the PERFECT Christmas or Hanukkah gift for a little girl!
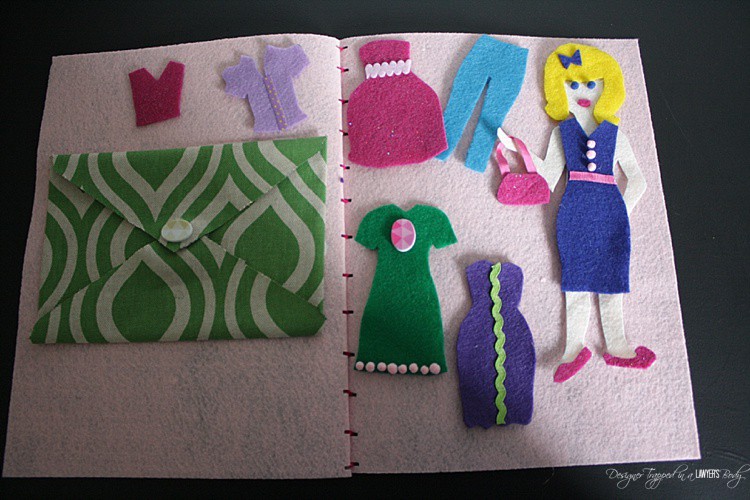

My girls LOVE playing with their dress-up doll sets so much. My girls have already logged loads of hours on these, and they are holding up great. Attley and Avery make up elaborate stories about what their dolls are doing. For example, they often make their doll come home from work, whereupon she quickly changes into her pajamas. I have NO IDEA where they have observed that behavior, lol.
Think this is a great idea? I would love for you to share it on Pinterest or Facebook?
More IDEAS FOR KIDS' SPACES
Wondering how I approach transforming rooms and spaces in our home? Check out Designer in a Binder®.

And if you want exclusive content and behind-the-scenes sneak peeks, be sure to subscribe before you head out!

Last Updated on March 3, 2022
I don’t see the pattern you used to make the clothes and the doll. Did you include it in the post?
Hi Kim! I used a pattern from another blogger. There is a link to her blog in the post. Hope that helps!
SO. CUTE. I had paper dolls when I was younger too and remember having so much fun with them. This is a great durable version!
Oh, these are adorable, Tasha! I used to play with paper dolls when I was little but these look like so much more fun. I love the little books to keep everything organized. So cute!
Thanks so much, Sarah! I LOVE how they turned out and my girls adore them!
These are really cute, Tasha! I bet your girls loved helping you make them, and love playing with them even more!
Thank you! They did have fun when we were making the, Bre! But they definitely prefer playing with them now that they are done :)
No judgement here about wearing pajamas… I do the same thing!!!
Yay, Ange! Glad I am not the only one!