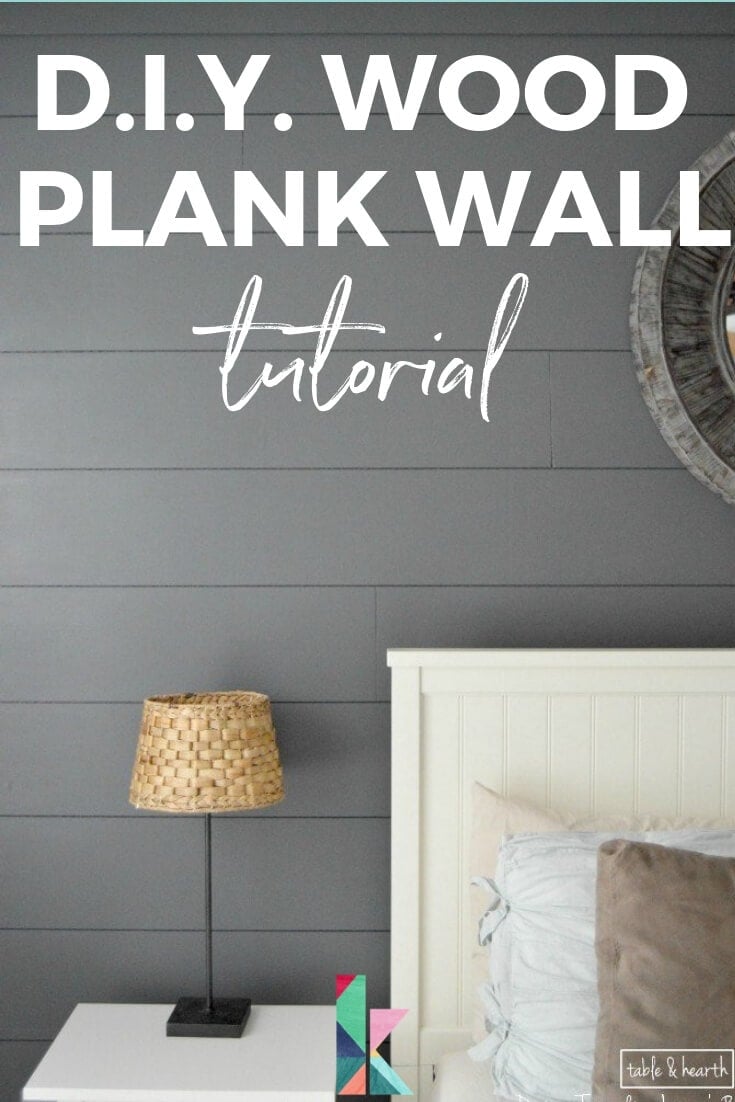
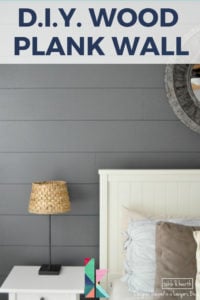
DIY Wood Plank Wall
Love the look of a plank wall? This DIY wood plank wall is so much easier and affordable than you would believe. Add a statement wall to your living room, bedroom, or bathroom in a weekend!
This is my first time here, so I must confess something to you. My name is Emily, I blog over at Table and Hearth….aaaand I'm addicted to plank walls. It's a problem. I hope you understand. But don't worry, I am going to share the addiction love and teach you how to make a DIY wood plank wall.

Wood plank walls are timeless, they're rustic, they're farmhouse (but plank walls can also be modern!), they're the perfect way to add a little interest to a boring wall, aaaand they're really easy to do! I've had this obsession with them for years but it finally got to the point where I HAD to do one in my own home, just had to. I blame it on Joanna Gaines.
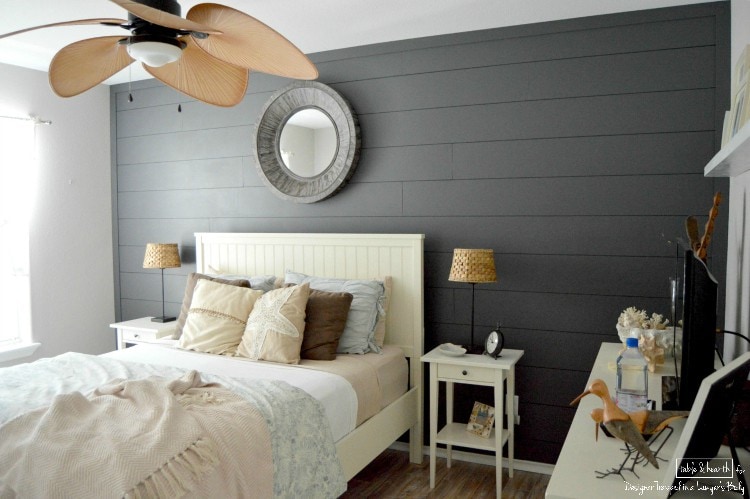
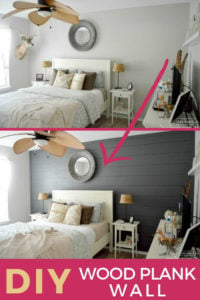
Our guest room has come a long way since we moved in five years ago but it still was lacking some ooomph (and not in the form of deer mounts, crazy, I know). Our coastal, weathered, and neutral style is inspired by the beach a couple miles down the road, but the room needed some contrast and depth, something to make it pop. A plank wall was just the ticket!

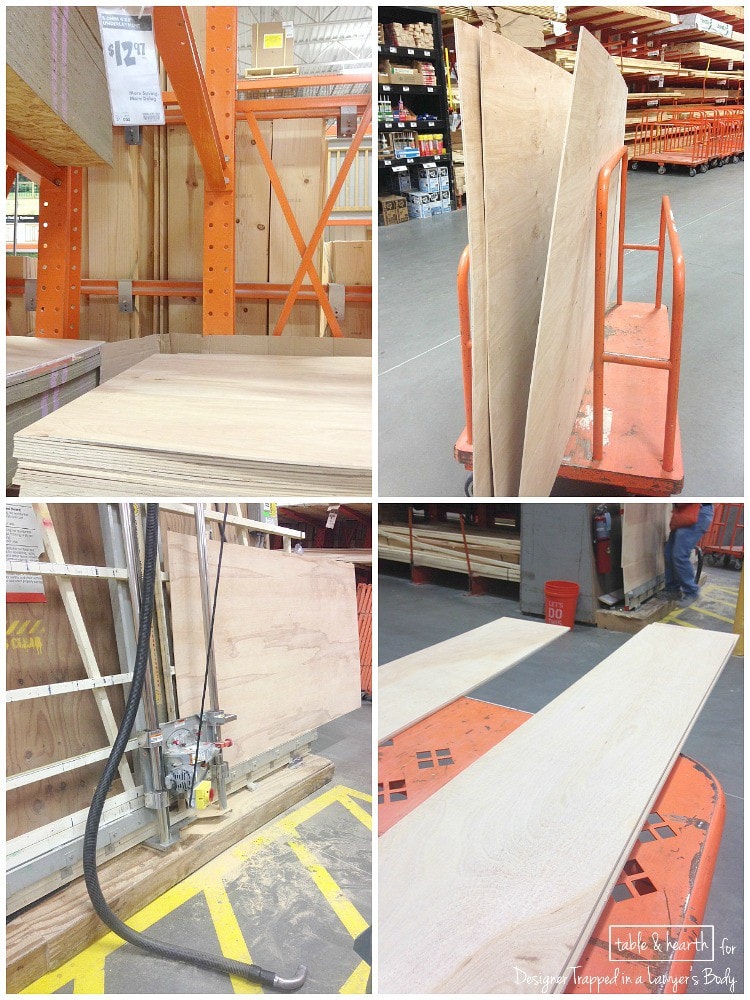
There are a number of materials you can use to achieve a plank wall; real wood planks themselves or ripped-down panels of wood, hardboard, or plywood. I wanted the classic wood look, in wide planks, but couldn't afford planks that were already cut, plus, I REALLY didn't want to have to remove and reinstall our baseboards so I needed something that was 1/4″ thick or less. So for us, 1/4″ plywood underlayment was the ticket, especially since the panels are only $13 a piece! I had the store rip them down into 8″ wide planks for just a teeny cutting fee. I like my plank walls with nice ‘n wide planks, but you can make them whatever width you want of course.
This post contains some affiliate links. Click here to read my full disclosure policy.
Supplies for DIY Wood Plank Wall
- (5) 4'x8'x1/4″ plywood underlayment, ripped down to 8″ planks*
- Sander with medium grit paper
- Stud finder
- Nail gun with brad nails (you could hammer these too but geez, it'll take a while)
- Paintable spackle/wood filler
- Table saw or jigsaw (we used a small handheld jigsaw because that's all we had)
- Primer
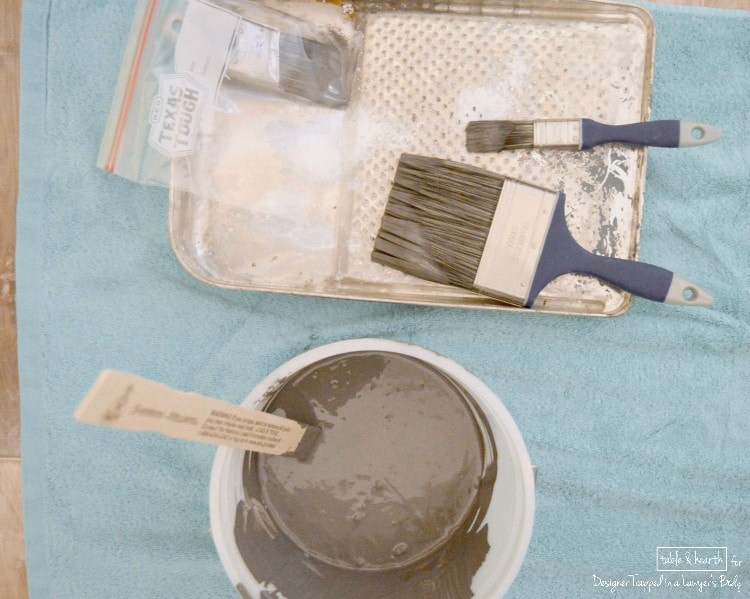
- Paint (I used Sherwin-Williams “Peppercorn”)
- Coins as spacers
- Painting supplies (tarp, pencils, squares, etc.)
DIY Wood Plank Wall Tutorial
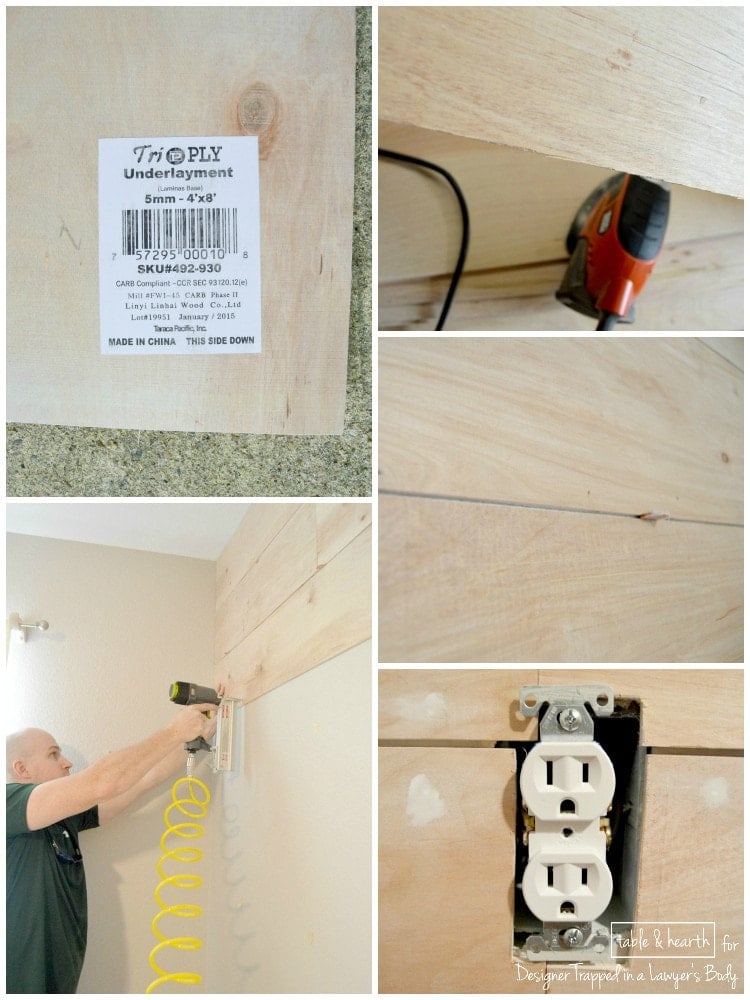
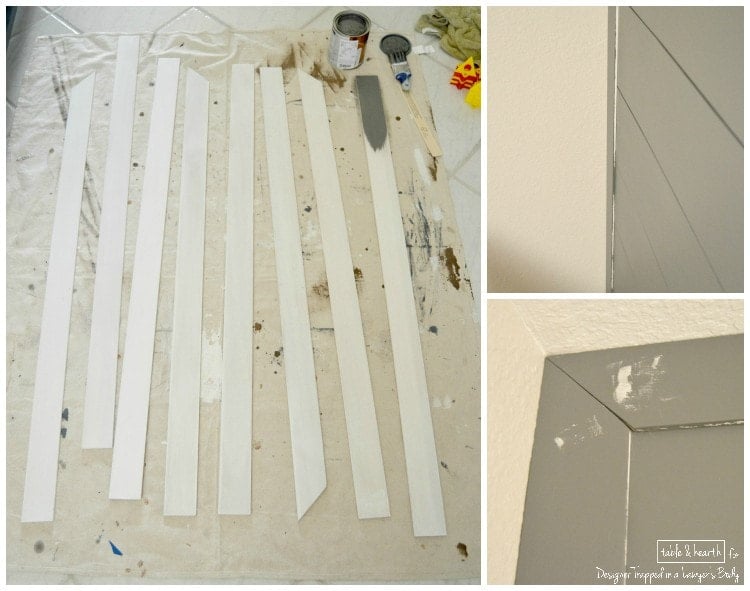
This underlayment is super smooth so all the planks needed was a quick sanding on the edges from being cut and we were ready to roll. I marked our studs, fired up our nail gun (Shooter McGavin as he is called), taped few pennies for spacers (two thick), leveled up the first board at the ceiling, then had the hubby start nailin' them up (don't be a cool guy like him, wear safety glasses on your face, not your neck). We staggered our planks randomly, trying to use as many whole-length boards as we could. We marked where we needed to cut the smaller pieces, cut them outside, sanded the edge, then nailed it up.
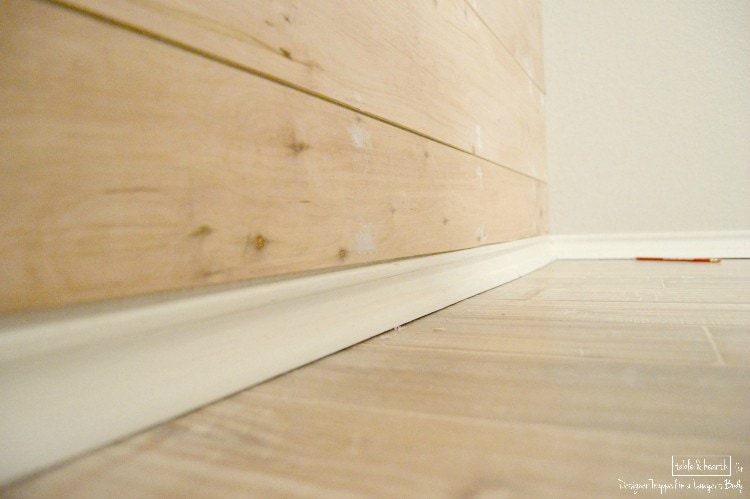
*A friendly heads up: having the panels ripped down into 8″ sections will make the last panel slightly less than 8″ wide due to the width of the saw during the cuts. These are fine for the bottom row, make sure you don't accidentally use one anywhere else on the wall (ahem, like we almost did). If you have a table saw, you can easily rip those shorter planks down to whatever width you need them to be for the bottom row, but we don't have one, and that would be a daunting task with our handheld jigsaw, so I bought another whole panel and had the store rip a couple planks down to the 5.75″ I needed.
I knew our baseboards would be wonky, but this room was baaaad. The last planks are completely flush at the ends of the wall but in the middle it's about 1/2 short. I didn't fill it or anything, it's really not that noticeable from standing and luckily that is where the bed goes :) Just annoying.
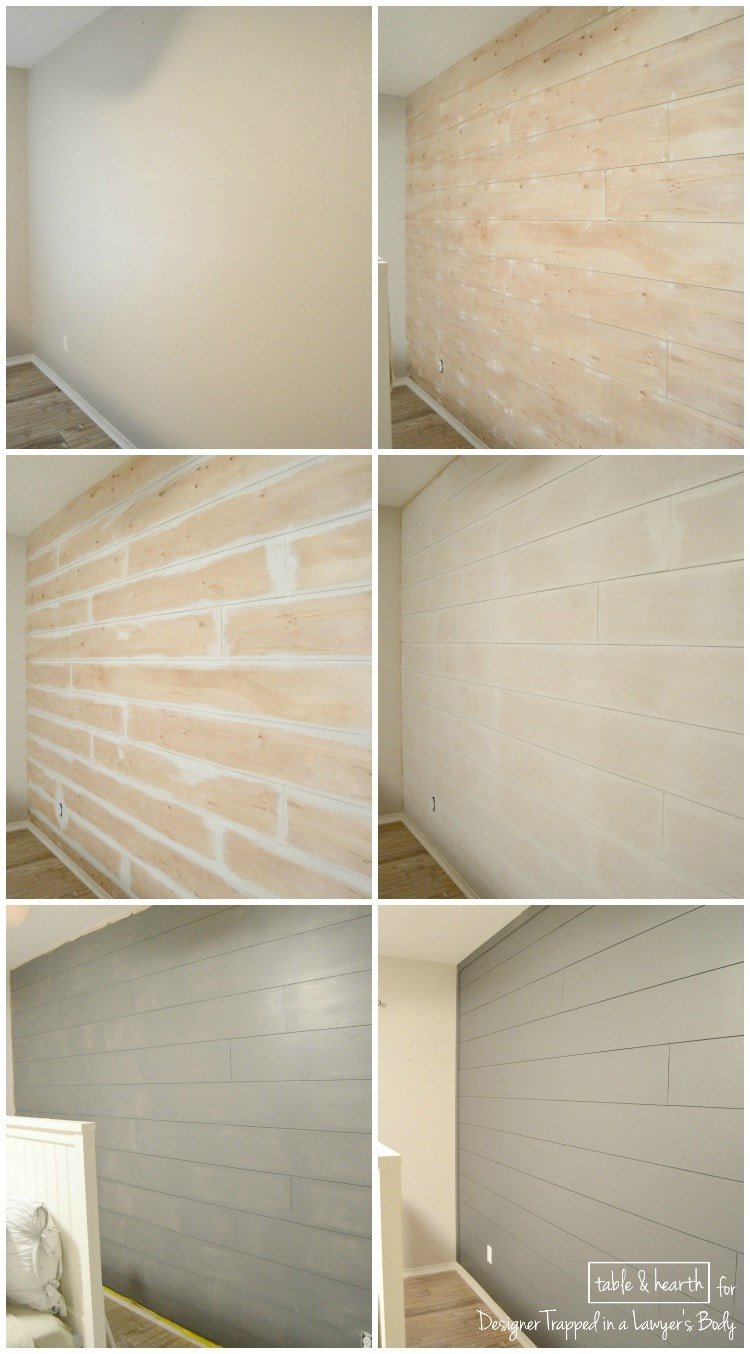
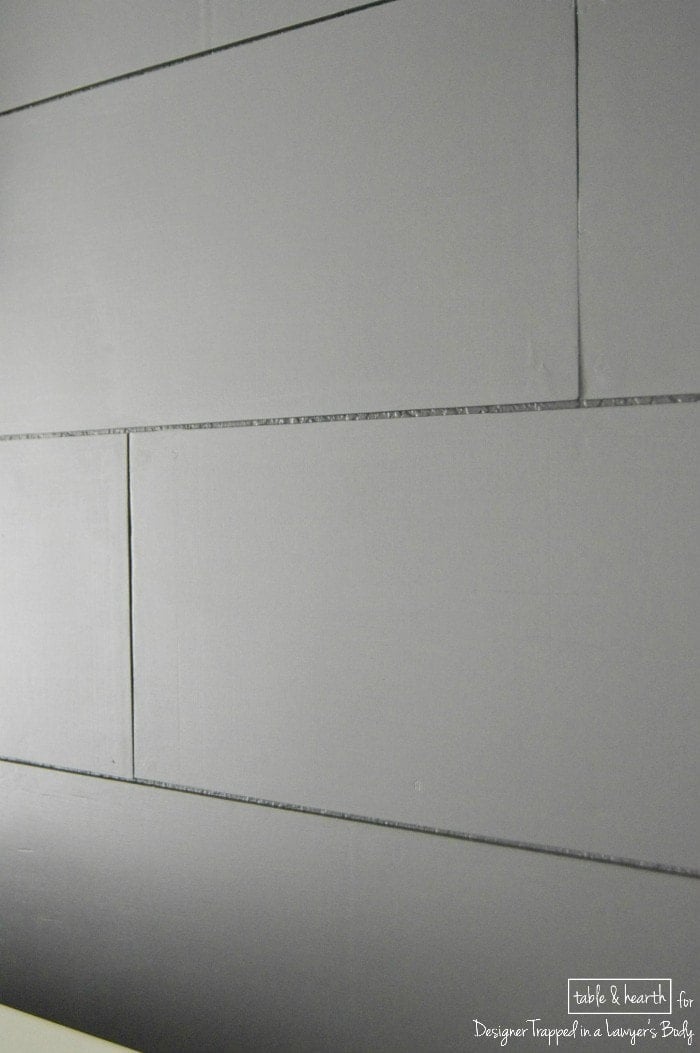
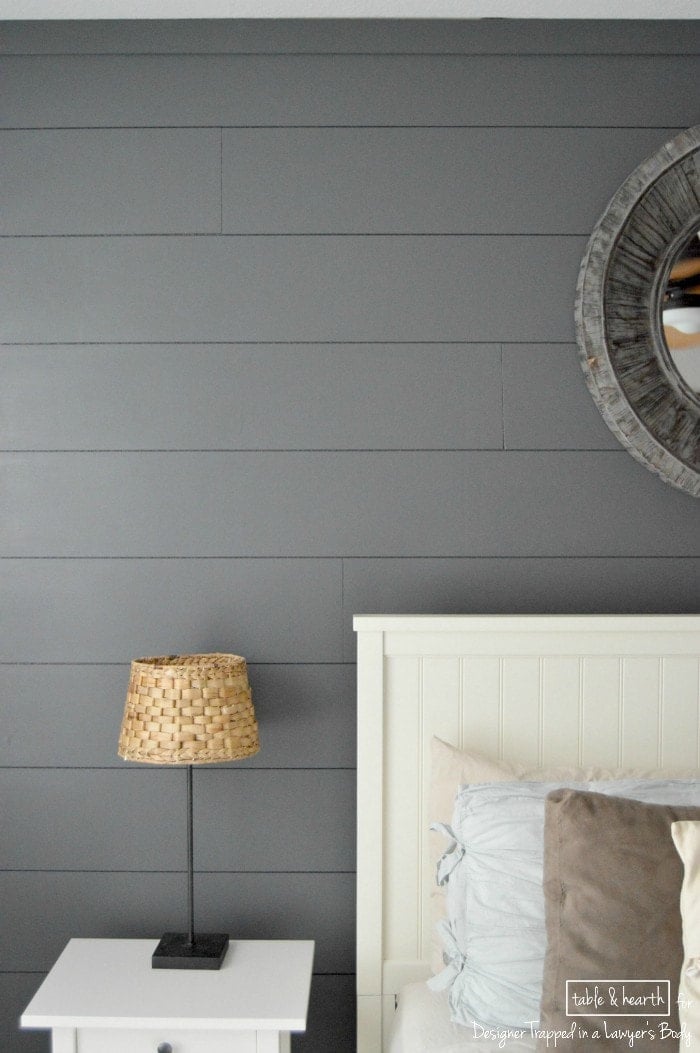
It only took us a few hours to get the boards up, then I started spackling, sanding, and priming. I only filled in the nail holes, not the knots or the seams between, because I wanted it to still have the rough, wood-ish features showing through. I did one coat of primer and two coats of paint.
I used three different sizes of brushes for this project; a stubby 2″ for edges (LOVE this brush), a longer 1″ for getting into the gaps, and a wide 4″ for doing the planks. I used a brush instead of a roller because I wanted a classic, traditional finish and with all the gaps I was using a brush for most of it anyway. Oh, and that little paintbrush-in-a-plastic-baggie is by far one of the best painting tricks I've learned. No washing brushes after every coat, or after every day. Bag 'em up and there will be no drying out and you'll be ready to rock ‘n roll the next day!
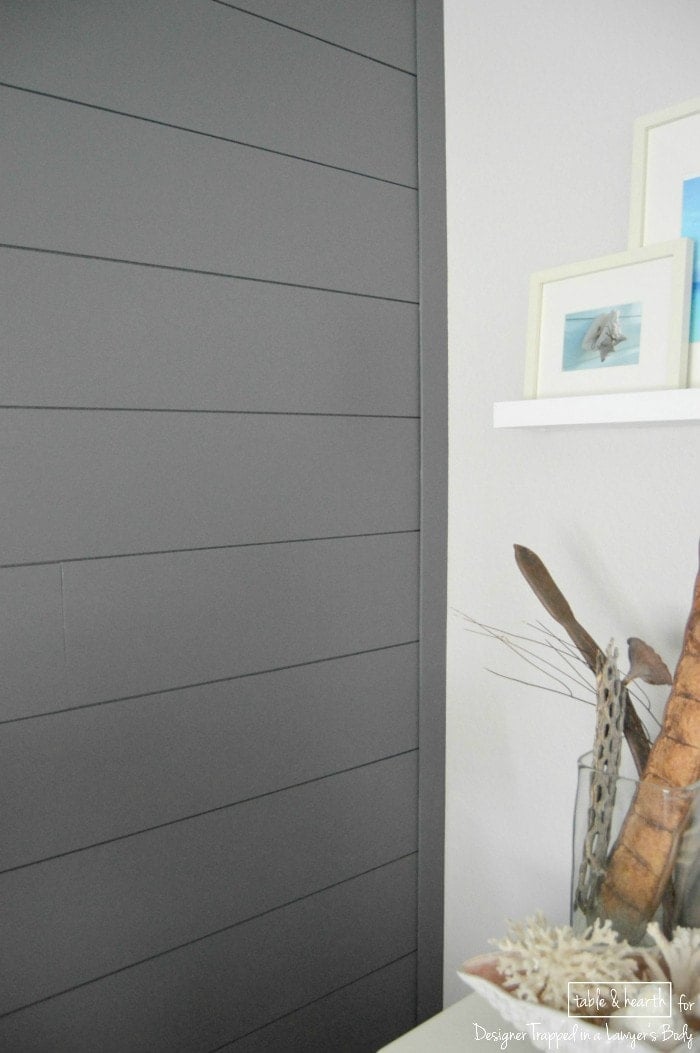
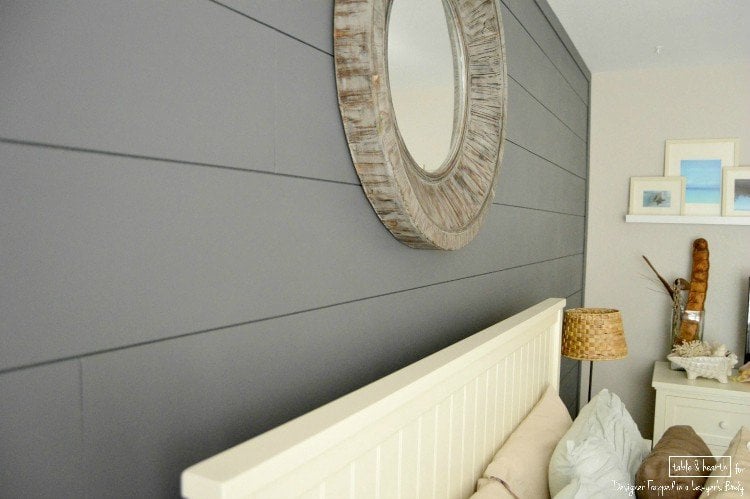
You also may have noticed that I didn't paint the edges on the new plank wall. I knew I'd be trimming it out with some of the battens I had left over from my wainscoting project so I didn't bother. I pre-painted them before installing, so I wouldn't have any cutting in to do except to paint over their spackled nail holes and exposed inner edge. I added these to the top and sides of the wall (not the bottom because they'd stick out over the baseboards) and it instantly made the wall polished and complete!
I was a bit concerned if our textured walls would show through the cracks or not, but you really can't tell unless you get up close and look. But, if you do that, you will not be staying in this room :)
I am in love with how much more drama and interest this simple DIY has brought to our room and how it makes it feel even more beach cottagey. I love the seams, love the color, love the still-wood-feel finish, and love how easy it was to do :)


I hope I've gotten you guys equally obsessed with planking every.single.wall in your home too! For well under $100 and one weekend, I'd say this is a pretty great update to a room! I'm really contemplating moving in here, sorry guests.
Other posts you may enjoy:
- The Easiest DIY Board and Batten Accent Wall
- DIY Herringbone Plank Wall (from an old fence)
- Modern Plank Wall Tutorial
- 8 Interior Design Mistakes You Don’t Even Know You are Making (and How to Fix Them)
- How to Choose Paint Colors for Your Home: 6 Simple Tips to Follow
- Sherwin-Williams Pure White Color Review with Pictures
Wondering how I approach transforming rooms and spaces in our home? Check out Designer in a Binder®.

And if you want exclusive content and behind-the-scenes sneak peeks, be sure to subscribe before you head out!

Last Updated on June 5, 2022
Hey Emily
We followed this tutorial almost exactly and had great results. Turns out that Lowes doesn’t like to cut wood for you, but if you tell them that Home Depot will do it, they will cave. :)
We trimmed it a tad differently and had to account for a fireplace, but the end result is magnificent. Thank you for putting this together. The total cost of our wall was $150.
Pic: http://imgur.com/a/kBDI8
Just wanted to say thanks for writing this up. Excellently done.
This is gorgeous! I wish more people shared their results. Glad it worked out so well and thanks for reading!
Awesome job Burke!! Thanks so much for sharing the pic!
I love this wall and want to do this in our mater bedroom! I’m new to working with cutting wood pieces. I’m confused on the 8 inch pieces you are referring to. Help?
Thank you!
Sabrina
I am not sure what you are referring too? All the pieces are 28 inches long.
The boards we used were ripped horizontally into 8″ planks. You can see how the saw was set up for them to cut the board in the store picture in the post. Hope this helps :)
I love this Emily! I do have a question. I am wanting to do this but also put shelves up on the wall. Would this be feasible as long as I screw into the studs?
Yes, hanging shelves should be no problem if you drill directly into the studs :)
Yup, no problem at all going into the studs! The planks are only 1/4″ thick so screws will still go into the studs just fine.
Love, doing peppercorn as our accent wall. What was the lighter color you use on the side walks?
Hi Rachel! Do you mean the side walls? If so, that color is Babbling Brook by Olympic. I hope that helps!
Rachel, the other walls in our room are Sherwin-Williams’ “Alpaca” :)
Love love LOVE!! That color is fantastic. We’re doing this in our bedroom tomorrow and I’m so excited!! One question– what is it that you used for the very top and sides? Is that molding?
Awesome Whitney!!! I’d love to see pictures when y’all are done! The top and sides are 3″x1/4″x48″ poplar battens which I had leftover from a wainscoting project I did.
Love the planked wall! Great color too!
I’m in love with that color Sherry :) Thanks!!
This is a great project and looks awesome! Thanks for sharing.
Thanks so much!
WOW. Emily, this wall is fabulous! Your entire bedroom is gorgeous and the plank wall is perfect (even with this teeny tiny gaps). I would love for you to share this at my link party! Have a great day ~ Trish
Thanks so much Trish!!! We love it!!
Emily, you knocked it out of the park with this one! Love it!
Thanks so much Roxanne :)
Oh my goodness Emily! It’s PERFECT!!! I love how your framed it out with baseboards! I’ve been dying to try a painted plank wall like this in our kitchen/ dining room – will definitely be pinning this tutorial for later girl! Have a great weekend!!!
I struggled with painting it dark or sticking with white, I do love me white planked walls, but completely fell in love with “Peppercorn” back when I saw Sarah at Thrifty Decor Chick use it on her built ins and just couldn’t get it out of my head, especially since there’s so much white in this room already. There WILL be a white plank wall someday though, trust me :)