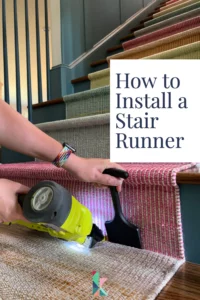
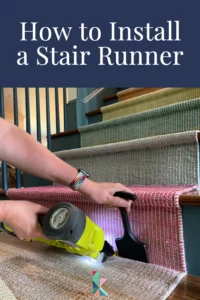
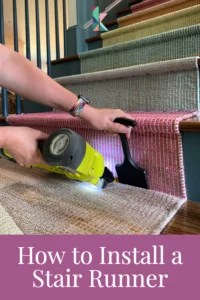
How to Install a Stair Runner: A Step-by-Step Tutorial
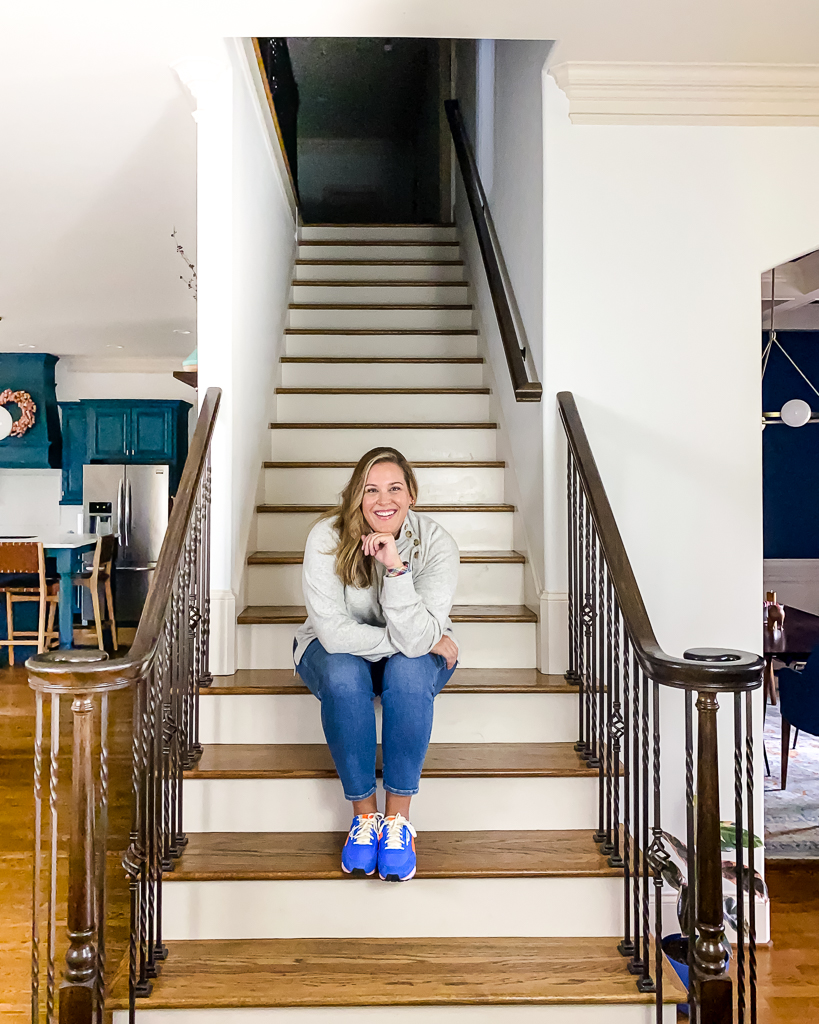
Believe it or not, installing a stair runner is an easy project that most homeowners can complete with just a few tools. I'm very excited to share this tutorial with you because this DIY stair runner installation was so much easier than I expected it to be. And it makes a HUGE impact on our formerly boring stairs. Learn exactly how to install a stair runner yourself with this step-by-step tutorial.

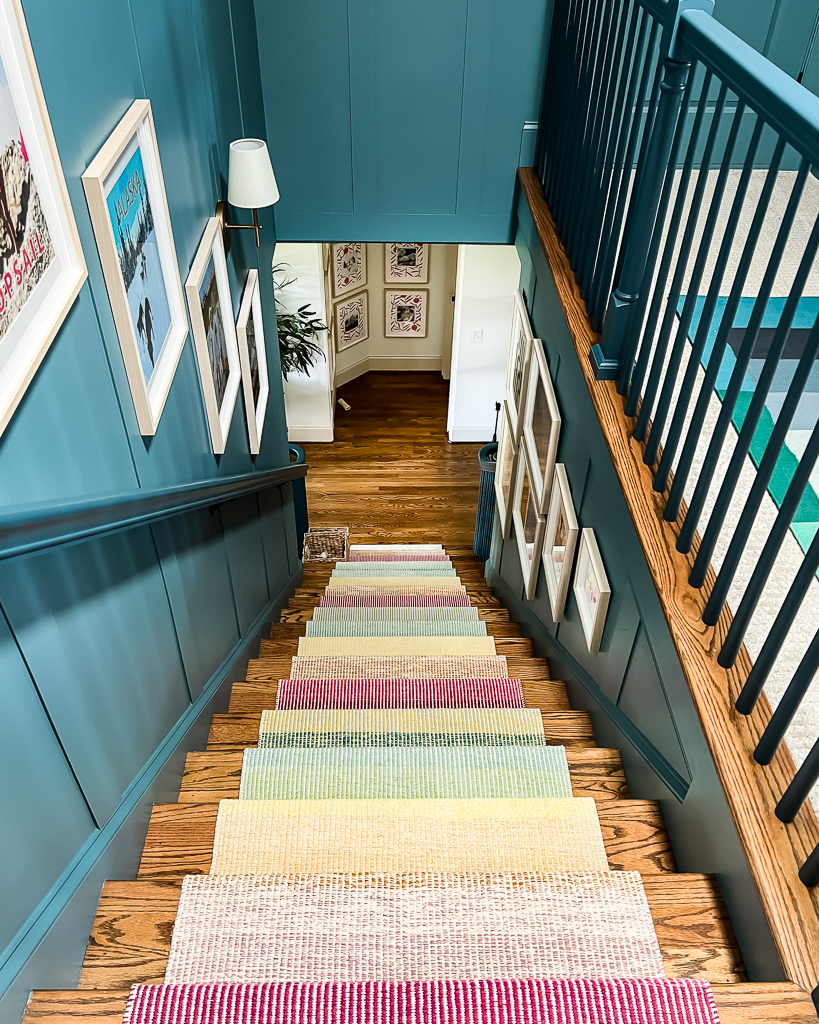
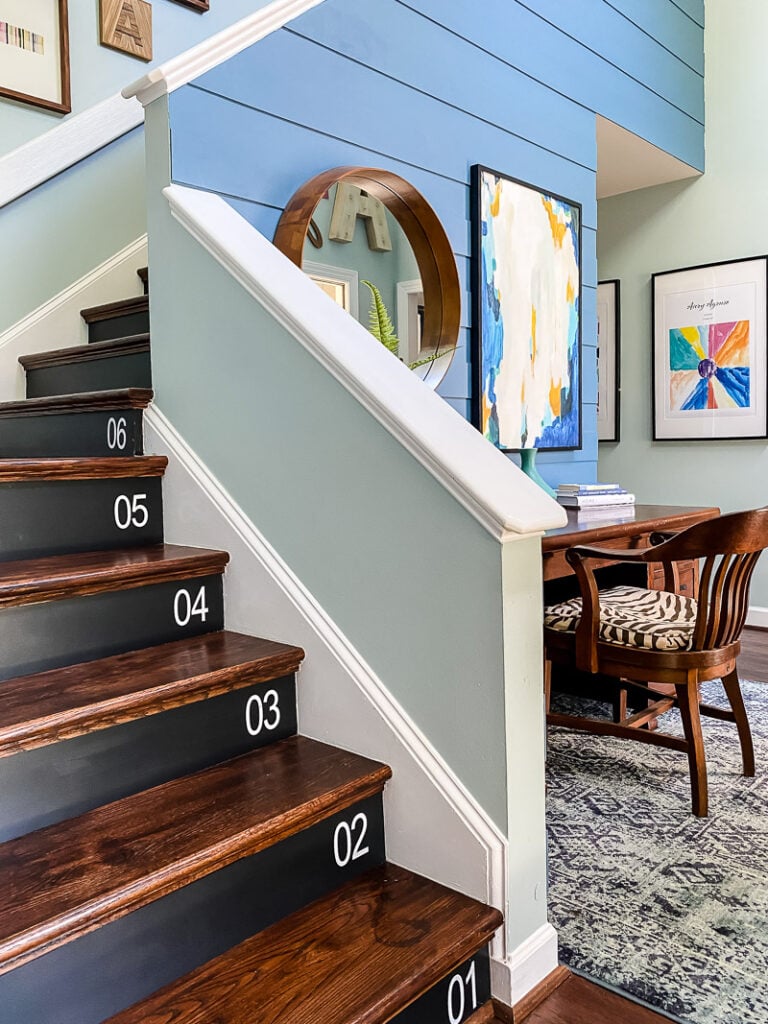
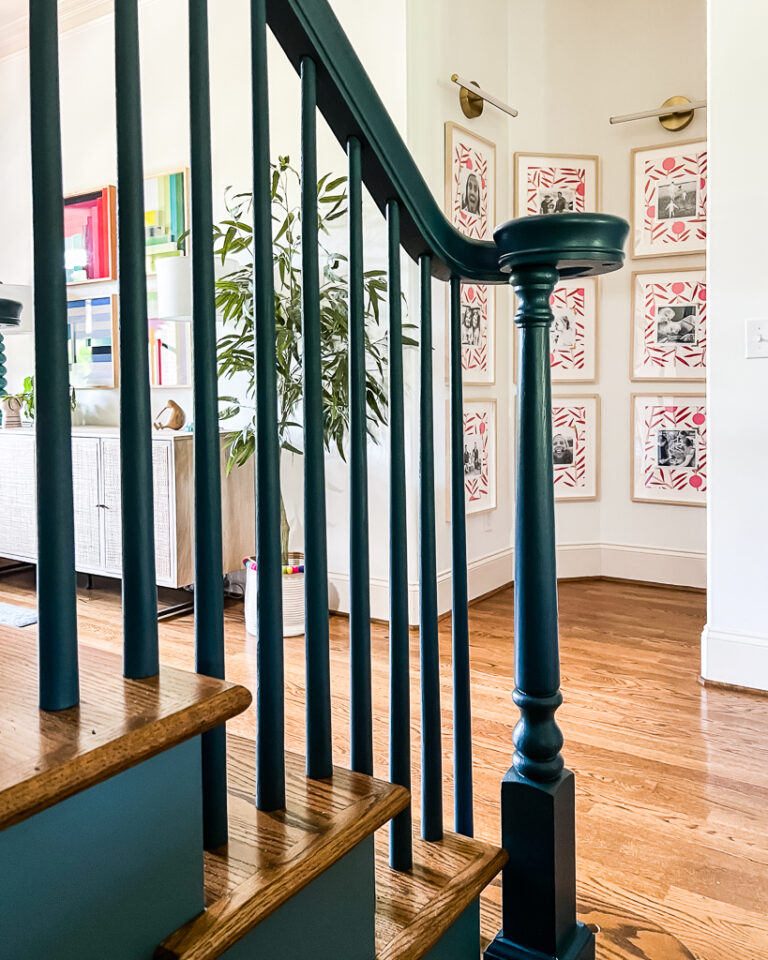
In June of 2022, we replaced our stair balusters to update our stair railing and painted pretty much everything, including our stair risers. We also installed the easiest DIY board and batten accent wall in our hallway and in the staircase. And this formerly SUPER dark space is now flooded with light because we had VELUX Sun Tunnels installed in our upstairs hallway!

All of those were SIGNIFICANT improvements to the look of our formerly boring staircase, but I was still craving some texture and color. So we decided to install a stair runner ourselves. We weren't sure what to expect, but it turned out to be a simple and very doable DIY project. We could not be happier with how it turned out.
If you have been wondering how to install a stair runner I'm here to tell you that you can absolutely do it! Here's how…
How to Install a DIY Stair Runner
Video Overview
I recommend that you watch this short 60-second video for an overview of the project before you read the written instructions (they will make more sense if you watch the video first).
This post contains affiliate links for your convenience. Click here for my full disclosure policy.
Materials needed
- Stair runners of your choice. These are beautiful stair runners we used. The tutorial below includes instructions for how to measure.
- Non-slip rug pad
- Carpet tape
- Bolster chisel
- Pneumatic stapler (this is the cordless staple gun we have–we love that it doesn't require an air compressor)
- Measuring tape
- Scissors
Time needed: 4 hours
It took us about 4 hours to install the stair runner from start to finish. Not bad at all, though my knees were sore, lol. Overall, this project moved pretty quickly and was not difficult. I was able to zone out and listen to an audiobook for a good portion of the project.
- Measure to determine your total runner length.
To determine how many runners you need to order, measure the depth of the stair tread and the height of the riser. Add those two numbers together. Then multiply that number by the total number of stairs you need to cover with the runner. Then divide that number by 12 to determine the total number of feet you need for your stair runner.
Our treads measure 10.5 inches and our risers measure 9 inches. We have 17 stairs. So our formula was 19.5 inches x 17 stairs = 331.5 inches ÷ 12 = 27.625 feet (rounded up to 28 feet)
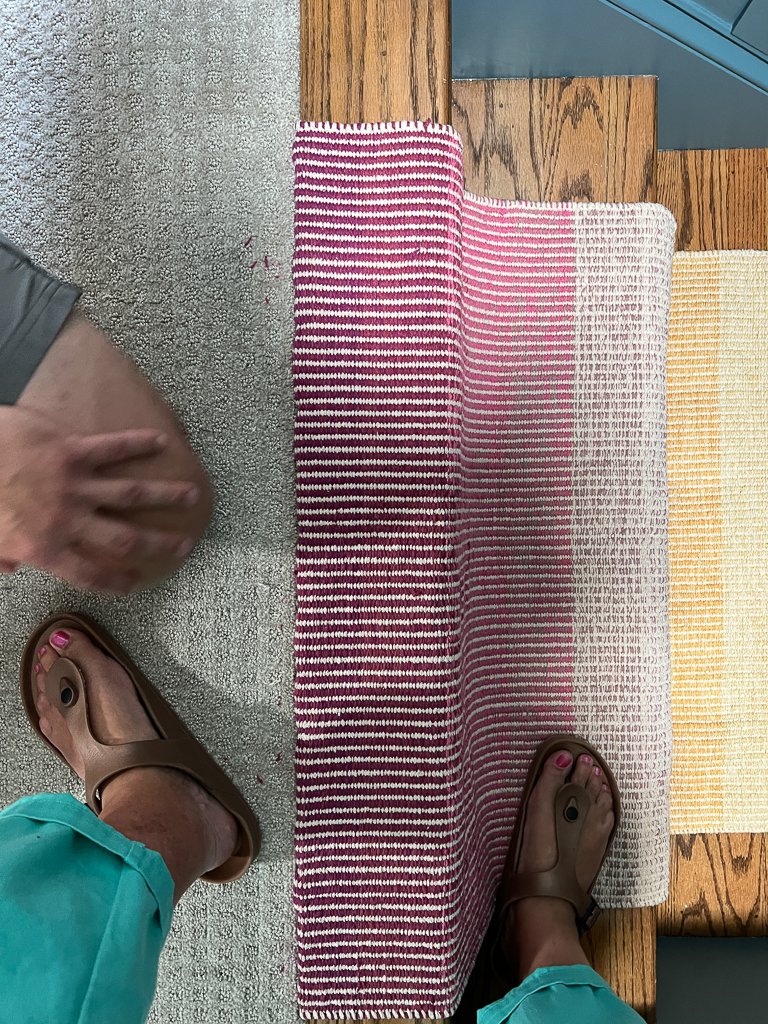
Note that if you need multiple runners to reach the total length you need, DO order consistent lengths. In other words, if you need 28 feet of coverage, you should order (4) 8-foot runners instead of (2) 12-foot runners and an 8-foot runner. This will ensure your pattern scale is consistent. - Cut your carpet pad to size.
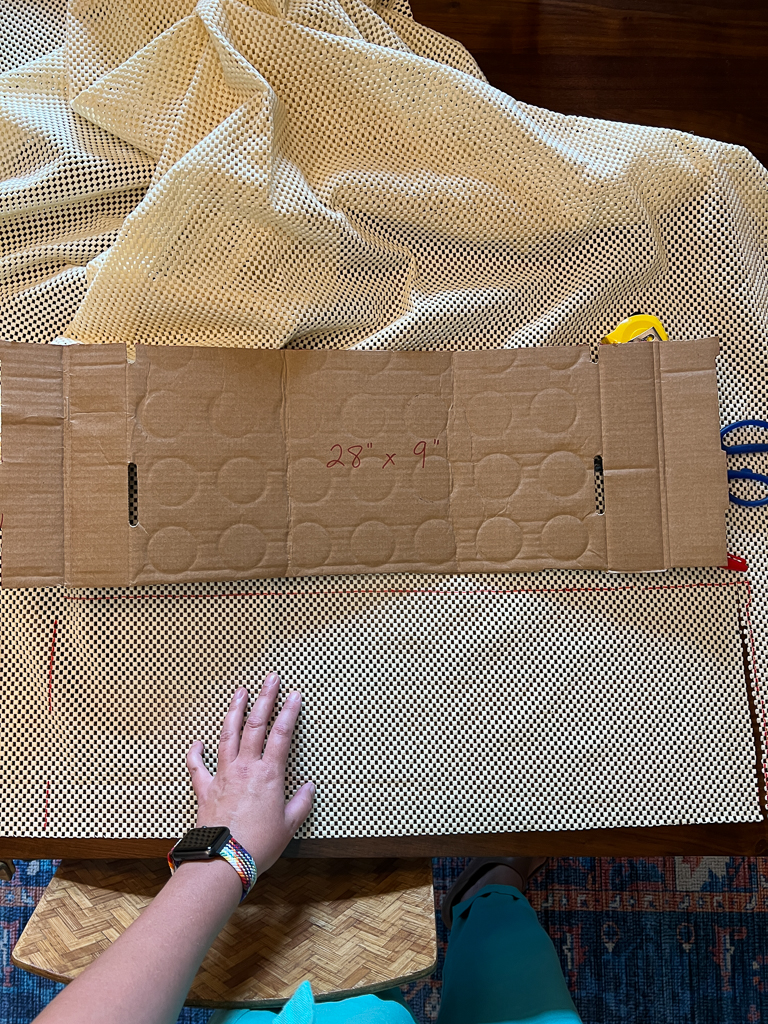
You want your carpet pads to be completely covered by your stair runner. Our stair runner is 31″ wide, so we decided to make our rug pads 29″ wide. I made a 29″ x 9″ template out of cardboard, which made it a lot easier to quickly cut out the rug pads.

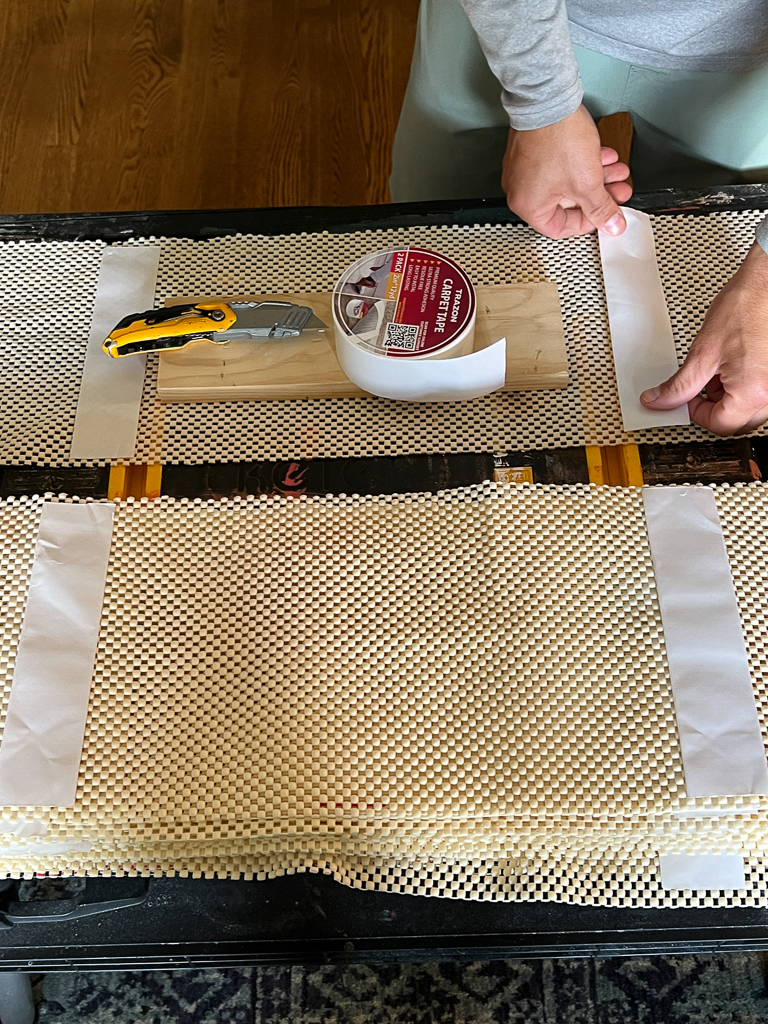
- Add double-sided carpet tape to the carpet pads.
As I cut the carpet pads out using my template, Joe added two strips of carpet tape to them.
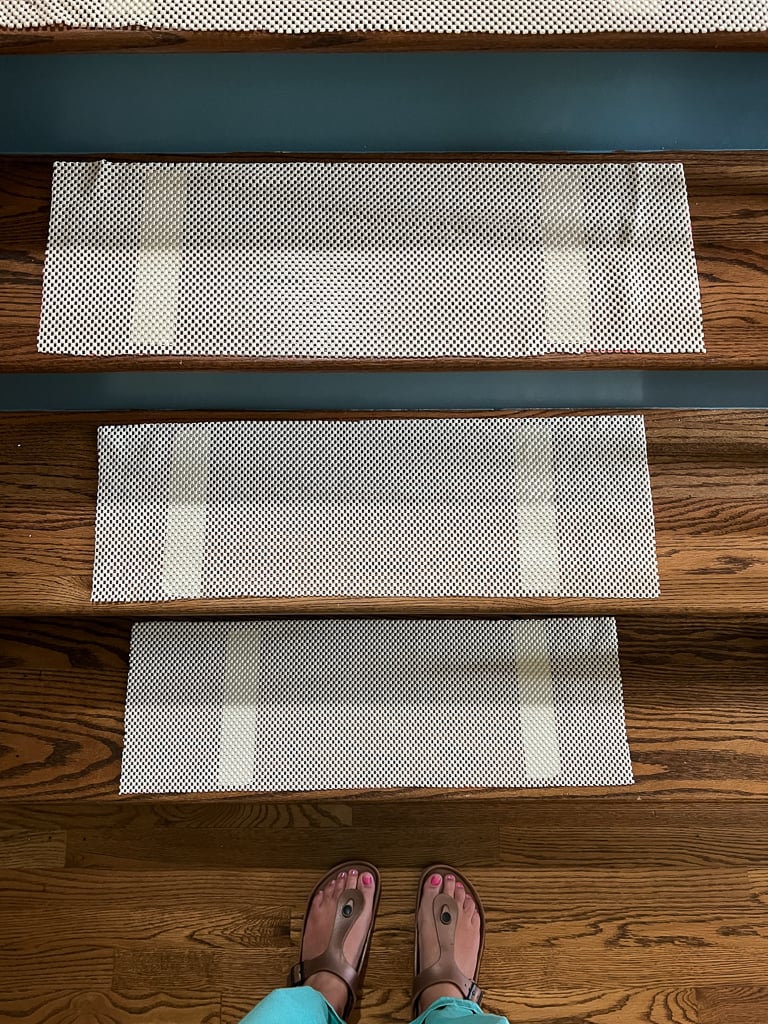
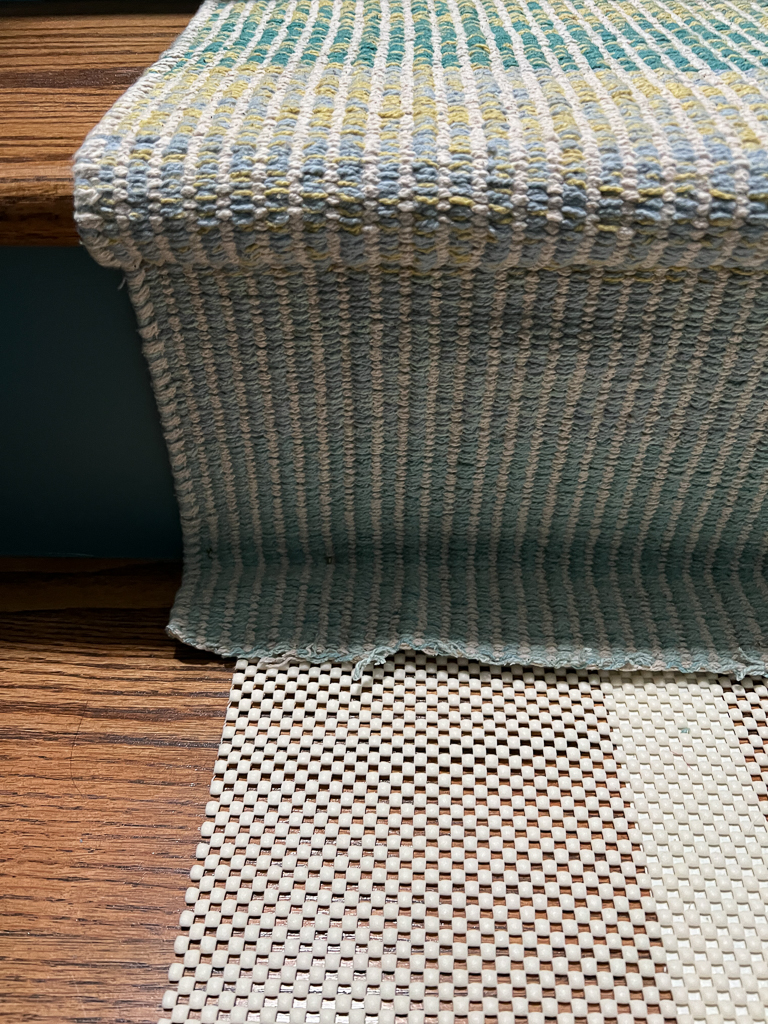
- Tape the carpet pads onto your stair treads.
We then taped them to the stair treads, making sure they were centered properly as we worked.
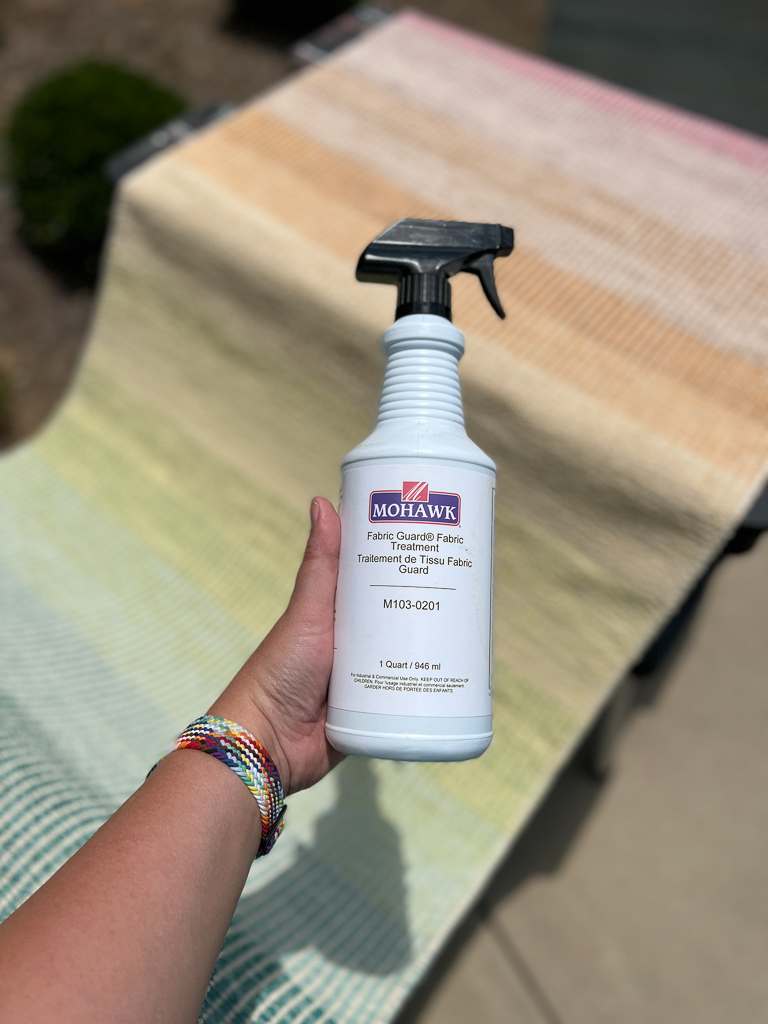
- OPTIONAL: Treat your runners with a fabric guard.
This is totally optional, but since the runner we chose is cotton and has many light areas, and we have two kids and a dog, we used my favorite fabric guard to treat our stairs runners before we installed them. Unfortunately, the fabric guard I have loved for years is no longer sold, but any fabric guard that can be used on the material your stair runner is made from should work! It's quick and easy. You don't need to saturate the rugs—you only need to make sure the entire area has been sprayed. Then you let it dry for 10 minutes.
- Staple the top of your runner into place.
We started installing our stair runner at the top of the stairs. We chose to cover the “partial tread” at the top of our stairs, which meets the carpet in our hallway because I felt this would look better than having a bare tread at the top of the stairs. This is totally my personal preference.
I cut off the finished edge of the runner so that we could tuck it in to meet up with the carpet (the finished edge was too bulky to do this).
If you prefer not to cover your top tread, you would simply align the top of the runner with the bottom edge of the first tread and you would leave the finished edge of the runner intact. Either way, you will want to use your staple gun to staple the runner in place approximately every 3 inches. Be sure to staple both outer edges. - Wrap the runner around the bullnose of your stair tread.
Since our stair treads have bullnoses, we chose a “wrap-style” installation, meaning that we wrapped the runner taut around the bullnose and stapled it in place under each bullnose approximately every 3 inches (always being sure to staple both outer edges).
- Secure the runner at the base of the stair riser.
We also stapled every 3 inches or so at the base of the riser. The bolster chisel really helps you keep the rug taut as you staple.
- Repeat steps 7 and 8 until you reach the end of your stair runner.
Keep wrapping your stair treads and stapling your stair runner in place until you reach the end of your first runner. We periodically took measurements to ensure that our runner remained perfectly centered on the stair treads as we worked.
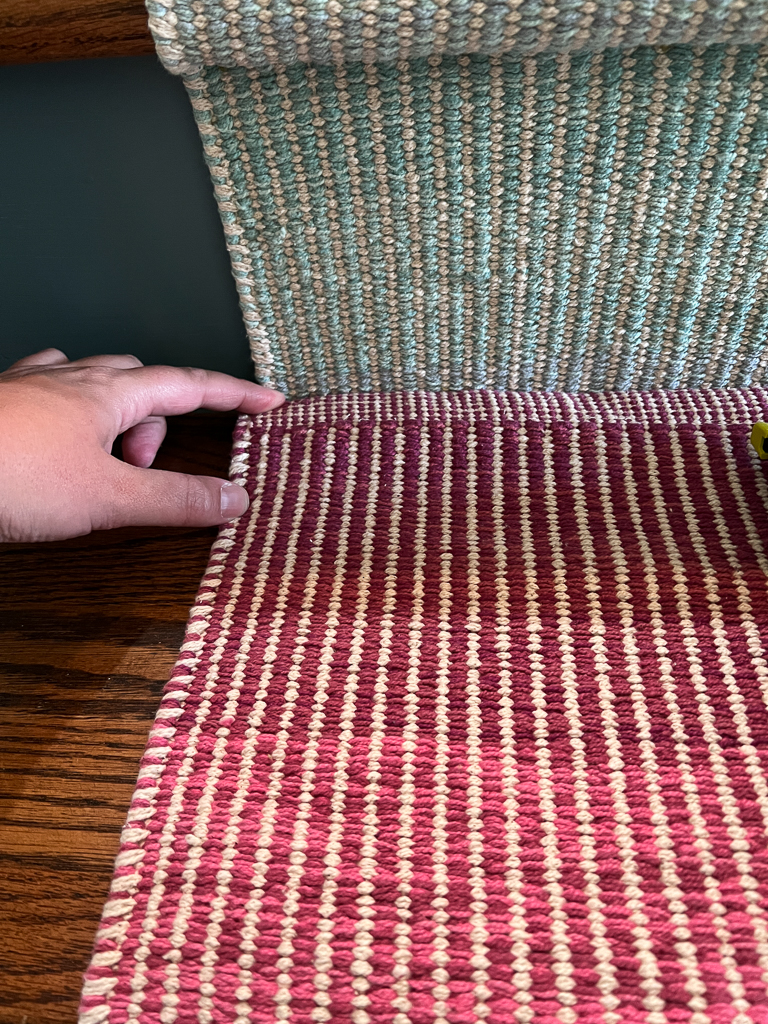
- Join your next runner.
I recommend joining your next runner at the back of the tread, though I suppose you could do it under a bullnose as well. We chose to join ours where the tread and riser meet because that made the most sense given where our pattern fell.
You will want to cut the end of your first runner off, leaving only about 2 inches for overlap. Cutting the factory edge off will help reduce bulk.
Overlap the 2-inch scrap of your first runner with your second runner and staple it into place. Be sure to align the outer edges of both runners as you do. What you are left with is the cut-off edge of the first runner being covered by the factory edge of your second runner, which gives it a nice, clean look. - Repeat the steps above to install the joined riser.
Keep stapling your second runner into place just as you did with your first runner.
Repeat this process until you get to the stair riser at the bottom of your stairs. - Secure the stair runner to the bottom of your stairs.
When you reach the tread of your bottom stair, pull the runner taut against the bottom riser with the bolster chisel and cut off the end of the runner, leaving 2 extra inches. Then fold under the extra 2 inches of runner and staple the double layer of your runner against the bottom of your riser.
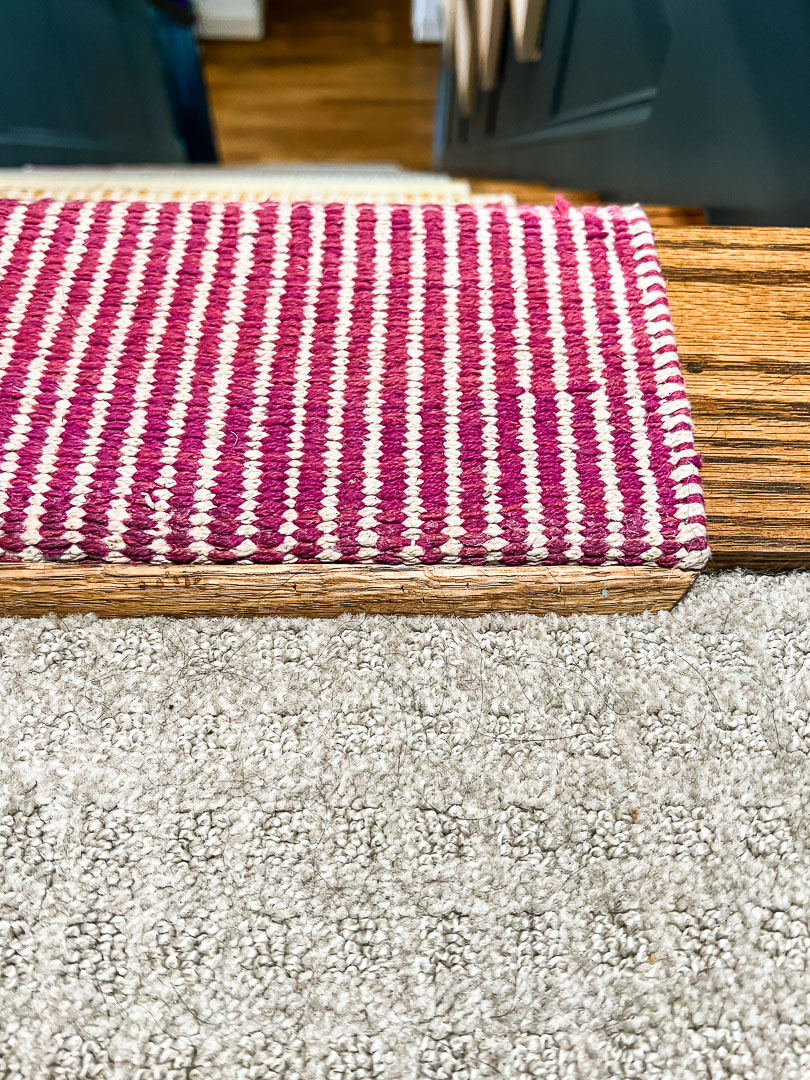
We installed a small strip of oak that we stained to match our wood floors along the bottom of the runner to give it a nice, finished look. - Add the finishing details.
At the bottom of the stairs, we installed a flat strip of oak that we stained to match our wood floors along the bottom of the runner to give it a nice, finished look.

At the top of the stairs, we stained a piece of oak quarter-round and nailed it into place to create a nice transition between the top of the stair runner and the carpet in our upstairs hallway. Ignore the dog hair on the carpet in this photo–I was tired and didn't feel like vacuuming before taking it.


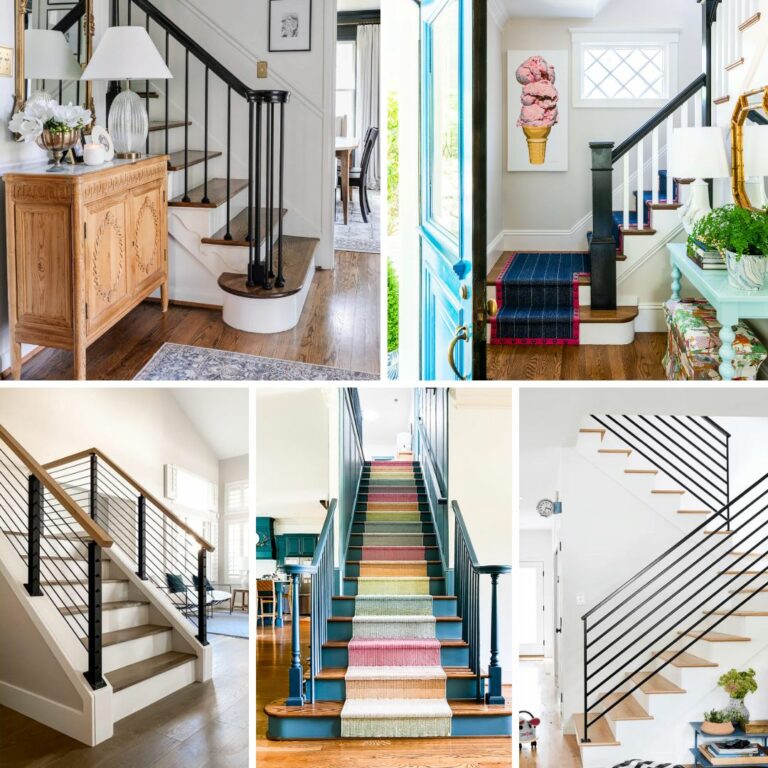
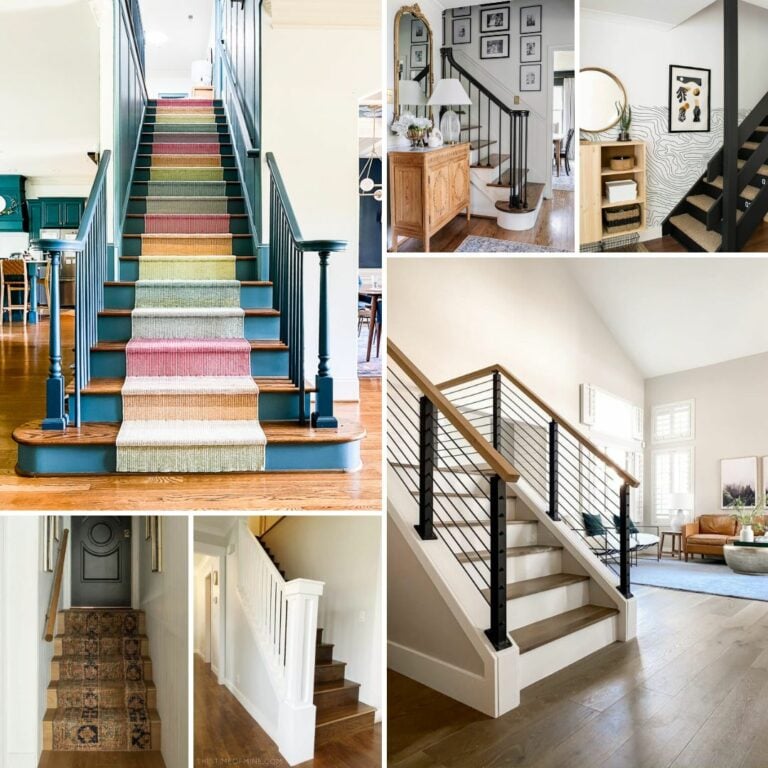
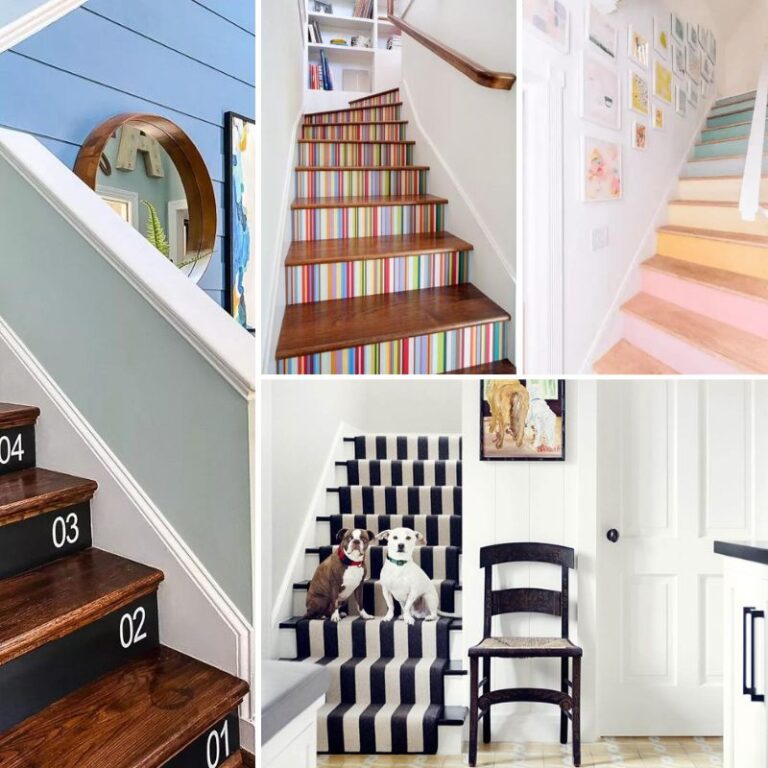
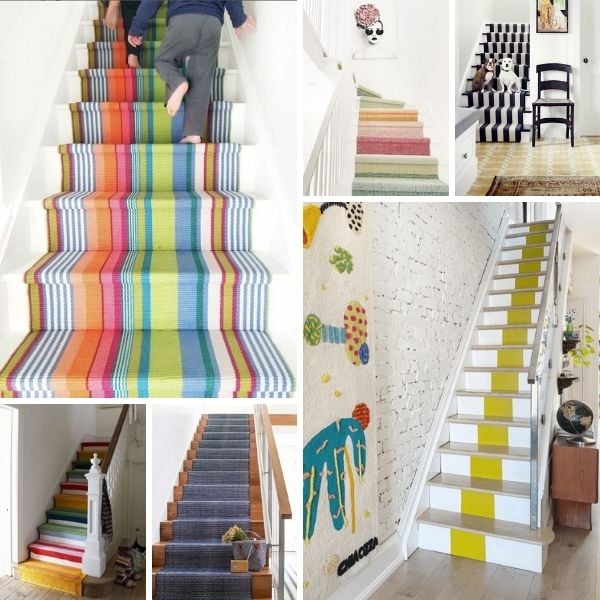
My Favorite Stair Runner Options
I get lots of questions about the stair runners we used. We used these beautiful stair runners by Annie Selke. They are woven cotton rugs, so it was easy to cut them and wrap them around the stair treads.
But you don't have to use a woven cotton rug! There are tons of other stair or rug runners that would work well on stairs. You can see some of my other favorite stair runner ideas below. Most stair runners come in standard widths, the most common being 2 1/2 feet (31 inches). FYI, Dash and Albert has the best selection of runners, in my opinion! But I've included some other sources below as well.
Scroll and click on any image for full product details.

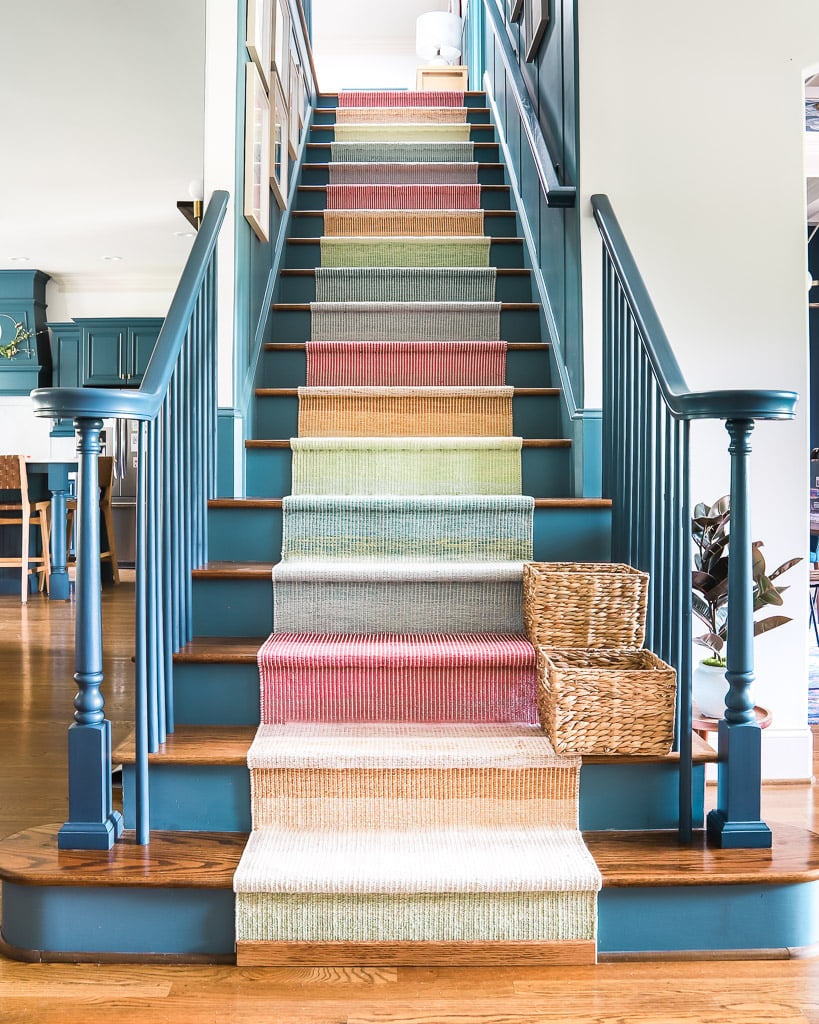
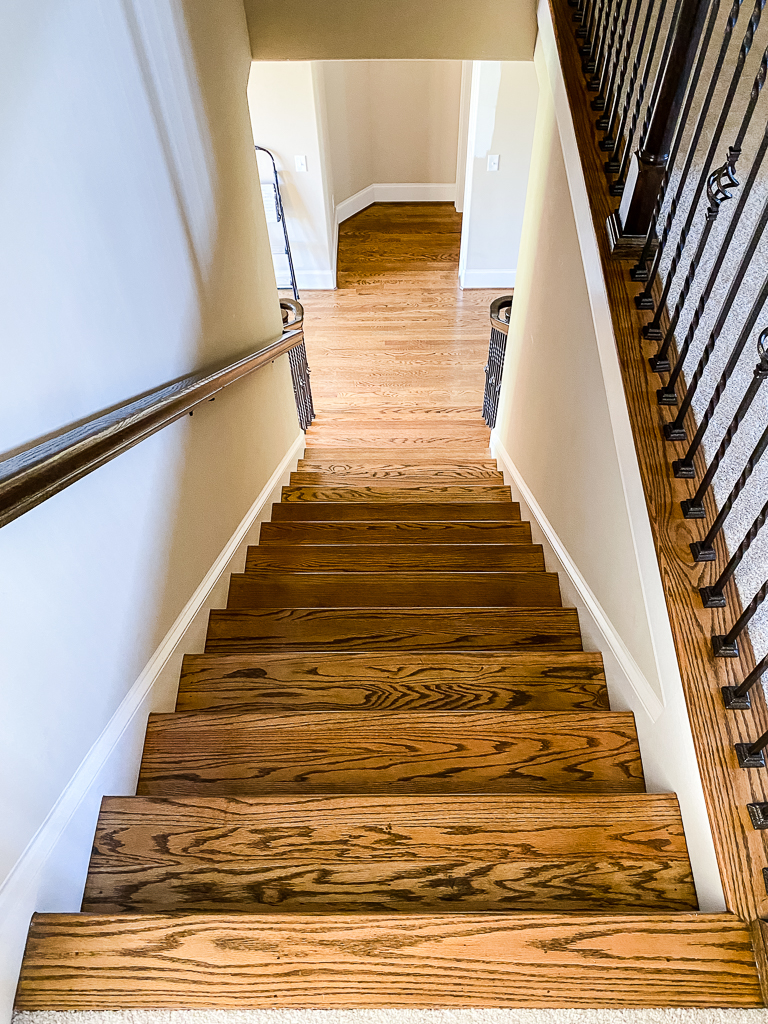
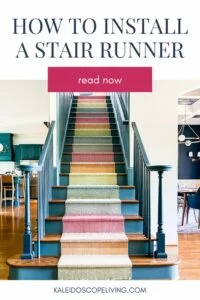
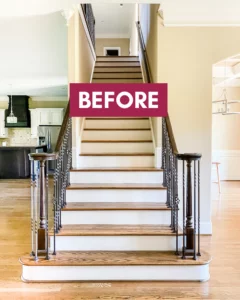
Photos of the Finished Project
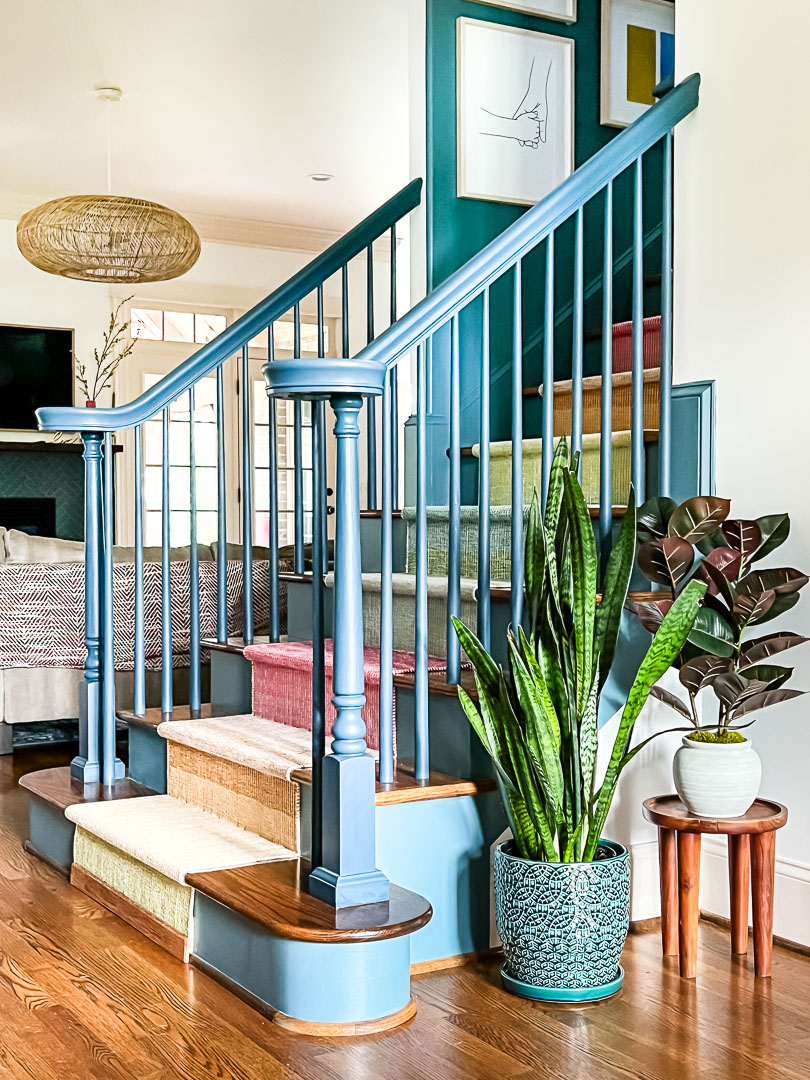
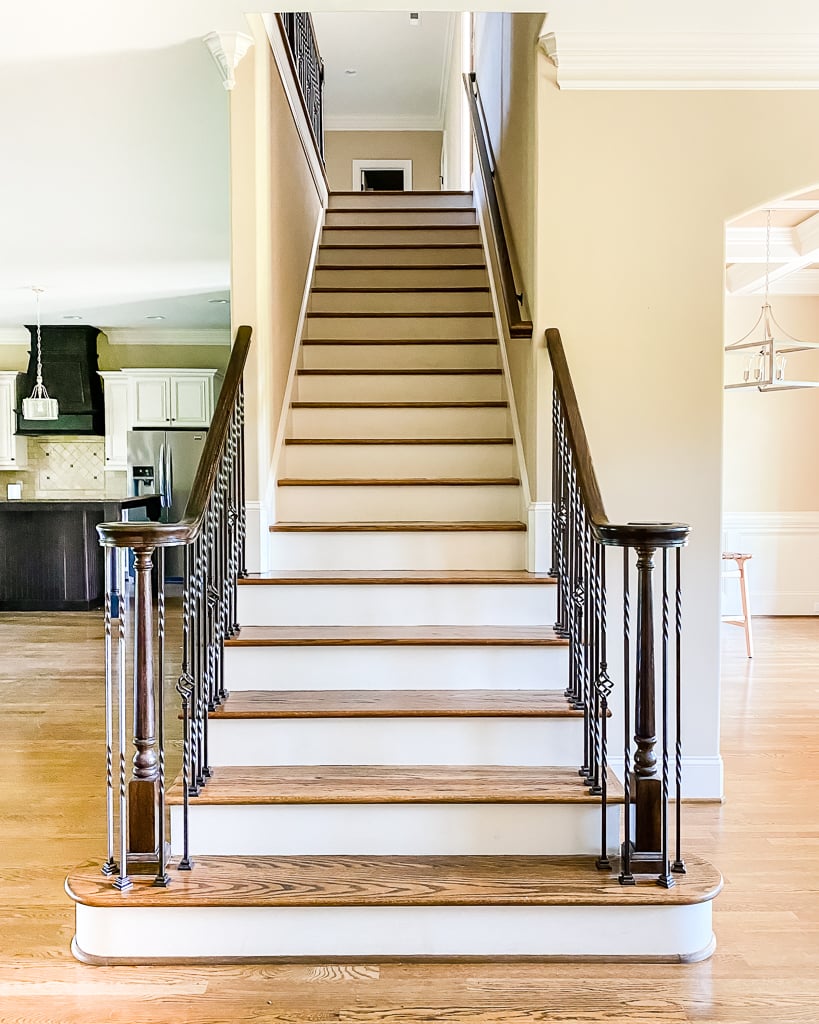
I'm in love. Quite a difference from where we started, huh?! I snapped the photo on the left the day we closed on the house. Our kitchen and dining room look really different now too! What do you think?
Frequently Asked Questions
I've been asked this a lot! You'll notice that you can see the staples a bit (see the photo below). I don't know if that's totally avoidable or not in a DIY stair runner installation. I suspect it wouldn't be an issue if we used a rug with a pile. We also could have used stair runner rods to cover them, but I don't love the look of stair rods.
The visibility of the staples has never really bothered me. The photo below was taken as soon as we finished the project in 2022. At the time I'm updating this post in 2025, the staples have definitely gotten less noticeable, but you CAN still see them if you are looking for them. 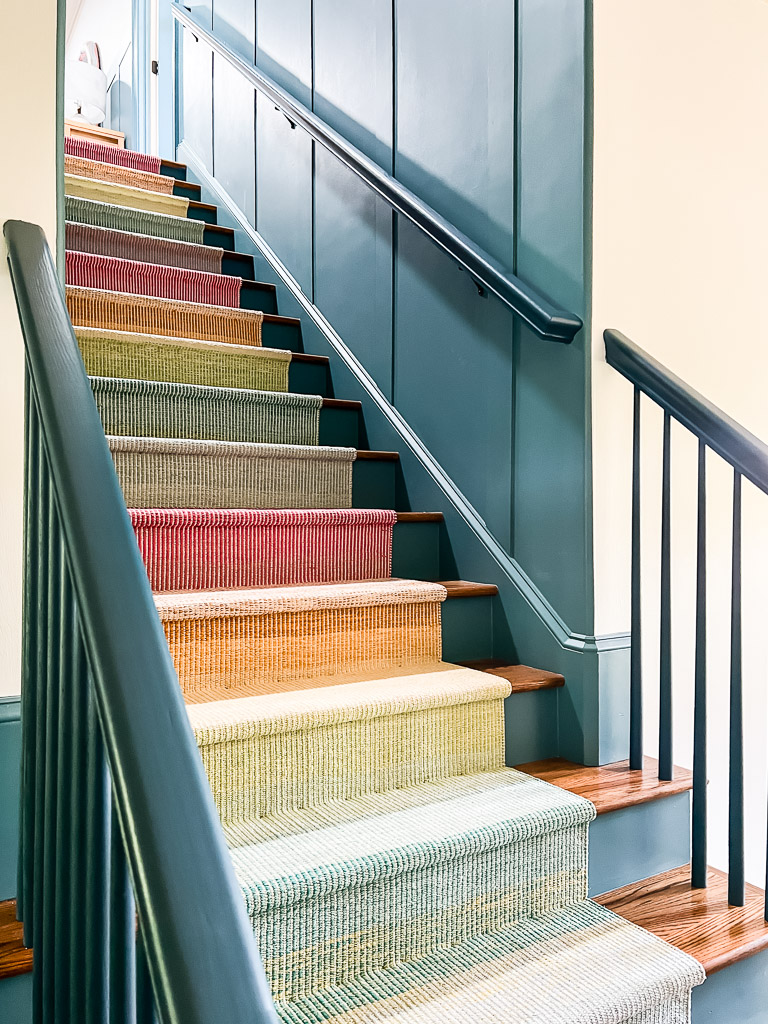
We installed our stair runner almost 3 years ago and it's holding up beautifully! We were worried because several people on Instagram told me that they had woven cotton stair runners professionally installed and they looked horrible and stretched out within a year. Ours is still nice and taut!
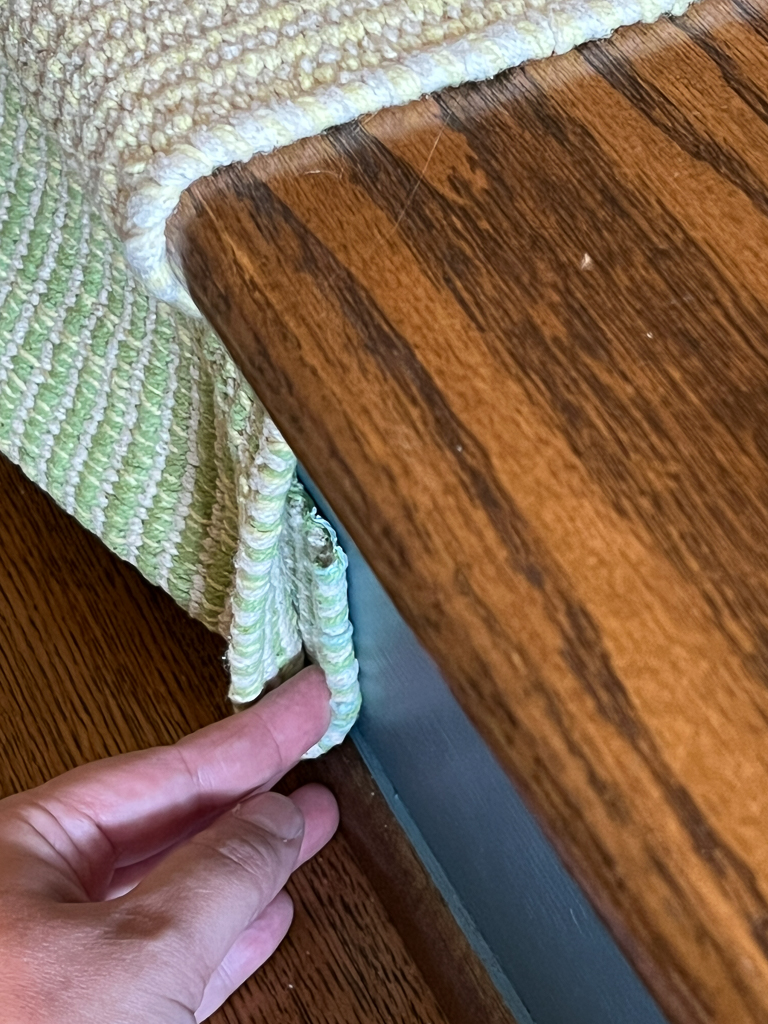
The ONLY issue we have had is a bit of fraying at the top of the stairs. I think this is completely our fault and could have been avoided if we had used carpet tape underneath the portion of the runner that covers the tread that meets up with the carpet. I didn't even think about it at the time.
I'm not entirely sure how we are going to fix this–stay tuned. The good news is that the fraying has looked like this for a few months and doesn't seem to be getting worse, but we do need to figure out a solution.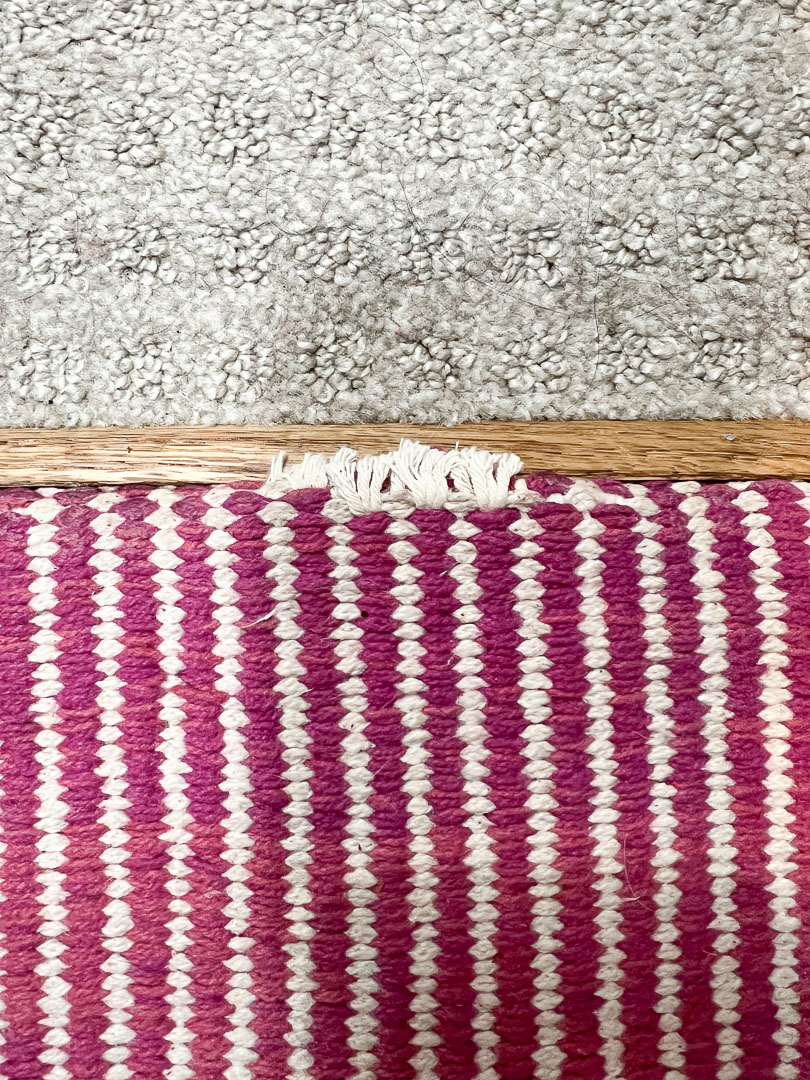
Some people install stair runners using only carpet tape, but I've used carpet tape enough to know that it eventually fails, in my experience. I'm not worried about the rug tape failing under the rug pad because the runner is on top of the rug pads and is secured with the staples. But I would definitely worry if we had secured the runner itself with rug tape.
Thanks for reading! I hope if you are planning on tackling this project for yourself you feel like you know exactly how to install a stair runner now. I promise you can do it! Be sure to save it to Pinterest so you can easily find it again later.
More STAIR Posts
Wondering how I approach transforming rooms and spaces in our home? Check out Designer in a Binder®.

And if you want exclusive content and behind-the-scenes sneak peeks, be sure to subscribe before you head out!

Last Updated on March 24, 2025

That is sooo pretty. I just love the colors. Totally unexpected and I can see why you are in love! They make fancy bars to go across the stairs that would hide the staples but I bet they are cost prohibitive. You could use a smaller quarter round with a brad nailer.
Congratulations on getting that big project done.
Thank you!
Looks awesome! I have to ask though, where did you get the green bib overalls you were wearing ? They look so comfortable for doing jobs like that!
Oh thank you! My overalls are from Lucy and Yak. They are incredibly comfortable!