How to Paint Kitchen Cabinets (From a DIYer Who Has Done it 3 Times)
As an interior stylist and DIYer with over 20 years of experience, the project I still get asked about the most often is painting kitchen cabinets. And it’s not surprising because painting your kitchen cabinets is one of the best ways to update your kitchen on a budget. But there is a ton of conflicting information and advice out there about the best way to paint your cabinets, what paint to use, whether or not a DIY paint job will hold up over time, etc. It’s enough to make your head spin.
I know a lot about painting kitchen cabinets, y'all. Why? Because I have painted kitchen cabinets THREE different times using TWO different paints and methods. I chose methods that required the least amount of prep work so that the process was as quick and easy as possible. Spoiler alert… I have never regretted it! Each time, the results looked professional and were incredibly durable.
The purpose of this post is to walk you through the two different methods I have used to successfully paint kitchen cabinets three separate times and to share the pros and cons of each method. If you are wondering if you should paint your kitchen cabinets, you should start with my post: Should I Paint My Kitchen Cabinets? Crucial Questions to Ask Before Getting Started–it's super helpful!
Heads up! Since I’m sharing an overview of each method AND the full tutorials for each method, this is a long post. But you can always use the table of contents to jump around–it’s quicker and easier than scrolling!
An Overview of the Two Methods I Have Used to Paint Kitchen Cabinets
Method #1 Using General Finishes Milk Paint: No Sanding or Priming
Method #1 Quick Facts
- Time to complete: About 4 days
- Durability: Held up perfectly after 5+ years of heavy use
- Paint used: General Finishes Milk Paint, a high-quality acrylic paint
- Overview of the process:
- Removed all cabinet doors and drawers
- Did not pack the contents of our cabinets
- Cleaned the cabinetry
- Did not sand or prime anything
- Applied 3 coats of protective top coat
- Pros: Incredibly durable, no sanding or priming required for wood cabinets, excellent coverage and adhesion
- Cons: Not a ton of colors to choose from, three coats of top coat needed for best results, top coat is best applied with doors laying flat
If I could sum up the first method in one sentence, it would be this… Reasonably quick and easy, and the most durable! You can jump to the tutorial for this method of painting your kitchen cabinets here.
The first time I ever painted kitchen cabinets was back in 2014. After doing a ton of research, I boldly decided to paint our kitchen cabinets without sanding or priming. People thought I was making a huge mistake, but the results were gorgeous and even more durable than we expected.

The project went viral, and since then thousands of people have painted their cabinets using the same method with equally amazing results, which makes me so happy! Here are some quick facts about the first method.
Method #2 Using Fusion Mineral Paint: Minimal Sanding, No Priming
Method #2 Quick Facts
- Time to complete: About 2 days
- Durability: Held up incredibly well to 3+ years of heavy use
- Overview of the process:
- Did not remove any cabinet doors or drawer fronts
- Did not pack the contents of our cabinets
- Cleaned the cabinetry
- Scuff-sanded all the cabinetry
- Did not prime anything
- Used a high-quality mineral paint (Fusion Mineral Paint)
- Applied 2 coats of protective topcoat
- Pros: Lots of gorgeous paint colors to choose from, minimal prep required, fast and easy
- Cons: Slightly less durable than method #1
If I could sum up the first method in one sentence, it would be this… Faster, easier, and still very durable! You can jump to the tutorial for this method of painting your kitchen cabinets here.
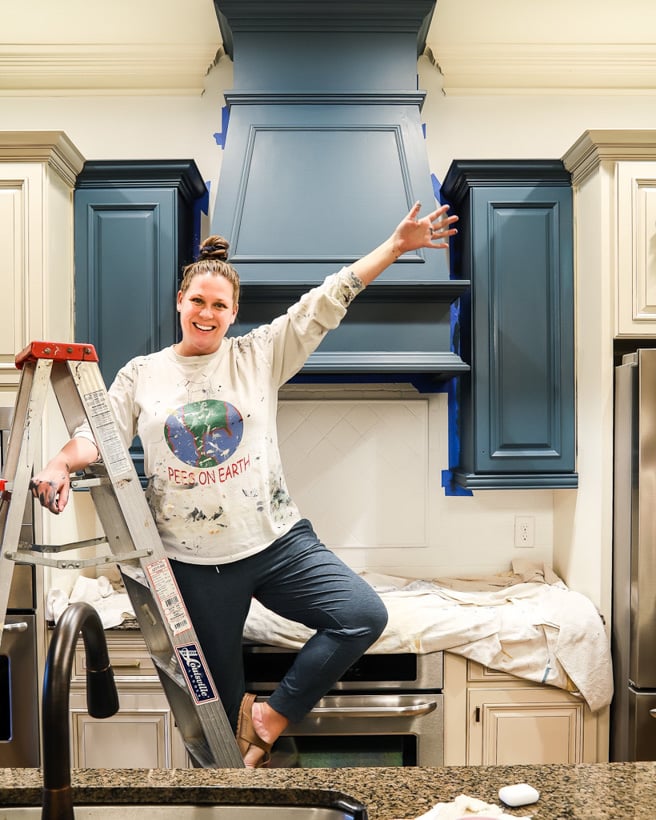
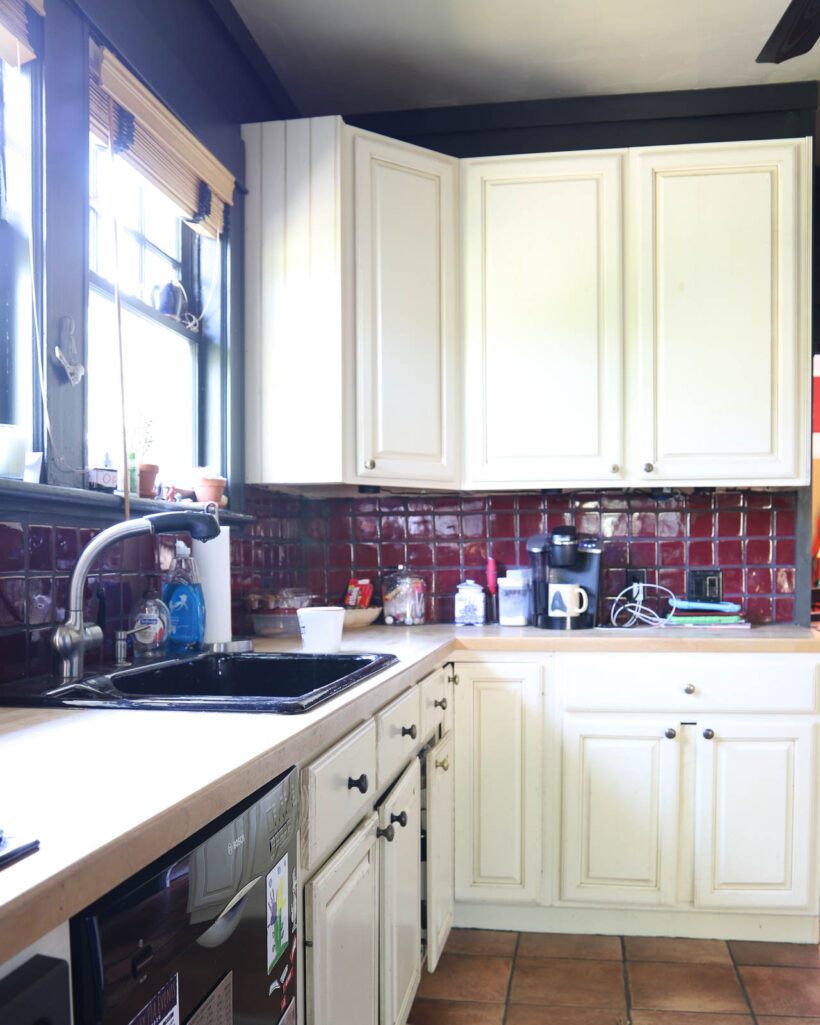
The second time I painted kitchen cabinets was in 2019, and it was for my friend Thea. Her kitchen needed some serious TLC, and the budget was tight. For the sake of being able to share DIY expertise and tips here on my blog, I really wanted to try some different products and a different method in the hopes that I could share another really easy and effective way to paint your kitchen cabinets with you.
So, once again, I did a lot of research on the best paint for kitchen cabinets. We chose a different paint, which resulted in slightly different prep work but equally gorgeous, and nearly as durable, results.
I was so impressed that I used this method again in 2021 to paint the kitchen cabinets in my own home! Here are some quick facts about the second method.
Now that you have an overview of the two different methods I've used, let's dive into the full tutorials for each kitchen cabinet painting method!
Full Tutorial: How to Paint Kitchen Cabinets Without Sanding or Priming Using General Finishes Milk Paint
Materials Needed
- TSP (Trisodium Phosphate) Cleaner
- Liquid deglosser or liquid sandpaper– This is the exact deglosser we used.
- General Finishes Milk Paint– We used 3 quarts of Seagull Gray for the perimeter cabinets and 2 pints of Driftwood Gray for the island.
- General Finishes High-Performance Top Coat– We chose the flat finish because the less light a finish reflects, the less the wood grain in our cabinets would show. We applied 3 coats of the topcoat on all cabinets and only used about 1/2 a gallon.
- 6-inch paint foam roller and tray
- Angled paint brush
- Tack cloth
- Painter's tape
- OPTIONAL BUT HIGHLY RECOMMENDED: these painter's pyramids (I discovered them recently and so wish we had them when we painted these cabinets–they are awesome for any double-sided project)
Steps
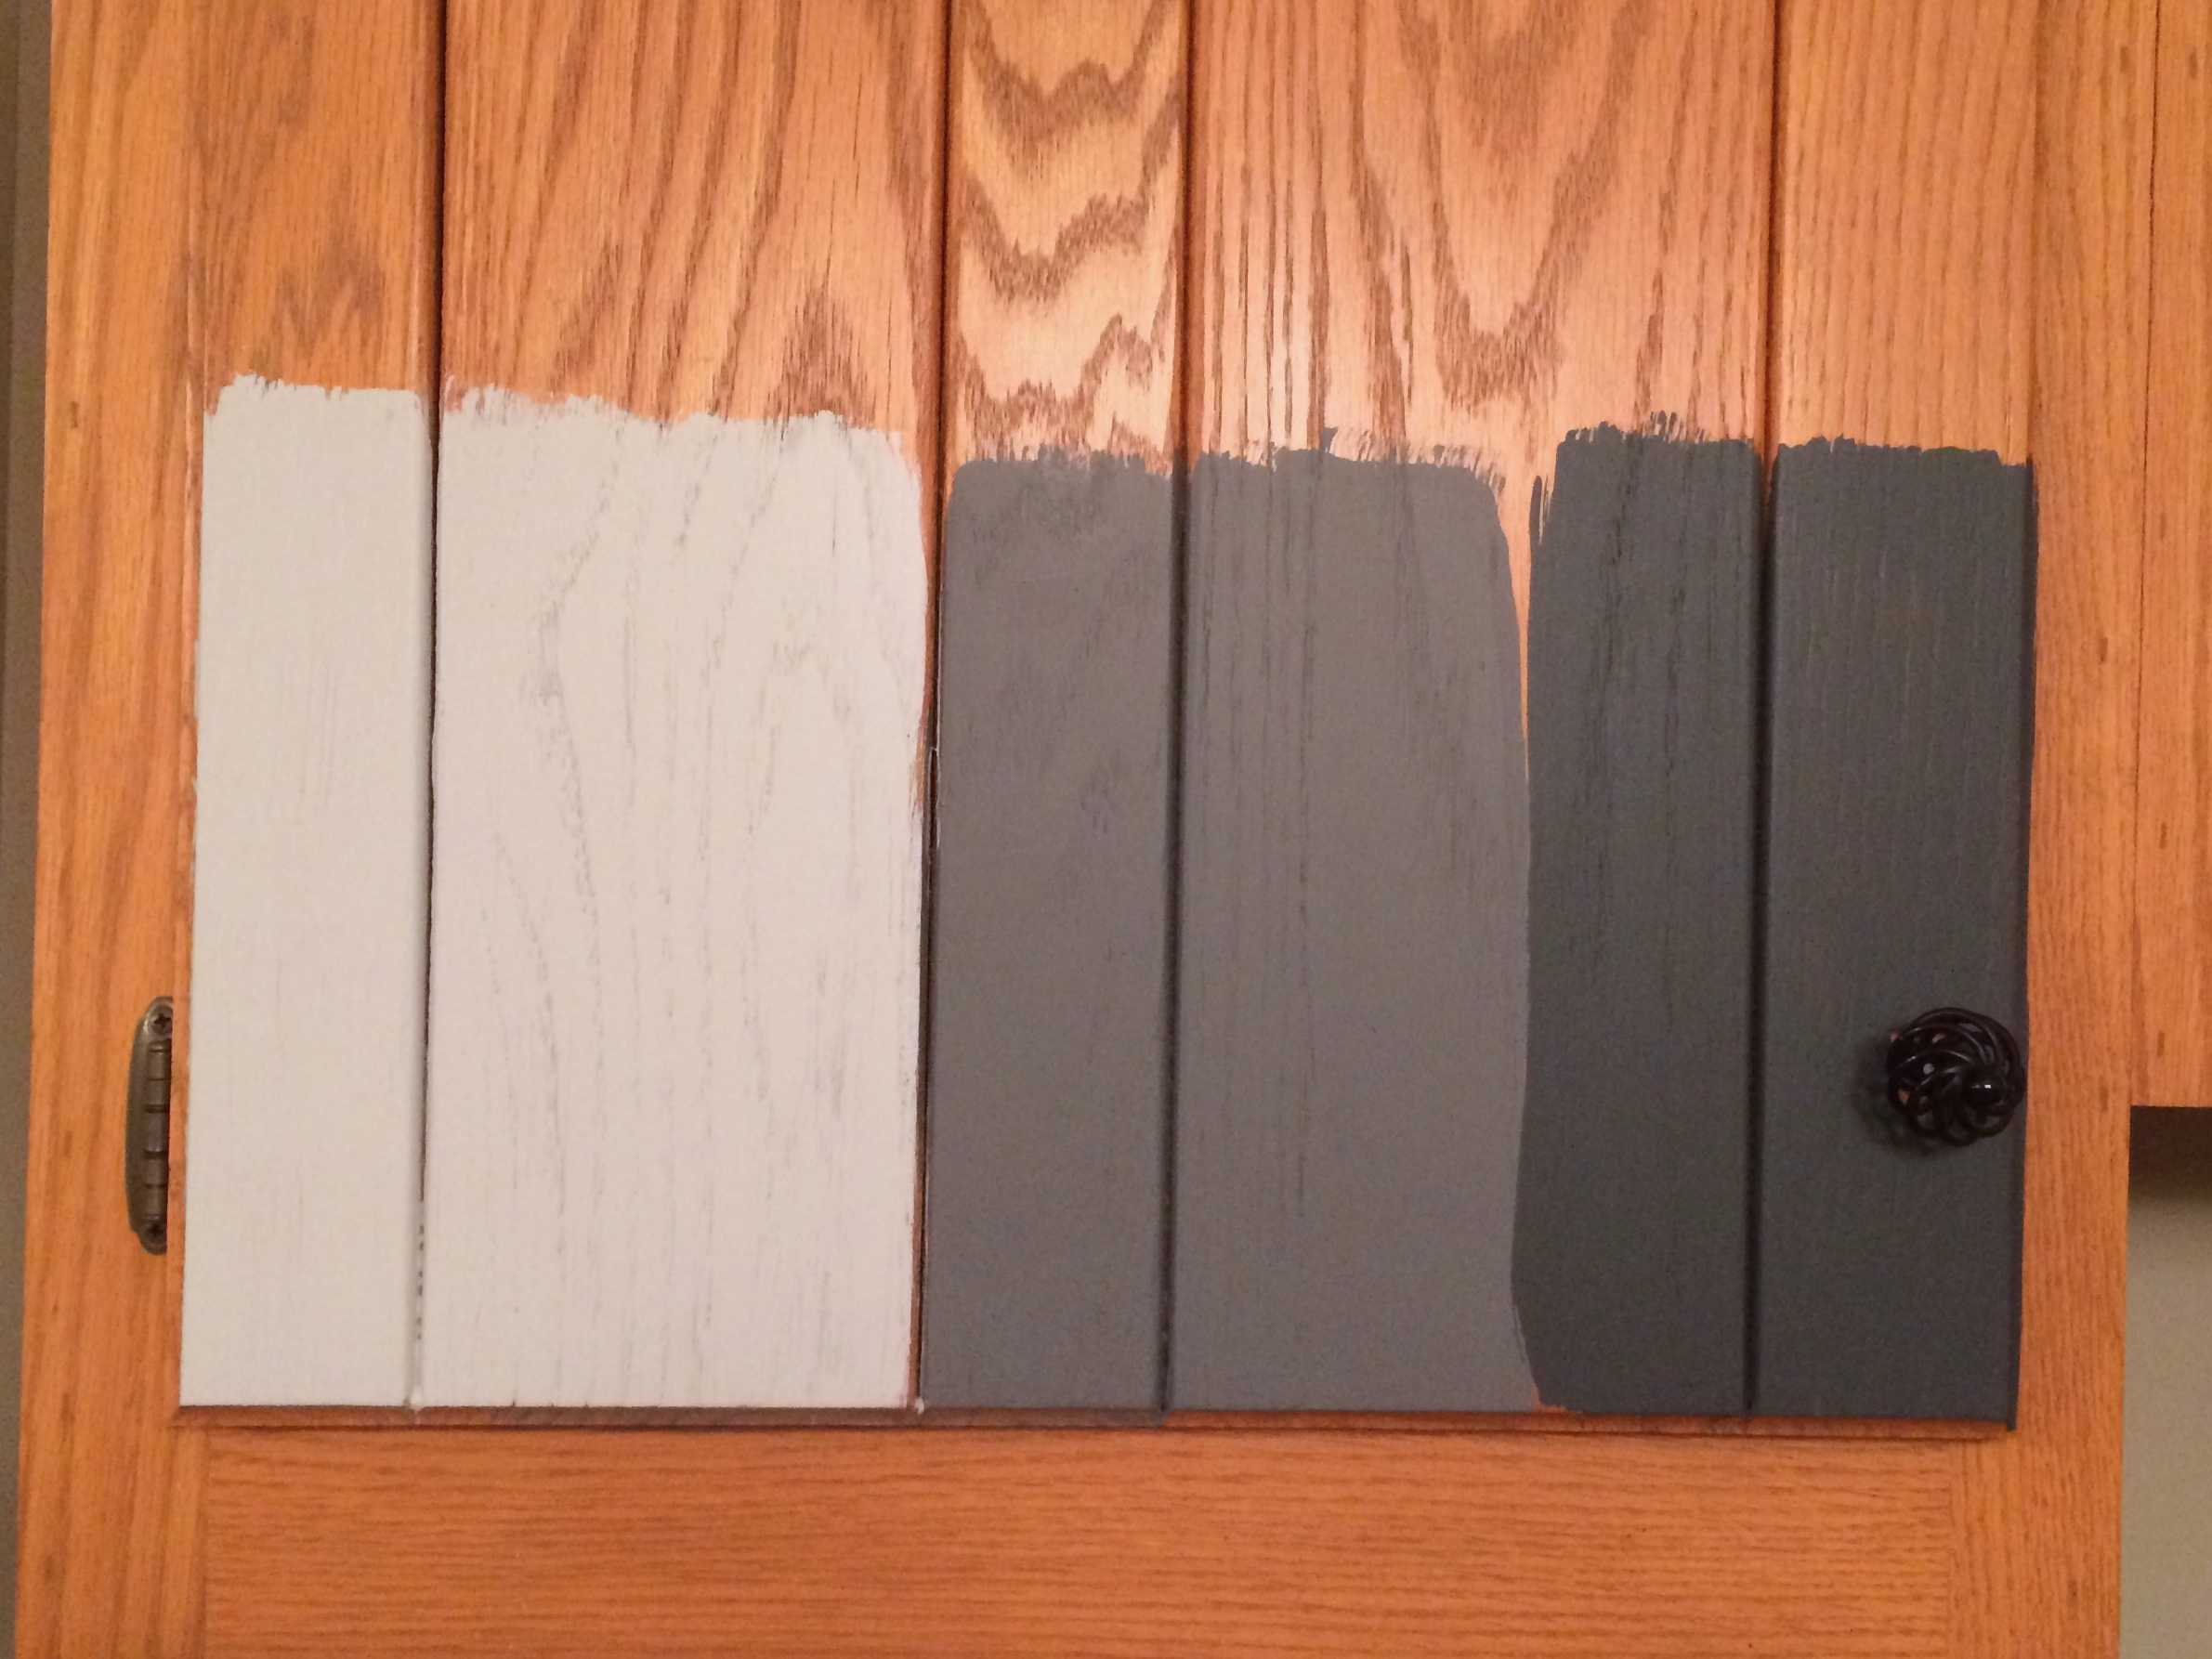
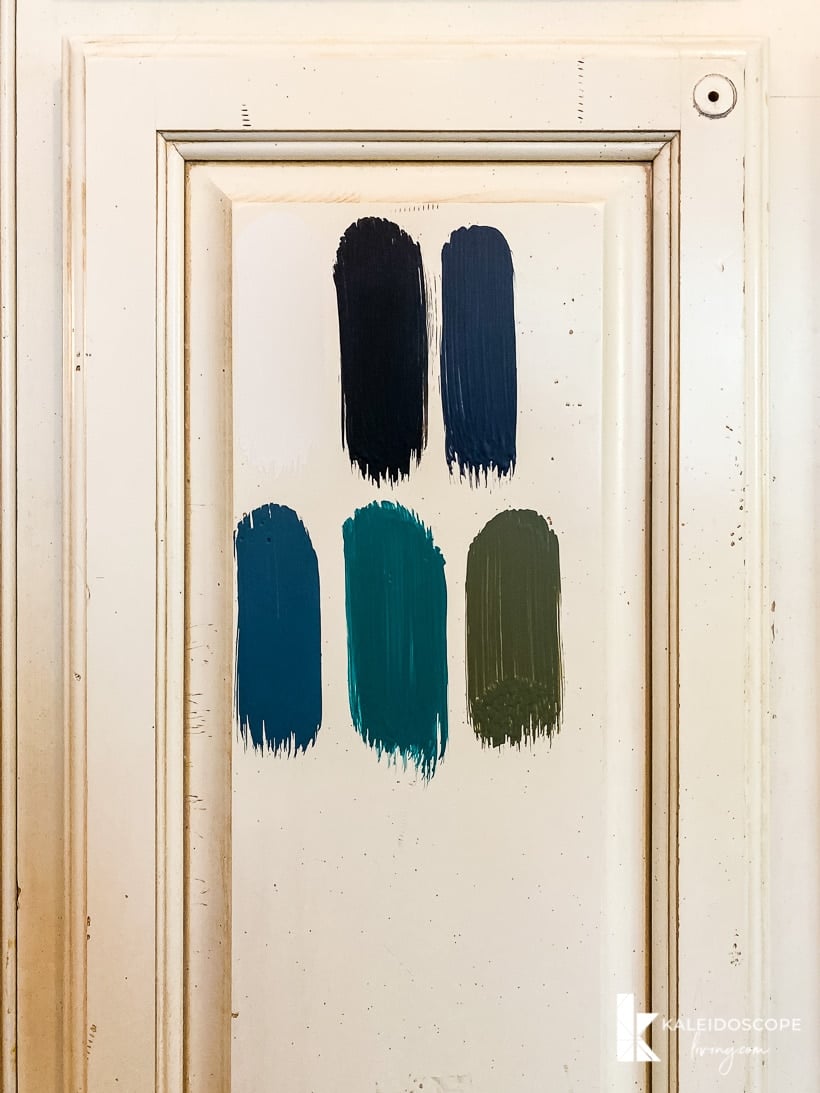
Step 1: Test paint colors
Before you can really get started, you need to test paint colors and choose your favorite. General Finishes doesn't sell small samples, but you can order pints here. It's worth ordering a few and actually painting test swatches on your cabinets since colors can look so different depending on the lighting and surroundings of your home.
I test 6 different colors in my Total Cabinet Transformation videos training series, which you can get FREE when you subscribe here.
Step 2: Remove your hardware, doors, and drawers.
Remove all of your hardware, doors, and drawers. You can leave everything inside your cabinets since you don't need to paint the insides of your cabinets. You only need to paint the doors (front and back) and the frame of the cabinets. You can leave your drawer boxes in place and just remove the drawer fronts, but I personally feel like it's easier to keep the drawers intact.
Step 3: Clean your cabinetry.
Clean all of your cabinets, doors, and drawers with a good cleaner like TSP. You want to be sure any grease and grime is off of them so that your paint adheres correctly.
Step 4: Patch and sand any holes/imperfections (if necessary).
Patch any imperfections or hardware holes that you will not be reusing with spackle or wood filler. Once the repairs are dry, spot sand the repairs as needed–you do NOT need to sand anything but the areas that are repaired! Be sure to remove any dust after sanding with a tack cloth.
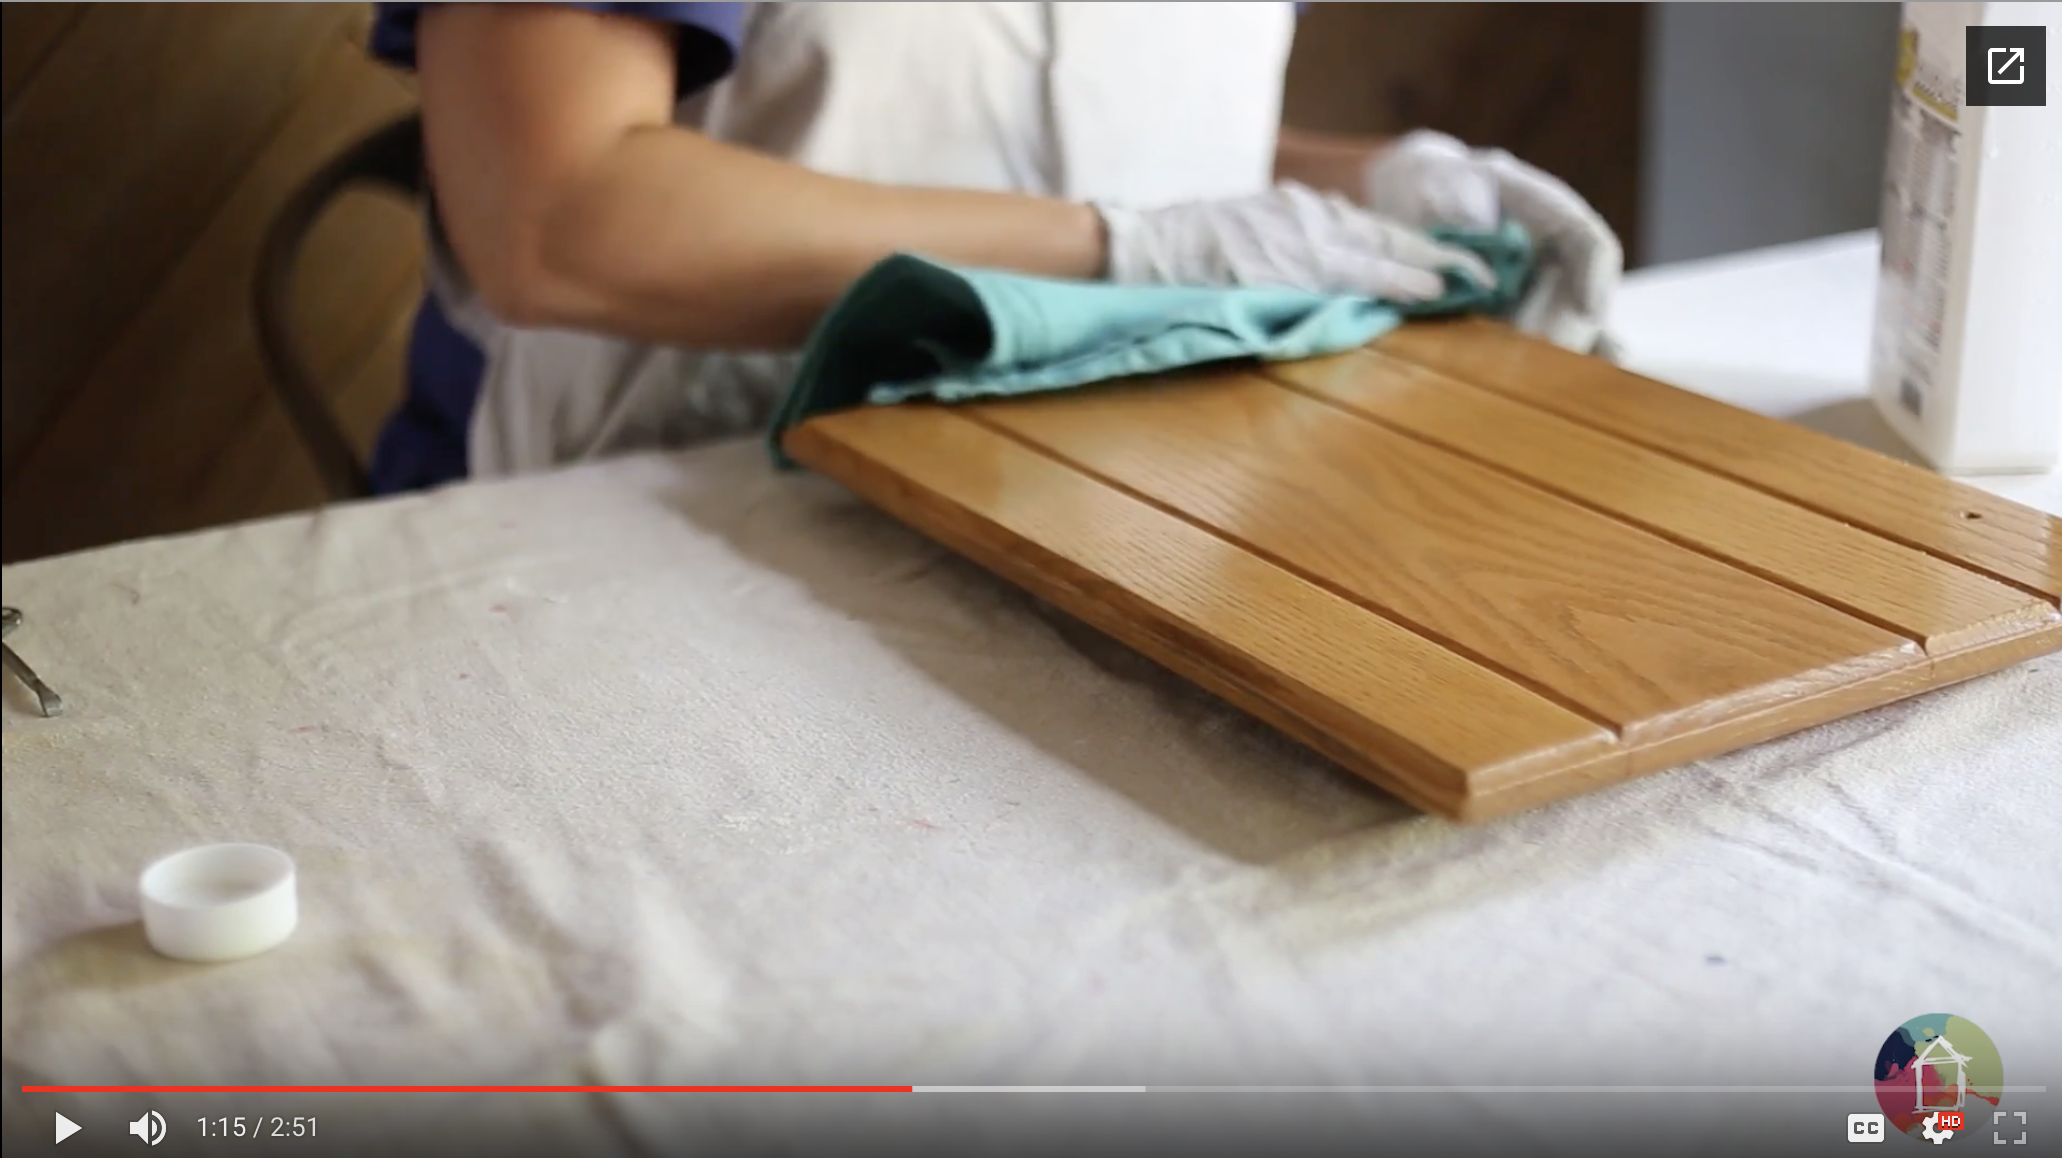
Step 5: Degloss all cabinet surfaces.
Next, wipe down everything that will be painted (the visible frame of your cabinet boxes, the front and back of your cabinet doors, and drawer fronts) with a liquid deglosser or liquid sandpaper (this is the exact deglosser we used).
This is a quick wipe-down. You do not need to scrub the old finish offand get down to bare wood. In fact, your cabinets may not look any different after you wipe them down—that is okay.
I have included a video demonstration of deglossing as part of my Total Cabinet Transformation FREE training series–click here to subscribe and get access.
Step 6: Apply two coats of paint to your cabinets. Lightly sanding between coats is optional (we did not sand between coats).
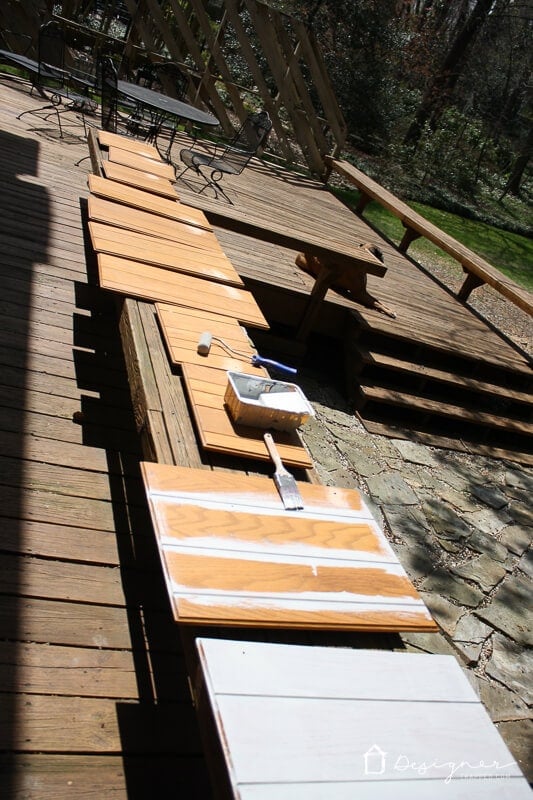
If you are using General Finishes Milk Paint, you do not need to sand or prime! You are ready to start painting! We used the built-in benches on our deck to lay out our doors, which worked well. If you don't have a large space to work with, just work in batches. I highly recommend using these painter's pyramids that I discovered after we finished painting our kitchen cabinets. I wish we had them when we did this project–they are awesome!
We applied two coats of the General Finishes Milk Paint. We used a paintbrush for detail work and a dense foam roller for the flat areas. We used 3 quarts of the Seagull Gray to paint our perimeter cabinets and 2 pints of the Driftwood to paint our island. This paint gives excellent coverage and at little goes a long way.
I did NOT sand between coats of paint because my finish was nice and smooth. But you could choose to lightly sand with 220-grit sandpaper before applying your second coat. Remember to wipe them down with a tack cloth after sanding if you do decide to sand.
I am a pretty confident/experienced painter, so I didn't use painter's tape to protect the areas around our cabinet boxes–I simply cut it with an angled brush. But if you are worried about getting paint on your walls or the inside of your cabinet boxes that you won't be painting, you can always use painter's tape to protect those surfaces.
Step 7: Apply 3 coats of protective top coat to your cabinetry.
After your paint has dried for the correct amount of time (as specified on the General Finishes can), you are ready to apply the General Finishes High-Performance Top Coat. We applied the recommended 3 (yes, THREE) coats of the topcoat. Rest assured, each coat moves fairly quickly. But this topcoat is what gives the already durable paint an unbelievably durable finish.
We chose a flat finish for the top coat because our kitchen cabinets had so much wood grain. A flat finish reflects less light than a semi-gloss or gloss finish, so it makes the wood grain less visible. Please do keep in mind that paint alone is NOT going to eliminate visible wood grain. But you can make it less noticeable by choosing the flat finish topcoat.
You want to apply thin coats of the topcoat and I highly recommend applying the topcoat while your doors are laying flat to ensure nice, even coverage. I used a brush and would recommend it over a roller. Note that if the topcoat is applied too thickly or pools in any areas, those spots will dry with a yellow tinge. Three very thin, even coats are what you need!
I have heard from many people who have followed this tutorial to paint their cabinets with the Snow White color that the topcoat left a slight yellow cast on them. This is going to be true for pretty much ANY poly topcoat. This is something I talk about more in my Total Cabinet Transformation videos series, which you can get FREE when you subscribe here. (Spoiler alert, I don't recommend that anyone use Snow White straight out of the can–I recommend mixing it with another color).
Step 8: Rehang your doors, replace your drawers, and install your hardware.
Once your third coat of top coat is dry, you can rehang your kitchen cabinet doors, replace your drawers, and reattach your old hardware (or replace it with new hardware)! We replaced all of our hardware with new handles and drawer pulls. We had a lot of cabinets and doors, so we spent just over $300 on hardware, but I think it was well worth it.
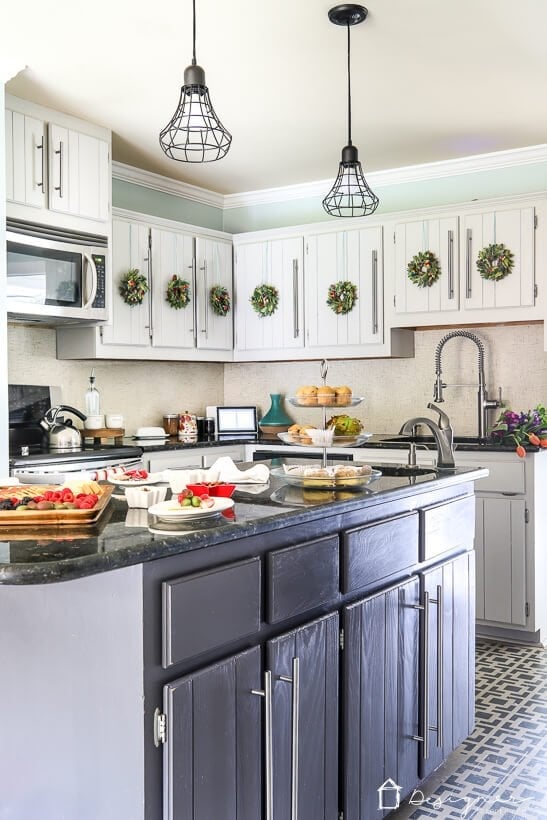
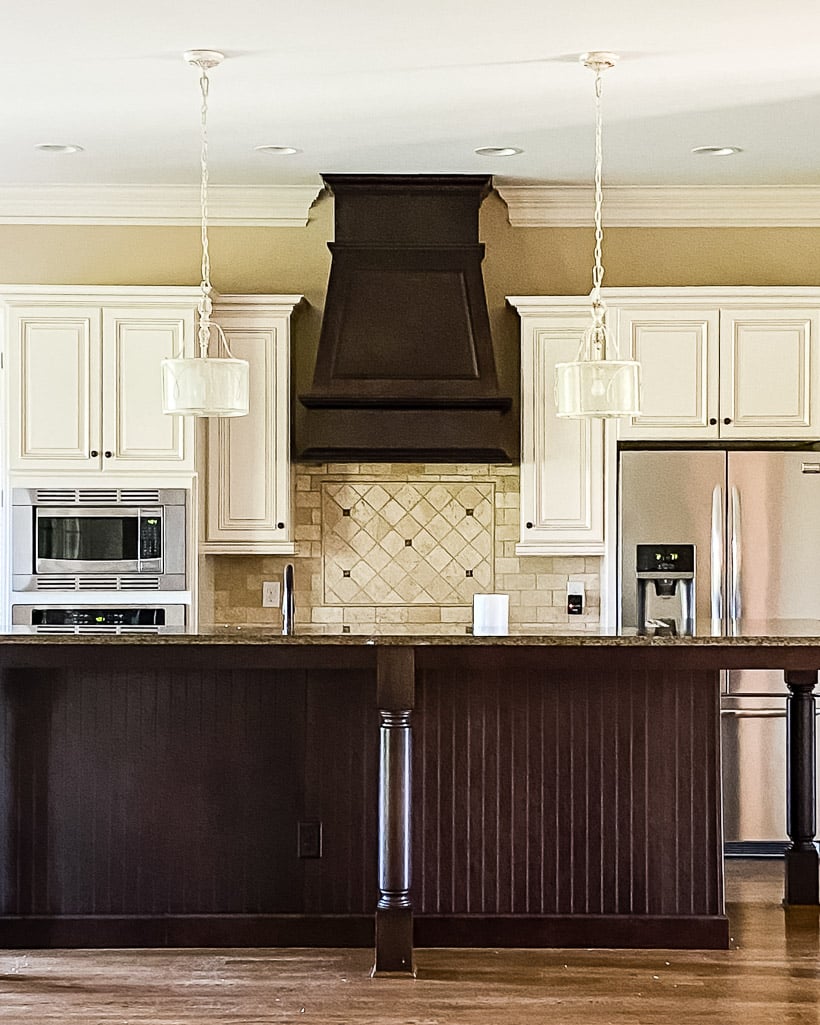
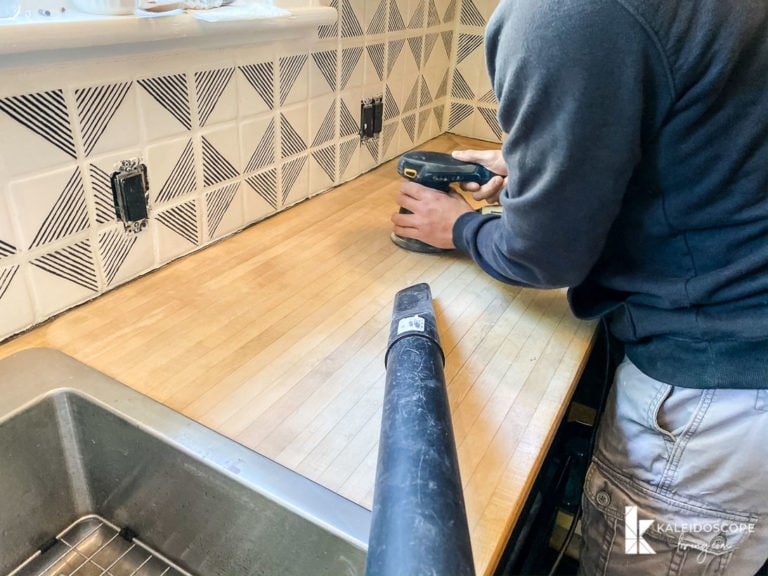
The photo below was taken FIVE YEARS after we painted our kitchen cabinets, while it was decorated for Christmas. They held up so, so well! Even the contractor who installed our Formica backsplash a couple of years after we painted our kitchen cabinets was shocked and impressed by our results.
You can read this post to see how they were holding up 22 months later, and you can also watch the short video below for a better look at how they were holding up 5 years later! The short version is that they looked beautiful even 5 years later when we finally gutted and renovated the entire kitchen. The video is part of my Total Cabinet Transformation FREE training series. If you prefer to watch it ad-free and get access to all the other videos, click here to subscribe and get access.
Now, if you have read this far and have questions like…
Can I use this to paint my laminate kitchen cabinets?
How do you think the white paint color would work on my very dark cabinets?
Can I use this paint over existing painted kitchen cabinets?
Did you REALLY not sand in between coats?
How much pressure do I need to apply when I use the deglosser?
Can you see the brush strokes?
I answer all these questions and more, PLUS I give video demonstrations in my Total Cabinet Transformation FREE training series. Again, just click here to subscribe and get access. You can watch an overview of what the video series includes in the short video below.
Full Tutorial: How to Paint Kitchen Cabinets With Minimal Prep Work Using Fusion Mineral Paint
Materials Needed
- T.S.P. (trisodium phosphate)
- Fusion Mineral Paint (save 10% with the code kaleidoscopelivingfmp at checkout)
- We used (3) 500 mL/1 pint containers of Coal Black for the lower cabinets and (1) 500 mL/1 pint container of Raw Silk for the upper cabinets.
- Sandpaper and electric sander (optional–you can hand sand if you don't have an electric sander)
- Paint brushes, including a small detail brush, to carefully paint around your hinges
- Small foam paint roller kit
- Fusion Mineral Paint Ultra Guard topcoat
- Tack cloth
- Old t-shirts/rags
Steps
You can watch the video below, which will walk you through each and every step of the process. Or if you prefer to read the written tutorial, just scroll past the video!
NOTE: We did not pack up anything in my friend Thea's kitchen, nor did we remove any of the cabinet doors or drawer fronts. If you do not want to paint or change your existing hinges, I highly recommend that you leave the doors and drawers on. This project moved SO QUICKLY by leaving everything in place, and the results were perfect.
Step 1: Remove hardware & clean your cabinets.
First, remove all your cabinet hardware and clean your cabinets using T.S.P. Just follow the instructions on the bottle. It's super easy and shouldn't take you more than an hour. It will help remove any grease and grime from your cabinets.
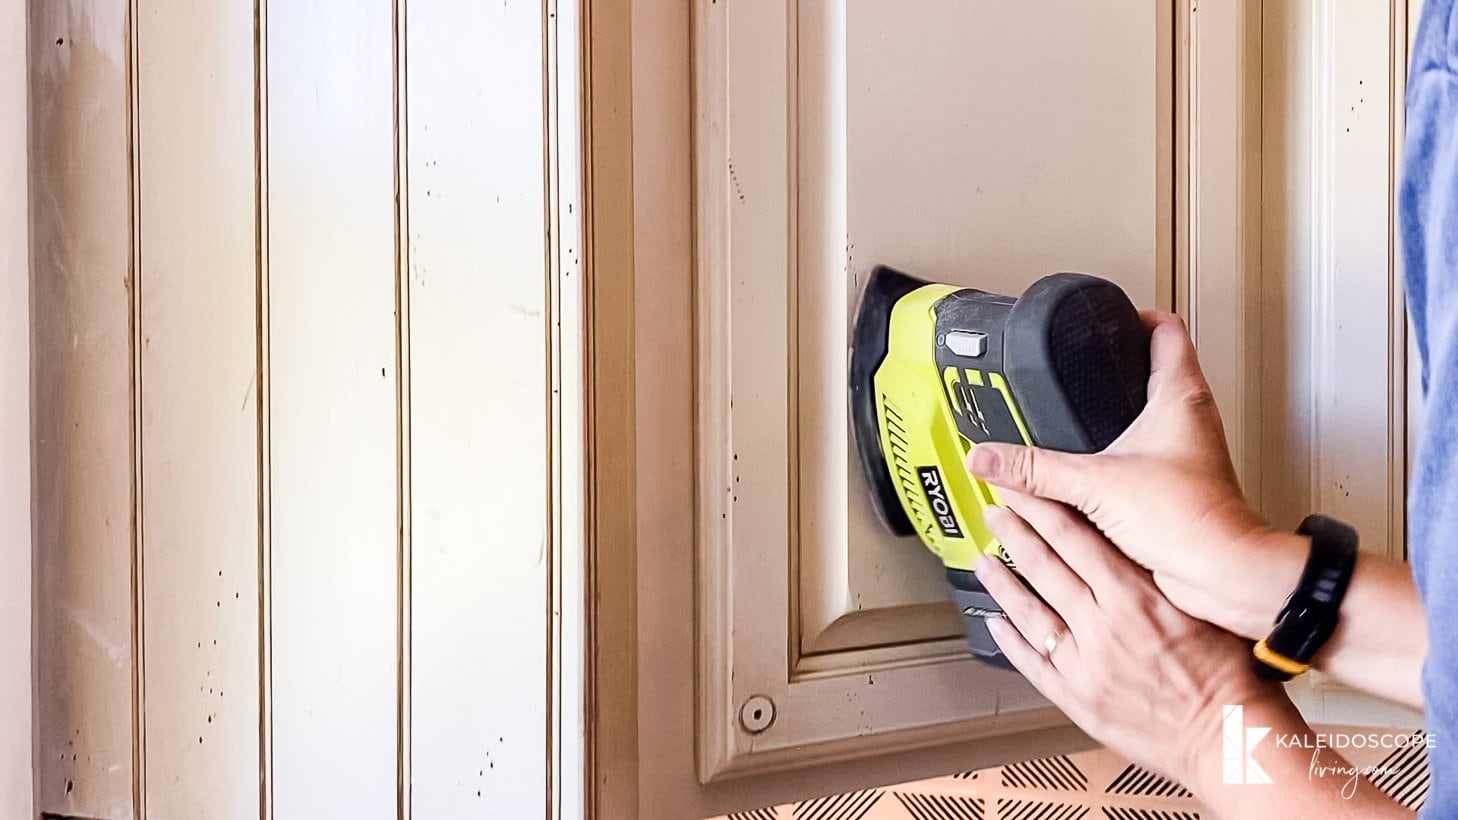
Step 2: Lightly sand–this shouldn't take more than 30 minutes.
Next, you are going to quickly and lightly sand the surfaces of your cabinet frames, drawer fronts, and doors. The light sanding we did took around 30 minutes–it was faster than the cleaning. You do not need to sand the existing finish off or get down to bare wood! You just need to rough the surface u,p and that is quick and easy to do! Do not make this step harder than it is. We used a small palm sander for the job, but you can sand by hand if you don't have one! When you are done, be sure to wipe all the dust off the cabinets with a tack cloth.
Step 3: Paint your cabinets–that's right–you don't need to prime.
You are ready to paint! That's right. You do NOT need to use primer on your cabinets before painting. That's because this paint has excellent adhesion and is super durable (it's a very different type of paint than latex paint). We chose it because Thea's family will put a lot of wear on these cabinets, so we wanted something that would hold up to everything they can dish out!
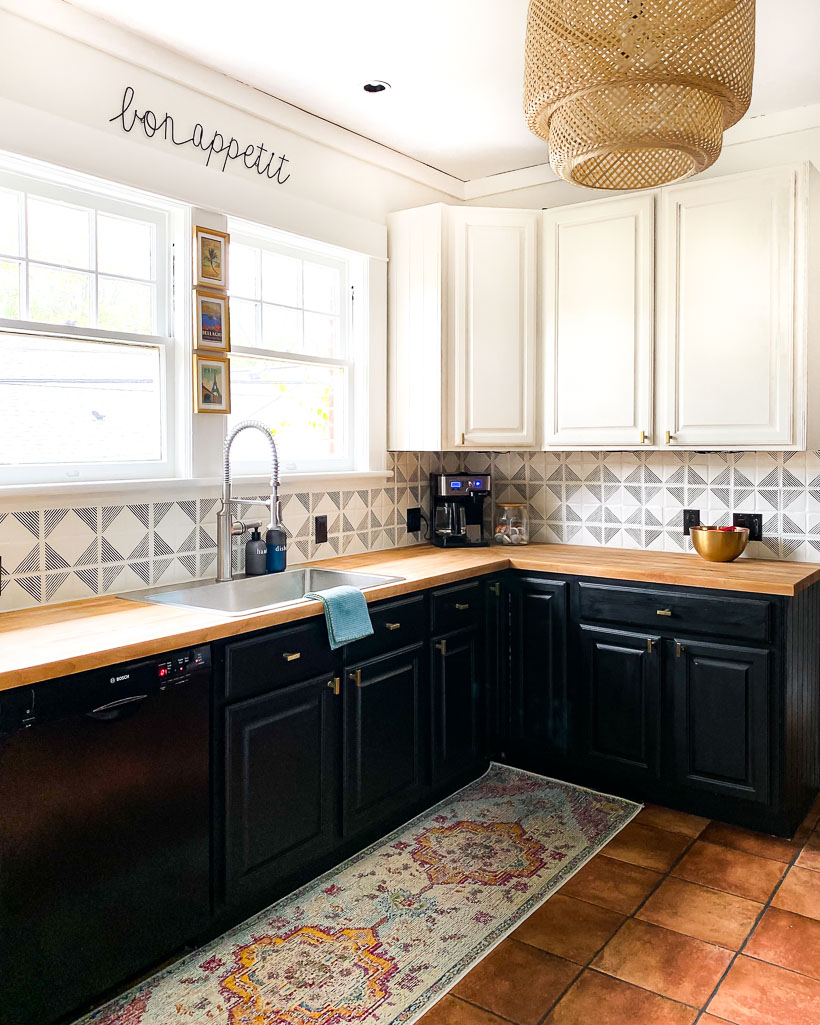
We started by sampling some Fusion Mineral Paint color options (when you order directly from Fusion Mineral Paint you can save 10% with coupon code kaleidoscopelivingfmp at checkout). We ultimately decided on Raw Silk for her upper cabinets and Coal Black for her lower cabinets and pantry cabinetry.
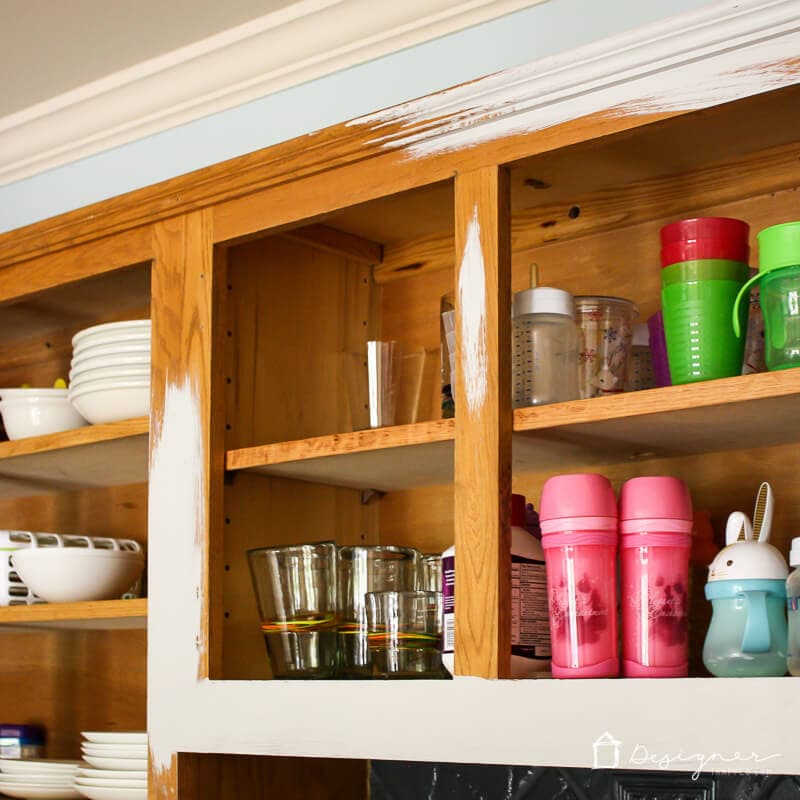
Fusion Mineral Paint is easy to work with–it may be a bit thinner/runnier than some paints you've used, but the coverage is EXCELLENT. There are minimal (if any) brush strokes. It's incredible. We got the first coat of paint on the upper and lower cabinets done in just a few hours.
We used a small foam roller for the flat surfaces and a brush to get in the ridges created by the beadboard and raised panels. We used a very small detail/artist's brush to paint around the hinges carefully.
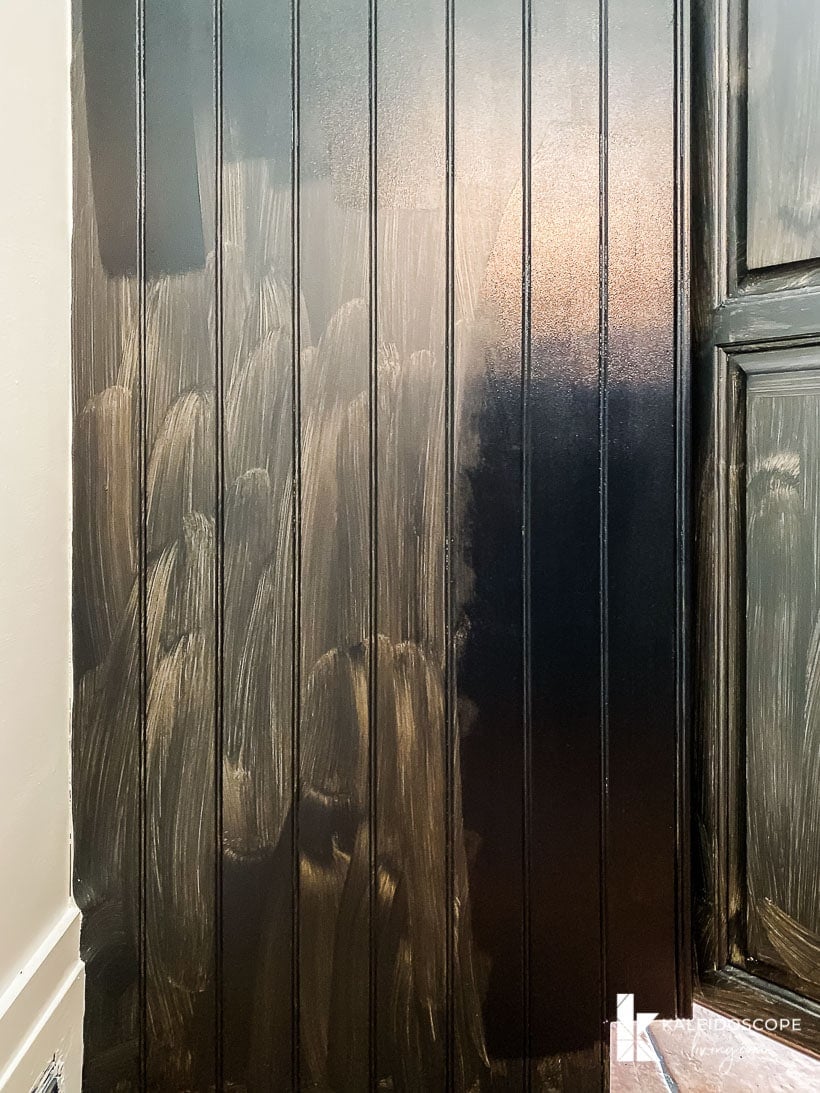
We completed the entire first coat and most of the second coat in one day. We had some additional cabinets to second coat on day 2. The photo below shows the difference in coverage from the first coat to the second coat.
Step 4: Apply your top coat (it's quick and easy)
Once you have full coverage (which should require no more than 2 coats of paint), allow the paint to dry for 24 to 48 hours. Then, you are ready to give the paint extra protection with Fusion Mineral Paint Ultra Guard. It is non-yellowing and reinforced with silica for increased durability. It goes on whiteish, but it dries transparent, and enhances light and dark colors.
Step 5: Replace your cabinet hardware.
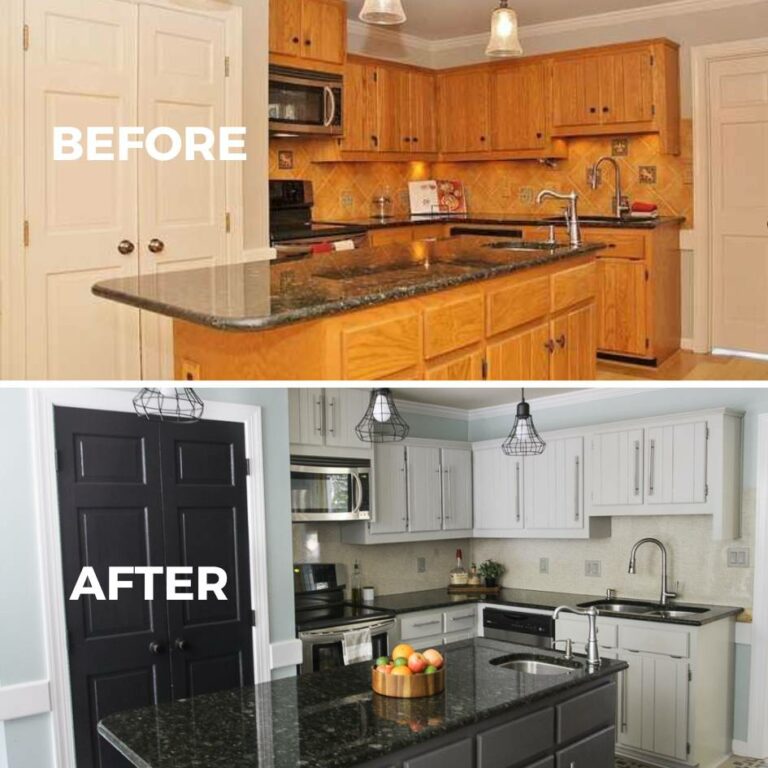
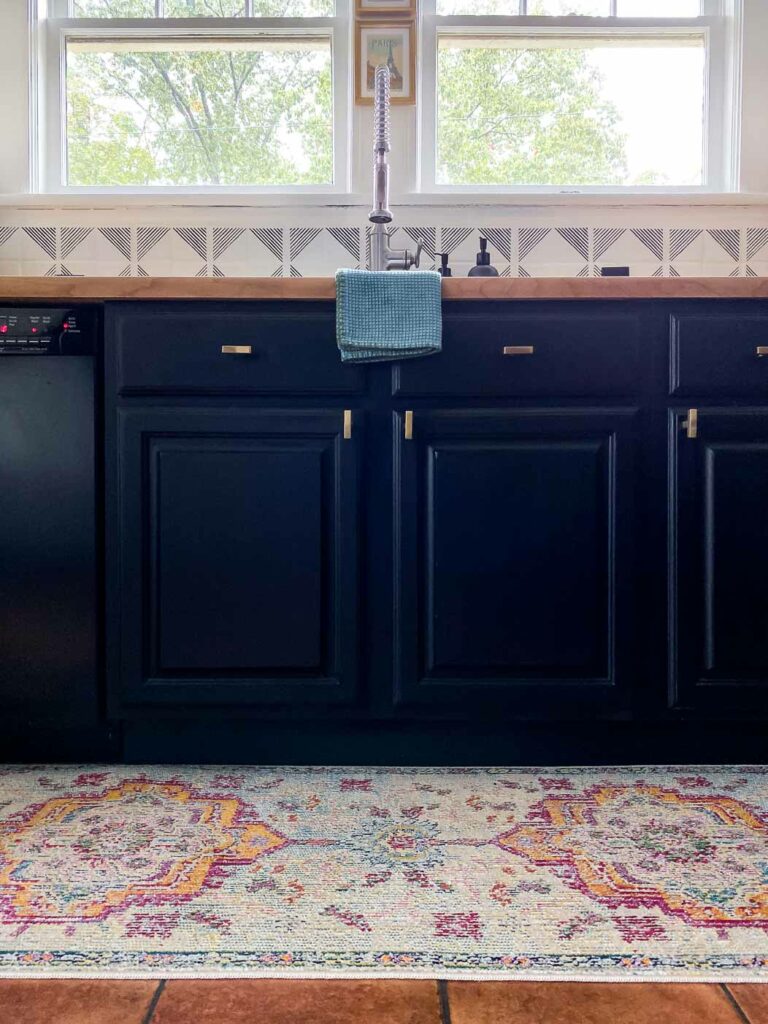
Once your topcoat dries, you can replace your cabinet hardware. We added inexpensive new hardware to Thea's cabinets–we chose these gorgeous and inexpensive knobs. You can see all the details of Thea's total kitchen makeover for less than $1,000 here (we PAINTED her tile backsplash as well–isn't it pretty?!)
Thea's family was NOT easy on her cabinets, and they held up perfectly until they moved to a different home over 3 years later. And I was so impressed with how quick, easy, and durable this method for painting kitchen cabinets was that I used it to paint the cabinets in our current home in early 2021.
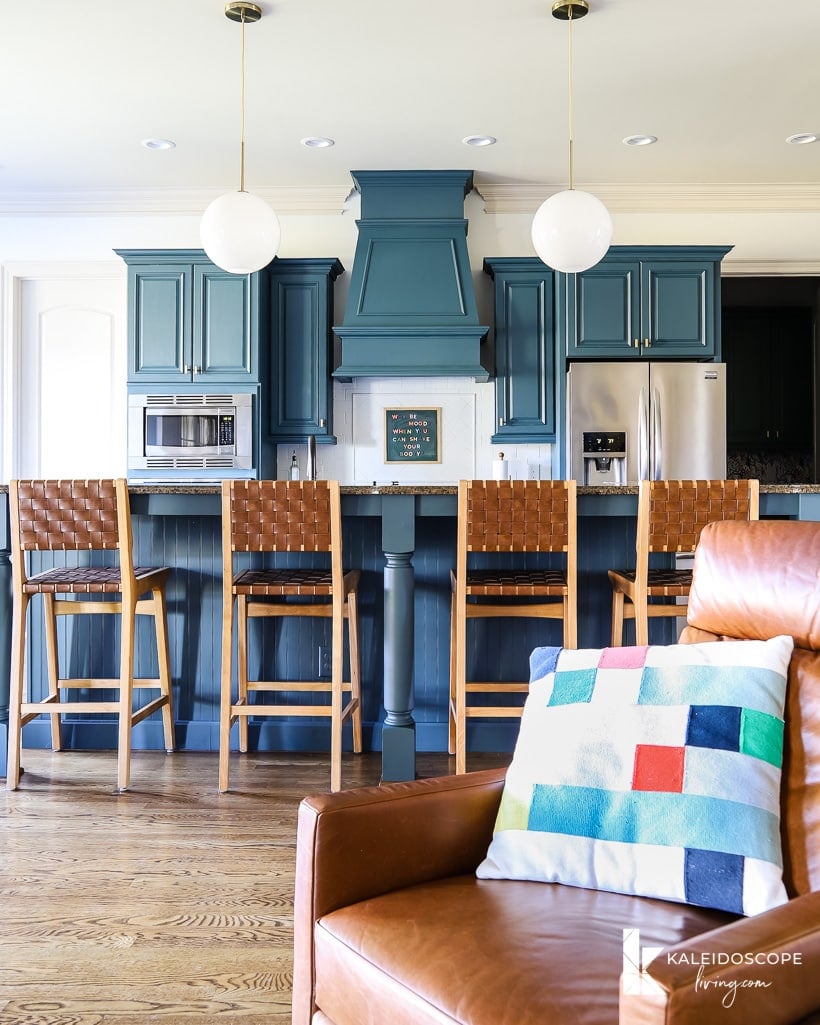
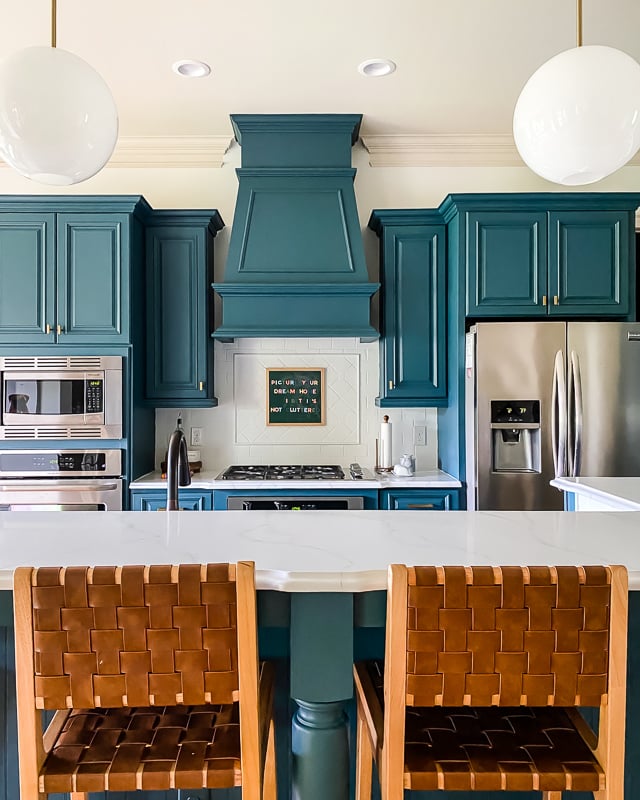
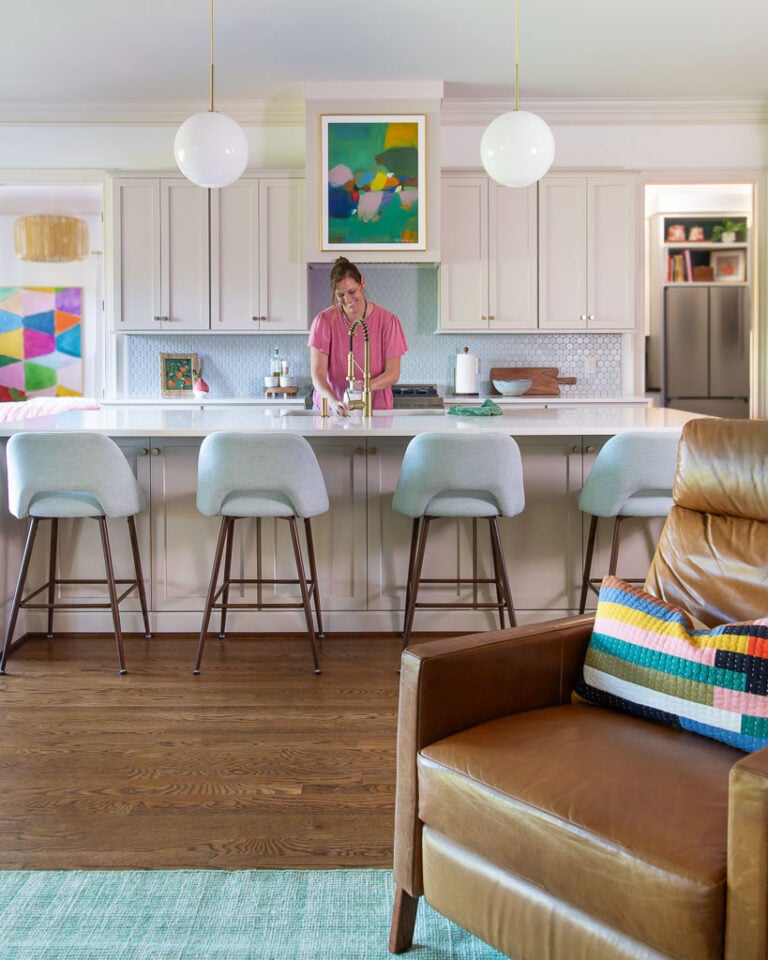
I painted our kitchen cabinets with Fusion Mineral Paint in the color Seaside. We lived with our DIY painted cabinets for over 3 years until we fully renovated our current kitchen in 2024 (you can see our neutral but colorful kitchen remodel here). We had very minor chipping on the door of our pull-out trash can and a couple of other spots over the years, but were able to easily touch them up with a tiny paintbrush. Overall, we were very happy with how well they held up!
Which of these kitchen cabinet painting methods is best for you?
I get asked a lot about which of these two methods I recommend for people who want to paint their kitchen cabinets themselves. Here is my bottom line recommendation.
- If you want to paint your kitchen cabinets to give your kitchen a new look for one to three years, I would recommend using the Fusion Mineral Paint method. It's quicker, easier, and there are more paint colors to choose from. And it's absolutely durable enough to look fantastic for several years.
- If you want your DIY painted kitchen cabinets to last indefinitely, I would recommend using the General Finishes Milk Paint method. It is a bit more time-consuming, but as far as we could tell, it was pretty much indestructible.
Phew! I know that was a ton of information, but you have made it to the end and I hope you have found this information helpful. Both methods I have used to paint our kitchen cabinets delivered professional-looking, long-lasting results with minimal prep work. I hope seeing my experience with both methods gives you confidence to paint your own kitchen cabinets. Because trust me—freshly painted cabinets are one of the most satisfying DIY transformations out there!
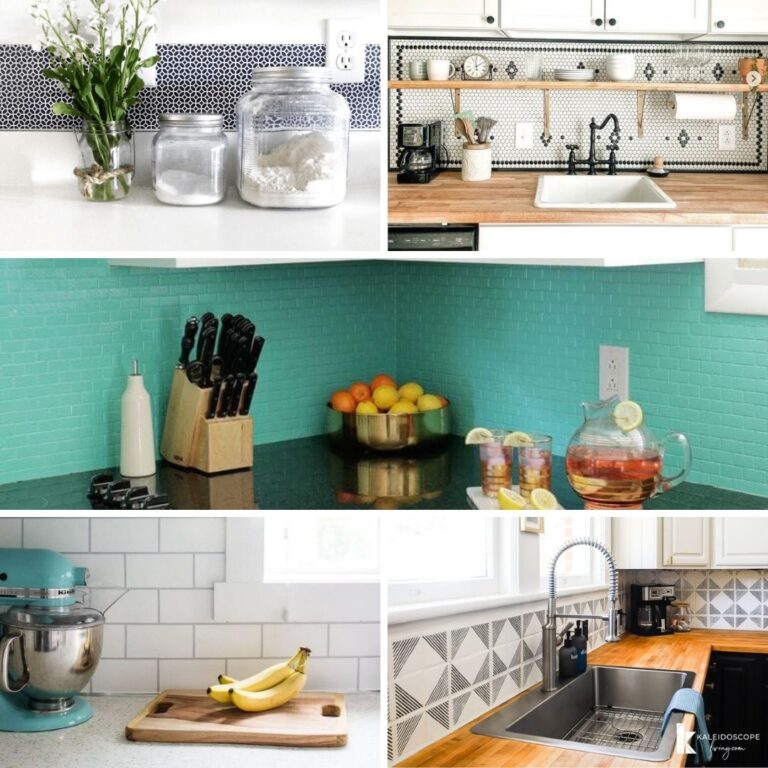
More Kitchen IDEAS
Wondering how I approach transforming rooms and spaces in our home? Check out Designer in a Binder®.

And if you want exclusive content and behind-the-scenes sneak peeks, be sure to subscribe before you head out!


Awesome post! The two different painting methods are explained so clearly—a great little boost of confidence for anyone ready to refresh their kitchen cabinets. Thanks for sharing!
My pleasure!