Our Colorful Master Bedroom REVEAL
After 5 long months, we can finally call all master bedroom makeover DONE. Come check out our colorful bedroom that is happy and fun, but soothing and relaxing at the same time!
If you follow me over on Instagram, you know that we have been working on our master bedroom on and off since December. Yes, for 5 months. We didn't want to rush it since we have gone through several iterations of this room and have never quite gotten it right. We REALLY needed to nail it this time for our own sanity. There IS a complete source list for you at the bottom of this post and I've linked to things you may ask about throughout the post as much as possible :)
Bit of background… We've been in this house for over 7 years now. It was built in 1986. This is what it looked like when we moved in. So beige. So boring. (You can take our full house tour here).
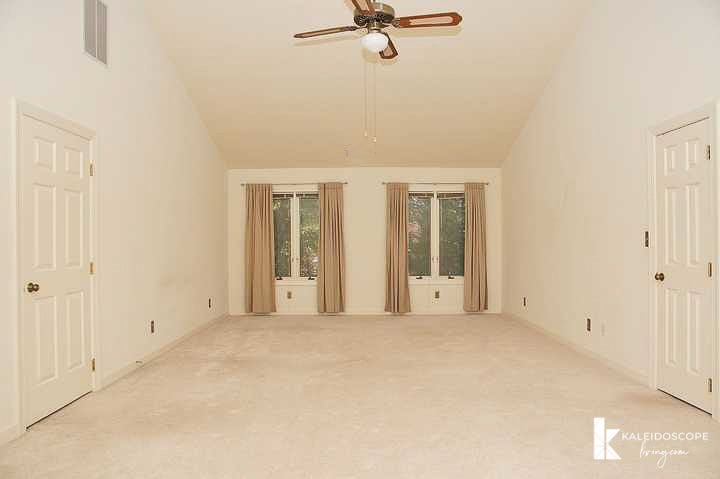
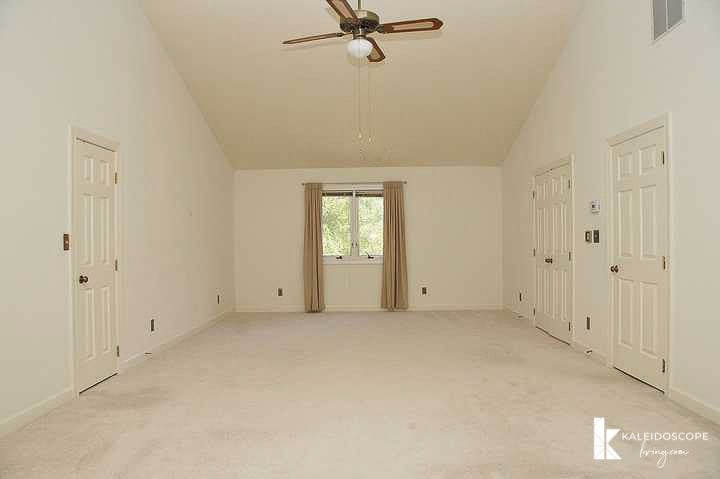
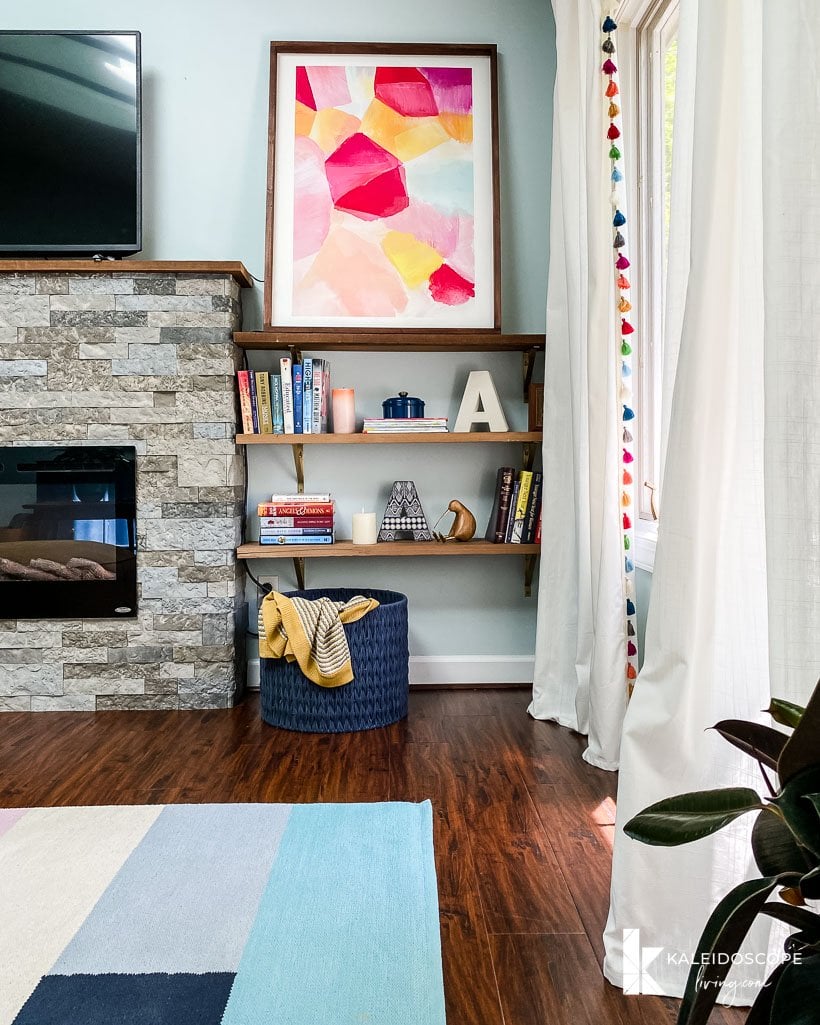
Over the years, we have worked on our master bedroom slowly but surely. We ripped out the carpet and installed our favorite laminate flooring that we've used throughout our home (here's why we've chosen laminate flooring for our home). We painted the walls and trim. We replaced that sad and TINY fan with a much larger version. More recently, I painted all of the doors. We also added skylights and a DIY electric fireplace. And we finally added roller shades to our bedroom. Bottom line… It has taken us YEARS and finally developing a cohesive design plan ahead of time to get our bedroom to this point.
So here's what our colorful bedroom looks like now!
This post contains affiliate links for your convenience. Click here for my full disclosure policy.
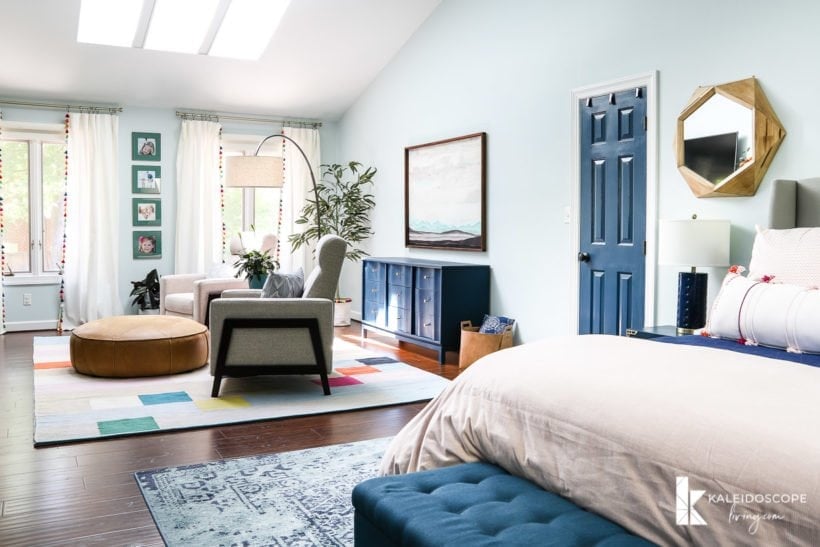
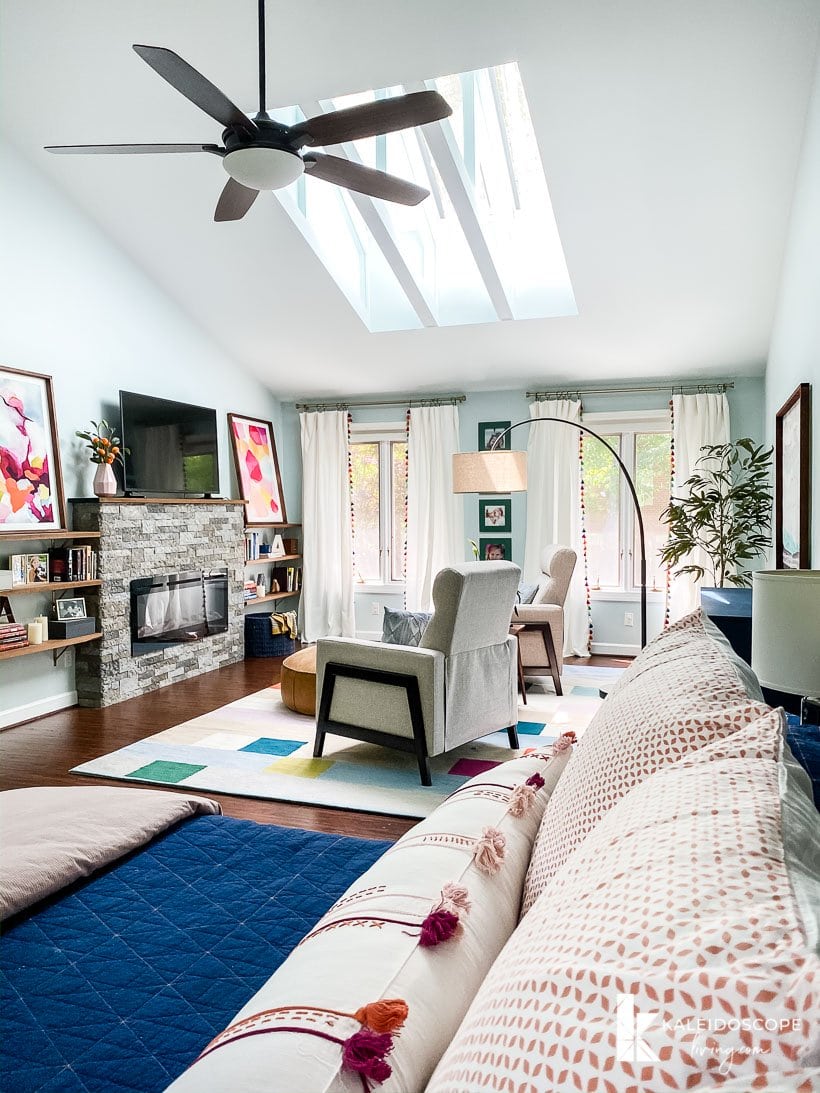
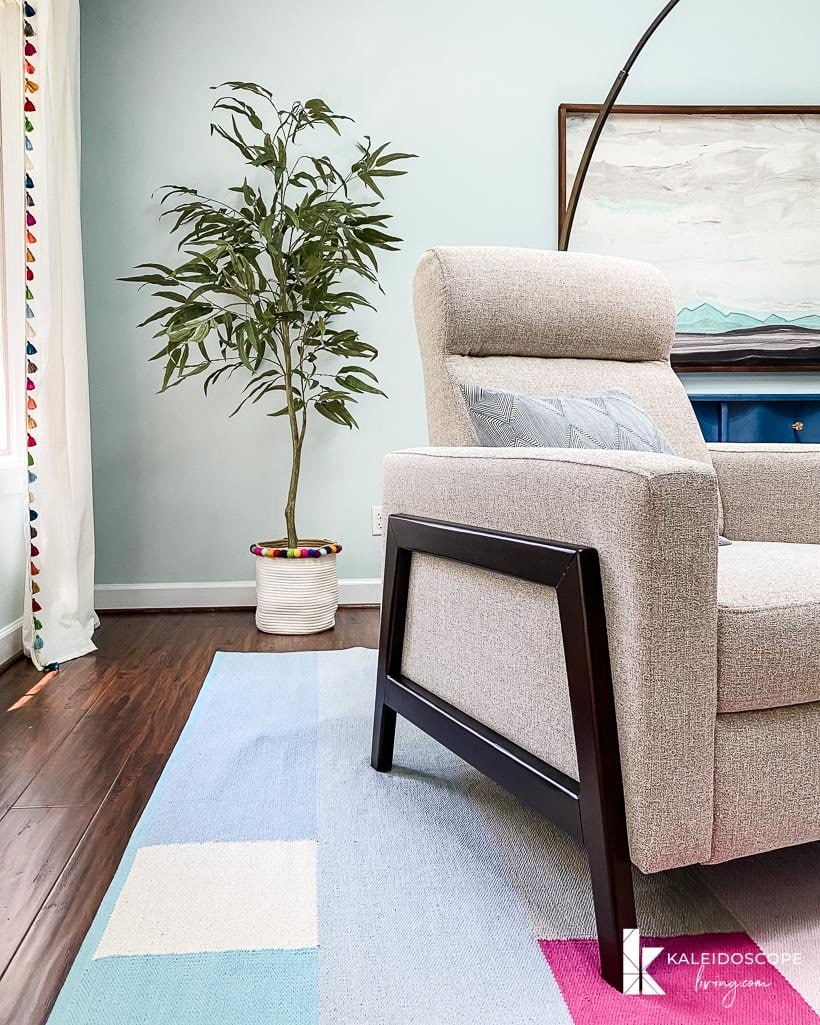
I'm proud to say that this room FINALLY feels not only finished, but “right.” We struggled to find the perfect furniture for the seating area, but we finally did it! Joe really wanted recliners (because he loves this recliner in our family room so much). I wanted a small sectional sofa. In the end, we found these gorgeous, modern recliners for an INCREDIBLE price, so I gave into recliners. Spoiler alert…I love them and think they were a much better choice than a sectional in the end. Don't tell Joe, lol.
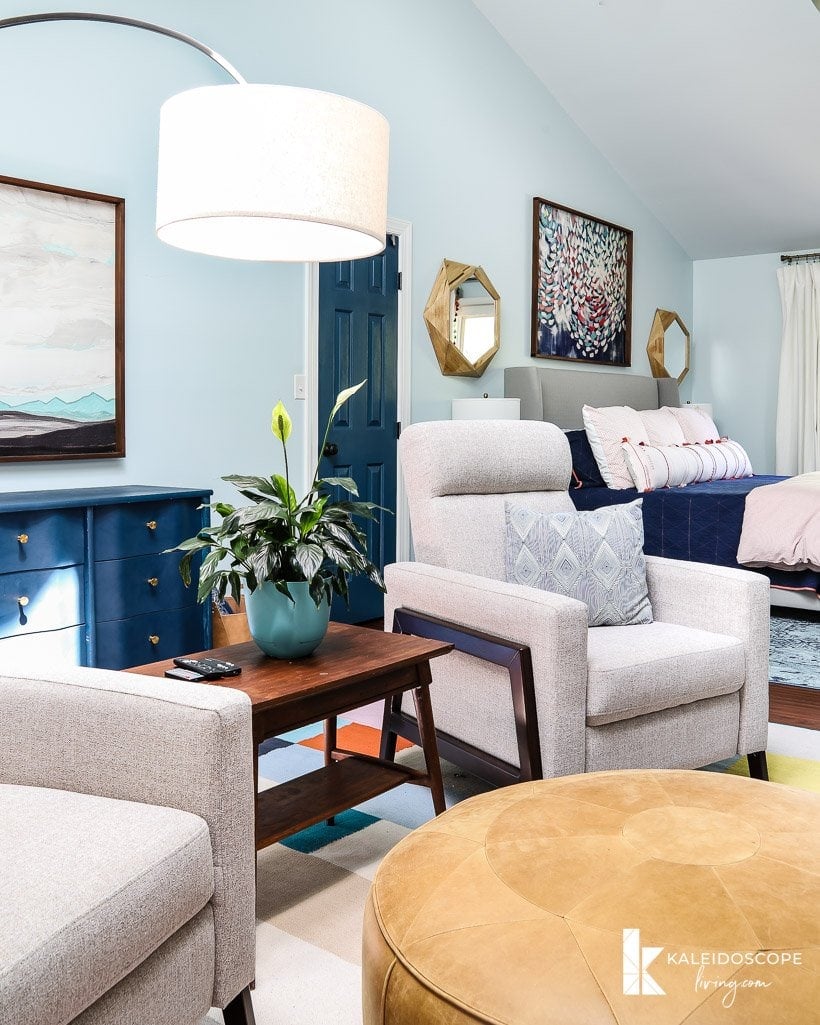
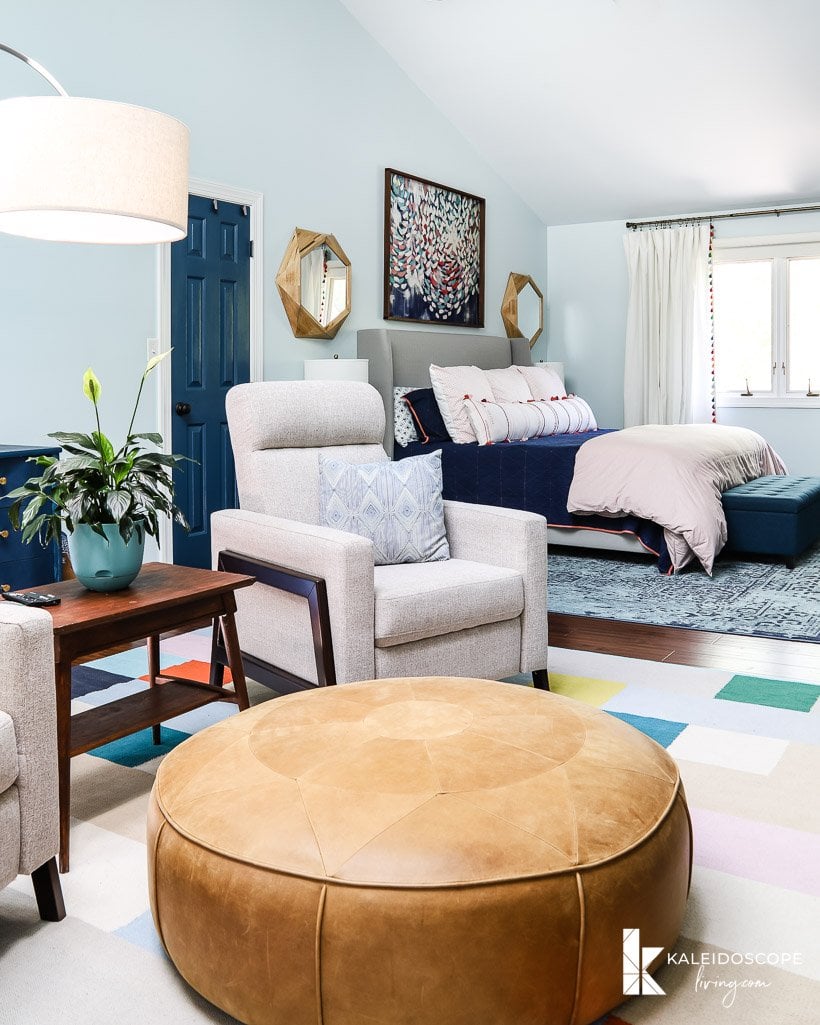
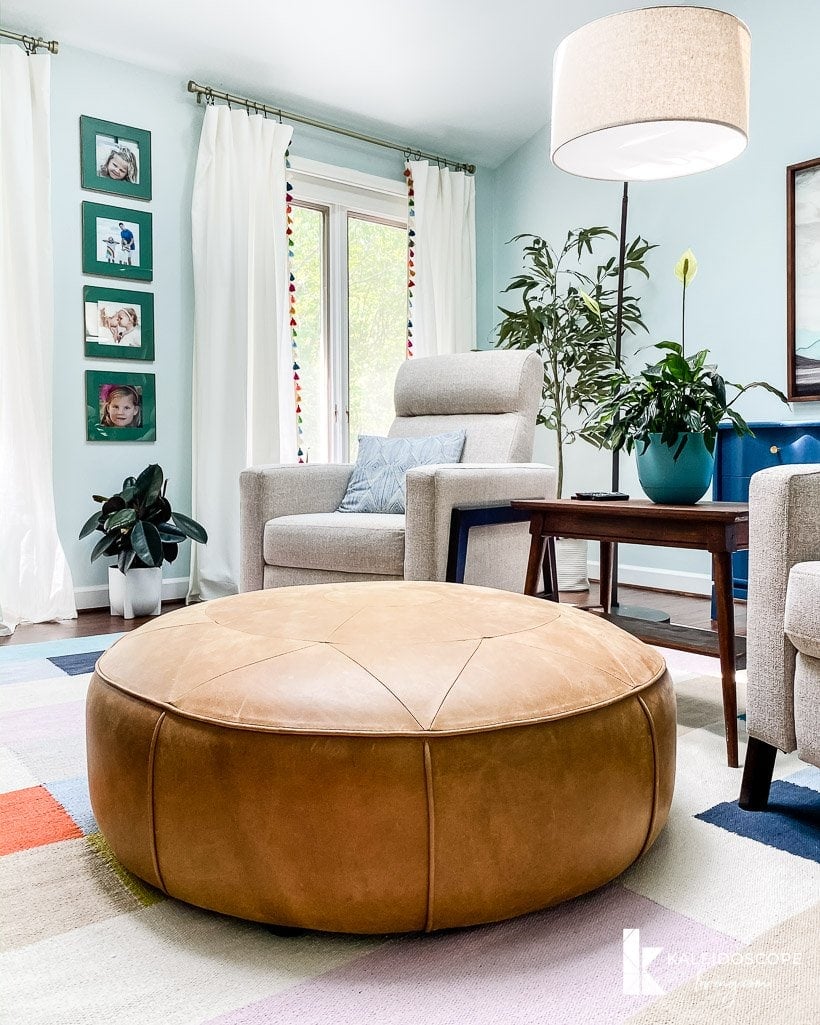
We ended up “stealing” that gorgeous leather ottoman up from the sitting area in our kitchen because it was a bit too large for that space. It's PERFECT in our bedroom. And YES, we can both rest our feet on it if we are sitting up in our stylish recliners. That cute side table was a $15 Facebook Marketplace purchase. I still need to refinish it, but I love it so much! And we stole the arc lamp from our family room because it works better up here. We bought this rug for the seating area, and I'm totally smitten with it! The real bonus is that JOE LIKES THE RUG! That feels like a miracle!
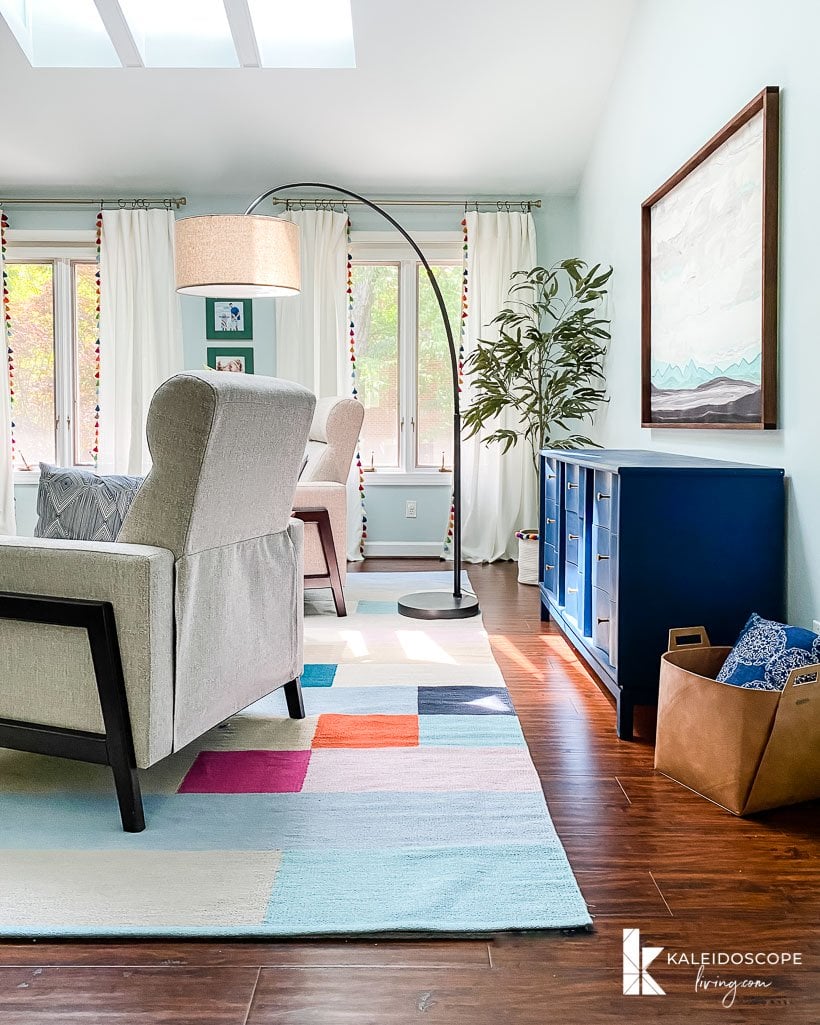
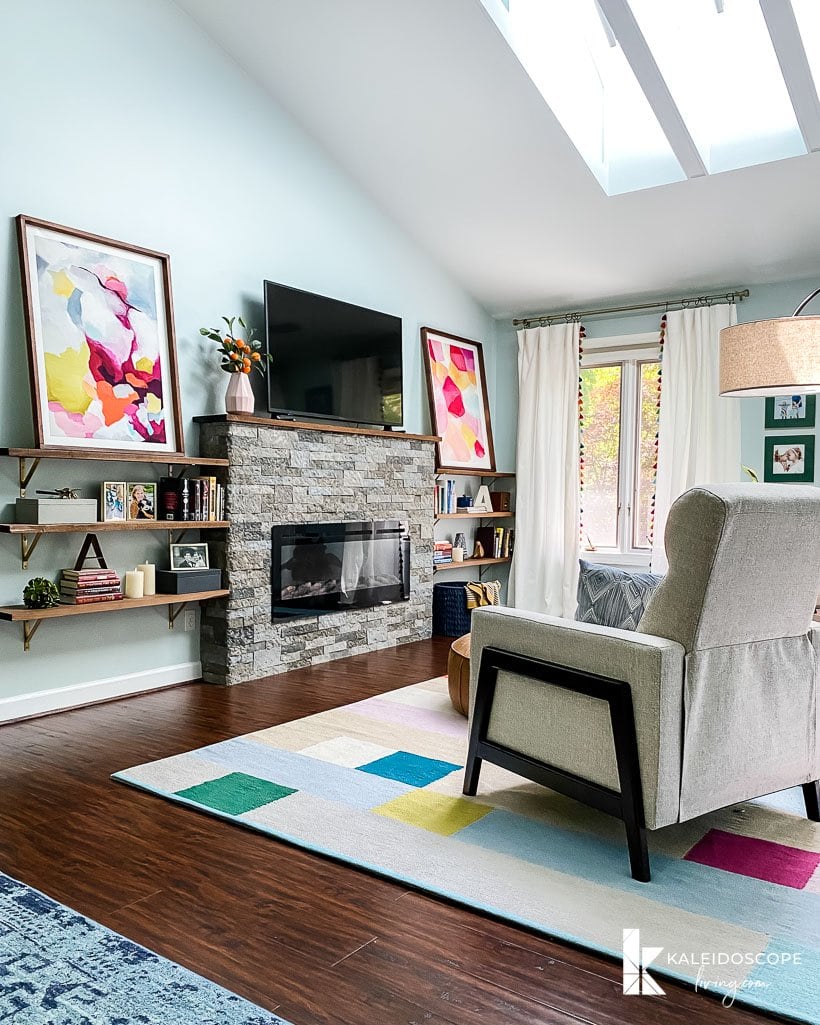
Other than the new recliners and second-hand side table, we didn't purchase any new furniture for the space, which feels like a real win! We rearranged the furniture, including this dresser that I purchased at a thrift store about 14 years ago (it's still one of my favorite pieces in our house). We also reused most of the artwork that we already had, though this piece and this piece on this wall are new. We framed them in our DIY frames (that cost less than $20 each to make) so that we could get large prints without totally breaking the bank.
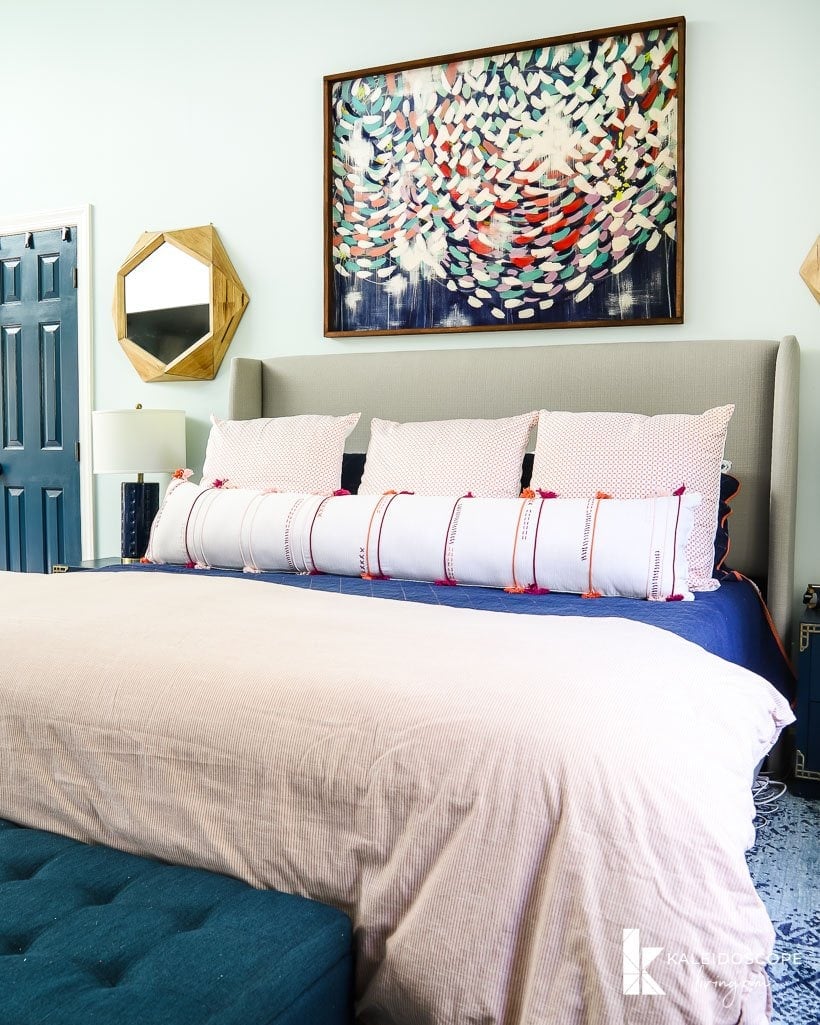
Not much changed on the side of our master bedroom where we sleep, other than some furniture rearranging and the fact that we moved one of our existing art prints over there. Oh, and I made that DIY bolster pillow and the tassel curtains (tutorials on both coming soon)! We've had this rug here for a while. It's one of my absolute favorite rugs. We also have one in Avery's room and in our foyer–that's how much we love it!
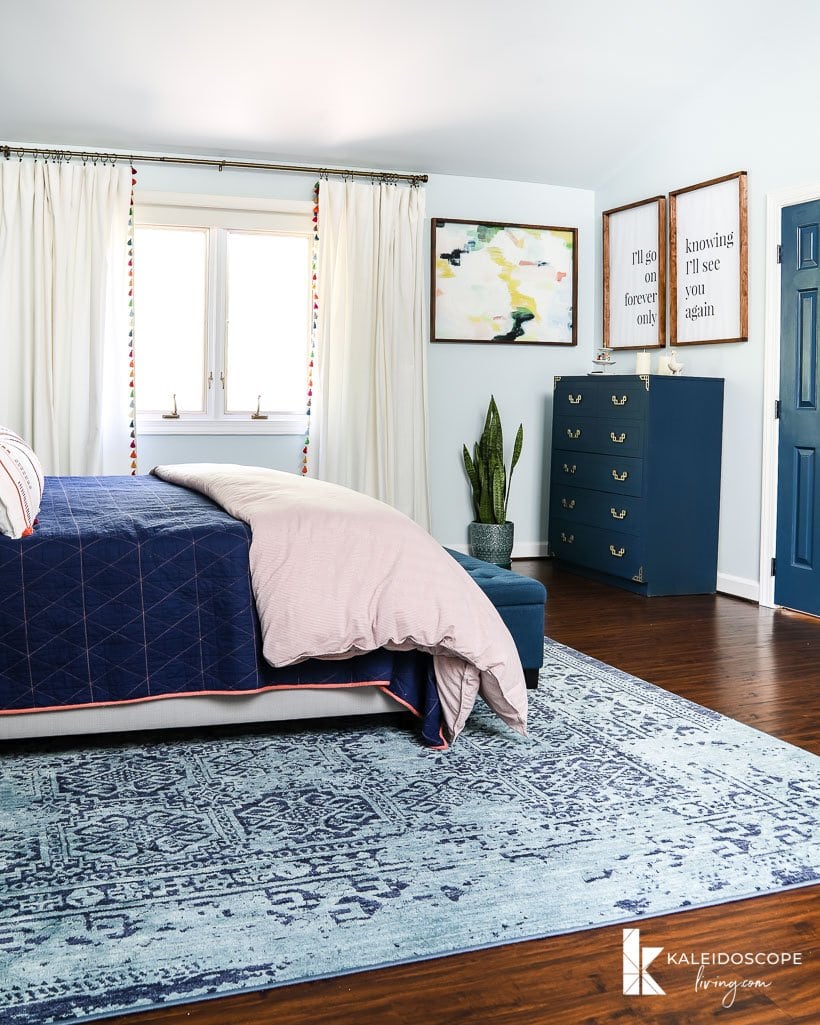
This tall dresser used to be on the other side of the room, but it's so much better over here! And I'm glad I was able to keep those special prints that I designed from the Dave Matthew's Band Song we danced to at our wedding above it (PS- you can get those free printables and lots more when you subscribe HERE).
Here's some additional views for you. The sitting area is our favorite place to relax and watch a show after our girls go to bed. Of course, I incorporated some family photos using these less than $10 each DIY gold frames and some new photo mats that I painted green.


Well, that's it friends! Our colorful bedroom is bright and happy, but still soothing and relaxing. As promised, you can find the source list below.
Colorful Bedroom Source List
PAINT COLORS: Wall paint color: Morning Fog by Olympic | Dresser, chest of drawers and bedside table color: Lady Singing the Blues by Amy Howard at Home One-Step Paint
DIY PROJECTS: DIY Fireplace Build | DIY Bedside Table Makeover | DIY Art Frames | Typography Art Prints (click to get them FREE) | How to Paint Wood Furniture
I've included similar items for those pieces that we thrifted, purchased used OR found on the side of the road (like our nightstands). Just click on any of the images for full product details.
Seating Area Sources
Sleeping Area Sources
I have to say, I'm REALLY glad we didn't rush this project. We've done that too many times in the past, which is why this room has seen so many changes over the years. Does that mean I finally learned my lesson and will slow down from now on? MAYBE.
If you are wondering the system I use to create a cohesive design plan, you can find it here. And before you head out, consider joining our community as a VIP for FREE. When you do, you get access to all kinds of freebies including free guides that will help you design and decorate spaces you love!
Wondering how I approach transforming rooms and spaces in our home? Check out Designer in a Binder®.
And if you want exclusive content and behind-the-scenes sneak peeks, be sure to subscribe before you head out!

Last Updated on March 3, 2022


Wow it looks so beautiful! You created a beautiful flow throughout the room. I have curtains just like those from Target.
It is so pretty? I can’t stop smiling!!