DIY Bathroom Remodel REVEAL
Last Updated on June 5, 2022
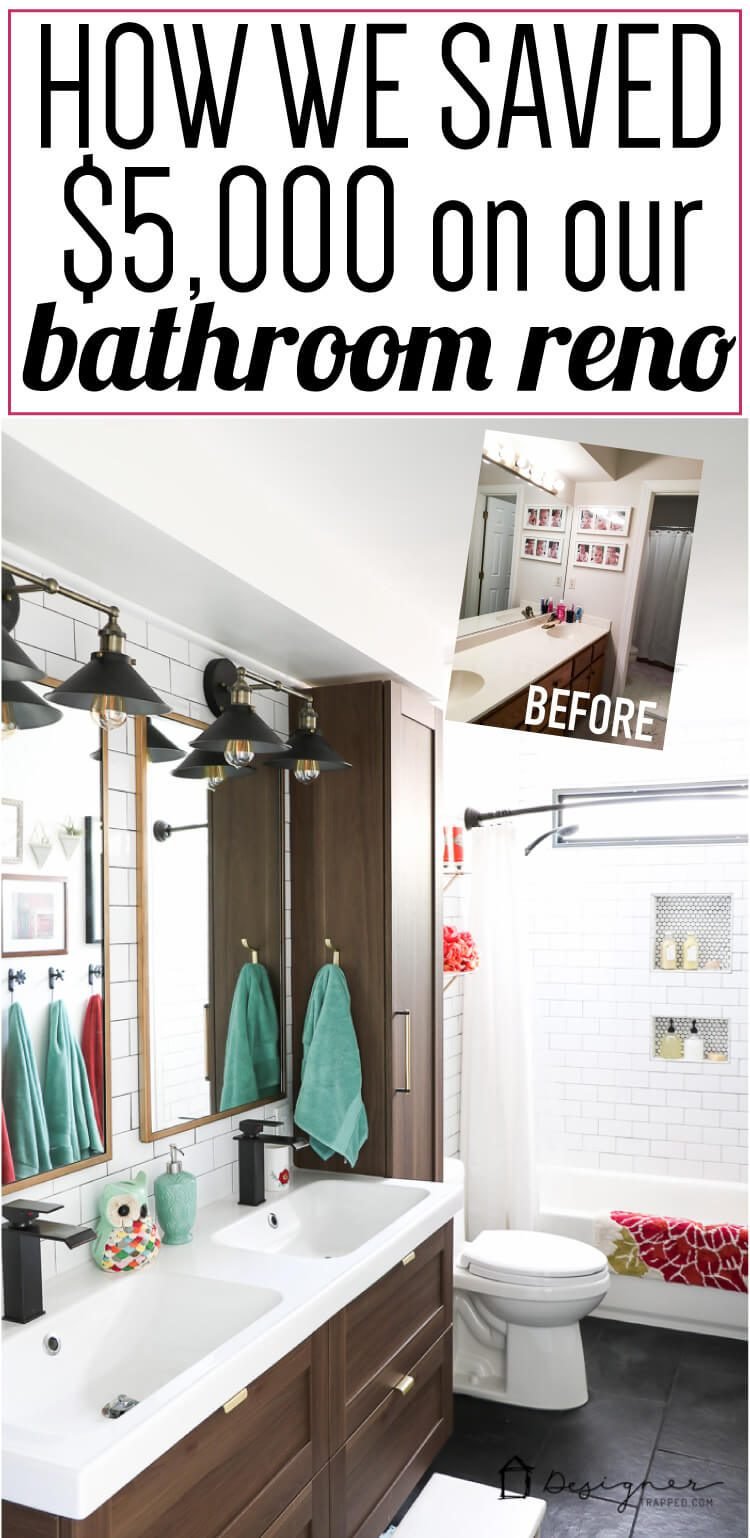
Y'all, we survived our DIY bathroom remodel. WOOOO HOOOO! If you've been following our DIY bathroom remodel here on my blog, you know we've put our blood, sweat and tears into it week after week. But we have reached the finish line and though we are EXHAUSTED, I can definitely say all the hard work was worth it.
The average mid-range bathroom remodel in 2016 was $10,499 according to the National Kitchen and Bath Association and $14,975 according to BathroomRemodel.com. Well folks, ours cost just over $5,000 because we got sweaty and dirty and did it ourselves! You can see the cost breakdown at the end of the post.
Before I show you all the reveal photos, here's a list of everything we did in the space:
List of projects we did all by ourselves (#DIYwarriors):
- Gutted it down to the studs and subfloor
- Removed wall between vanity and shower/tub area.
- Moved plumbing and electrical as needed
- Installed a window (there was NO window or natural light of any kind in this bathroom before)
- Installed some new subflooring (some of our old subfloor was damaged)
- Installed new tub
- Installed Hardie board on 3 of the floor walls and the floor
- Painted the ceiling and wall that was not tiled
- Reframed the soffit above the sinks, reducing the depth and height of it
- Installed subway tile in shower area and on wall behind toilet and sinks
- Installed black slate tile floor
- Grouted all tile
- Installed new vanity lights
- Installed new can lights in ceiling (we had none before)
- Installed new bathroom fan
- Installed new cabinetry
- Installed mirrors and shelves
- Installed and painted base trim, door trim and quarter-round along ceiling
- Installed sink and new faucets
- Installed a new toilet
List of projects we hired out:
- Small amount of plumbing work to reconfigure the tub drain area, which was complex for a variety of reasons
- Drywall on the gallery wall and ceiling
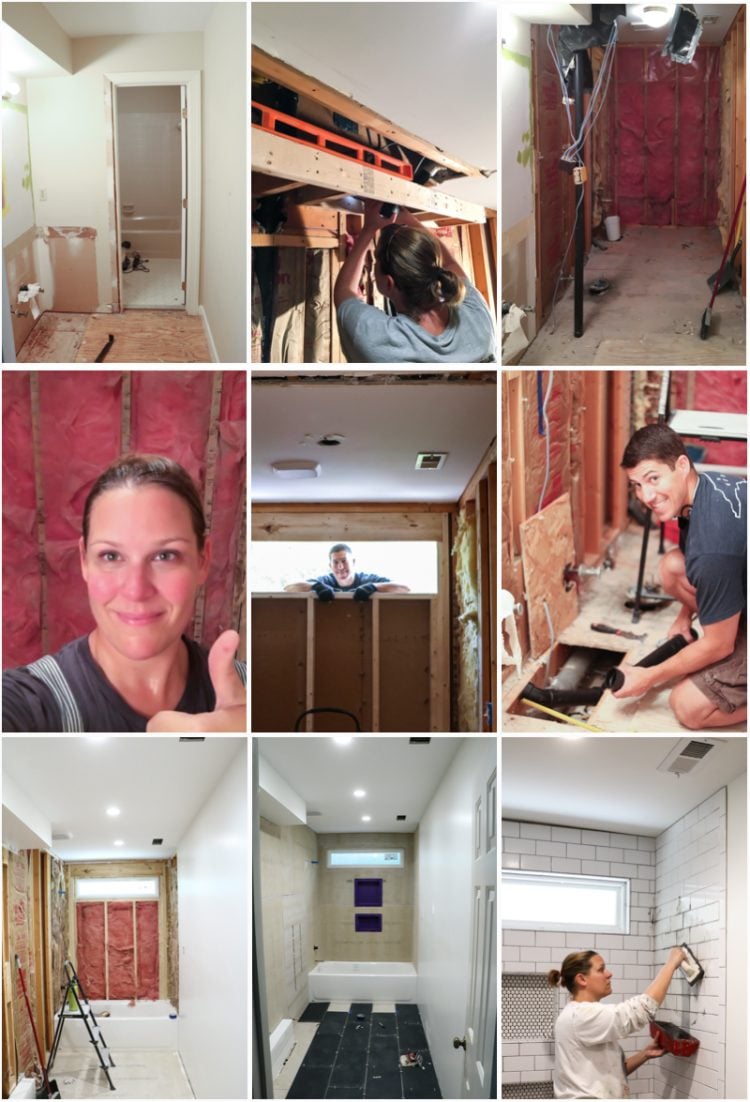
Phew. Yep. It was a lot. Here's a photo collage of “in progress” shots along the way.
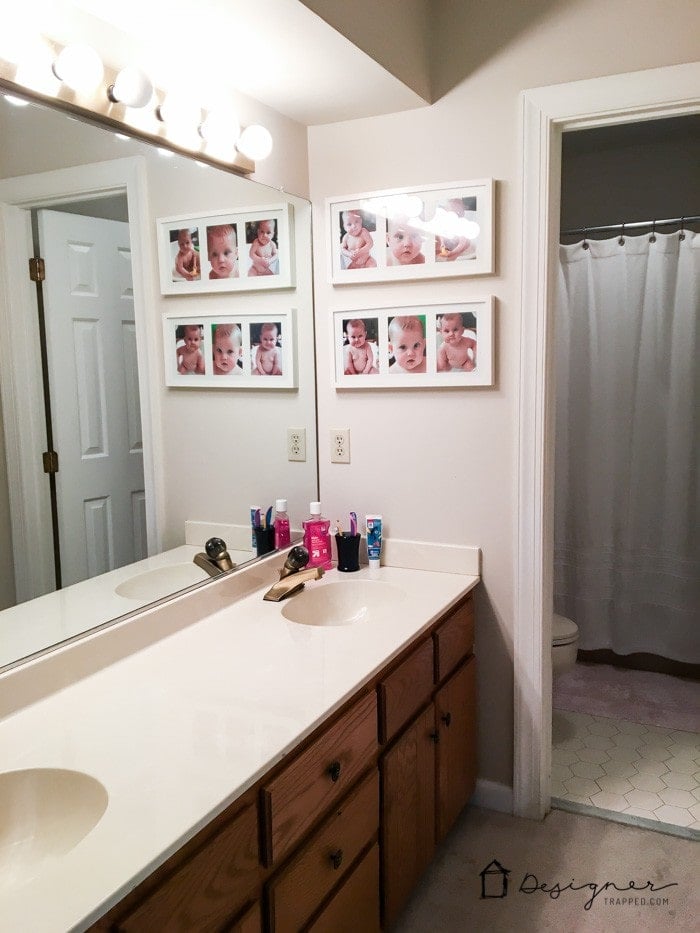
And here are the grisly before photos. Yes, there was DIRTY carpet on the floor. There was no natural light and it was just super, super outdated.
 |  |
DIY Bathroom Remodel REVEAL
Well, let's take a look at how it looks NOW! There is a full source list at the bottom of this post for you :)
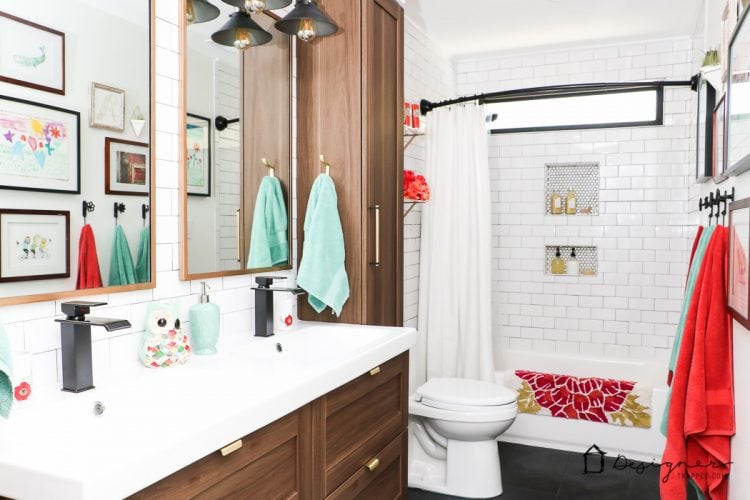
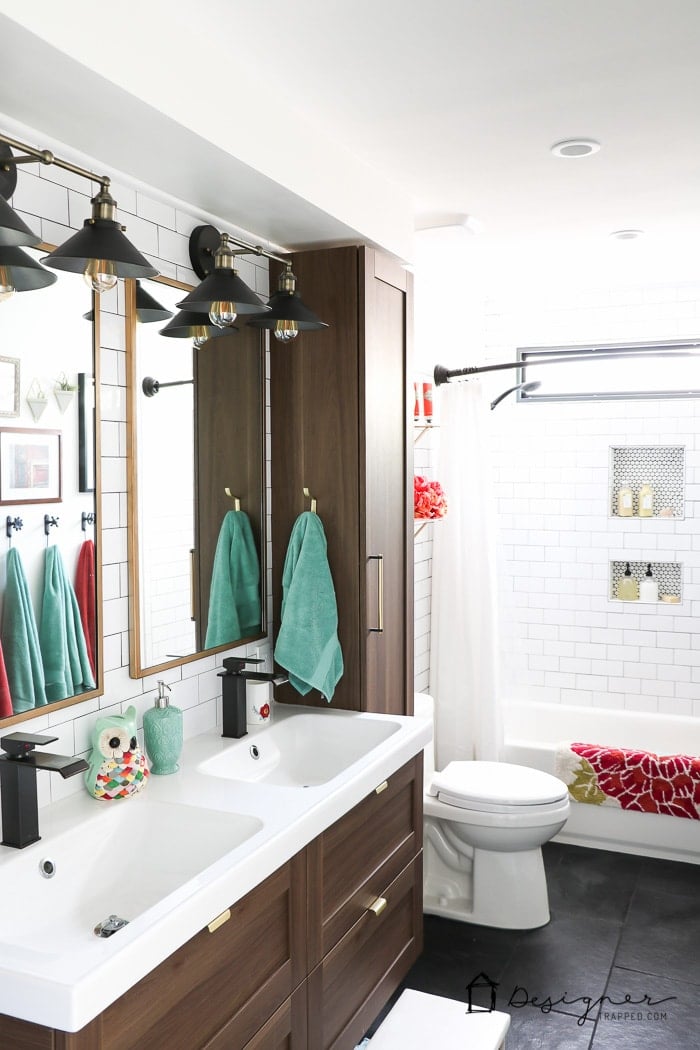
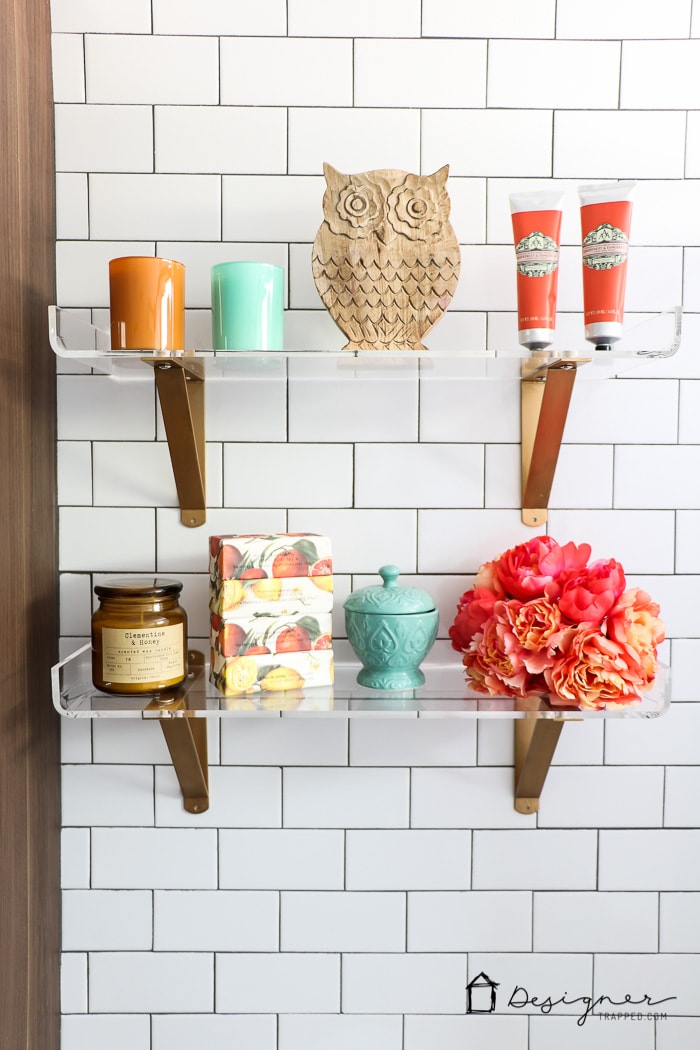
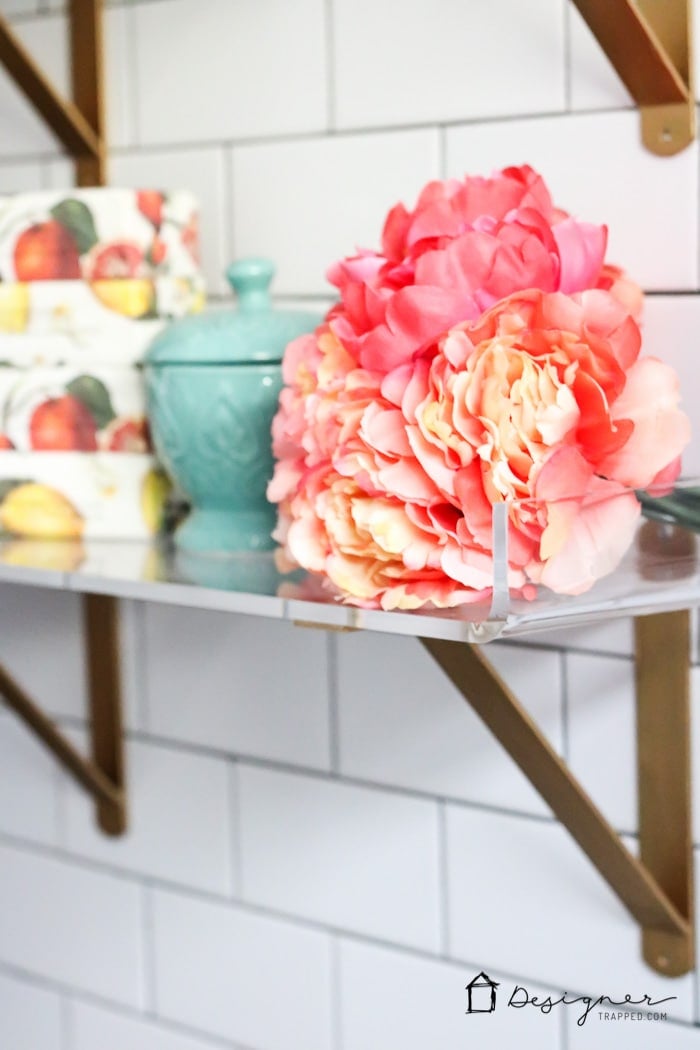
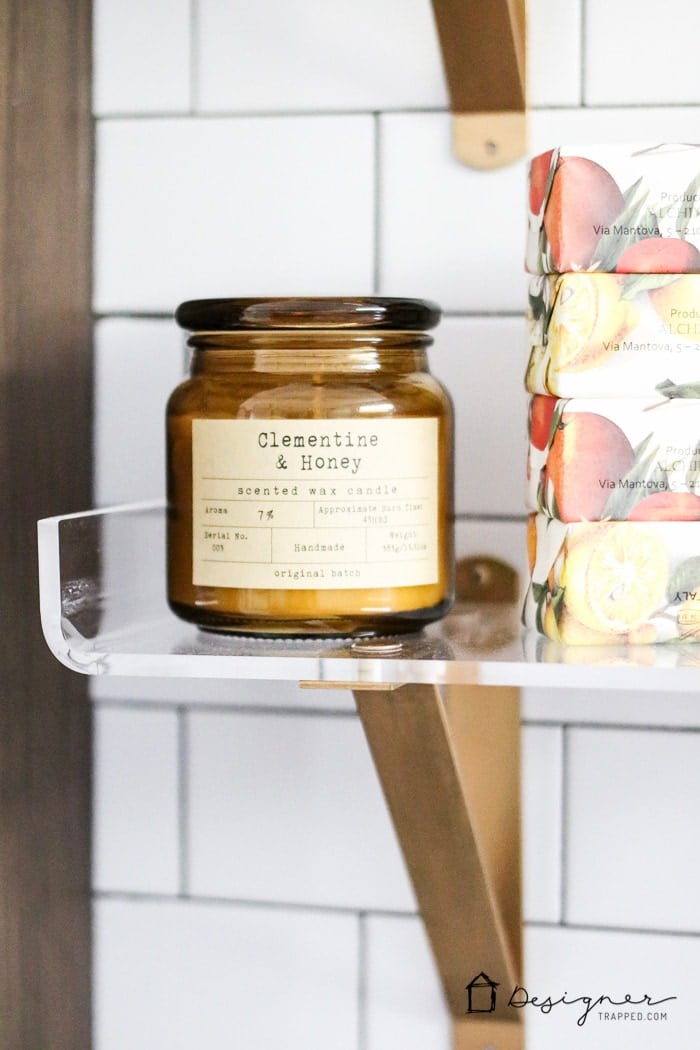
Though it was a TON of work, I am so glad we decided to carry the subway tile from the floor to the ceiling on the mail wall in this DIY bathroom remodel. It just makes all the difference in the world. It serves as the perfect backdrop for this awesome lucite shelves I found at Homegoods (don't worry–I've already figured out how to DIY this project and that tutorial should be coming in a couple of weeks). They just wouldn't pop the same way if this wall was just painted.
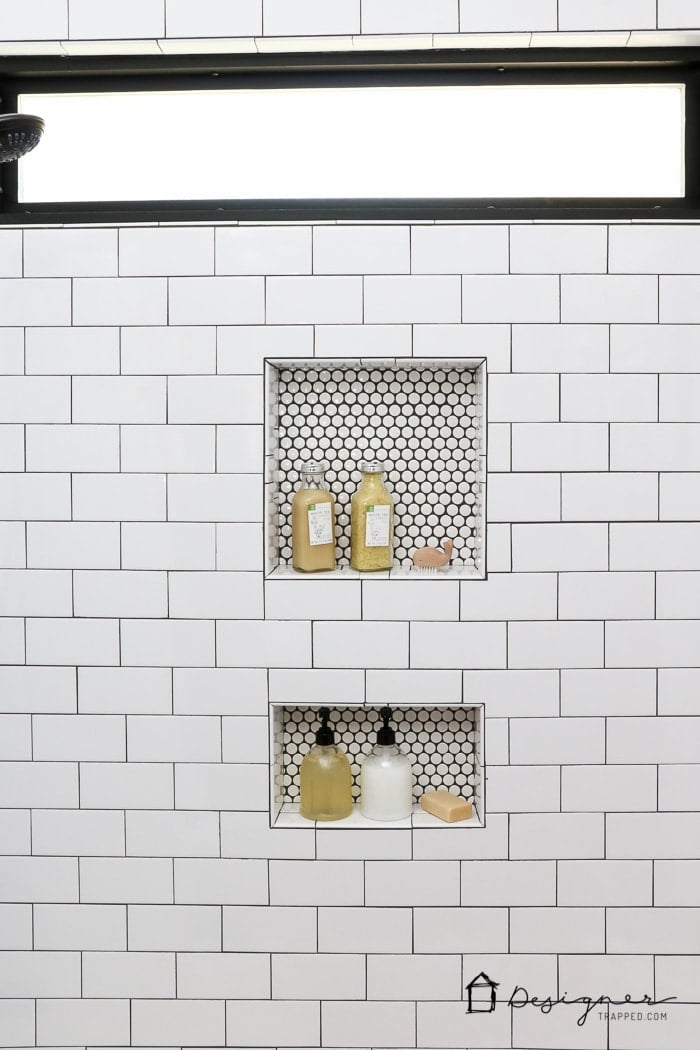
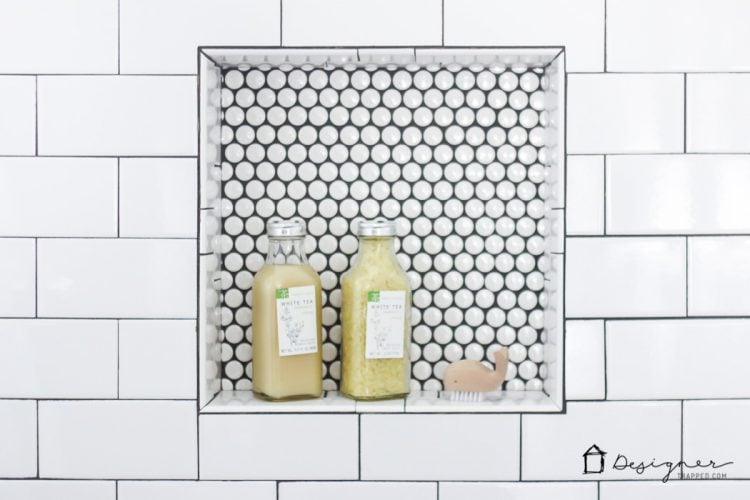
Another decision I am BEYOND thrilled with is the fact that we used penny tile in the shower niches. I love the contrast and visual interest it adds. And can we talk about how much our newly installed window POPS since I painted it black. Best decision ever!
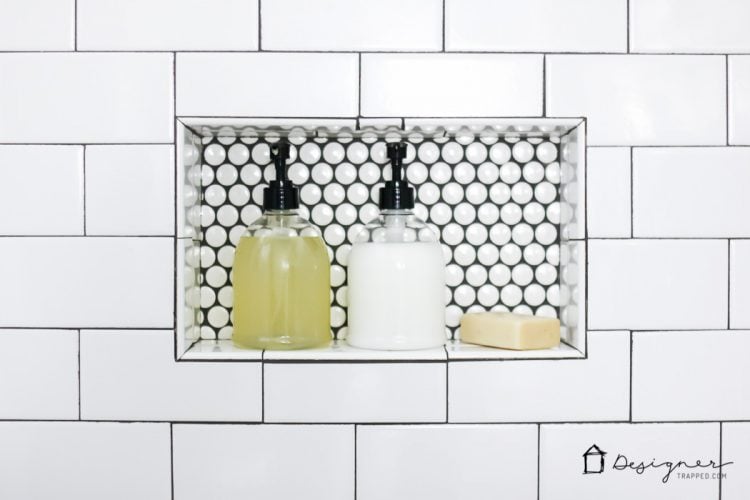
I put the girls' shampoo and conditioner in these cute plastic pump dispensers since they shower themselves now. It's so much easier for them than trying to squeeze it out of regular bottles.
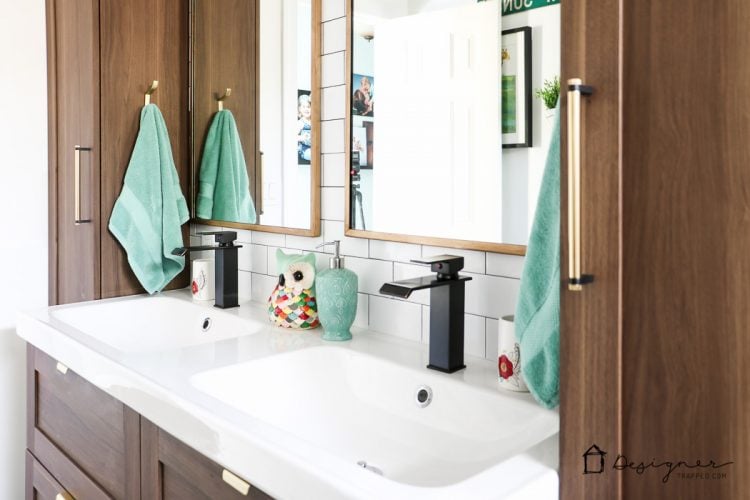
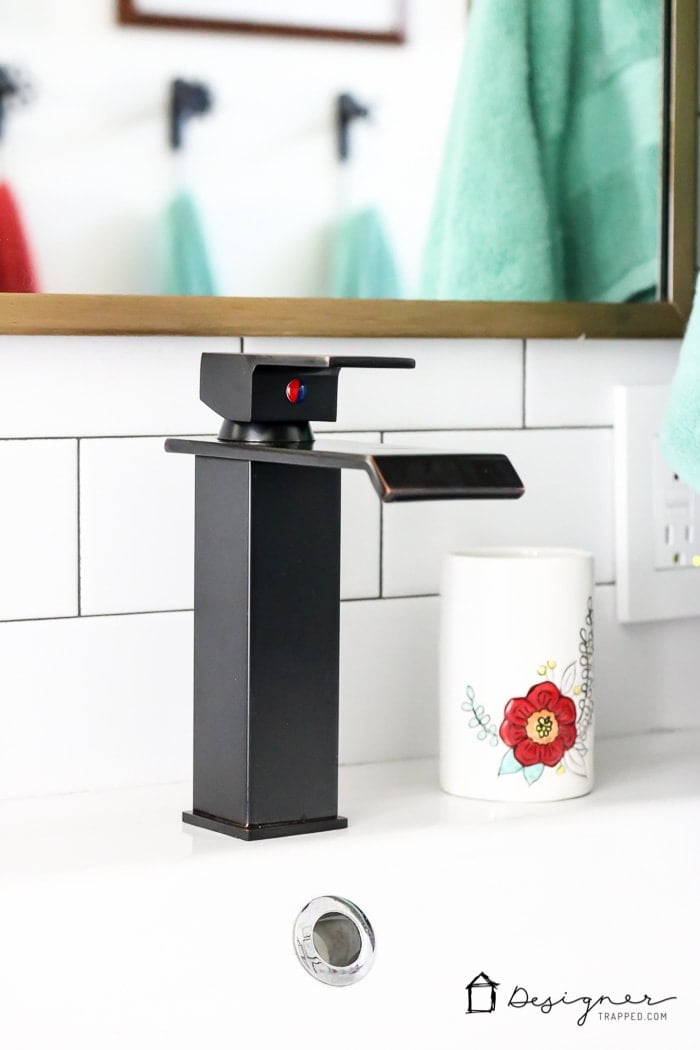
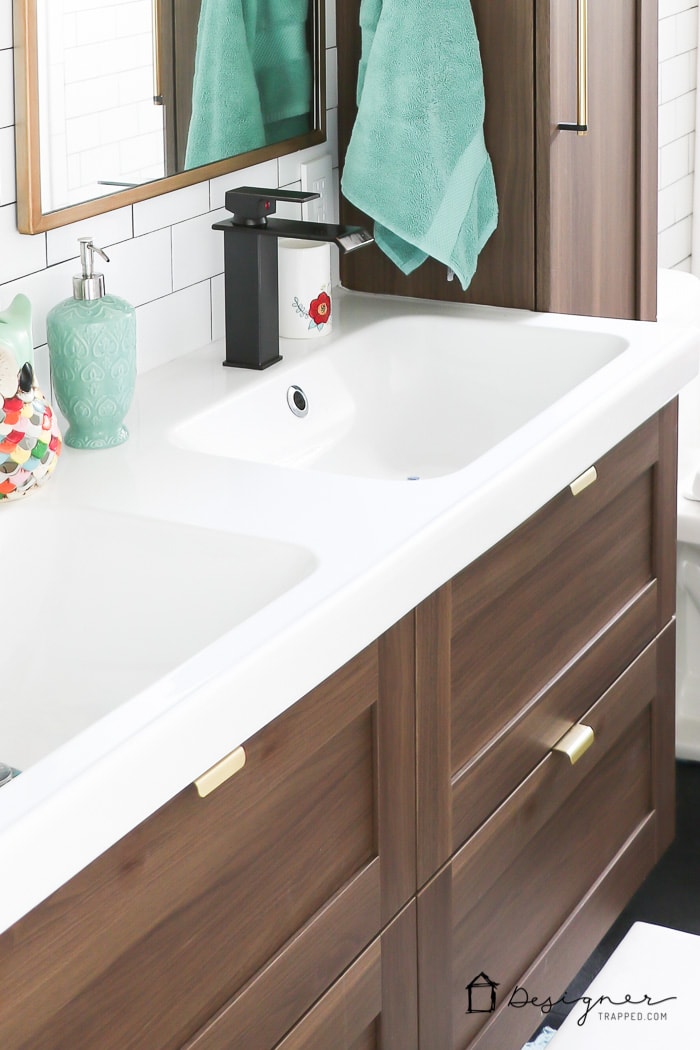
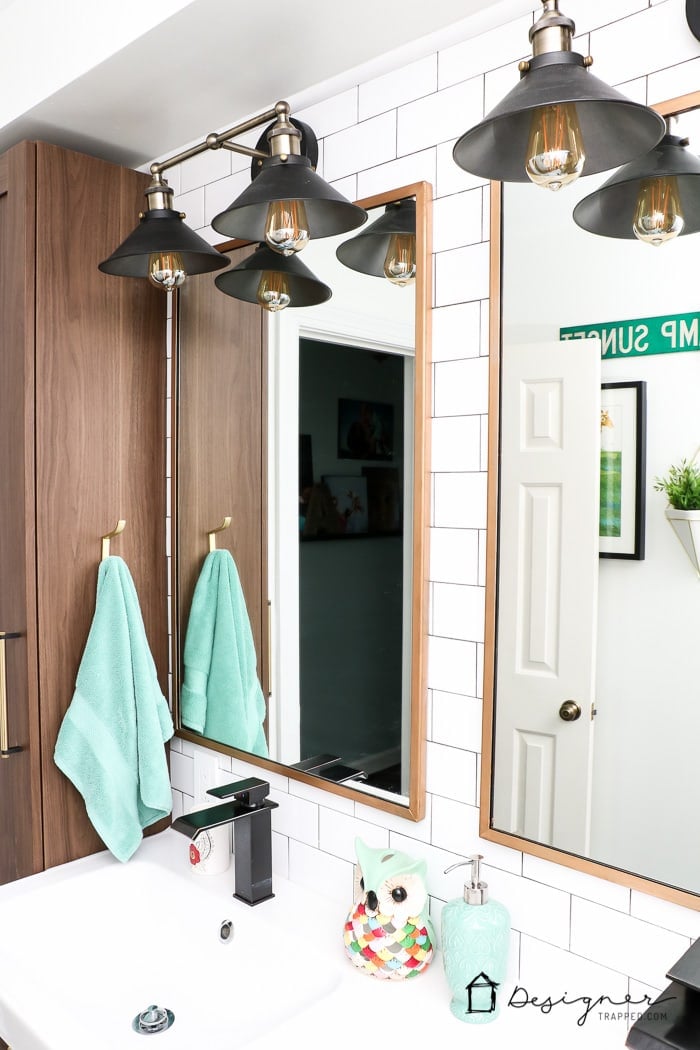
As usual, the small details in this room are what really make it feel special. I love the super inexpensive faucets that we selected. And those mirrors you see? I got those for a steal and added that gold finish myself to get just what I wanted (tutorial coming soon).
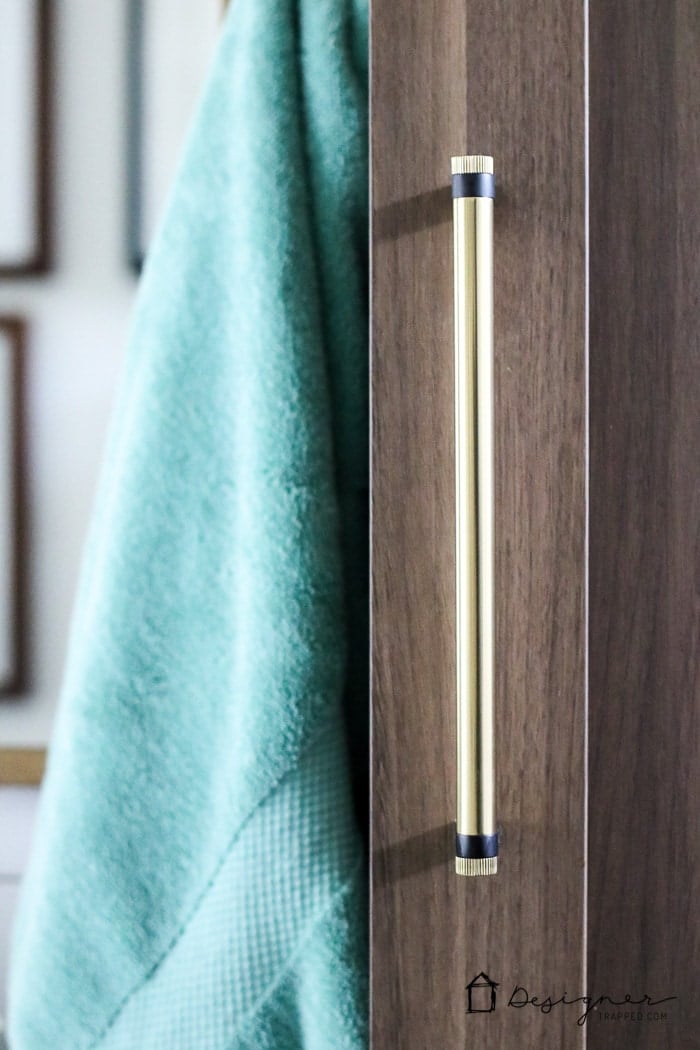
Speaking of details, check out the cabinet and drawer hardware we found. I'm IN LOVE with it.
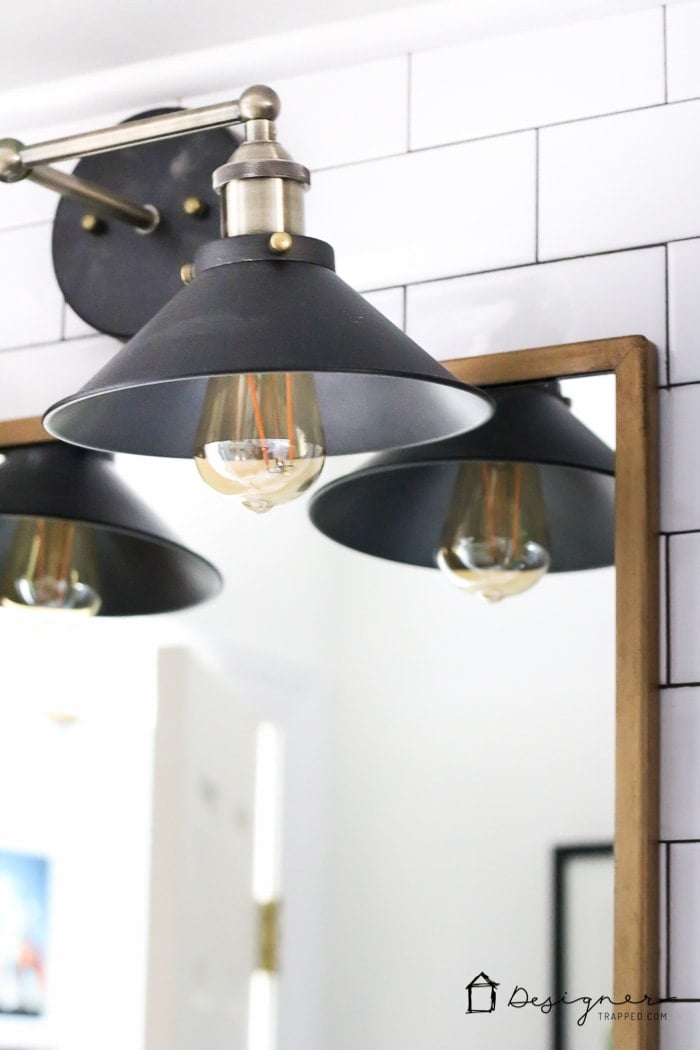
And can we talk about those vanity lights? Ahhh, they are one of my favorite touches of this DIY bathroom remodel and they were SUPER inexpensive.
Now, let's turn our attention to the opposite wall, where I created a fun art gallery for my sweet girls. It features some of their original art, and the rest of the pieces scattered in I either already had or I got out of these crazy inexpensive art print books and popped them in frames we already had. Throw in some fun geometric wall vases with air plants and it was a wrap. I love how it turned out.
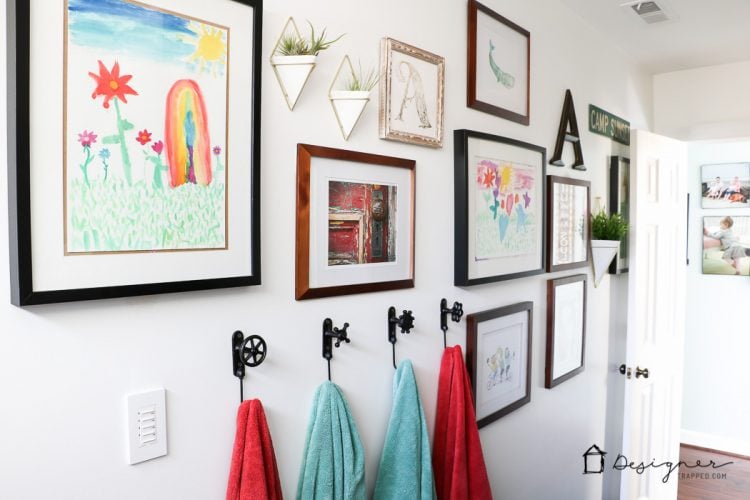
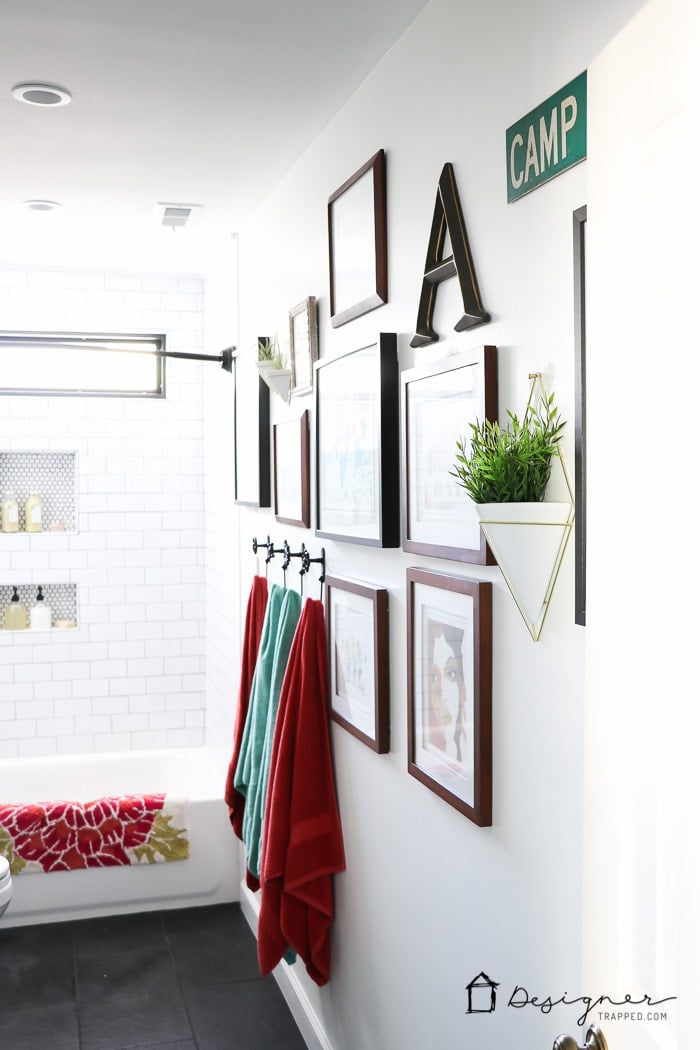
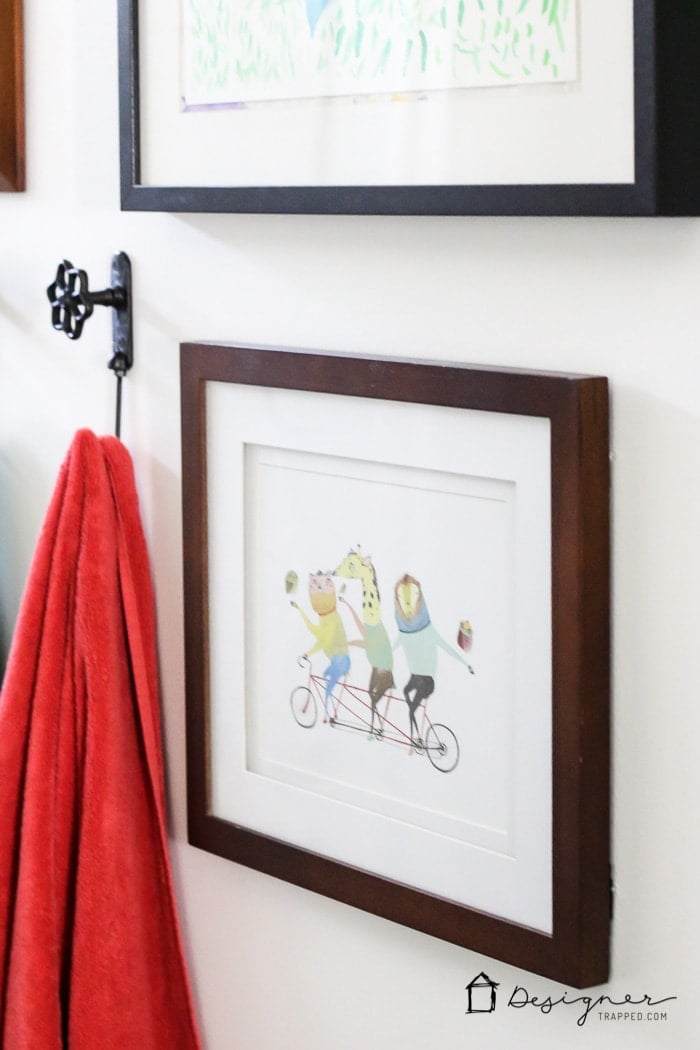
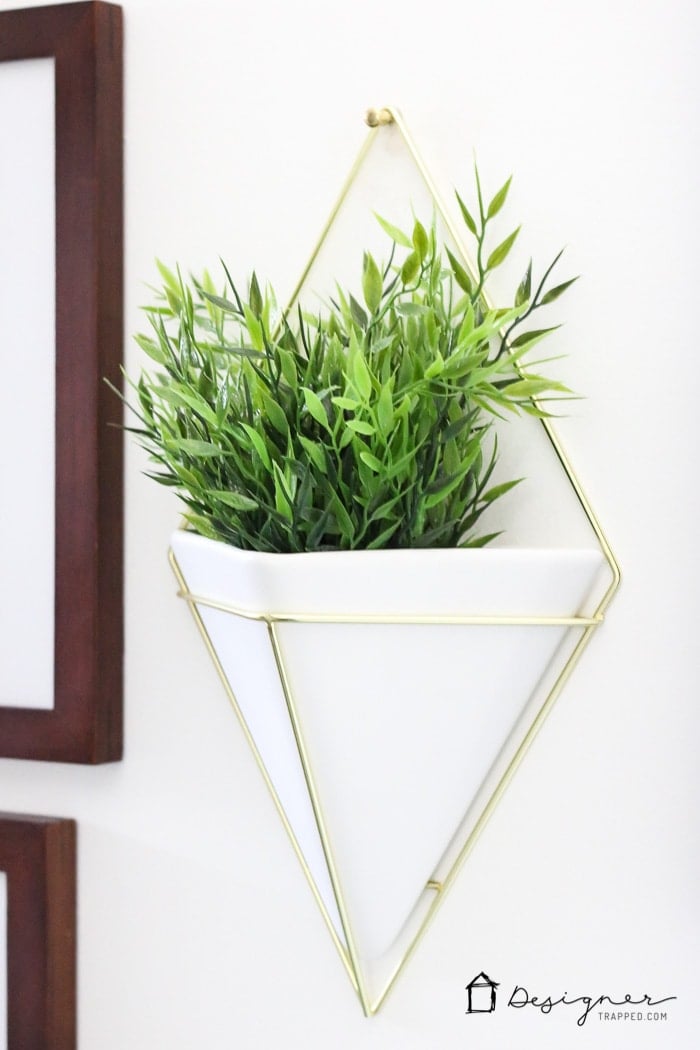
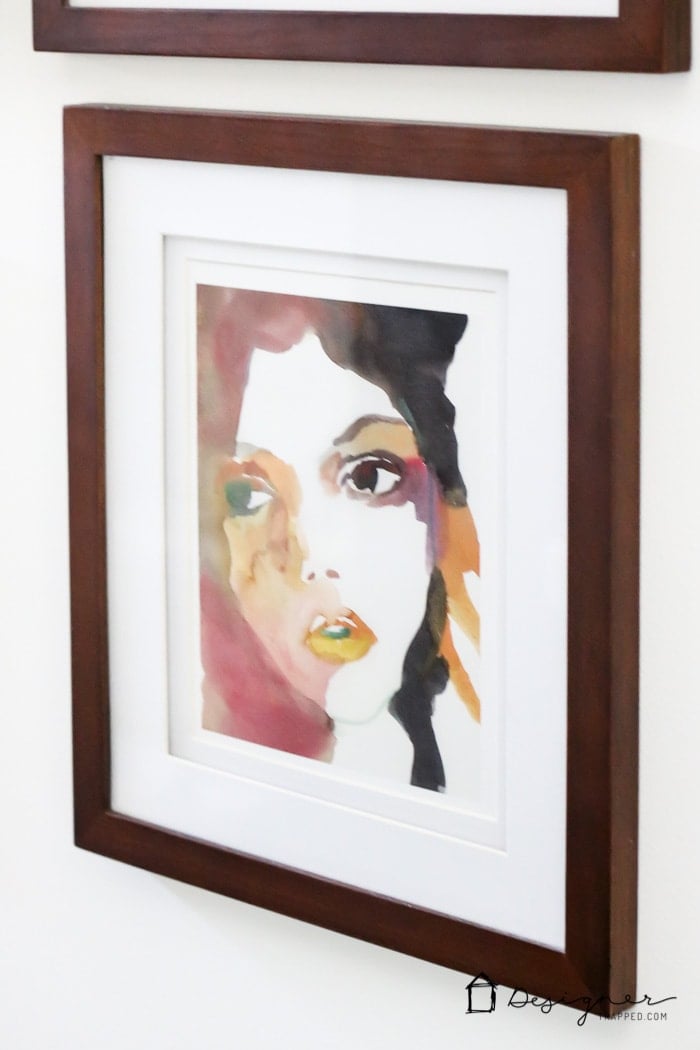
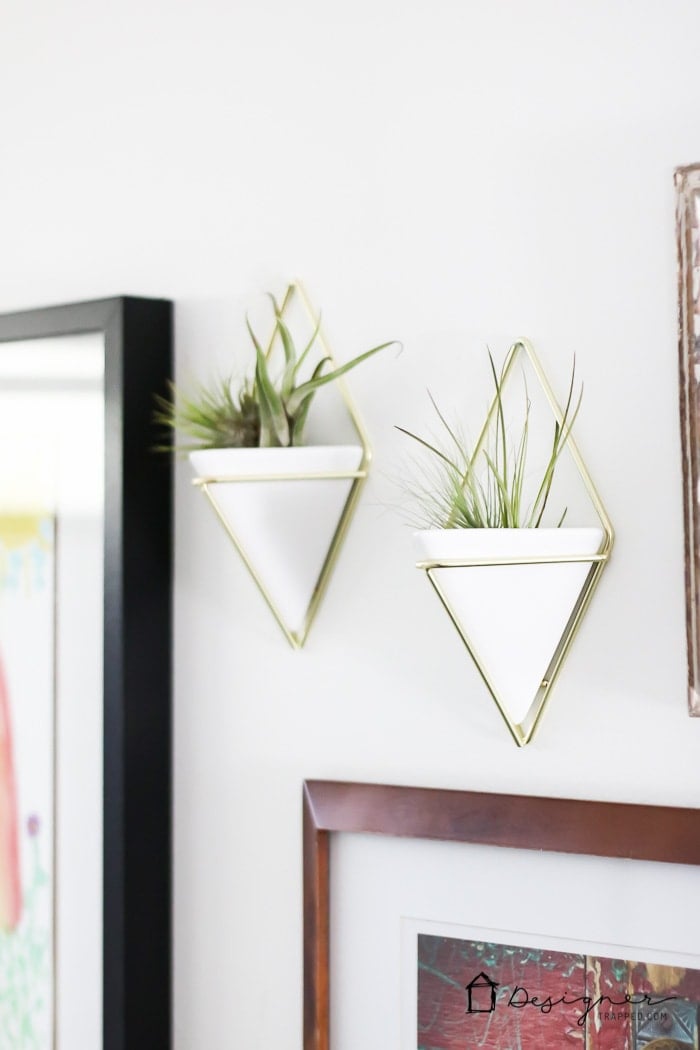
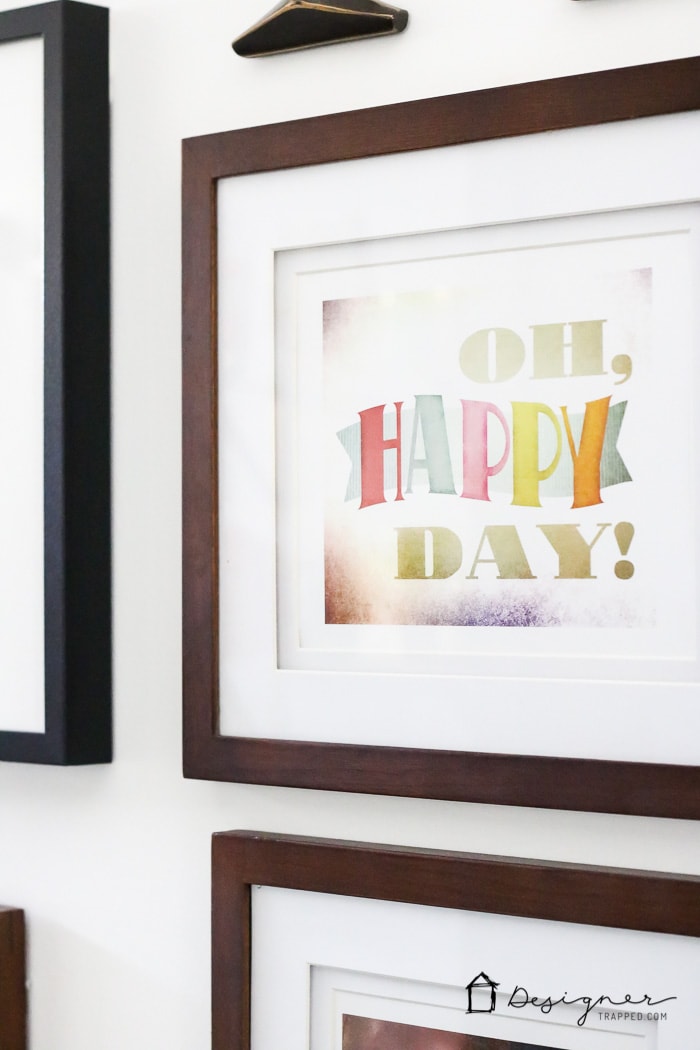
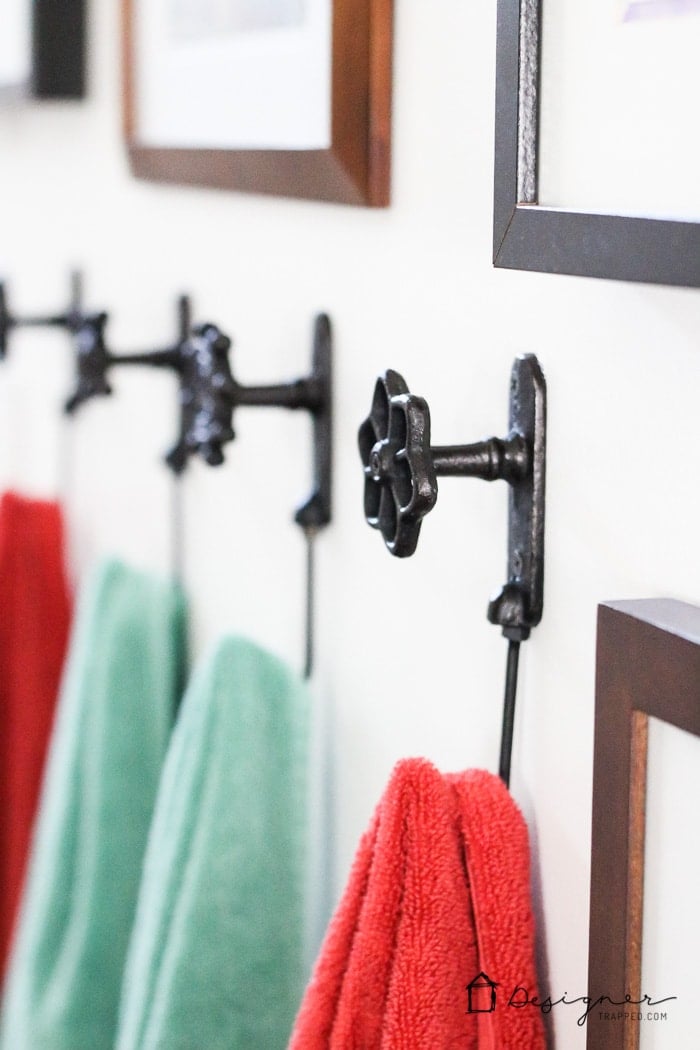
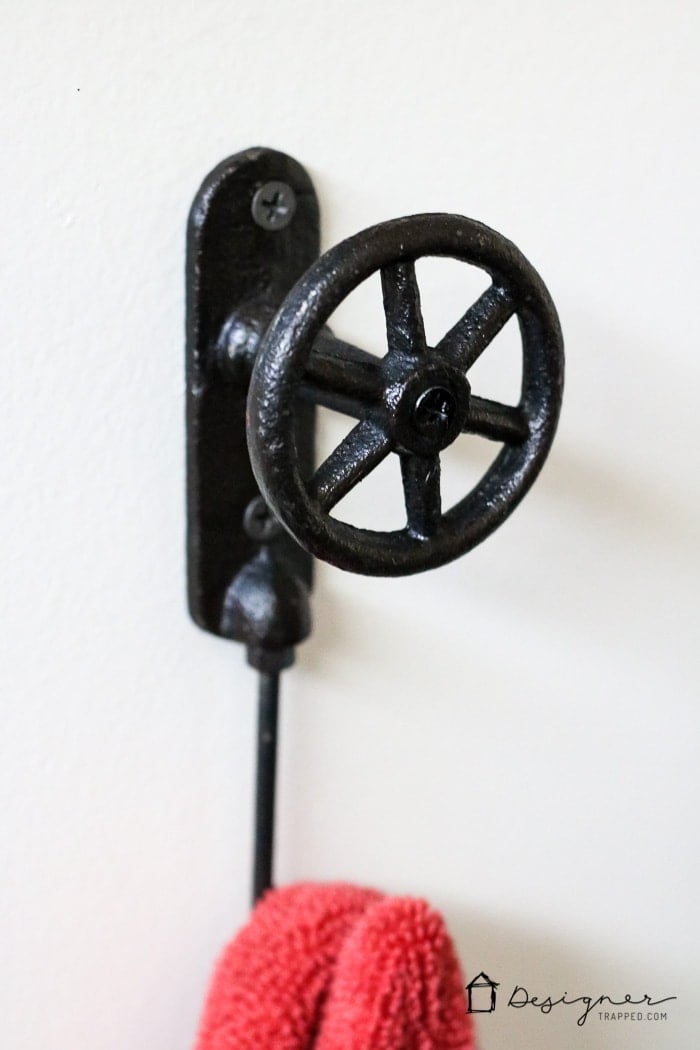
And those towel hooks–aren't they the BEST?! They make it so easy for our girls to hang their towels up when they are done showering and they are so friggin' cute. I ordered them from Decor Steals about 8 months ago and am so glad I did.
So that's it folks. What do you think of our DIY bathroom remodel? I think it's PERFECT. We went with classic and neutral choices (black and white tile, walnut finish, gold and black accents) so that as our girls get older, it will be super easy to add in more “mature” decor and we can make it as colorful or neutral as we want it. And if/when we ever sell this house, the fact that the bones are classic and neutral should definitely appeal to most buyers.
Cost of our DIY Bathroom Remodel
Here's the breakdown of our DIY bathroom remodel cost. Again, remember that the average bathroom remodel in 2016 cost is $10,499 to $14,975 (depending on who you ask).
- Cabinets and sink: $1,084
- New tub: $185
- New toilet: $149 (learn how to install a new toilet yourself)
- Tile and all tiling supplies from Floor & Decor (including Hardie Board and wet saw): $813
- Faucets: $78 ($39 each)
- Vanity lights: $138 ($69 each)
- Drawer and door hardware: $170
- Mirrors: $198 ($99 each)
- Raw materials (plumbing supplies, subfloor, can lights, paint, caulk, trim, etc.): $657
- Limited plumbing and drywall work that we hired out: $1,535 (see how QUICKLY labor adds up when you don't do it yourself???)
TOTAL COST OF OUR DIY BATHROOM REMODEL: $5,007
TOTAL SAVINGS BY TACKLING THIS OURSELVES: $5,492 to $9,968
Now for that source list for our DIY bathroom remodel that I promised you :) This post contains some affiliate links for your convenience. Click here to read my full disclosure policy.
DIY Bathroom Remodel Source List:
Staple items:
- Wall color: Falling snow by Behr
- Cabinets & sink (we chose walnut effect cabinets and the Odensvik sink)
- Tall cabinets
- We purchased all of our tile from Floor & Decor
- White subway tile (grouted with charcoal gray grout)
- White penny tile (grouted with charcoal gray grout)
- Black slate floor tile (grouted with black grout)
- Vanity mirrors
- Vanity lights
- Faucets
- Drawer pulls
- Cabinet door handles
Decor items:
- Aqua towels
- Coral towels
- Floral bath mat
- Round aqua bath mats
- Italian soaps
- Peony bunch
- Clementine & Honey candle
- Opaque glass jar candles
- Ceramic cup/toothbrush holder
- Soap dispenser
- Ceramic canister with lid
- Iron faucet wall hooks (I purchased mine during a one-day deal on Decor Steals—similar ones can be found here OR here)
- Wooden owl (purchased at HomeGoods)
- Lucite shelves (purchased at HomeGoods)
- Colorful owl on sink (purchased years ago at Urban Outfitters)
Shower fixtures/accessories:
- Shower head
- Tension Curved Shower Curtain Rod
- Double Glide Shower Rings
- White shower curtain with gold thread detail
- Whale fingernail brush
- Shampoo and conditioner pump bottles
Gallery wall items:
- All of the art prints you see (except for those painted by my girls) were pulled out of these two inexpensive framable print books:
- Set of 2 geometric small wall vases
- Large geometric wall vase
- Botanical A foil-stamped print
And if it's easier for you to shop visually, you can click on any of the photos below for more info on what you see.
What do you think?! Can you believe this DIY bathroom remodel transformation?
Other posts you may enjoy:
- How to Install a Toilet: A Step-by-Step Guide for Beginners
- 25 Stunning Powder Room Makeovers
- The Best Colorful Shower Curtains
- Attley's Budget-Friendly Bathroom Renovation
- Avery's Budget-Friendly Bathroom Makeover
- Affordable Master Bathroom Remodel REVEAL
- The Easy Way to Update Bathroom Tile Without Replacing It!
Wondering how I approach transforming rooms and spaces in our home? Check out Designer in a Binder®.
And if you want exclusive content and behind-the-scenes sneak peeks, be sure to subscribe before you head out!


This is amazing! One quick question for you, I just got my godmorgon cabinet in the walnut and planned to use the hardware you suggested from rejuvenation. But the holes are pre drilled in the drawer front :-/ how did you install your new hardware and not have the pre-drilled holes still showing? Thanks in advance for you advice!
Brittany I had the same problem–and I solved it! The post with all the steps to fix it is coming out on Monday 16th :) Perfect timing!!!
How do you feel about the vanity lights since you’ve had time to use them? I bought that same one for our guest bathroom redo, but ended up returning it – it was too dim, and the shades pointed all the light straight down! I love the look of it though (and the price!) Just wondering if you have any of those same issues with yours! :) AWESOME redo – we’re about to redo our master bathroom on the cheap, so this give me hope it can be done!
I actually really love them! We have a lot of can lights in the bathroom, so don’t depend solely on that fixture. I can see it being a problem if we didn’t have those. Good luck on your remodel!
What a gorgeous transformation! It really does make a difference doing things yourself!
The bathroom looks amazing!!! I like how there’s lots of color in there. =)
I am totally a color girl. Glad you like it! We are so happy with the results. Thanks for reading!
Tasha – this looks great! This is one room I’ve been dying to see! Awesome job, my friend!
This is such a great makeover! I love how you added all of the pops of color to a neutral background…it took it in a whole new direction. Plus, I’m in loooove with the sconces! Amazing ORC!
You guys nailed this!! I’m so super impressed with your hardcore DIY skills and I’ll try not to damage your walls & cabinet door when I steal your shelves & door pulls! And the gallery wall is perfect. Great, great job!!!
Thanks so much Rachael! We are so ecstatic with the results too.
I cannot BELIEVE where this room started! And you know I’m in awe of you guys for taking this on yourselves. Amazing!
tasha, this is awesome! love love love! you blew it out of the park. or water. whatever it is you blow it out of. i love those shelves and those light fixtures SOOOOO much!
This is a fantastic space! I love how you added colour through accesories so that the space could remain classic and evolve over time. The lighting and tilling are my favourite! So well done!
Thanks Ariel! We are so excited about it also. Thanks for reading!
Amazing before and after and amazing savings! You guys are so good
Thanks Julia!!! We are so happy with our results.
It looks FANTASTIC. I love the penny tiles in the shower niches…the hooks. The transom with the black trim is my favorite, I think. And you know what? I think that’s the first time I’ve seen Joe in a photo looking and smiling at the camera! It was good to see him in that shot! You guys did an amazing job.
It looks AMAZING! Great job!
This is beyond awesome! I’m so impressed with the work that you and your husband did yourself. Everything ties together so beautifully. And the gallery wall is especially fun here and love that it includes your girls’ artwork. Doubly impressed with the addition of the window.
Thanks Cyndi! We are beyond thrilled with everything. Thanks for reading!