How to Make a Christmas Reindeer from Logs
Learn how to make a Christmas reindeer from logs with this super easy tutorial. It is the perfect natural decoration for your outside spaces!

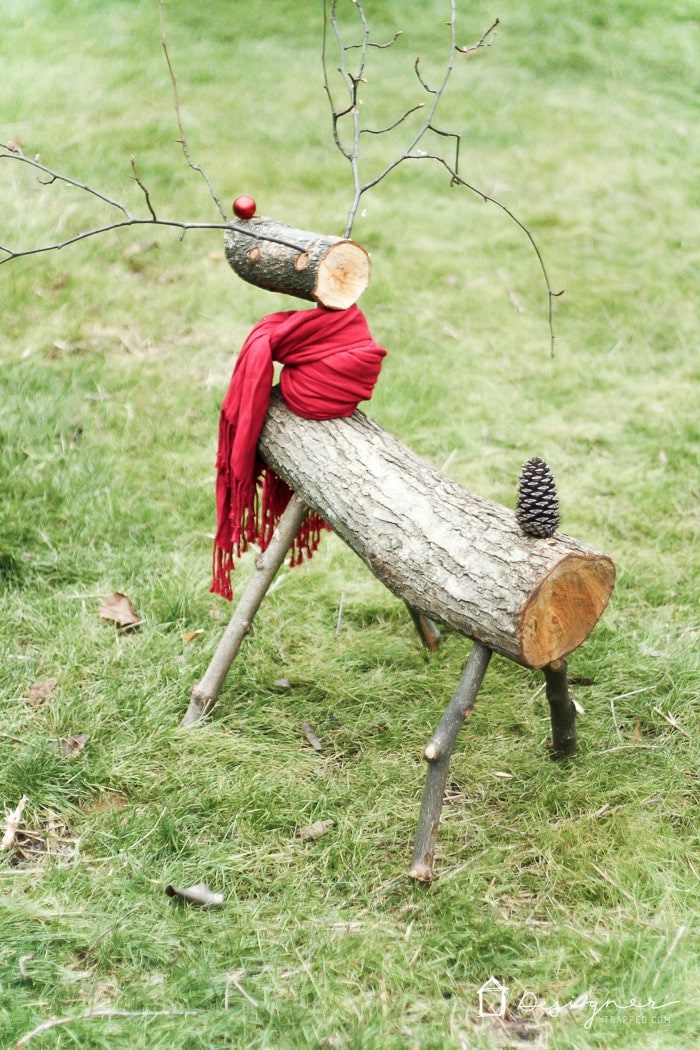
We love decorating for Christmas inside our house, but we decided this year that it was time to add something fun outside. I am going to show you how to make a Christmas reindeer with a few branches from a tree. It's quick, easy and seriously adorable!
We LOVE to DIY our own decor. I have made lots of fun holiday things along the way like our DIY reindeer art and mini wreaths, and this fun log reindeer is up there as one of my favorite holiday DIY projects.
We chose to make a Rudolph, complete with a red nose, but that's optional! We hope to add one or more a year so that we eventually have Santa's entire reindeer crew.
Check out the full tutorial and you can start your own herd of Santa's reindeer!
This post contains affiliate links for your convenience. Click here for my full disclosure policy.
How to Make a Christmas Reindeer Tutorial
Materials Needed:
- 1 large log, approximately 4 inches in diameter, for the body
- 1 medium log, approximately 3 inches in diameter, for the head
- 5 small branches, approximately 1 inch in diameter, for the legs and neck
- 2 multi-point branches for the antlers
- 1 pinecone for the tail
- 1 small, red Christmas ornament, for the nose
- Clear caulk
- Wood glue
- Reciprocating saw (this is similar to ours: Makita Cordless Reciprocating Saw
 ) or a chainsaw
 - Drill (this is similar to ours: Makita Cordless Drill Kit with Battery)
- Paddle drill bits
- A sharp pocket knife
 ) or a chainsaw
The Steps:
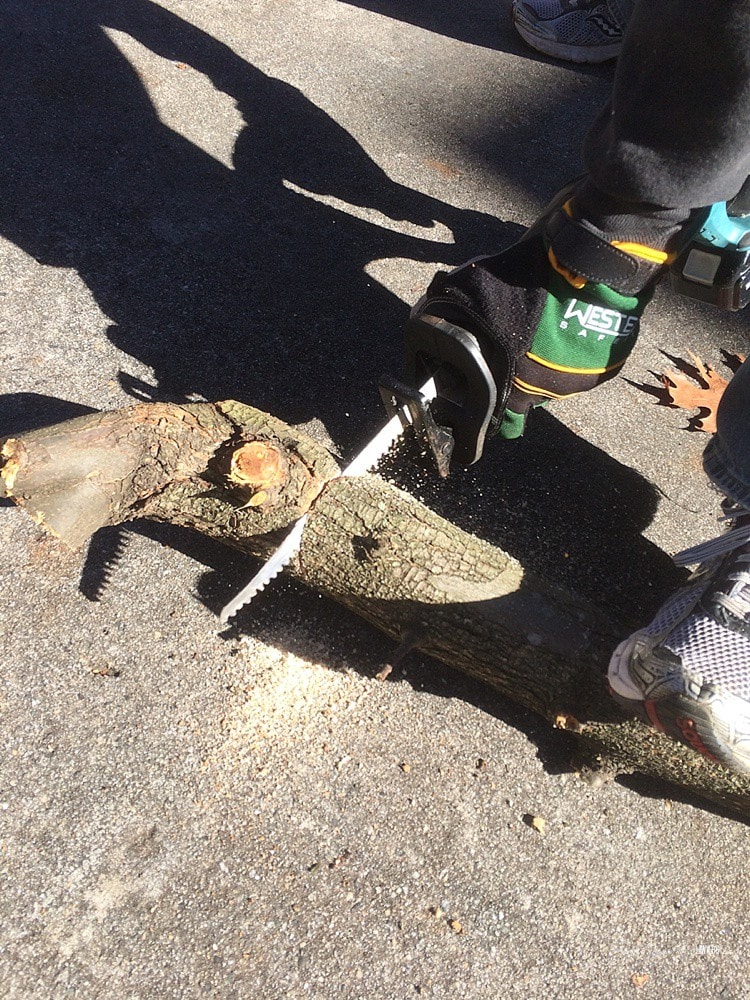
Step 1. Make the body.
Cut your body to length and remove any smaller branches from the body. We didn't use any specific dimensions, we just used our eyes to judge what scale was appropriate.
Step 2. Cut the legs.
Cut the legs to length and remove any smaller branches from them.
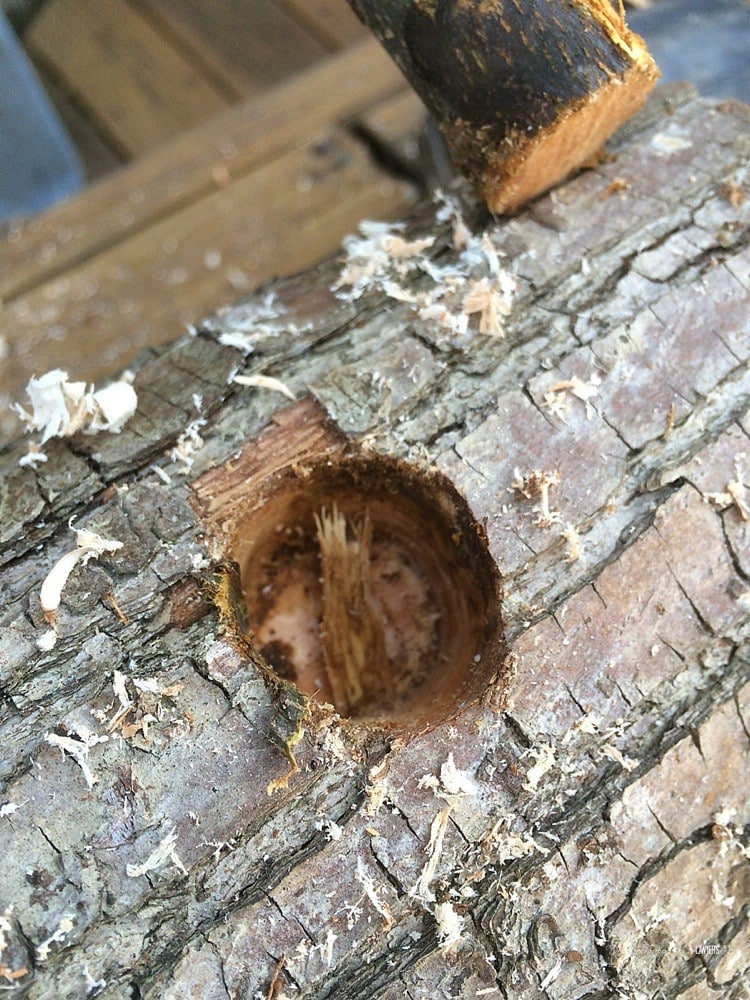
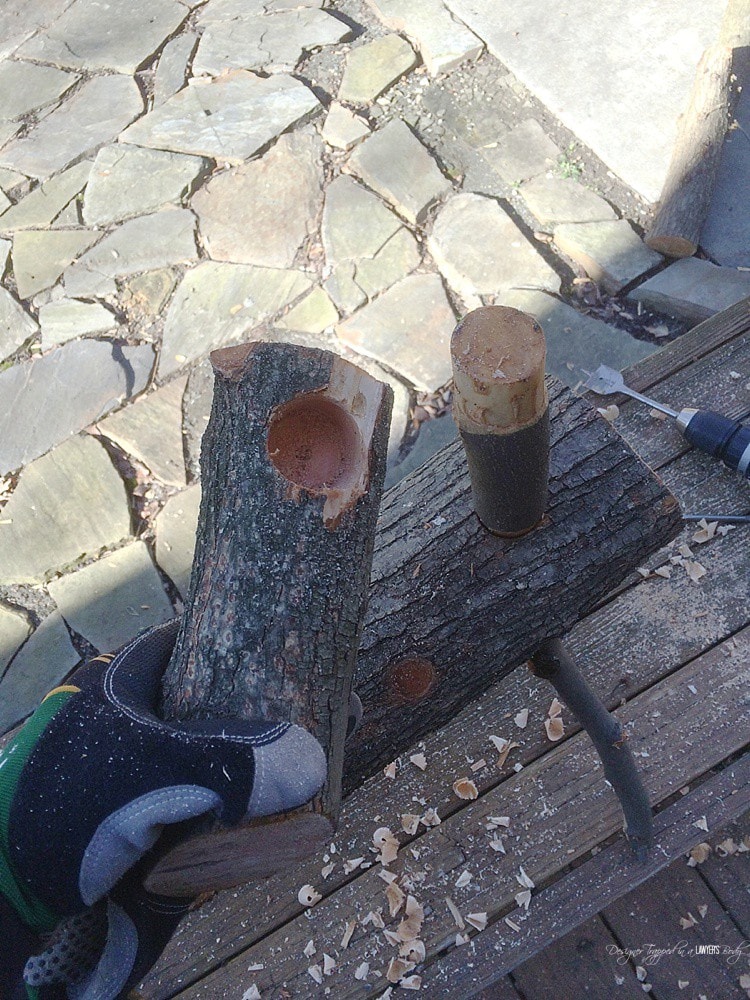
Step 3. Drill holes.
Using a paddle drill bit as close in size to the diameter of your legs as possible, drill a hole for each leg in the underside of your deer body. Then drill 1 hole on the top of the deer body for the neck.
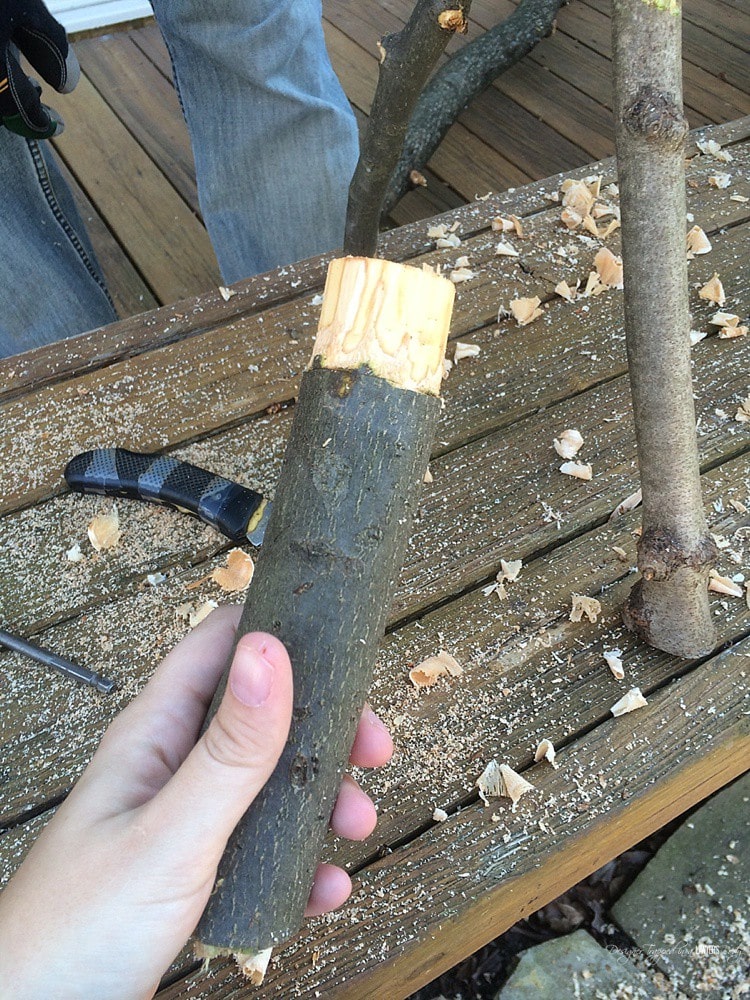
Step 4. Shave branches to fit.
If necessary, use your pocket knife to shave off the bark from the top of the legs and neck so that they will fit snugly into the holes that you have drilled.
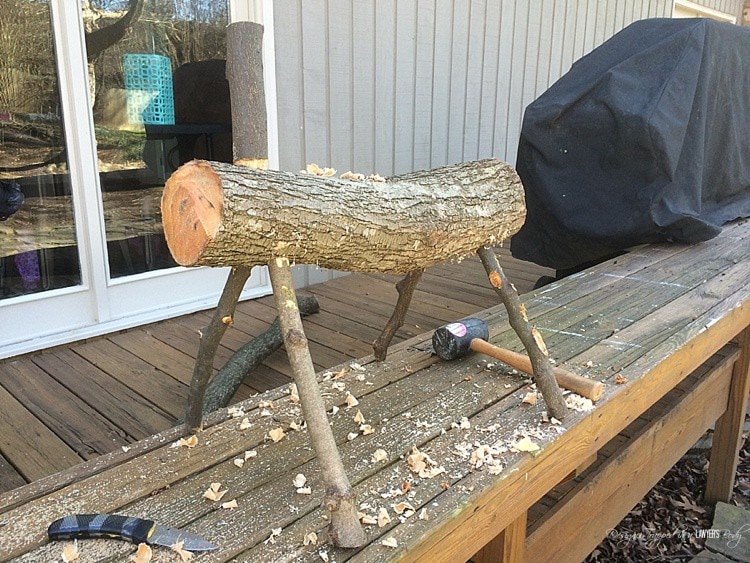
Step 5. Assemble the body, legs, and neck.
Assemble all of your pieces so that you can determine how large your head should be. Again, just eyeball it! There is no right or wrong as long as it looks good to you.
Step 6. Cut and attach the head.
Cut your head to length. It should be flat on the back end and angled where the reindeer's “face” is. Drill a hole in the bottom of the head where it will attach to the top of the neck and put the head on.
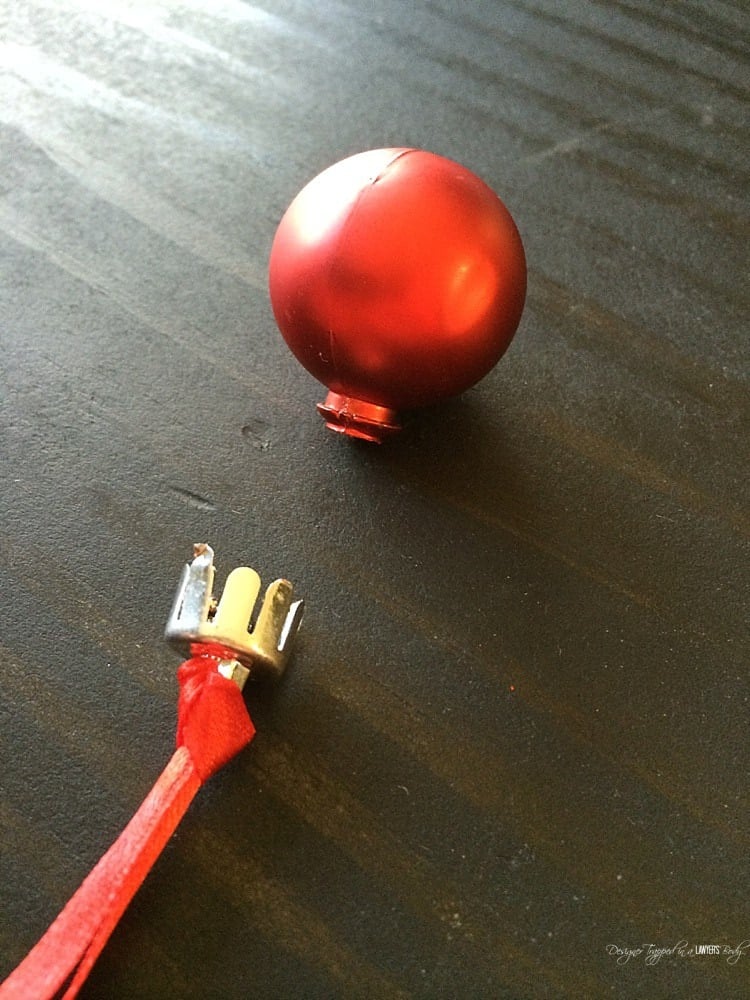
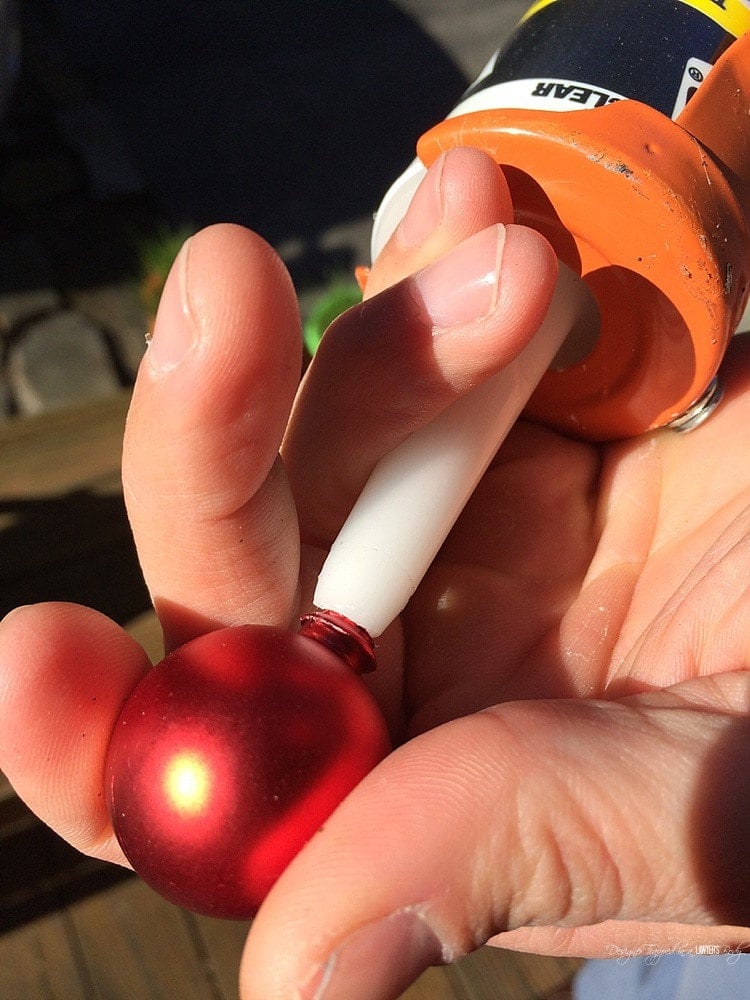
Step 7. Attach the nose.
Now you are ready to attach Rudolph's nose! Make sure to use a shatterproof ornament and remove the metal piece. Drill a small hole for it to sit in on Rudolph's face and secured it with clear caulk.
Step 8. Attach the antlers.
Drill small holes for your antlers and pop them into place.
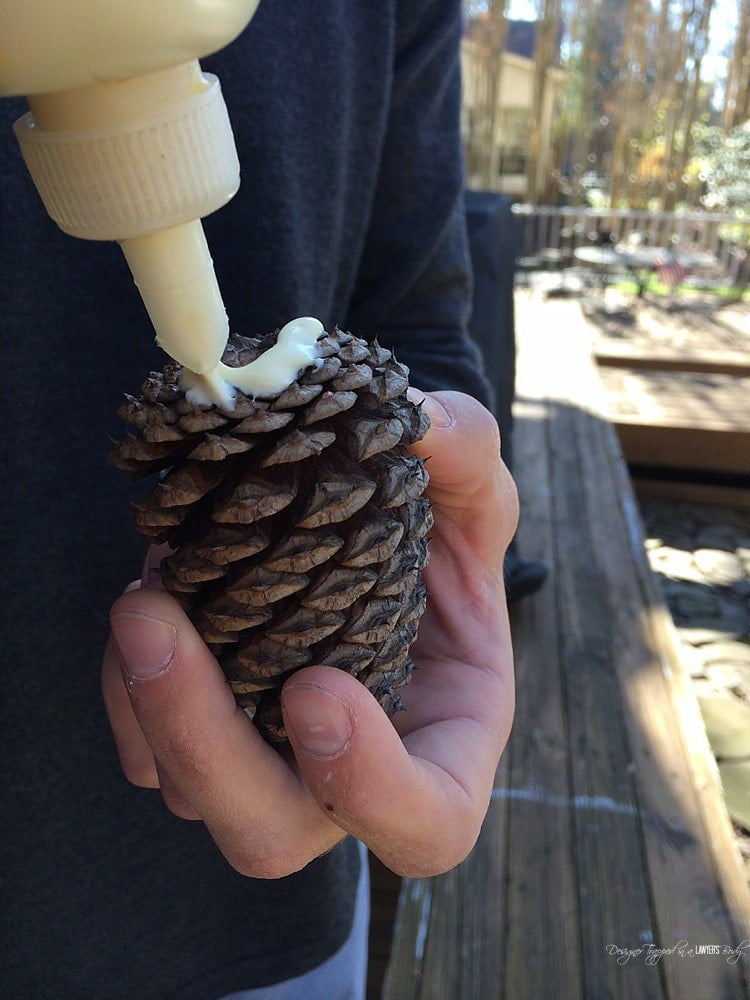
Step 9. Attach the tail.
Finally, attach your pine cone tail with some wood glue.
That's it! You have the cutest outdoor Christmas reindeer that you can use year after year. We accessorized ours with a red scarf and he is proudly displayed by our driveway.

We can't wait to add to the reindeer family next year! What do you think? Are you tempted to find some logs and branches to make your own? It isn't officially Christmas until the log reindeer has appeared in the yard!
Other posts you may enjoy:
- DIY Christmas Stocking Ideas
- Colorful & Easy DIY Christmas Ornaments
- Cheery and Bright Christmas Mantel Ideas
- How to Make a Gift Bag Out of Wrapping Paper
- Amazing Free Christmas Printables
- DIY Advent Calendars
- 6 Secrets to Elevate Your Christmas Aesthetic
Wondering how I approach transforming rooms and spaces in our home? Check out Designer in a Binder®.

And if you want exclusive content and behind-the-scenes sneak peeks, be sure to subscribe before you head out!

Last Updated on October 25, 2022


I also make the log reindeer, but I also put ears on my deers
Cute Ralph! Thanks for the idea!
nice post
Thanks so much for the feature! Merry Christmas!
Merry Christmas, Rose!
I want to do this so badly in my own yard! It’s so rustic and festive. I love this so much it’s my Feature pick for Turn It Up Tuesday! Thank you for sharing!
I love these! I love anything country or rustic and this is perfect! Thanks for the idea – I may have to pass it over to my husband and see what he comes up with. ;) Thanks for linking up! #turnituptuesday
Oh this is too adorable! I just love the little pine cone tail! So rustic and perfect for Christmas!
Thanks so much Celeste!
That reindeer is adorable!
Thanks so much Akaleistar!
Oh he is darling!Great tutorial too, thanks!
~Liz
Thanks so much, Liz!
TOO MANY ADS!!!!!! Couldn’t get the page to load without repeatedly stopping (busy) to load ads. Too bad, looked like an interesting tutorial. (took 1 minute to write this comment even) :(
Sorry to hear that, Cathy! Most people do not have issues with the load time, but there could have been an issue on my server when you were on. Take care!
This is really clever. I’d love to feature this, but can’t see if you have a party page or party links anywhere. If you do or could link back somewhere I’d be happy to share it next week. Thanks for linking up to the Craftastic Monday Link Party at Sew Can Do!
Thank you, Cheryl! Here is my link parties page: https://designertrapped.com/link-parties/ It’s on my top menu bar. Thanks in advance for the feature!
Just wondering the finished reindeer size for length. It’s adorable & I want to make one with my hubby.
Hi Linda! I don’t know the exact finished length, but you can make it any size you want. Just make sure all of the pieces are proportional to each other. We didn’t measure anything–just eyeballed it all! Thanks for reading my blog!
LOVE this! So cute! Excited to see you on the Real Simple website too!
OH my gosh, I totally love him! This is definitely hitting my to-do list for next year. Pinning!
OH my gosh, this is TOO CUTE!!!! I so so wish we had all these tools (and a wood-handy hubby!) to make this!!! So sharing this adorable little guy. :) Merry Christmas, Tasha!
Tasha, the reindeer is adorable!! Great job.
Oh my goodness! He’s SO, SO sweet Tasha!