Tiling Over Existing Tile: What You NEED To Know
Are you tired of the outdated tiles in your kitchen or bathroom? Is it time to refresh your space but you are intimidated by the thought of removing the old tiles? Good news… sometimes you can tile over tile without the hassle and expense of removing the old tiles first! In this post, I'm covering when tiling over existing tile is a good option (spoiler alert–it usually isn't) as well as a step-by-step tutorial for how to do it!
When we were trying to figure out how to update the shower as part of Attley's bathroom makeover on a budget, I remembered that my friend Bre from Brepurposed tiled over existing tile in one of her bathrooms. Her father-in-law is a tile expert, so I was convinced it could be done well. But Bre didn't tile over tile in a shower, so I wasn't sure if the same method she used would work for us. So I did a ton of research and I'm sharing everything I learned in this post.
Can you tile over tile?
Yes, it is possible to tile over existing tiles. We have done it and are thrilled with the results (more on our project later). But it is is not always a viable option or a good idea. You should only consider tiling over existing tile if:
- Your existing tiles are firmly attached to the underlying surface. To test that your existing tile is firmly bonded, lightly tap them with a mallet. If any make a hollow sound, they are loose and should NOT be tiled over.
- Your existing tiles are level. Use a level to see if there are any imbalances. If your level can rock even slightly, I would NOT tile over the existing tile.
- Your tiles are not cracked, loose, or otherwise unstable in any way.
- You do not have or suspect any current or former leaks.
- You are confident you don't have any moisture issues behind your existing tiles. I highly recommend that you use a moisture meter to check.
- You have confirmed that tiling over your existing tile is possible–keep in mind that an added layer of tiles will raise the height of the floor or wall, which may require adjustments to doors, trim, and other elements of the room.
And as with any DIY project, you need to make sure that you have the right materials, tools and techniques to do the job correctly. Otherwise, you should call a professional!
Is tiling over tile a good idea? Should you do it?
Now that you know you can tile over existing tile, the next question is should you? I personally feel like the answer is usually no because in most instances, the existing tile surface is not optimal for tiling over.
Tiling over tile is only an option only if your project meets all of the requirements above. It might be tempting to tile over tile that doesn't meet all those requirements thinking it's a good “quick fix” for getting your house on the market, etc. But tiling over tile that is cracked, unstable or has any sort of leak or moisture issue is a terrible idea.
But if your tile is in great condition and has absolutely no issues, tiling over them can be a great way to update and modernize a bathroom without the expense and hassle of removing the existing tiles. I think tile over tile is a great option for things like a tile backsplash, a fireplace surround, and bathroom walls.
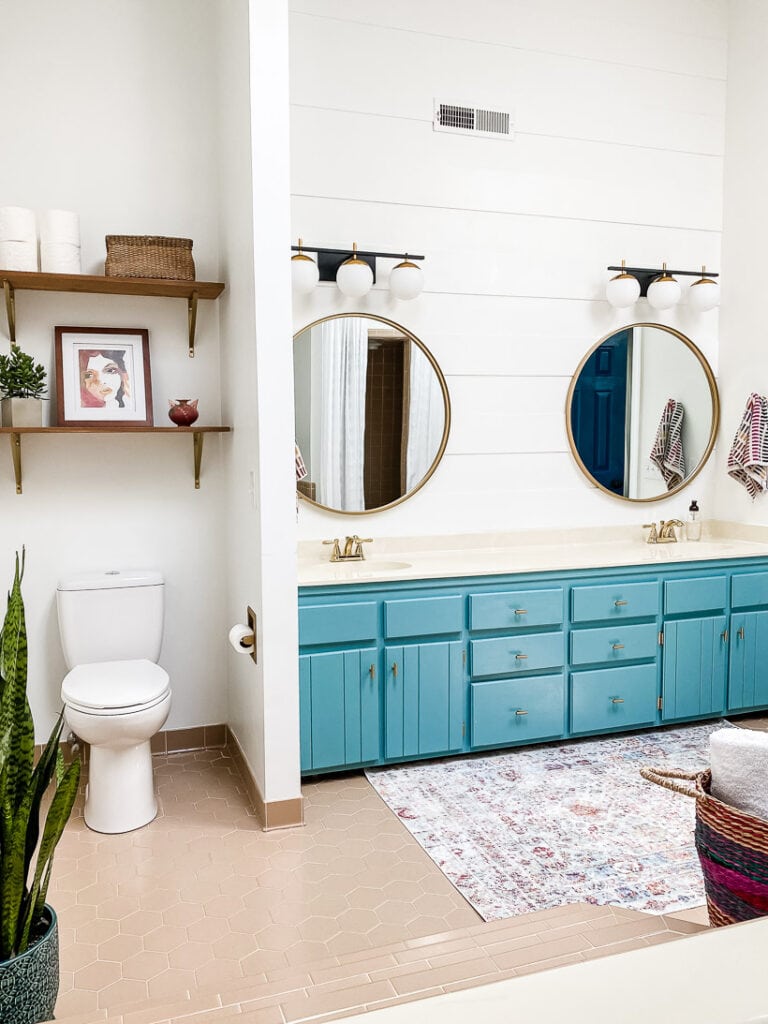
We installed tile over tile on the walls of our daughter's tub/shower combo almost two years ago and are very happy with the results. But I wouldn't ever consider doing it in our primary bathroom because the tiles in our bathroom are not perfectly level.
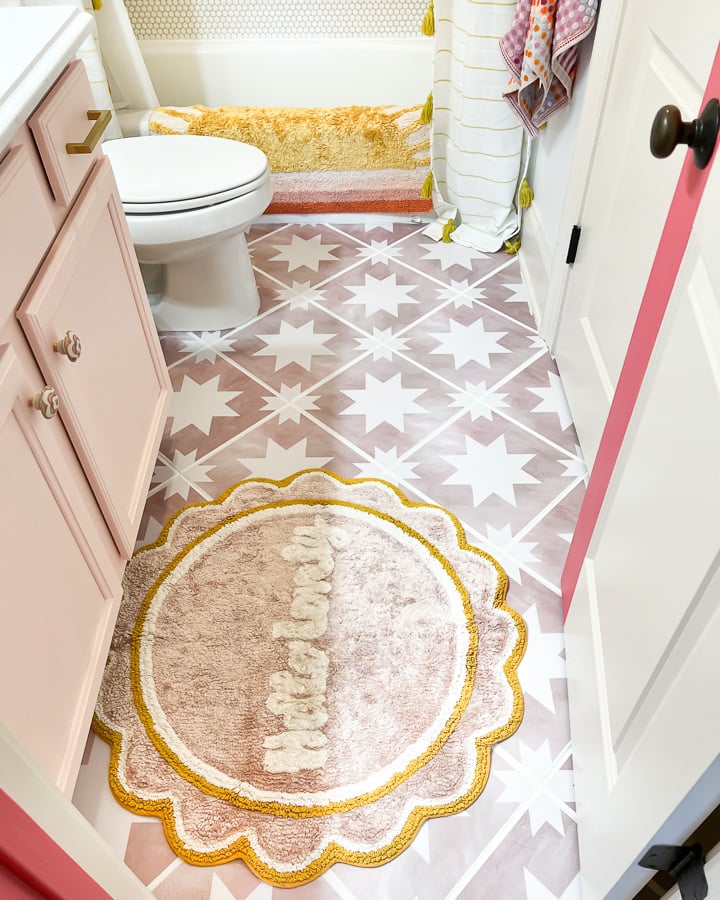
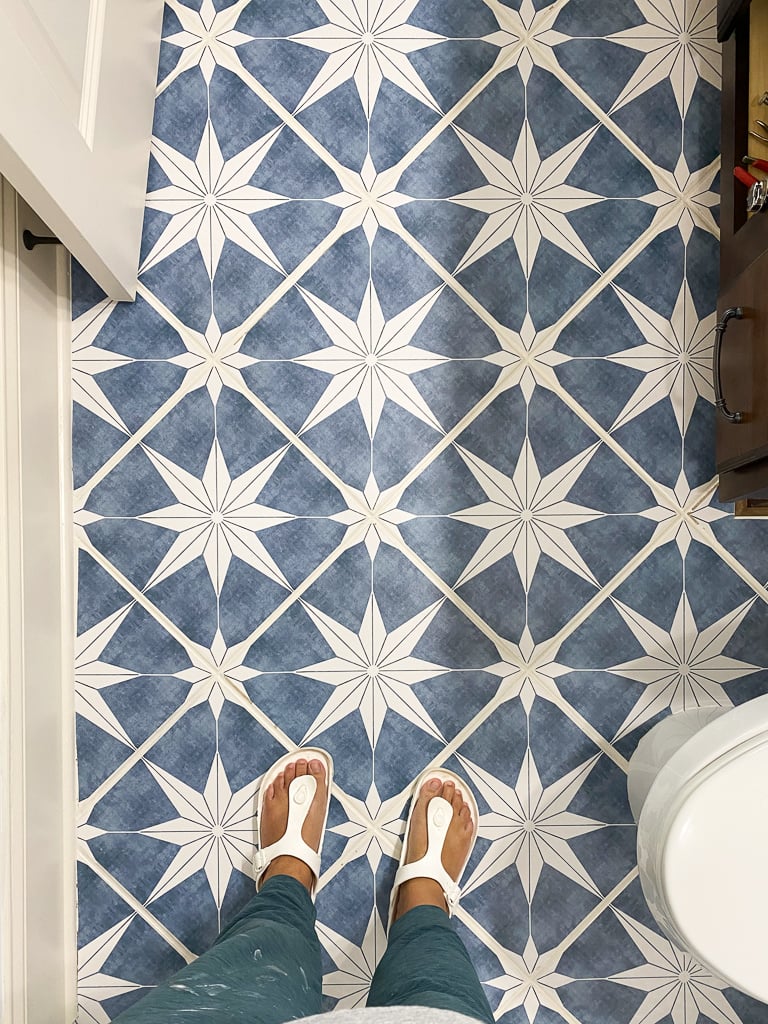
I personally would not install floor tile over existing tile because the double thickness would make for a very awkward threshold transition from the adjoining room. Note: We have installed a floating vinyl tile floor over a ceramic tile floor in our laundry room and that additional thickness was easy to manage with a threshold where the tile floor meets our hardwoods. And there are so many other cheap flooring ideas for updating tile floors that I would turn to first. For example, in both of our daughters' bathrooms we updated the tile floors with tile stickers!
What are the cons of tiling over tile?
While tiling over existing tiles can be a cost-effective and convenient way to update a space, there are some potential drawbacks to consider.
If your existing tiles are not stable and firmly attached to the underlying surface OR if the existing tile surface is not prepared properly before installing the new tile, the new tiles may not adhere properly and will eventually loosen and/or crack. And if you ever decide to remove the tiles to start from scratch, you will have to demo two layers of tile.
The added layer of tiles will increase the thickness of the floor or wall, which may require adjustments to doors, trim, and other elements of the room.
Our Project & Results
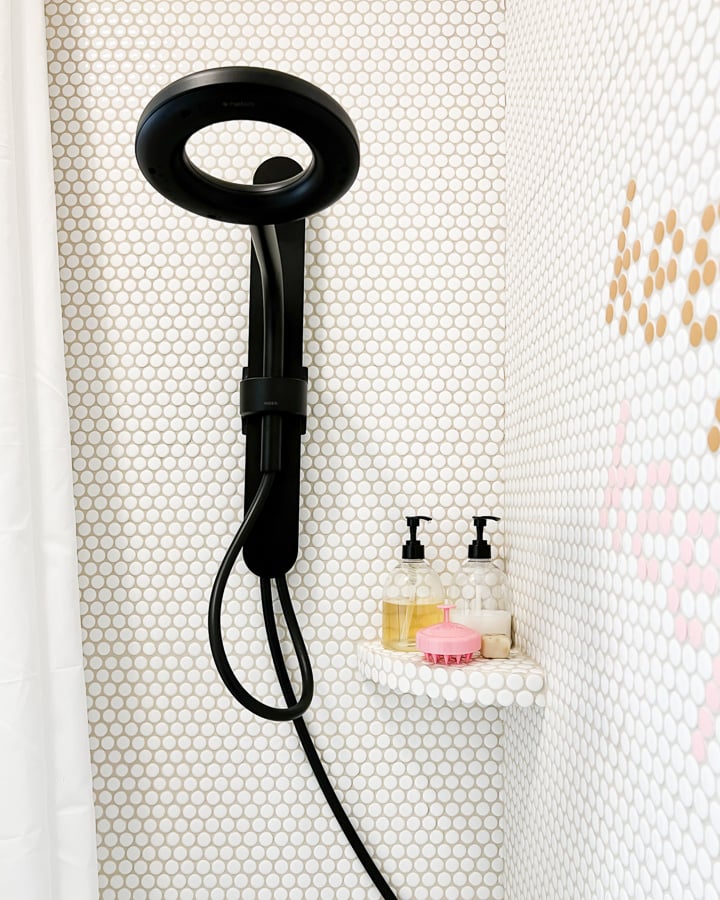
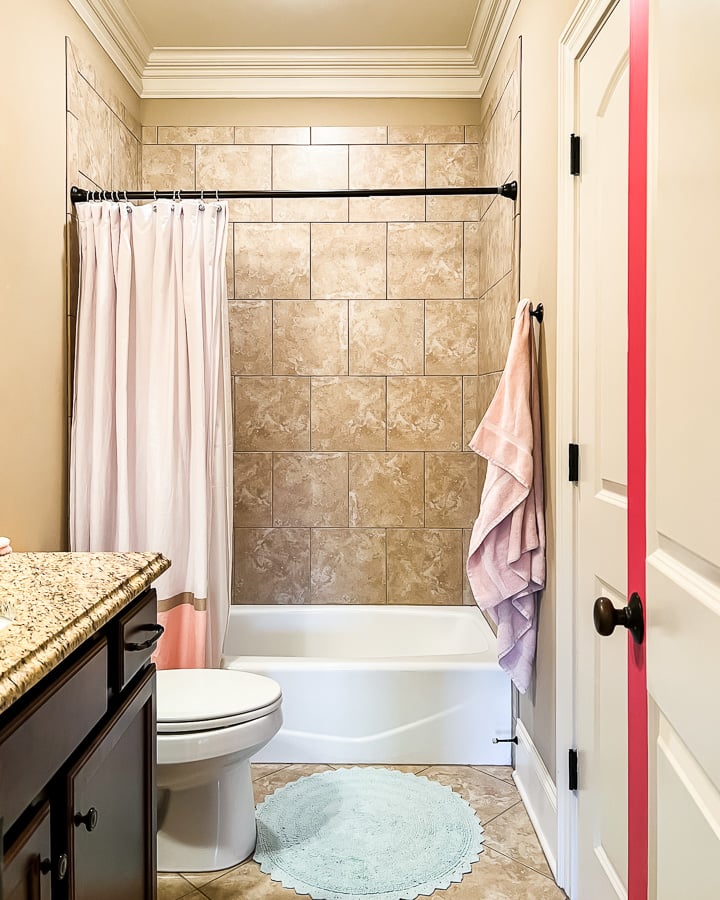
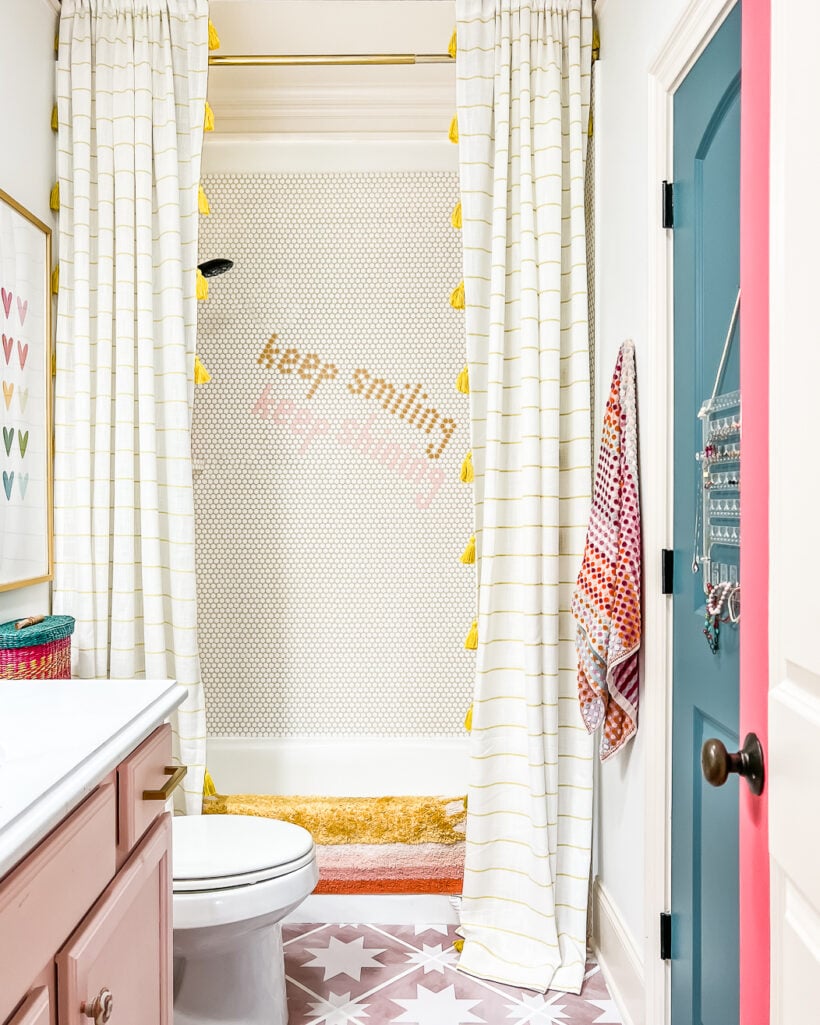
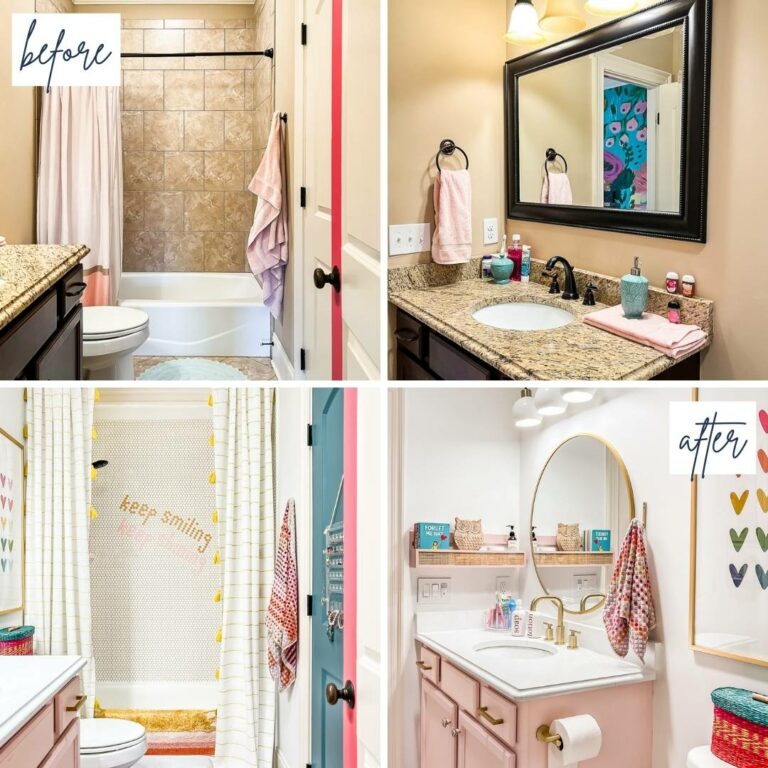
We tiled over the shower tiles in our daughter's bathroom and couldn't be happier with our results. We completed our tile job on November 21, 2021 and I'm writing this post on July 13, 2023. Everything is holding up perfectly and we have not had any issues whatsoever.
I waited quite a while to write this post because I wanted some time to pass first! If I wrote the post and the tiles fell off 6 months later, I would feel awful. But now that so much time has passed, I feel confident in our results!
Materials Needed
If you decide to go for it, you will need some specific products in addition to all the typical things you need to install tile (mortar or thinset, trowel, grout, etc.). This is because a smooth surface is not ideal for tile to adhere to.
- ECO Prim Grip is a Multipurpose Bond-Promoting Primer. It is specifically formulated to help mortar adhere to existing ceramics and difficult-to-bond-to substrates.
- A painter's tray, roller and a paint brush that you don't mind throwing away after you use it.
- Latex gloves
You will also need something to finish the edge of your tile installation wherever it meets an adjoining surface. This is kind of tricky since your tile will be double the typical thickness. If you are installing tile over an existing tile floor, you will need to find a threshold that can handle the transition.
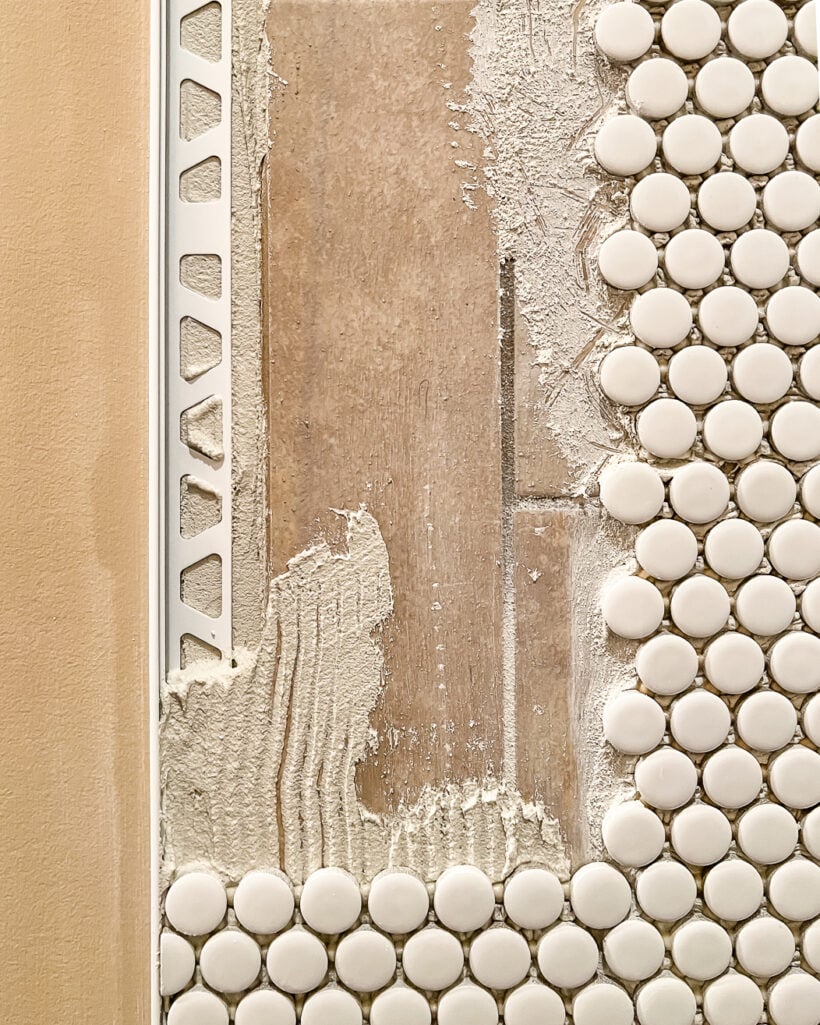
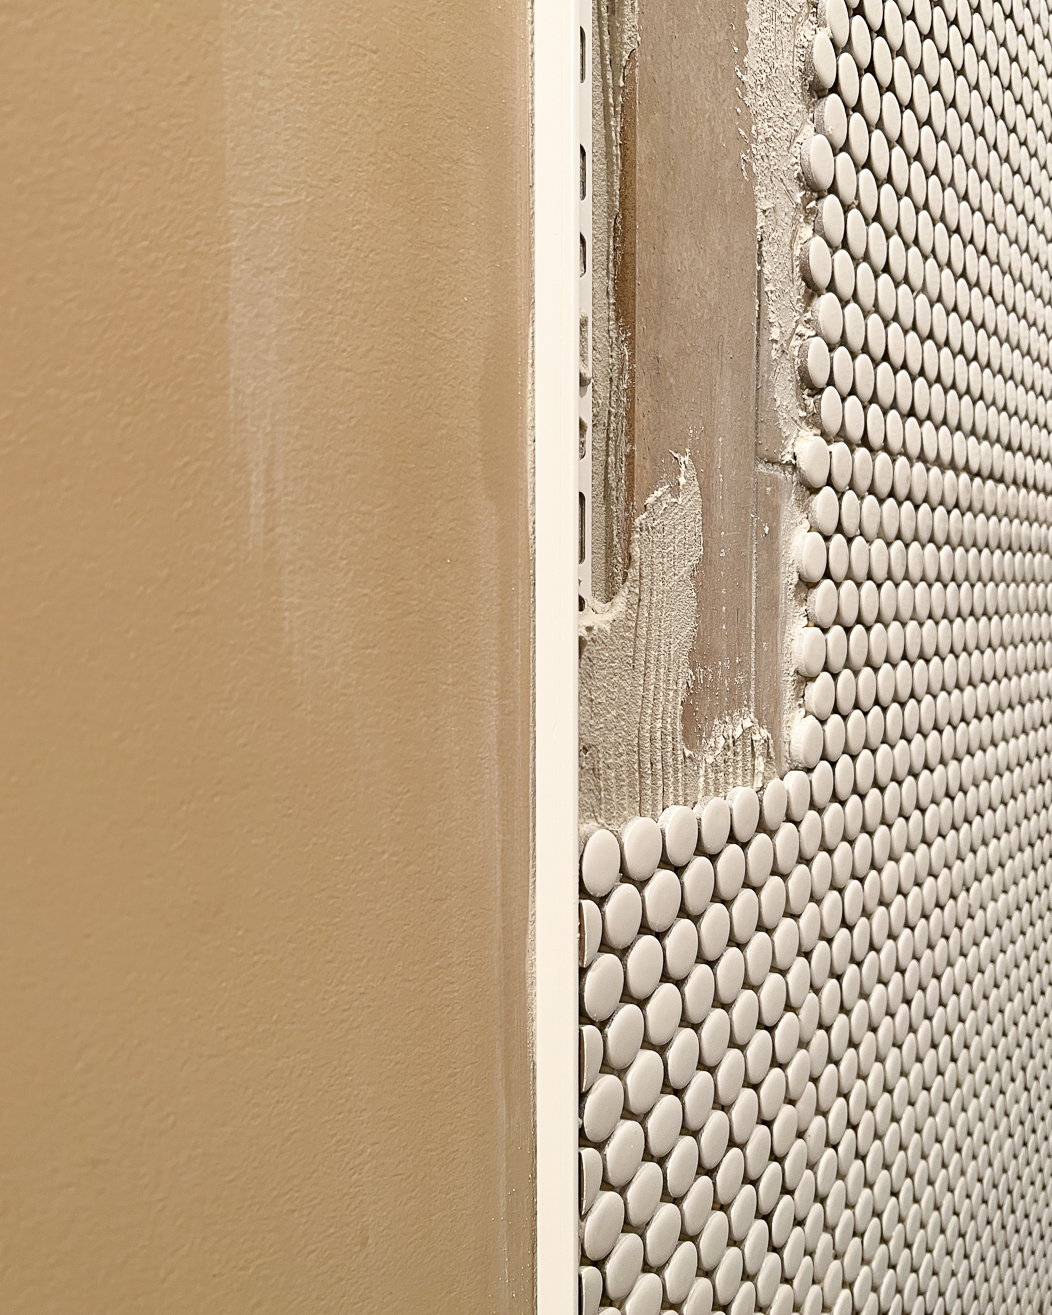
If you are tiling over a tile wall, you will need an edge trim in a size that will accommodate the thickness of your existing tile + 1/8″ for mortar + the thickness of your new tile. The 1/2″ size was perfect for us, but you may need a different size since the thickness of tile varies.
We used a Schluter 1/2-inch edge trim. They come in a variety of colors. We chose white to match our tile as closely as possible.
How to Tile Over Tile: A Step-by-Step Tutorial
You can watch a short video that gives a good overview of this project below. It will play after a short ad.
Time needed: 2 days
This tutorial is going to walk you through how to tile over existing tile on shower/tub walls, since that is what we did.
Note that we generally followed this tutorial from a highly reputable contractor. But we did not apply a waterproof membrane like he suggests in the video. Why? According to our research, the membrane might prevent the bonding primer from doing its job. He explains in his video that the membrane is to provide separation from any moisture that is behind your existing tiles from your new tiles. Because we were certain we did not have moisture behind our existing tiles (again, use a moisture meter to check), we did not use a waterproofing membrane. And for what it's worth, if we had detected any moisture, we would have ripped the old tiles out and not tiled over them.
- Prep the area.
We used T.S.P. to clean our tiles first. Then we covered our bathtub with plastic sheeting and a plastic tarp.
- Prime the existing tile with the bonding primer.
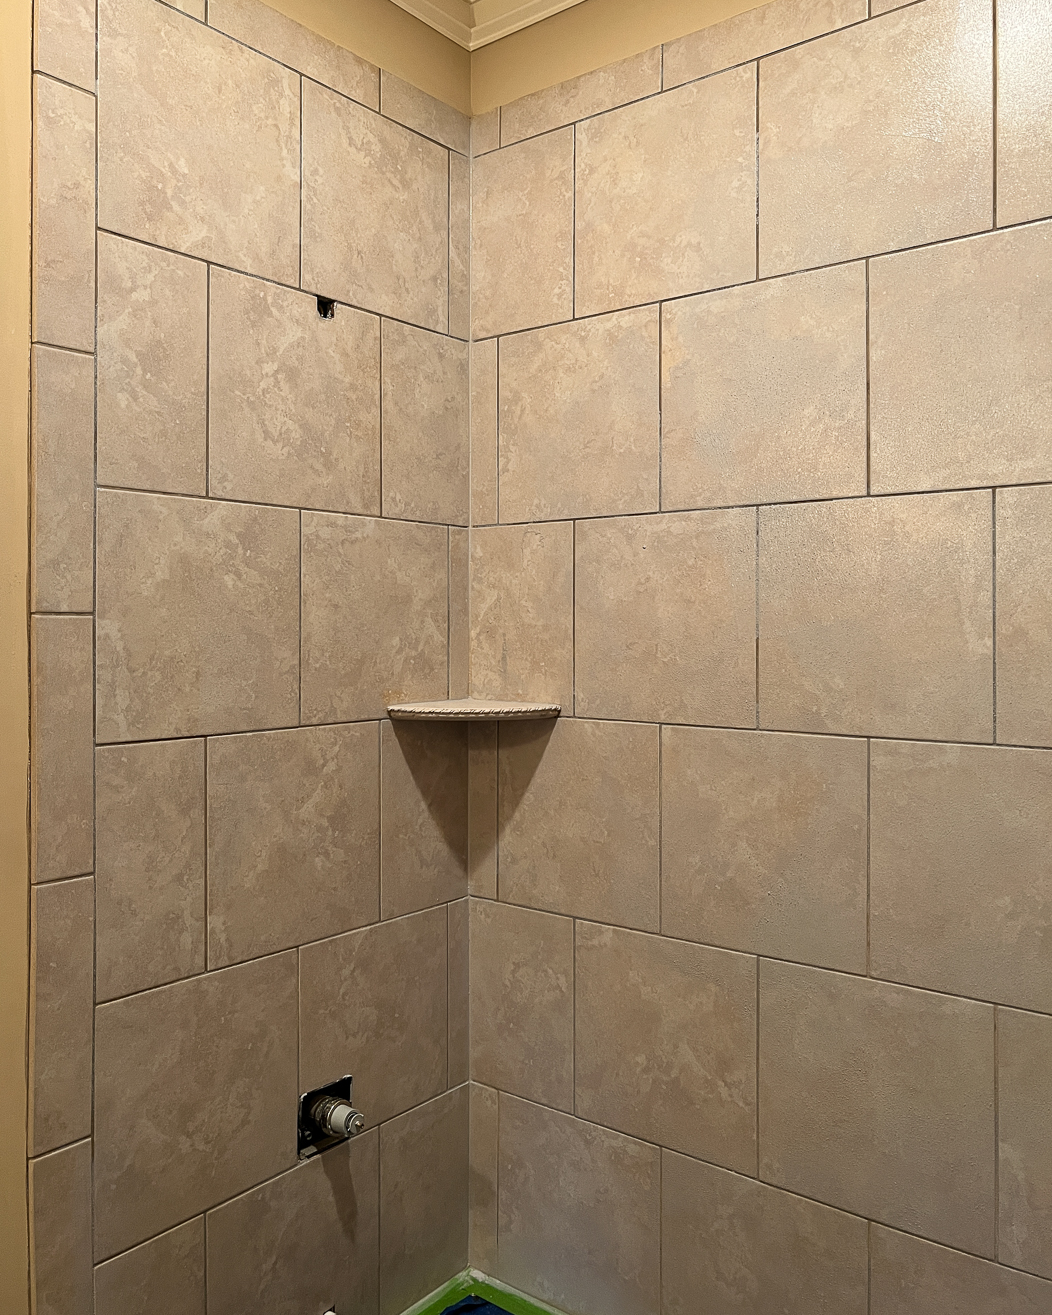
Roll the ECO Prim Grip on your tile surface. Use a paintbrush to get in any areas the roller can't reach. This product is pretty runny, so be sure to protect any areas you don't want it to get on. Let it dry. Note that it is fairly translucent–it just adds a grayish haze to your tiles (see the photo below). That doesn't mean you haven't put enough on! If you run your hand over it after it dries, you will realize how gritty it feels. It's that grit that will make the mortar and new tiles adhere well and will support the additional weight.

- Cut your edge trim to length and install it.
In most instances, you want to install your tile edge trim at this point and then install your tile by placing the edge of your tile against the edge trim and working away from it into the corner. I would recommend this if you are installing any tiles with straight edges.
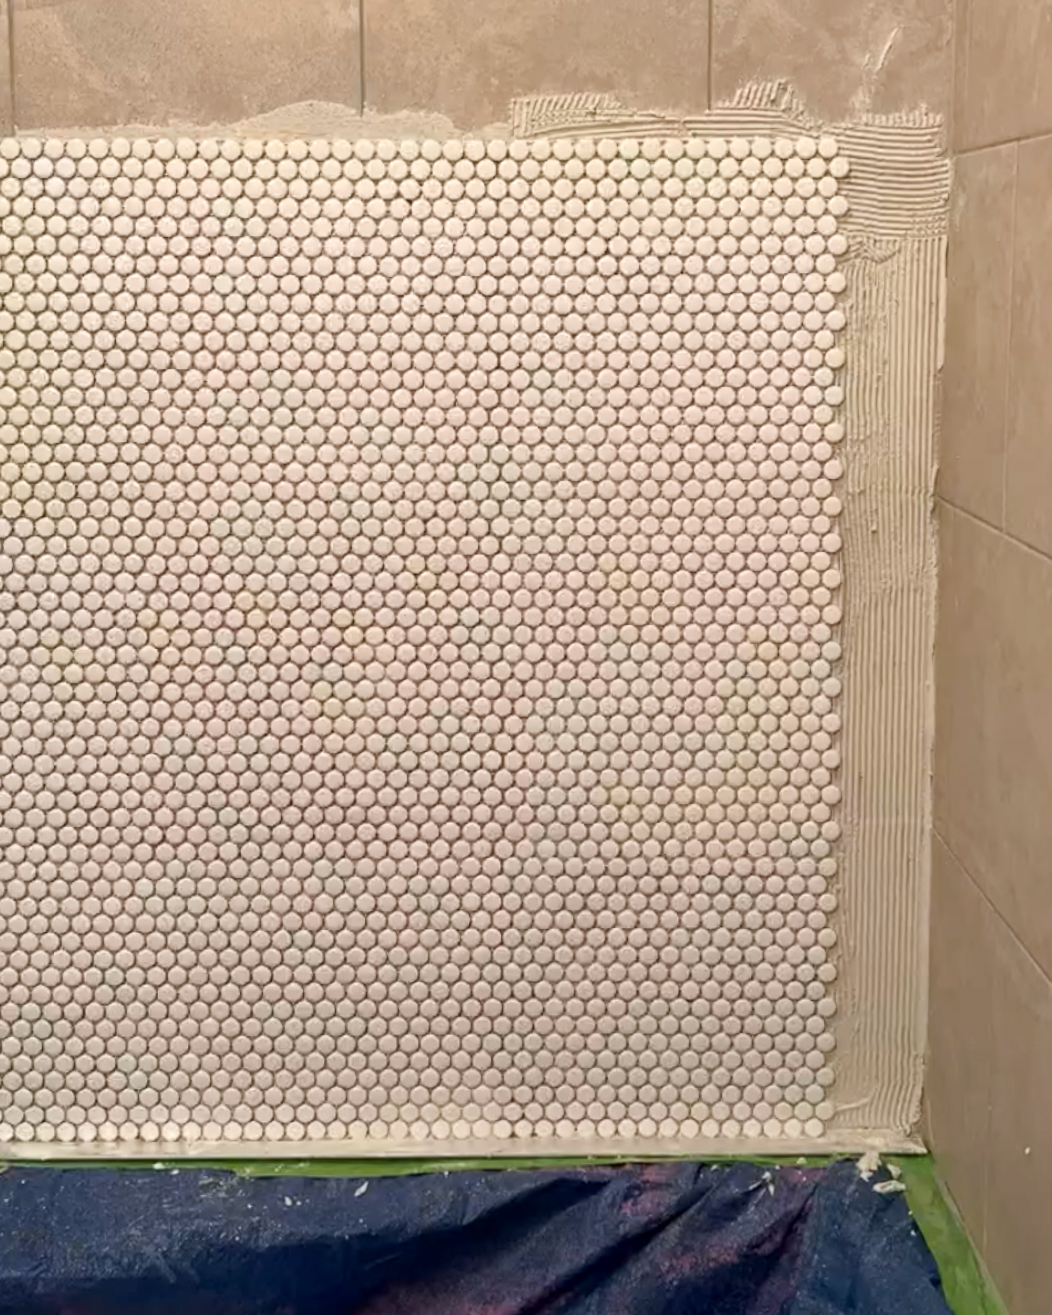
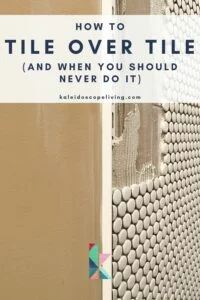
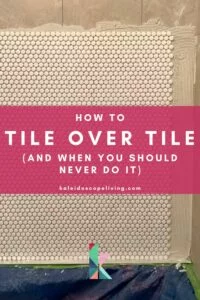
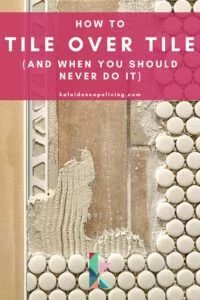
Because we were installing round penny tiles and wanted them to meet up in the corners a certain way, we chose to work in the opposite direction. We worked from the corner toward the tile edge trim, so we didn't install the edge trim until we were ready to tile up to it. Doing it in this order was absolutely fine, but if we had used straight-edge tiles we would have worked in the opposite direction.
- Install your tile and grout.
This isn't intended to be a comprehensive tiling tutorial so I won't go into detail. At this point you simply need to install your tile and grout as you normally would.

- Caulk as needed.
After you are done tiling and grouting, caulk along any seams and joints as necessary. You can see my tutorial for how to caulk a bathtub if you need some guidance. We also caulked along where the Schluter edge trim met up with the wall for a nice clean look.
There you have it! If tiling over tile is a good option for you, it's a great way to refresh your space without the hassle of removing old tiles. I hope this step-by-step guide has been helpful in teaching you how to decide whether you should tile over your existing tile and in showing you how to complete the job!
More BATHROOM IDEAS
Wondering how I approach transforming rooms and spaces in our home? Check out Designer in a Binder®.
And if you want exclusive content and behind-the-scenes sneak peeks, be sure to subscribe before you head out!



I thought the penny tile was better. It looks so beige and basic now
Hi Amy. The penny tile is what we tiled over the beige tile with ;)
Great advice for a cost-effective and less disruptive renovation! It’s a fantastic option for updating a space without the hassle of removing old tiles.
Thank you for this! I will be tiling over a wall in my powder room soon. I’ll report back with how it went :)
My pleasure! Good luck with your project!
Great blog! Tiling over existing tile can be a time-saving option for renovation projects. Understanding the prep work and considerations like additional weight and height adjustments is crucial. Looking forward to learning more about the dos and don’ts of this process!
Reading this blog is like getting life advice from a rebellious cat – technically, you CAN tile over existing tile, but it might end in chaos. Proceed with caution and a healthy dose of humor. Your floors will thank you… or maybe not. Good luck, brave tile warrior!
This blog, “Tiling Over Existing Tile: What You NEED To Know,” is a valuable resource for anyone considering a tiling project. It provides essential information in a concise and clear manner, making it easy for readers to understand the important aspects of tiling over existing tile. Whether you’re a DIY enthusiast or a homeowner seeking guidance, this blog offers invaluable insights.