Ikea Hack: “Built-Ins”
Last Updated on May 21, 2019
If you have visited my blog before, you may have noticed that I love Ikea. I love it for many reasons: 1) affordability, 2) quality and 3) simple design. The reason I love the fact that many of Ikea's designs are so simple is because it allows me to CUSTOMIZE them any way I want. Let me show you what I mean.
Before our twin girls were born, we took a trip to Ikea to pick out furniture pieces for their nursery. WE WERE ON A BUDGET, folks. We simply could not afford to buy custom, hand-painted pieces of furniture from boutiques. But that was okay. We knew we could do it on our own.
We wanted the look of custom, built-in pieces without actually permanently affixing anything in their room, since we predicted we would outgrow our old house {and we were right!}. These are the storage pieces of Ikea furniture that we selected:
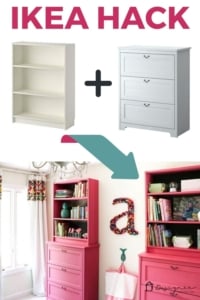
We purchased two Ikea Aspelund chests of drawers.
Source: www.bootic.com
I am sad to report that Ikea does not currently sell these. We purchased them for around $130 each. They were an unfortunate white, woodgrain laminate, but they were an excellent value and provided lots of much needed storage.
We also purchased two Billy bookcases to place on top of the chests of drawers.
Source: Ikea
The bookcases, which are still available at Ikea, are $39.99 each. They are surprisingly sturdy and, again, provided us with much needed storage at a great value. They are also laminate, but were a different color/texture than the chests of drawers.
We previously customized all four pieces for the girls' nursery by priming the chests of drawers and then painting them the same color as their nursery walls and by covering the back of the bookcases in fabric. We would have painted the bookcases as well, but we could not easily get the paint to adhere and I was super pregnant and tired, so we gave up. Fortunately, the white of the bookcases was SO close to the light green of the walls, you really could not detect that they were not painted the same green.
We love this furniture and it has held up phenomenally well, so we absolutely wanted to continue to use it in our girls' recently revealed “big girl” room. If you have not seen the reveal, please check it out HERE. But, I knew I wanted to customize it even more. We selected the same light green color for the walls in their big girl room, so we did not have to change the base color of the chests of drawers. YAY for saving time!
I chose to enhance the drawer fronts by painting them with a lattice pattern. Read on for a detailed tutorial of how to paint a lattice pattern on furniture–it's so easy and beautiful! This post contains some affiliate links. Click here for my full disclosure policy.
Materials Needed
- Water based primer {I used KILZ General Purpose Interior Primer}
- Base color paint
- Secondary color paint {this will provide the color of the lattice pattern}
- Additional paint colors for stenciled bookcase backer
- Stencil {I used a Mum Stencil}
- 6-Inch Foam Roller and paint tray
- Angled paint brush
- Painter's tape {I used FrogTape for the first time–seriously amazing!}
Steps
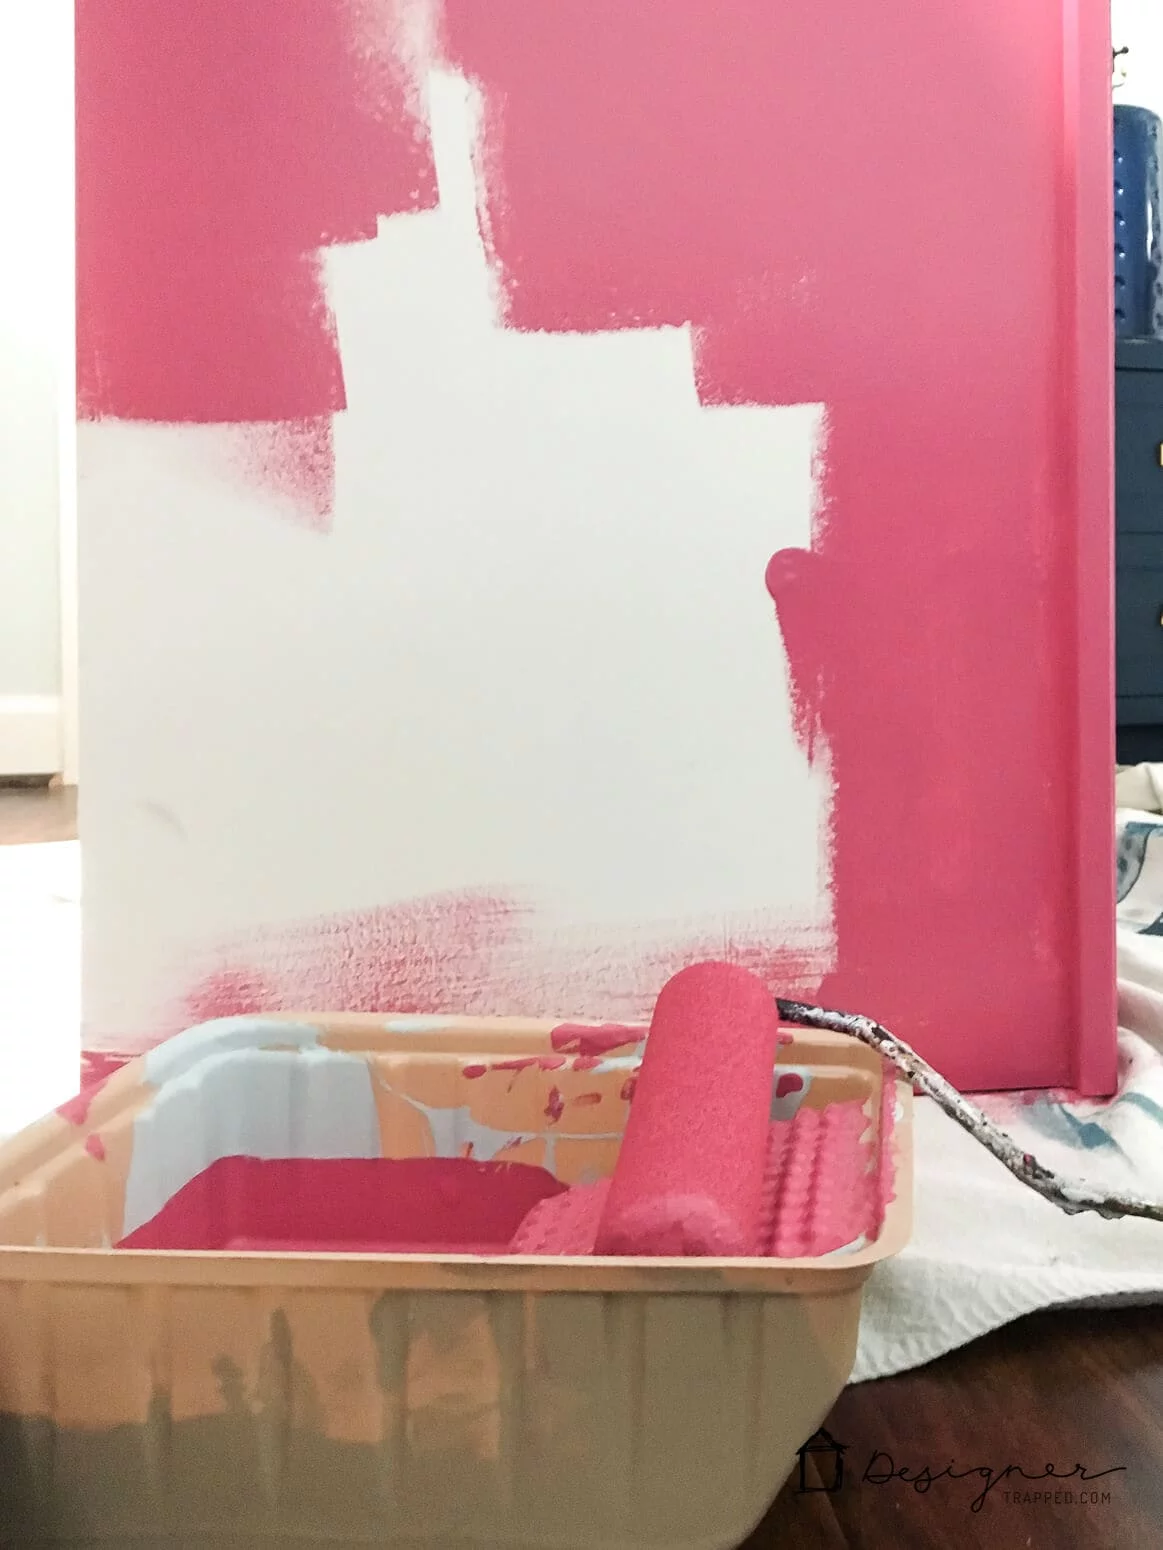
1) If you have not already done so, you will need to prime and paint the entire piece of furniture in your base color using your roller. I had already done this step years prior, so I got to skip this step :)
2) Using my angled paint brush, I painted the inner drawer front surfaces with the color that I wanted my stripes to be, which was a darker, more vibrant green. After the first coat dried, I applied a second coat, which I then allowed to dry overnight.
3) If you know me well enough now, you know that I do not like to measure, etc. when I am in my creative groove and this project was no exception. Using the drawer hardware as my “center guide”, I began by placing my Frog Tape in an upside down “V”, starting in the top center and extending each piece to the opposite corner. Then, I used my iPhone as a spacer and continued taping the pattern until each drawer front was completely taped. SUPER technical stuff, I know. {PS- TRY not to be jealous of my SUPER SEXY painting clothes}.
4) A quick word about taping–I HIGHLY recommend using Frog Tape. This was my first project using it and I am here to tell you that it really does eliminate paint bleeding that you may have experienced with regular blue painter's tape. However, if you use blue painter's tape, I recommend that you take an extra step here. After taping your drawers, add one more coat of your base color over the entire surface–paint OVER the tape. That will seal the crisp lines and prevent any bleeding. Trust me, it works. If you use Frog Tape, you can skip this step.
5) Next, I painted the entire drawer surface, going right over the tape, with my base color. I did so twice, but if you get great coverage on the first coat, that may be all you need. I totally forgot to take a photo of this step, but since it's pretty self-explanatory, I hope you will forgive me!
6) After letting the paint dry, I peeled the tape off. Seriously, that's it! Here are the G.O.R.G.E.O.U.S results!
But, I wasn't done with this “Ikea Hack” job just yet :) The polka dot fabric that I had previously used on the back of the bookcases just did not fit in the girls' new bedroom, so I removed it and decided to paint it, instead.
Additional Materials Needed for this step:
Stencil
Several paint colors {I used various paint that we had left over from other projects}
A foam brush or stenciling brush
Steps
1) We primed and painted the back board, which in Ikea Billy Bookcases easily slides in and out of place. My wonderful husband did this while I was working on the dresser drawers. {Yep, he has sexy painting clothes also}.
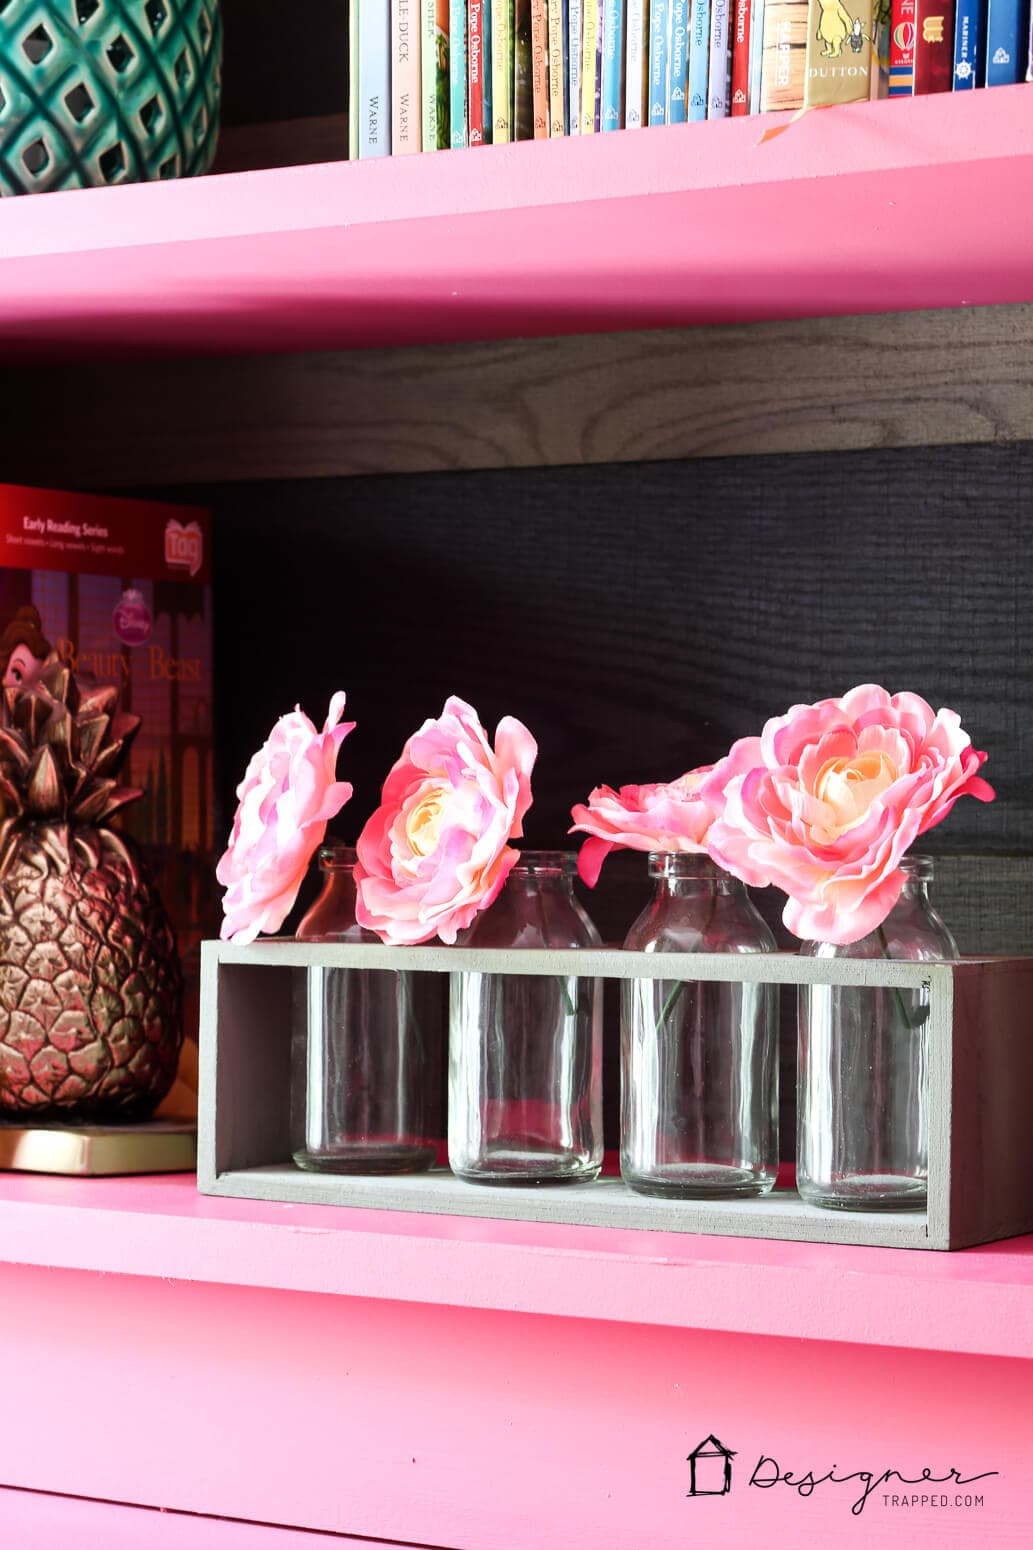
2) Once the base coat dried, I was ready to stencil. In all candor, I do not totally love the stencil that I chose, but it works for now. I randomly stenciled differed colored flowers in varying sizes all over the back boards until I was satisfied with the look. This is not a full stenciling tutorial, but I will tell you this was my first time stenciling and it was EASY. I used a cheap foam brush. I placed a small amount of paint on a paper plate, then dipped my brush to get a SMALL amount of paint on my brush. Then, using a straight up and down motion, I “tapped” the brush over the stencil until I filled in whatever shape I was stenciling with the desired color. SUPER EASY. I completed one color at a time and used four different colors to get my finished look {pink, green and two different blues}.
This is how it looked with two colors {pink and green} applied.
3) After letting all of the paint dry, I slid the back boards into place in the Billy Bookcases. Here is how the painted and stenciled back boards look all painted and back in place.
Bringing it all together
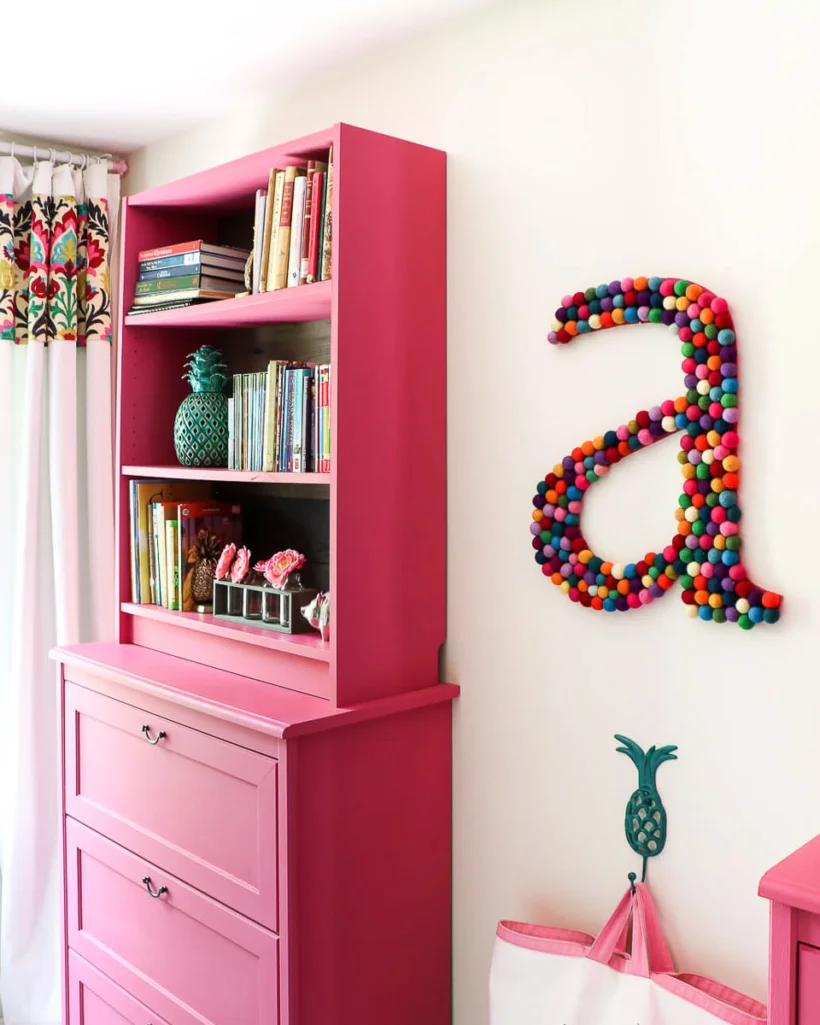
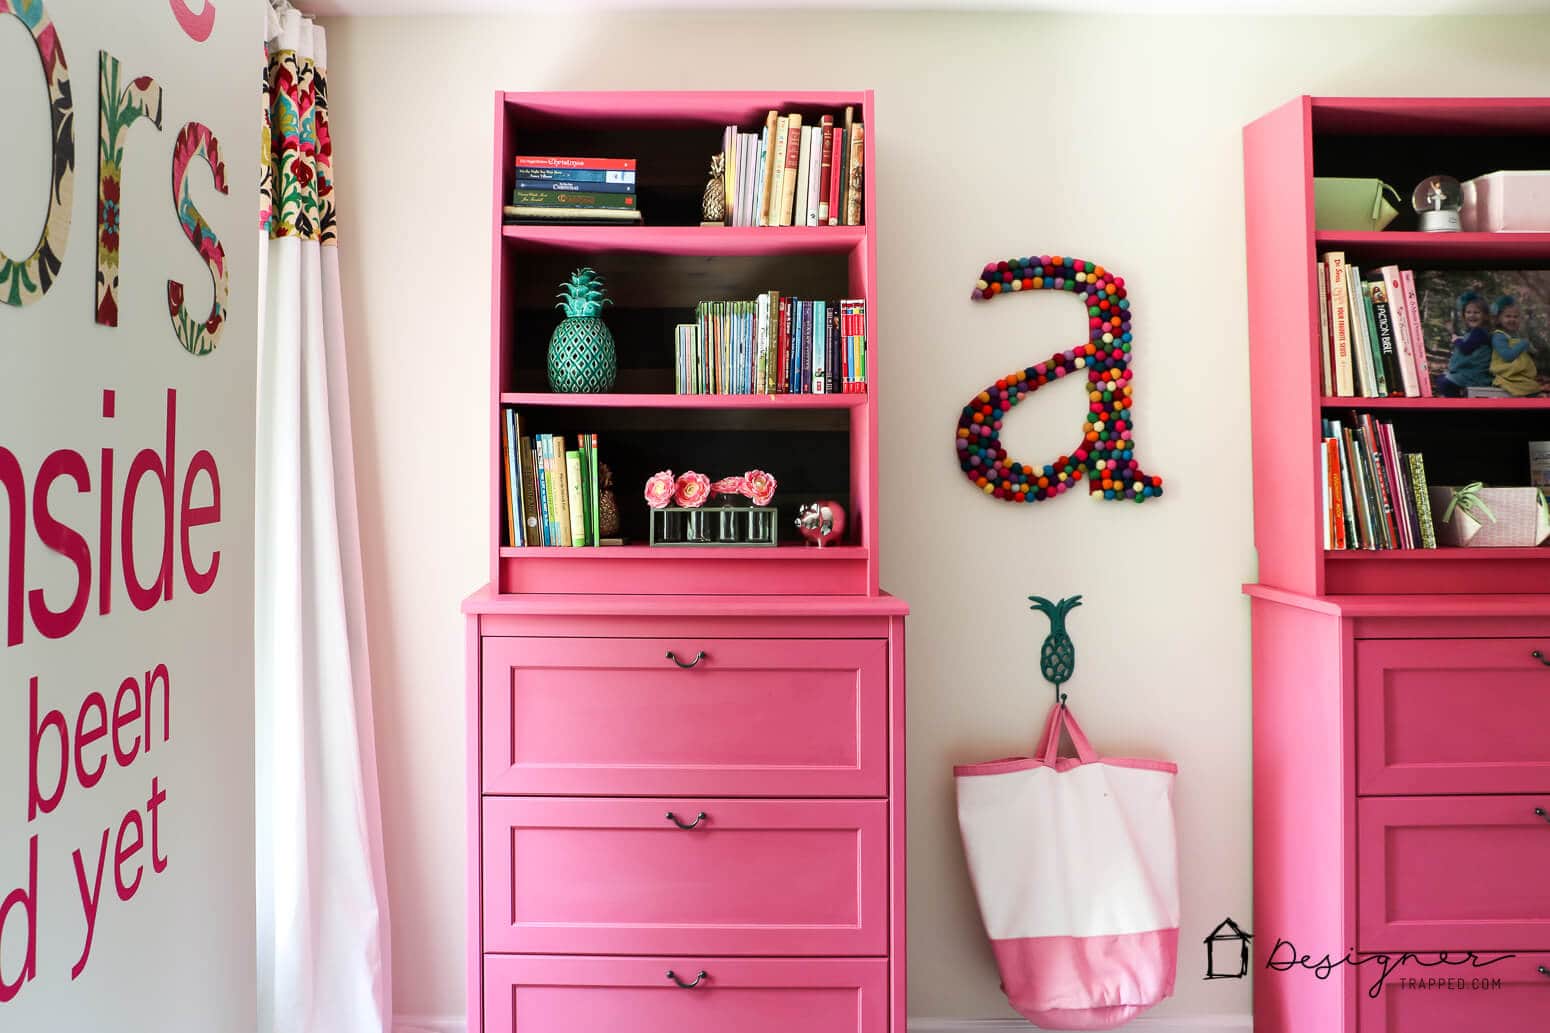
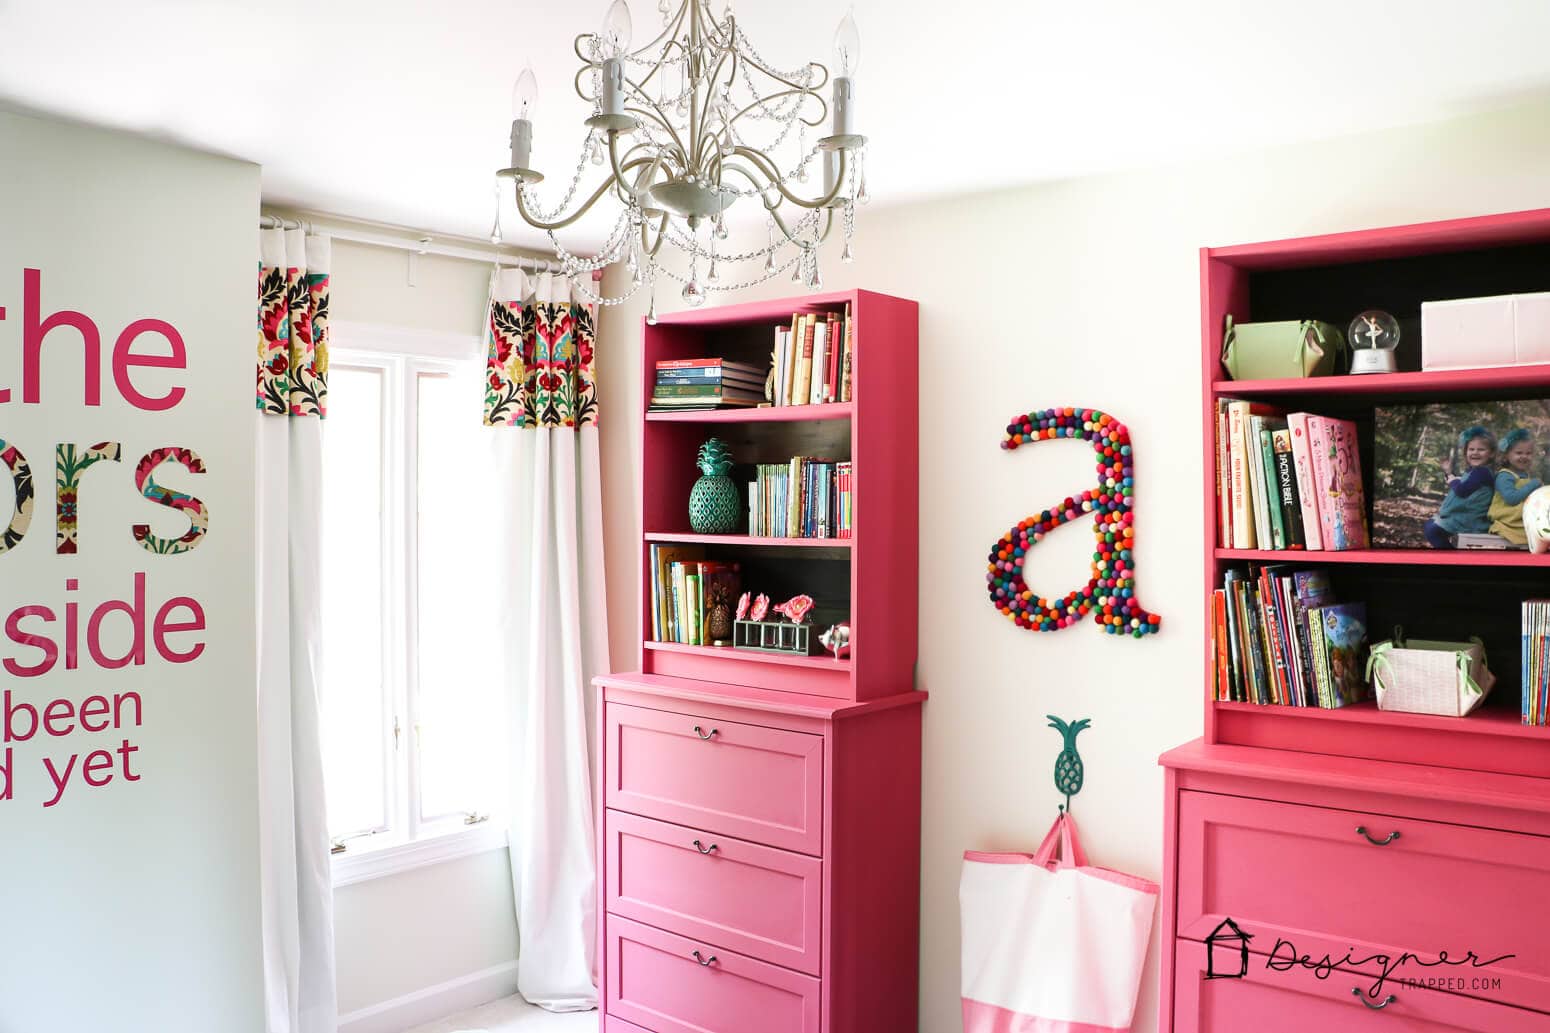
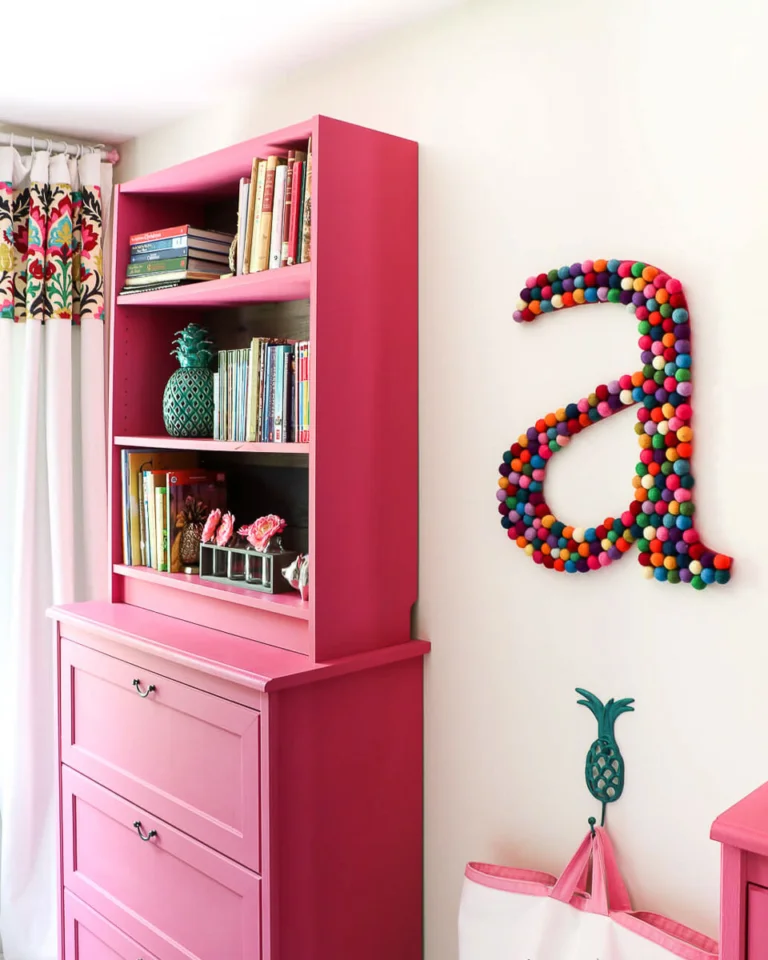
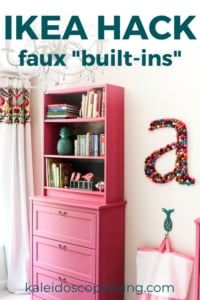
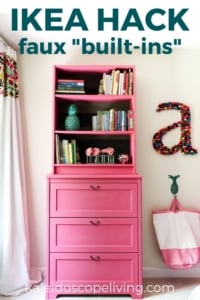
To complete this Ikea Hack, we positioned the chests of drawers in the room and secured them to the walls {following the directions provided by Ikea}. You do not have to do this, but with young kids, we are paranoid about furniture tipping over, so we elected to do it. Then, we placed the Billy Bookcases on top of the chests of drawers and also secured them to the wall. And VOILA! Here is the finished product!
The end result is what appears to be custom furniture that provides TONS of storage for a total of $340! What do you think? Have you ever customized Ikea furniture? If so, I would love to see what you have done!
[mv_create 1 11 200 2016 key=”1″ type=”list” title=”Most Popular Projects” thumbnail=”<a href=” https designertrapped com wp content uploads diy home decor projects blog jpg a]
These are gorgeous, I really want to try out the lattice design now! I repainted an IKEA unit recently and it needs a little extra something so that could be the one to try it on.
Awesome! Let me know how it turns out!
This is a great idea! I’m definitely going to try this. I was thinking though, if you flip the bookcase upside down and attach trim to the top (to cover that kickplate), you eliminate that large space between the bookcase and dresser, plus you get a slightly more cohesive/customized look. Just a thought.
I’d love to make this! Where did you buy the cover?? Laminate drawer cover that you’re painting
Hi Megan! We purchased the chest of drawers at Ikea and I painted directly on the drawers. I hope that helps!
I have been using a product for particle board furniture called spray shellac. It completely seals the furniture and is used often to repair drywall so it won’t absorb so much moisture. Was painting a thrift store shelf from Bombay company that looked like wood but isn’t. After 3 trys with paint just soaking in. I tried the spray shellac and worked like a charm. Not sure about laminate. Perhaps sanding it would make it more porous and then the spray would work. Love the beautiful pieces you created!
Thanks for the tip, Julie! I will definitely try that!!!
Love this! Ikea just recently opened up stores in Puerto Rico and I will definitely be giving them a try and using your ideas. Thanks for sharing!
Oooh, you will LOVE Ikea! Enjoy!
Thanks! :D
I love all of the details you put onto each piece, it gives them character and personality!
Thanks so much, Diana!
Hi Tasha – I am so impressed with your creativity! I have tried painting over my Ikea furniture in the past but never had success as the paint would eventually scratch off. Do you have any recommendations or tips on which primer and paint to use and how to paint over the Ikea “veneer” finish so that it sticks? I am pretty sick of all the birch veneer pieces I’ve collected over the years but why buy new when you can re-create?
Thanks so much!
Thank you, Esther! It seems to be hit or miss which Ikea laminate furniture will take paint. As I mentioned in my post, the Billy bookcases wouldn’t accept it (though the backboard did–weird), but the laminate chest of drawers accepted the paint beautifully. We used water based Kilz to prime and Valspar latex paint for the top coat and painted details. I hope that helps!
It does help – thank you! Don’t want to go through the trouble of sanding but maybe even a light sanding will help on some of those “shinier” products! Appreciate it!
My pleasure, Esther!
I like it! I didn’t realize the small Billys are so cheap – now I’m even more sad that our closest Ikea is 2 hours away! I used for live ~10 minutes from one for a while (while I was in college, it opened 10 minutes from where my/my husband’s parents live and about 20 minutes from my college), that was nice!
Hi Kate! Our Ikea is 1 1/2 hours away, but is SO worth the trip a few times a year. It must have been awesome having one so close to your college. That would be dangerous for me!
Tasha- Love this I just posted an IKEA lazy susan project. Please consider linking to Friday Favorites going on this weekend! My favorite pic was the iphone as a spacer! ! I did that with a role of toilet paper as tape measure! Love, laura
Bravo une super idée et très bien réalisée
What a great idea! Absolutely fabulous!
Hi Leslie! Thanks so much!
You know I love this Tasha! It is so fab that I am featuring it tomorrow at Work it Wednesday. Hop by to grab your button if you have a chance!! Thanks for sharing it:)
~Krista from the happy housie
Oh, thank you SO much, Krista! My day is off to a great start because of you :)
Oh Tasha! These turned out amazing!!! Love, love, love them! *BTW I love your paint clothes! I go for a similar look out in the garage! Ha!
Thanks SO much for linking up to Hit Me With Your Best Shot! Hope to see you again soon!
Hi Shelly! Thank you so much :) I am glad to know that I am not the only one with super sexy painting clothes, LOL! I love your link party–thanks so much for hosting!
This is freakin’ genius! Pinned :) I’m so happy you linked up with The Makers last week and we hope will link up again today!
~Katie @ Upcycled Treasures
Thank you so much, Katie! I was so thrilled to see that this project was featured at The Makers party! I will be linking up every week. Thanks so much for hosting!
I love this Ikea hack! I just wish the bottom units were still available. I’m embarking on a makeover in my office, and I want a pair of bookcases (with storage) to flank a window. What you’ve done looks perfect, and the price is definitely right.
Thanks for inspiring me. I think a trip to Ikea might be in order.
Hi Amy! You never know…Ikea may start selling the bases again, but they have lots of other similar chests of drawers, so you should definitely make the trip. I would love to see how your project turns out. I think something like this would look fabulous flanking a window in your office. In fact, that’s how we had them set up in our girls nursery and it looked beautiful!
Amazing IKEA hack girl! Love it!Pinning;-)
Thanks, girl! I appreciate it!
LOVE how these turned out!! I especially love the drawer treatments….so classy!!!!
Thanks for linking up to Project Inspire{d}!!!
Hi Diane! It’s my pleasure to link up to your fabulous party! Thanks for stopping by and for your sweet comment.
WOW! What an amazing idea! :D And I just LOVE your iPhone spacer ‘app’ :P If you get a chance I’d love to see this post on my linkup: http://timeforseason.blogspot.com/2014/01/my-favorite-things-saturdays-125.html
Featuring this post at The Makers on Tuesday! Thanks again for linking up!
Wow! Thank you, Corey! You made my night!
Did you secure the 2 pieces together? What would /did you use?
Hi Cathy! No, we did not secure the two pieces together. Since they are each secured to the wall independently, they do not move at all so we did not feel the need to secure them to each other. I hope that helps!
This is awesome Tasha! Ikea hacks are my fave and you guys did a great job. I love the details you added with the paint.
Thanks so much, Corey. I love Ikea Hacks, too. There are so many amazing ones out there!
Tasha, Wonderful transformation! I love how they look stacked. The stenciling and paint job also make them look like custom pieces. I too am a fan of Ikea. I LOVE all the Ikea hacks out there on the interwebz. I have a RAST drawer in the guest room that I have been wanting to dress up. The billy bookcase above might be a great way to add some storage with minimal footprint. Thanks for sharing with us! I’ve pinned it!
~ Bethany
Thank you so much, Bethany! I appreciate you taking the time to follow me and comment. You should totally do your own Ikea Hack! I can’t wait to see it. Enjoy your weekend :)
Hi Tasha, these are so amazing! I love a good ikea hack. The details you painted on there look great too. I love the stenciling on the back. I’ve got a tall billy bookcase I’ve been thinking of doing that too and I didn’t even think about taking the back out/off to paint it, lol. You did an awesome job on these! :)
Hi Meg! Thank you so much :) Yes, you can just slide those backs right out–makes it super easy to paint!
I love all the paint details you used! How clever.
Thank you, Bobbie! I am so happy how they turned out.
Those turned out great! Thanks for linking them up at Monday Funday!
My pleasure, Katie! Thanks for hosting an thanks for stopping by. Enjoy your weekend!
This is kind of brilliant! A bookshelf on top of a dresser makes perfect sense! That is a ton of storage, and they look really great.
Hi Nikki! The idea was born mostly out of necessity, but once I thought about it, it seemed like a pretty natural thing to do. Thanks for stoping by and for your sweet comment!
Thanks so much for linking up again at Thursday STYLE! We absolutely love seeing you every week! I LOVE the green lattice! Great advice about getting the Frog tape. I swear the blue tape is basically worthless. You guys did such a fabulous job with the whole room! In awe of your creativity as always :) Have a great weekend!!
Awww, thank you, Angela. It is my pleasure to link up at your wonderful party :) Frog tape is AMAZING. You will love it. Congrats on your Remodelaholic feature for your ampersand art. You deserve it–I just love that project!
Love how you personalized it! They don’t look like IKEA!
Hi Melinda! Thank you. It’s amazing how much paint can transform something. Enjoy your weekend!
geez tasha, you’re one heck of a hacker! that looks pretty, i especially love the painted piece♥
hey thanks for sharing this over at The DIY’ers! huggies♥
rea
Hi Rea! Thank you! It’s my pleasure to link up to your fabulous party. It’s one of my favorites :)
I love the way these turned out! I’ve had a few Ikea pieces in my home over the years and have loved how they’ve held up. I adore the flowers painted on the back side of the shelving, it’s a perfect little pop of color.
Stopping by from the Inspiration Exchange.
Hello Angela. Thank you so much for stopping by and for your sweet comment. I am glad you like the flowers on the back of the bookcases. I was a little unsure about that touch when I was done, but it is growing on me!
That is really quite brilliant to put a bookcase onto of a dresser! Makes some wonderful storage and it looks so cute! Great paint job!
Thank you, Abby! It really does provide so much storage without taking up a ton of floor space. Thanks for stopping by!
Love it! They came out so nice. I’ve been wanting to take a trip to ikea for a while know and seeing this has me wanting to go there even more :)
Hi Nicole! Thank you! You will NOT regret a trip to Ikea! So many amazing options loaded with potential. Thanks so much for reading my blog!
I Love the hand painting you did to get the lattice pattern. It’s absolutely stunning! Stopping on over from Wow me Wednesdays. Happy crafting!
Thanks so much, Kristy. I appreciate you stopping by and your sweet comment!
Those are adorable! I’m glad I’m not the only one who is in LOVE with all things IKEA!
Hi Kim! No, you definitely are not the only one :) It’s such an amazing company!
This is SO good! I love your painted details. I love me some Ikea too, but I have to tell you a sad story: There nearest Ikea is a good four hours from my house. Sad, right? Thanks for linking up to The Makers. I will be following along!
Oh no, Alexis! 4 hours is too far away. Ours is 1 1/2 hours away and I wish it was closer. I won’t complain any more :) So excited about your new link party. I’ll see you there ever week!
Wow!!! You giys rocked those pieces!
I so wish I lived closer to an Ikea…
Hi Selene! I hope you have been well! I LOVE having an Ikea within driving distance {though I wish I had one even closer}. It is awesome. Thanks for stopping by!
WAY to go Tasha!!! How amazing is that!! Only one 1 but 2!!! Amazing!!!
Thanks for sharing at From Dream To Reality! :)
Hi Christine! It’s my pleasure to sharing it at your party. Thanks for stopping by!
So cute! I found you through craft-o-maniac.com! I’ve painted the backboard of the bookcase before, but never attempted the drawers. Great idea!
Thanks so much, Jen!
Oh I love this! I am doing a giveaway today and would love if you would stop by and check it out! http://www.thediaryofarealhousewife.blogspot.com/
Thanks, Jennie! I just entered your giveaway! I have been WANTING one of those machines. Fingers crossed that I win!
I love how you made them look so special! I like the frog tape too, and I got a kick out of how you used you phone, awesome!! Great Job!
Hi Mindi! Thank you so much. LOL, my phone was the perfect spacer. My husband made fun of me for that one, but it totally worked and since I was listening to an audiobook on it while I painted anyway, it was handy! Enjoy your weekend!
Brilliant! Those turned out absolutely beautiful and I never would’ve guessed they’re from Ikea. The little diamond pattern is legit. Love!
Thank you, Kelly! Thrilled that you stopped by and that you enjoyed my Ikea Hack post :)
Once again, another amazing project! I absolutely love what you did to these pieces! It is amazing what a little paint can do. Great job!
Thank you so much, Katie! You are so sweet. So nice to get such a nice compliment from someone I admire so much! Love all of your projects!
From one lawyer to another, your site is GORGEOUS, and your projects are great! Keep ’em coming!
Hi Krista! Thank you so much. I am thrilled that you found my blog. Heading to check out yours now!
Fabulous Ikea Hack Tasha- pinning it for sure!!
Awww, thanks so much, Krista!
I love this! I’m all for customizing furniture, and you both did a wonderful job! Have a great week! Dee :)
Hi Dee! Thank you! It really is amazing how much paint can transform furniture, isn’t it?! I hope you have a great week as well!
What a great idea! I love the combination of colors and patterns. Thanks for sharing!
Thank you, TaMara! I appreciate you stopping by!
LOVE! That shade of green is so beautiful. And thank you for sharing your testimony about Frog Tape haha! I’m convinced I need it in my life!
Hi Amy! I am telling you what, I WISH I had started using Frog Tape years ago, but I just didn’t believe it would really make a difference. I am a believer now. It is awesome! Have a great week!
Love this! What a great way to get a custom look. We (finally) are getting an Ikea near us this Fall and are planning on updating our Exchange Student/ Guest Room once they open. I will have to keep this in mind!
Hi Kelly! Thank you. Oh my goodness, my whole life changed when the Ikea “near” us opened a couple of years ago. I LOVE IT! You will love it, too! Can’t wait to see what updates you make to your guest room.
LOVE these! The diamond pattern on the drawer is fantastic. Great work!
Hi Bre! Thank you so much! I love it. More importantly, my girls love it :) Have a great week!