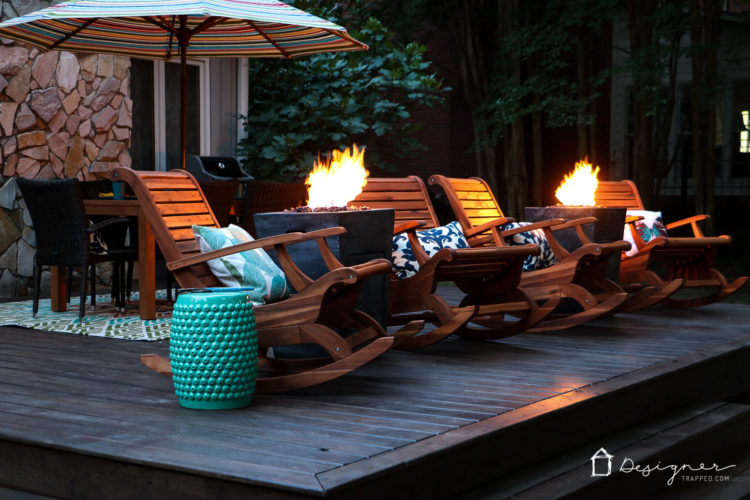
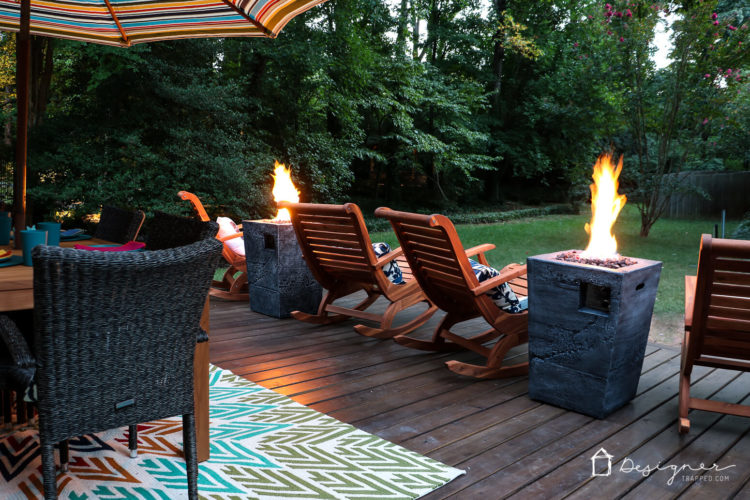
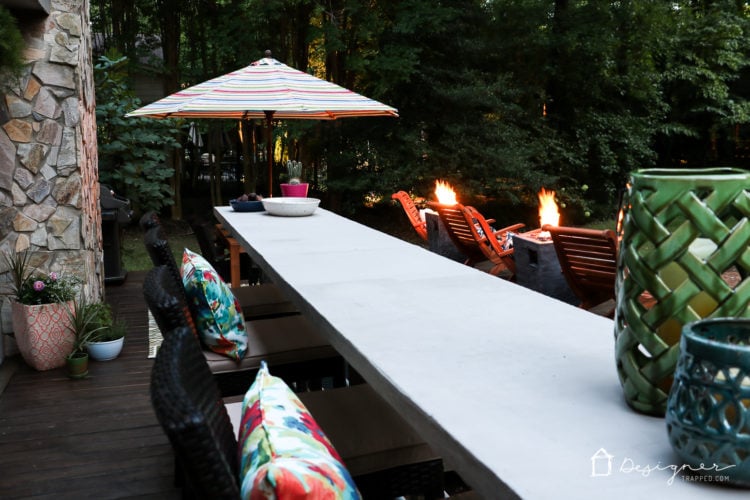
Deck Makeover REVEAL

Last Updated on June 6, 2022

OMG y'all, it has taken us what seems like FOREVER to get to the day of our deck makeover reveal! We broke ground on this project in May. YES, in May. And we just finished it about 10 days ago. Talk about a long, long project. But there was no huge rush and it allowed us to take our time and tackle the entire project DIY style.

We are so grateful to have partnered with Hayneedle for the outdoor furniture, fire pits and some of the decor. All the pieces we added totally show off all of our incredibly hard work in re-building our deck!

Here's a sneak peek of the finished project to wet your appetite… Then I'll tell you a bit more about what we did and show you some before photos and LOTS of after photos.
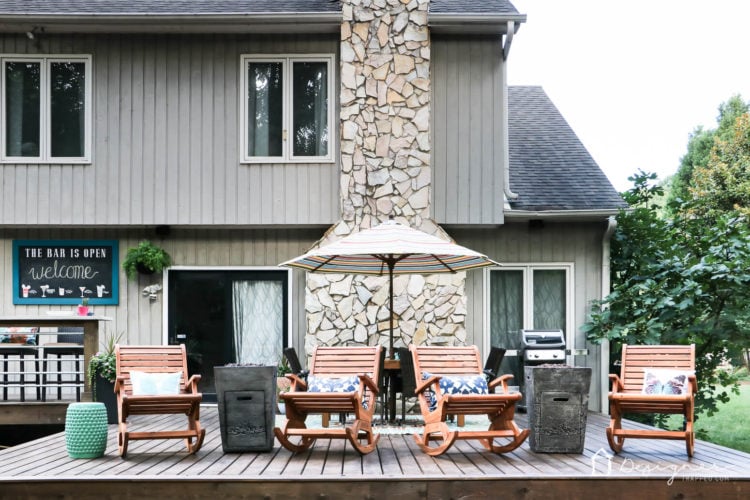
Come check out our complete and total DIY deck makeover! It took months for us to rebuild it and furnish it, but is so worth it!

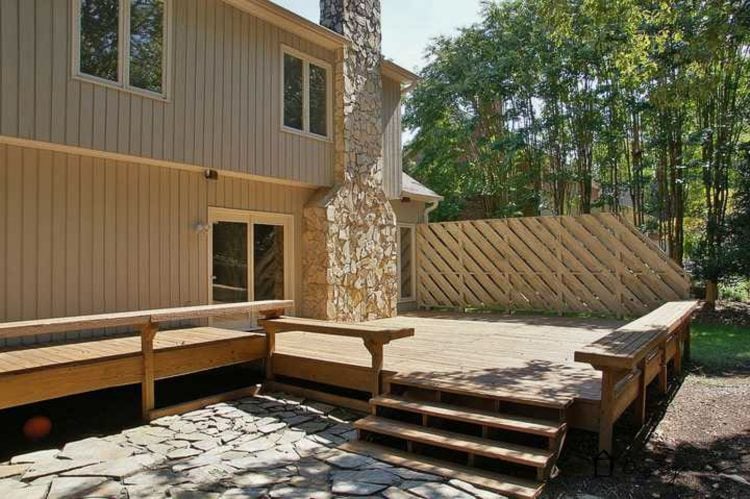
Now, let's take a look at what the deck looked like before we got started. It was 31-years-old and was badly splintered. And the orange toned stain was never our style. These are photos from when we first moved it and it remained largely unchanged (except for that ugly privacy fence that we ripped down and turned into this DIY herringbone plank wall a couple of years ago)
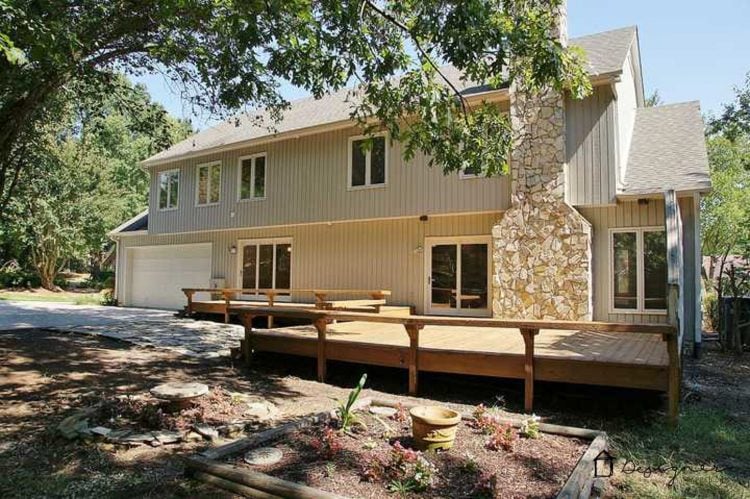
Come check out our DIY deck makeover progress!
So, we ripped off all the benches (that had LITERALLY given me splinters in my butt–not fun) and the decking boards. We kept the exact same layout so that we could re-use the existing framing (which was in great shape, thank goodness). We decided to keep the deck as open as possible and since the deck sits so low to the ground, our local code does not require railings. So, in lieu of railings, we decided to build wrap around stairs and a DIY outdoor bar. We stained it a darker, more neutral brown color and are so, so happy with how it turned out. You can read more about the new decking and staining in this post.
Enough talking…take a look for yourself! Be sure to click here to check out my style board on Hayneedle to shop all the gorgeous furniture and decor that we used!
Come check out our complete and total DIY deck makeover! It took months for us to rebuild it and furnish it, but is so worth it!
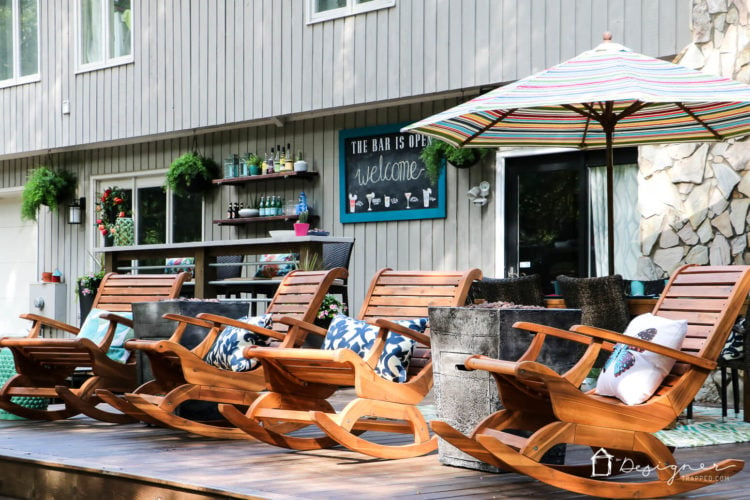
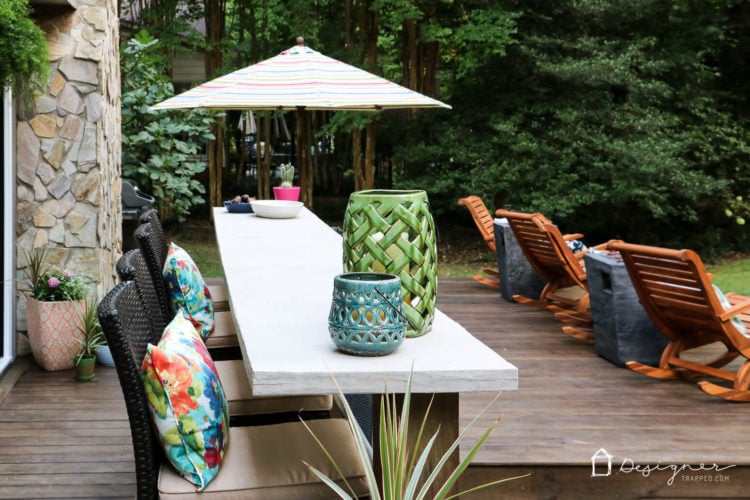
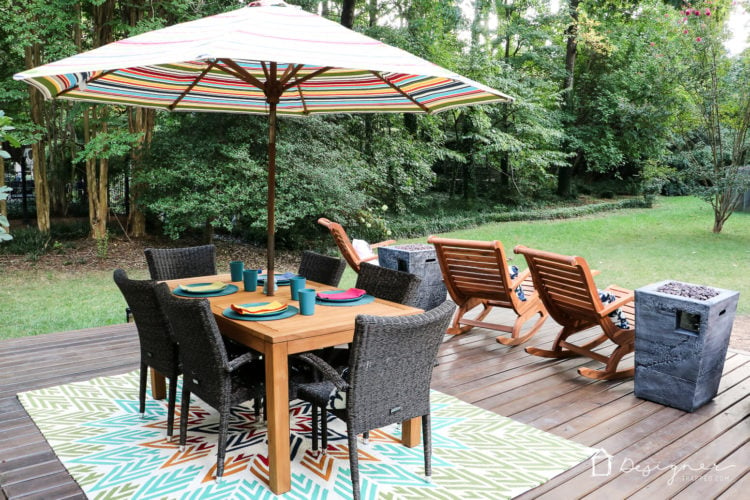
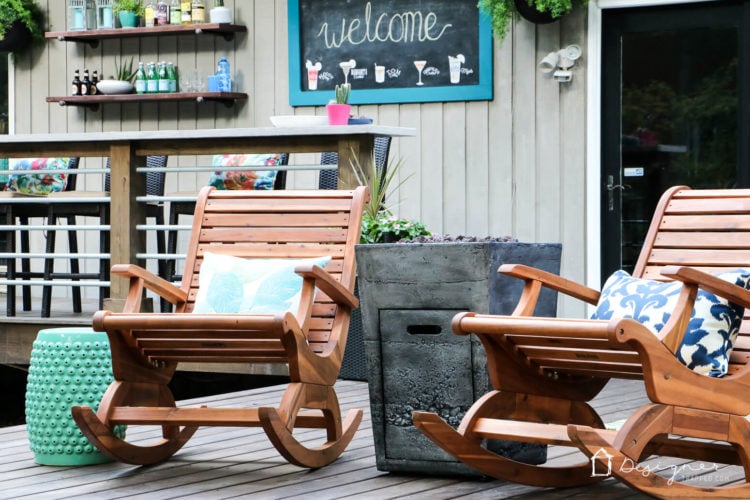
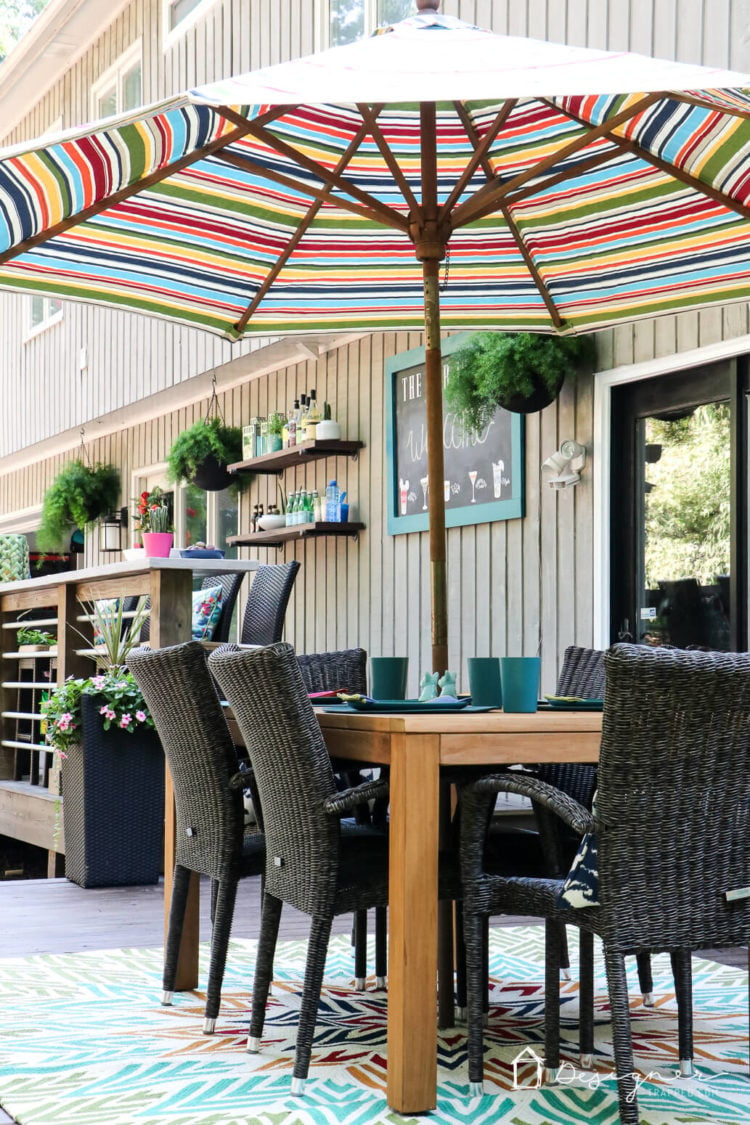
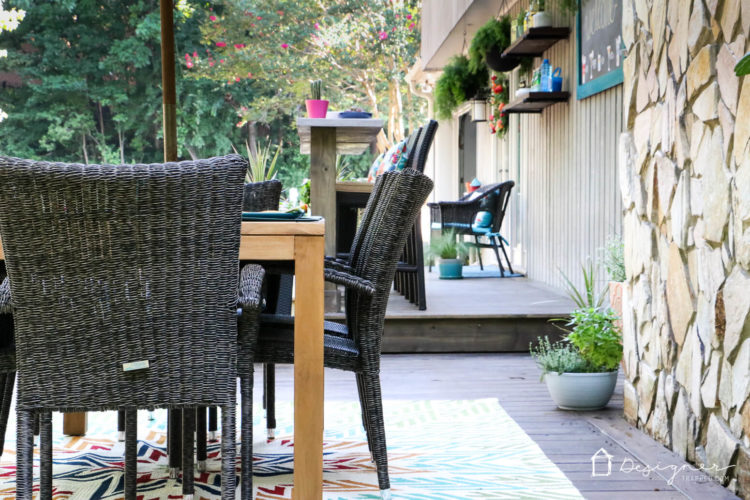
You may have noticed that we have A LOT of seating–we do and we are so happy about it! You may have also noticed that we have a mixture of all weather wicker pieces and natural wood pieces. That, my friends, is what we call compromise :) I wanted all-weather wicker and Joe wanted all natural wood, so we married our two visions by choosing a dining set with a Teak table and all-weather wicker chairs. Then we added the oversized Acacia rockers and all-weather wicker bar stools. Everyone is happy!
Come check out our complete and total DIY deck makeover! It took months for us to rebuild it and furnish it, but is so worth it!

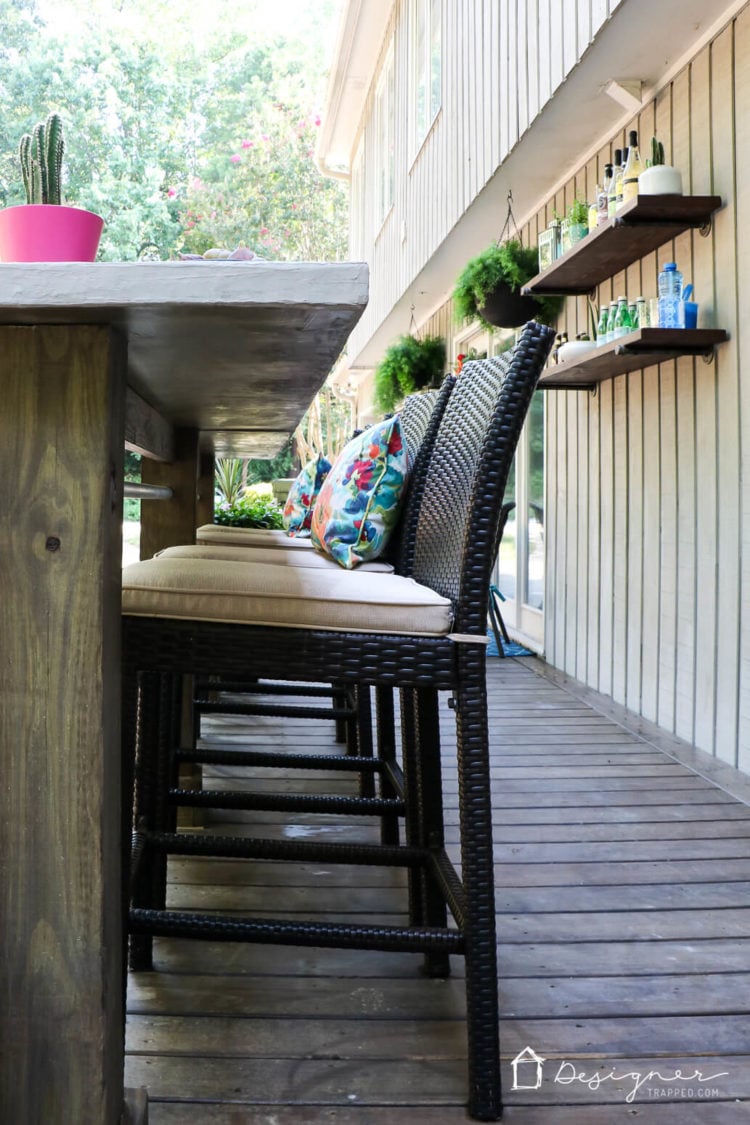
The DIY bar is one of my favorite features of our new deck. It's great for our family of four to sit at and have a snack and it provides additional and fun seating when we have friends over. The tutorial for the bar will be coming very soon, so keep your eyes open for it :)
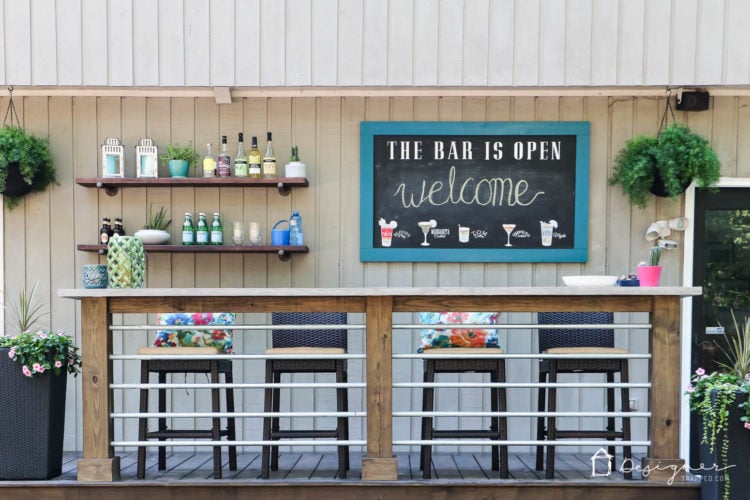
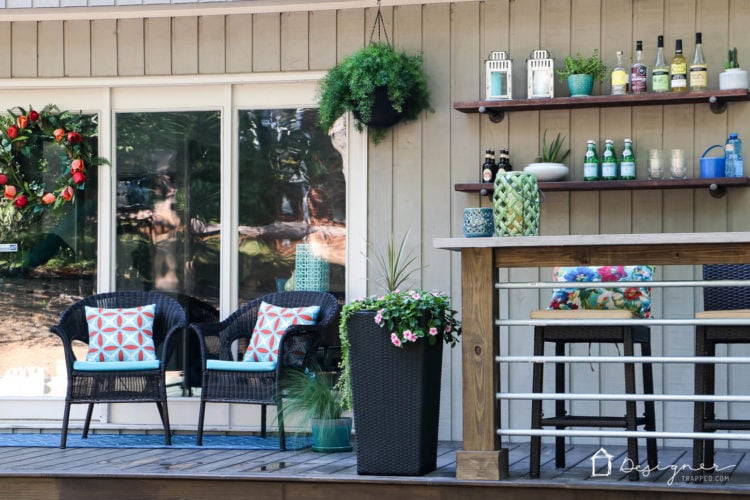
Come check out our complete and total DIY deck makeover! It took months for us to rebuild it and furnish it, but is so worth it!

We had been dreaming of a fire pit once we finished construction on our deck, but wound up choosing these fire columns instead of a more traditional fire pit table. We are thrilled with our choice! The fire columns work perfectly in between the rocking chairs and give us a lot more flexibility to move things around depending on how many guests we have and how we are using the space. The ambience (and warmth in the cooler months) that they give off at night is MAGICAL!
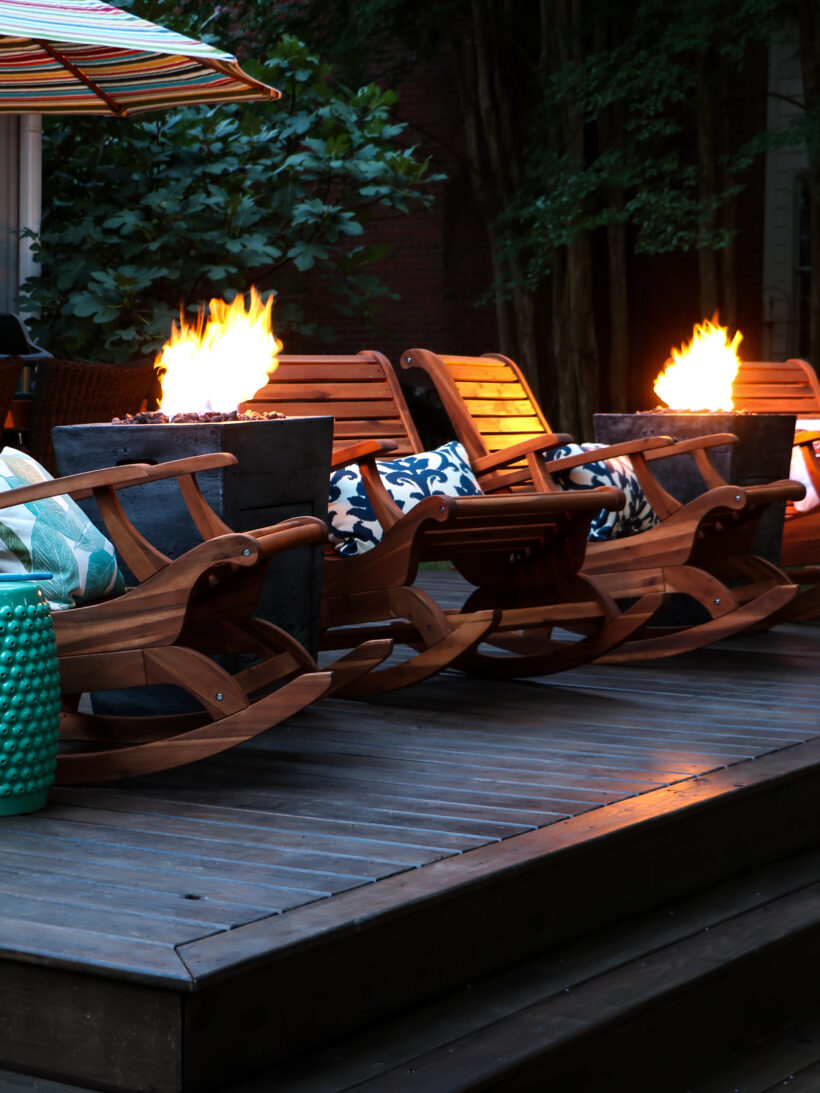
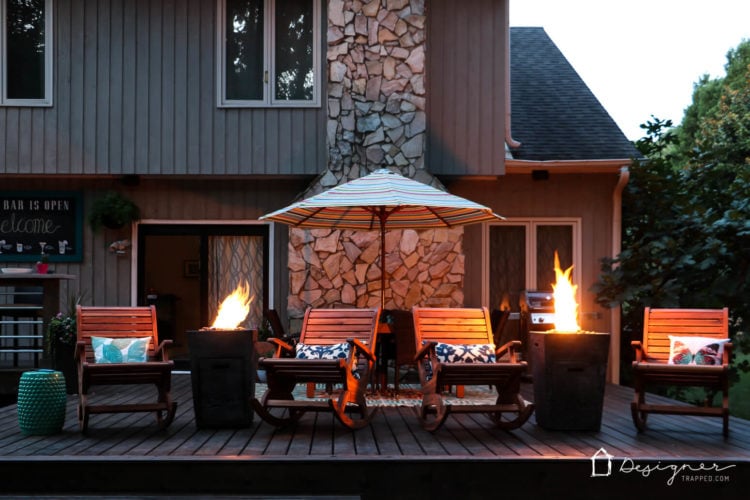
Come check out our complete and total DIY deck makeover! It took months for us to rebuild it and furnish it, but is so worth it!

What do you think?! A little bit of an improvement, right? Be sure to head over to Hayneedle to check out all the details on the beautiful furniture and decor we used on our new deck to bring it to life.

And before I sign off, I just have to say THANK YOU to Hayneedle for sponsoring this post and for supporting (and cheering on) all of my design decisions for this project.

Other posts you may enjoy:

Wondering how I approach transforming rooms and spaces in our home? Check out Designer in a Binder®.

designer in a binder--the affordable and simple way to decorate your home

And if you want exclusive content and behind-the-scenes sneak peeks, be sure to subscribe before you head out!

blog post signature with photo of Tasha Agruso of Kaleidoscope Living


Leave a Reply

Your email address will not be published. Required fields are marked *

This site uses Akismet to reduce spam. Learn how your comment data is processed.

4 Comments