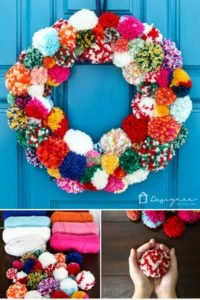
DIY Pom Pom Wreath
Hey friends! It’s no secret that I love color and I’m guessing you do too if you are reading this post. Every year when cold weather rolls around, I always wind up feeling a little underwhelmed by the “traditional” Fall and Winter wreaths that are so prolific this time of year. They just aren’t colorful or current enough for my liking. So I made my own!
If you want a colorful and fun wreath that is perfect for more than just one season, this DIY pom pom wreath is for you. Learn how to make your own with this tutorial.
A few years ago, I fell in love with a pom pom wreath from Anthropologie. There were 2 problems: 1) it cost $118 and 2) it was only 14 inches, which is pretty small. So, I set out to make my own. I bought the wreath form, pom pom makers and loads of yarn and got to work.
I’m not going to sugarcoat it for you. This DIY pom pom wreath is time-consuming! But, it IS easy and this is one that my entire family got involved in. All 4 of us made pom poms whenever we had spare time until we had enough pom poms to cover our 16” wreath form.
I spent about $45 on yarn (and have plenty left over), plus another $25 or so on the other supplies we used. So, it cost about $70 in total. It’s not an inexpensive project, but $70 is much more palatable than $118 for a SMALL wreath! So, read on to learn how to make your own pom pom wreath.
This post contains some affiliate links for your convenience. Click here to read my full disclosure policy.
DIY Pom Pom Wreath Tutorial
Supplies Needed
- 16-inch foam wreath form
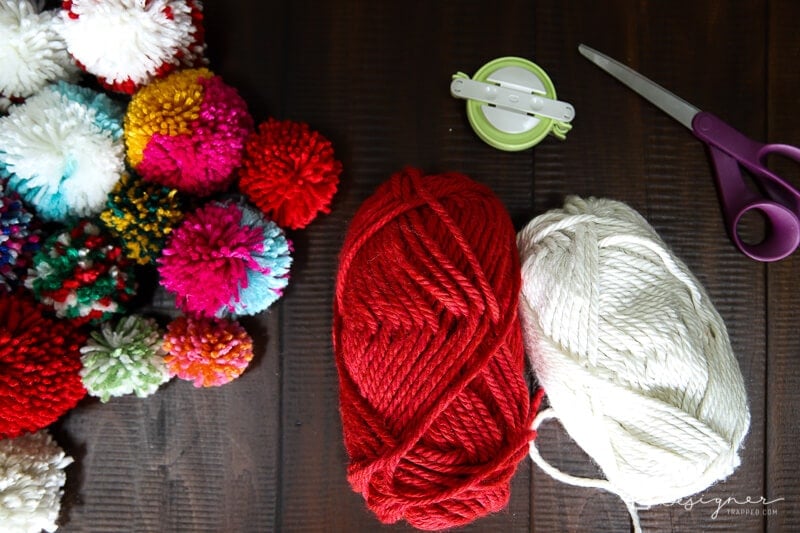
- Yarn in colors of your choosing (I bought mine half off at Joann Fabrics)
- Pom pom makers
- We started with these pom pom makers because they were less expensive. But after our first pom pom making round, we returned them and got…
- These pom pom makers. These work so, so, so much better and are definitely worth a few extra bucks. We bought the medium and large packages and used all 4 sizes to make our wreath.
- Scissors
- Straight pins or T-pins (you need at least some that are at least 2 inches or longer–shorter ones will not work for the larger pom poms)
- 2-inch ribbon
Video overview of how to make this DIY pom pom wreath
I highly recommend you watch the short video below that will give you a good visual overview of this project before reading the detailed instructions :) It will play after a brief ad.
Step 1: Make your pom poms
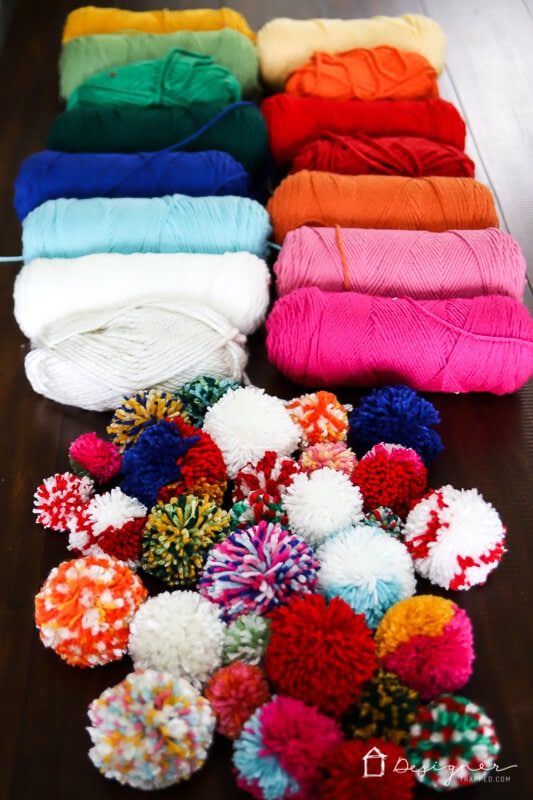
Your first step is going to be to make 1 zillion pom poms, lol. I actually meant to count how many we used and totally forgot—sorry! But it’s a lot. We used 15 different yarns for our pom poms.
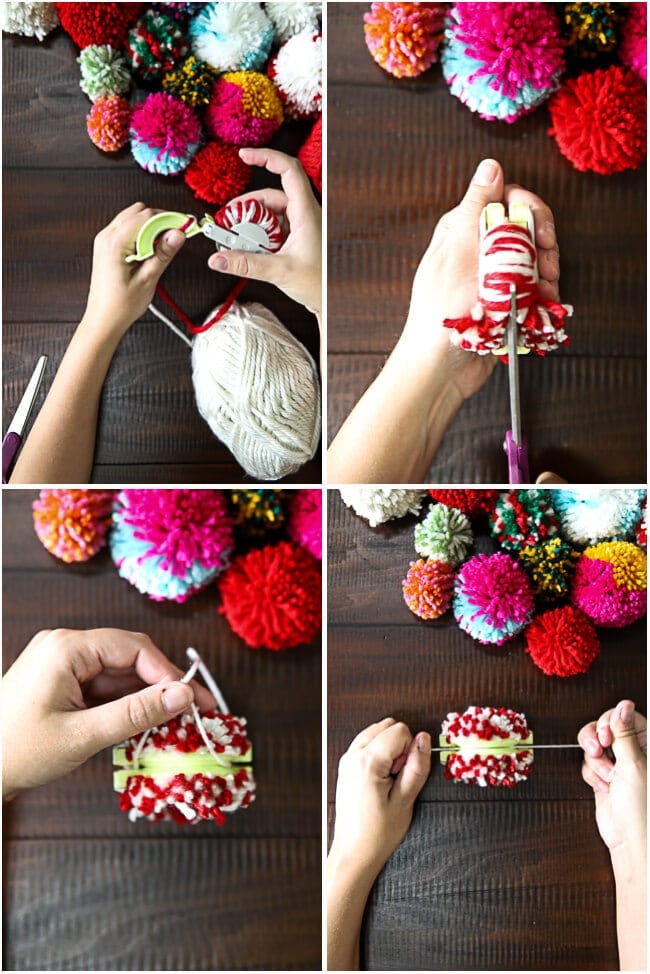
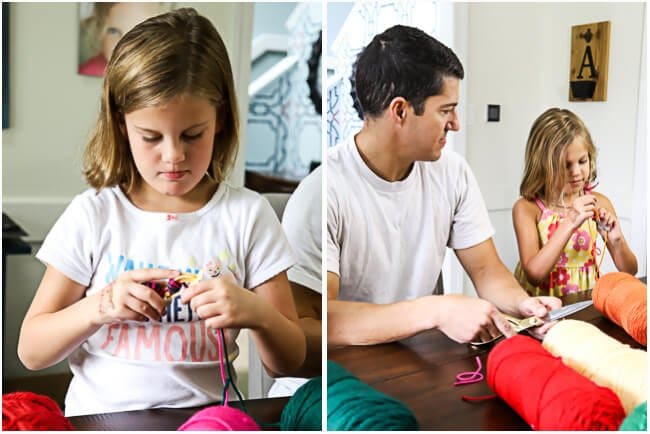
The pom poms are simple to make by following the directions on the pom pom makers. Here are a few photos of the process.
I just want to point out a couple of things about the variety of pom poms we made:
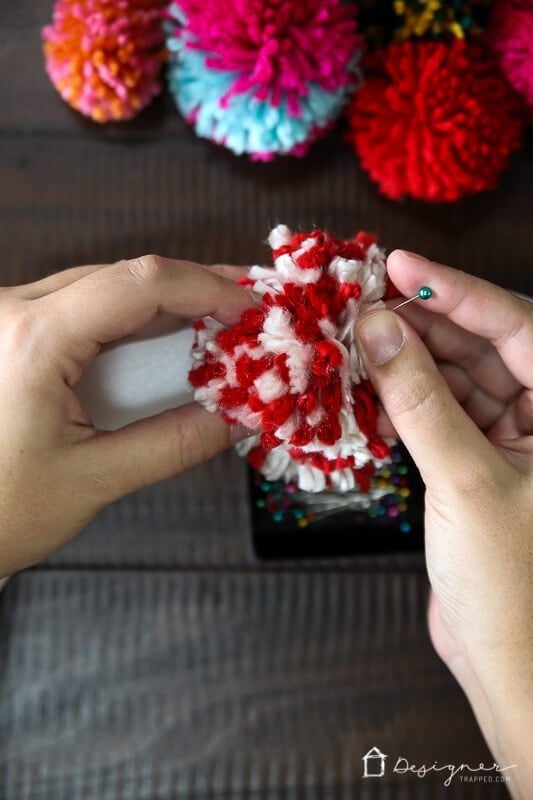
- To make the multi-colored pom poms that look like confetti, you will actually wrap different strands of yarn around your pom pom maker at the same time.
- To make the color-block style pom poms, you will wrap one color at a time, but use several different colors per pom pom.
- You will notice some of our pom poms are really fluffy. That’s because we used a thicker, looser yarn type to make them (see the yarn in the photo below).
It helped that my girls were VERY into making pom poms. Even Joe got involved in the fun (though he was less excited about it than Attley and Avery).
Step 2: Pin your pom poms onto your wreath form
Once we had made a decent amount of pom poms, I started pinning them onto the wreath form so we could see how many more we needed and so that we could balance out the colors.
Step 3: Repeat until you are done
Continue making and pinning on your pom poms using straight pins or T-pins to secure them to your wreath form. I recommend laying your form flat on the table you are working on because you will not attach pom poms to the back of the wreath. That’s because you will want it to sit flat against the surface of the wall or door it’s hanging on. You just want to fill all the space that you can see while your wreath form is laying flat on your table and you should be good. The back of your wreath will just be the plain wreath form.
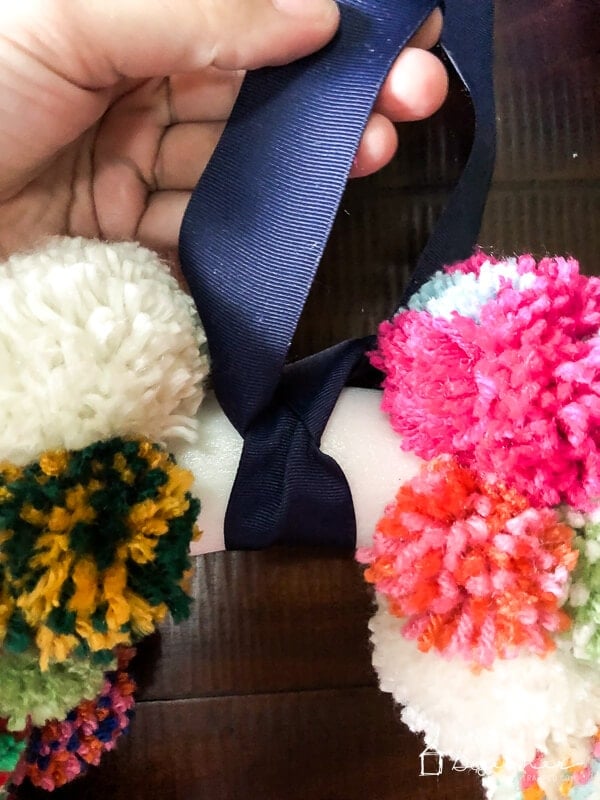
Step 4: Add ribbon to hang your pom pom wreath
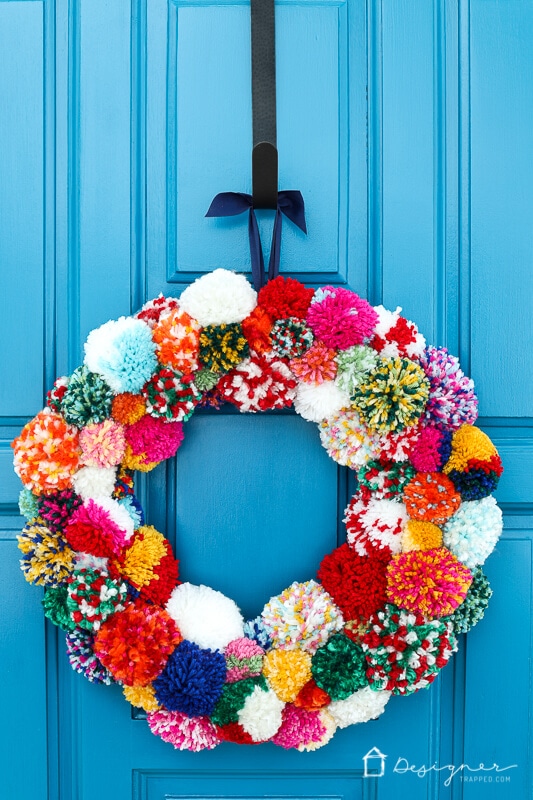
We used 2-inch navy blue ribbon to hang our wreath. So, before filling in the last 2 inches of the wreath form, I tied the ribbon around it and then pinned the pom poms over the top of the ribbon.
That’s it! Super easy and absolutely GORGEOUS. Again, it was absolutely time-consuming, but so well worth it. I love that it’s perfect for Fall and Winter. The fact that we’ll get 2 seasons out of it every year makes the amount of time it took to make it easier to swallow.
Other posts you may enjoy:
- DIY Magical Christmas Lanterns
- How to Make a Christmas Reindeer from Logs!
- How to Make a Gift Bag Out of Wrapping Paper
- 6 Secrets to Elevate Your Christmas Aesthetic
- DIY Advent Calendars
- DIY Santa Sacks
Wondering how I approach transforming rooms and spaces in our home? Check out Designer in a Binder®.

And if you want exclusive content and behind-the-scenes sneak peeks, be sure to subscribe before you head out!

Last Updated on November 28, 2022