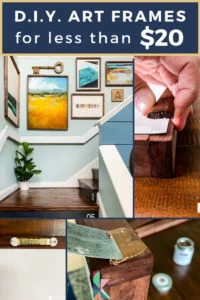
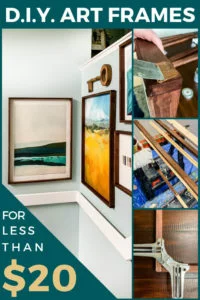
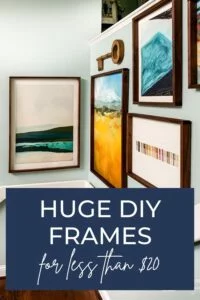
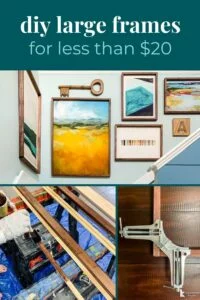
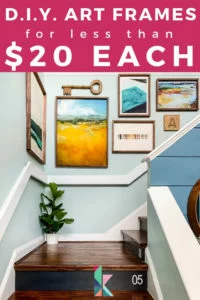
Make Large DIY Picture Frames For Less than $20 Each
A big, beautiful art print can make a big design impact in any space. But the cost of custom framing can be surprisingly expensive. Don't let that stop you from adding beautiful art to your walls! You don't need to break the bank to give your prints a finished look. You can make your own huge DIY picture frames for less than $20 each with this easy tutorial.
Have you ever bought a piece of artwork that you love only to find that the cost to frame it was crazy high and out of your budget? It's happened to me more than once! The cost of custom framing is crazy, y'all. Even a plain frame with a simple mat gave me sticker shock.
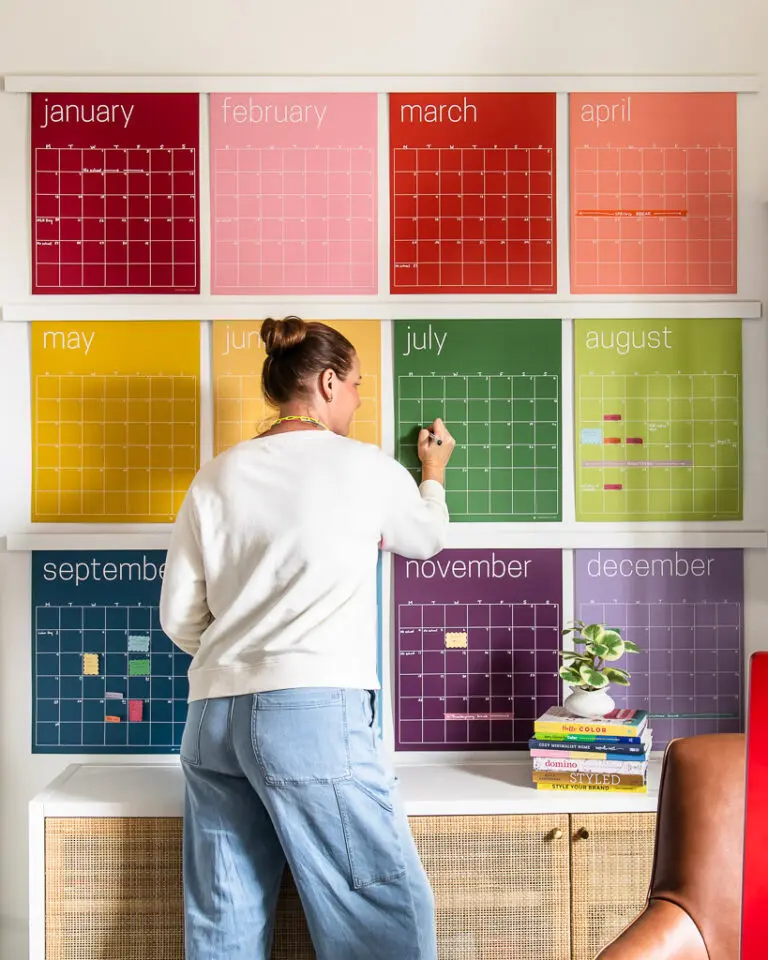
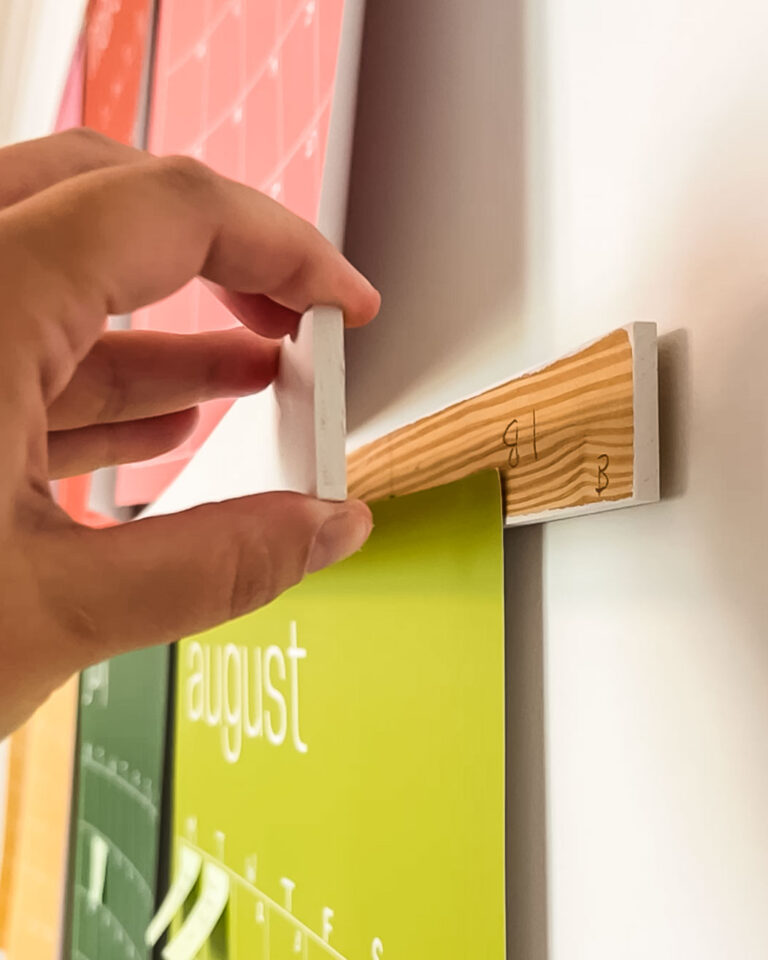
When we started to add large art prints to our home decor a couple of years ago, we realized quickly that in order to have the budget to actually purchase art, we were going to have to make our own DIY picture frames for our art prints (we've also made our own DIY canvas frame for large canvas art pieces). And more recently, we created these oversized DIY magnetic poster hangers which are perfect for any area where you want to be able to change or rearrange your art frequently.
We've tried many different methods of making our own picture frames over the past couple of years. We started with simple DIY frames like our Large Wood Frame and our DIY Frame with No Power Tools (wood glue for the win!) . We've tweaked the process along the way and this tutorial, my friends, is the absolute best and most cost-effective way to make a huge DIY photo frame for less than $20 each.
Thank you to Mohawk Consumer Products for sponsoring this post. This post contains some affiliate links for your convenience. Click here to read my full disclosure policy.
And before you ask, you can find the sources for all the prints that I framed at the bottom of this post :)
How to Make DIY Art Frames for Large Prints
Materials Needed
- 1 x 2 pine boards (the amount and length of the pieces of wood you will need depends on the size of your frames)
- Screen molding (the amount and length of boards you will need depends on the size of your frames)
- Behlen Solar Lux Dye Stain (I used American Walnut)
- Patchal Putty and putty knife
- Compound miter saw (or you can have someone cut them at the hardware store for you if you don't have a saw–you could also use a hand saw and miter box)
- Sawtooth hangers
- Paper towels
- Latex gloves
- Sandpaper
- Staple gun or brad nailer (we are obsessed with this one, which is what we used for this project)
- 90 degree angle clamps
- tape measure (if you are cutting your own wood)
Steps for DIY Picture Frame Tutorial
Time needed: 3 hours
Follow the instructions for an easy DIY picture frame.
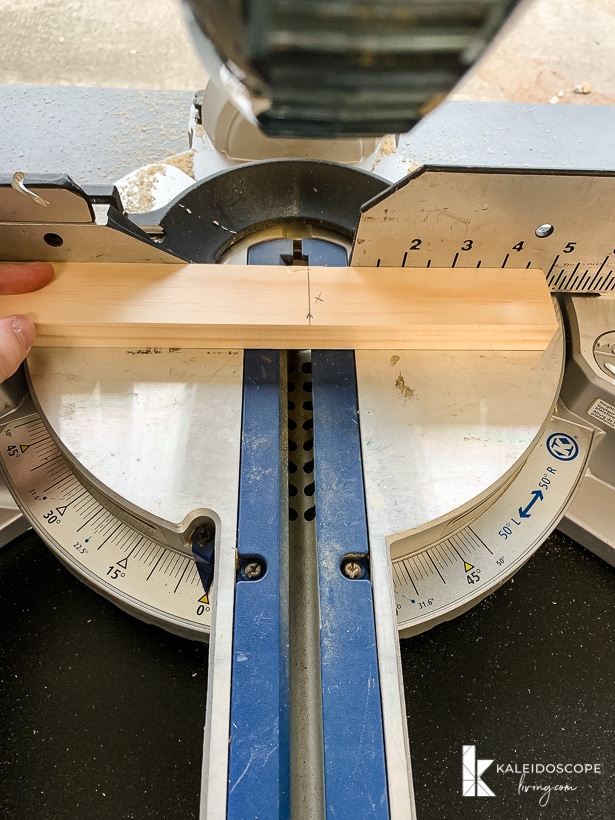
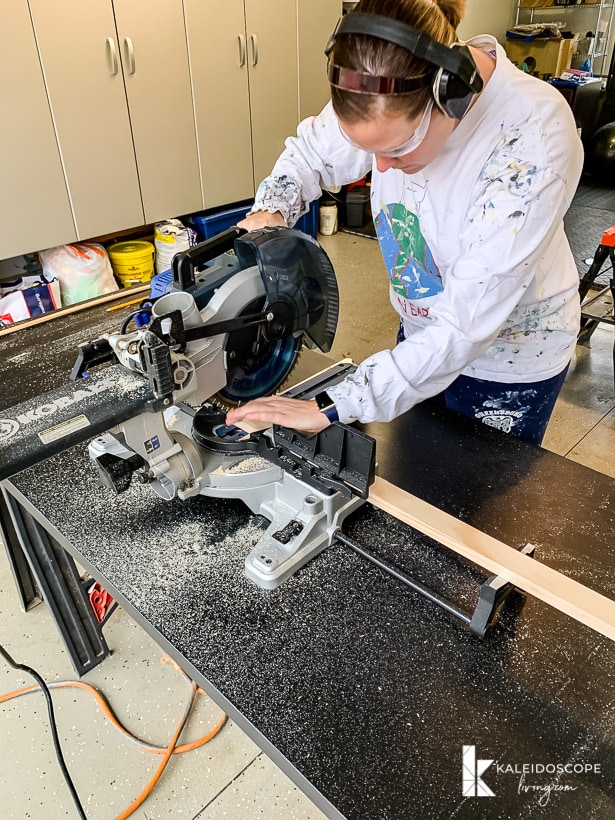
- Cut boards and screen molding down to size.
Each frame requires 4 pieces cut from your 1″ x 2″ pine–2 horizontal pieces and 2 vertical pieces. The horizontal pieces will overhang the vertical pieces (see the diagram below we made for another project).
Each frame also requires 4 pieces of screen molding, cut to the exact same lengths as your 1″ x 2″ pieces.
In order to get the frame to be the perfect size (allowing enough surface area to attach the prints to them), you need to:
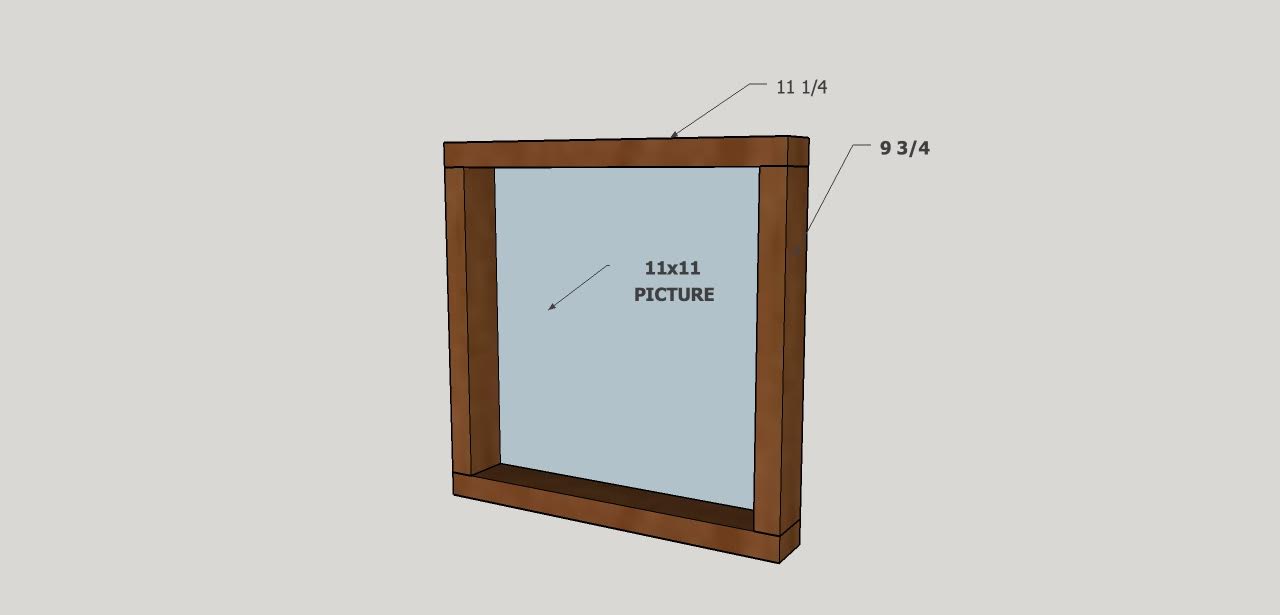
• Cut each horizontal piece to 1/4 inch longer than your print
• Cut the vertical pieces 1 1/4 inches shorter than your print (you need to do this to account for the overhang of the horizontal pieces)
Below is a diagram with dimensions that shows what I am talking about. We made the diagram when working on a different project, but you use this SAME exact “formula” for any size print you are working with.
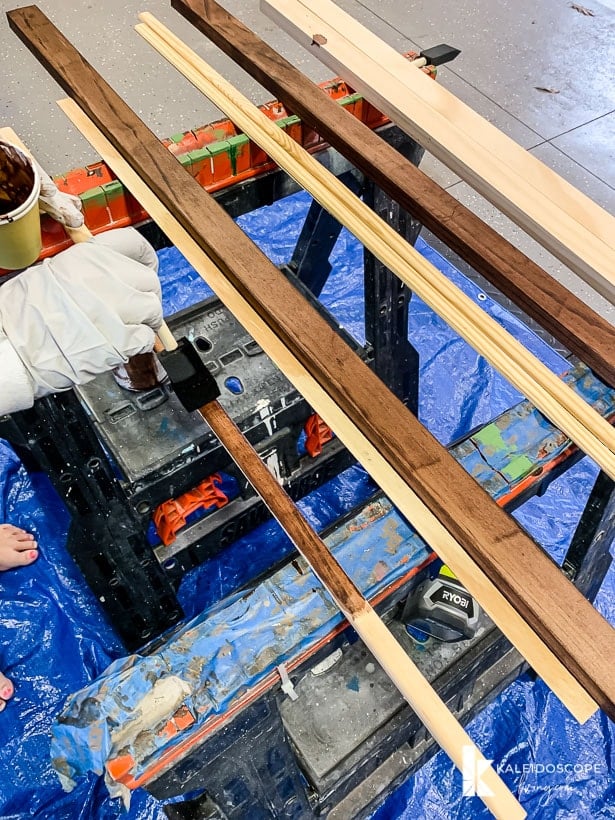
- Sand and Stain.
Lightly sand any rough edges created by your saw. Grab your favorite color of wood stain and stain all of your cut pieces. We use a sponge applicator, but you can also use a brush or rag.
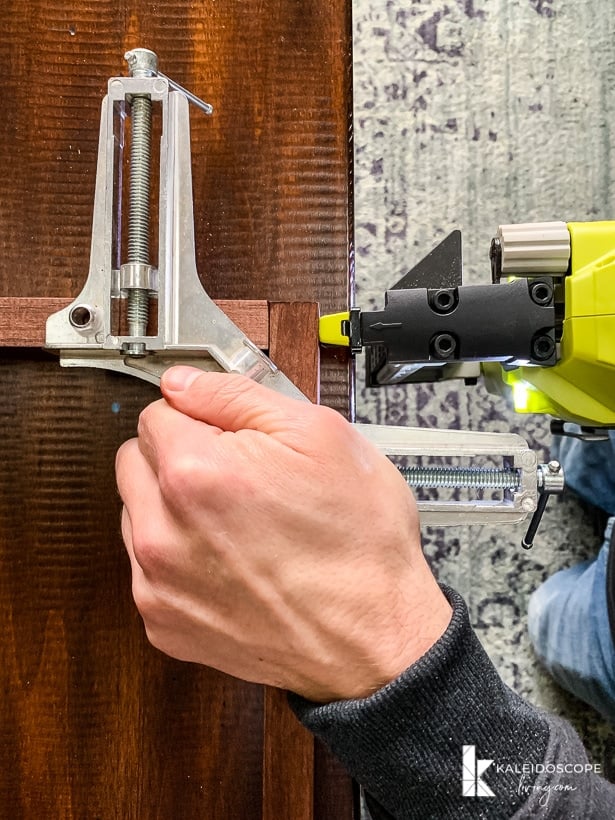
- Create wooden frame.
Use your 90-degree clamps to create tight joints. Once they are in place, use your staple gun or brad nailer (or even a hammer and nail) to attach the boards to each other. Put all four together to create the sides of the frame.
- Position your print, art, or photograph.
Once you are confident your stain is dry, you are ready to attach your prints. Now, I wouldn't recommend this method for original, irreplaceable and super-expensive pieces. But this method is perfect for large posters or reproduction paper prints like we used. Simply lay your print face down on the back side of your frame.
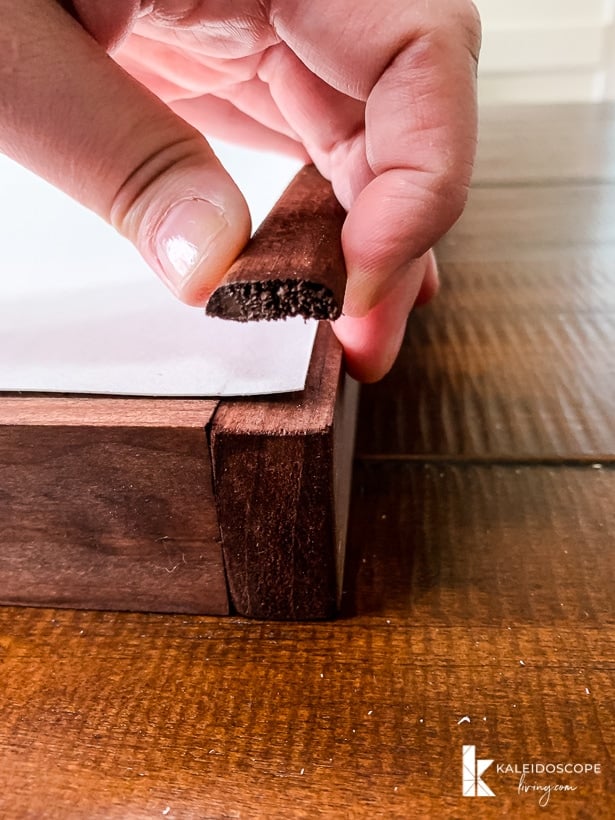
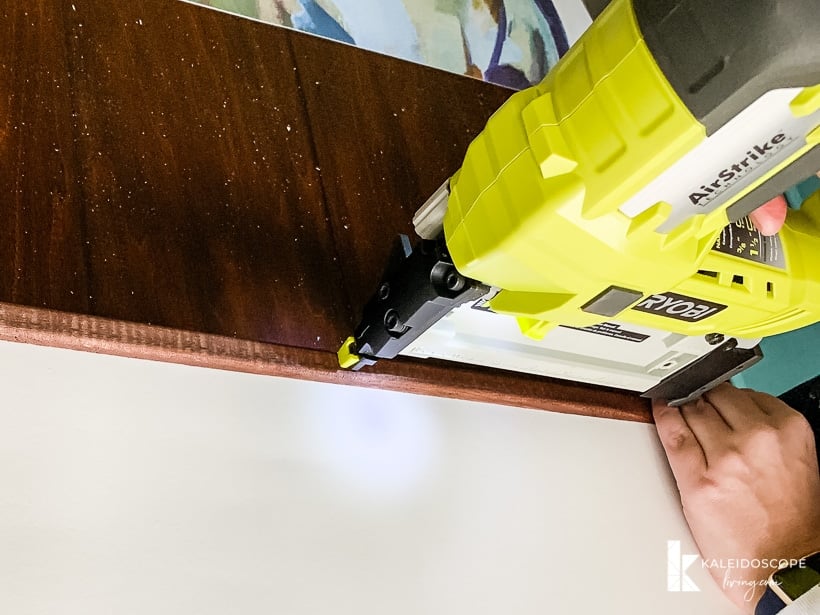
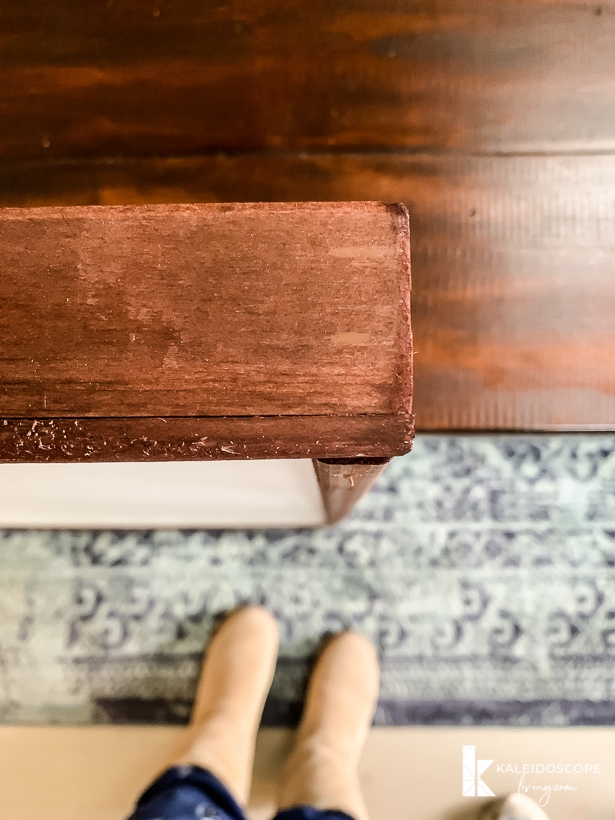
- Add screen molding.
Next, “sandwich” your print between the back of the frame and your corresponding pieces of screen molding. Then attach your screen molding with your brad nailer. This step makes SUCH a difference! It keeps your prints nice, taut and smooth.

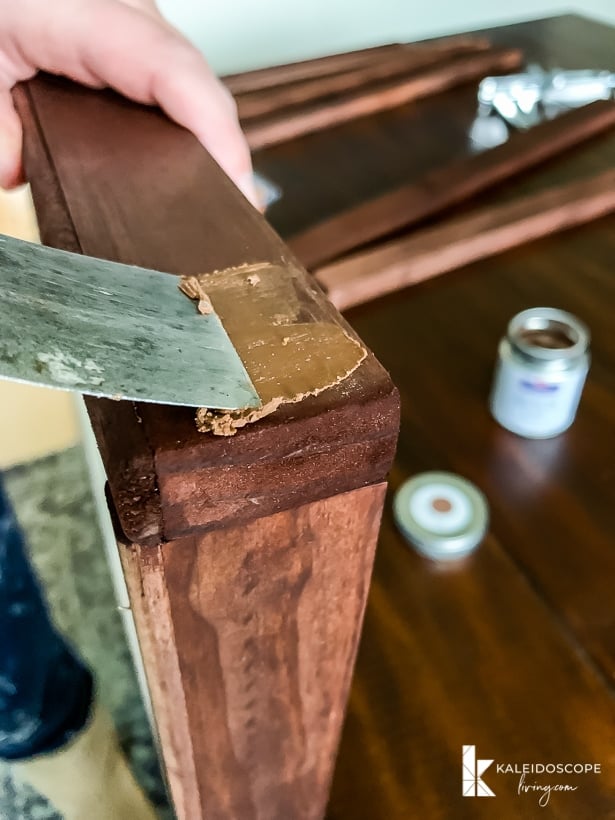
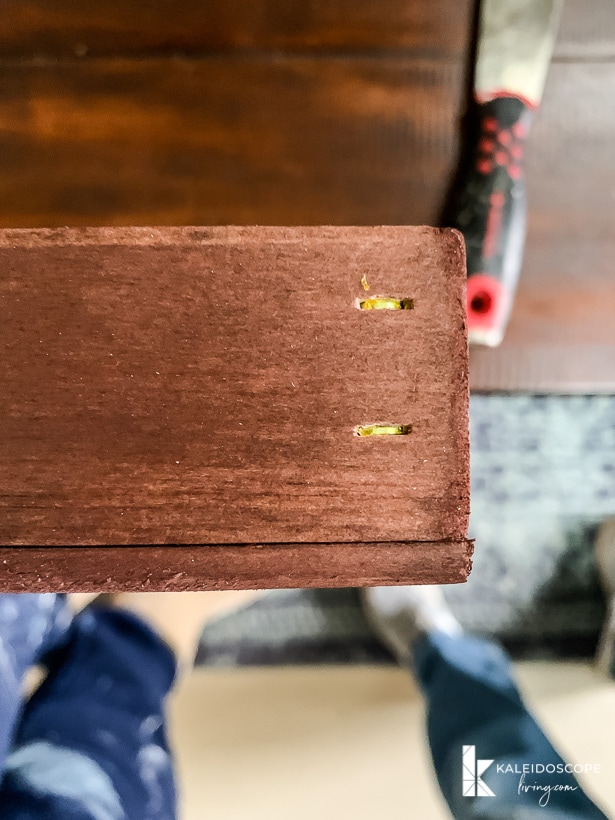
- Patch holes.
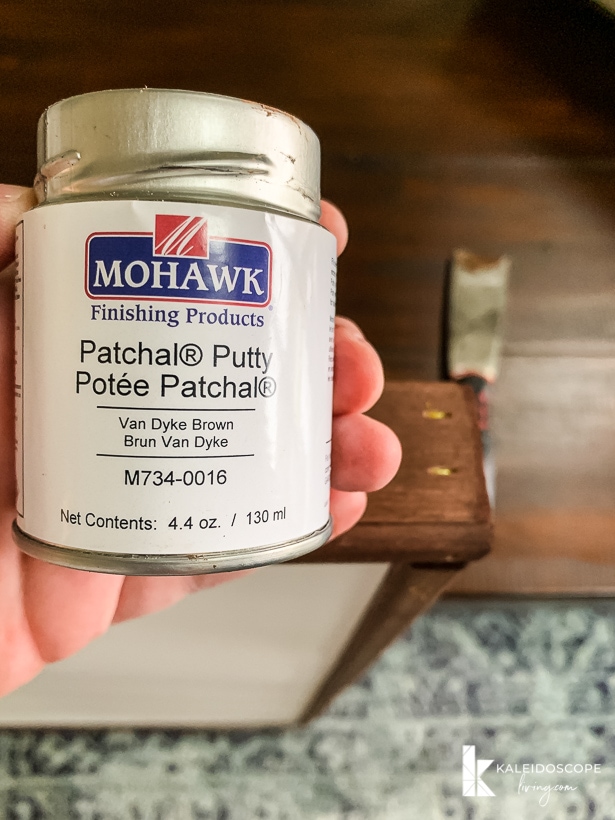
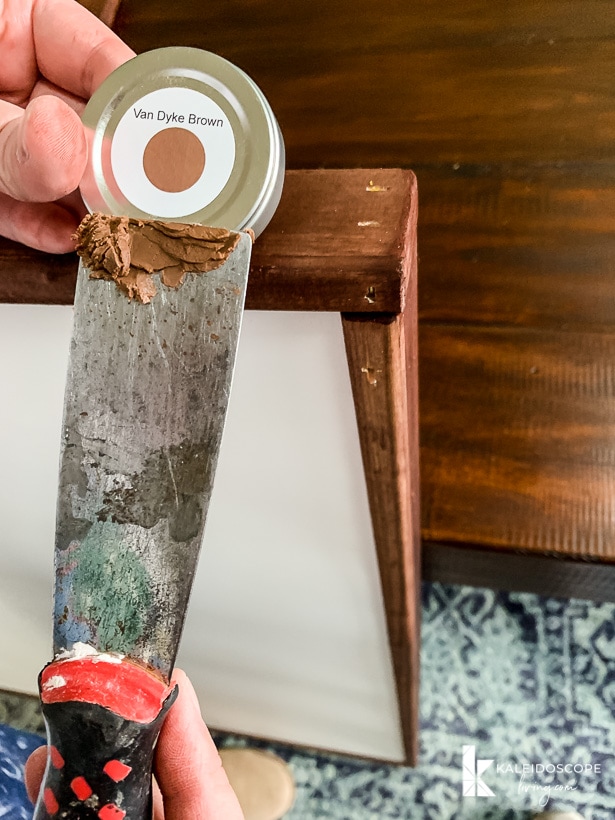
Once your entire DIY picture frame is assembled, you need to patch the nail and/or staple holes. My absolute favorite way to fill small holes like this is to use Mohawk's Patchal Putty. It is so much easier to work with than traditional wood filler or spackle. It's almost the texture of butter or Crisco. But the best part is that it is pre-colored, so you don't have to worry about staining afterward (I don't know about you, but we can never really get wood filler to stain properly). For this project, we used the Van Dyke Brown color.
And here's the before and after for you. It took about 4 seconds to accomplish this! - Hardware.
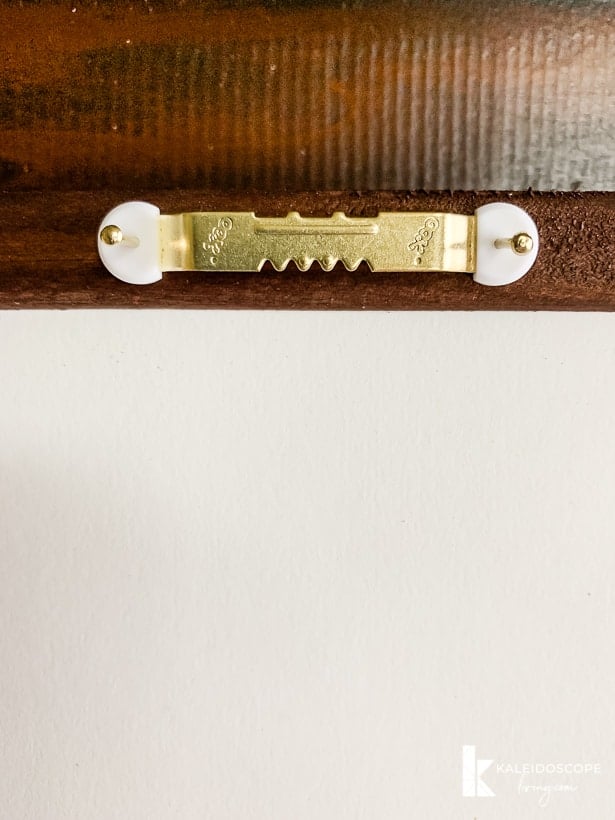
Attach some photo hanging hardware to the top center of each frame (I used sawtooth hangers) and hang them up!
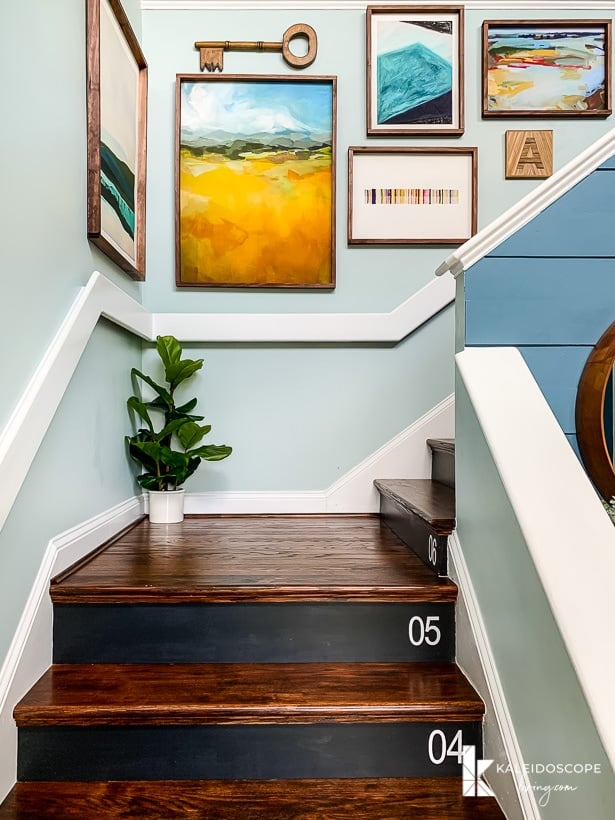
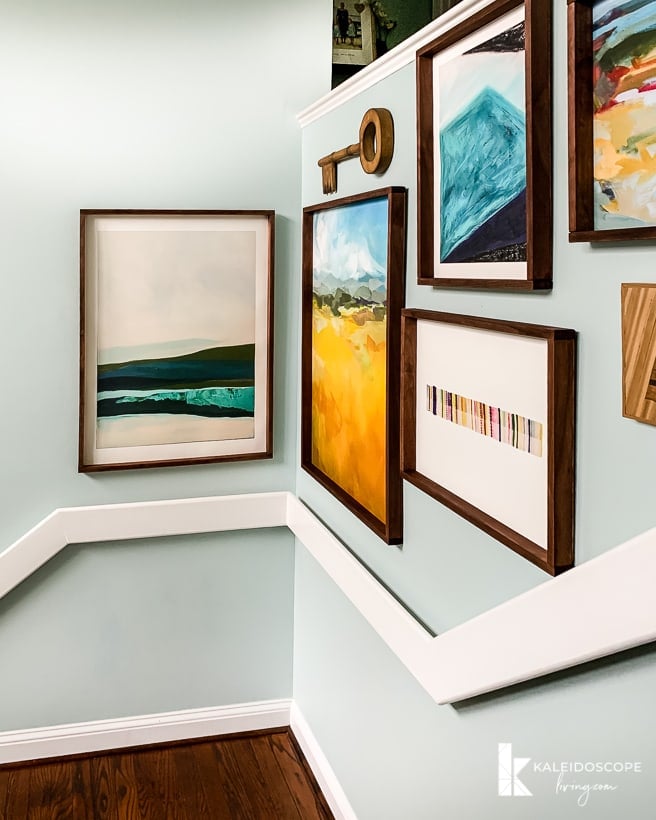
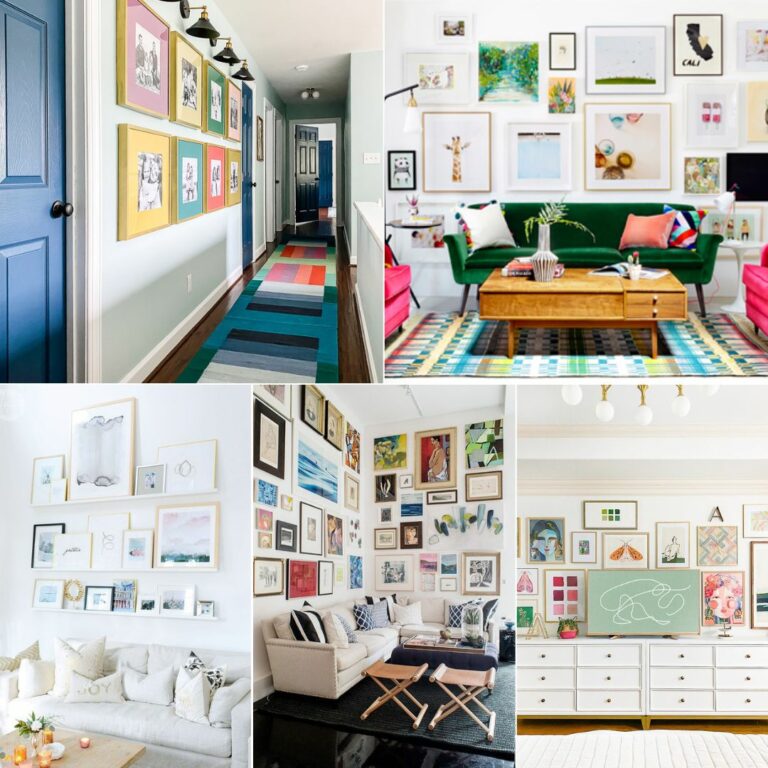
SO EASY! I love that you can totally customize it for the height and width of your art. Ours turned out beautifully! I love our stairwell gallery wall.
Shop Our Art
Below you can find the details about the art we framed. Scroll and click on any image for full product details.
SHOP OUR ART

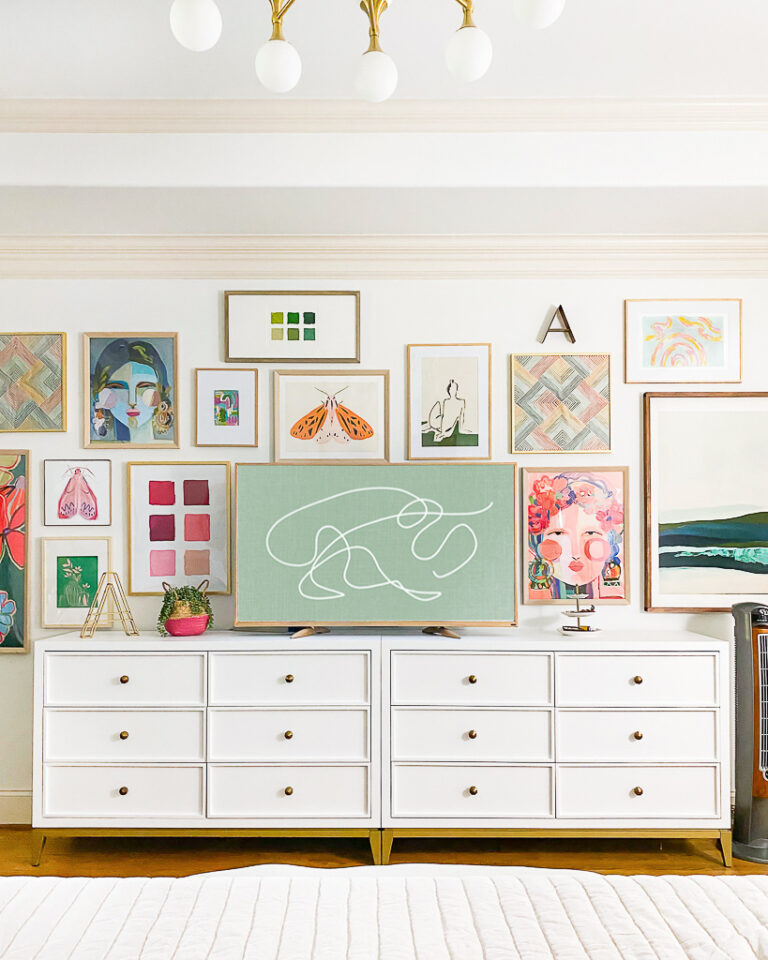
Now, here's a few more photos of how our DIY art frames turned out. We are so, so happy with them!

By making these DIY picture frames for your artwork, you can stretch your decorating budget and have STUNNING artwork on your walls. So don't wait to start fill your walls without beautiful artwork because of a tight budget–you can keep your walls and your wallet happy.
Want more great ideas on filling your home with beautiful art? Learning how to choose art that flows through your home is key to elevating the design in your home. I also strongly encourage you not to be scared to go big–large art makes a huge impact and looks great. And now you have an easy tutorial for creating your DIY picture frame for creating the perfect finished look!
Wondering how I approach transforming rooms and spaces in our home? Check out Designer in a Binder®.

And if you want exclusive content and behind-the-scenes sneak peeks, be sure to subscribe before you head out!

What’s screen molding? As in window screens?
Screen molding is a type of wood trim that is traditionally used to hold mesh screens into wooden frames for doors and windows.
Any cheap ideas on how to do this with glass?
No, sorry!
What color stain did you use? I have a hard time finding the right colors and your stain looked great. What brand and color is it?
Hi Eric. I used American Walnut in Behlen Solar Lux Stain.
Wow, Tasha, this is brilliant! I have framed a map before but glued it to a masonite. This is way less work and also less expensive! Love your wall!
Thank you, Natalie! This really is the best, easiest and cheapest method we have found of framing :)