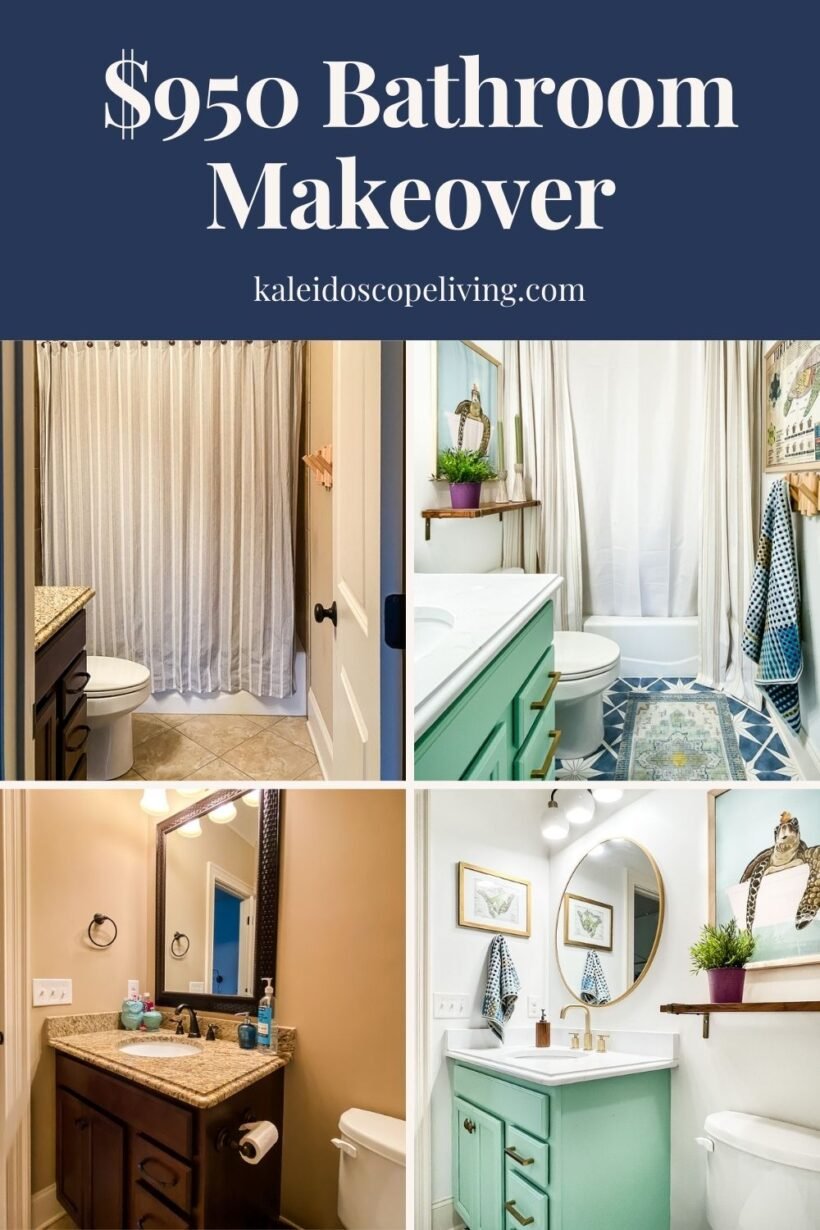
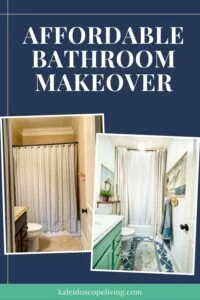
Avery’s Budget-Friendly Bathroom Makeover REVEAL
We totally transformed Avery's very beige and boring bathroom into a fun and beautiful space. And we did it all without spending a fortune or doing any demo!
I survived this whirlwind of a bathroom makeover. This isn't the first bathroom makeover/renovation we've done. We completely gutted and remodeled our girls' bathroom in our last house ourselves. And then we gave our primary bathroom a super affordable makeover shortly before moving out a year ago. But this might be my favorite bathroom transformation yet.
If you read the post where I laid out the plans for Avery's budget-friendly bathroom makeover, you know that I had a lot of work to do in here (even without ripping everything out and starting from scratch). I originally thought I could get it pretty much done in 1 day. Spoiler alert… that did not happen. It took me 2 1/2 days. Part of that is because it took forever for the cabinet paint to arrive, lol. THANK YOU to everyone who followed along on my Instagram stories and cheered me on the whole time–that made it super fun!
If you didn't read my last post and are looking for the quick recap, we decided to work with all the existing materials in Avery's bathroom because though it was outdated, there was absolutely nothing “wrong” with her bathroom. The layout is great. There are no leaks. There are no cracked tiles. The bathtub, sink and vanity are all in great shape. So in the end, I just couldn't wrap my head around ripping everything out and starting from scratch. It felt wasteful from a material standpoint AND from a budget standpoint.
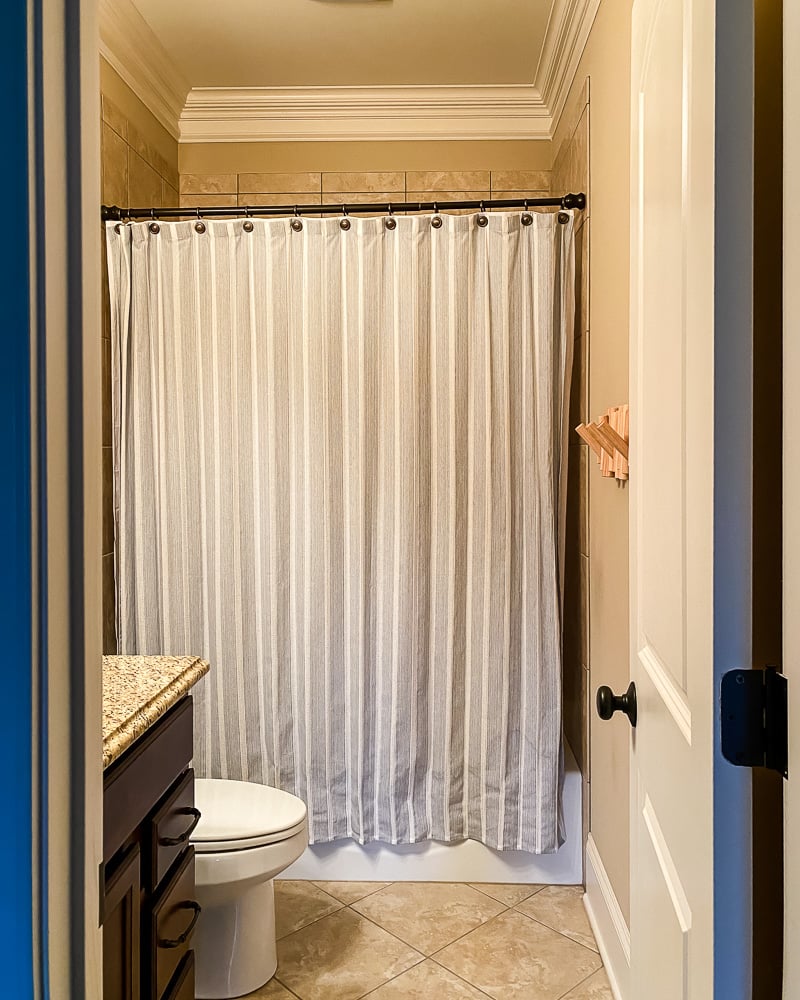
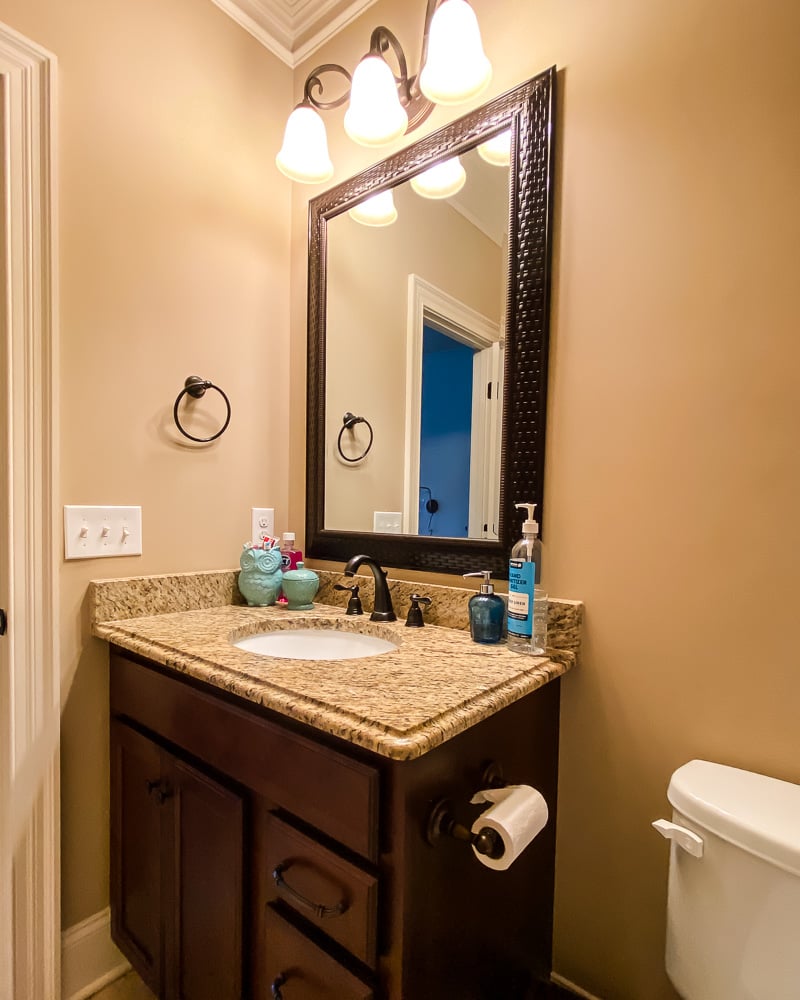
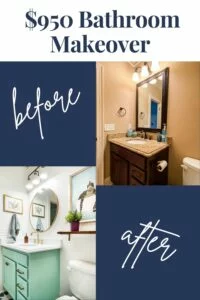
But I wanted to aesthetically totally transform her bathroom, which just a few days ago looked like this.
So I came up with this design plan and then got to work. You can find a source list at the bottom of this post.
This post contains affiliate links for your convenience. Click here for my full disclosure policy.
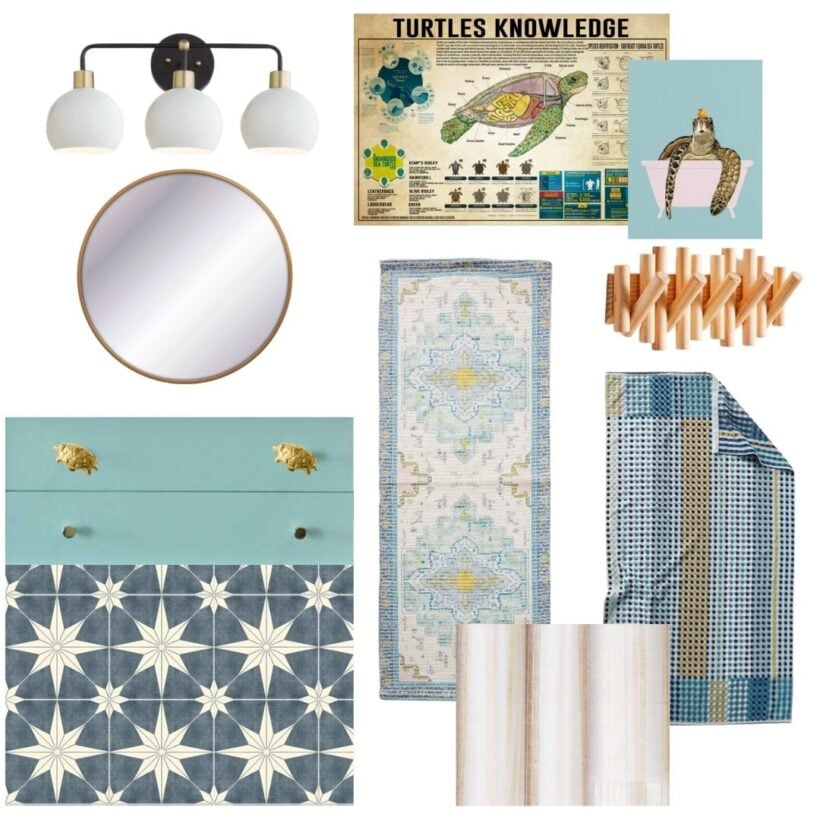
Click on any image below for full product details.

The Budget-Friendly Bathroom Makeover Reveal
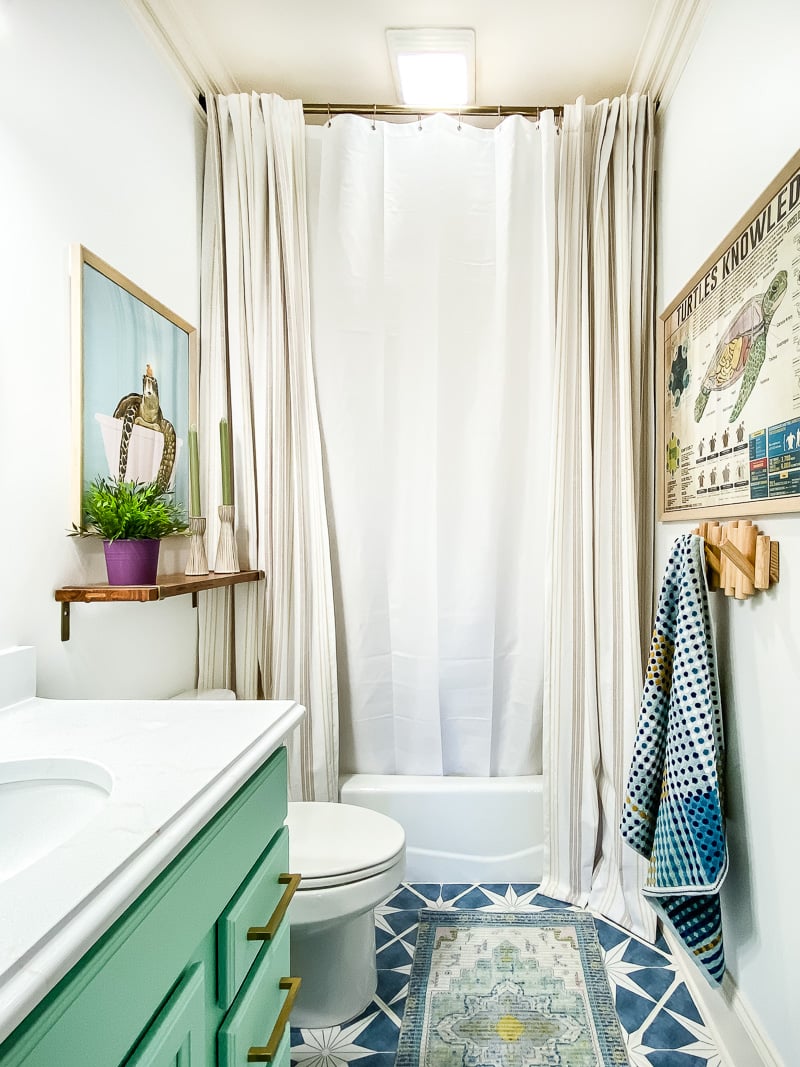
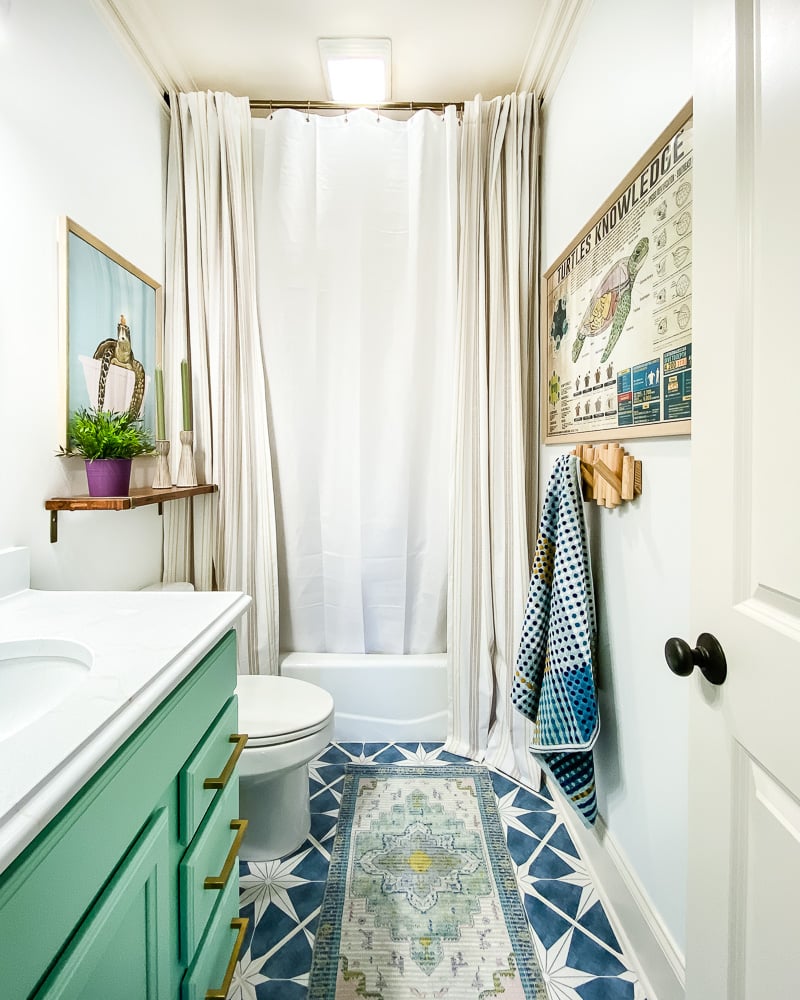
We are so happy with how this budget-friendly bathroom makeover turned out. It was a bummer that her bathroom didn't have any natural light source, but we recently had a VELUX Sun Tunnel installed in Avery's bathroom, so now it's flooded with natural light! Take a look at how it all turned out!
A Recap of the Work
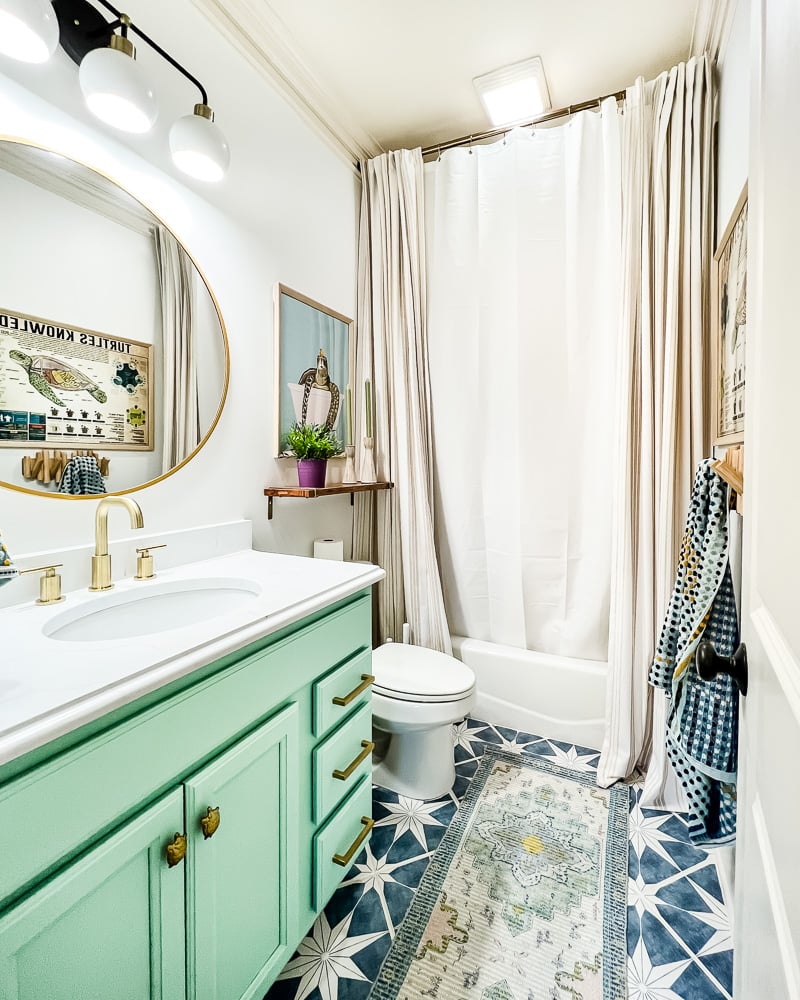
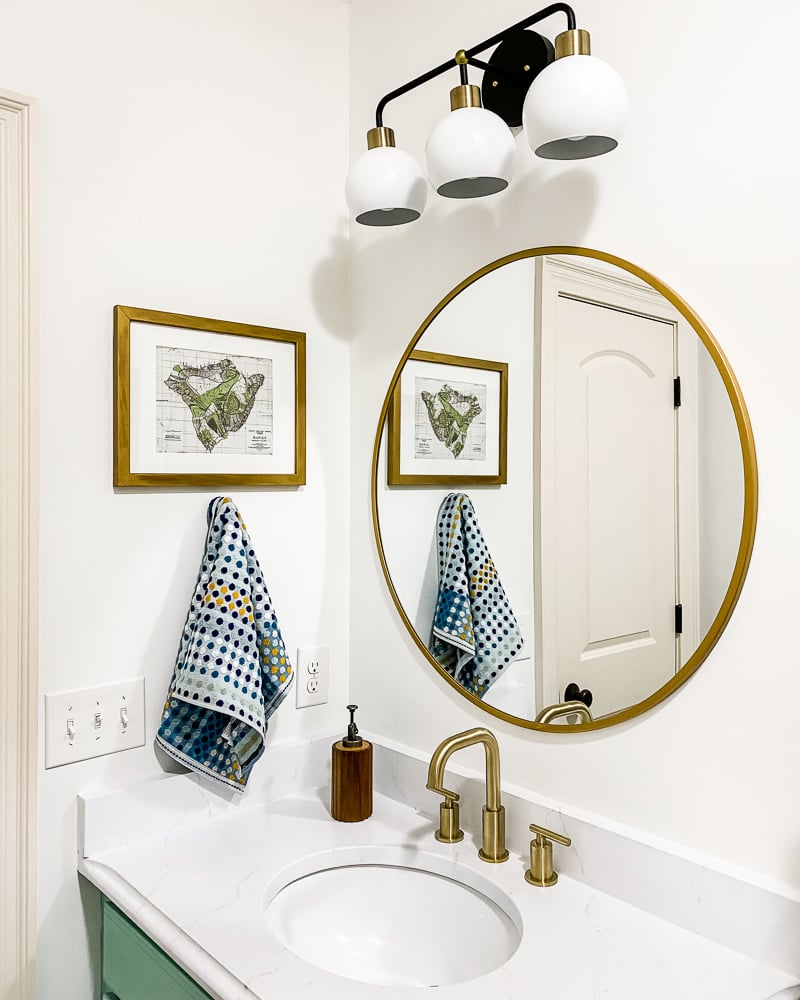
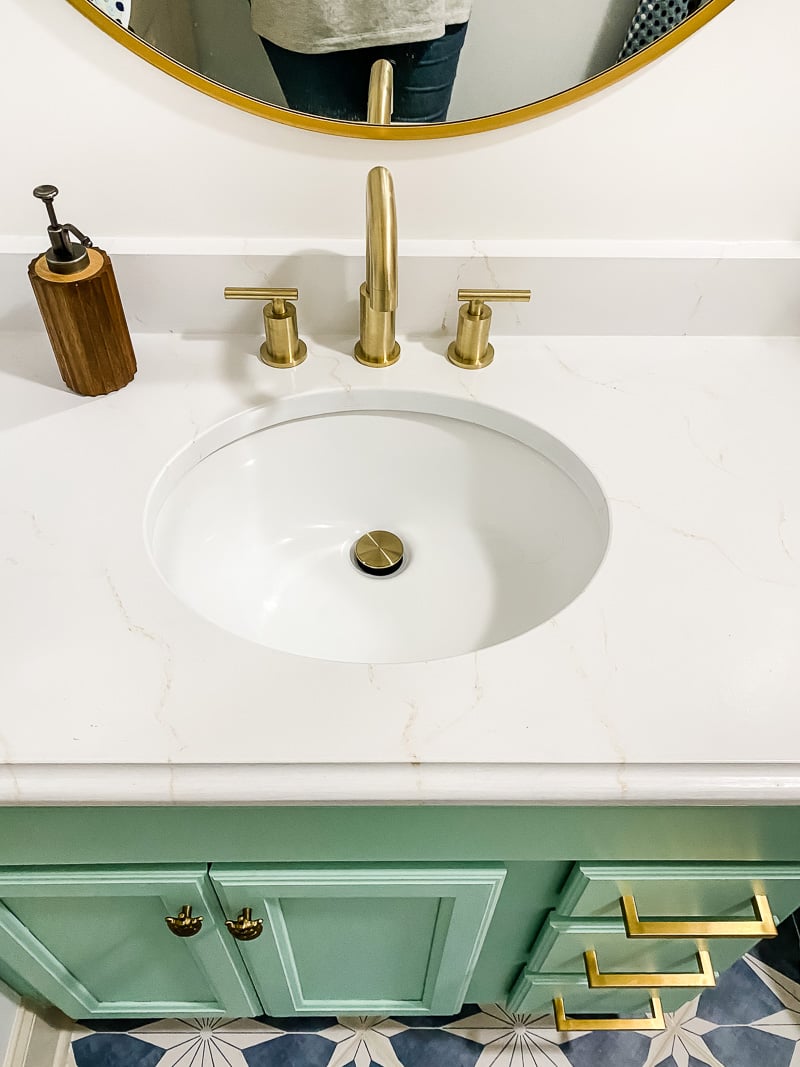
I painted the brown walls white (Pure White by Sherwin-Williams). And I swapped out the old mirror for this one. I also updated the light fixture with this beauty and swapped out the faucet for this more modern option.
I covered the floor tiles with these GORGEOUS tile stickers (you may remember that we used tile stickers in our laundry room several months back). Unfortunately, I don't think it's a great idea to use tile stickers in a shower, so we are stuck with the brown shower tiles. I COULD have painted them using this method, but I really don't want to because it's time-consuming and I really don't want white tiles. You can see how to install tile stickers in the short video below.
And you can watch the video below to see how the tile stickers are holding up more than 16 months later below :)
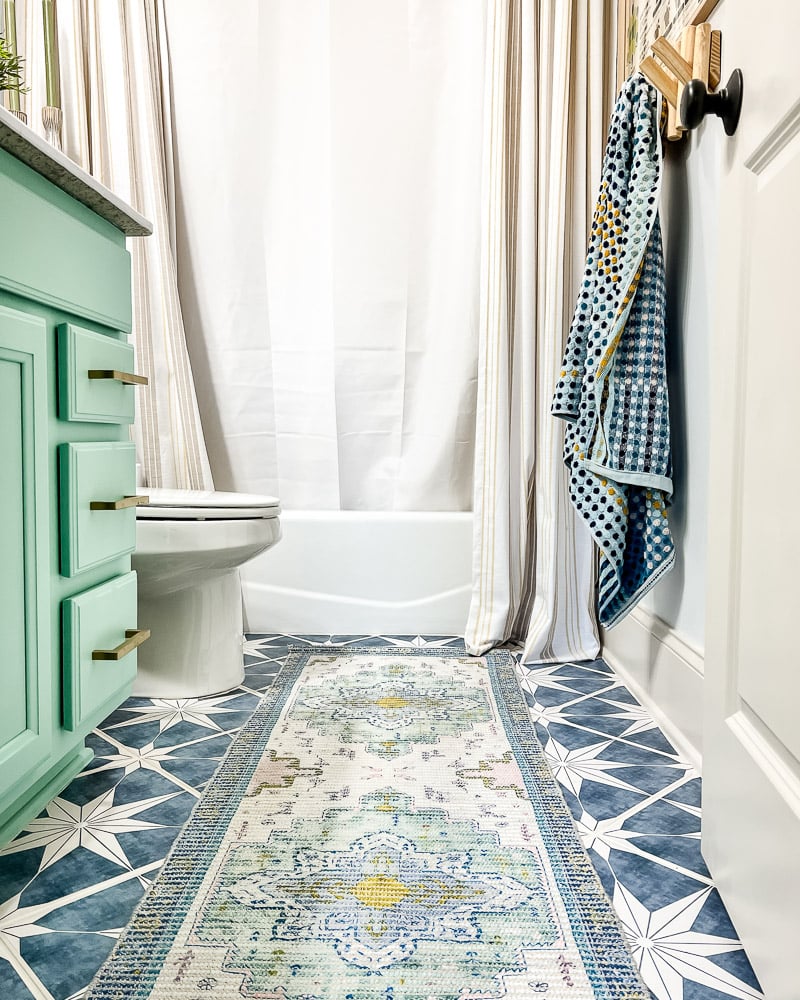
Instead, I'm hung these 9-foot curtains on each side of the shower and this 9-foot shower curtain in the middle so that we really don't see the tile unless we are in the shower. It's the perfect way to hide all the brown tile.
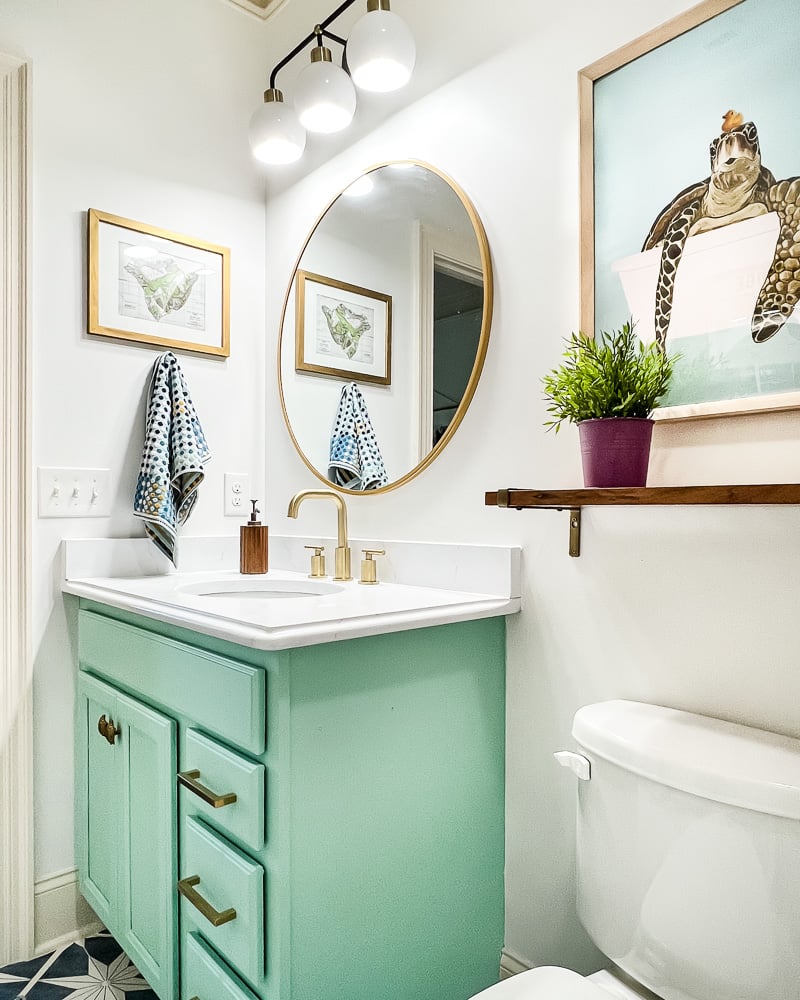
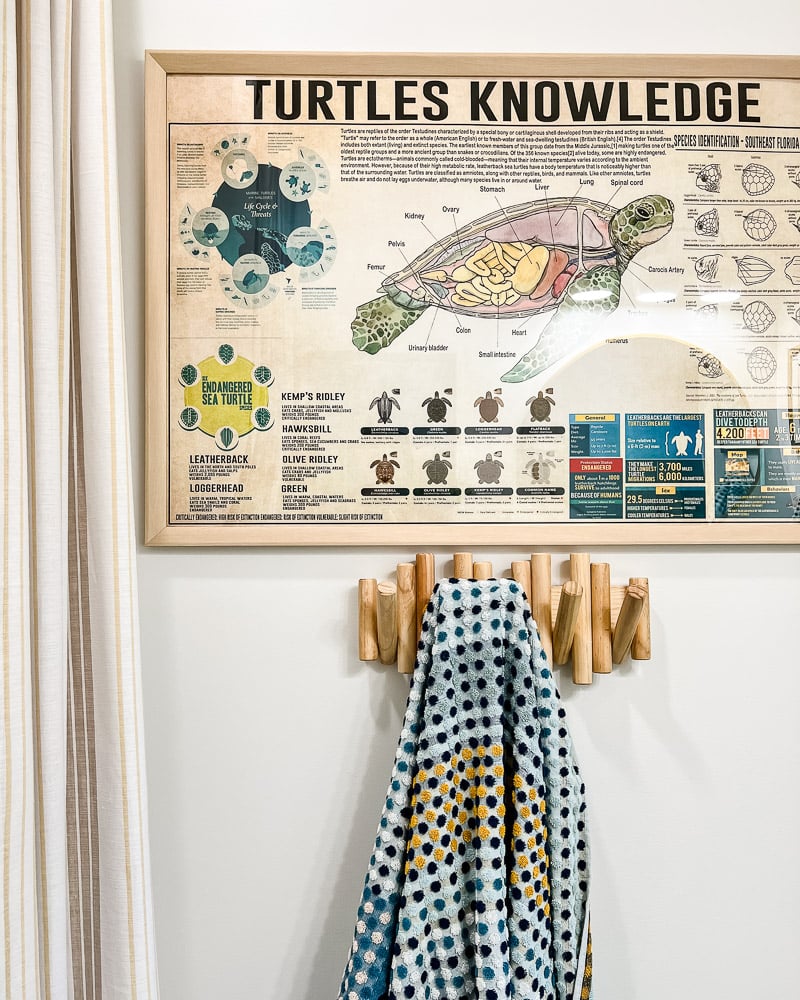
To update the vanity, I painted the cabinet base using this method AND I painted the granite countertop using this method. I also replaced the hardware. I found these inexpensive drawer pulls that look great and these ADORABLE turtle knobs that Avery is head over heels in love with. It looks like a totally different vanity now!
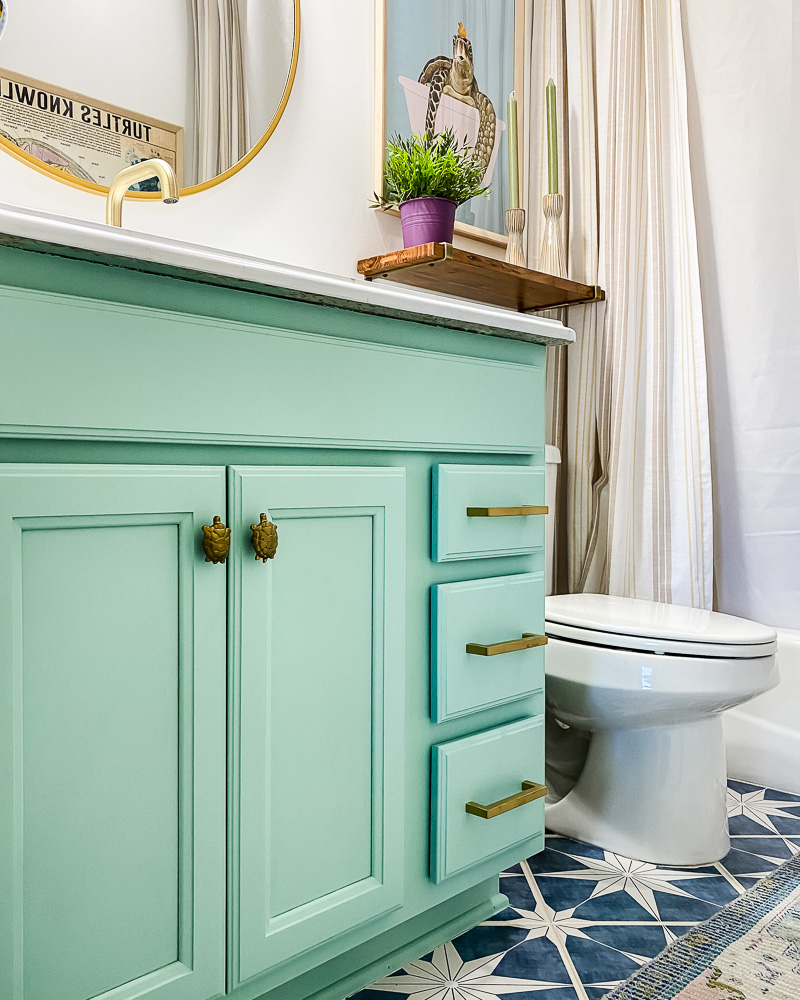
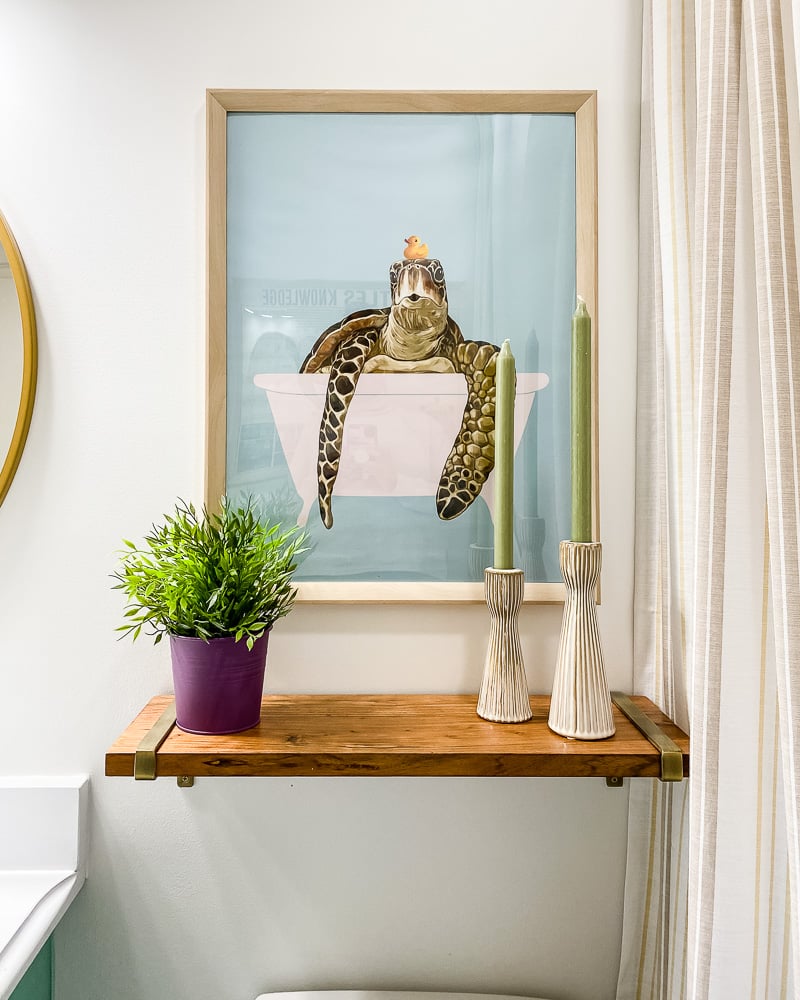
And added artwork and accessories that reflect Avery's love and obsession of turtles :) I found the “Turtles Knowledge” poster here (I chose the 24 x 36 size) and the print of the Sea Turtle in the bathtub here. She loves both of them. I framed both of them with this inexpensive poster frame.
What do you think?! I love it. Most importantly, Avery loves it! I hope this shows you that you can dramatically transform a bathroom in a budget-friendly way by working with the elements you already have, like tile and vanities. I think we can all agree this space looks pretty different, right?! Here's some side-by-side comparisons for fun.

This post contains affiliate links for your convenience. Click here for my full disclosure policy.
Budget Breakdown
Wondering how much this makeover cost? You can find the breakdown below:
- Tile stickers (pack of 24): $105
- New vanity light: $259
- New mirror: $90
- New sink faucet: $85
- Pair of 9-foot curtains: $78
- 9-foot shower curtain: $18
- 1-gallon wall paint: $60 (paint prices are HIGH right now)
- Cabinet paint: $22
- Countertop paint (we used leftovers for free but new would cost $44–all you need to complete this countertop is this white base coat and this for the veining)–then top with polycrylic
- Polycrylic (we used leftovers for free but new would cost $10)
- New cabinet hardware: $26
- Inside curtain rod mounting brackets: $5
- Curtain rod: $32
- Decor (bath mat, art, frames, towels, hooks, etc.): $170
So our out-of-pocket cost was $950 out of pocket (and would have cost $1,044 if we hadn't had any leftover materials from other projects. Not bad when the average bathroom renovation costs $8,098 (national average).
Bathroom Source List
- Wall color: Pure White by Sherwin-Williams
- Trim and ceiling color: Divine White by Sherwin-Williams
- Cabinet paint
- “Turtles Knowledge” poster (I chose the 24 x 36 size)
- Turtle knobs
All other products that I can find links to are below. Click on any image for full product details :)
Other posts you may enjoy:
- Sun Tunnels: Are They Right for Your Home
- How to Install a Toilet: A Step-by-Step Guide for Beginners
- Attley's Affordable Bathroom Makeover
- Affordable Master Bathroom Remodel REVEAL
- The Easy Way to Update Bathroom Tile Without Replacing It!
- Bathroom Art: Top Designer Picks
- 25 Stunning Powder Room Makeovers
As always, I created this design the same way I create all of my other designs. I pulled out my Designer in a Binder® and moved through it step-by-step (if you are aDesigner in a Binder® customer and are curious, the bathmat was the “crucial element” for Avery's bathroom–it made all the other decisions so easy)!
Wondering how I approach transforming rooms and spaces in our home? Check out Designer in a Binder®.

And if you want exclusive content and behind-the-scenes sneak peeks, be sure to subscribe before you head out!

Last Updated on October 21, 2022

Hi, I love this bathroom! How did you hang the two sets of curtains along with the shower curtains? Thanks for the adorable idea! I’m going to surprise my daughter doing the same!
I noticed the cost of the sun tunnel wasn’t added into your breakdown. Was that done afterwards so you didn’t count that as part of the update?
Hi Missy! Yes, we added the sun tunnel about a year after the fact at the same time we added 3 other sun tunnels to different areas of our house. So we didn’t consider that as part of the bathroom update :)
I’m obsessed! It’s so beautiful, bright & cheery! Love the budget-friendly/non-demo design option here. 😊
Thank you so much, Karla!