DIY Christmas Countdown Calendar
Make your own easy DIY Christmas countdown calendar so your family can enjoy watching the days fly by while they wait for Santa!
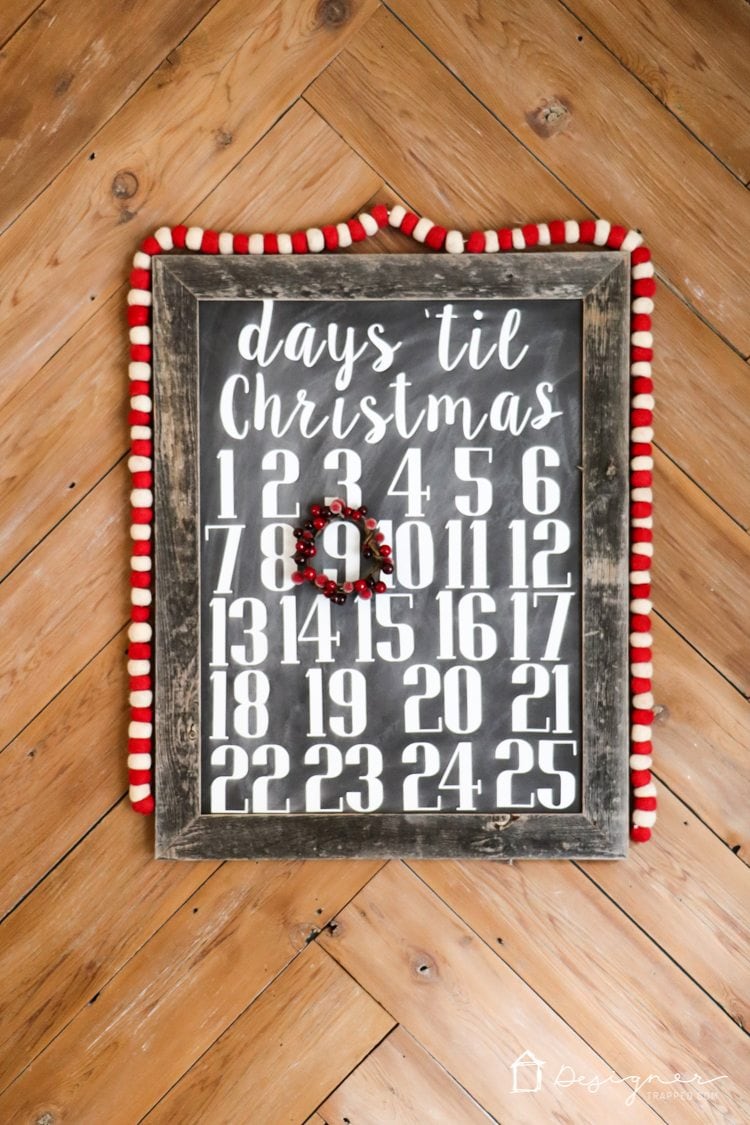
If you have kids, you know how excited they get about the holiday season. I designed this super fun DIY Christmas countdown calendar for us to mark each day as we get closer and closer to the big day and my girls LOVE it. They take turns moving the wreath every morning to the new day. And I love how adorable it is!
We love bringing the holidays into every room of our house. This is perfect in the kitchen on our DIY herringbone wall. The calendar along with our fun DIY mini wreaths on the cabinets makes the kitchen feel so festive!
This is one of the easiest and cutest projects I have ever tackled. It is inspired by a really cute Christmas countdown calendar I saw in Target, but I didn't like the tone of the wood and I thought it was a little bit too small. So I decided to make my own and am so glad I did.
You can customize this so easily with your favorite cutting machine or stickers and your own Christmas color palette and favorite fonts. Read on to learn how to make one for yourself! You won't believe how inexpensive and simple it is to make your own!
This post contains affiliate links for your convenience. Click here for my full disclosure policy.
DIY Christmas Countdown Calendar
Materials needed:
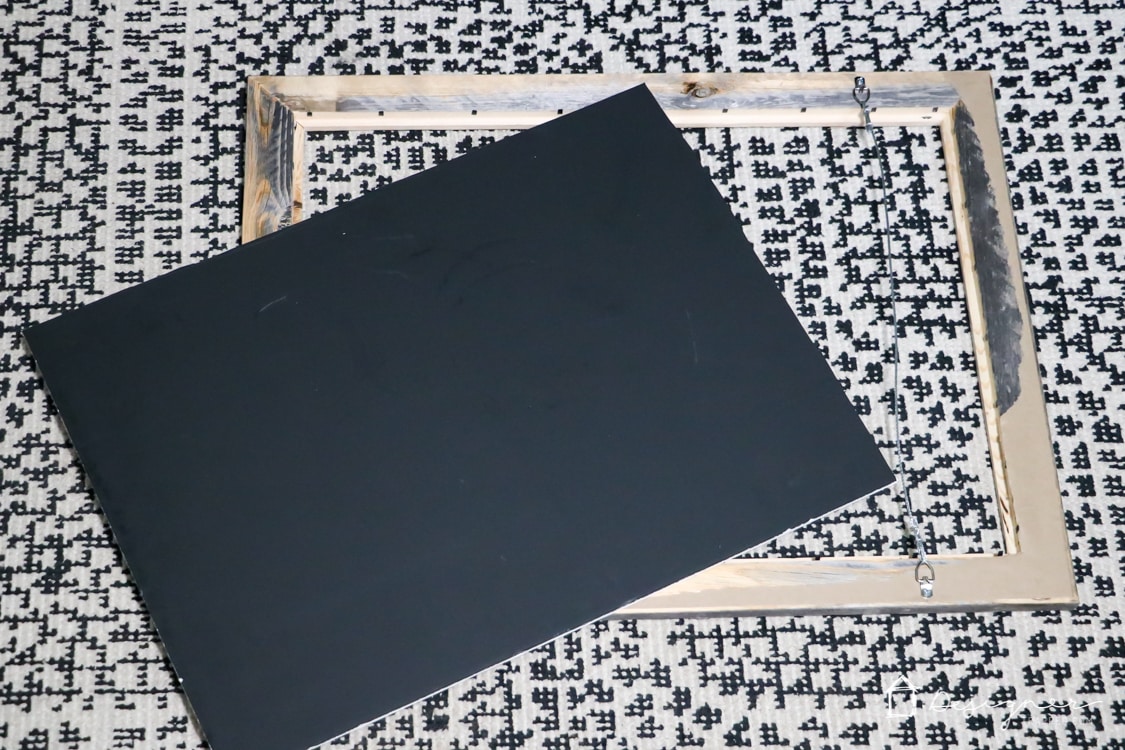
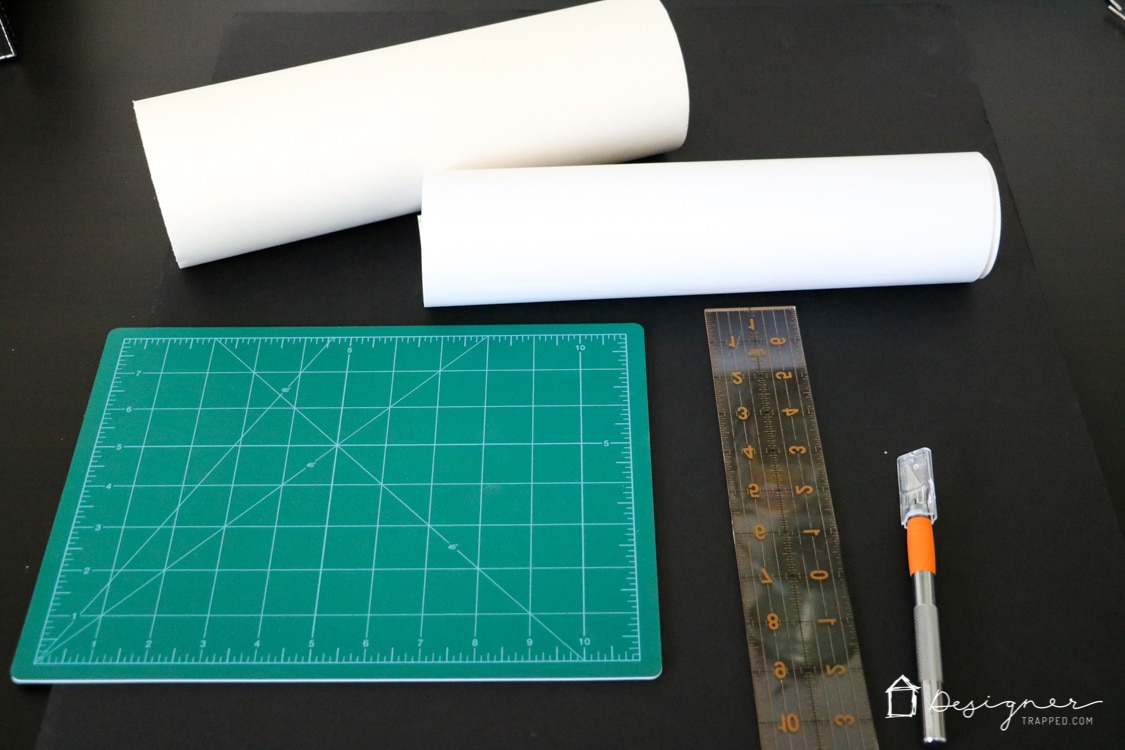
- Black foam core board (I buy mine at The Dollar Store)
- White vinyl (I STRONGLY prefer Silhouette Brand vinyl–it's much easier to peel off the backing paper than other brands)
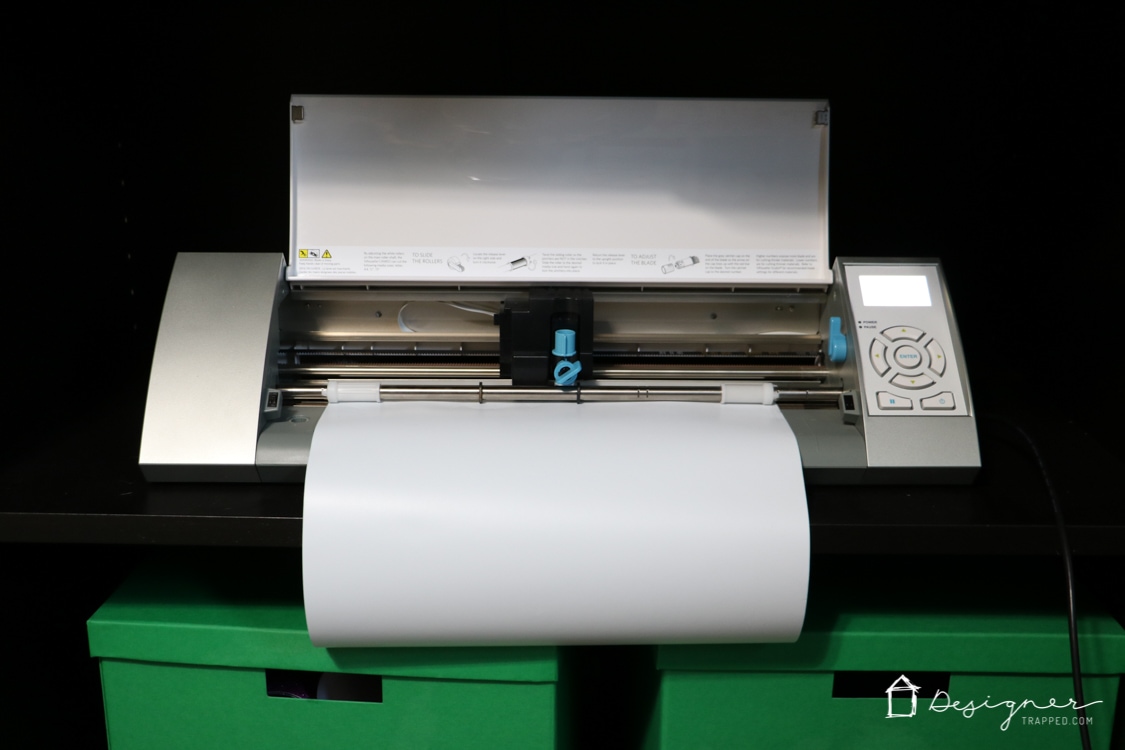
- A cutting machine (I use the Silhouette CAMEO here but also love the Cricut Explore. I compare them in a full review of Silhouette vs Cricut.)
- You can use stickers if you don't have a cutting machine
- Transfer paper (the Silhouette brand is great, but I have also purchased off-brand which was less expensive and works perfectly.)
- Chalk
- Chalk eraser or paper towel
- Craft knife
- Wood frame without glass (you can find wood frames with no glass at most craft stores)
 |  |
Steps to Make a Countdown Calendar:
Step 1. Measure foam core.
Measure your frame and cut your foam core down to size, if needed, using your craft knife.
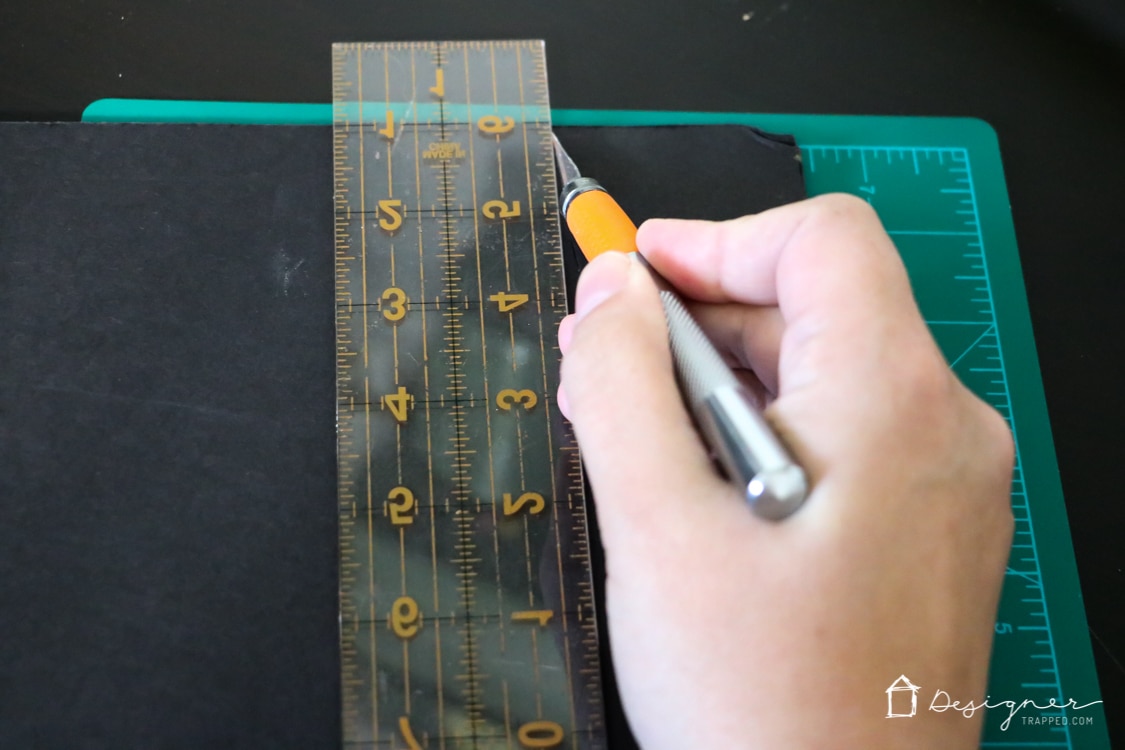
Step 2. Create Design
Design your sign in Silhouette Studio (or whatever software you use for your cutting machine). Be sure your design will fit on your foam core and into your frame. I used the font “Sugar Plums” for the script at the top of the sign and “Pottery Barn” for all the numbers. Note that both fonts had to be installed on my computer, so you may not find them on yours.
Step 3. Cut Your Design
Cut out your design. Remember, if you don’t have a Silhouette or other cutting machine, you can buy stickers at a craft store!
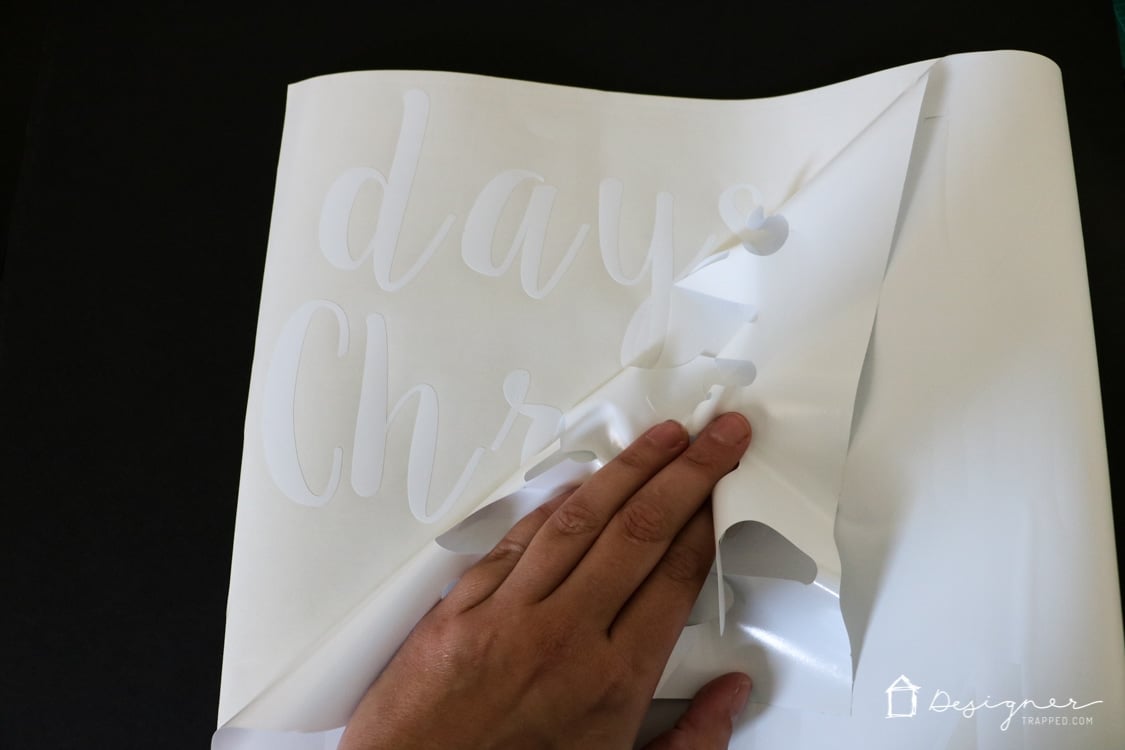
Step 4. Weed Vinyl
“Weed” your design. That's just a weird way of saying you need to remove all of the excess vinyl so that just your design is left, as shown below.
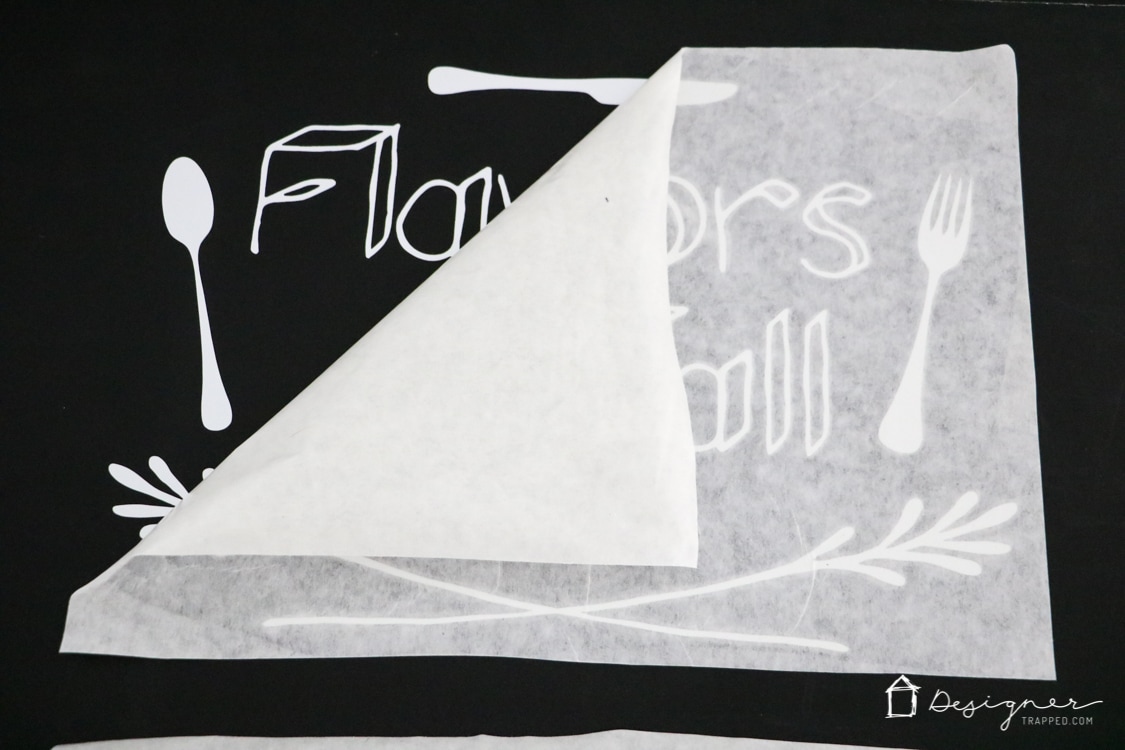
Step 5. Transfer Design
Transfer your design to the foam board. I highly recommend using transfer tape to transfer as much of the design as you can. This helps keep the spacing on your Christmas countdown calendar correct, but it does use more vinyl. If you want to use your vinyl as economically as possible, place your digits and letters as close to each other as possible in your cut file. (I forgot to photograph this step on this particular project, but you can see what I mean with the photo of a different project shown below).
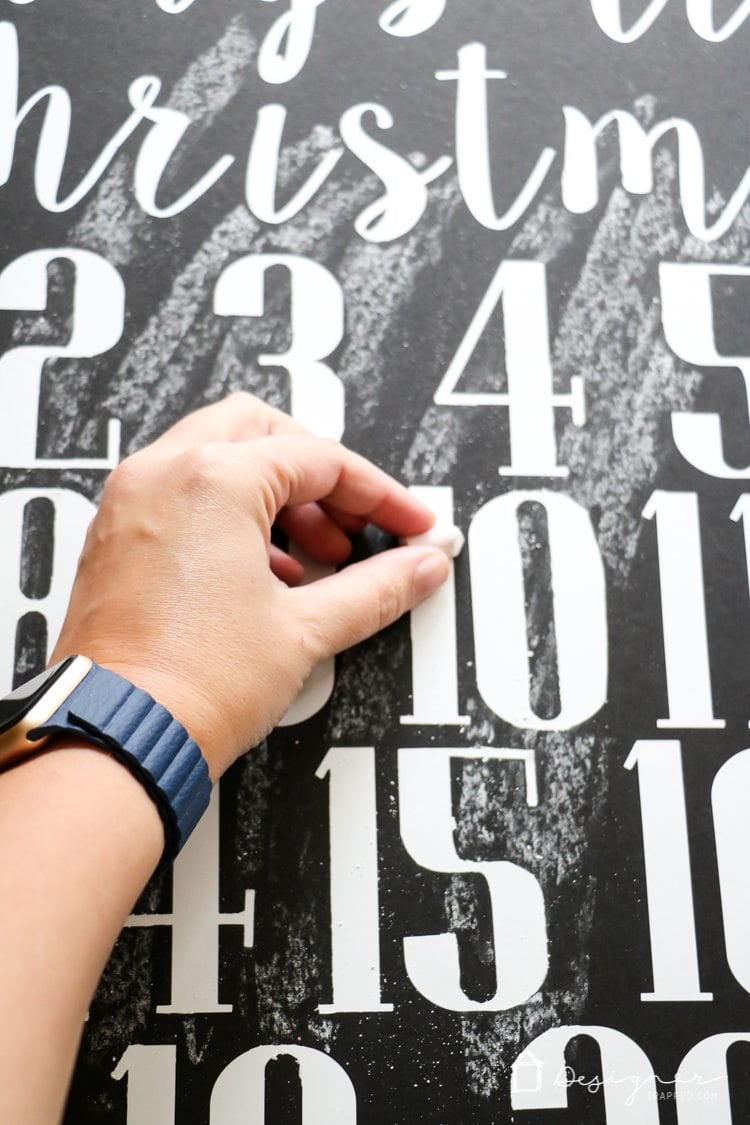
Step 6. Chalk the Board
Next, rub chalk (using the side of your chalk piece) all over your Christmas countdown calendar and use a paper towel or chalkboard eraser to coat the entire surface with chalkboard dust. This is what makes it look so authentic, so don’t skip this step! Also, do NOT do this before attaching your vinyl because the vinyl won’t stick to the chalk dust.
Step 7. Mini Wreath
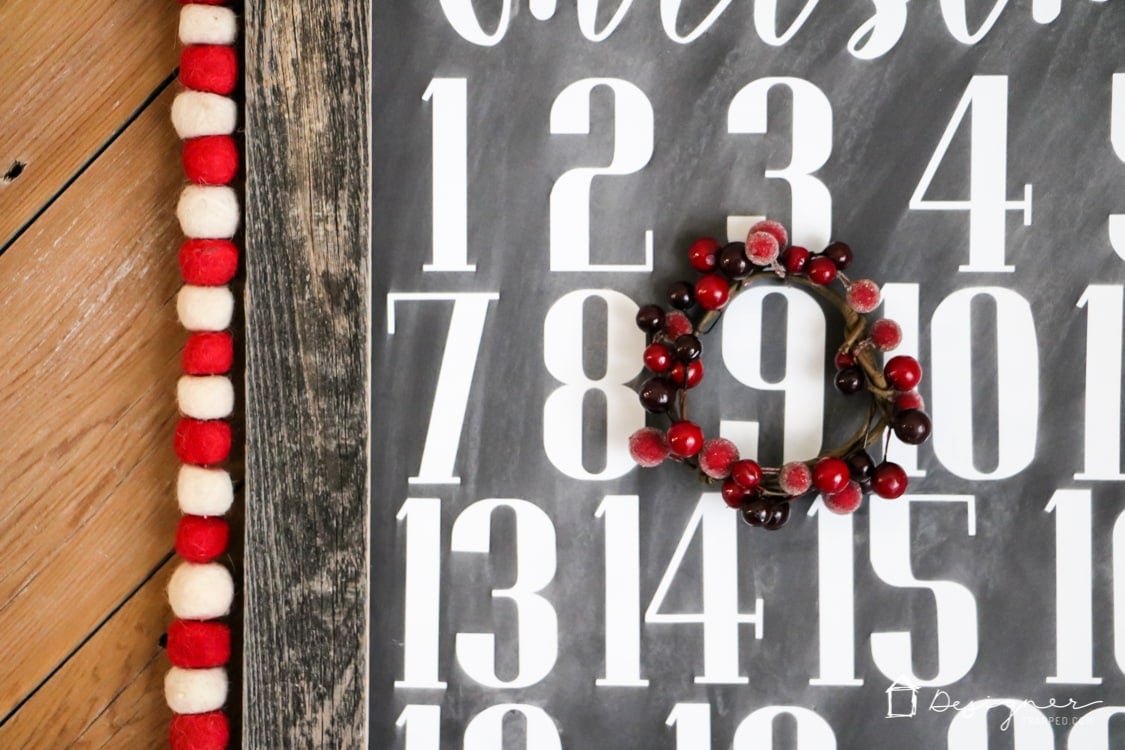
For the wreath, I bought a spray of berries from the craft store. I formed it into a circle and cut it to length. Then, I cut a very short piece and shaped it into a hook, exposing some of the wire on one end. I use that hook to hang the wreath on the foam core, pushing it in just like a push pin. It works perfectly!
Step 8. Frame and Hang!
Finally, pop your Christmas countdown calendar into the frame, hang it up and enjoy! Check out how adorable your countdown calendar looks all finished. My twin girls LOVE it and are so excited it's almost December so that the countdown can begin!

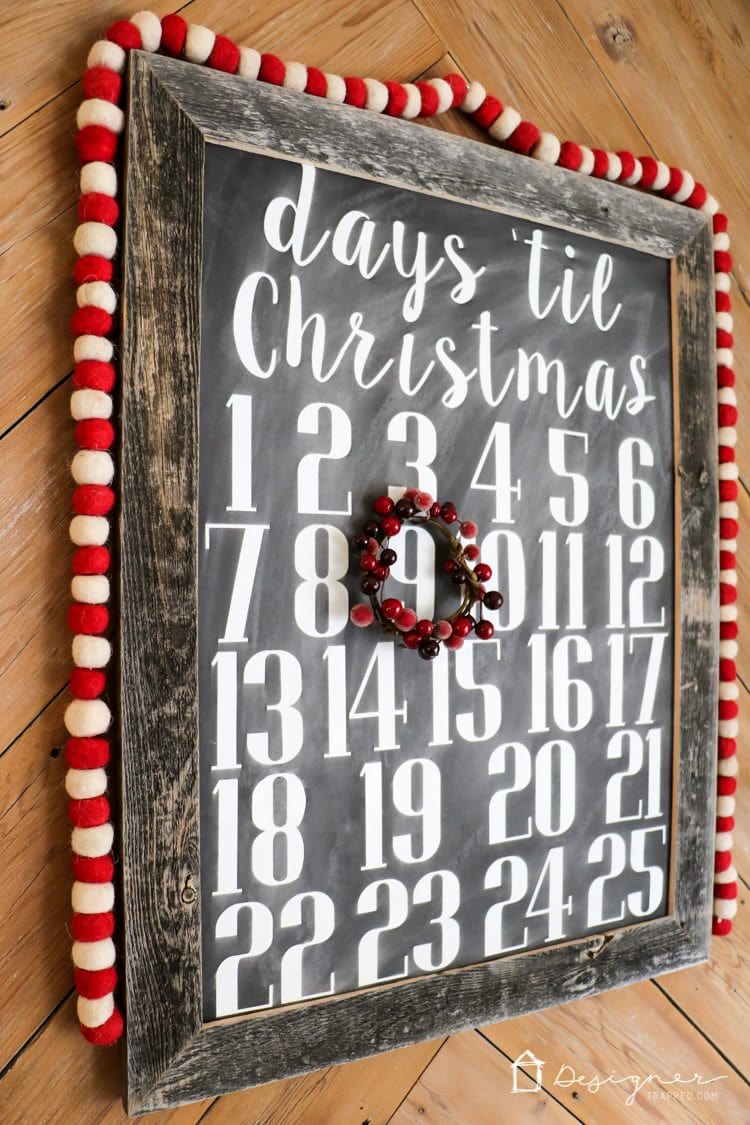
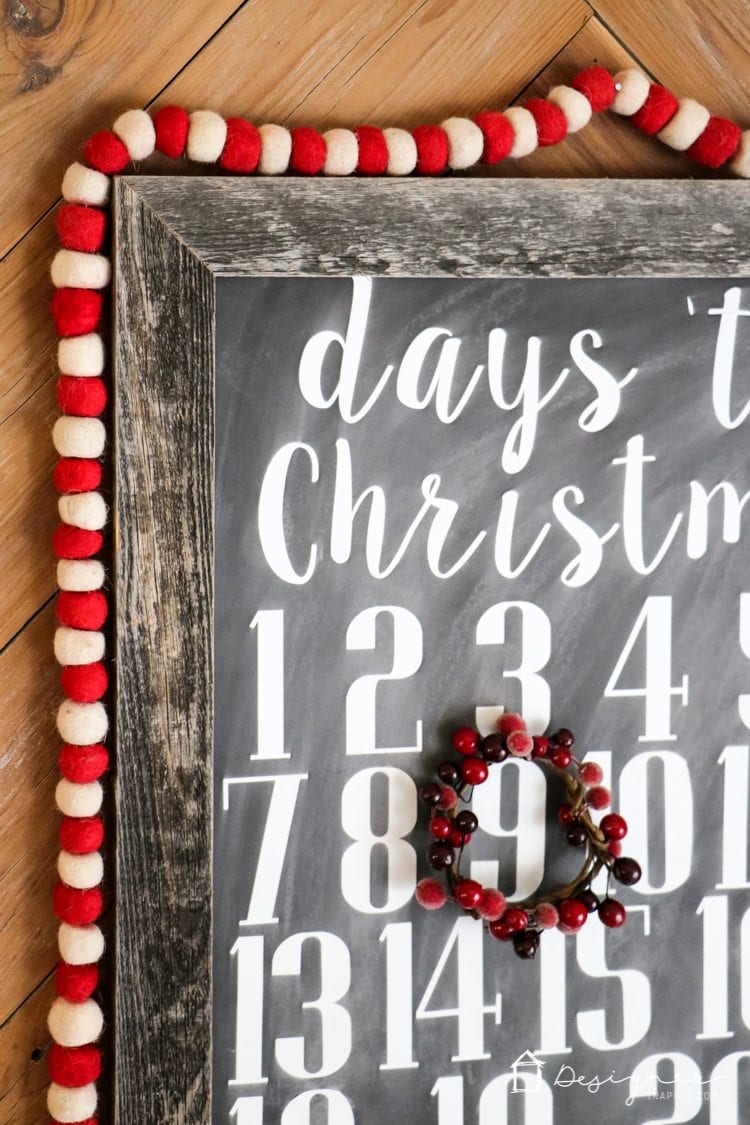
The simple addition of fun felt balls draped above mine add even more holiday fun. Get creative and make the perfect holiday countdown calendar for your family and your Christmas decor!
Other posts you may enjoy:
- DIY Magical Christmas Lanterns
- The Most Realistic Faux Garlands for 2022
- DIY Christmas Art That Lights Up
- How to Make a Christmas Reindeer from Logs!
- DIY Santa Sacks Your Kids Will Love
- How to Make a Gift Bag Out of Wrapping Paper
Wondering how I approach transforming rooms and spaces in our home? Check out Designer in a Binder®.
And if you want exclusive content and behind-the-scenes sneak peeks, be sure to subscribe before you head out!

Last Updated on October 18, 2022

There’s that garland I like so much! ;)
Such a cute countdown. I love the idea of the foam core, so much easier than chalk paint. I’m also not a creative lettering person, but I can print/cut anything from my computer. ;)