Cricut & Silhouette Projects
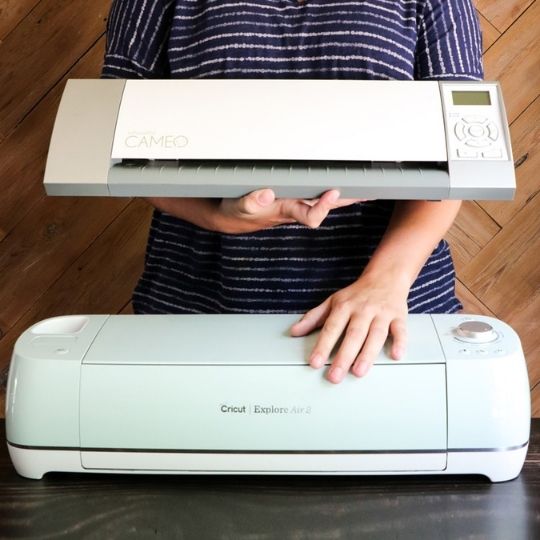
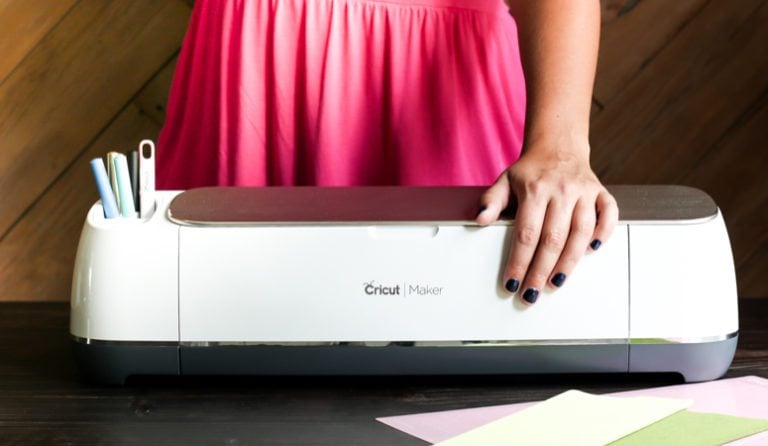
All you readers out there know how much I love my cutting machines! My unbiased review of Cricut vs. Silhouette and my post about how to choose the right Cricut cutting machine for your needs are great places to start if you are thinking of getting a cutting machine.
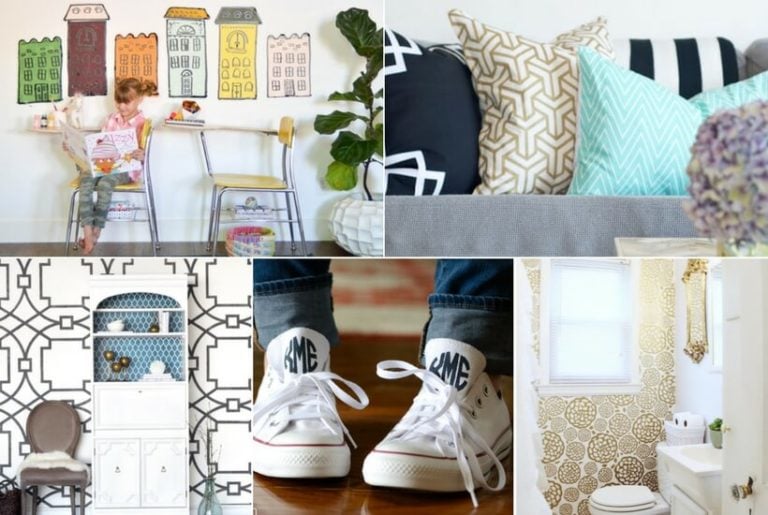
Now let’s recap some of my favorite Cricut & Silhouette projects!
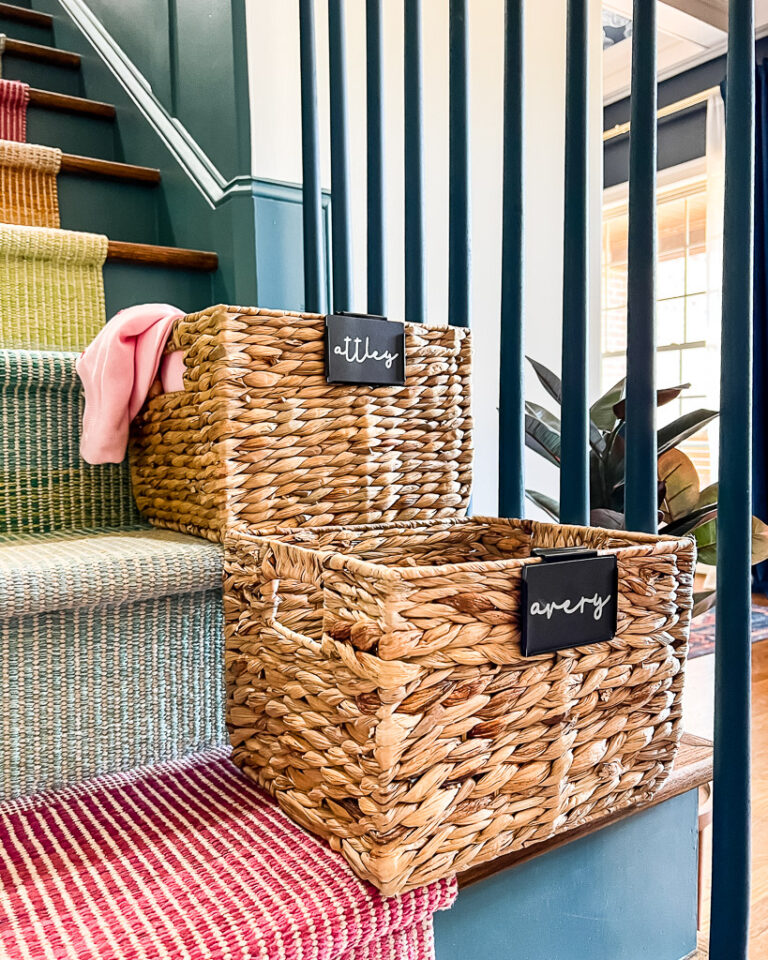
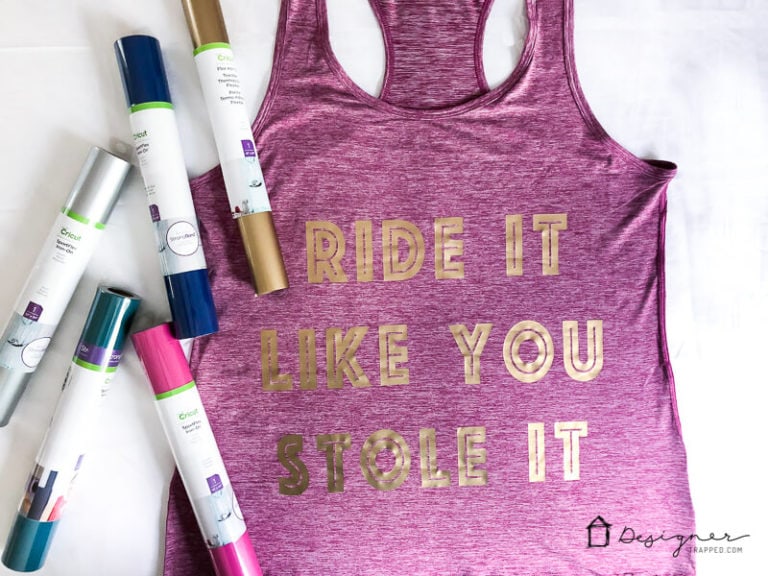
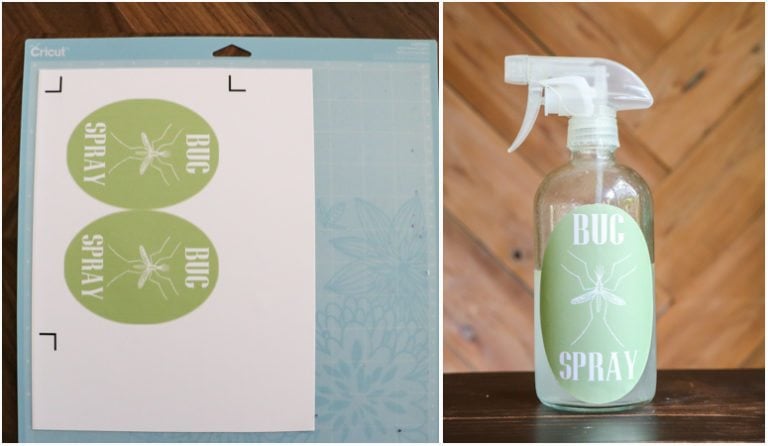
I love using my Cricut to make labels two different ways. And I cracked the code for how to use Cricut iron-on vinyl on stretchy fabrics!
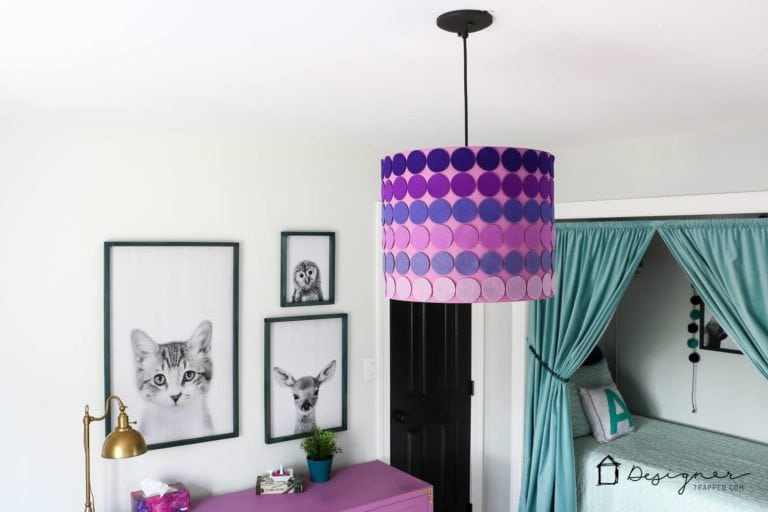
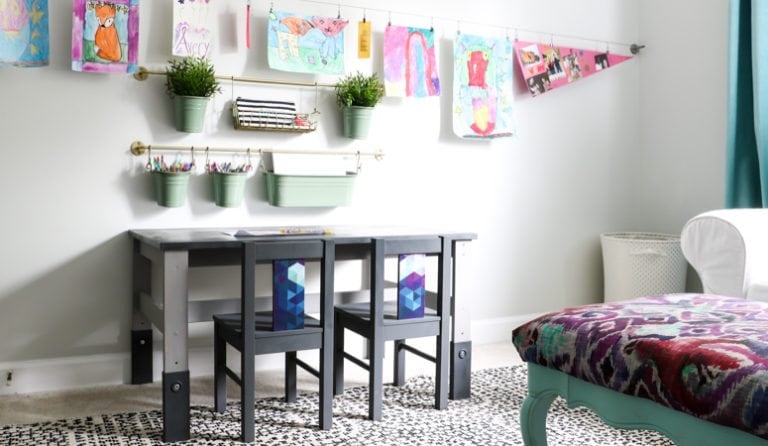
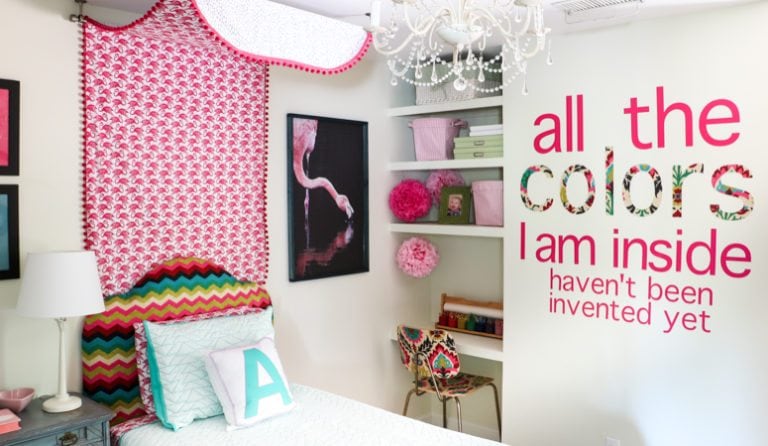
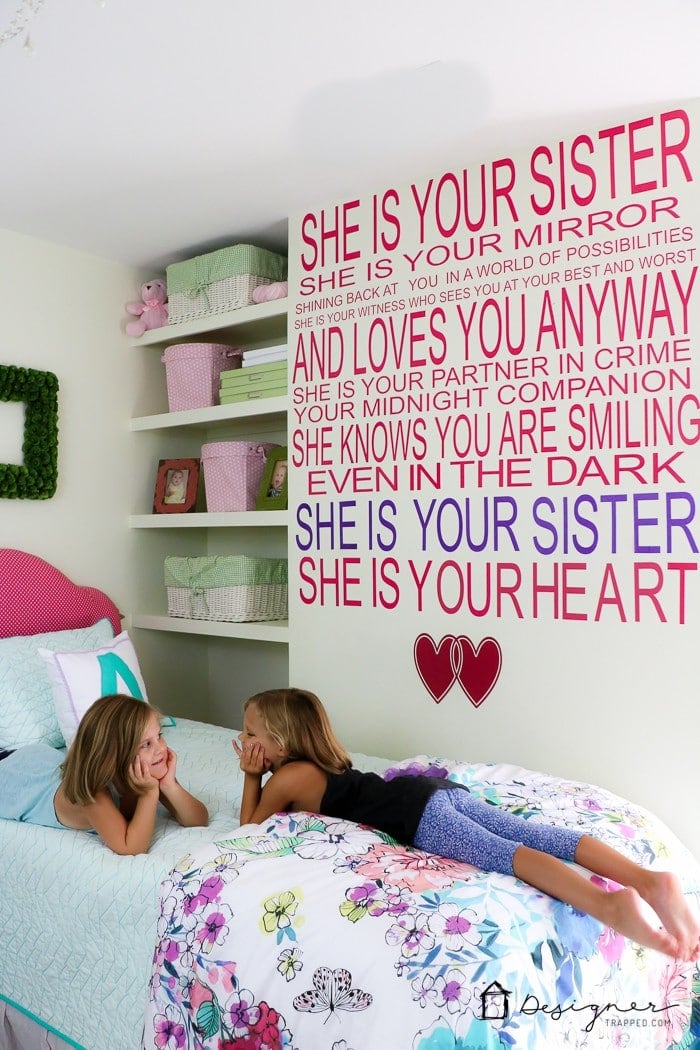
Of course there are the custom wall decals I have made – loyal readers will remember the quotes had in my twin girls’ room when they were little. I’ve even used my Cricut Maker to create a DIY lampshade by cutting out felt circles.
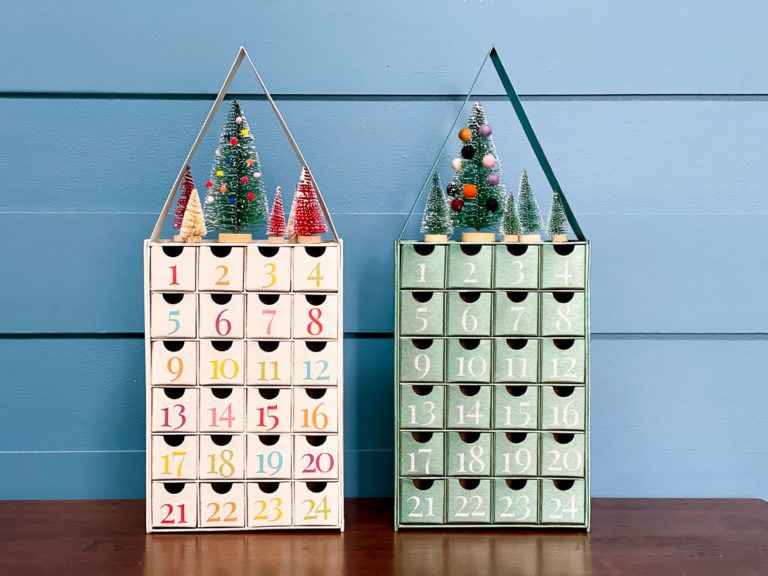
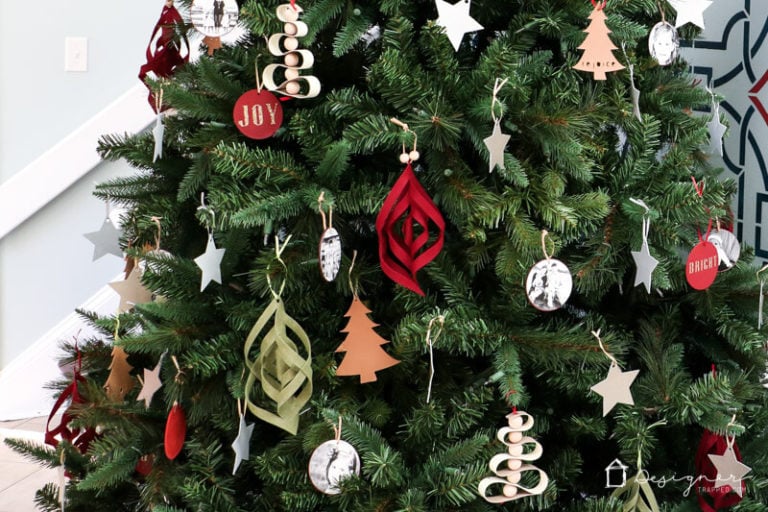
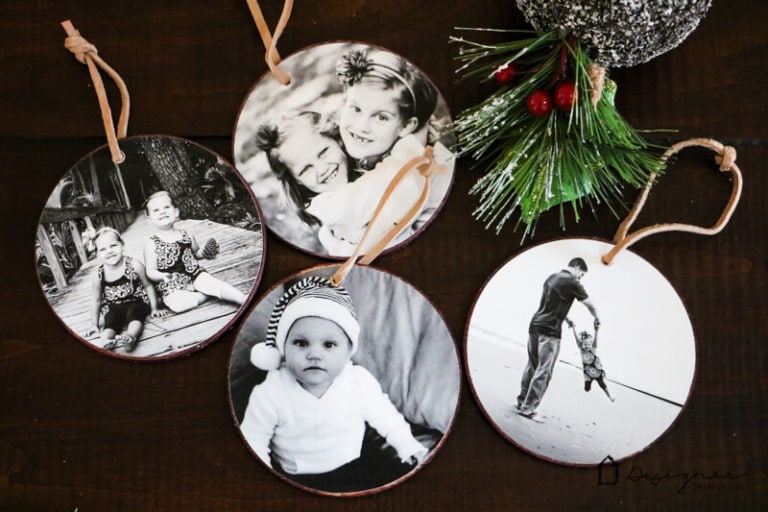
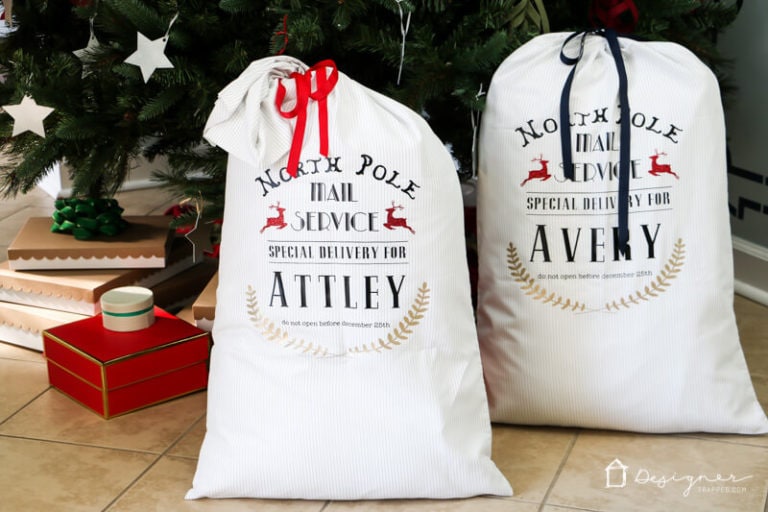
And I love using my cutting machines for holiday decorations. These DIY Advent Calendars I made for my girls are a personal favorite. And these Personalized Santa Sacks and DIY Photo Christmas Ornaments are definitely reader favorites!
With a little creativity and your own Cricut or Silhouette machine, the possibilities are endless!