The Best Paint for Furniture of Every Type
As a DIYer I have painted nearly 100 pieces of furniture over the past 20 years because breathing new life into furniture pieces with a beautiful paint job is such a great way to decorate your home on a budget. But not all paint is created equally. Choosing the best paint for your piece of furniture is CRUCIAL to getting the results you want.
So if you have ever wondered, “what is the best paint to use on furniture?” this is the post for you. I'm sharing the best and most durable paints for furniture, including wood and laminate pieces. You can get a beautiful and durable finish on any piece of furniture if you choose the right paint for the job. Promise.
The Best Paints for Every Type of Furniture
Believe it or not, I recommend the same paints regardless of whether you are painting wood furniture or laminate furniture. Just know that if you are painting laminate furniture, I highly recommend that you follow this tutorial for painting IKEA laminate furniture–there is a specific primer I highly recommend you use even if you are using one of the paints with excellent adhesion that I am sharing in this post.
Below are the best paints that I recommend for painting furniture. Note that you do still have to do some prep work no matter which paint you choose. More on prep work later!
This post contains affiliate links for your convenience. Click here for my full disclosure policy.
Chalk Paint
Chalk-based paint is a water-based paint with a very flat finish that has excellent adhesion. The adhesion is so good, in fact, that chalk paint requires very little prep beforehand and generally does not require sanding or priming your piece. It is also low or no-VOC, so you can use it for indoor DIY projects without having to worry about fumes. Chalk paint is fairly durable on its own, but you can also protect it further with a wax finish that is quick and easy to apply. Another benefit of chalk paint is that it self-levels reasonably well (meaning brush marks are minimized).
My favorite chalk-based paint is:
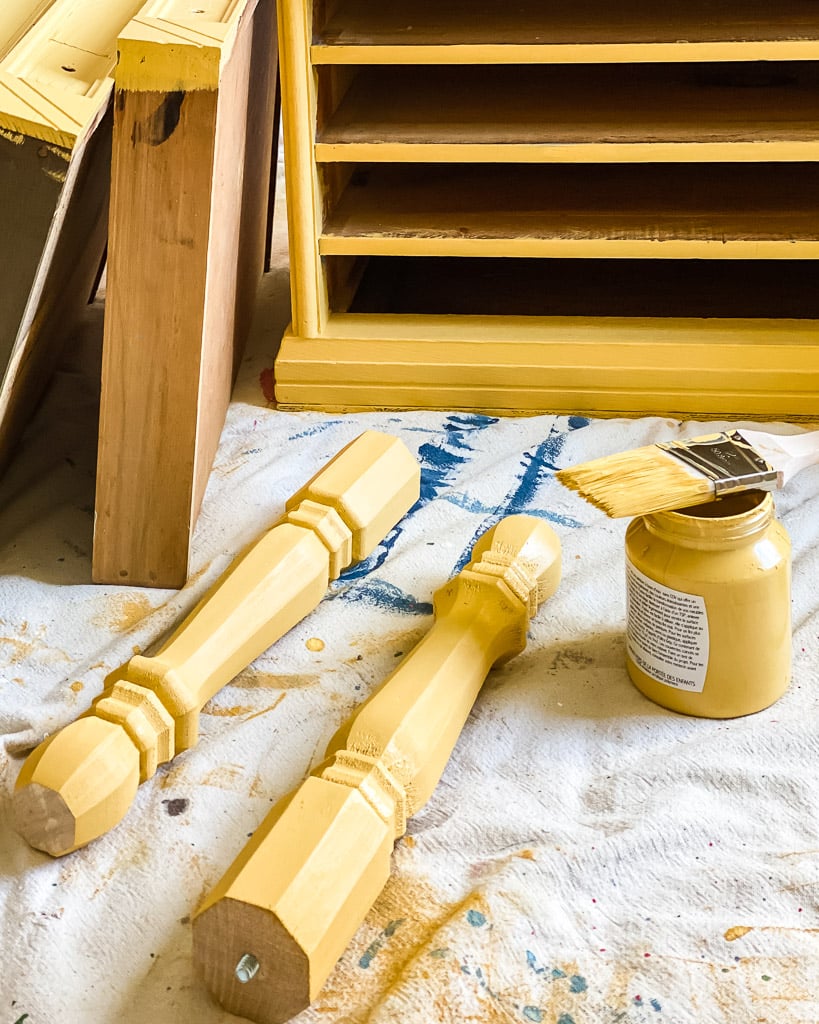
Amy Howard One-Step Paint
The Amy Howard at Home paint line was developed by long-time furniture designer and manufacturer Amy Howard. The signature product of Amy Howard at Home is the One Step Paint, a new and revolutionary chalk-based paint that allows you to transform existing furniture or cabinetry in a single step – no stripping, sanding or priming. It is water-based and is free of VOCs and other toxins, so it is even safe for baby furniture. It has a very matte finish.
The coverage of One Step Paint is excellent. One 32oz quart of One Step Paint covers approximately 135-140 square feet. One 16 oz pint covers approximately 65 square feet. One 4oz sample covers approximately 16 square feet. Note that “One Step” does not mean one coat. I have found that every color I have used requires two coats. The paint dries very quickly so I have never minded!
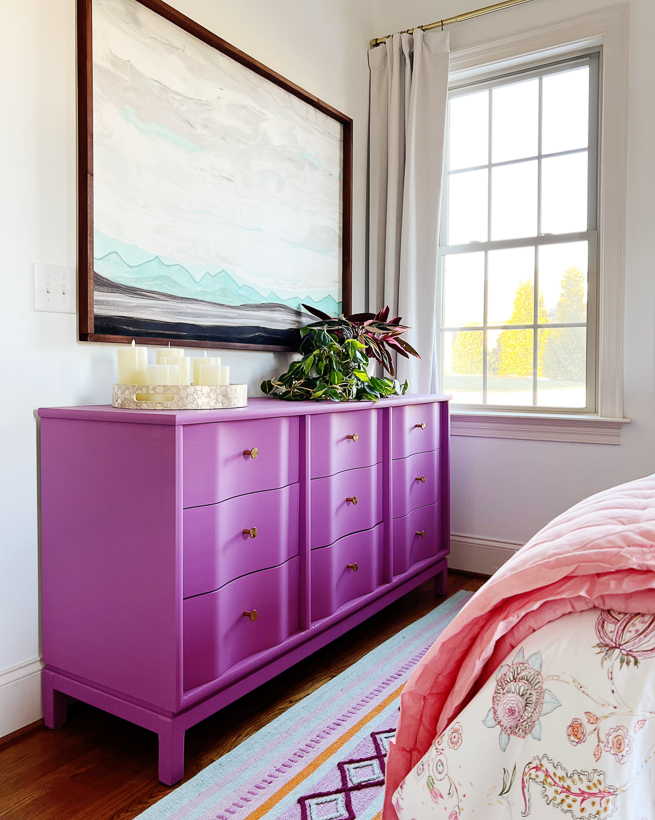
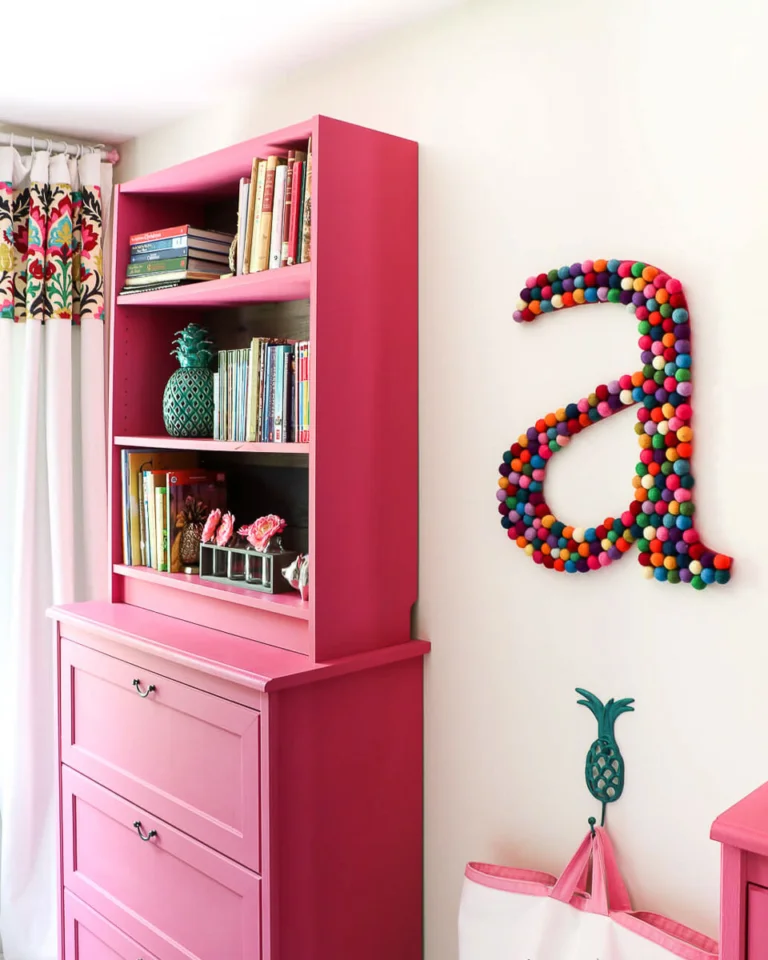
I have used One Step Paint to paint so many pieces of furniture (including the dresser you see in our colorful guest room below) at this point I've lost count. I have a whole post about how to paint a dresser with it, including the tiny bit of prep work it requires and how to wax it (and antique it a bit if you want to).
Mineral Paint
Mineral paint is a paint made using natural minerals from the earth for its color pigments. The minerals are mixed with a binder, such as acrylic resin, and a solvent. The resin gives mineral paint excellent adhesion and makes it very durable.
My favorite mineral paint is:
Fusion Mineral Paint
Fusion Mineral Paint is a “professional paint for the everyday DIYer.” I love, love, love this durable paint. There are more than 50 colors to choose from and tons of custom recipes to create even more color options. Fusion Mineral Paint is formulated with a built-in top coat (100% acrylic resin), but you can add a topcoat for additional protection. It is non-toxic, lead-free, virtually odorless, and does not contain any ammonia or formaldehyde.
As with chalk paint, very little prep work is required. I've used Fusion Mineral Paint to give new life to everything from furniture pieces to cabinets! It is my personal favorite and the furniture paint I reach for the most often. I have never been sponsored or paid by Fusion Mineral Paint–I'm just a big fan!
EXCLUSIVE DISCOUNT
I've never been sponsored or paid by Fusion Mineral Paint, but they have generously offered my readers a 10% discount, which will be automatically applied when you click and order here.
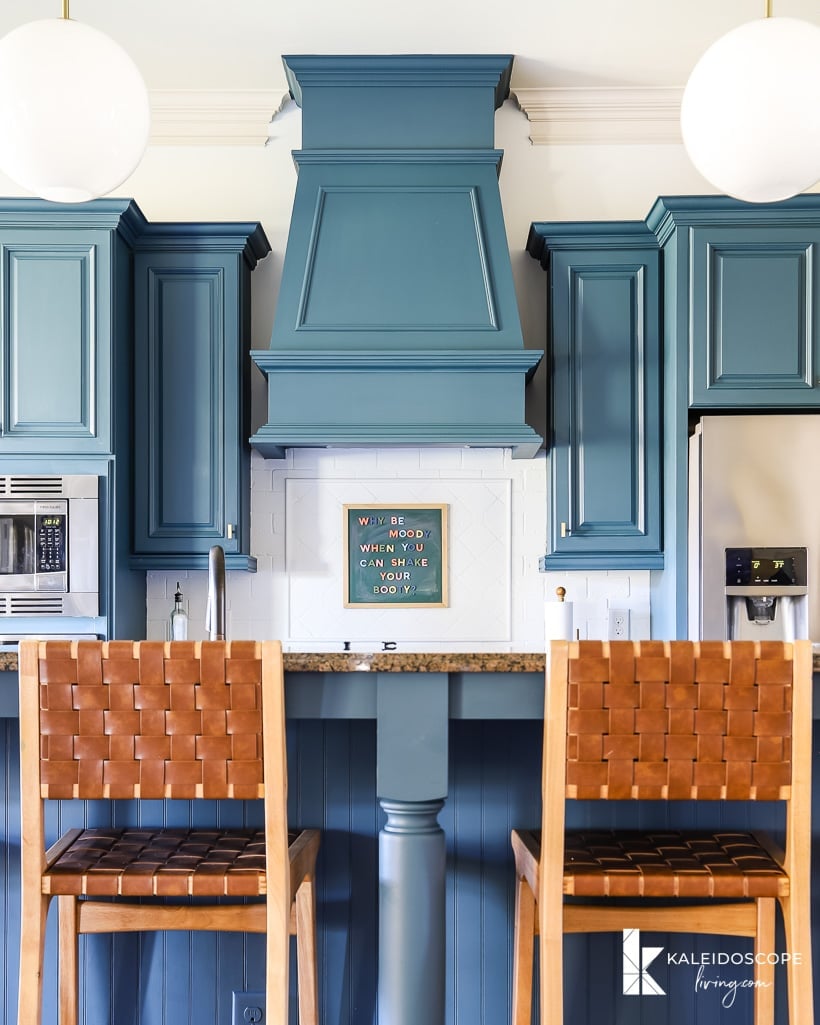
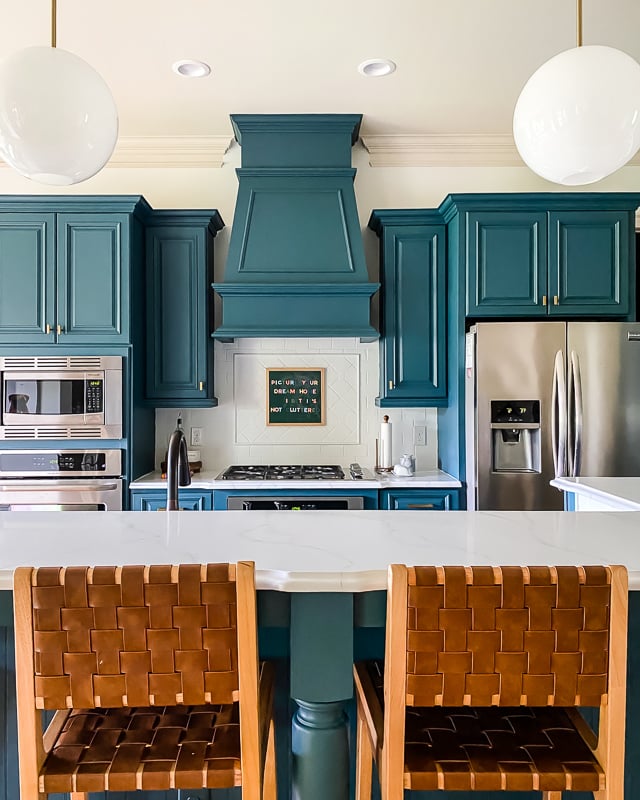
Remember, a little bit of this paint goes a LONG way, so you don't need much (we used only 4 pints to paint the wood surface of our kitchen cabinets as part of our budget-friendly kitchen makeover).
Best of all, Fusion Mineral Paint requires minimal preparation of a clean surface and may only need a light hand-sanding. That's all we did in Thea's kitchen, and the light-sanding took no more than 30 minutes for all her cabinets combined, so don't let that put you off. Her kitchen cabinets turned out beautifully, and they are still in perfect condition–no peeling or chips to be seen! Look at that transformation.
Fusion Mineral Paint paint offers incredible coverage of 75 sq ft per pint. In most cases, one coat of paint is all you need, which is one reason I prefer it to One Step Paint.
I painted our kitchen cabinets with Fusion Mineral Paint and only needed 4 pints for the job! And it is durable with or without a top coat. Check out my full tutorial on using Fusion Mineral Paint on kitchen cabinets (which is how you would also apply it to furniture)–it includes details on how to prep to use it, as well as how to seal and protect both light and dark colors if you choose to.
Acrylic Paint
High-quality acrylic paint is easy to apply, and it goes on smoothly (it self-levels nicely). Acrylic paint is far more durable than latex paint and has excellent adhesion, so it requires minimal prep work. It's so durable that a top coat is optional.
My favorite high-quality acrylic paint is:
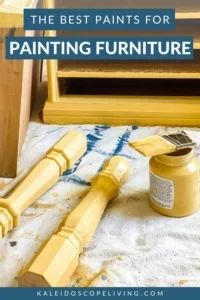
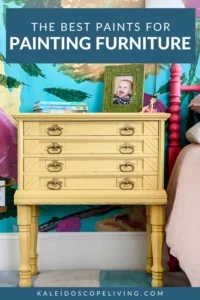
General Finishes Milk Paint
General Finishes Milk Paint is a premium water-based interior/exterior acrylic paint formulated with Zero VOC Colorants. It has a low sheen finish, but isn't as chalky or flat as chalk paint or mineral paint. I would say it is is somewhere between an eggshell finish and a satin finish (check out my paint sheen guide if you aren't familiar with the difference in paint sheens). Like the other products I've mentioned, General Finishes Milk Paint also minimizes brush strokes beautifully.
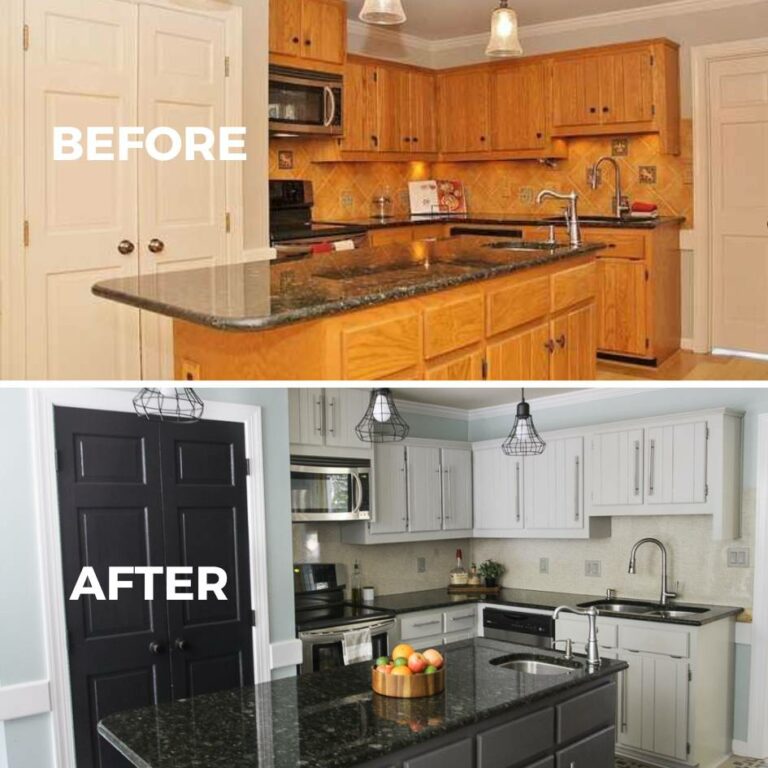
We used it to paint the kitchen cabinets in our old house without sanding or priming and we were STUNNED by how durable they were (note that we DID use a top coat on those cabinets to get the most durable finish possible). They looked beautiful even 5 years after we painted them when we finally gutted and renovated that kitchen.
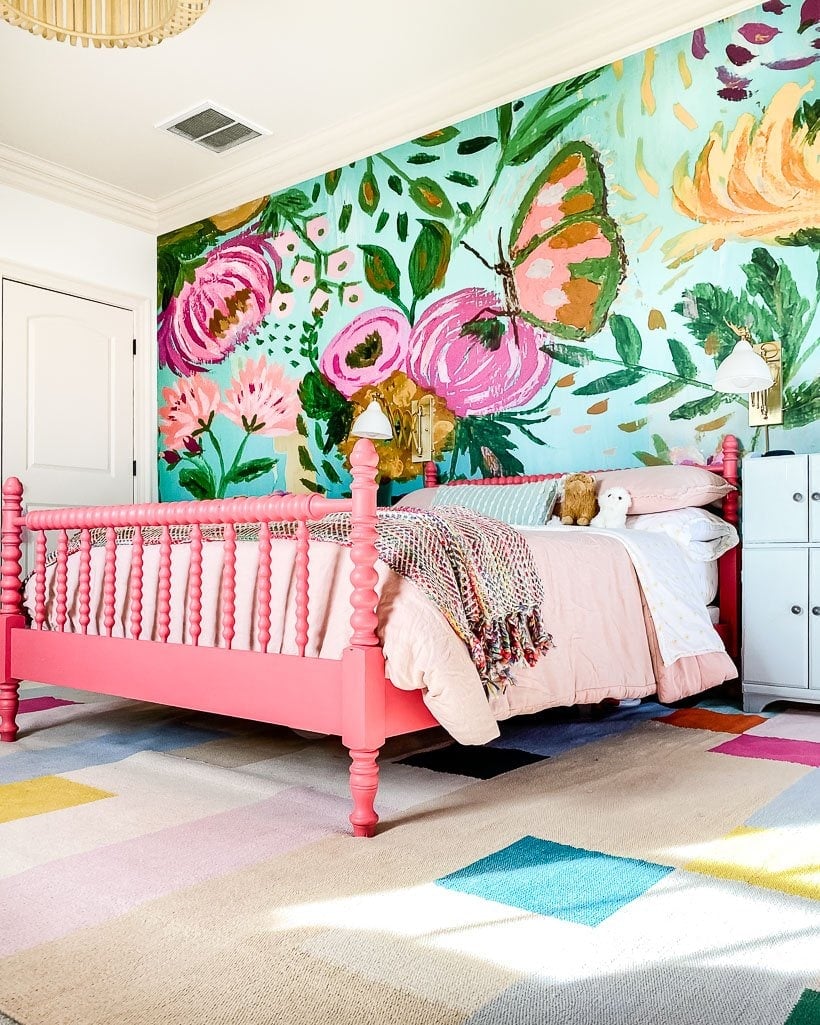
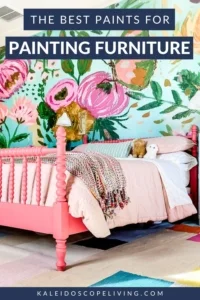
I've since used it to paint several pieces of furniture, including the vintage Jenny Lind bed in Attley's bedroom. It goes on like a dream, the coverage is incredible and the furniture I have painted with it has been very durable even without a top coat.
Urethane Enamel Paint
Water-based enamel paints resist yellowing compared to traditional oil-based options, but they still create a very hard, durable finish that withstands wear and tear.
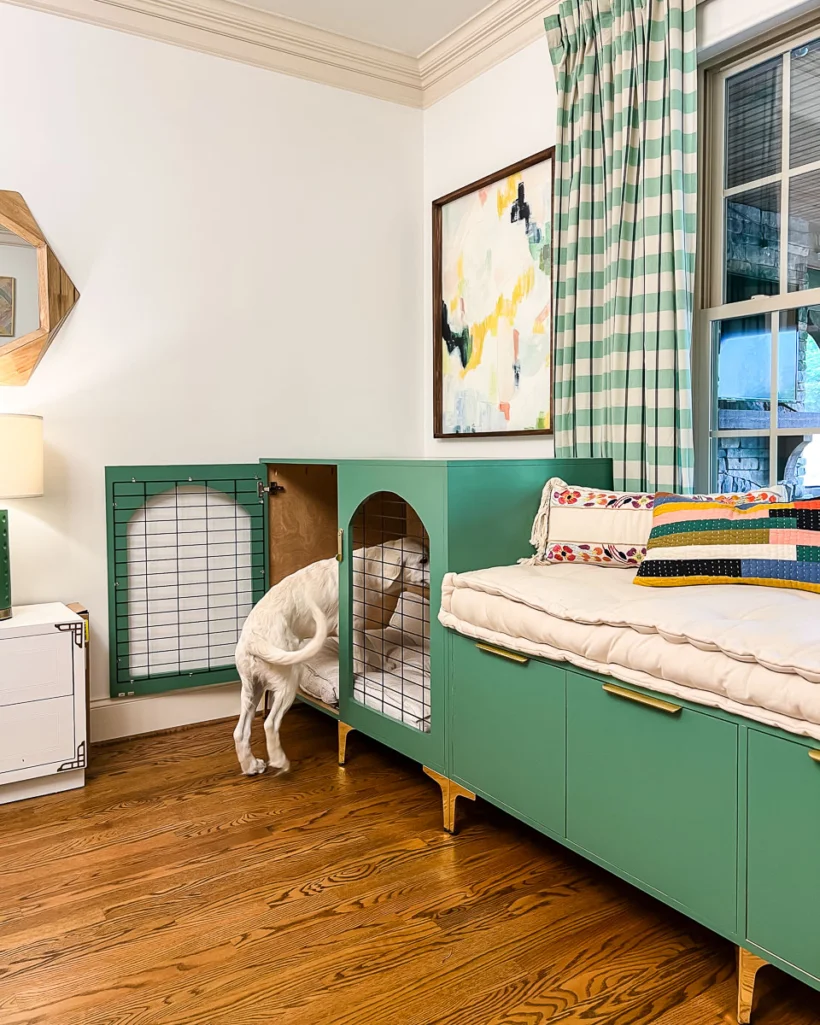
The only brand I have personally used is Sherwin Williams Emerald Urethane Trim Enamel. We used it when we replaced our stair balusters and updated our stair railing and I was so impressed with how durable it is, I decided to paint the DIY dog crates and bench we built a few months ago with it. It is self-leveling and the finish is beautiful. I did lightly sand in between coats and y'all, the finish is soooooo smooth. I'm a big fan and am sure I'll be using it more for painting furniture in the future! I also love that you can have it mixed in a gallon size if you have a big project you will be using it for.
Types of Paint to AVOID When Painting Furniture
Understanding the best paints to use is important, but it's equally important to know what types of paint you should avoid when painting furniture.
Latex Paint
It can be tempting to use leftover wall paint to paint furniture. Heck, it's even tempting to buy it new because latex paint is relatively affordable. But I have learned from experience that using latex paint (which is what you use to paint walls) to paint furniture is a mistake. It doesn't have strong adhesion like the paints above have so when I have used it, it has always chipped and/or peeled off. Latex paint may perform a bit better if you coat it with a protective layer, but I still don't recommend it.
Spray Paint
Spray paint can be tempting because it seems convenient and easy. But the only time I recommend painting furniture with spray paint is when you are painting plastic outdoor chairs and need a spray paint that will bond to plastic. Otherwise, spray paint isn't your best option for a high-quality furniture paint job.
The Importance of Prep Work
Painting furniture the right way so that it will last is about the two Ps– PREP and PRODUCT. I've already shared with you my favorite products. But now we need to talk a bit about prep.
Always Clean First
You may have noticed that each of my favorite paints require “little to no” prep work, which is one reason I love them so much. But at a bare minimum, you always, always, always need to properly clean any piece of furniture before painting it. This should go without saying, but people often skip cleaning before painting if the furniture piece doesn’t LOOK dirty.
If you do not properly clean your furniture first you run the risk of all that dirt and dust you can't see with the naked eye can not only make your paint job look terrible, but it can also interfere with the adhesion of your paint.
My secret to cleaning before painting is to use Simple Green diluted per the instructions. After cleaning your piece with it, be sure to wipe it down again with plain water to ensure all of the Simple Green is wiped off.
Sometimes Additional Prep is Necessary
I know many of you are wondering, “can you paint wood without sanding it first?” And the answer is that my favorite furniture paints generally don't require any sanding or priming before using them.
But there are a few exceptions…
If your piece is real wood, but is very smooth or shiny
Even if you are certain your piece is solid wood or wood veneer, you may want to do a bit more prep work if it has a shiny or super smooth finish. If it does, I recommend scuffing the surface a bit either with a liquid deglosser OR by giving it a very light sanding. Deglossing or scuff sanding a very smooth or shiny surface will give allow the paint a better chance of adhering as well as possible, which is what you want so that it will look beautiful for years and years.
If your piece is laminate or another synthetic material
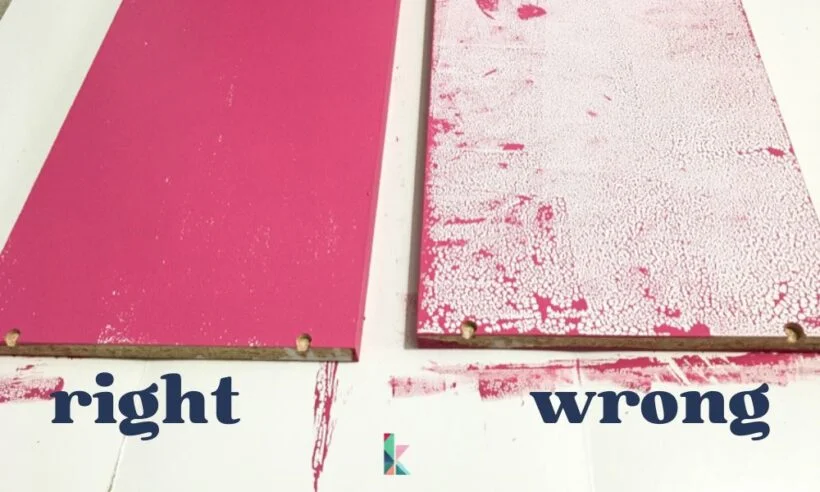
If your furniture piece is plastic or laminate, your paint will probably bead up or separate without using a proper primer. If you aren't sure whether your furniture piece is real wood or laminate (or some other synthetic material), test a spot!
If your furniture is laminate or another synthetic material, you should use a BIN (shellac-based) primer. This is a CRUCIAL step for a good result! This should not be hard and it doesn’t have to look good. Just purchase your BIN primer, grab any paintbrush and prime the entire piece. If you don't do this, the paint will not stick properly!
Frequently Asked Questions About Painting Furniture
I regularly get lots of questions about painting furniture, so I thought I would answer a few of the most common questions I get about other painting supplies I recommend, etc.
I have personally found that our paint sprayer gets us the smoothest, best finish. It also makes any paint job move quickly. The downsides of using a paint sprayer are that 1) that you have to have somewhere to spray and 2) you have to prep and later clean the spray gun, which eats up some of the time you otherwise save by using it. So the fact is that I often just use a roller and brush to avoid the hassle of setting up our spray tent and then having to prep and clean the spray gun.
I'm not picky about the paintbrushes I use other than preferring an angled brush. I tend to use a brush only for the detail work on any piece of furniture. I use 4 or 6-inch smooth paint rollers like these for everything but the detail work.
I don't. I know I probably should. I feel like every brand of paint that I love and use recommends a light sanding with fine grit sandpaper in between coats. But I just don't do it, lol. I feel like if I was refinishing furniture to sell it, I probably would take this extra step to get the finish as smooth and perfect as possible. But since I'm always painting furniture for my own household, I skip it.
Oil-based paints are generally more durable than water-based latex paints, so in theory they might be durable enough for painting furniture. But I personally dislike the fumes and do not like having to clean brushes after using oil-based paints so I avoid them.
This is the cordless paint sprayer that we have owned for a while and absolutely love it. We used it to paint all of the doors upstairs when we installed our DIY board and batten in the hallway and that saved us so, so, so much time. But it's a bit pricey.
We had this spray gun for many years before we invested in our current one and we were pretty happy with it overall. But it does have a cord, which can get in the way more than you might expect when you are spraying a piece of furniture. That said, it is a great starter spray gun for a reasonable price.
Technically, yes, but I wouldn't recommend it. It's more cost-efficient to prime raw wood first. Why? Because raw wood soaks up paint quickly and primer is way less expensive than the paints I like to use. You also get a more even finish if you prime raw wood first.
I hope this guide to the best furniture paint has helped you decide what the best option is your your next DIY furniture painting project! Happy painting!
More Paint Posts

Wondering how I approach transforming rooms and spaces in our home? Check out Designer in a Binder®.

And if you want exclusive content and behind-the-scenes sneak peeks, be sure to subscribe before you head out!

Last Updated on March 18, 2025
Hi! I love your posts … so helpful! I want to paint my bookcase and walls the exact same color – what paint line do you recommend for that? Thank you!
Hi Heidi! It would be VERY expensive to paint your walls with any of the paints I mention in this post. Your best bet would be to choose the furniture paint you feel is best for your project. Then have Benjamin Moore or Sherwin Williams color match it in a paint that is suitable for walls. I hope that helps.
Hi! Which paint or paints do you recommend for a pub style dinging table?
Any one of the paints I mentioned are great quality and would work. But if it’s a dining table that will get heavy usage, you would probably want to use some sort of top coat or finish on whatever paint you choose.
Hello Tasha,
I’m new to this and appreciate this article. However, the link to your recommended sprayer redirects to a spray tent. Would you mind telling me the name/model of the paint sprayer you use?
Thanks,
Thomas
Hi Thomas! My apologies and thank you for bringing this to my attention. I have corrected the link in the post. We have the Graco ultra cordless paint sprayer which you can find here: https://amzn.to/4m6JkVN I hope that helps!
Thanks for this post, it’s so helpful and now I’m ready to paint my dressers and nightstands navy blue. After that, I will be wanting to paint some other peices white. This furniture is the Mexican knotty pine that was popular 20-25 years ago. For the pieces that I want to paint white, would you recommend a primer (I’m planning to use the chalk paint you recommend here), or will the chalk paint sufficiently cover the knots? Thanks again!
Hi Amy. I would probably prime any pieces you plan to paint white. Pine knots bleed through paint because they contain a high concentration of resin, which can seep through the paint layers, causing discoloration especially with lighter paint colors. I don’t think I would worry about discoloration with a dark paint color like navy blue. I hope that helps!
What is the name of the color is the dresser in your guest room?
I believe it’s Orchid by Amy Howard at Home.
Nice comprehensive article! I’ve painted for decades but just started with furniture. I bought an old jewelry armoire I want to paint but, a lot has changed since Ann Sloan chalk paint. Have you tried Mint by Michelle mineral paints? It’s acrylic based. I have not. Otherwise, I will probably be buying whatever acrylic paint I can find in a color I like. I do like Benjamin Moore Advanced for painting cupboards.
Hi Debbie. No, I haven’t tried that particular brand of furniture paint, but if it’s a high-quality acrylic paint it should be a good option for painting furniture :)
Hi I want to paint a table that is already to paint want would be the best paint to use thanks. Jerry
Hi Jerry! I can’t really answer that without knowing what type of paint is currently on your piece. Sorry!
I LOVE your site. You’ve answered so many questions. I’m in process of sanding a 6 piece set of Pottery Barn Kids modular shelving. My neighbor gave the set to me. It’s about 20 old, excellent condition but a boring brown. I’m putting it in my seven-year-olds room, but my concern is the pieces stack and will rub against each other. Also, the top pieces are cubbies and there will be totes and books sliding in and out. Should I allow the pieces to cure for a time or is there something special you would recommend for durability beyond what you’ve already mentioned. I’d hate for the pieces to sit and then be stuck together. I’m leaning toward the SW trim enamel in 6746 Julep. Would you mind sharing the color of your dog kennel- it would be perfect for these shelves.
Hi Susan- We used Jadite by Sherwin Williams in their Urethane Trim Enamel. The longer you can let it cure before stacking the pieces and styling your shelves the better. Over time if there is a little wear and tear from sliding bins and things a quick touch up with a brush will cover them up.
Hi! Just found your blog. I’ve painted things before, but am getting ready to tackle some old file cabinets. Would you recommend a specific paint for metal pieces like file cabinets? Thanks so much!
Hi Tess! Painting metal can be tricky. Any of these paints should work, but I would probably prime the file cabinets with a shellac based primer first :)
What a clear, concise guide to painting furniture! Thanks!
HI, I don’t own a single piece of furniture that has a matt finish. I prefer semi-gloss or in some cases like a child’s dresser, high gloss. Is the reason all the furniture paint is flat, b/c ppl want an antique look? I’ve build and/or finished shelves with stain and polyurethane, but this is my first furniture project. How can I get a finish other than flat? THX
Hi Jack! You would just pick a top coat with the sheen you want. Satin, semi-gloss and even high-gloss are options it sounds like you would like!
Thanks so much for this post! I’ve been scouring FBM for furniture to fill a second home and am getting ready to go on a painting binge! Going to try the Fusion paint first. I’ve used Chalk paint and liked, but don’t want to wax a dining table.
Hi. Thanks for all the info! Have you used Fusion Mineral paint on a coffee or kitchen table? Wondering how it will hold up. Thanks.
Hi Lu! I’ve used Fusion Mineral paint on pretty much everything you can imagine, including kitchen cabinets. It’s very durable especially if you combine it with a protective top coat.
Hi Tasha. I’m in the process of painting my dining table and chairs along with the buffet and also a large tv stand. I noticed you mentioning a top coat over fusion mineral paint that I’ll be using. What type of protective top coat do you use?
This is my first time using the mineral paint and I’m really excited to change my furniture colors :)
Dunia
Hi Dunia! I don’t always use a top coat on furniture that I paint with FMP. If I do use a top coat, the top coat I use really depends on whether the paint color I used is light or dark and how much use the piece will get. You may find this article from Fusion Mineral Paint on when to use a top coat helpful: https://fusionmineralpaint.com/when-to-use-a-top-coat-over-fusion-mineral-paint/ Best of luck with your projects!
I painted a piece of furniture a long time ago with latex paint and learned really quickly that was a mistake. Do you have any recommendations on how to strip the paint off so I can paint it properly?
I’ve never completely stripped a piece of furniture so I don’t know the best method, sorry!
Hello! If I use the proper primer, can I use a Farrow & Ball paint on Billy Bookcases? Also, my Billy cases are already assembled. Do I have to remove the shelves for painting (worried about chipping on the way back in) or should I paint them in the bookcase? Thank you!
I would remove the shelves to paint. You might have a tiny bit of touch-up after you put them back in. I don’t know if Farrow & Ball paint is suitable for furniture. If it is latex, I would not recommend it.