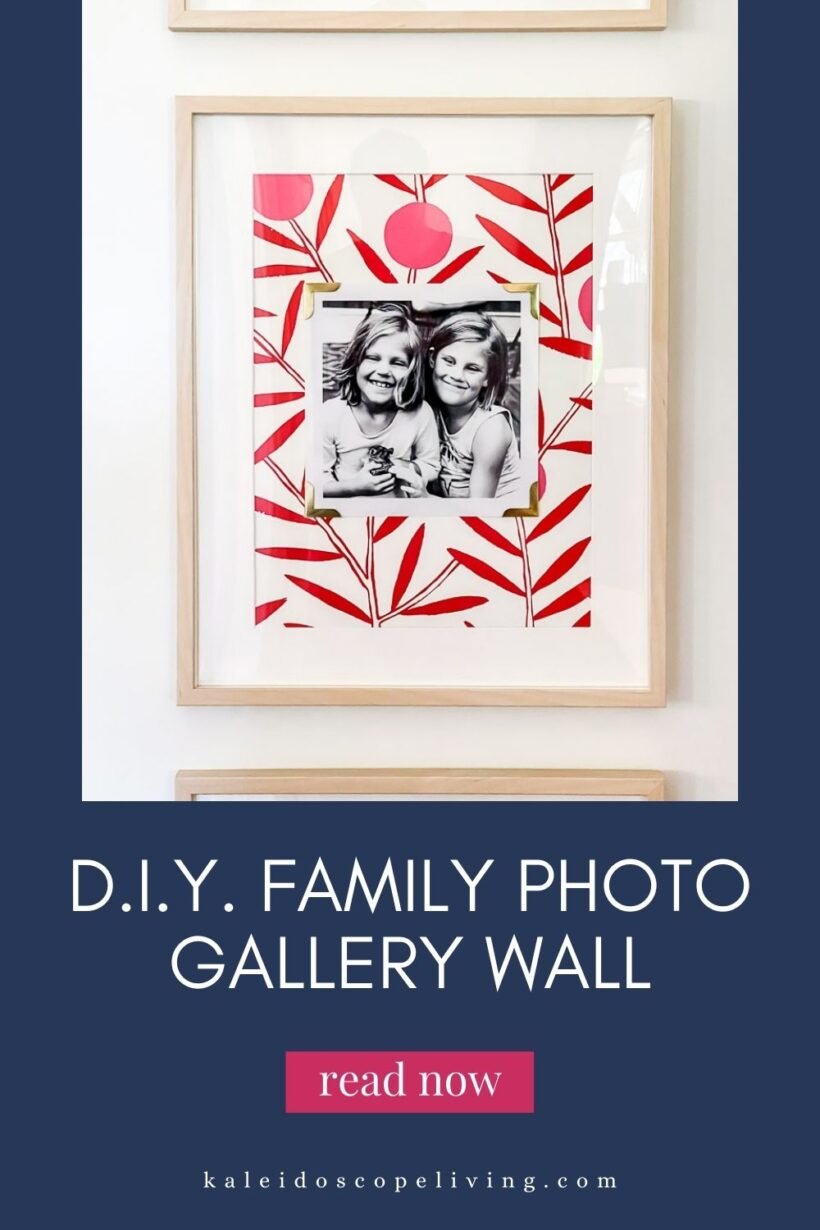
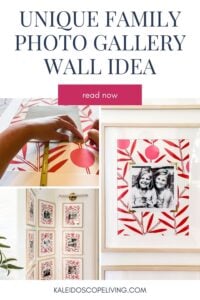
Unique Family Photo Gallery Wall
Looking for a unique way to display a family photo gallery wall? Add wallpaper or wrapping paper to add color and interest to any display of family photos!
Hello friends! If you follow me on Instagram you may have already seen a glimpse of this family photo gallery wall project in my stories on in a reel. Well, I have finally put together a tutorial for you. It's not complicated, but some of the supplies and photo printing details are pretty crucial. So if you are looking for all the specific details, you have come to the right place.
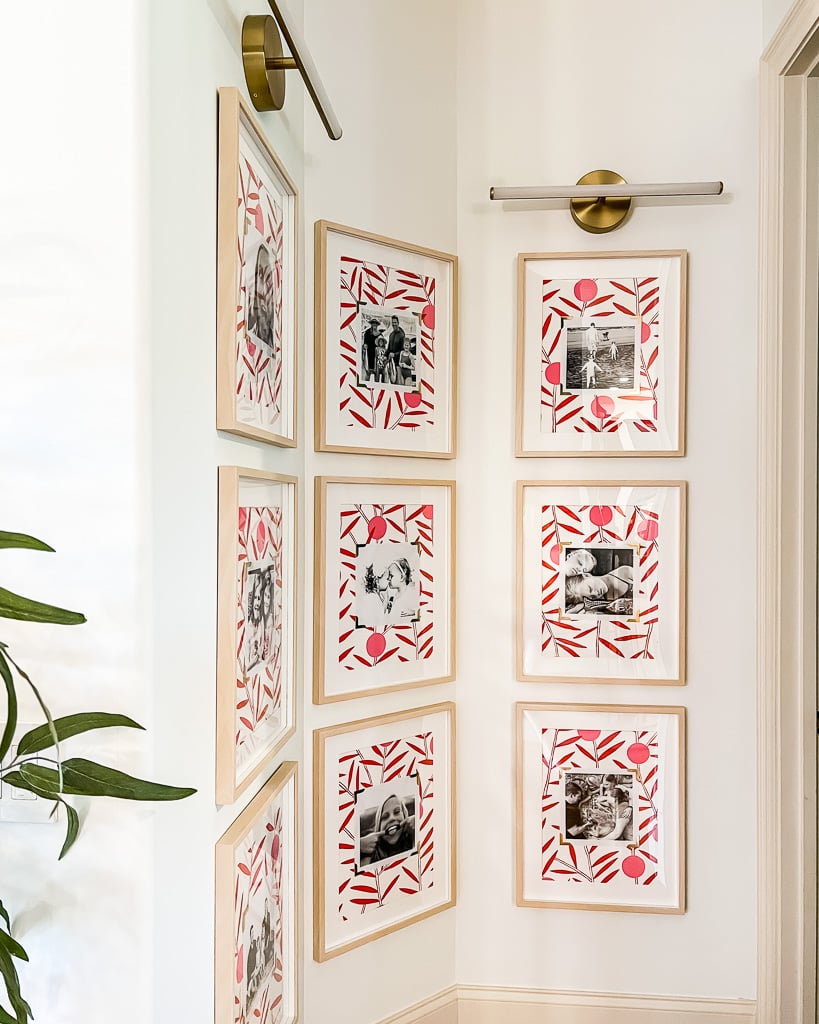
I'm a big fan of displaying family photos. You may remember this colorful gallery wall that was in the upstairs hallway of our old home. I never found a great spot to rehang those exact frames it in our current home–they just didn't look great in our upstairs board and batten hallway when I tried them up there :( But I definitely wanted to create a spot for some of our favorite family photos in our current home. And now that we've lived here a while, I decided this cute little alcove just outside of our primary bedroom would be the perfect spot for it. This space desperately needed some color and interest, so adding this family photo gallery wall here really accomplished two things. Gotta love it when that happens.
How to Create this Family Photo Gallery Wall
Materials needed:
- 16 x 20-inch frames. I used these inexpensive frames from IKEA–they are my favorite.
- Gold photo corners (I found the exact photo corners I used at Hobby Lobby, but there are tons of options out there)
- Wallpaper–this is the exact wallpaper I used. It comes in several other colorways. I used only a fraction of the roll! You could also use wrapping paper to make this project even more budget-friendly.
- Hot glue gun
- 8 x 8-inch black and white photos printed by Shutterfly with a .4 inch white border around them (the white border will help them stand out against the wallpaper)
- Tape
- Laser level (this is the one we have and love)
I've hand-selected some wallpaper and wrapping paper options that I think would work beautifully for this project. You can peruse them below :)
Scroll and click on any image for full product details.
Wallpaper options

Wrapping Paper Options
I recommend you watch the short video below for an overview of the project before reading the detailed tutorial :)
Steps:
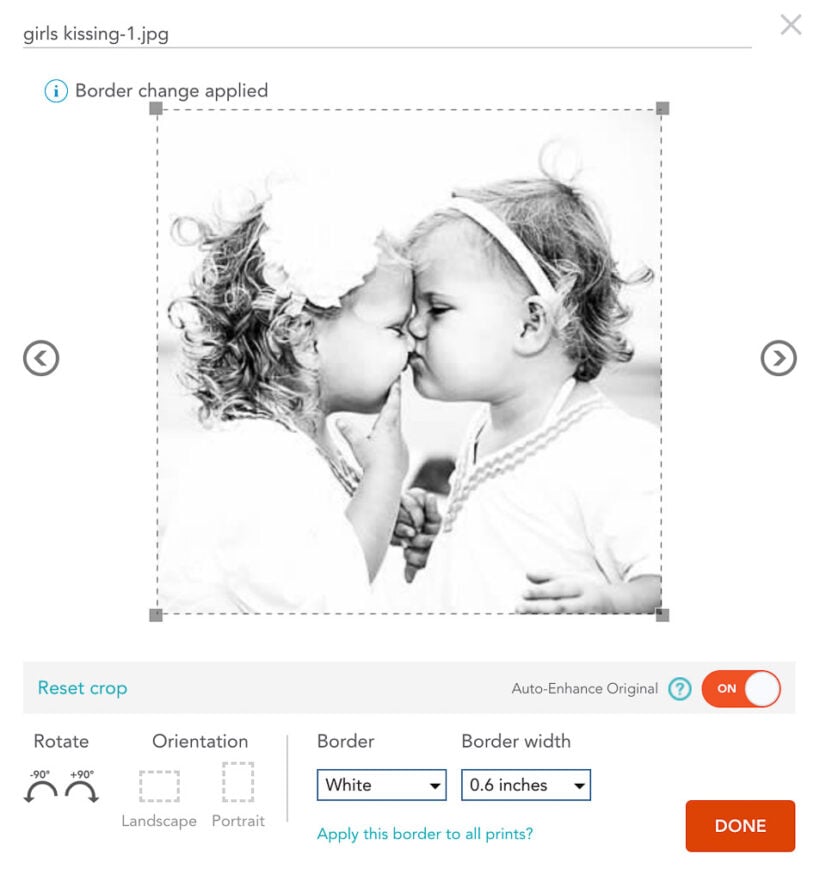
First, a quick word about how to have your photos printed. I highly recommend having them printed by Shutterfly in black and white, matte finish with a .4 inch white border around the photo. This will help the photo stand out from whatever wallpaper you choose. You can choose the white border option by clicking the edit button on your photo (it will look like a pencil icon) and then choosing the border option (see below). You can choose from a variety of thicknesses. I chose the .4 inch option.
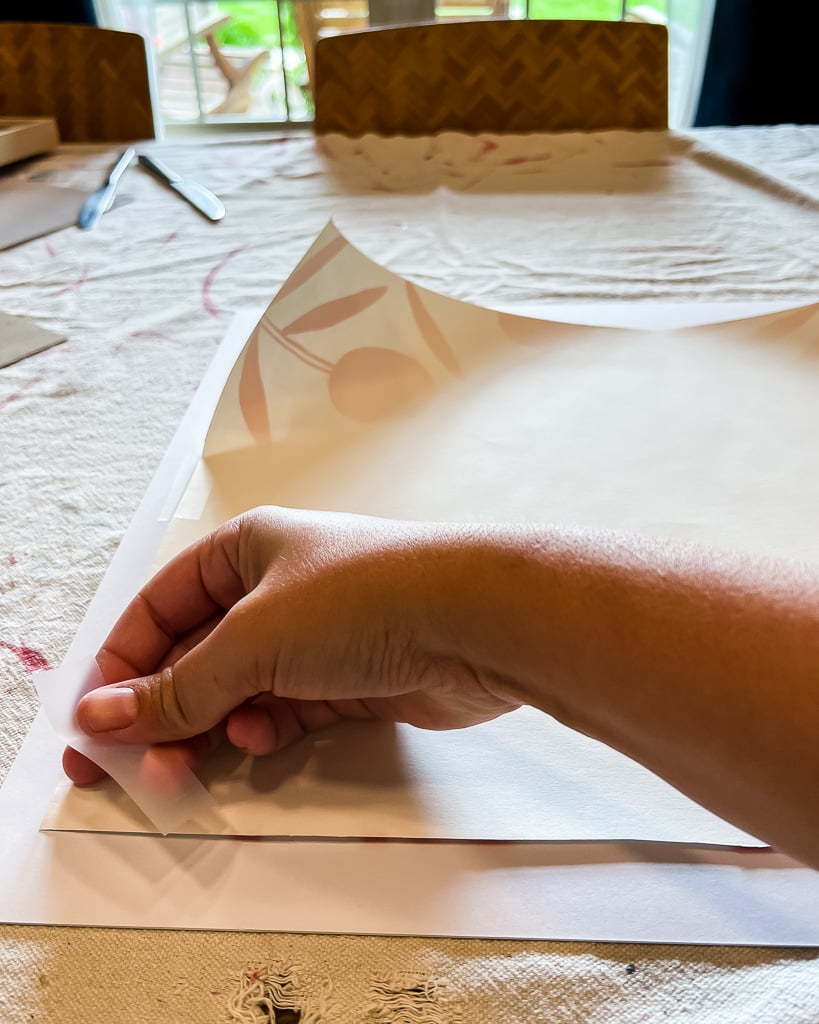
Step 1- Cut out wallpaper to fit behind the mats that are included with your frames. Tape the wallpaper to the back of your photo mats.
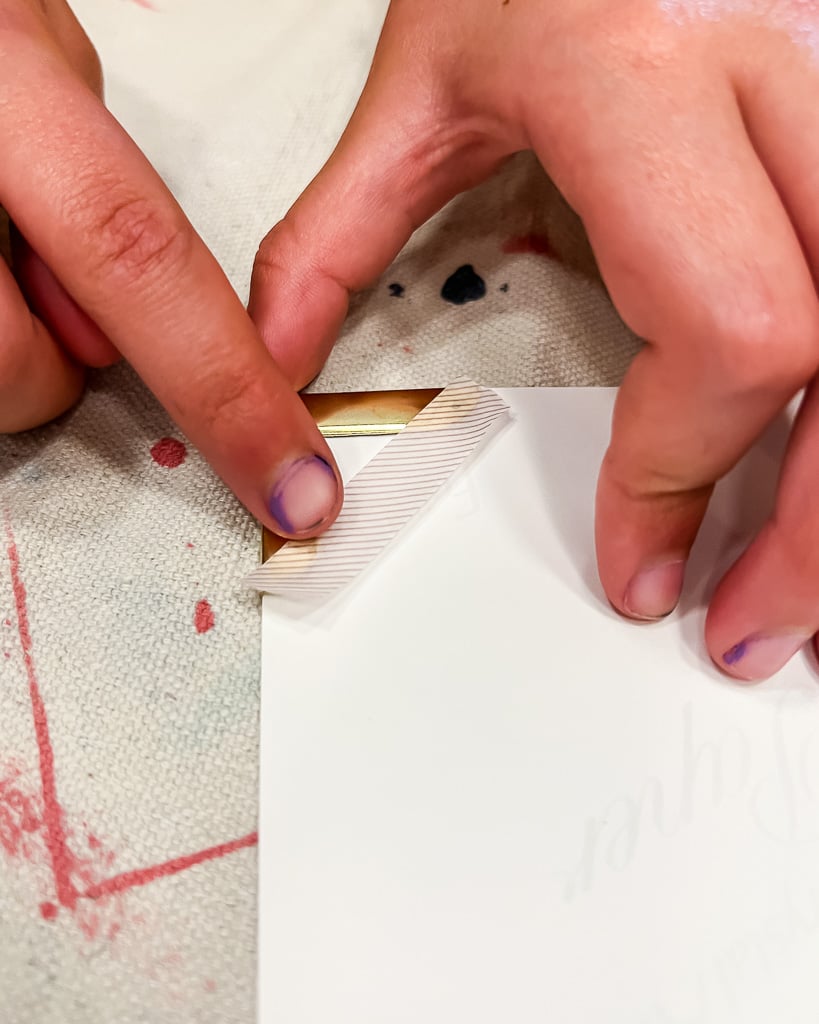
Step 2- Attach your gold photo corners to your photos. The photo corners I used didn't have any adhesive, so I taped them to the back of the photos.
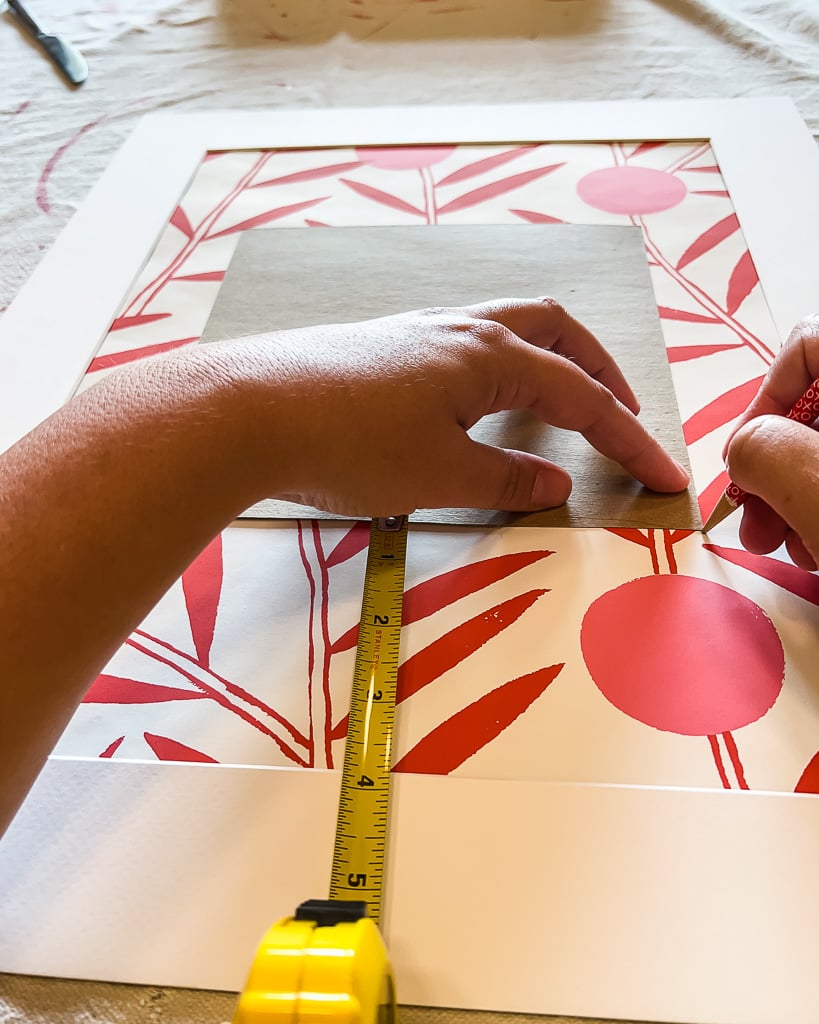
Step 3- Measure and mark where you want to place your photo. I chose for my photos to be perfectly centered within the photo mat.
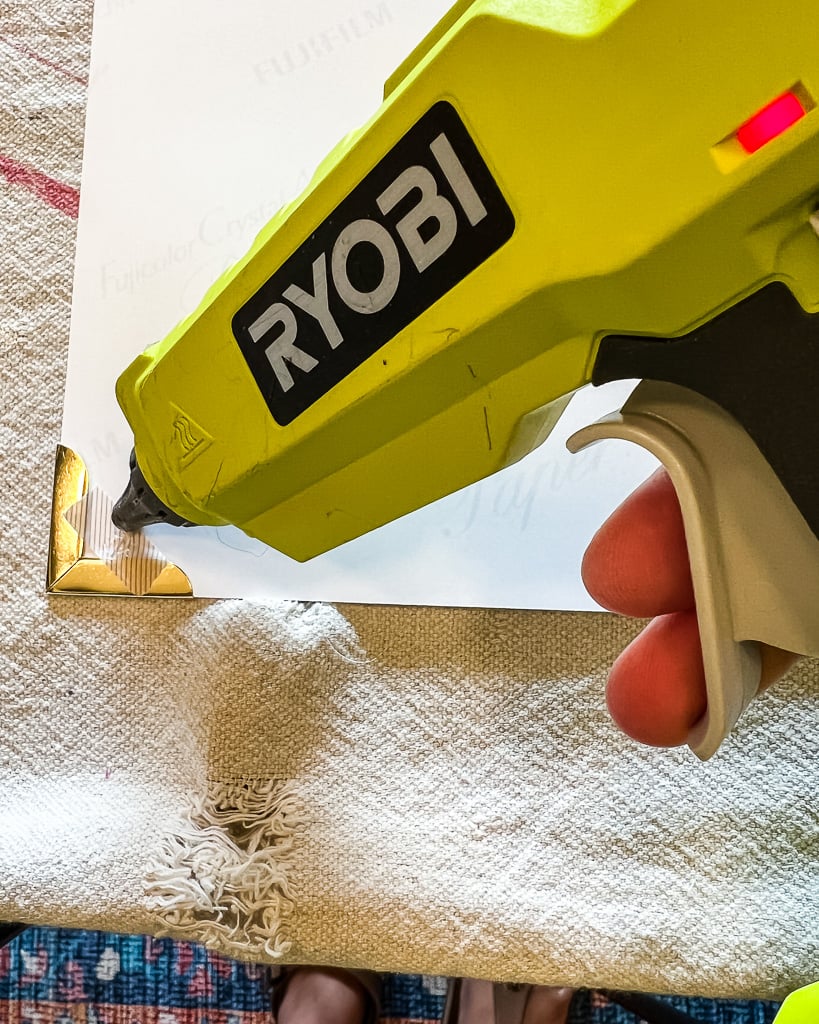
Step 4- Again, the photo corners I used didn't have any adhesive, so I used hot glue in the 4 corners of my photos to attach them to the wallpaper.
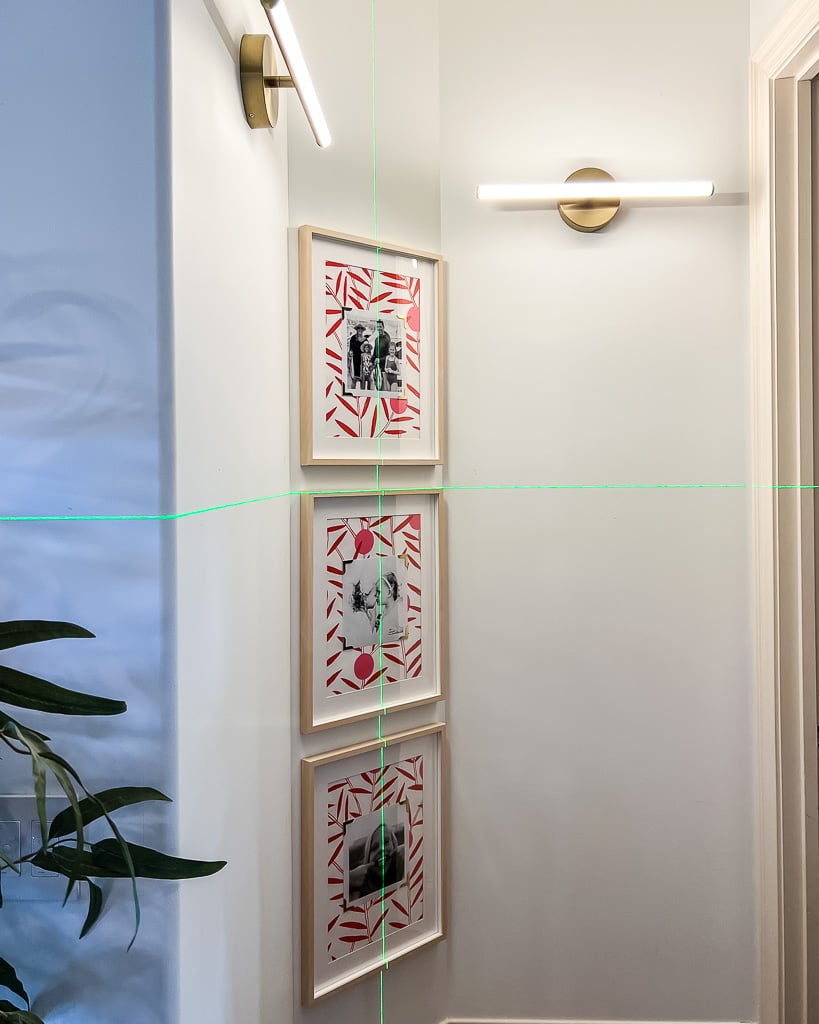
Step 5- Pop them in your frames and hang them up! I used my trusty laser level to center them in each section of the alcove and to hang them all level with each other.
That's it! I absolutely love how simple yet interesting this family photo gallery wall is. It satisfies my desire to have color and pattern in this alcove without wallpapering the walls (Joe was not in favor of that idea, lol). Check out what a difference it makes in this space.
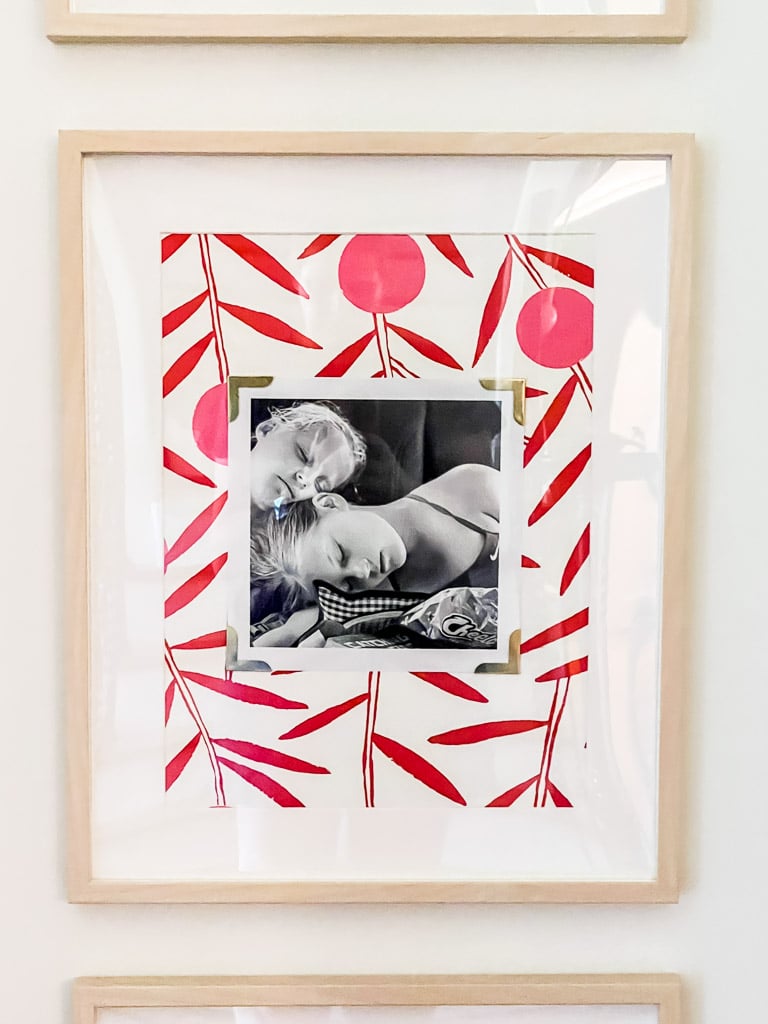
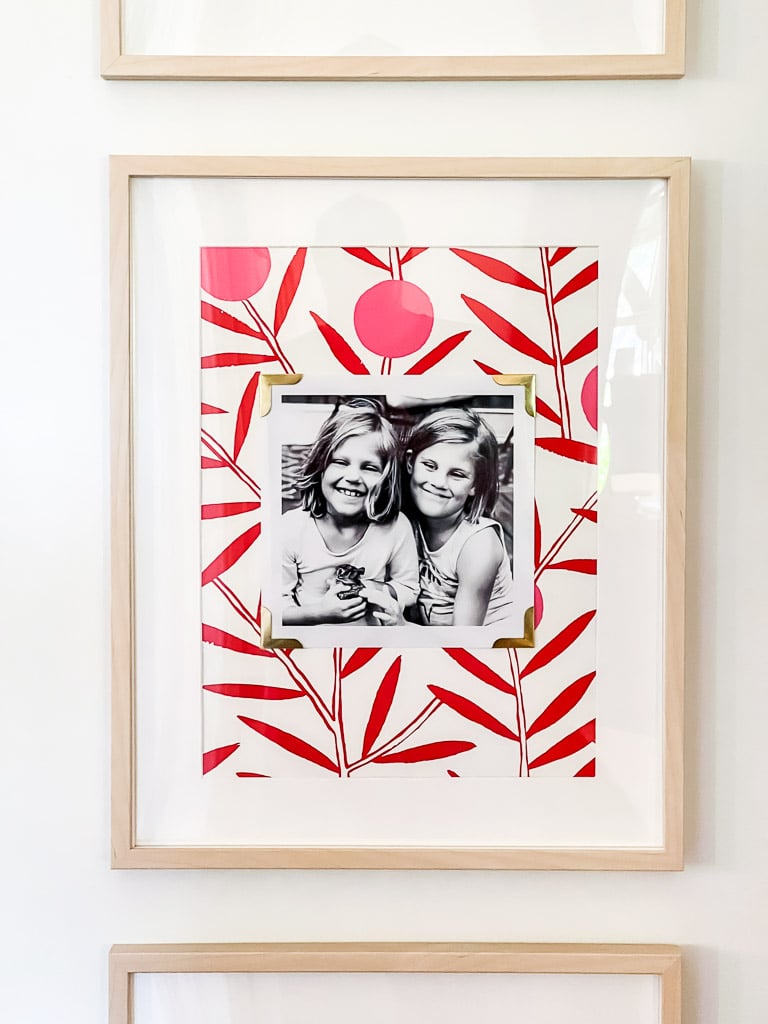
Here's a closer look at a couple of them for you. I think the white border and photo corners are what make this project work so well. In my opinion, this gallery wall of family photos would look a bit haphazard and sloppy if I had just slapped regular photos on top of wallpaper and popped them in frames, you know? But I love the elevated look of displaying family photos this way!
What do you think? If you love this idea, please be sure to share it on social or save it on Pinterest so you can find it easily later :)
Other posts you may enjoy:
- 16 Gallery Wall Ideas (and Tips) To Inspire You
- Sherwin-Williams Pure White Color Review with Pictures
- How to Make Any Wallpaper Removable & Renter-Friendly
- DIY Photo Canvas Prints With Authentic Texture
- 15 Genius Hallway Decor Ideas
- Stylish Family Photo Wall Display Ideas
Wondering how I approach transforming rooms and spaces in our home? Check out Designer in a Binder®.

And if you want exclusive content and behind-the-scenes sneak peeks, be sure to subscribe before you head out!

Last Updated on October 12, 2022

You mentioned a trusty laser level, but I didn’t see a link for it. Do you have an affiliate link I could use? Thanks! I love these – as soon as we get to our new house I’m going to make some!
Hi Melissa! I’m so sorry about that. I added the link to the post and am pasting it for you here as well :) https://amzn.to/4eMG5Q5 (affiliate link)
Absolutely awesome! Great tutorial.