9 Life-Changing Painting Hacks Everyone Should Know
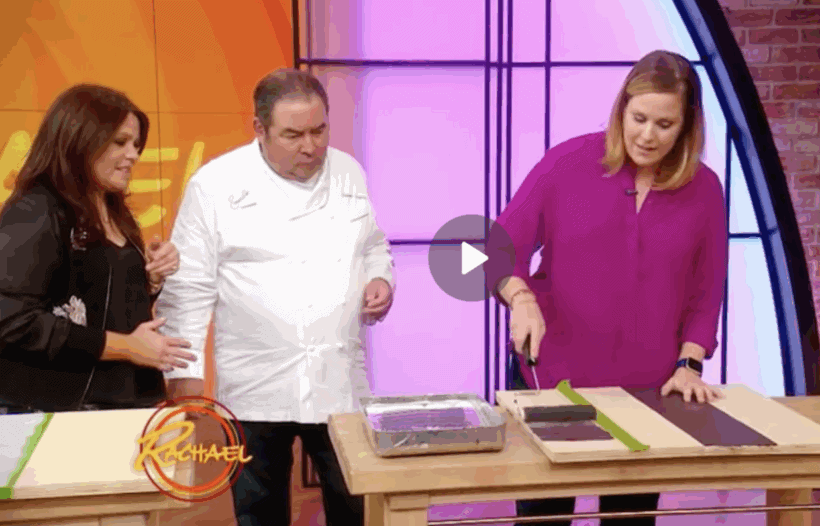
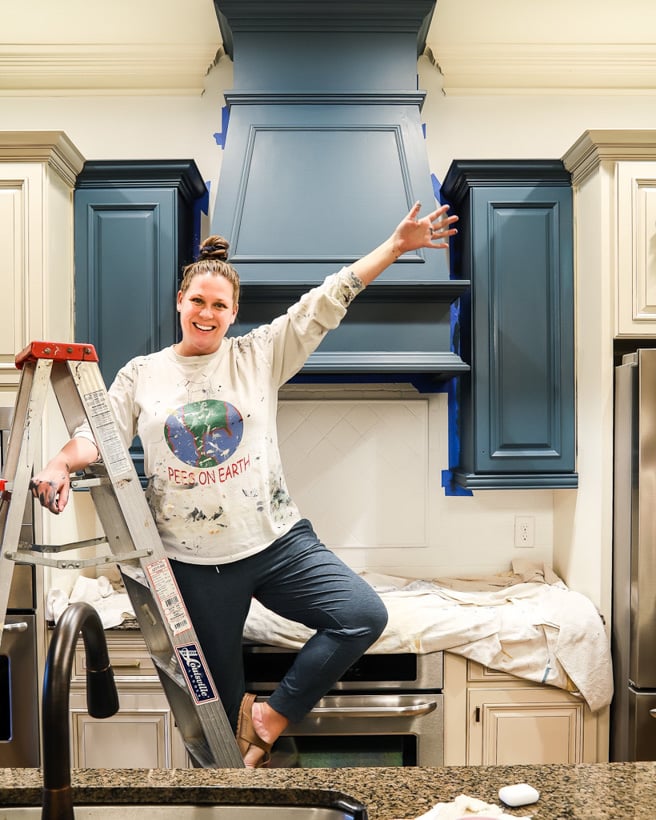
Paint is one of the most affordable, transformative tools you can use in your home. That's why over the past 21+ years as a homeowner, I’ve spent hundreds (if not thousands) of hours painting everything–walls, cabinets, furniture, countertops, rugs, floors, etc. Along the way, I’ve discovered some game-changing painting hacks that make the process easier, faster, and way less stressful. I even shared some of these when I appeared on The Rachael Ray Show after painting our vinyl laundry room floors!
Today, I’m sharing my top 9 life-changing painting hacks so you can tackle your next DIY painting project like a pro.
How to Paint Around a Toilet (Without Losing Your Mind)
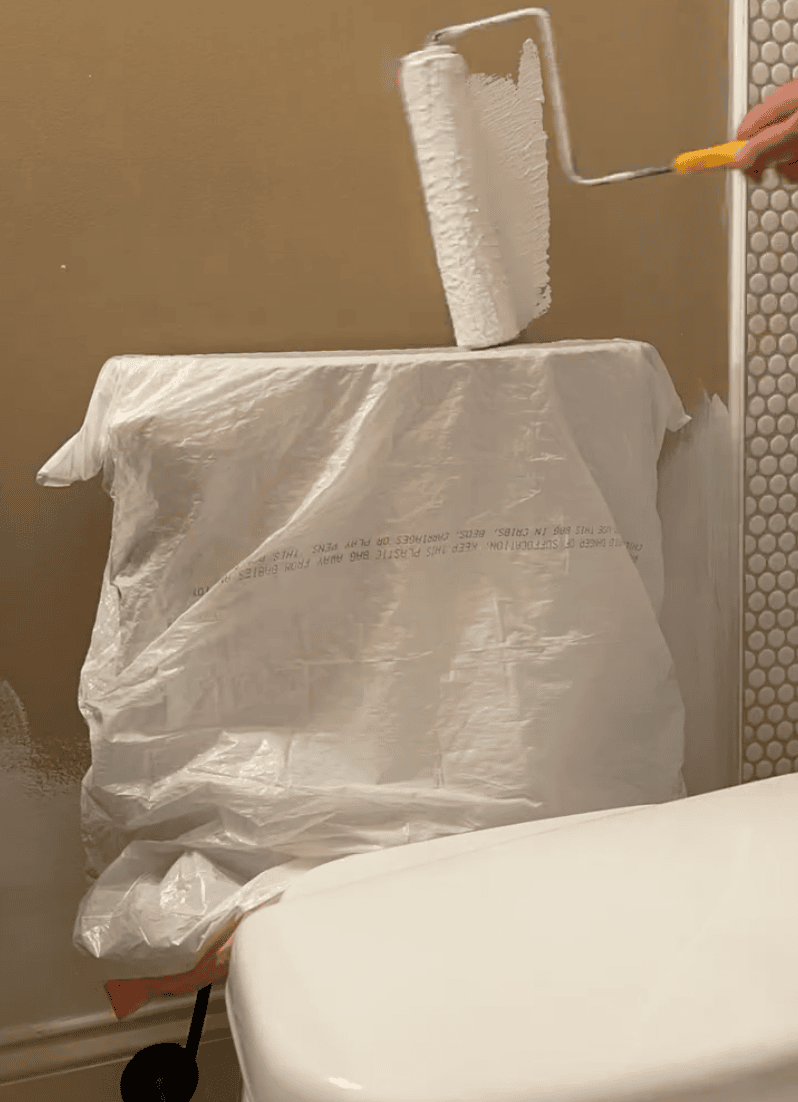
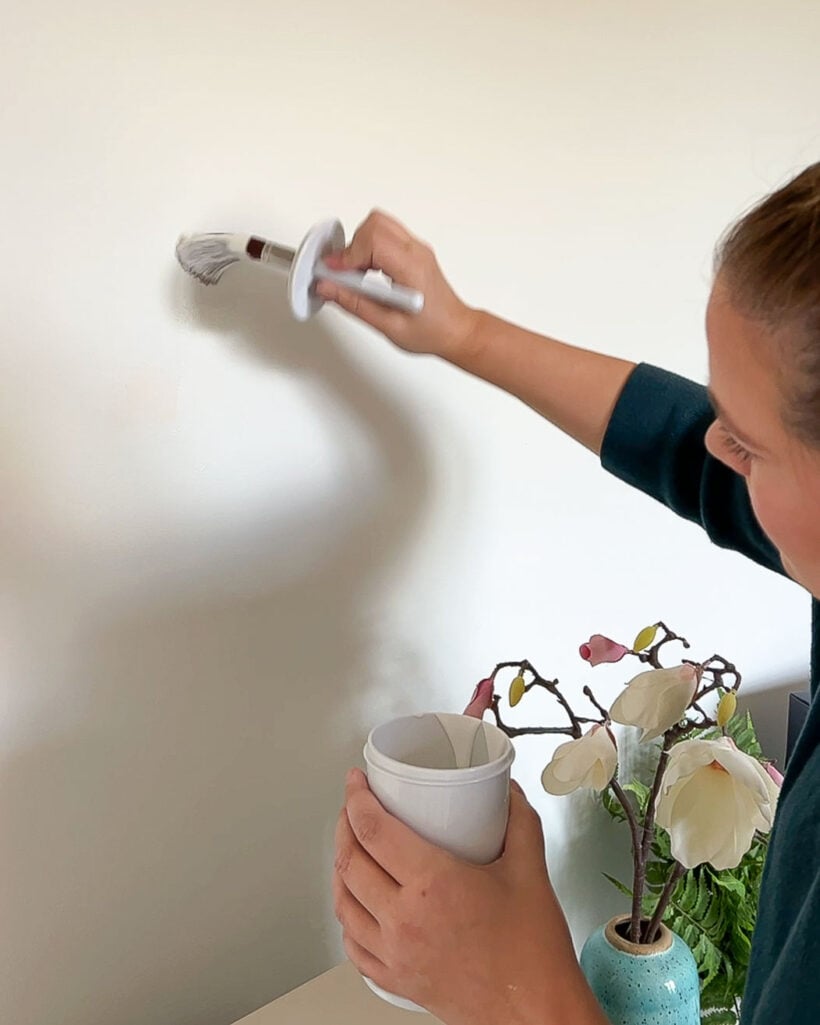
Painting a bathroom? You do not need to remove your toilet! Instead, remove the tank lid. Then, place a plastic trash bag over the toilet tank to protect it. I have found that the trash bags we use in our kitchen trash can are the perfect size.
Then, use a roller to get as close as you can to the tank. Then use an angled paintbrush to squeeze into those tight spaces.
It's such a simple hack, and it's incredibly effective! When the paint dries, pull off the trash bag to reveal your perfect paint job and paint-free toilet :)
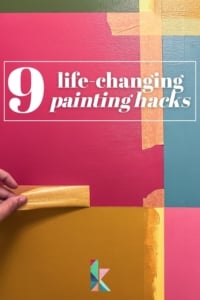
The Secret to Perfect Paint Lines Where Two Colors Meet or Transition
You know that frustrating moment when two wall colors meet, and you want a flawless, professional-looking transition? Here’s the hack:
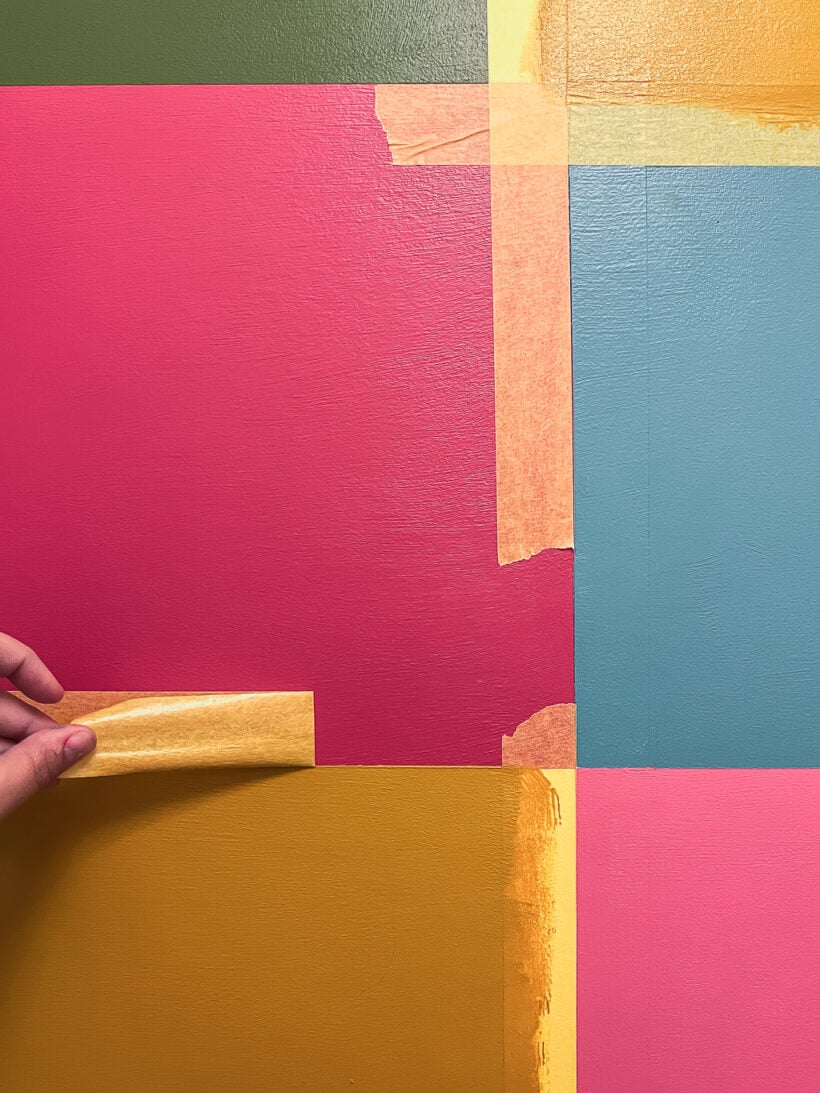
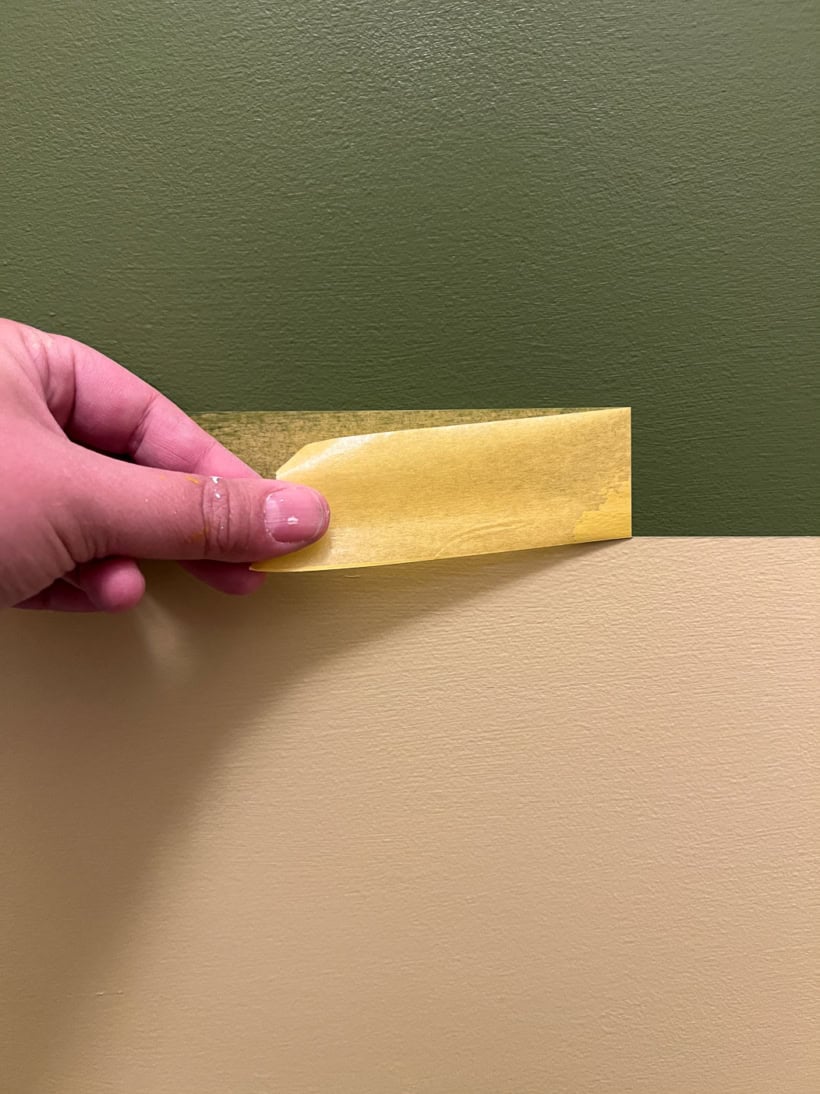
- Stop painting your wall about an inch from the spot where you want the two colors to meet/transition.
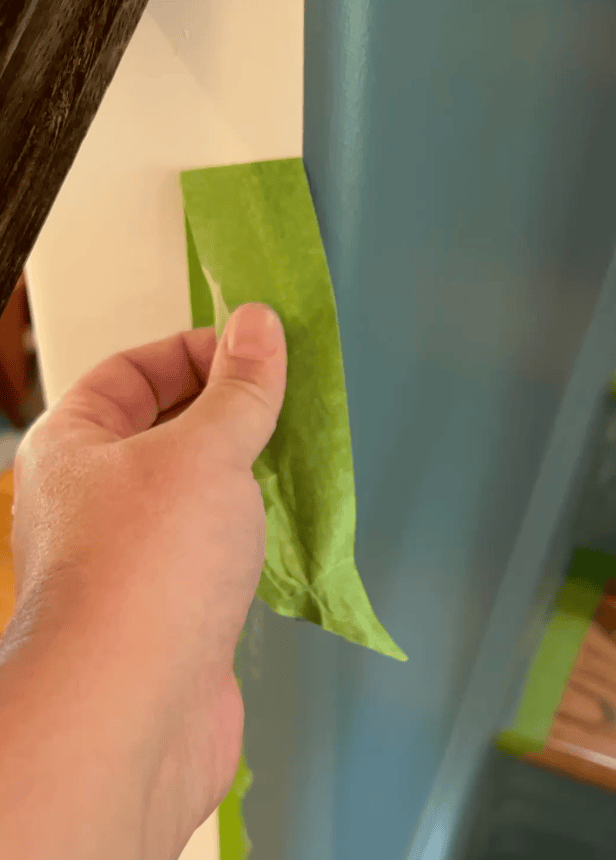
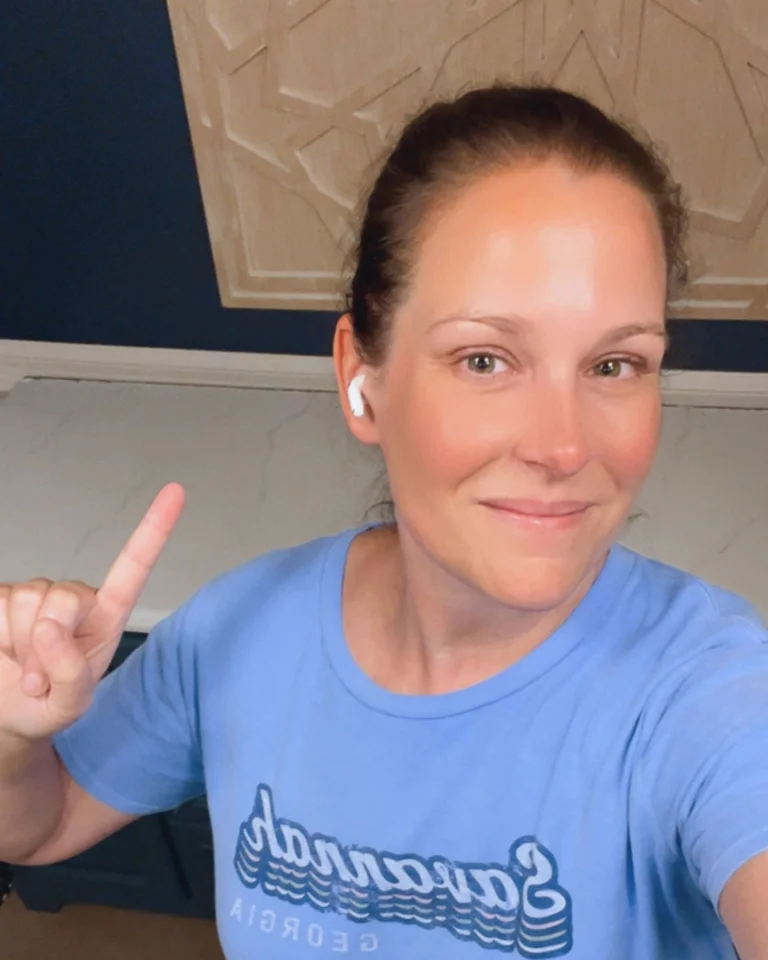
- Then, apply painter’s tape along the line where the two colors will meet. In the photo below, you can see I stopped painting the blue color about an inch from the corner where I wanted my two colors to meet. And I applied painter's tape in a straight line exactly where I wanted the two paint colors to meet up.
- Now, as much as I wish that painter's tape keeps paint from bleeding along the edges, I have yet to find one that works perfectly. So now, you are going to seal the edge of the painter's tape by painting over its edge with the existing wall color first. This really seals the edge of the painter’s tape, and any bleeding that gets under the tape will be the existing wall color, so you won’t see it. For me, that meant painting over the edge of the painter's tape with our existing color, Sherwin Williams Pure White.
- Once the paint dries, paint your second color just over the edge of the painter's tape.
The result? Crisp, clean lines every single time. It’s one of my favorite painting hacks ever.
This post contains affiliate links for your convenience. Click here for my full disclosure policy.
Quick & Easy Touch-Ups (Without Hauling Out the Paint Can)
I used to avoid paint touch-ups because it was a hassle. I never wanted to go get the paint, open the can, stir it up, dirty a paintbrush, and then have to clean everything up once I was done. But I found a solution! So if you dread paint touch-ups, these next two hacks for how to touch up wall paint are for you :)
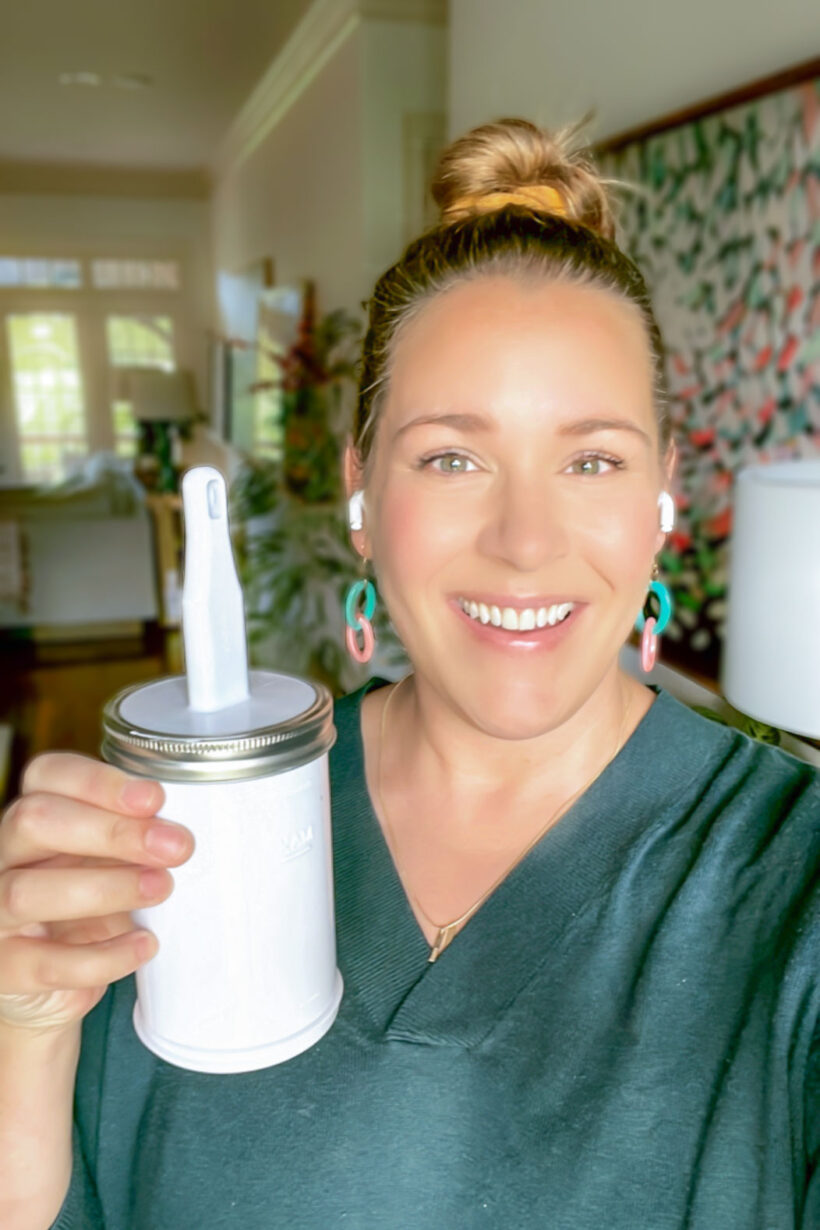
Use Touch-Up Paint Containers With Built-in Brushes
These all-in-one paint touch-up containers are airtight, and they have a built-in paintbrush and mixing balls. All you need to do before touching up paint is swirl it around so that the paint remixes. Then take off the lid, which has the paint brush attached, and start painting! Because the paintbrush stays submerged in the paint, you do not have to clean the brush after using it.
I have had some of our paint in these exact containers for years. The only time I clean the brushes is when the paint gets low and I refill it. We do store ours inside, so I can't speak to how long your paint would keep if you store it in a garage or attic. But we haven't seen any issues with the paints that have been stored in them for several years so far.
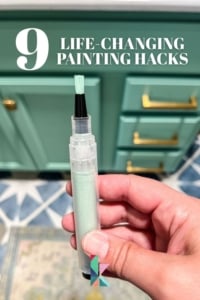
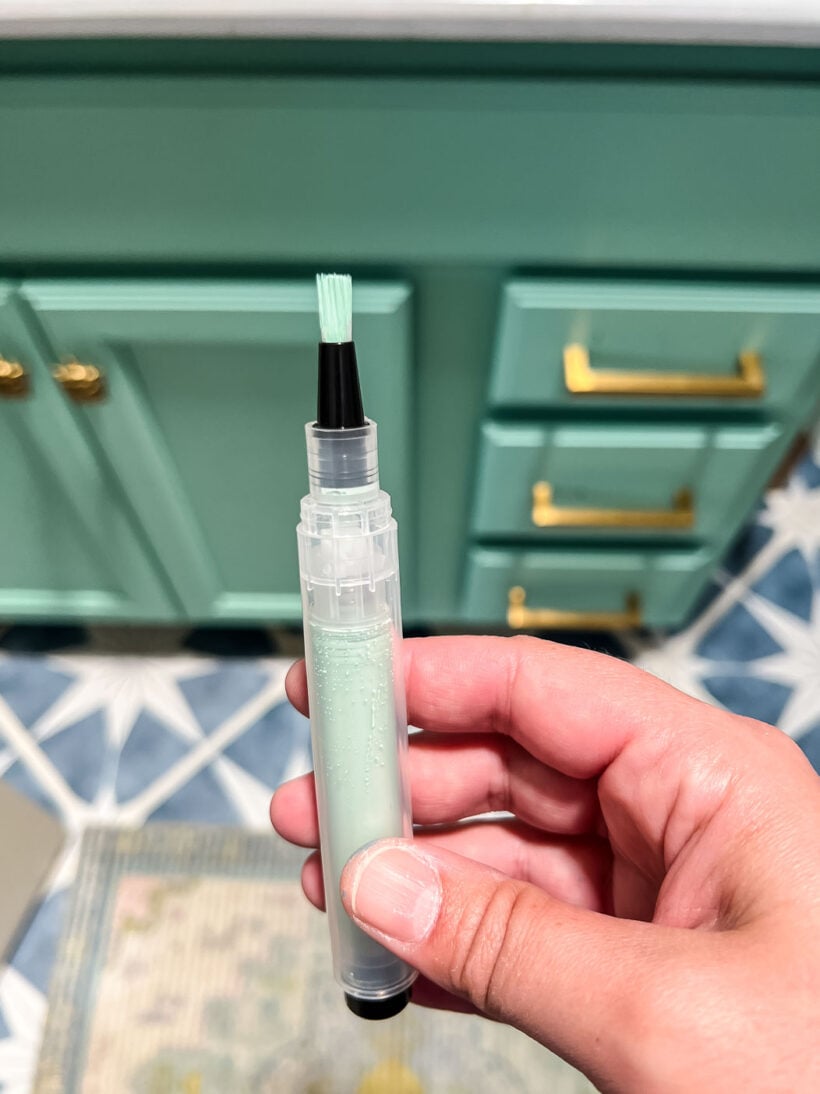
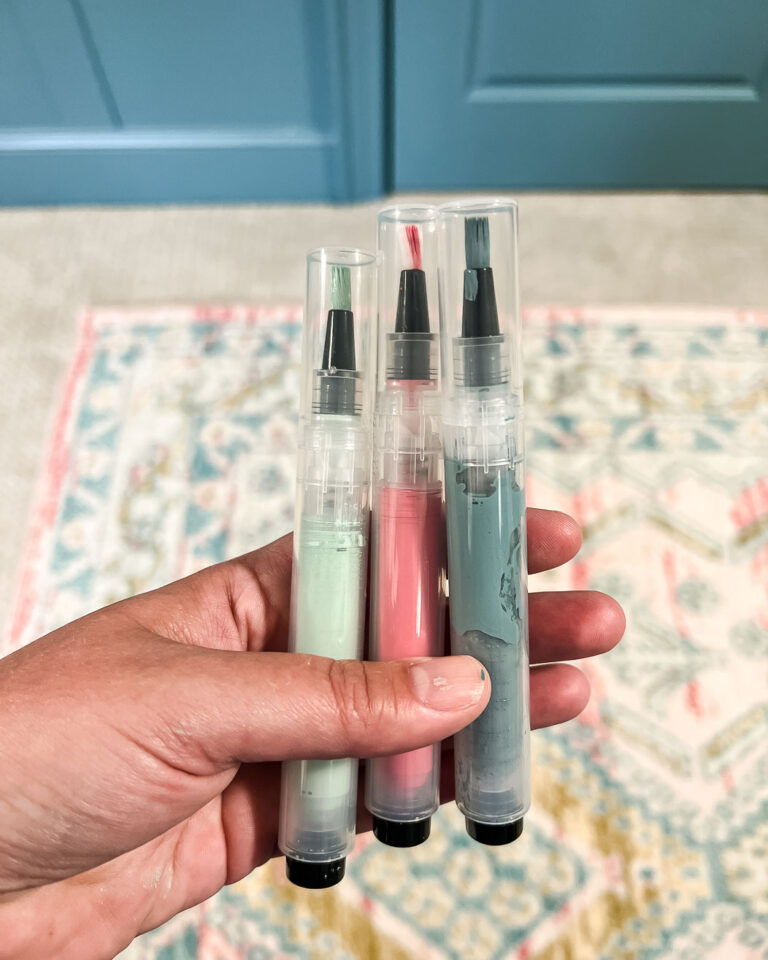
Use Touch-Up Paint Pens
For touch-ups on smaller surfaces, inexpensive touch-up paint pens are a lifesaver. I keep mine loaded and ready for quick fixes. You can use them to touch up wall paint, but since they hold such a tiny amount and have such a small brush, I use them mostly for touching up painted cabinets and furniture.
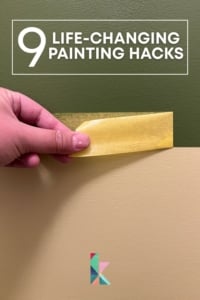
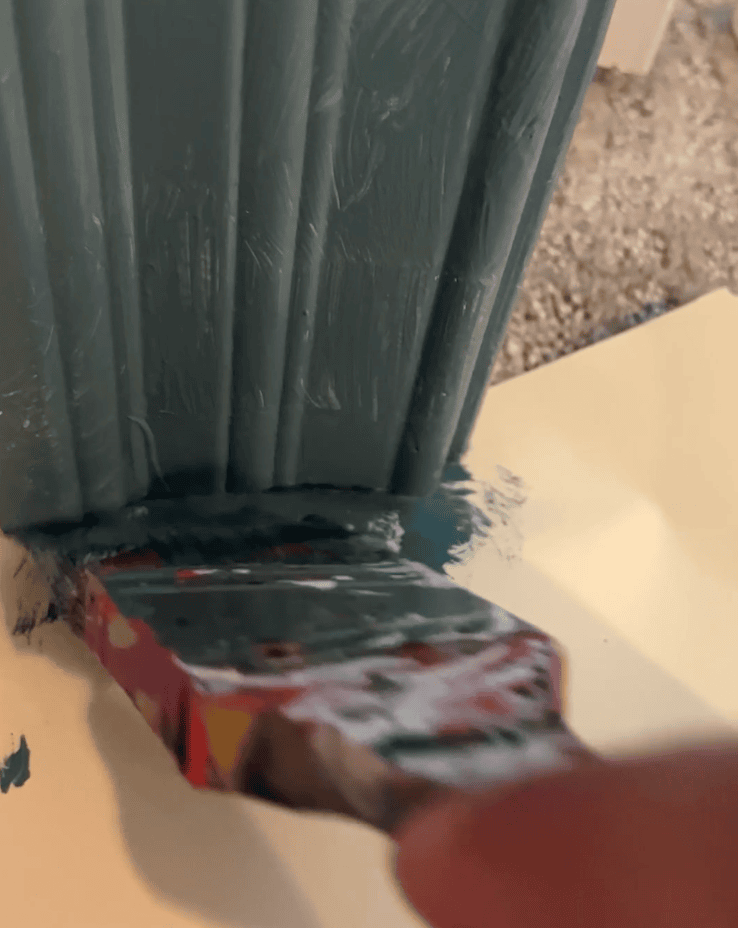
The No-Tape Hack for Painting Baseboards and Trim
Painting baseboards or trim that meets up with your floors can be such a pain because you obviously don’t want to get paint on your carpet or hardwood floors. If you are like me and you don't like the hassle of taping off your floors, you have probably tried several different baseboard painting hacks only to be disappointed.
This is the best and easiest solution I have found. I used this hack when we installed the easiest DIY board and batten in our hallway, and I'll never go back to taping!
Grab a file folder! Even the most basic, manila file folder will work. Slide it under the trim as you paint, moving it along as you go. It’s so much faster than taping and keeps your floors spotless.
Use the Right Painter’s Tape (Yes, It Matters)
Something a lot of people don’t realize is that there are LOTS of different kinds of painter’s tape out there for a reason. I don’t really feel like the brand matters, but the TYPE does.
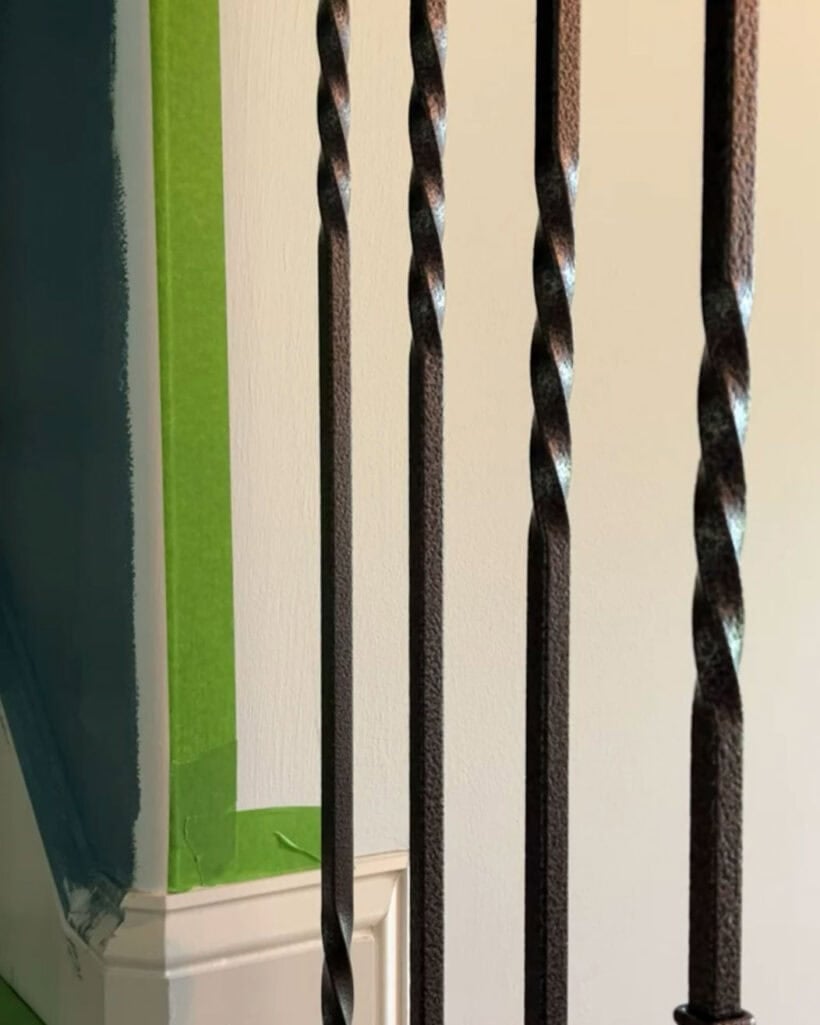
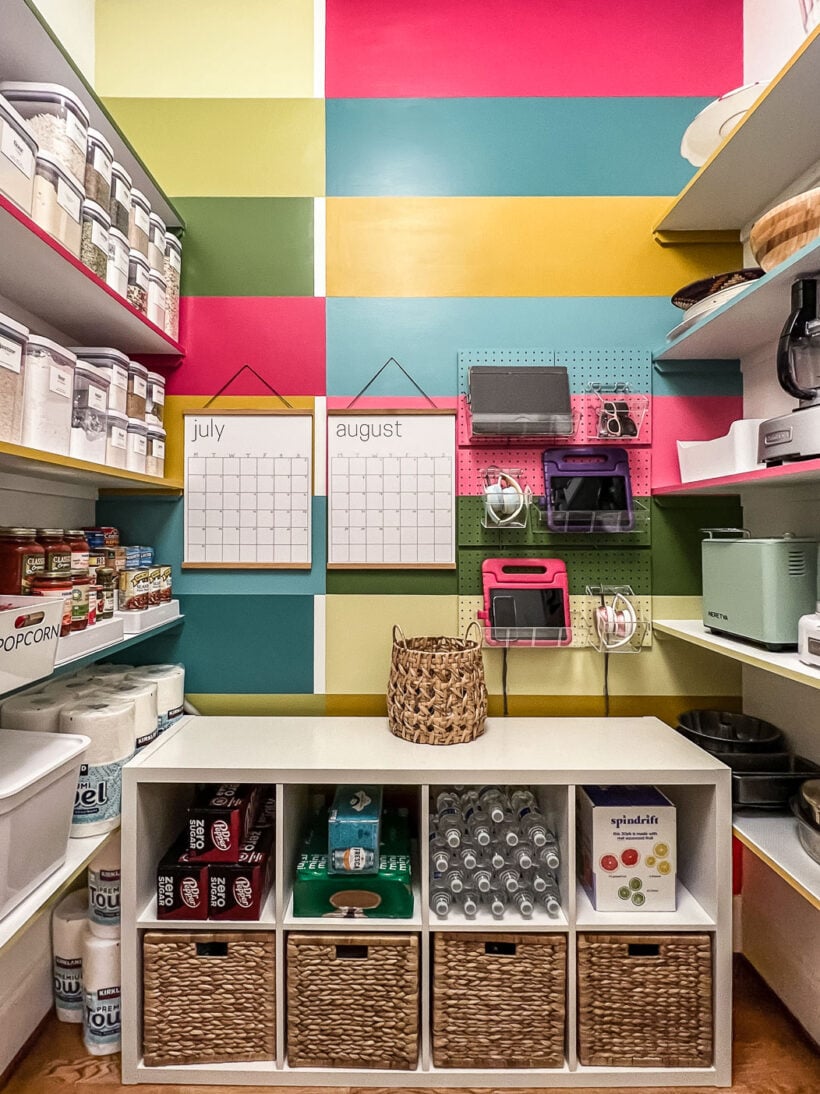
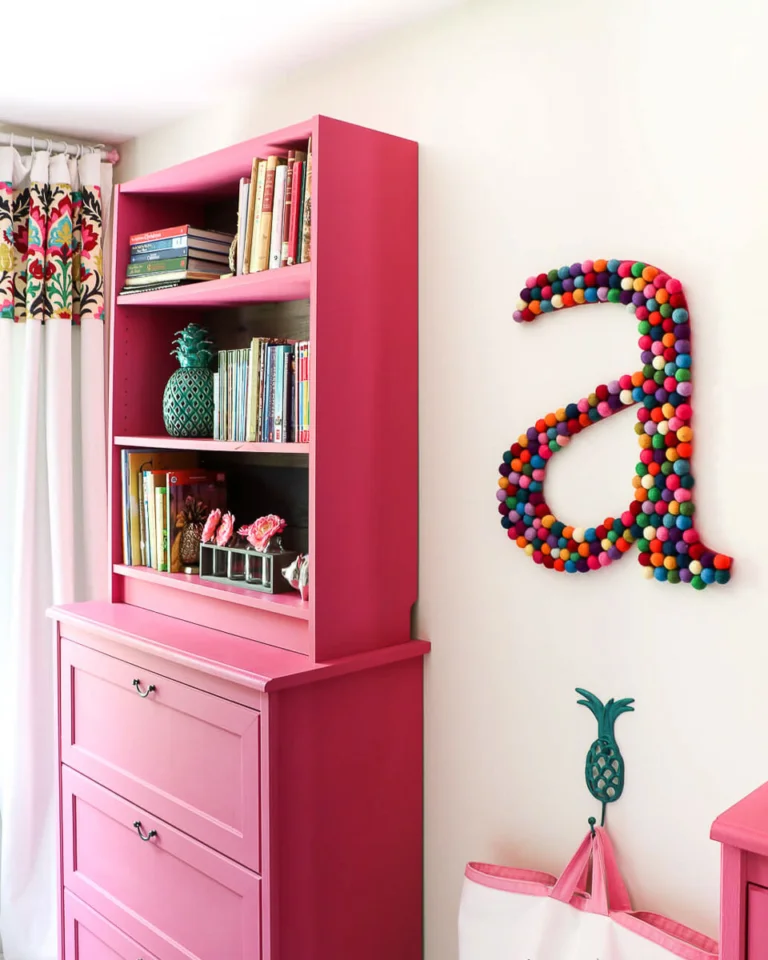
For example, you should ALWAYS use delicate surface painter’s tape if your paint is less than 2 weeks old. So if you are painting something like a mural where you have to tape over fresh paint, using delicate surface tape is a must.
When I painted this colorful wall mural as part of our budget-friendly pantry makeover, I used this delicate surface painter's tape so that I didn't accidentally peel off any of the fresh paint. It worked like a charm!
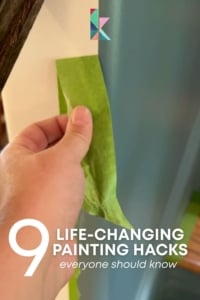
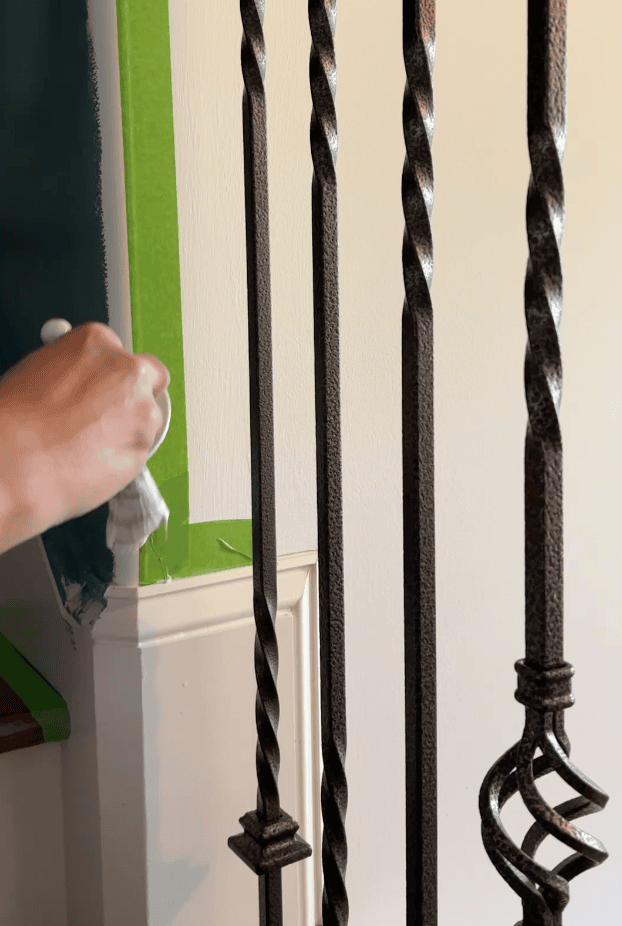
Timing Matters When Removing Painter’s Tape
A lot of people wait too long to remove painter’s tape. Painter's tape should be removed when the last coat of paint feels dry to the touch, but is not fully cured. This is sooner than most people realize! For some frame of reference, it is probably never more than an hour after applying your last coat of water-based paint.
If you wait too long to remove painter's tape, it might be hard to remove and/or tear easily. If you find yourself in that situation, you can use a hair dryer to gently heat the painter’s tape as you peel it back. The heat will soften the adhesive on the tape, making it easier to peel it off.
Keep Your Paint Can Clean (and Lids Easy to Open)
Have you ever struggled to pry open a paint can after dried-up paint sealed it shut? Yeah, me too, lol. It's almost always because there is wet paint in the grooved edge of the paint can when you replace the lid. The wet paint then dries with the lid in place, which makes it hard to remove.
There's a cheap and easy way to keep the rim of your paint can clean.
All you need to do is wrap a rubber band across the top of the open can and wipe your brush on the band instead of the rim. This keeps paint out of the lid groove and prevents messy buildup.
You Can Paint Almost Anything with the Right Products
This isn’t just a hack, it’s a mindset. With the right products, you can paint way more than just walls. Here are some of my favorite things to paint!
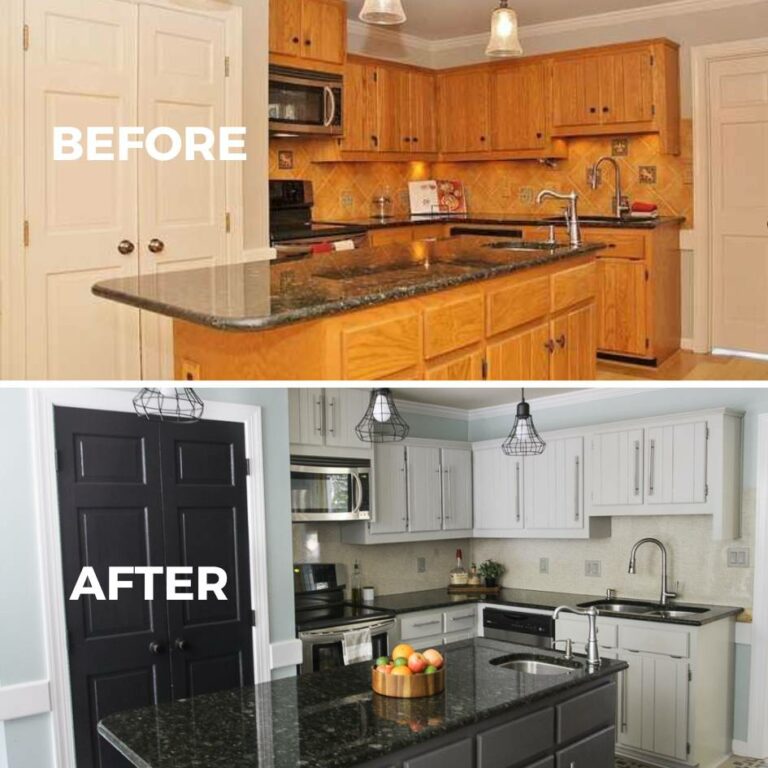
Painting Cabinets
Yes, it’s doable—and durable! We have painted our kitchen cabinets and bathroom cabinets many times over the years, and they looked amazing even after years of use. The key is using the right primer, paint, and process. I have a whole post about the best paint for kitchen cabinets.

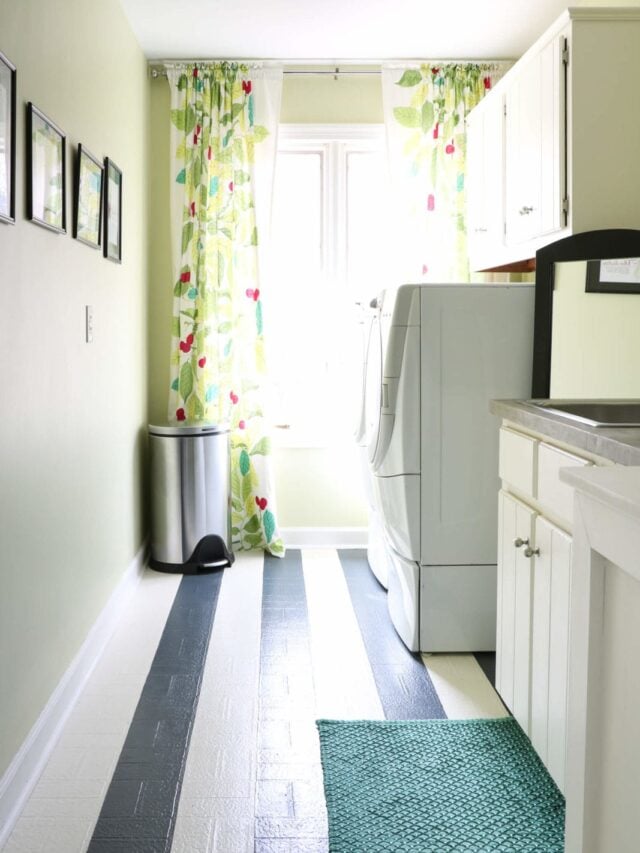
Painting Floors
From painting vinyl floors to bamboo kitchen floors, I’ve painted them all. The key is to use porch and floor paint for lasting results. And no, you don't need a topcoat. My painted vinyl floors project is one I shared when I appeared on the Rachael Ray show!
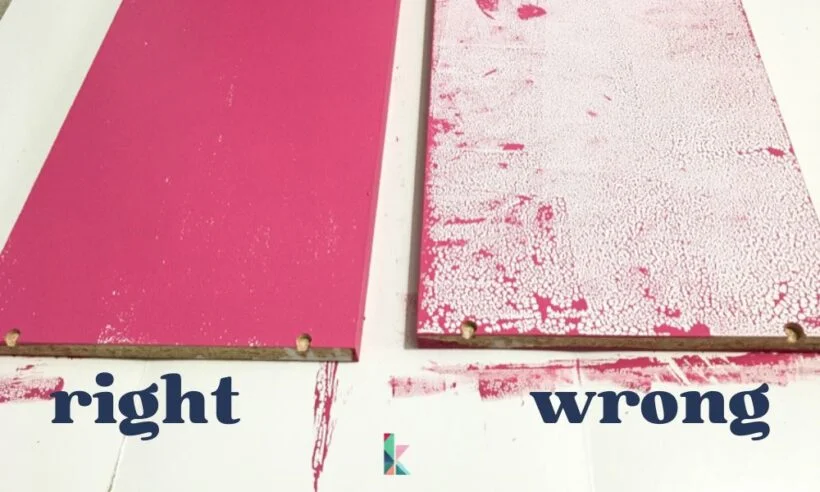
Painting Laminate Furniture or Cabinets
When I painted my first piece of IKEA laminate furniture years ago and I cringed as I watched the paint immediately bead up and separate. But I didn't give up and figured out how to make the paint adhere to everything from IKEA Billy bookcases to our laminate bathroom cabinets. Best of all, the results actually last!
You need to use Zinsser B.I.N. Primer or any shellac-based primer and a high-quality paint. This is CRUCIAL to ensuring that the paint adheres well. Check out my tutorial for how to paint laminate furniture and my post on the best paint for furniture of every type for all the details.
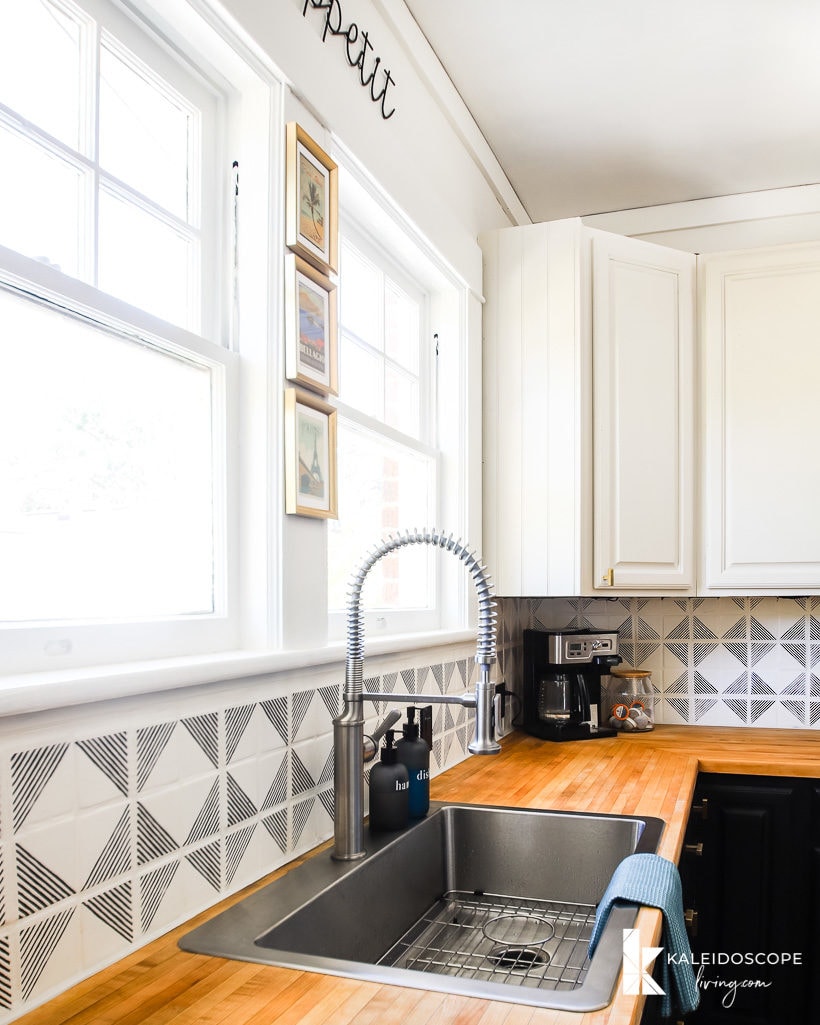
Painting Tile
I have painted a tile backsplash three times now! Not only does it look beautiful, the results are very durable. You can even stencil a pattern on your painted tile if you want (that's what I did in the photo below). You can even paint shower tiles if you use the right products.
Painting Countertops
Epoxy-based countertop painting kits are a game-changer. I used one to paint our countertops to look like marble. Our painted countertops held up beautifully for over three years until we ripped them out and replaced them when we completely renovated our kitchen.

Whether you’re tackling your first DIY project or you’re a seasoned weekend warrior, I hope these painting hacks will help you avoid the common frustrations–like messy lines and sticky paint lids–that make so many people dread painting. With a little preparation, the right tools, and these tried-and-true tips, I promise you’ll save yourself time and stress.
More Paint Posts
Wondering how I approach transforming rooms and spaces in our home? Check out Designer in a Binder®.

And if you want exclusive content and behind-the-scenes sneak peeks, be sure to subscribe before you head out!