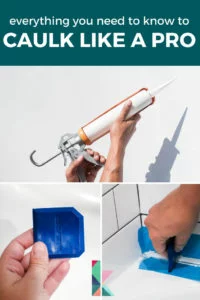
How to Caulk: A Step-by-Step Guide for Beginners
Learning how to caulk is a must for any DIYer. The good news is that it's easy! This step-by-step guide for beginners will teach you exactly what you need to know.
Wondering why it's so important to learn how to caulk? Well, in the Agruso house, caulk is one of our absolute best friends. We are self-taught DIYers, so our joints and seams aren’t always perfect. But you know what?! That’s totally okay because caulk can finish off pretty much any project and make it look perfect. I can't count the number of times during a DIY project that I say, “No problem. I can caulk that.” Not kidding.
So if you haven’t already learned how to caulk, it is a skill you need to learn ASAP. The good news is, it’s really simple. Read on to learn exactly how to to caulk and to learn which caulk is right for the job you need to tackle.
Thank you to DAP Products for sponsoring this post. This post contains some affiliate links for your convenience. Click here to read my full disclosure policy.
A Step-by-Step Guide to Caulking for Beginners
Step 1: Evaluate What You Need to Caulk
First and foremost, know that caulk is really meant to seal areas that are less than 1/2 inch in size. If your gap is deeper than that, you will need to fill the gap with foam backer rod first.
Step 2: Choose the Correct Caulk For the Job
This is really the most important step when caulking. The huge wall full of different caulk options at home improvement stores can be intimidating. Follow the tips below to choose the right caulk for the job you are tackling. But keep in mind that if you are ever in doubt about which caulk to choose for your job, call DAP's technical customer service team–they are amazing, and it's FREE! You can reach them at 1-888-DAP-TIPS.
Best Caulk for Dry Areas & Paint Projects
First, let’s talk about the right kind of caulk for dry areas and paint projects.
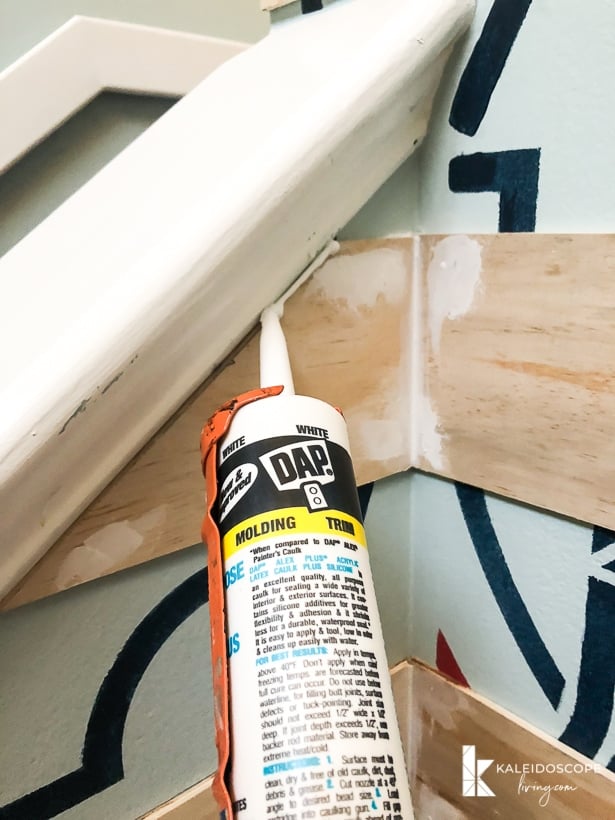
For caulking interior gaps in wood trim and joints, acrylic latex caulk is the way to go. It is affordable, and it dries quickly. Plus, you can paint it. This is the kind of caulk we use to fill gaps around crown molding, baseboards and to fill gaps/nail holes in furniture pieces we build that are going to be painted. My favorite type of caulk in this category is DAP Alex Flex Premium Molding & Trim Sealant.
Best Caulk for More Demanding Applications
Now, let’s turn our attention to areas that require higher performance.
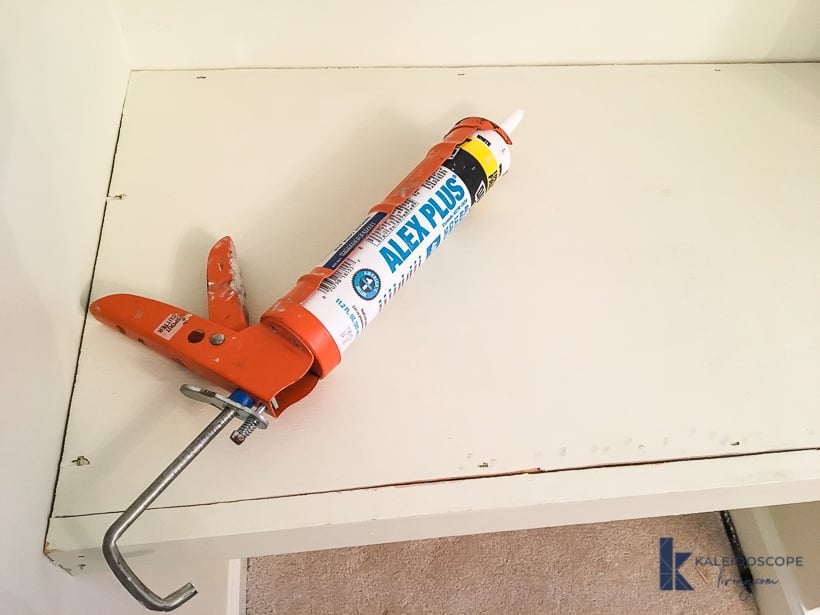
Acrylic latex caulk with silicone added is designed to bond to a wider range of materials and affords more flexibility and durability. It should be used on areas exposed to moisture, such as around exterior windows and doors. The addition of silicone makes them more moisture-resistant than regular latex caulk. My favorite type of caulk in this category is DAP ALEX PLUS Acrylic Latex Caulk Plus Silicone or, for even more demanding applications, DAP DYNAFLEX.
I will tell you that we often use DAP Alex Plus caulk for interior projects that we paint because it is water-based (easy cleanup) and it is paintable. It's the type of caulk we always have on hand because it's so versatile. We used it when we made these DIY floating shelves and desk in Attley's old room and most recently when we tackled this DIY board and batten accent wall in our hallway. Those are just two examples, but I could give you about a zillion others.
Best Caulk for Wet Areas
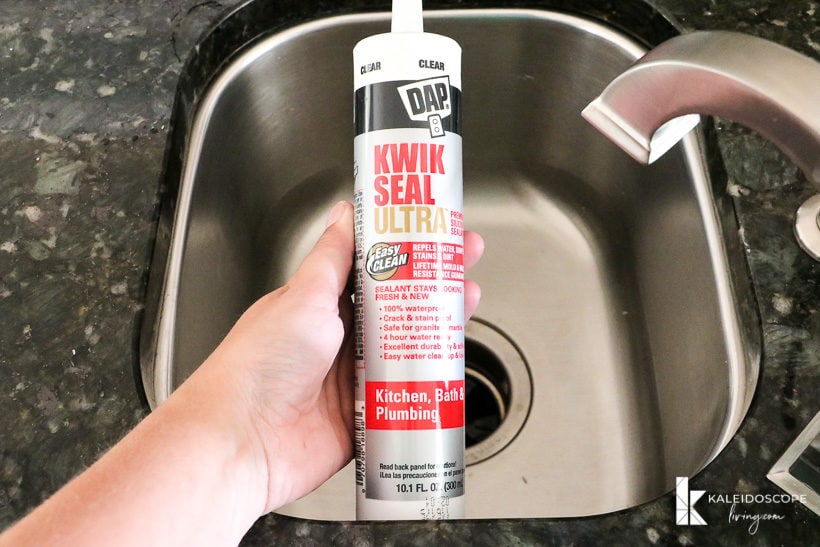
A specialty kitchen and bath sealant is what you need to use around areas that are exposed to water a lot, such as bathtubs, sinks, and toilets. My favorite type of silicone caulk is DAP Kwik Seal Ultra KWIK SEAL ULTRA Premium Siliconized Sealant. It goes on white but dries clear, so applying an even bead is easy. But, this caulk is NOT paintable.
You can read exactly how to caulk a kitchen sink in this post.
Step 3: Prepare Your Surface
You can apply new caulk over old caulk, but it may not stick. A good caulking job starts with a clean surface. If the area you are caulking has old caulk in place, remove the old caulk with a utility knife or a 5 in 1 tool. Plastic scrapers and soft plastic scrubbing pads are best on plastic and fiberglass surfaces.
Also, be sure to clean the entire surface to eliminate any dirt, dust, grease, and debris. I recommend using a general household cleaner first. Then, wipe the surface down with rubbing alcohol and let it dry thoroughly.
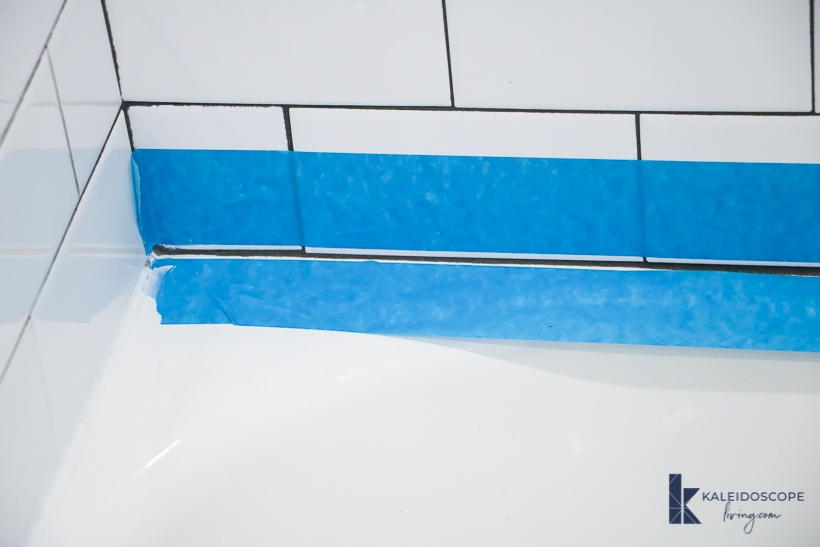
Step 4: Tape the Surrounding Area
I recommend taping off the surrounding area with painter’s tape so that you don’t accidentally get caulk where you don’t want it. It also helps give you a perfectly straight line of caulk so your caulking job will look super professional. After we spent weeks completely remodeling our twin girls' bathroom ourselves, I wanted the caulk to look PERFECT. (You can see the full bathroom renovation reveal here).
Step 5: Prepare Your Caulk
Caulk tubes all come with rigid plastic tips. Use a utility knife to cut the tip of the nozzle off at a 45-degree angle. The closer to the top of the tip you cut, the smaller your “bead” of caulk (what a line of caulk is called) will be. Depending on the type of caulk you use, you may also need to puncture a foil seal inside. Most caulk guns have a thin metal poker attached for this purpose. After you have prepared the tip, load your caulk into your caulk gun.
Step 6: Apply Your Caulk
Now you are ready to caulk! Whether using a squeezable tube or a caulk gun, you need to apply steady pressure to fill your gap with an even “bead” of caulk. Here, you can see me caulking our DIY modern plank wall before we painted it.
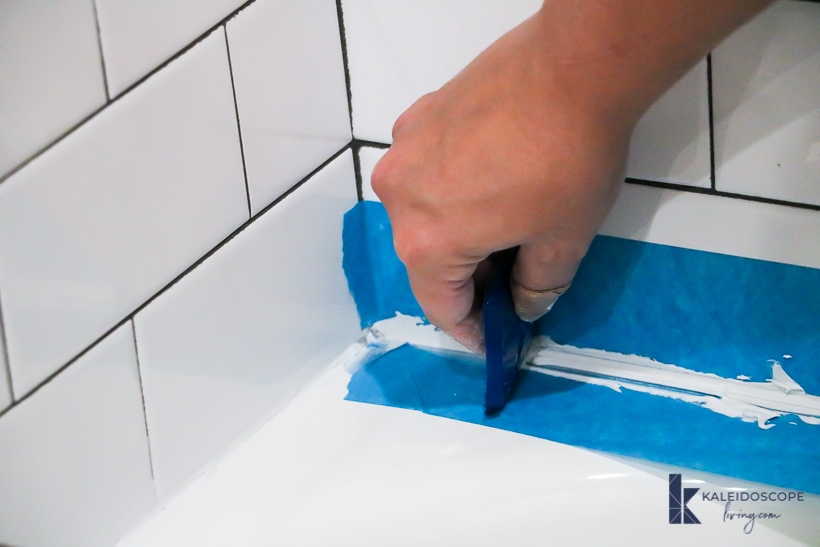
Step 7: Smooth Your Caulk
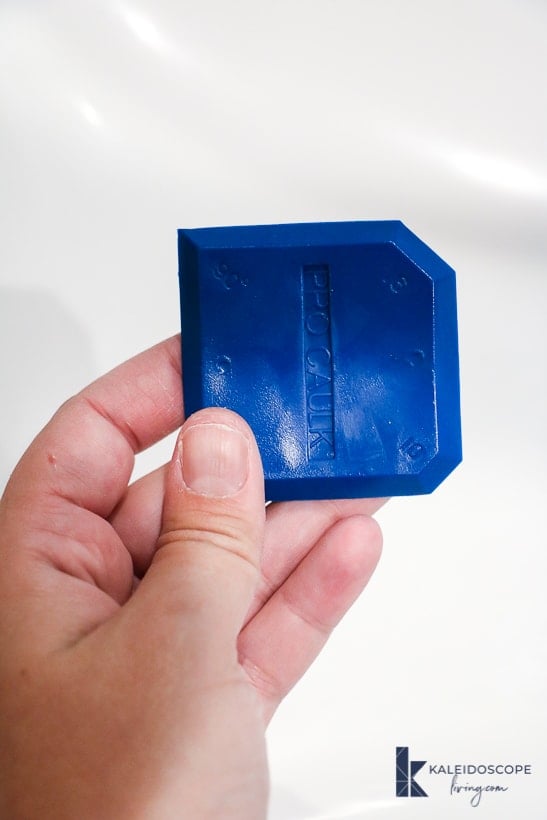
Last but not least, use your finger or a caulk tool to smooth out your bead of caulk. Then, remove your painter’s tape. You want to remove the tape while the caulk is still wet.
That's it! It's really easy and it will give such a professional finish to your DIY projects. Hope this was helpful to you!
Other Posts You Will Enjoy:
- Attley's Budget-Friendly Bathroom Renovation
- Avery's Budget-Friendly Bathroom Makeover
- Affordable Master Bathroom Remodel REVEAL
- The Easy Way to Update Bathroom Tile Without Replacing It!
- How to Caulk a Bathtub
- How to Install Quarter-Round Molding
- How to Install a Toilet
- 25 Stunning Powder Room Makeovers
Wondering how I approach transforming rooms and spaces in our home? Check out Designer in a Binder®.

And if you want exclusive content and behind-the-scenes sneak peeks, be sure to subscribe before you head out!

Last Updated on July 8, 2022
Thanks for your help I’m always doing something around home. My windows sometime needs help so now I can put this in my DIY notes to help me in time of need.
So glad you found it helpful, Velma!