How to Turn a Closet into a Cozy Bed Nook
Are you tired of your kid's cramped bedroom space, or do you need an extra sleeping area for sleepovers with family and friends? If so, then converting a closet into a bed nook may be the perfect solution for your home. This idea not only frees up the bedroom floor space but also creates a cozy sleeping nook for your kiddo, which is pretty much every kid's dream. Turning a closet into a bed nook is not hard or expensive. Read on to learn exactly how to do it yourself!
For some reason I will never fully understand, my daughter Avery's room in our old home had TWO closets. She certainly didn't need two closets. But she could benefit from extra floor space to spread out and play, so we turned her unused closet into a cozy bed nook. It's one of my favorite DIY projects we've ever done! Even if her room had only had one closet, I still would have turned her closet into this cozy nook and stored all of her clothes in drawers :) So, even if you don't have a closet to spare, don't give up on this idea!
This post contains affiliate links for your convenience. Click here for my full disclosure policy.
How to Create a Bed Nook in a Closet
Materials needed
- Screwdriver or electric driver to remove existing closet components and doors
- Putty knife
- DAP Alex Plus Spackling (if you have holes or imperfections to repair on the wall where the quote will be going)
- Sandpaper
- Face mask
- Inside mount curtain rod brackets
- Metal bed frame
- Mattress & box spring
Step-by-Step Tutorial
Time needed: 1 day and 6 hours
This project took us about a day and a half because we had some drywall repair work and paint touch-ups to do. Otherwise, it would have taken way less time!
- Make sure your closet will work as a bed nook!
Before starting, you need to choose the right closet to convert into a bed nook. An empty or unused/underused closet in a bedroom or playroom is ideal. Measure carefully to make sure the closet is wide enough to fit a twin or full-sized mattress. And make sure it's tall enough for whoever is sleeping in it to get in and out of bed comfortably, sit up to read, etc.
The closet we were converting into a bed nook was plenty deep and it was wide enough to fit an extra-long twin mattress! - Remove your closet doors & shelving, etc.
Time for some demo! After removing the closet door(s), remove any closet rods, brackets, shelving, etc.
- Repair your walls & paint, as needed.
We had quite a bit of repairs to make to the walls in the closet. We used DAP Alex Plus Spackling to do all the repair work. It's a brand new product, and let me tell you, this stuff is my FAVORITE. It's like caulk and spackle had a baby! The consistency is much smoother and easier to use than other spackle I have used over the years. I even found that it sanded easier AND resulted in less dust. You can see my tips for repairing drywall here. After your walls are nice and smooth, paint the areas you repaired and touch up other paint as necessary.

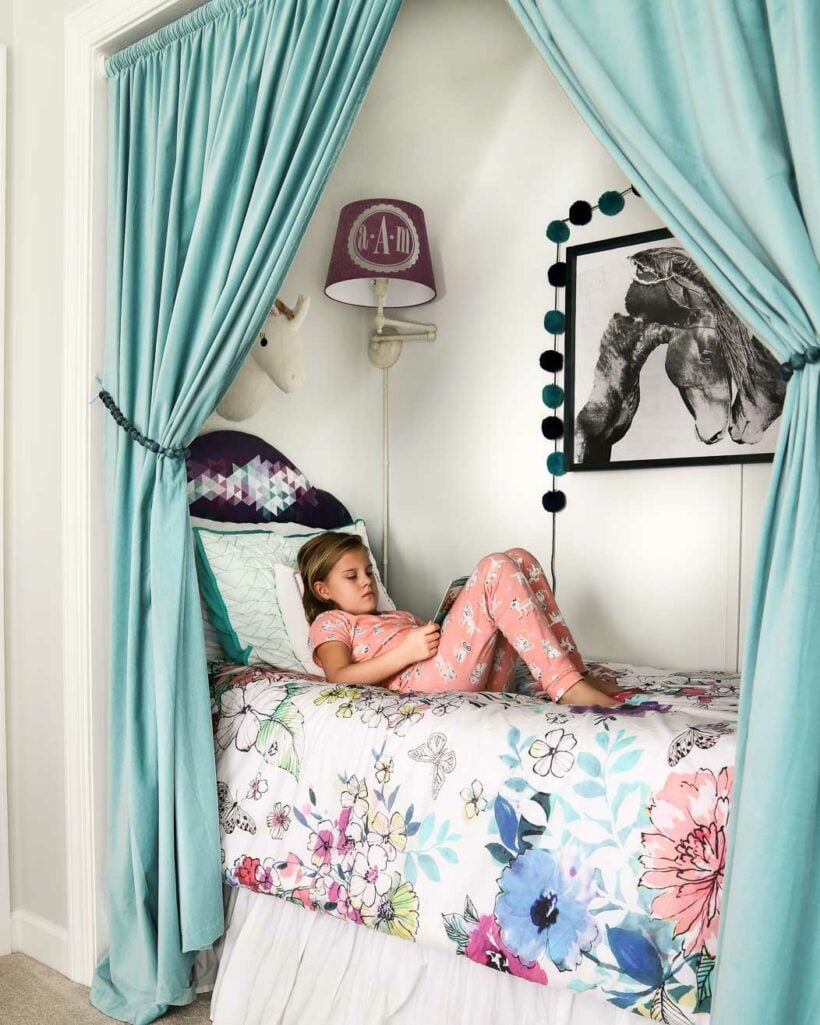
- Add your bed.
We took the easy route when it came to the bed in Avery's bed nook. Sure, we could have constructed something from scratch and built a bed into this closet (fun fact, several years later, we added DIY built-in bunk beds to this same closet).
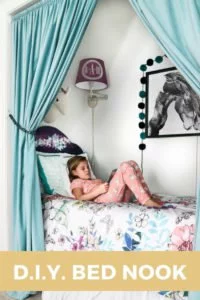
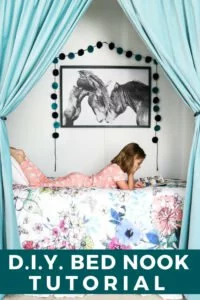
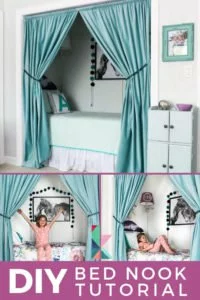
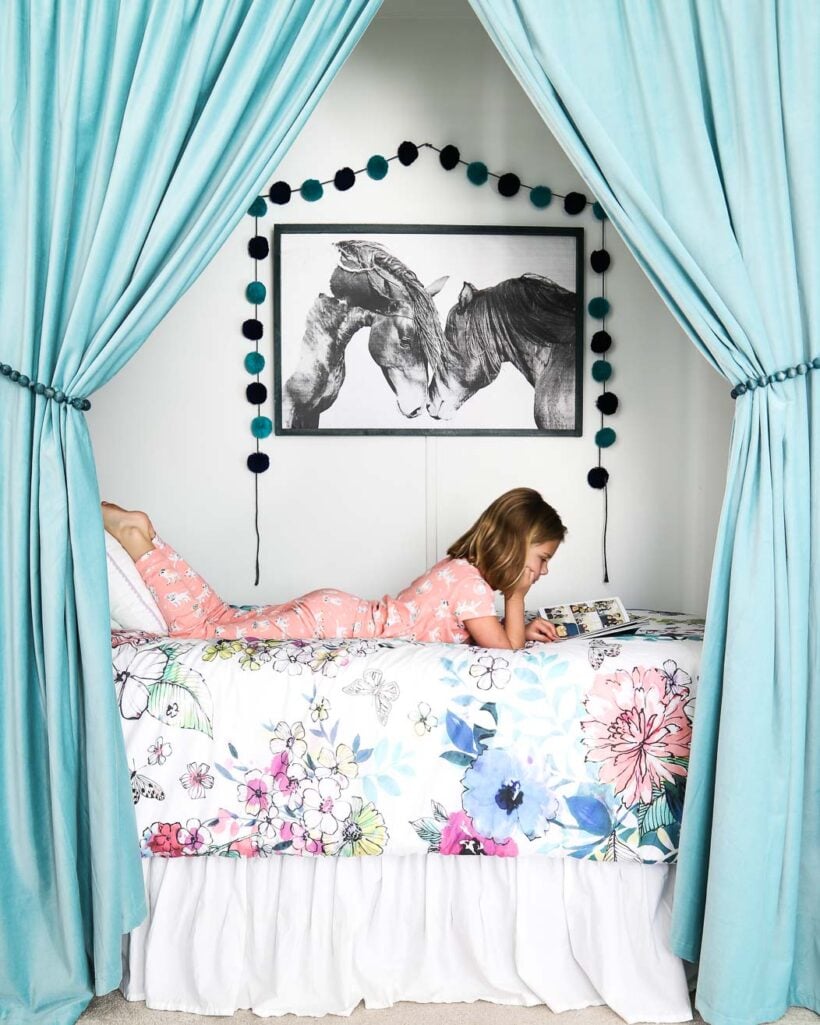
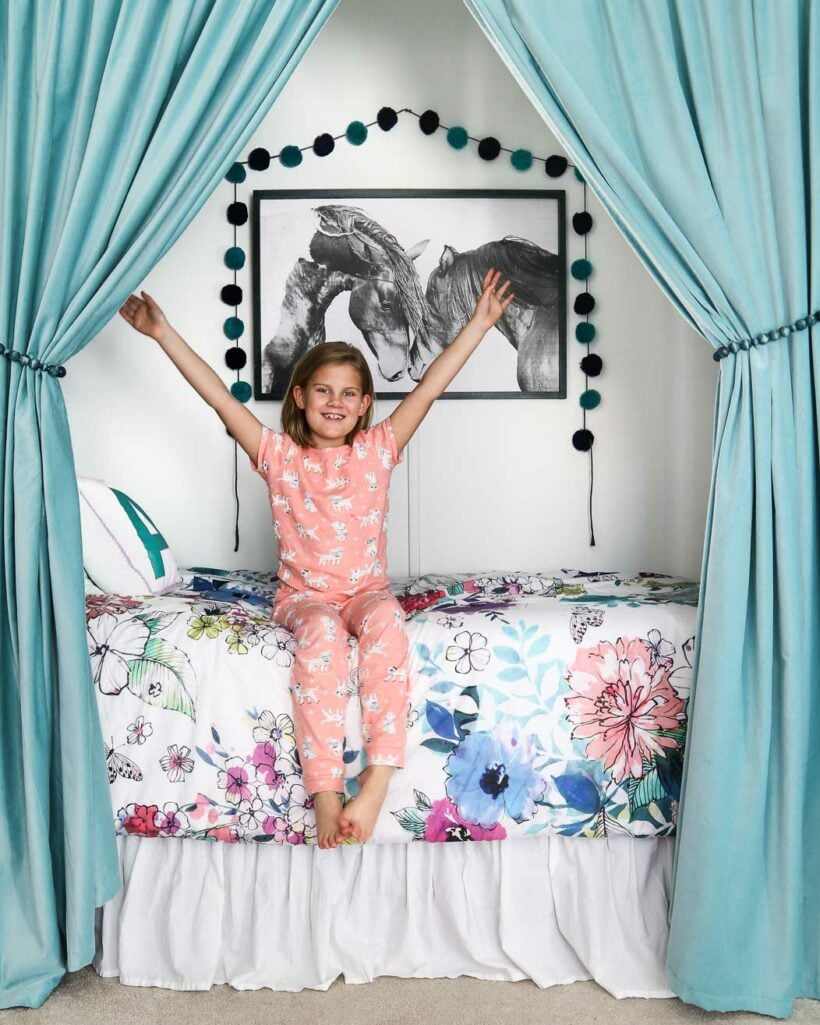
But instead we used a super inexpensive metal frame bed in her bed nook. Then we attached this simple DIY headboard to the wall (I swapped out the fabric before hanging it). And I covered the metal bed frame with a bed skirt. So easy. - Add curtains to make the bed nook super cozy.
Mount curtain hanging hardware on the inside of the door frame and hang curtains. You need inside mount curtain rod brackets if you are mounting them on the inside of a door frame. I found these inexpensive blue velvet curtains at IKEA. And I made those DIY curtain tie backs.
- Add as much decor as you want!
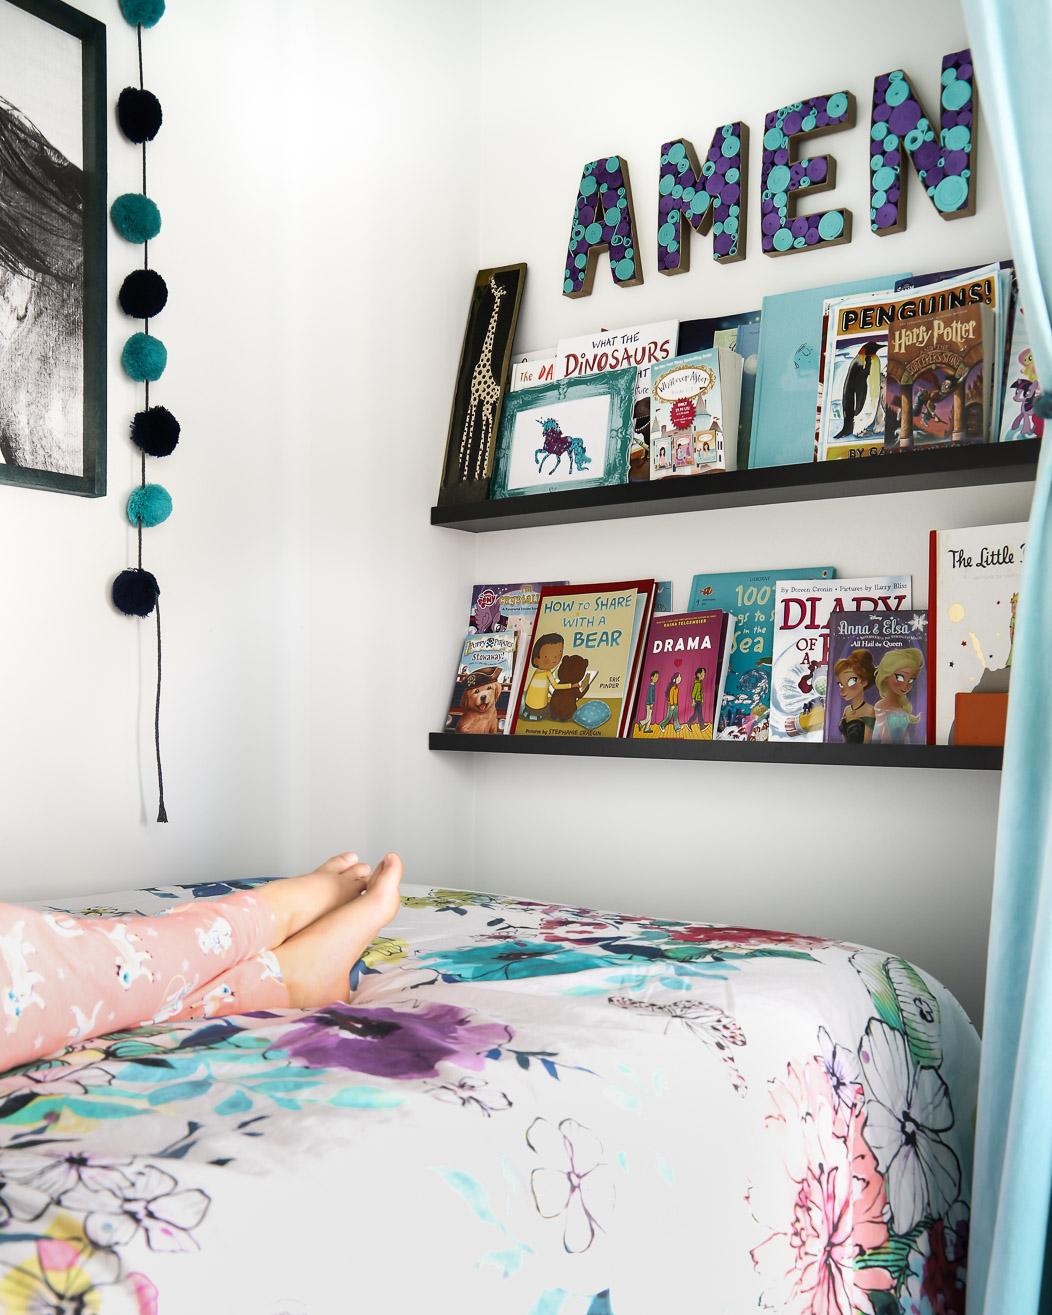
If you have room, hang picture ledges at the foot of the bed–they make the perfect place to store books and don't take up much space at all! We used picture ledges from Ikea to store books. We also hung a lamp and that huge DIY art print along with some fun pom poms that I found in the Target Dollar Spot.


Take a look! I think it goes without saying that Avery was thrilled with her bed nook as well :)
I hope you can see how turning a closet into a bed nook is a fantastic home project that will transform your child's bedroom into a cozy and fun space. This DIY project is relatively easy, budget-friendly, and totally customizable. With the right closet, design ideas, and materials, you can create a beautiful bed nook that your little one will enjoy for years to come. Grab your tools, get creative, and get started!
More IDEAS FOR KIDS' SPACES
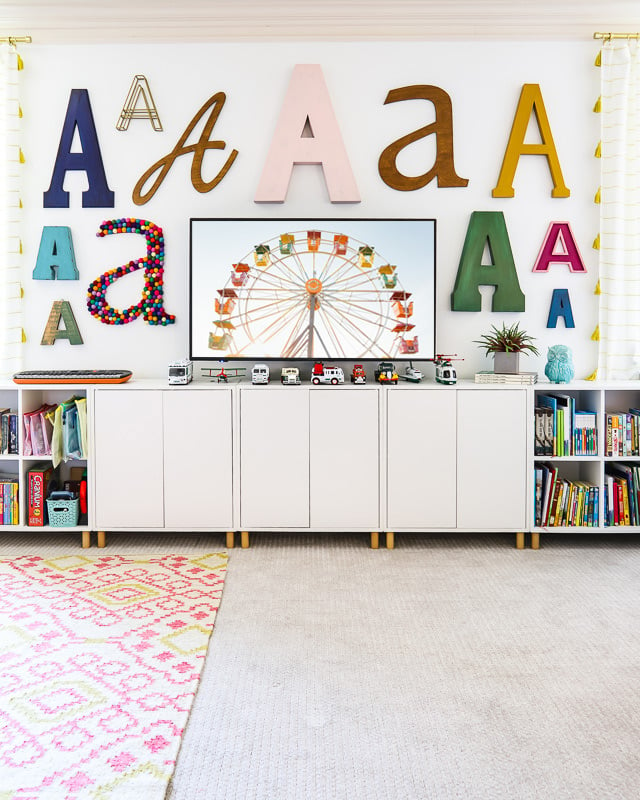
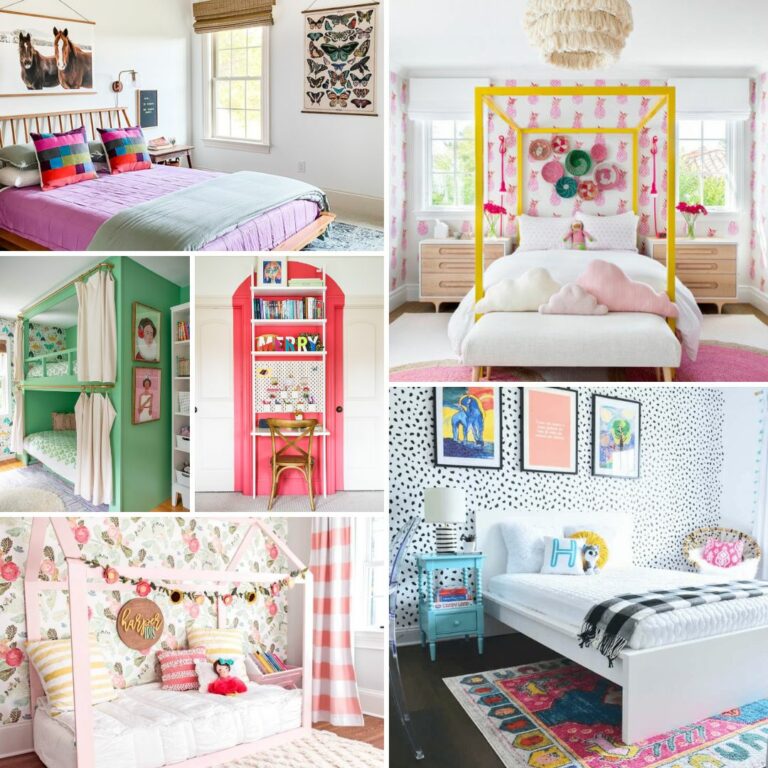

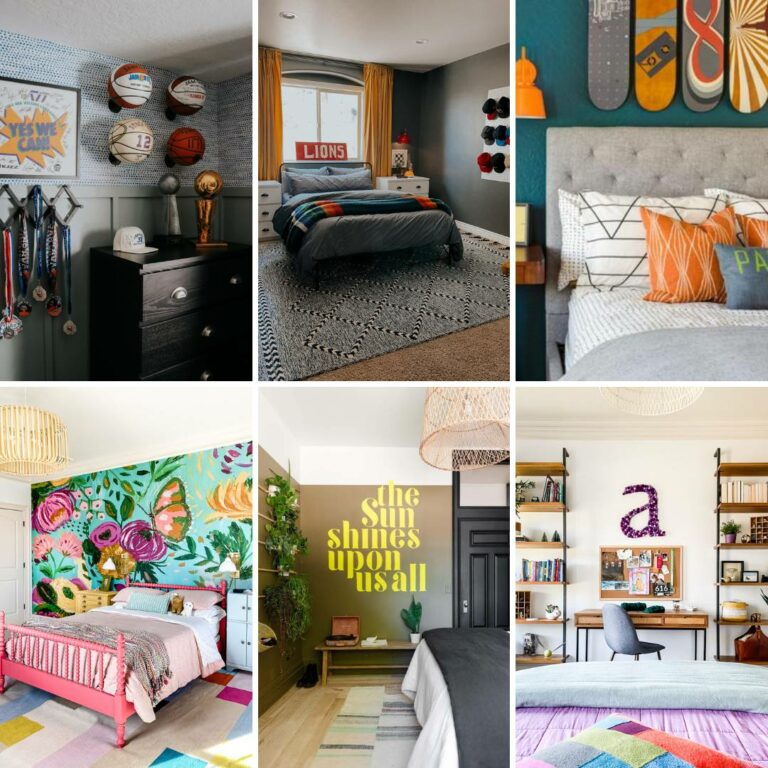
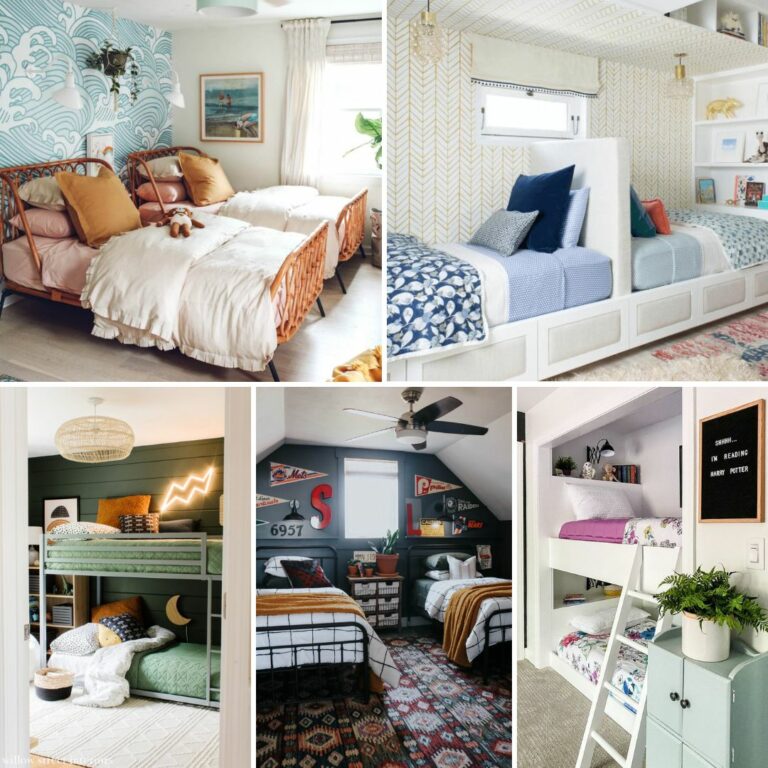
Other posts you may enjoy:
- Creative DIY Bunk Bed Ideas
- Girls’ Wall Art: Top Designer Picks
- DIY Headboard With Customizable Messages
- Stylish Dressers We Love (That Don’t Break the Budget!)
- 17 Gorgeous DIY Headboard Ideas
Wondering how I approach transforming rooms and spaces in our home? Check out Designer in a Binder®.

And if you want exclusive content and behind-the-scenes sneak peeks, be sure to subscribe before you head out!