27 Gallery Wall Ideas + Practical Tips to Inspire You
Gallery walls are a popular way to decorate walls, and for good reason. Gallery walls are an artistic way of showcasing your favorite photos, artwork, and prints on your wall. But for a lot of people, it can be intimidating or challenging to create a beautiful and well-curated gallery wall. That is exactly why I've created this blog full of helpful tips and gallery wall idea ideas that are sure to help you create the gallery wall of your dreams.
When a gallery is put together with intention it can be the most powerful part of the room. The thing I love most about a gallery wall is that it allows you to put lots of pieces of art and decor into one space and view it as a whole, and then to look at each individual piece and appreciate each it separately.
But it can feel overwhelming to create a gallery wall from scratch, am I right? Fear not. I have put together so many gallery walls over the years that I have lost count. And I have learned a ton in the process! So I have rounded up my favorite gallery wall ideas and I'm sharing my best tips and tricks for putting together a gallery wall you will love.
What Can Go On a Gallery Wall?
Pretty much anything! Gallery walls can include photographs, paintings, prints, posters, baskets, postcards, records, and even 3-dimensional or sculptural pieces. I think the most interesting and unique gallery wall ideas include mixed media and some found objects! And not all arrangements have to just hang on walls. You can use shelves or floating ledges to display your collection! The possibilities are endless.
What's the Best Layout for a Gallery Wall?
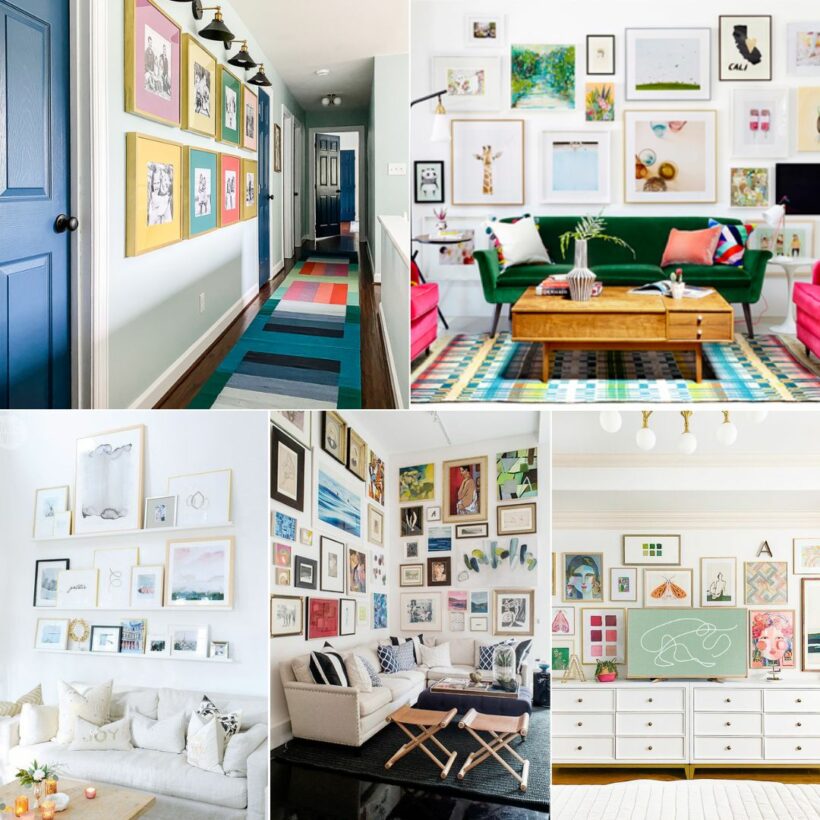
There's no such thing as a “best” layout or composition for a gallery wall. Some people prefer perfectly symmetrical layouts while others perfect asymmetrical (collage style) gallery walls. The beautiful gallery walls we share in this post include some of each, so take note of which ones you prefer.
There are infinite layout options for gallery walls. You are really limited only by your imagination and the size of your walls. That said, most gallery walls fall into one of two categories: symmetrical or asymmetrical.
This post contains affiliate links for your convenience. Click here for my full disclosure policy.
Where Can I Find Art Pieces to Include in a Gallery Wall?
I get asked about the art hanging in my house more than almost anything else, so I have put together a ton of resources to help you find pieces that you love. You can check out all of my art posts here–I have art recommendations for pretty much every room in your home to help you get started in your search!
That said, I generally have great luck finding reasonably priced art prints and posters at:
- Society 6
- Etsy (I love finding inexpensive digital prints and printing them at home–so affordable)
- Minted
- Artfully Walls
Tips for Symmetrical Gallery Walls
If you are opting for a symmetrical gallery wall layout, they work best with the same type of media (all art or all photographs) and picture frames that are uniform in style and size. If you don't want to match frames perfectly, I would recommend sticking with a relatively consistent frame color (all dark wood or black), size and shape.
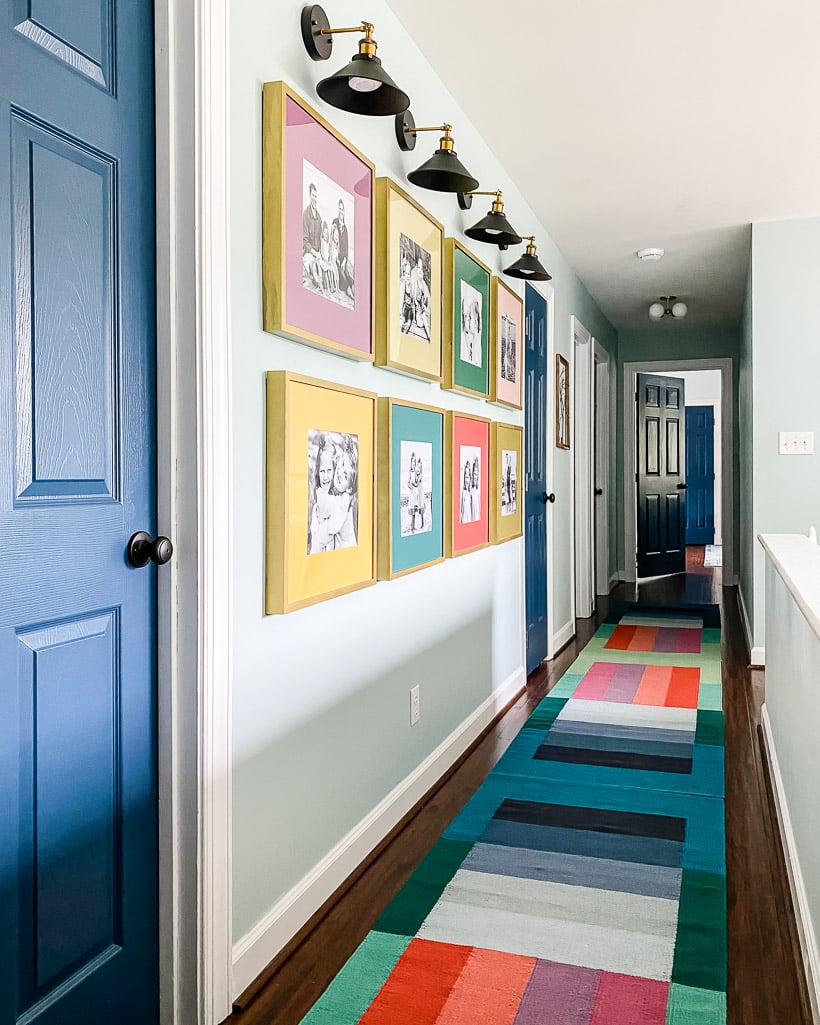
In the hallway of our old home, I created this colorful DIY gallery wall featuring family photos in a symmetrical layout.
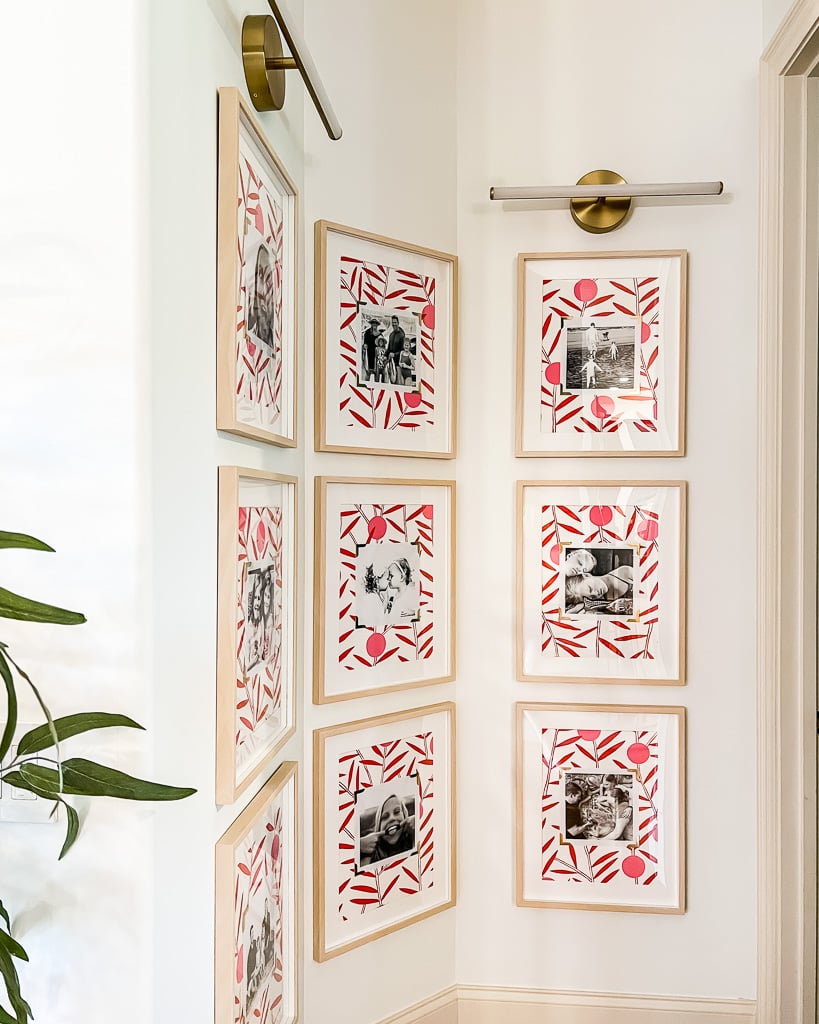
And in our current home, I created this symmetrical and unique family photo gallery wall in this little niche.
Tips Asymmetrical Gallery Walls
Asymmetrical gallery walls are typically what people picture when they hear the phrase “gallery wall.” I personally love asymmetrical gallery walls and have several in my current home! But they can be a bit more intimidating to put together than a symmetrical gallery wall since there are no obvious rules or set layouts to mimic.
But I PROMISE you can create a beautiful asymmetrical gallery wall. So if it is what your heart desires, don't shy away from it because you aren't exactly sure how to go about it. Just follow the tips below.
Curate pieces that you LOVE.
Gallery walls take time! Don't expect to be able to find all the pieces of artwork and other accents you may include in a week or even a month. Because you should really LOVE everything in your gallery wall, take your time collecting your pieces.
Create balance.
The easiest way to approach an asymmetrical gallery wall is to think about creating balance when arranging your gallery wall. For example, start with an anchor piece, like a big art print. You need at least one piece that feels like it's the one in charge. If you only have a bunch of smaller pieces your gallery wall will look messy and there won't be anything to really draw your eye in. Anchoring your gallery wall will give it a nice focal point.
Then add smaller pieces around it to create a balanced look. Make sure the distance between each piece is fairly equal, and that there is not too much space between them. You can experiment with different shapes like rectangular frames, square frames, and circular prints.
Choose a color scheme.
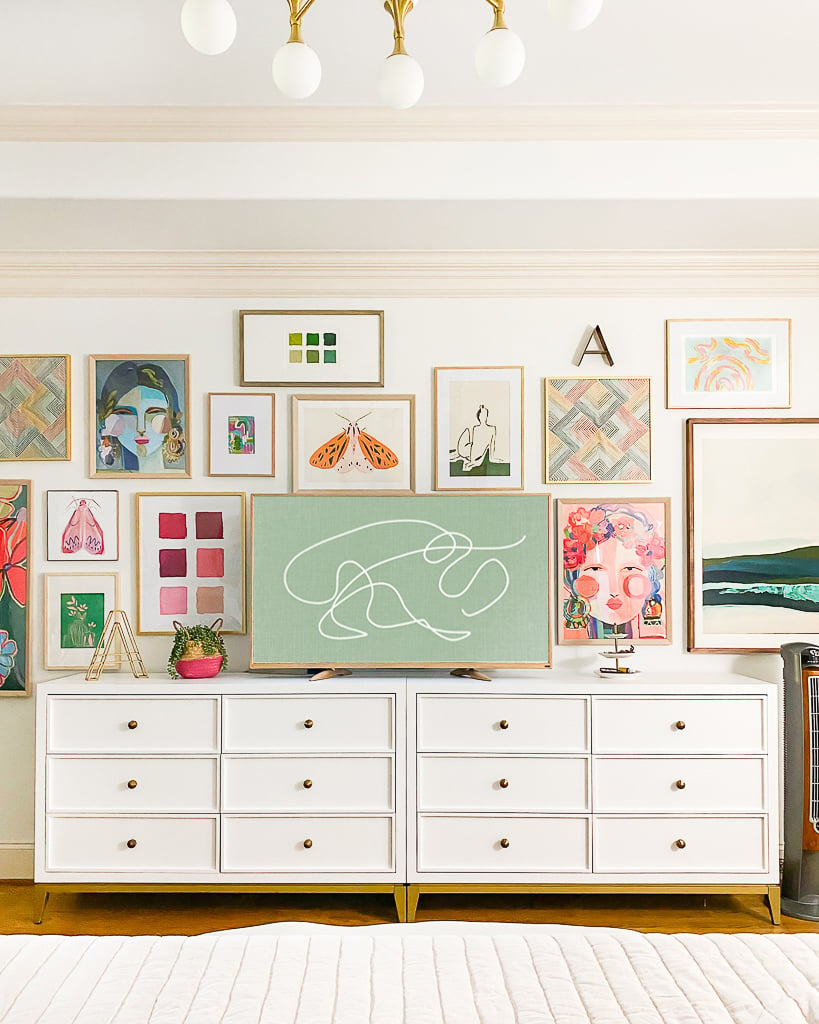
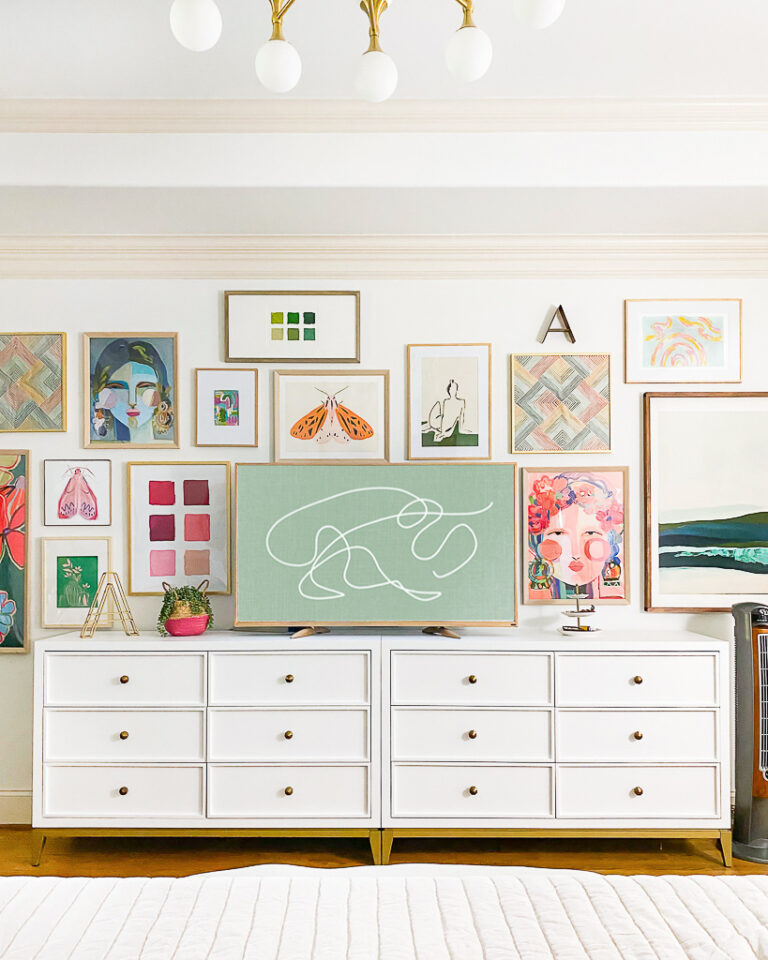
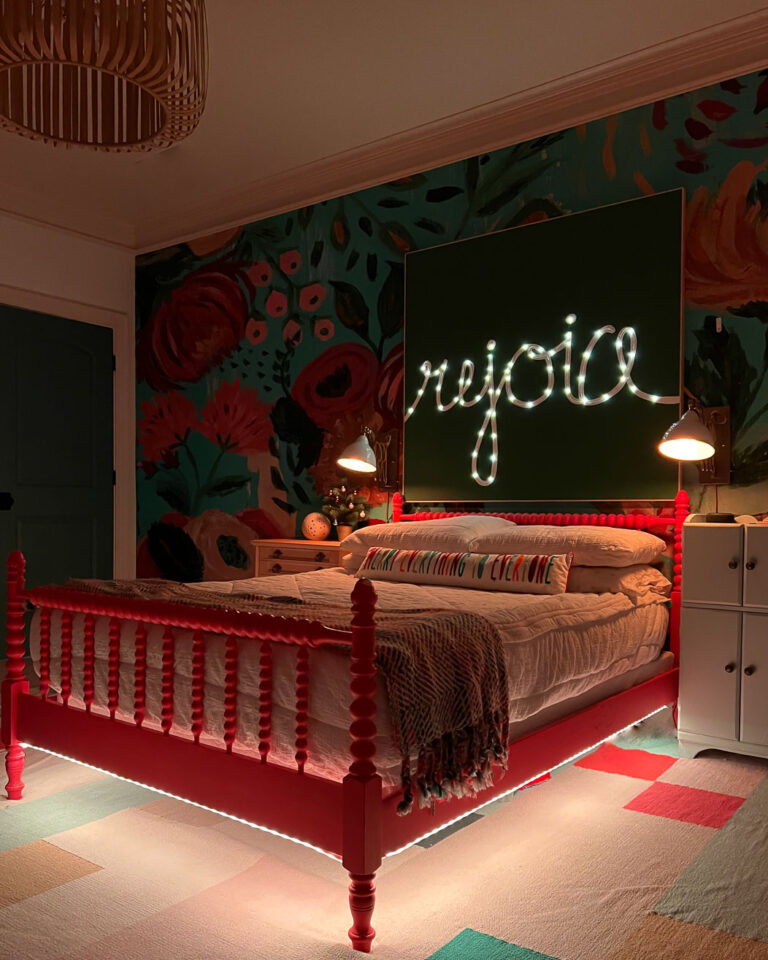
Make sure to have a consistent color palette, but don't make it too matchy-matchy. You just want to make sure the colors share the same tone and vibrancy. In other words, I don't recommend mixing muted earthy tones with bright vibrant tones. This gallery wall I created for our bedroom is made up of predominantly pinks and greens.
And our inexpensive TV blends in with it and is the anchor for the entire arrangement. If you want to display art on your TV, check out my post on how to display digital art on any smart TV. That's right–you don't have to have a Samsung Frame TV (if you are curious, here's my unbiased review of whether a Samsung Frame TV is worth it).
Repeat each color or hue 2 to 3 times.
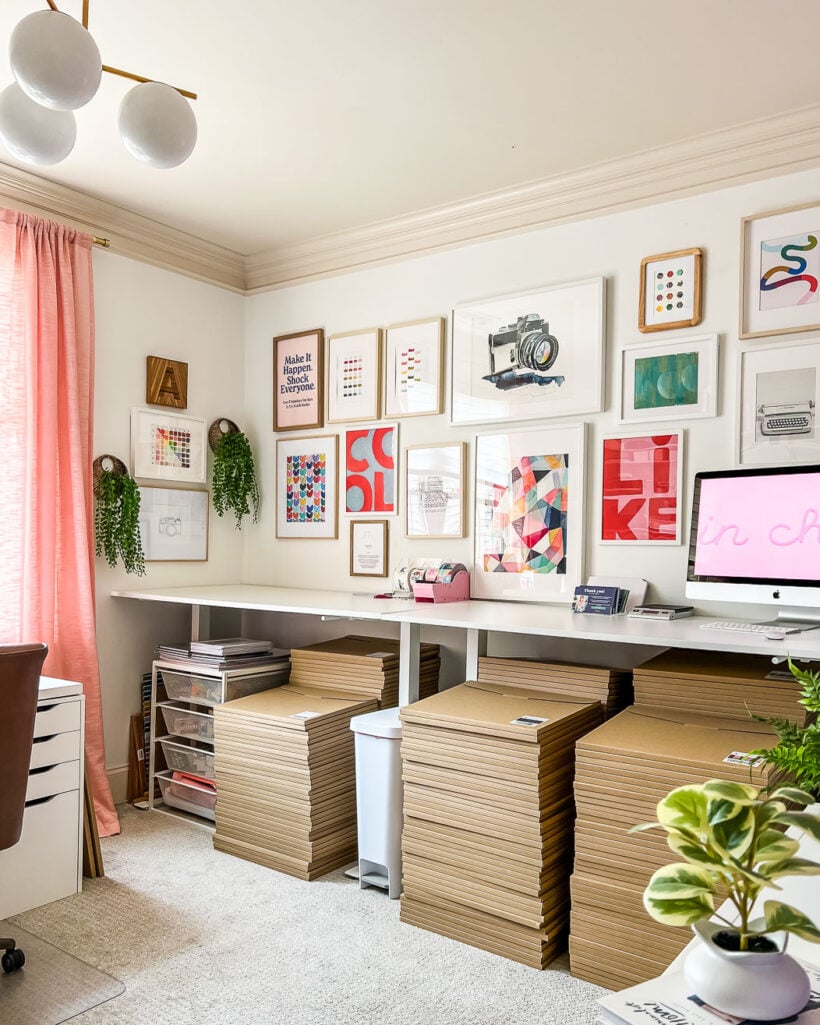
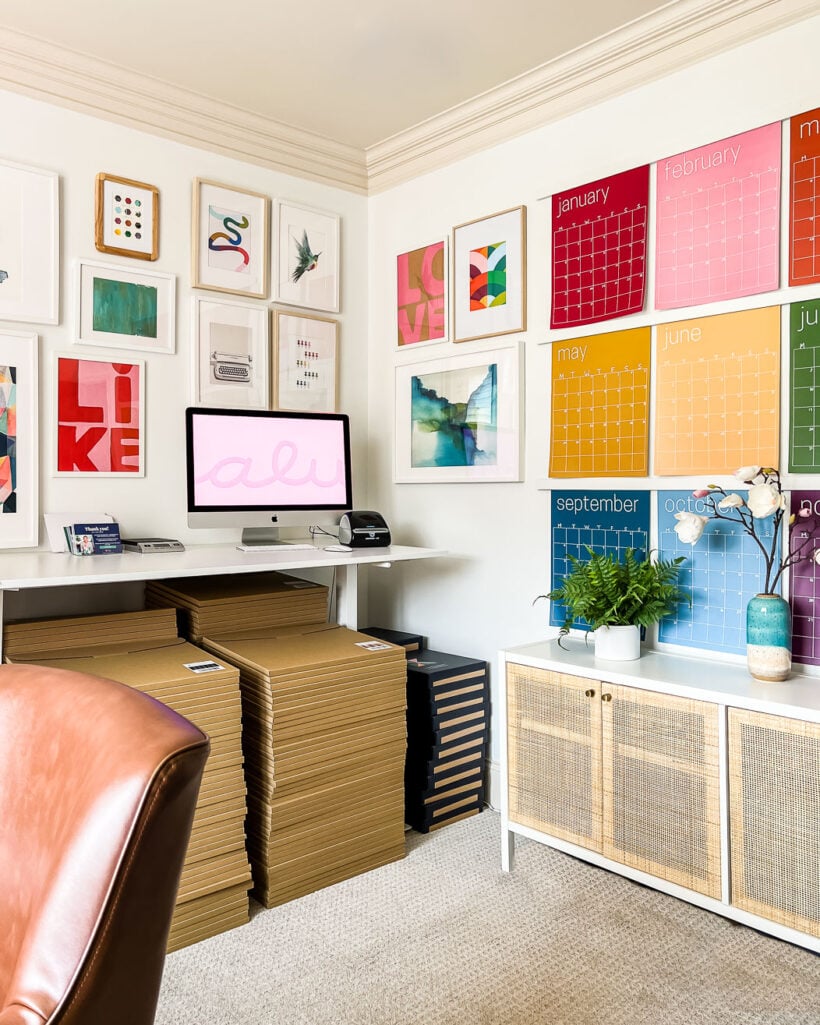
Every piece you include should have 1-2 “friends.” Those “friends” are other pieces that share a similar color or tone. You can get a good sense of what I mean by this by looking at the gallery wall in my home office and shipping station for our shop below.
Create visual interest by varying the sizes and orientation of your pieces.
You need both horizontal, vertical and square pieces to make your gallery wall feel balanced. And the pieces should vary in size. While you want a big pieces to anchor the collection, you do need smaller pieces of art to fill in the space between larger pieces.
Mix wall art with wall decor, vintage pieces and/or 3D objects.
I think the most interesting gallery walls include mixed media! I love arrangements that include interesting vintage pieces (like needlepoint or embroidery) and/or 3D objects, like old typography pieces, architectural salvage pieces, clocks, etc. So don't just stick to art! Think more broadly about what you include. And if you want some budget-friendly options, check out these DIY wall decor ideas–lots of them would be gorgeous when incorporated in a gallery wall.
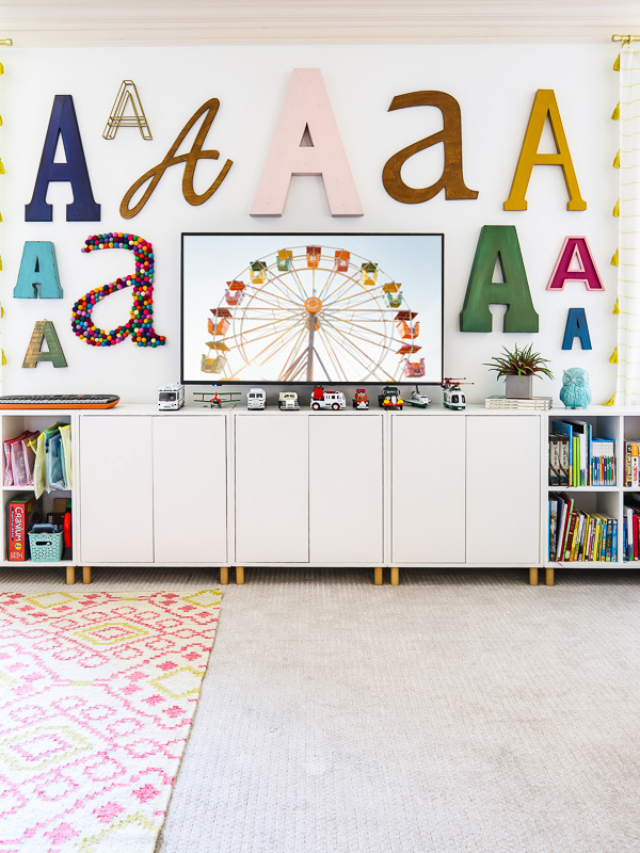
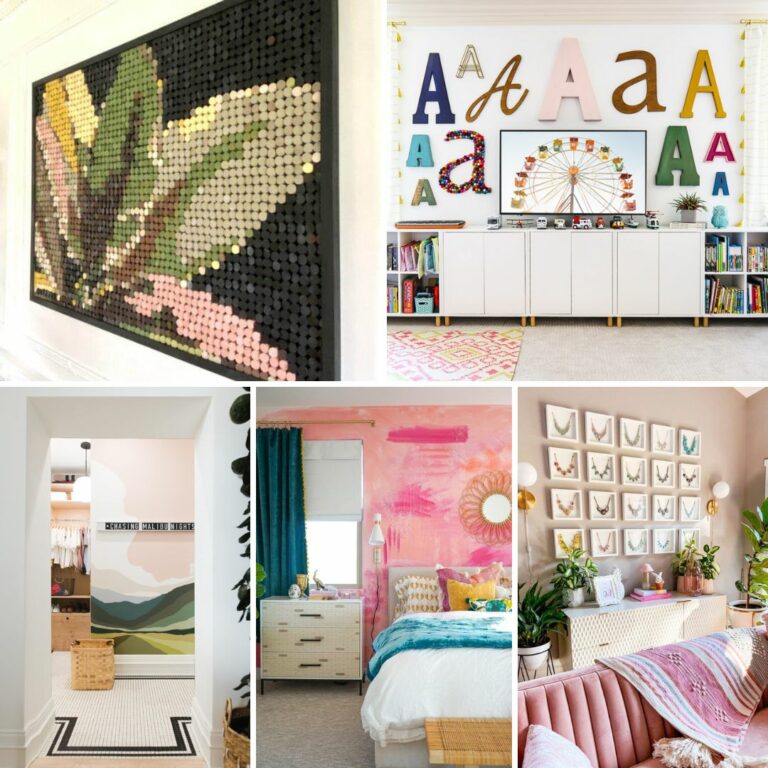
The typography gallery wall in our colorful bonus room even shows how you can create an entire gallery wall from mostly 3D objects! I've always been a fan of typography and have collected these As over the past 15+ years. (PS- you can see I've displayed digital art on the TV in our bonus room as well so that it blends in with the gallery wall).
Gallery Wall Ideas & Inspiration
Gallery Walls for Entryways, Stairs and Hallways
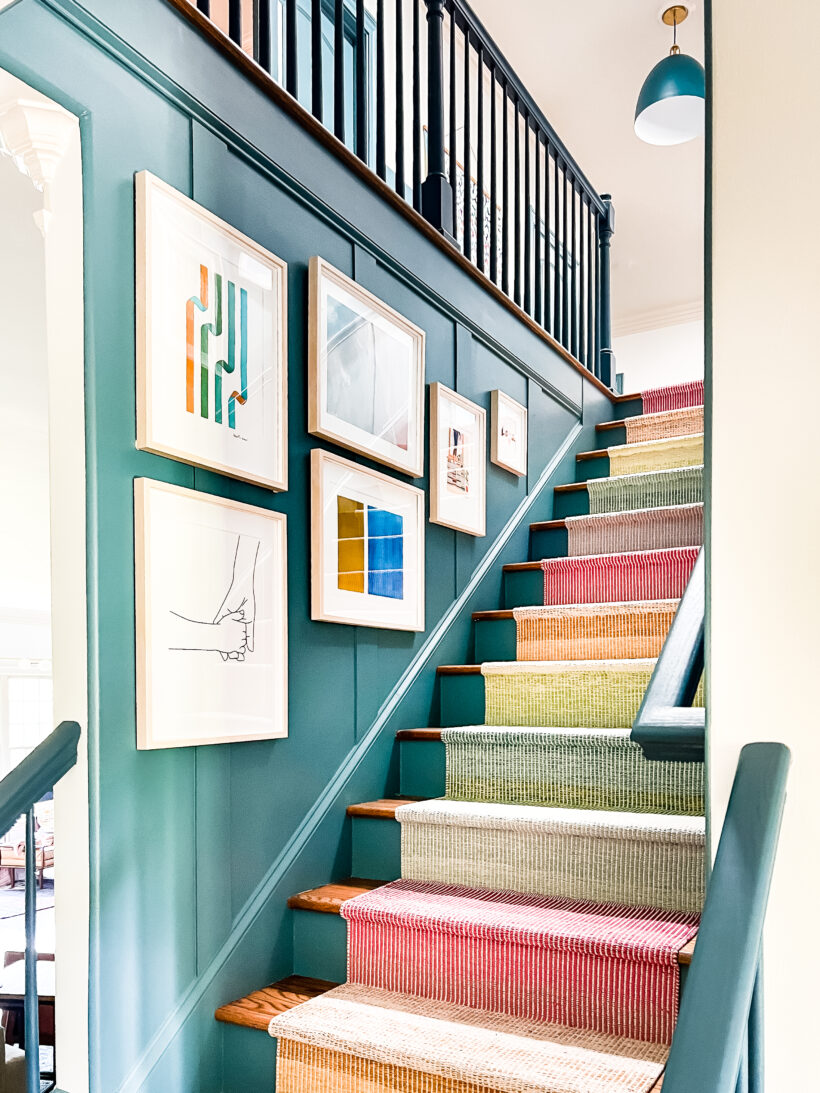
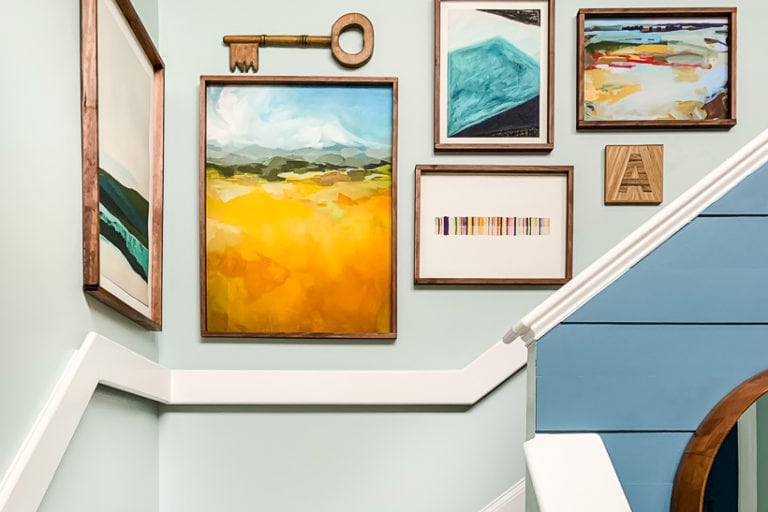
Staircase walls can be a great option for gallery walls because the triangle shaped walls that many staircases have need smaller pieces as the wall tapers down. After we replaced the balusters and updated our stair railing, I hung this fun gallery wall in our staircase.
And in our prior home, we added this gallery wall to our staircase. We stretched our art budget by making our own DIY art frames for less than $20 each!
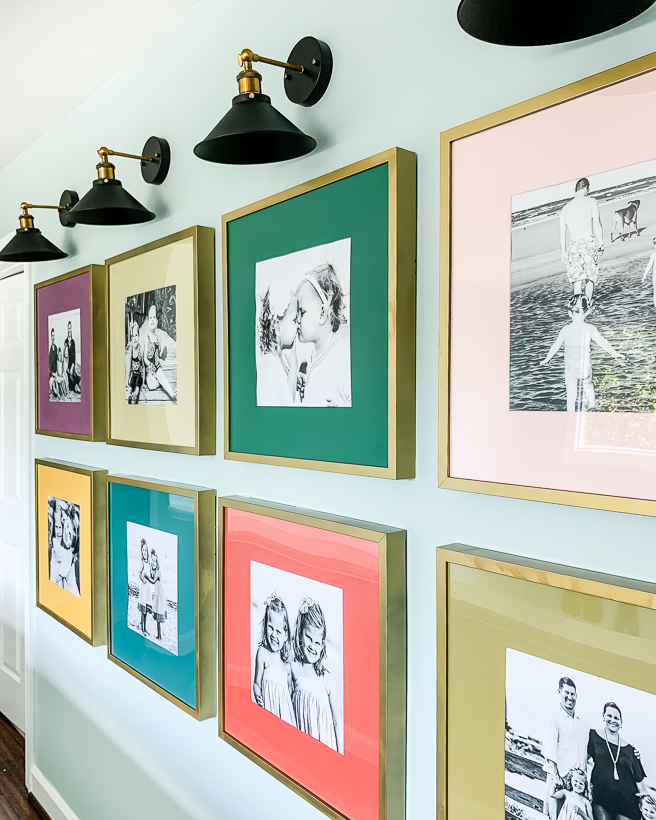
And here's another view of the symmetrical gallery wall of family photographs down a long hallway with a twist–colorful photo mats!
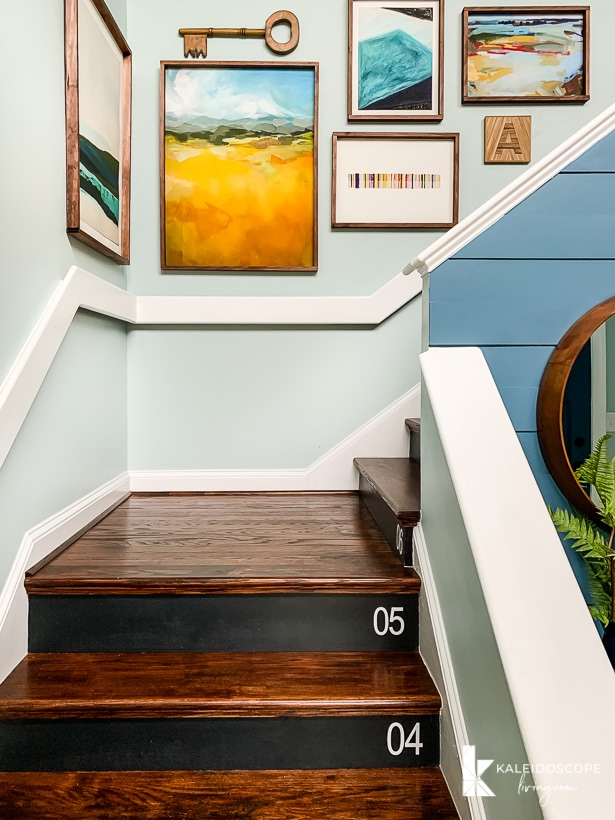
Notice how this staircase gallery wall uses pieces of different sizes and orientations, which makes it so interesting. I also love that home decor pieces like the clock and the old stair balusters of dimension.

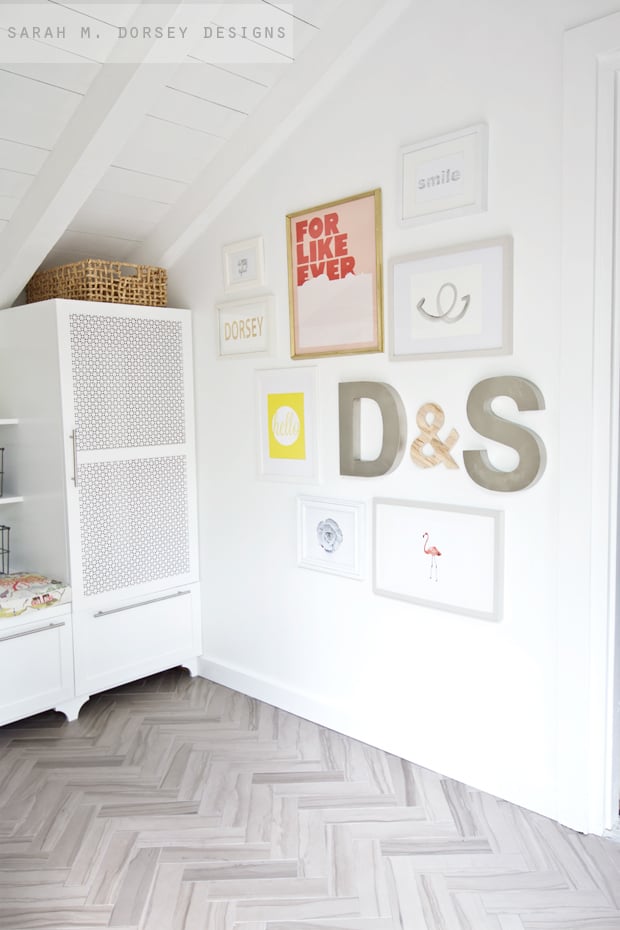
This symmetrical gallery wall made up of botany illustrations was super affordable to put together and it makes a big impact above the bench in her entryway.

This gallery wall is a great example of including dimensional objects in a gallery wall. Those initials of the homeowners add such an interesting and personal touch.
Bedroom Gallery Walls
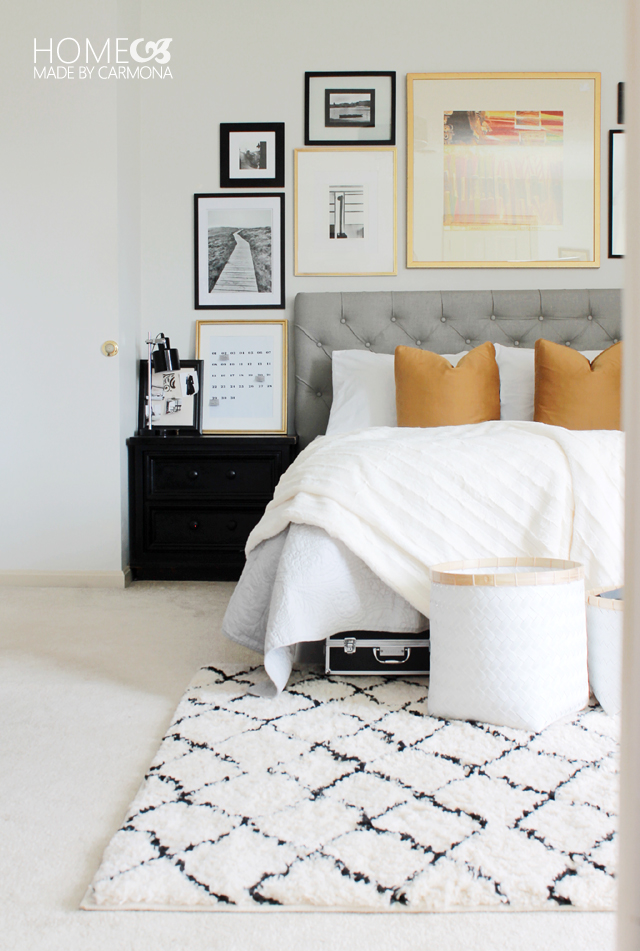
This eye-catching gallery wall is a great example of having one large art piece to anchor the smaller pieces around it. And I love how the gallery wall continues down to pieces that actually sit on the bedside table!
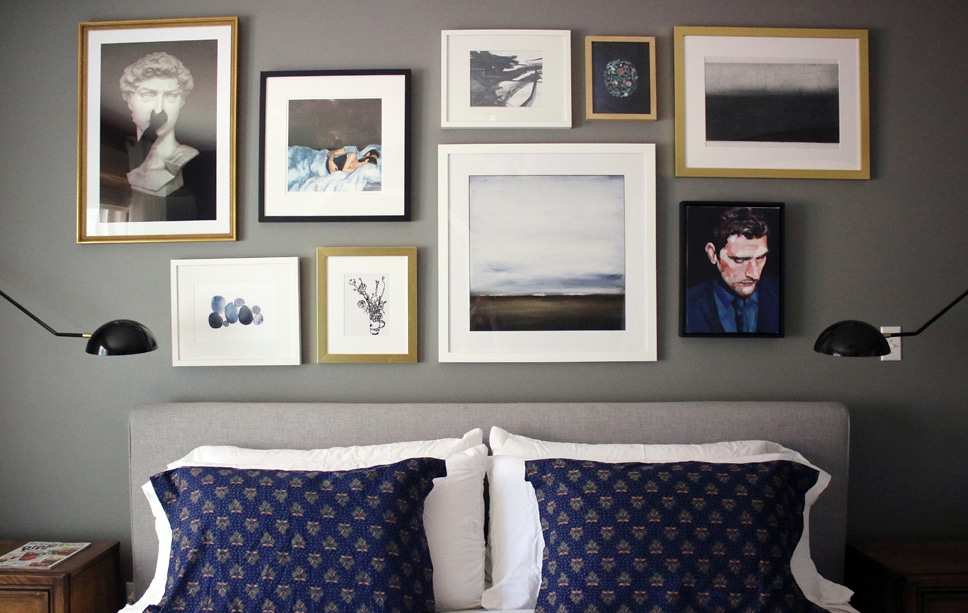
And I love this mix of portraits and landscapes on the dark, moody wall. So sophisticated.
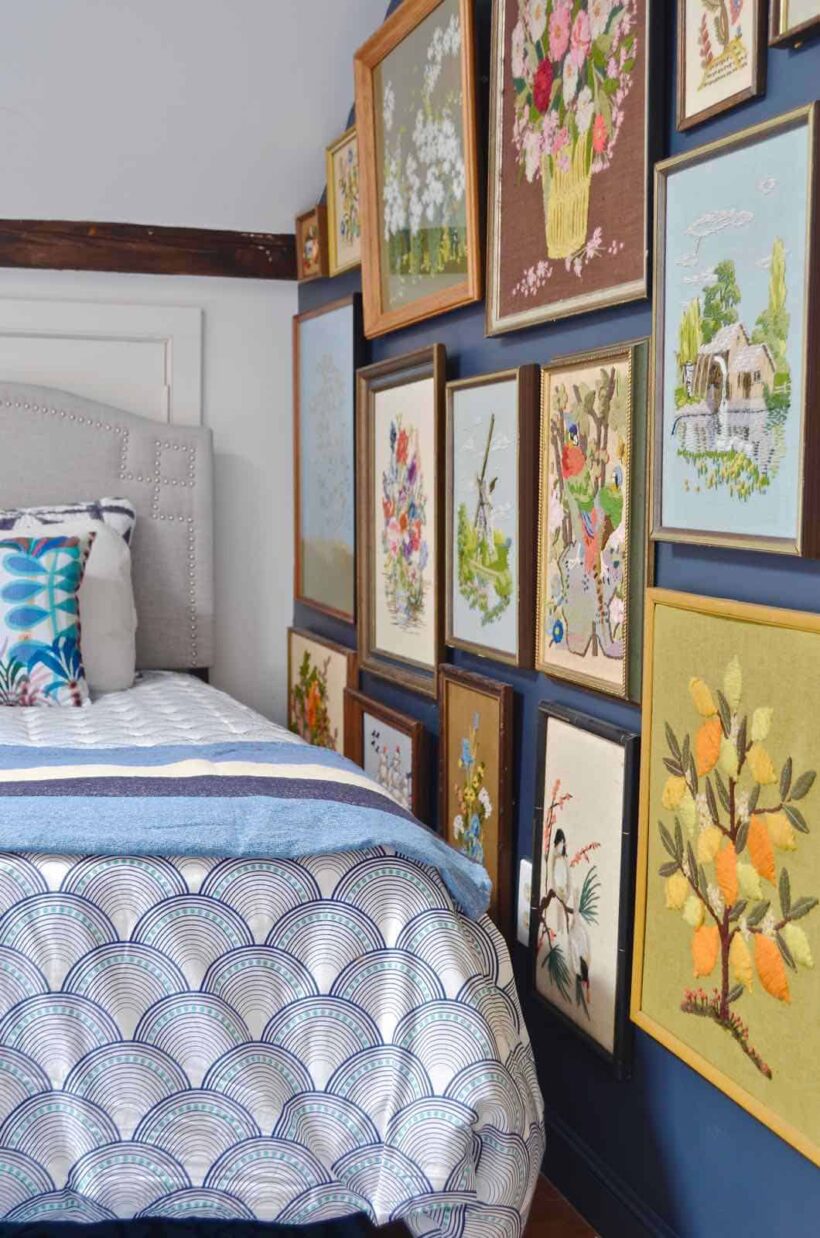
This floor-to-ceiling gallery wall full of embroidered art is a GREAT example of curating a collection over time and including vintage pieces in your gallery wall. See how it pays off?!
Living Room Gallery Walls
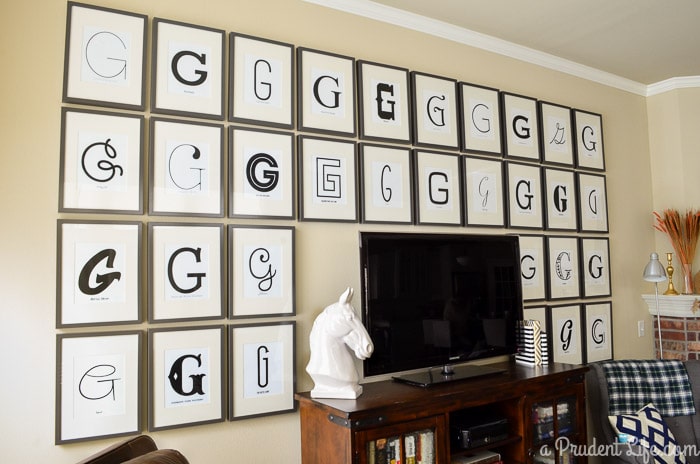
How fun is this symmetrical typography gallery wall that surrounds the TV in this living room space? The designer chose to repeat the same letter in different fonts. It's such a unique and interesting way to fill a blank wall.
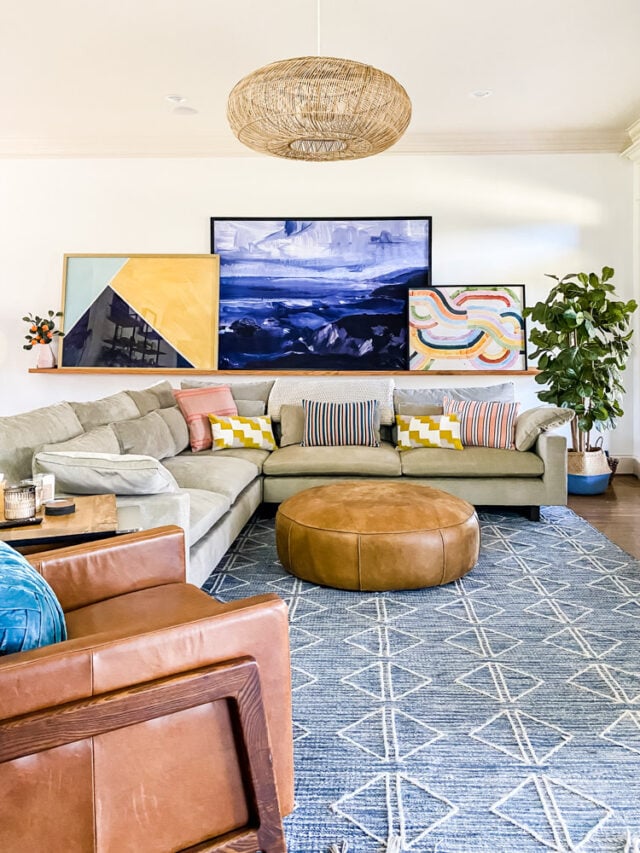
Not all gallery wall ideas involve hanging a lot of pieces directly on the wall! If you love oversized art and only want to use a few pieces, considering leaning a small collection of large art on an extra long DIY art ledge (it's so easy to build) like we've done in our family room.
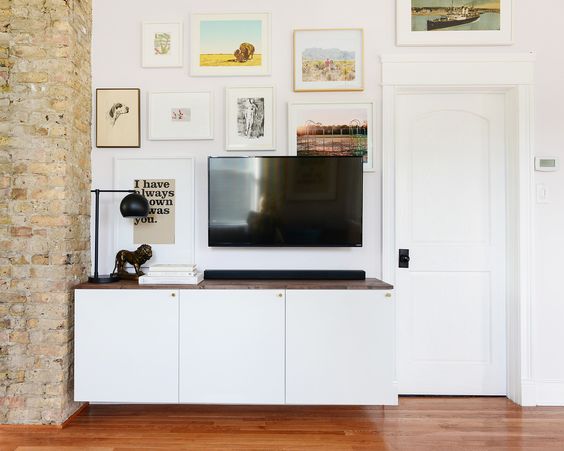
Don't think your empty wall has to be giant to fit a gallery wall. This eclectic gallery wall surrounding a TV fills a fairly narrow wall space, but still makes a big impact. And I love that it continues to over the door frame.
Talk about an arrangement that has my heart! This colorful gallery wall has it all. It includes mixed media, found objects, a variety of sizes and orientations and a cohesive color palette. I also love that it includes some portraits!

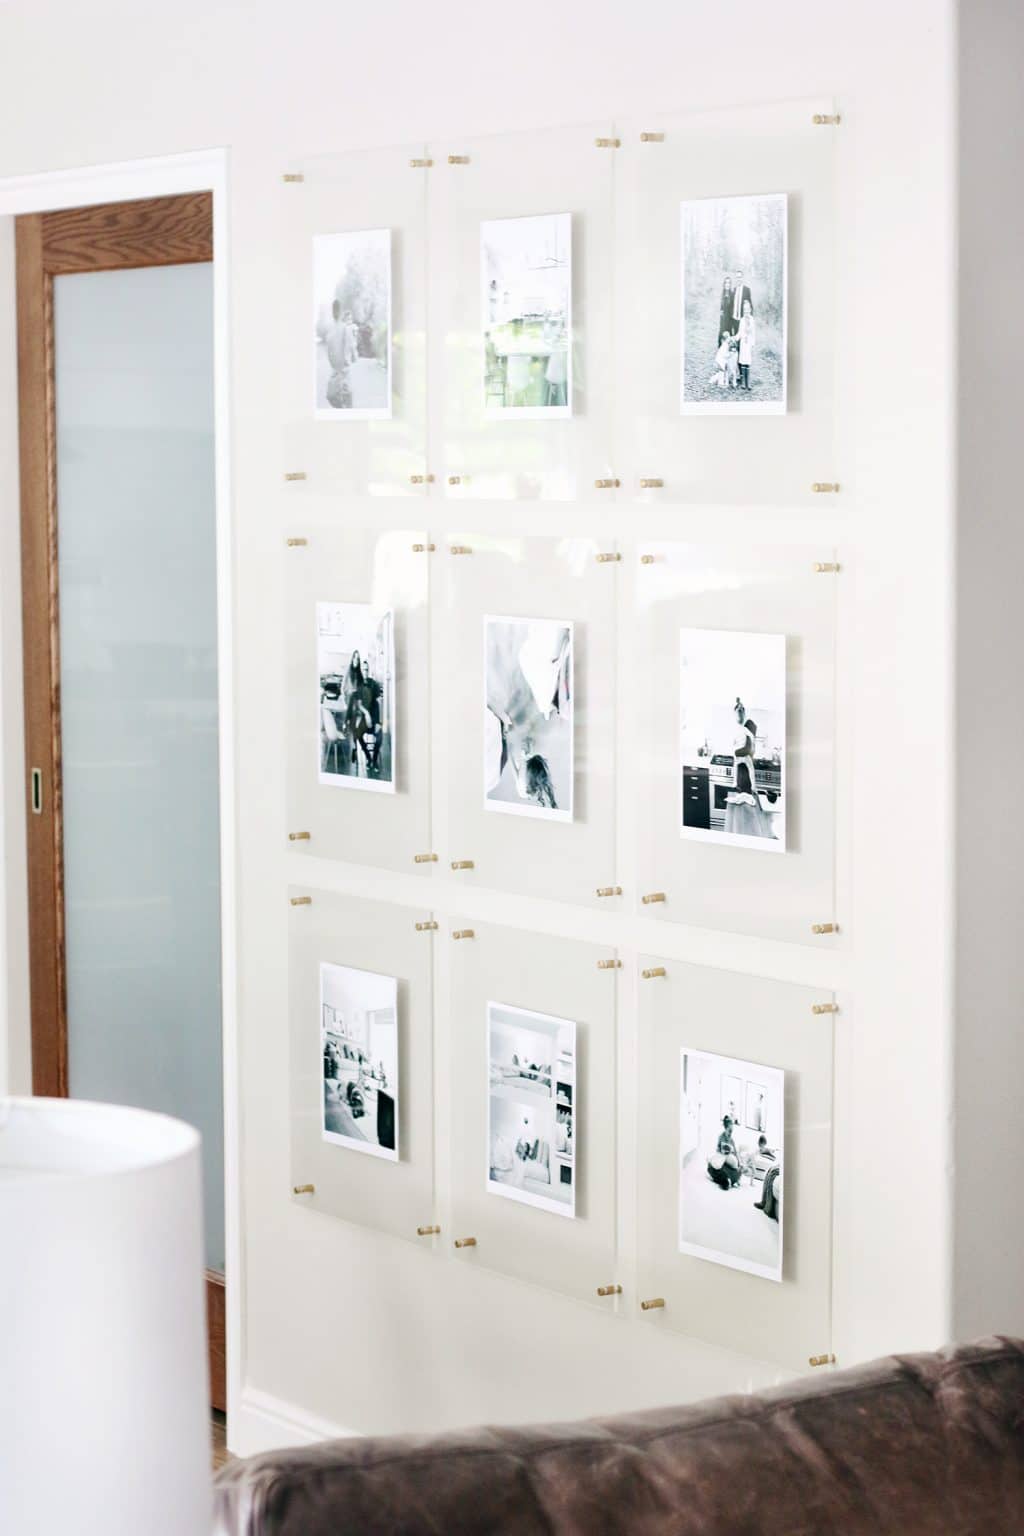
If you prefer a more minimal look, consider displaying black and white photos in acrylic floating frames that are arranged symmetrically. It's such a beautifully modern way to display family photos.
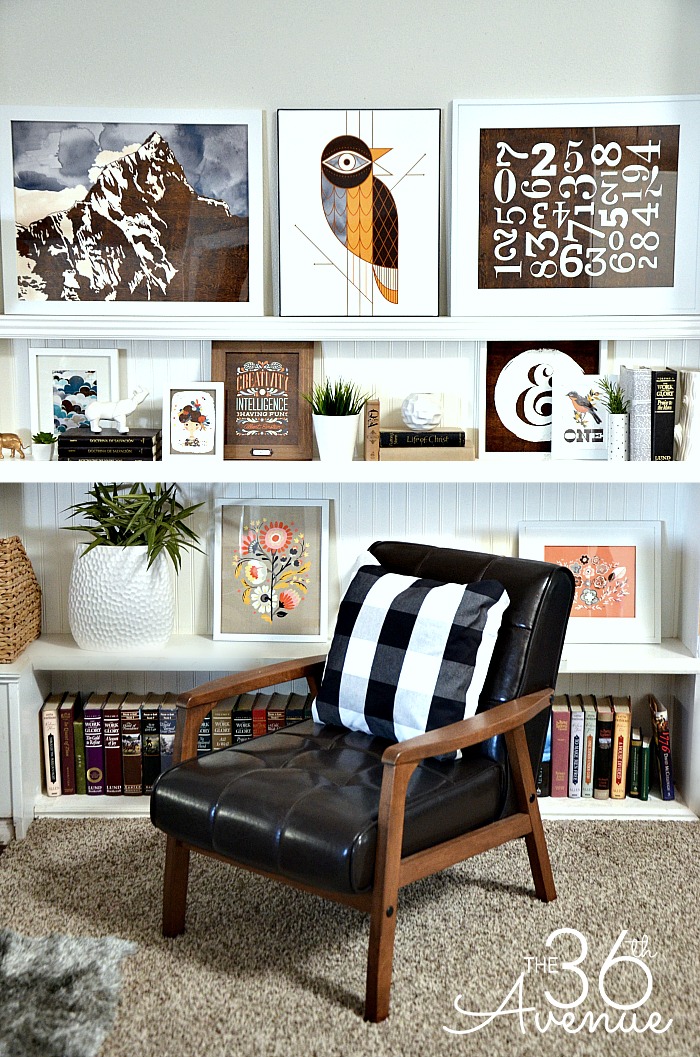
I love that this gallery wall spans across the wall space and the built-in-bookcases.
This beautiful gallery wall by Emily Henderson is a fantastic example of using mixed media. I love that a framed art canvas anchors the arrangement and is surrounded by framed photographs and art.

This gallery wall designed by Emily Henderson for Oh Joy! will always be one of my personal favorites. The color palette is gorgeous and it's the perfect backdrop to the seating arrangement.

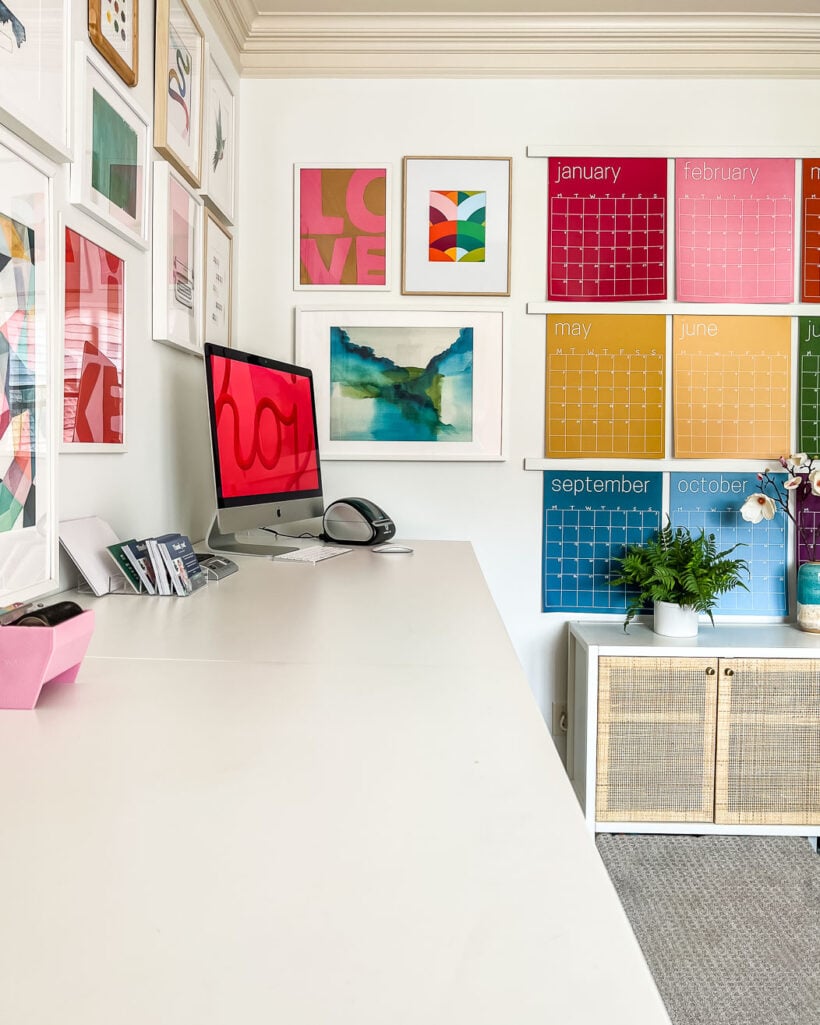
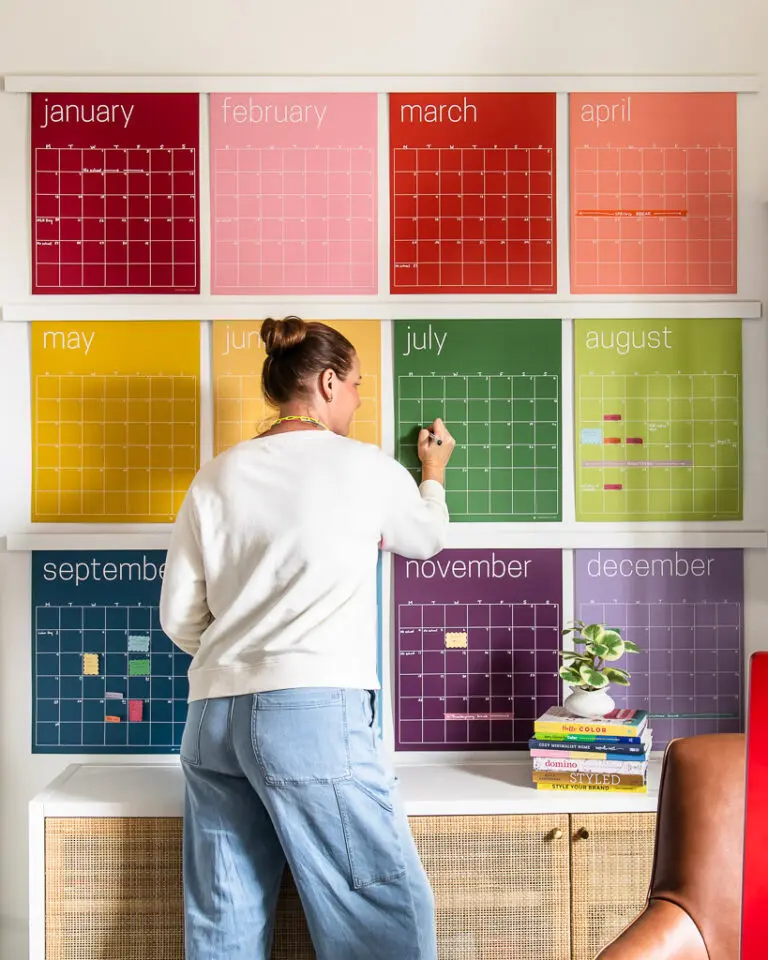
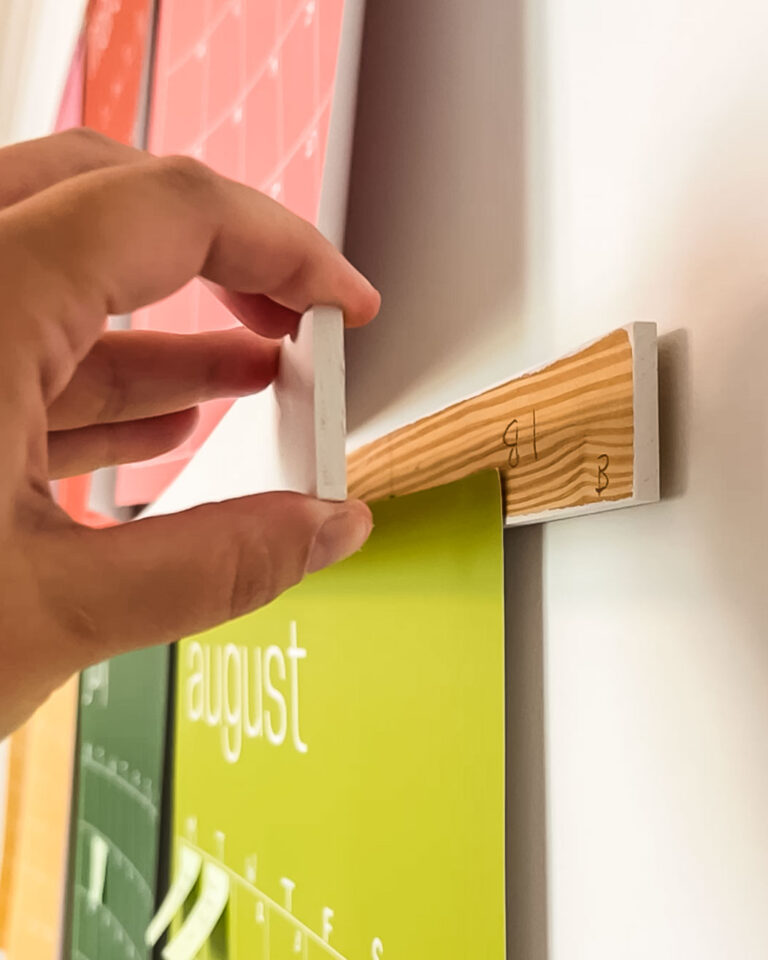
Never underestimate the impact that a gallery wall can make in a corner! The gallery wall in my office extends into both corners, which is one of my favorite things about it. This corner blends right in with my rainbow wall calendar.
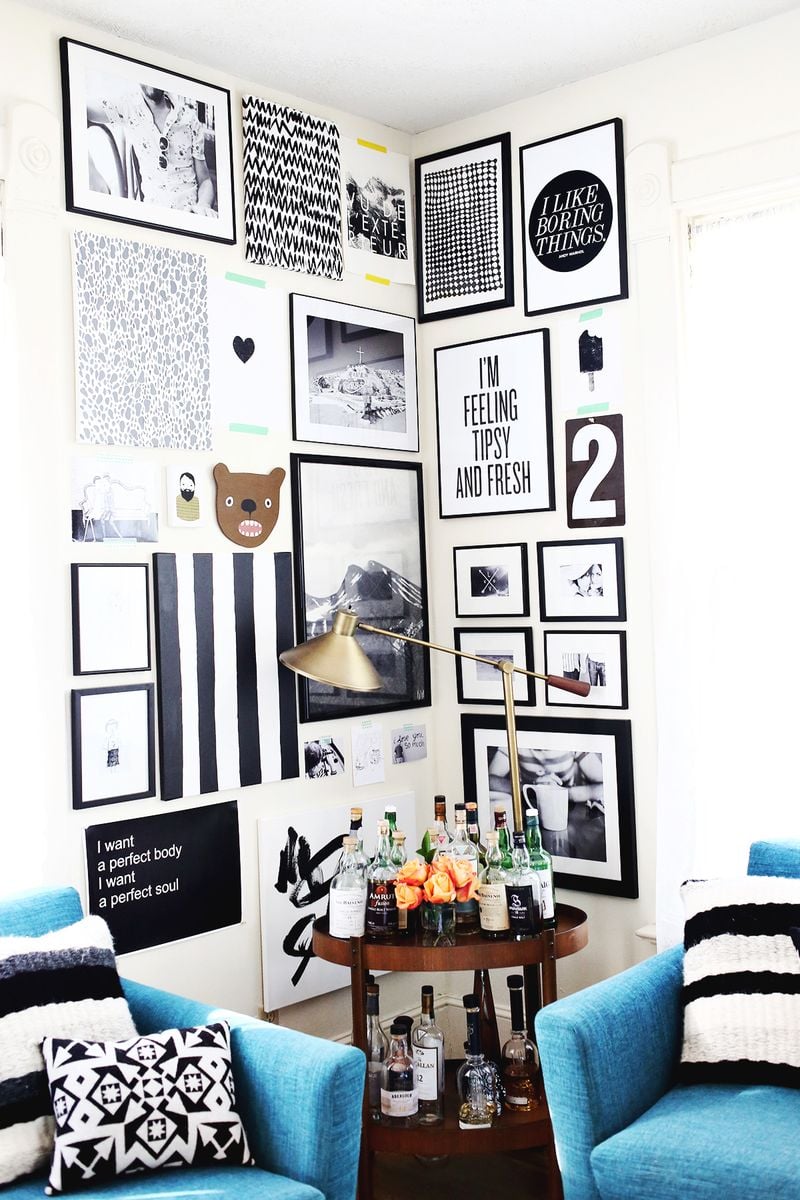
This arrangement features almost entirely black and white pieces, but it's incredibly interesting because of the variety of patterns and textures.
You can also use several photo ledges in a gallery wall if you don't want to hang your pieces directly on the wall. It can be a bit less intimidating than thinking you may make a zillion nail holes in your wall before you are happy with the arrangement, lol. The neutral color palette is so serene and calming.

Gallery Walls in Other Spaces
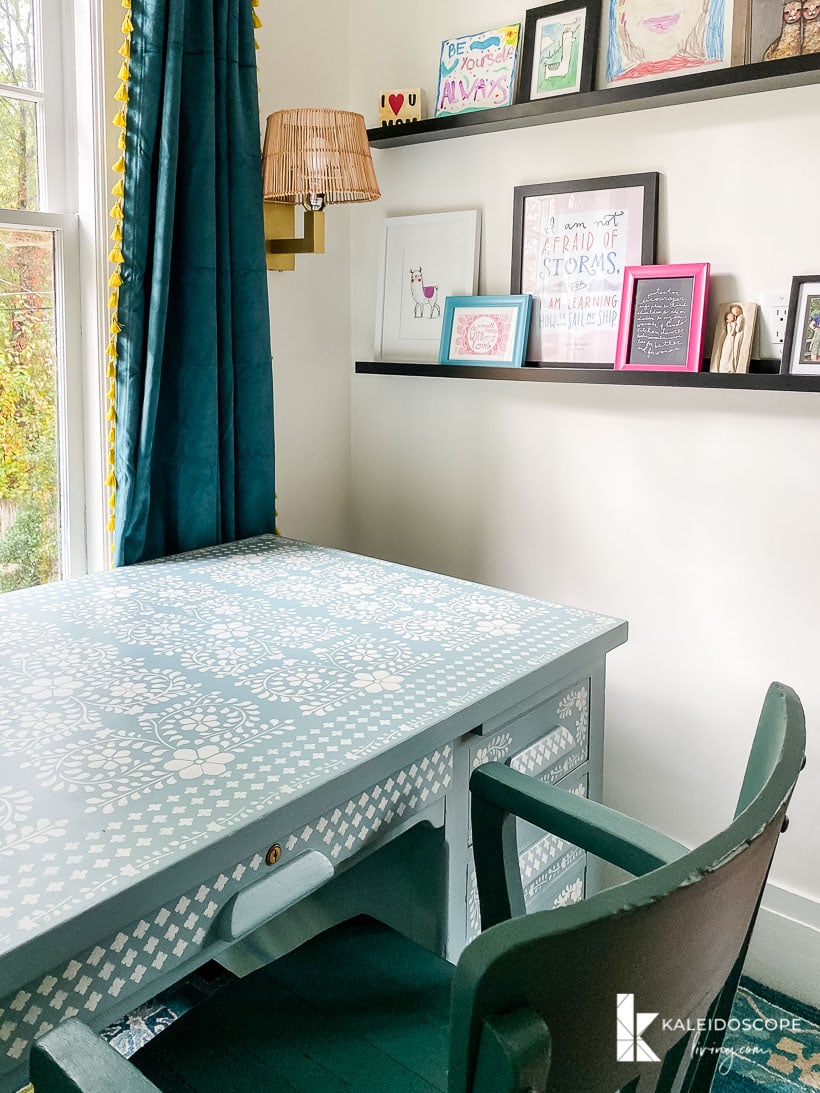
Office spaces are a GREAT space to add a gallery wall that will keep you feeling energized and inspired. I included a gallery wall with photo ledges as part of my friend Thea's office makeover. It adds so much interest to her tiny office nook that is off of her kitchen.
And here's another view of the gallery wall in my home office.
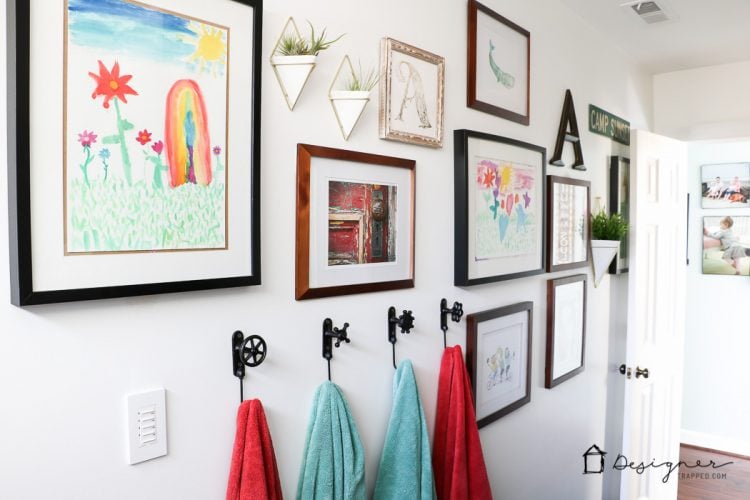
I love incorporating kid art whenever I can! I used a lot of my girls' own artwork in their bathroom in our prior home and it made me smile every time I saw it.
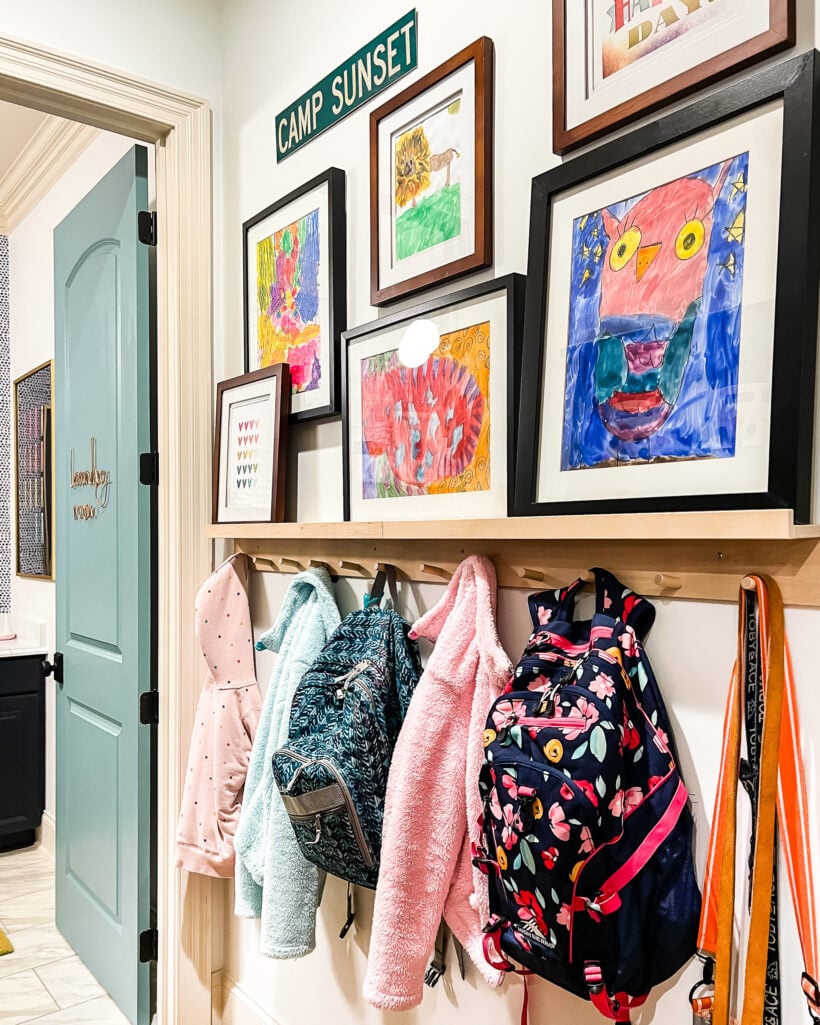
Now that we are in our new house, I used many of the same pieces of art that my girls painted to create a fun gallery wall in our mudroom area.
I hope I have convinced you that gallery walls can be a great way to showcase your creativity on your home's walls. By following the tips in this post and finding some gallery wall ideas that inspire you, you can create a stunning gallery wall that will elevate your home's decor.
Now go ahead and have fun creating one in your home! Get creative, find the perfect pieces that speak to you, and start planning. You can go with all the same frame and color palette, or you can mix it up. Don't forget, it doesn't all have to be flat-framed art. Some of the most fun galleries mix in three-dimensional pieces and included mixed media. Creating your perfect gallery may take a little more time and attention than just hanging a few frames and being done, but the extra effort will be so worth it in the end.
Other posts you may enjoy:
Wondering how I approach transforming rooms and spaces in our home? Check out Designer in a Binder®.

And if you want exclusive content and behind-the-scenes sneak peeks, be sure to subscribe before you head out!