DIY Crafts
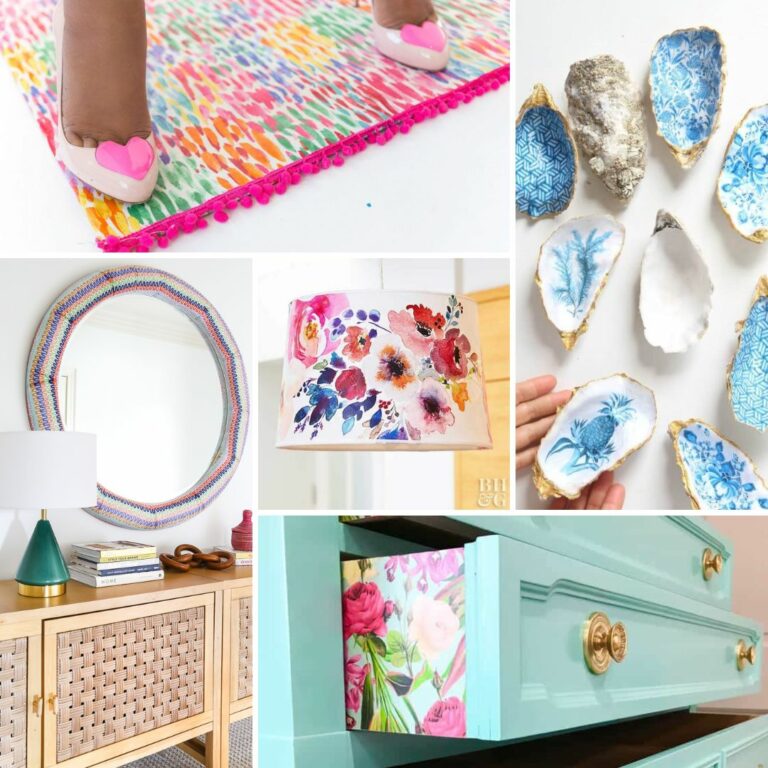
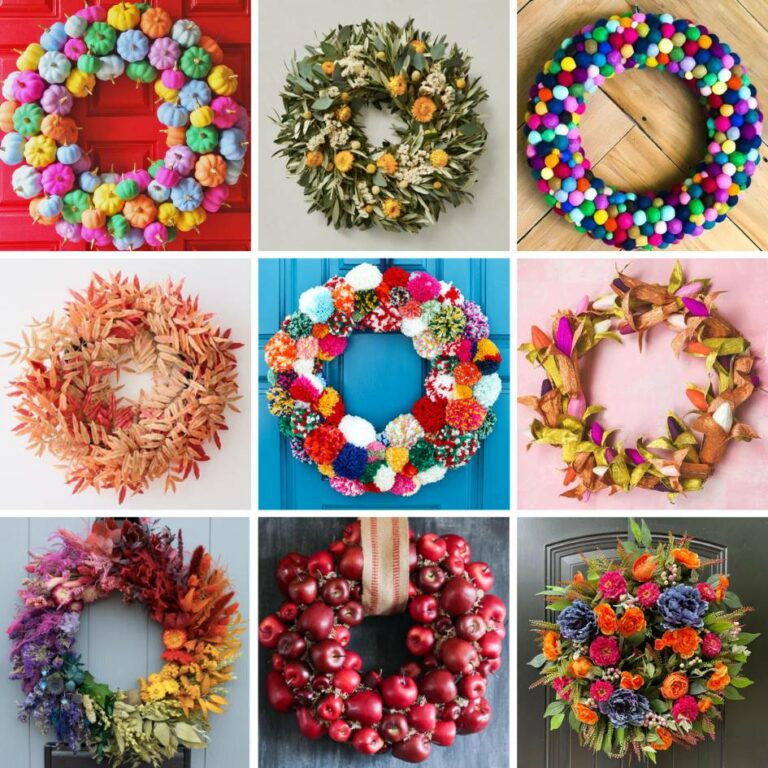
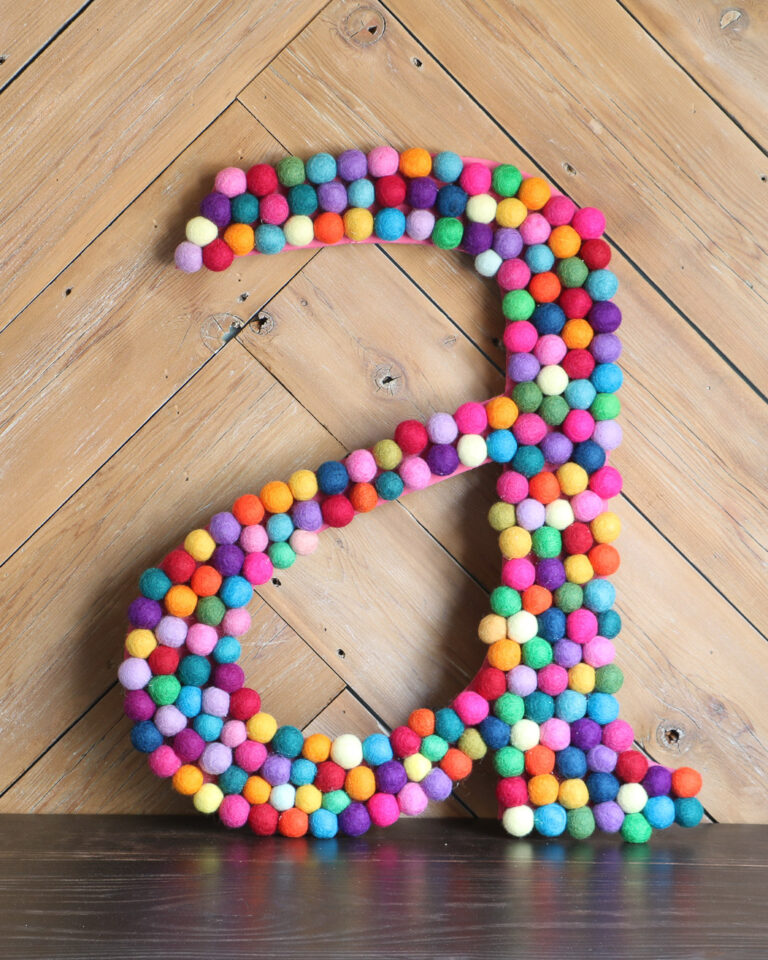
DIY crafts is all about making fun and beautiful things for your home or for great DIY gifts. Anyone can be creative with our step-by-step instructions, easy to find supplies and long list of cute ideas! Best of all, these DIY crafts are budget-friendly!
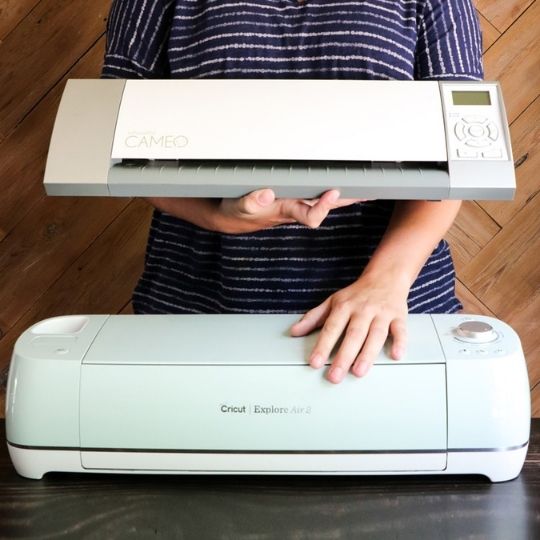
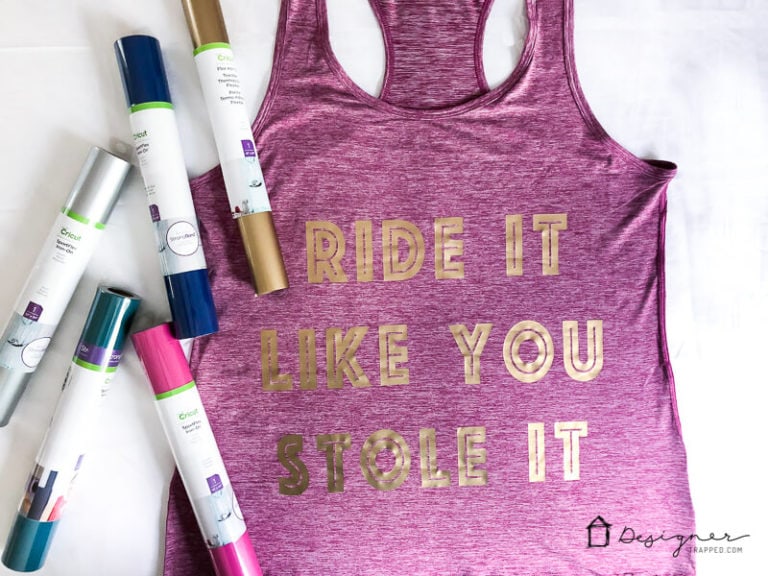
I also share reviews of some of my favorite crafting tools, like Silhouette vs. Cricut – My Unbiased Review and Which is the Best Cricut Machine for You?
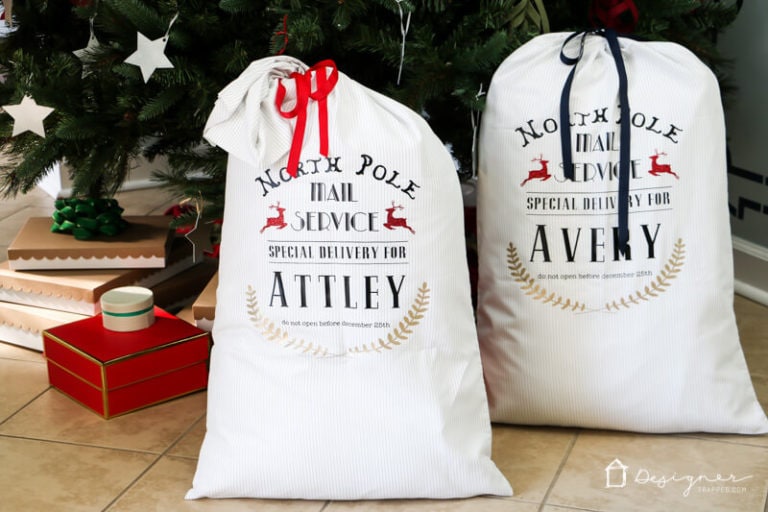
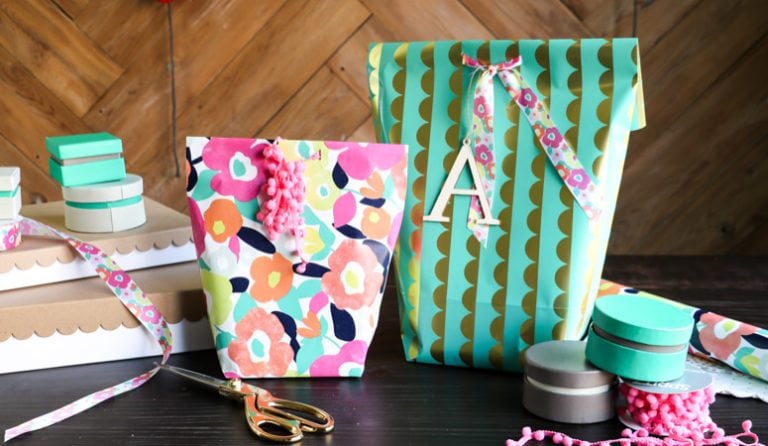
Wondering what my most popular crafting post is? It’s my tutorial for how to make your own gift bags from wrapping paper–it makes it so easy to wrap up the gifts you make for friends and family!