DIY Furniture
DIY furniture ideas are so fun and can absolutely transform the look of your home. You probably have nice (or not so nice) pieces that you’ve owned for some time but have fallen out of love with for one reason or another. But replacing furniture can be so expensive!
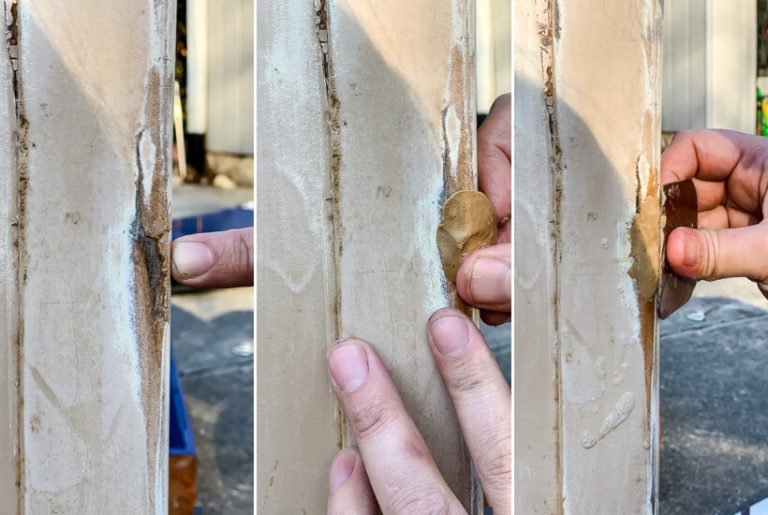
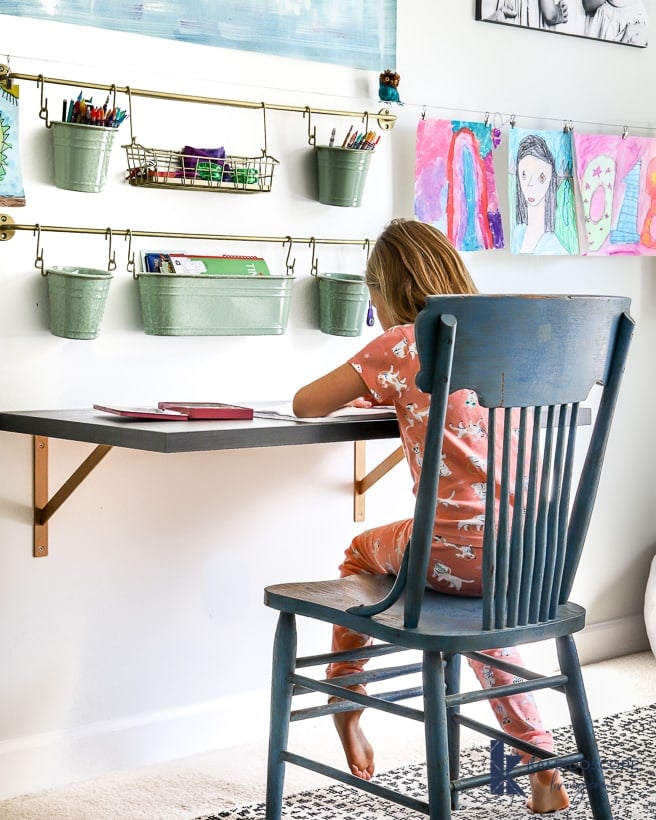
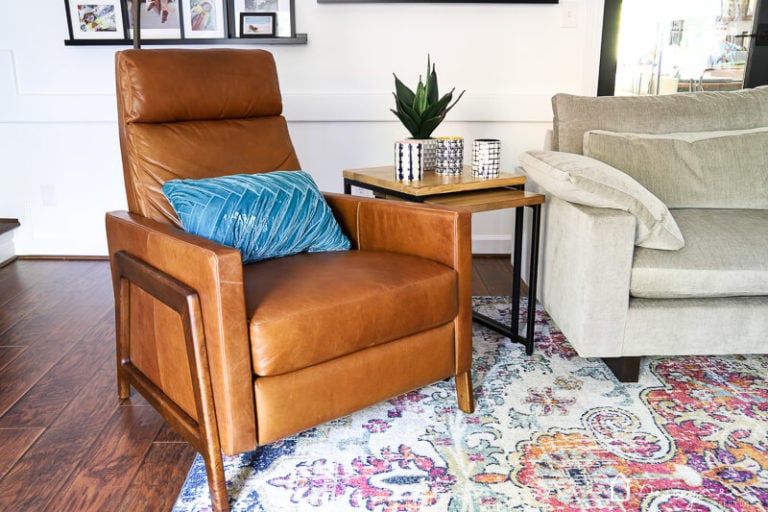
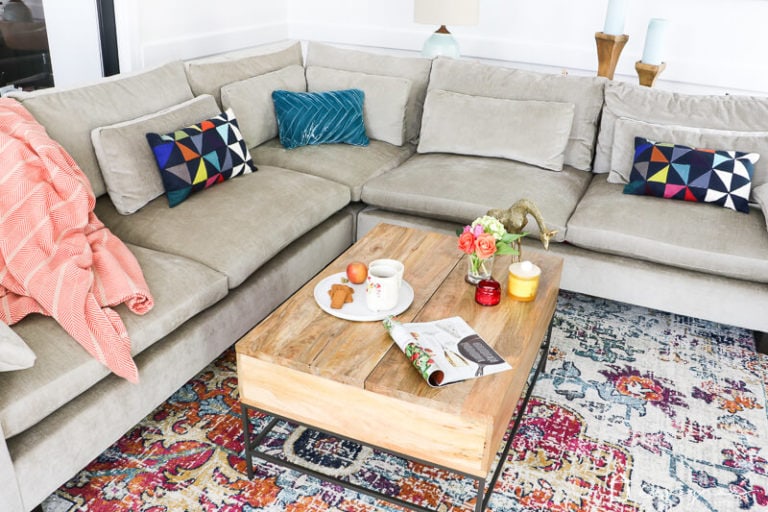
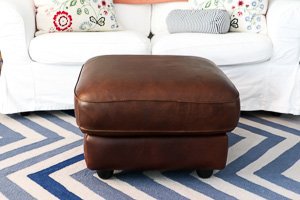
Check out our budget-friendly furniture ideas like how to make an old couch look new again, how to restore leather furniture, and how to refinish wood chairs the easy way!
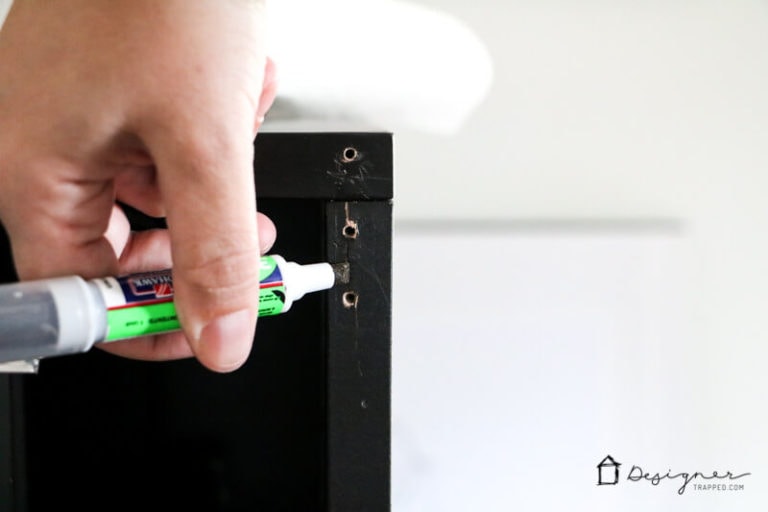
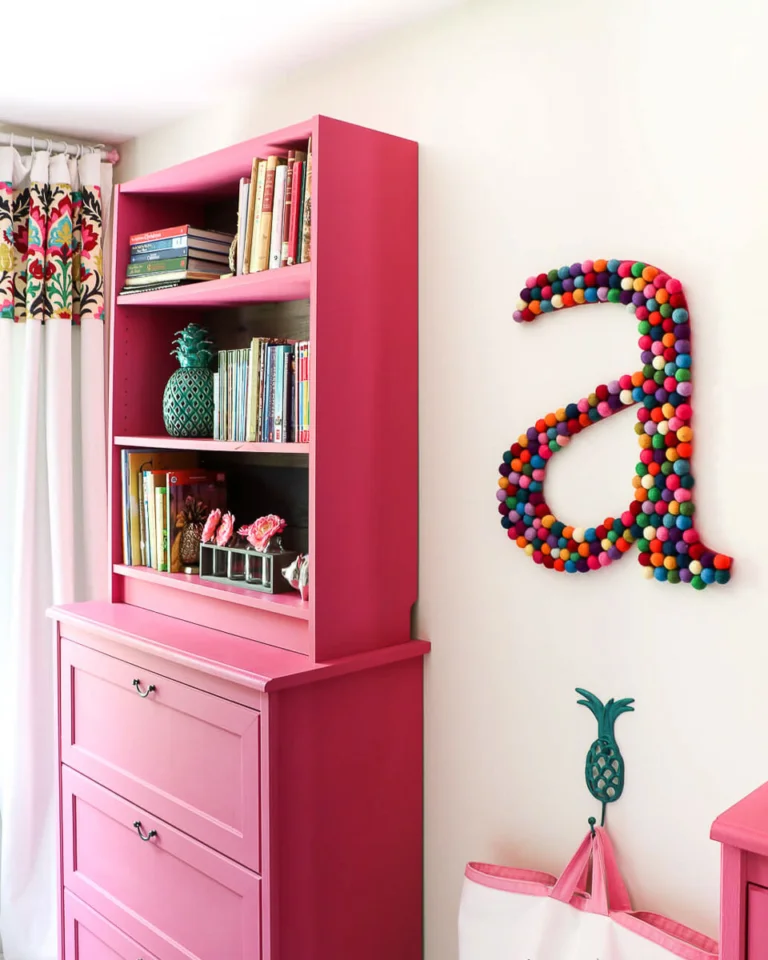
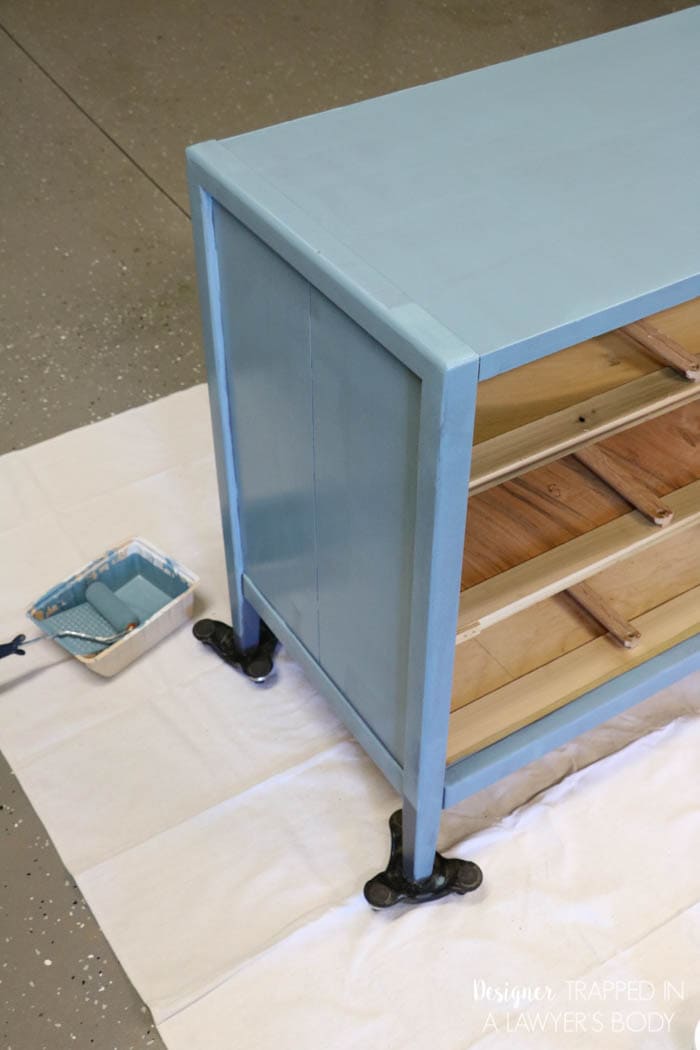
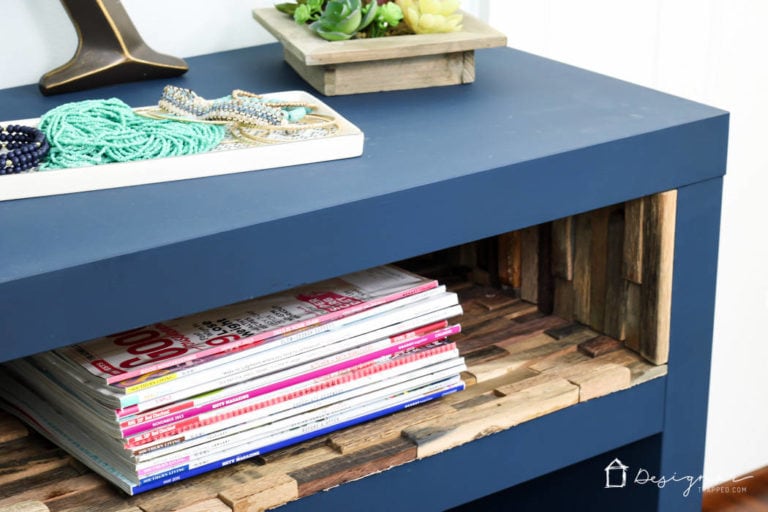
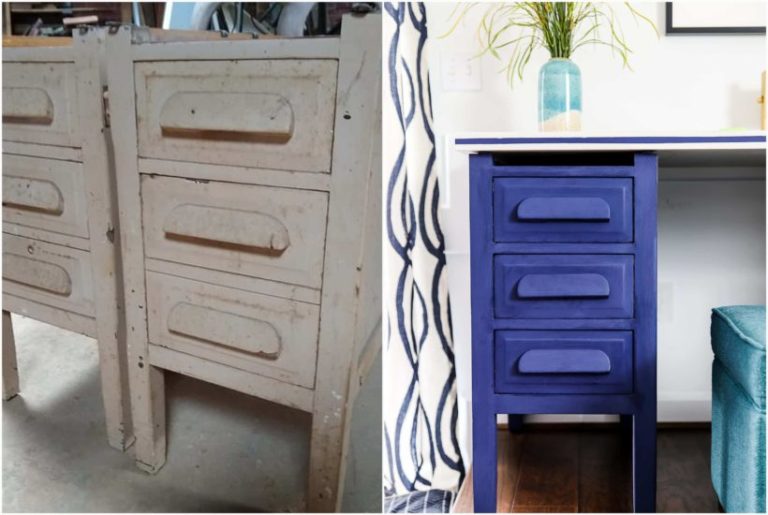
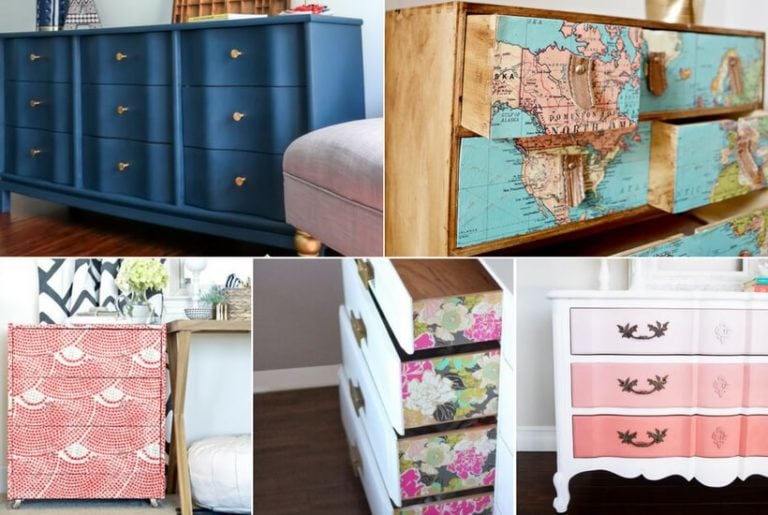
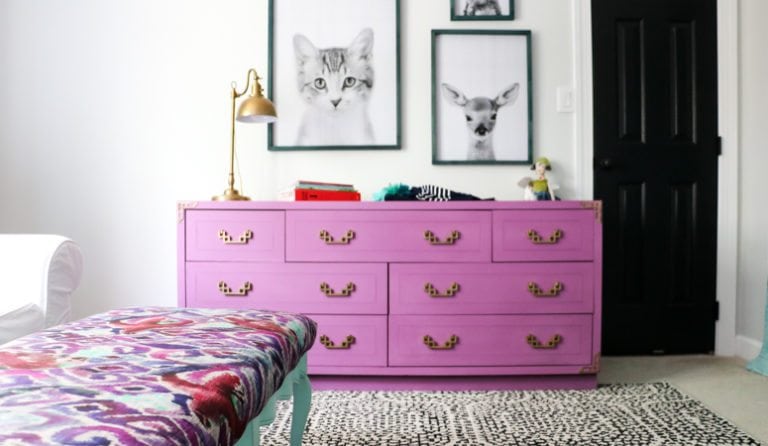
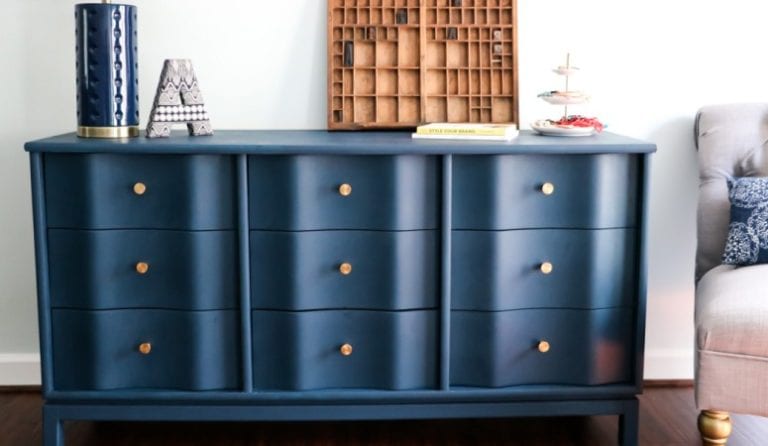
And if you have some good quality furniture pieces that just need a good paint job, you are in the right place. Check out the best paints for every type of furniture and how to paint a dresser the correct and easy way! And don’t miss this post on how to paint IKEA laminate furniture (and how NOT to do it).
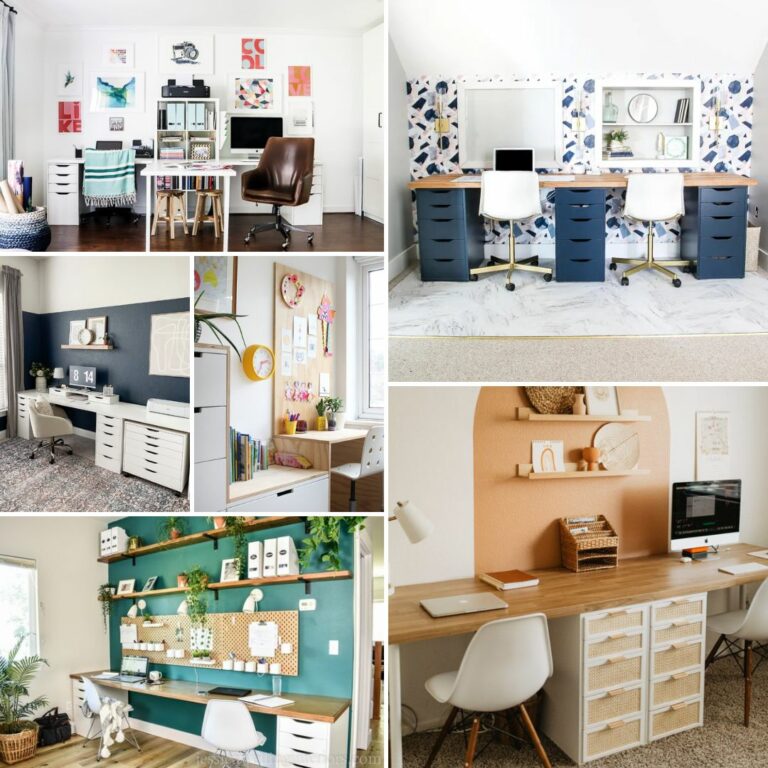
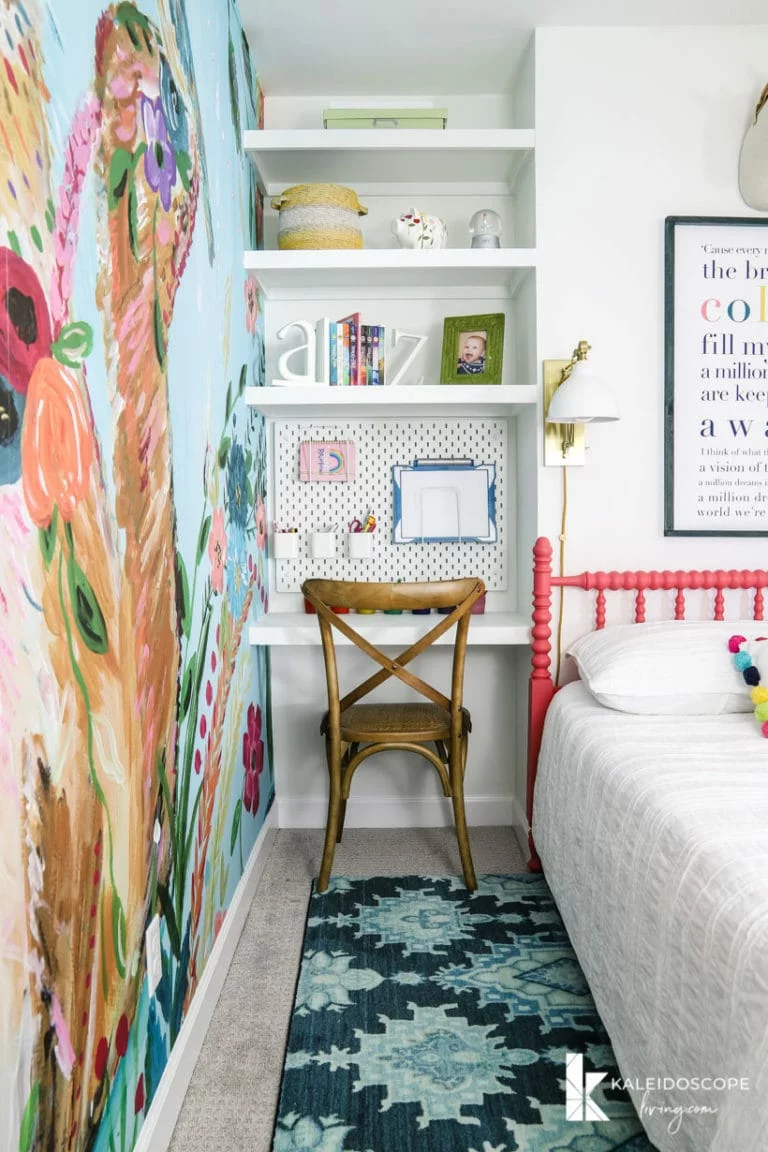
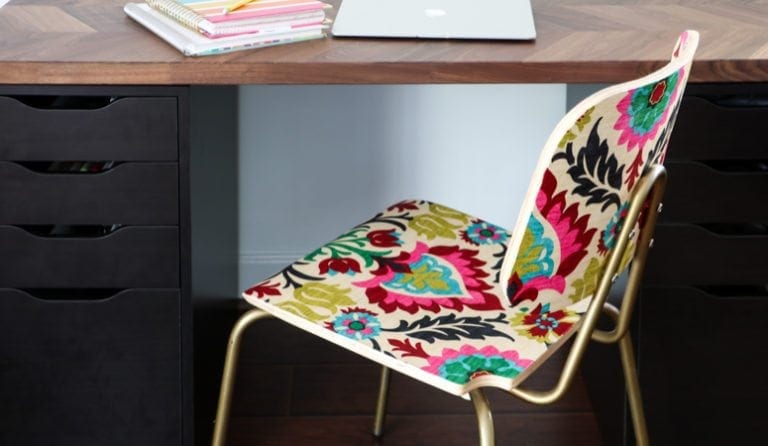
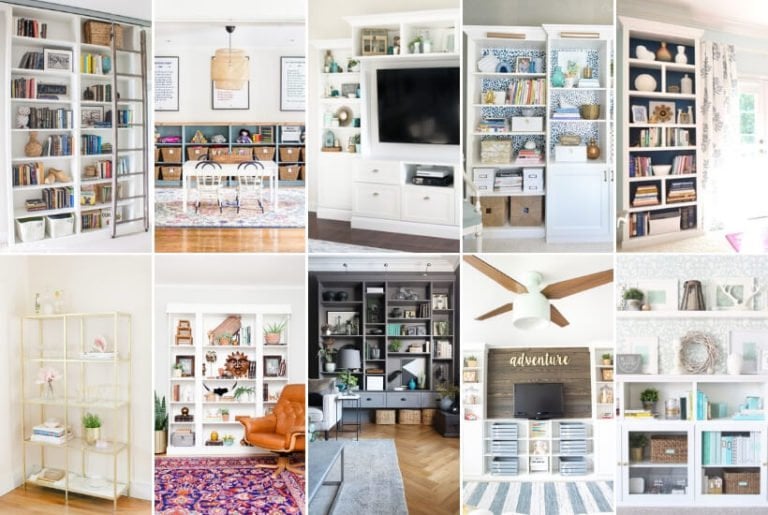
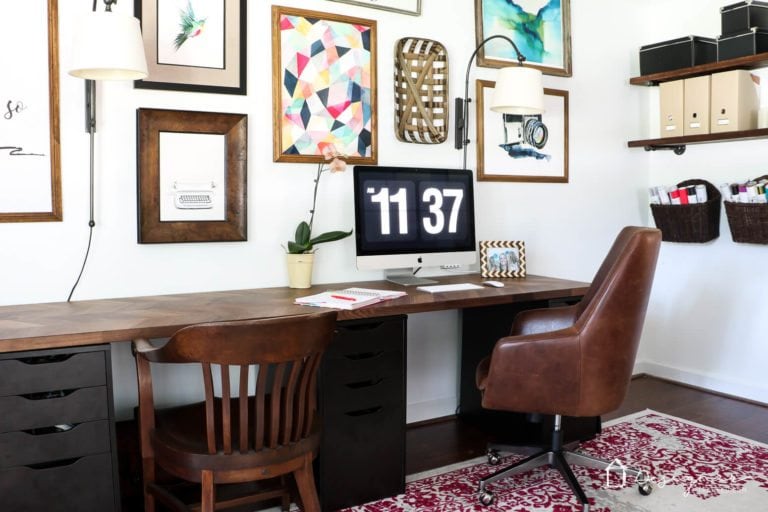
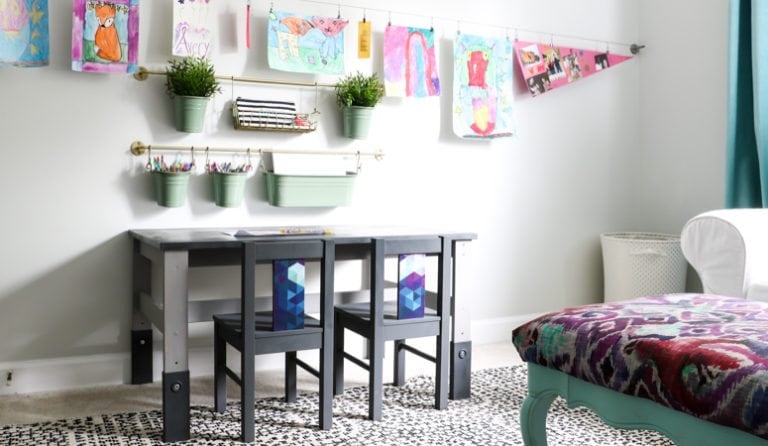
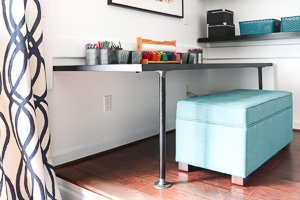
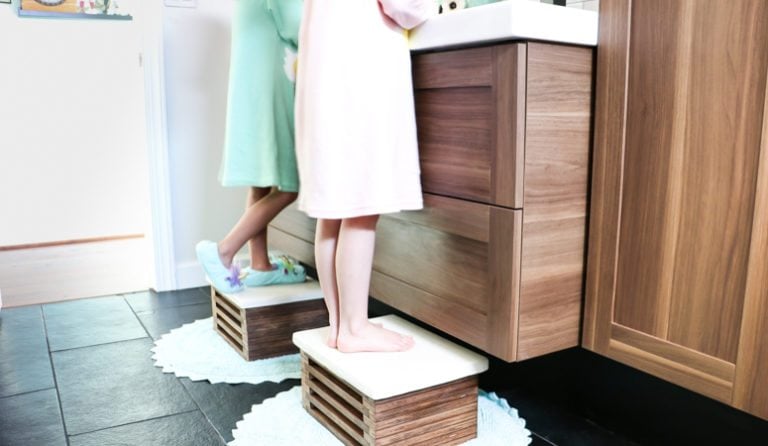
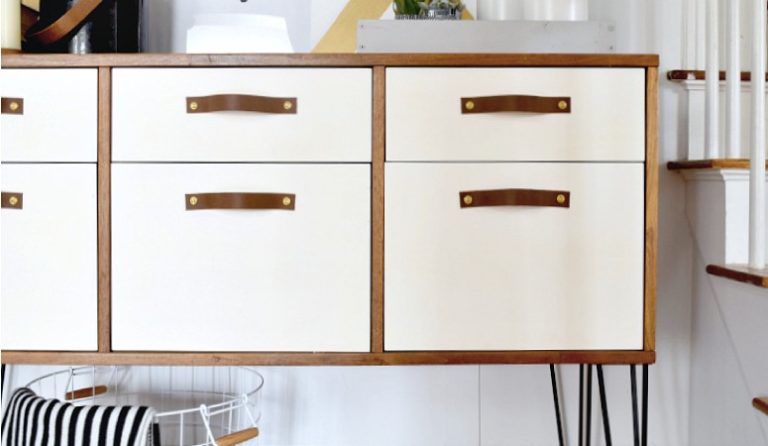
Last but not least, IKEA hacks are a great option for DIY furniture on a budget. From IKEA desk hacks to IKEA bookshelves and built-in hacks, the inspiration is endless!