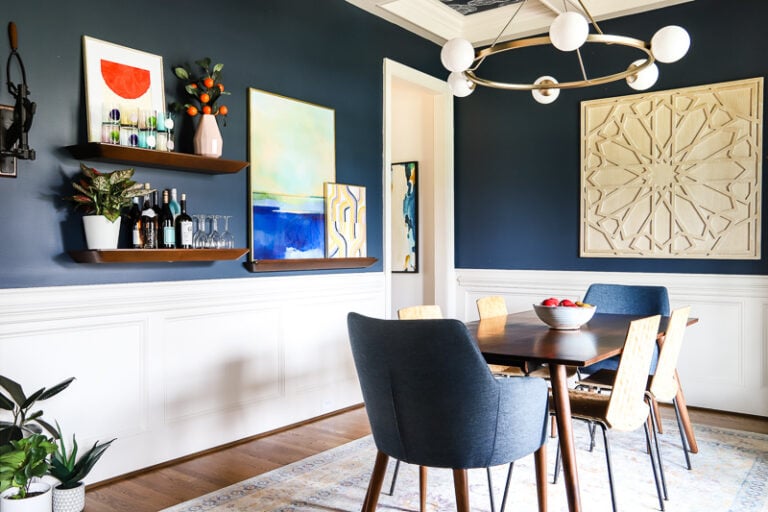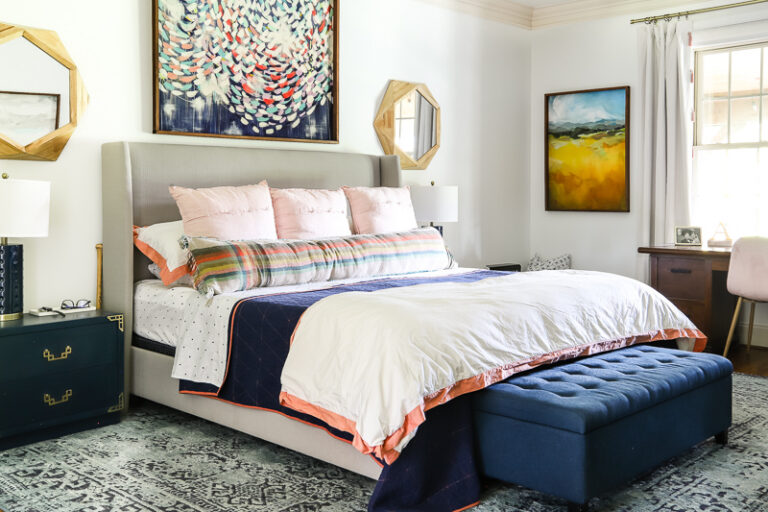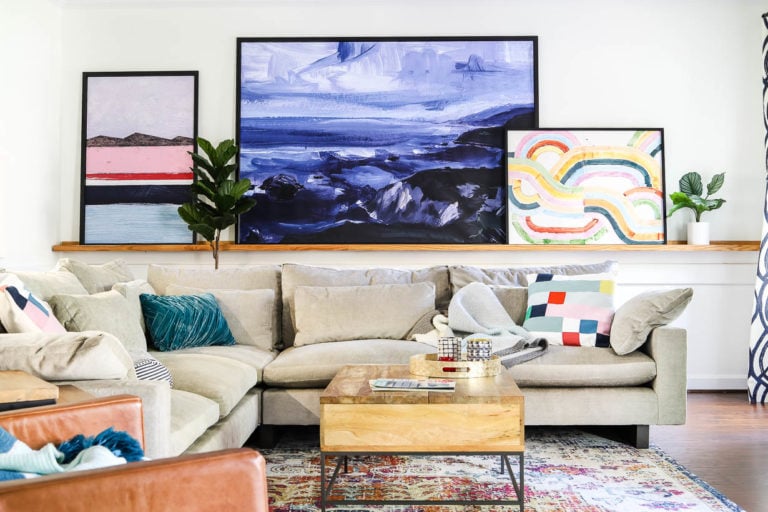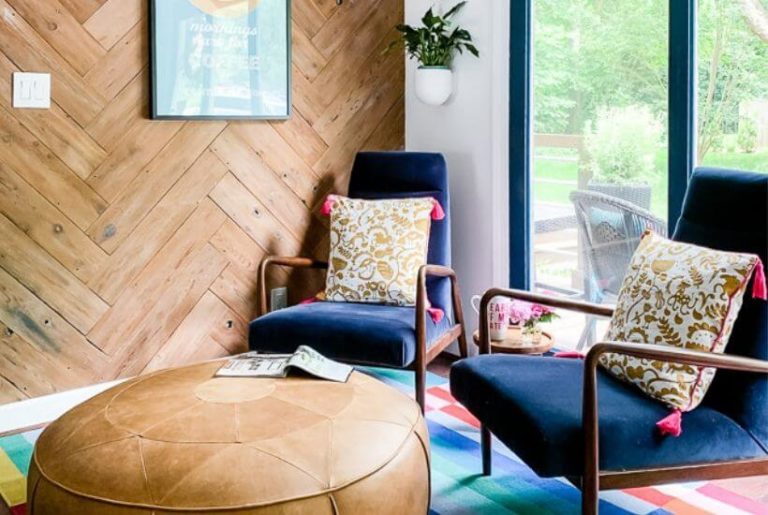
Design Tips
Here you’ll find interior design tips that will make decorating your home fun and simple! Learn things like:
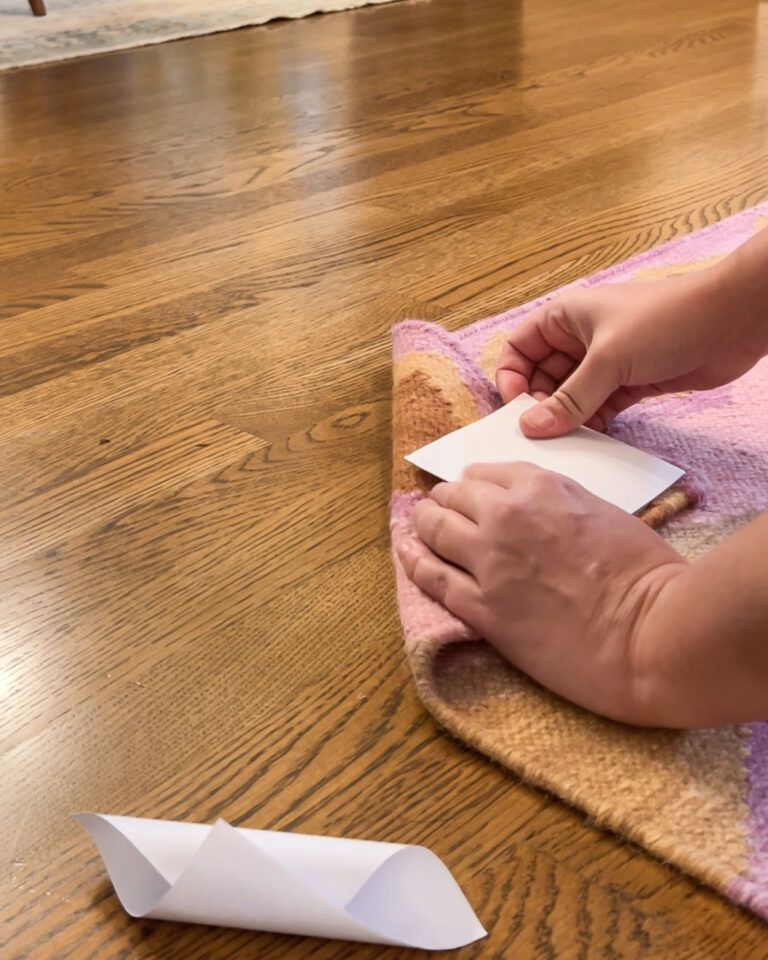
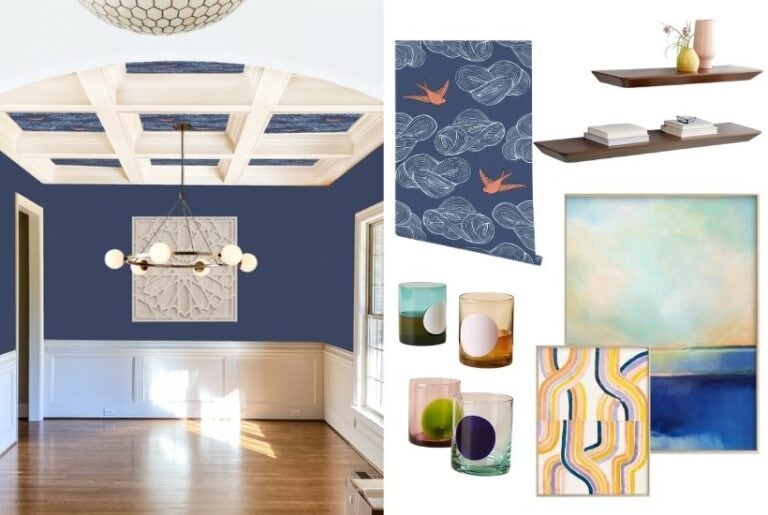
How To Make a Mood Board: A Step-By-Step Guide
8 Interior Design Mistakes You Don’t Even Know You are Making (and How to Fix Them)
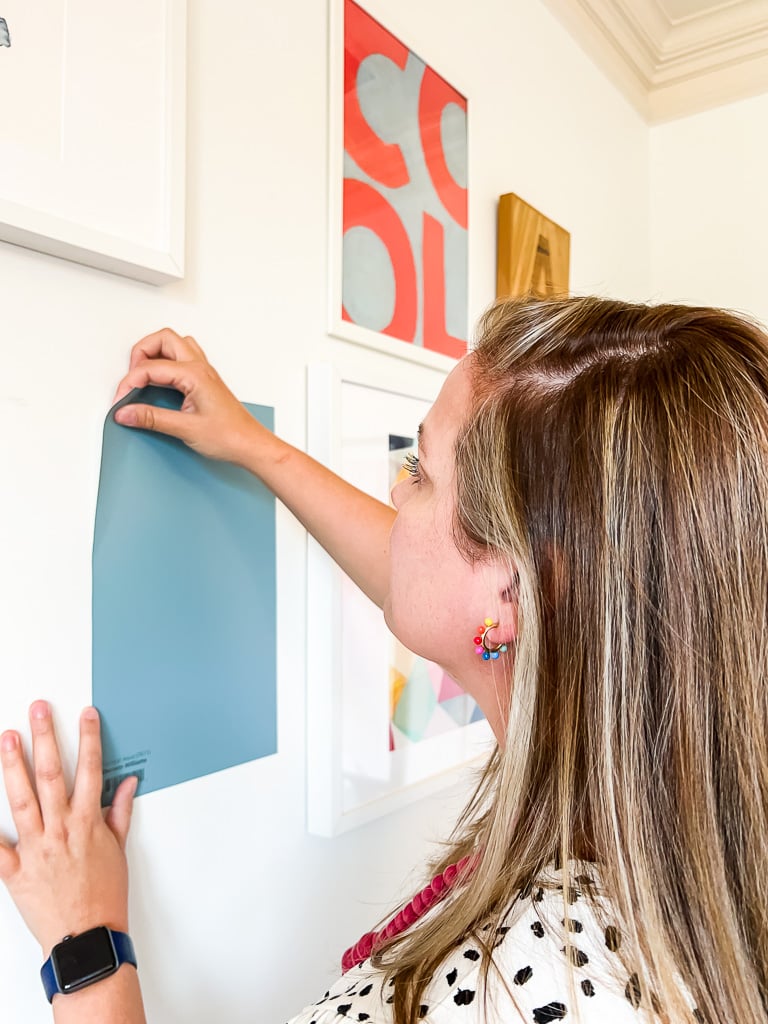
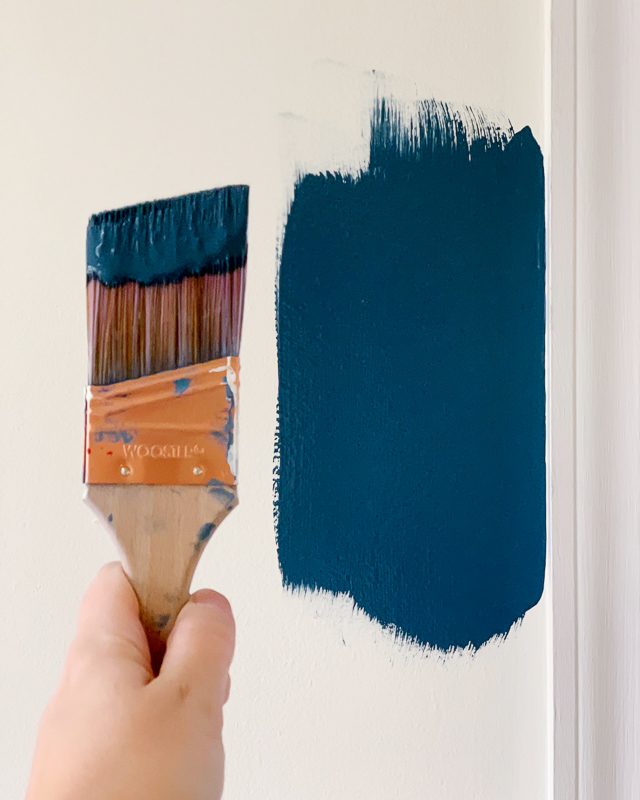
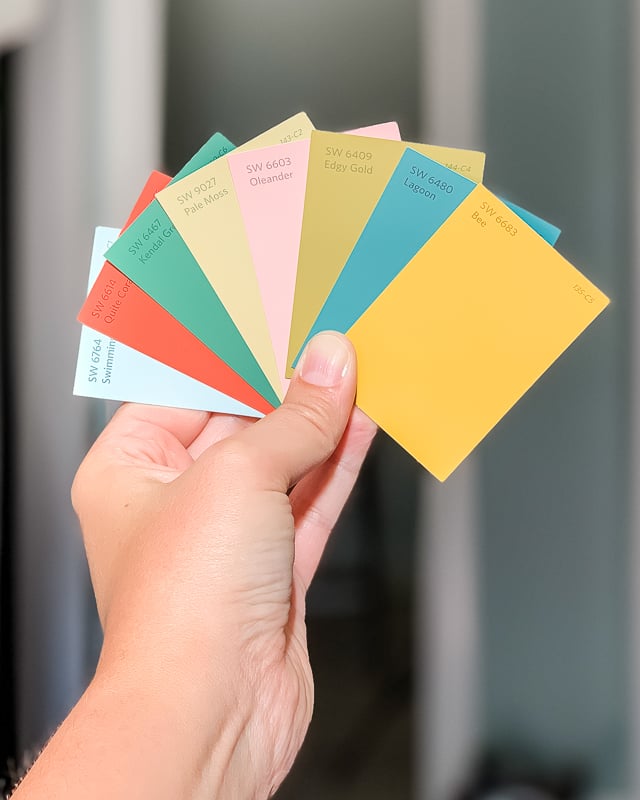
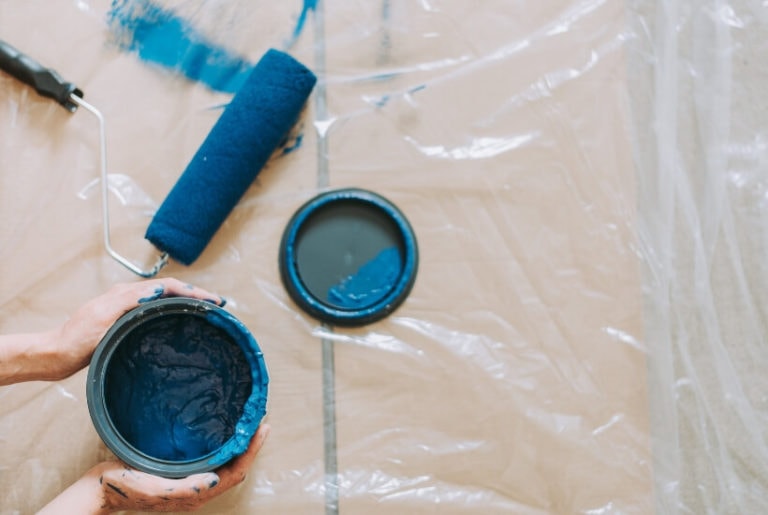
How to Choose Paint Colors for Your Home: 5 Simple Tips to Follow
Browse by: