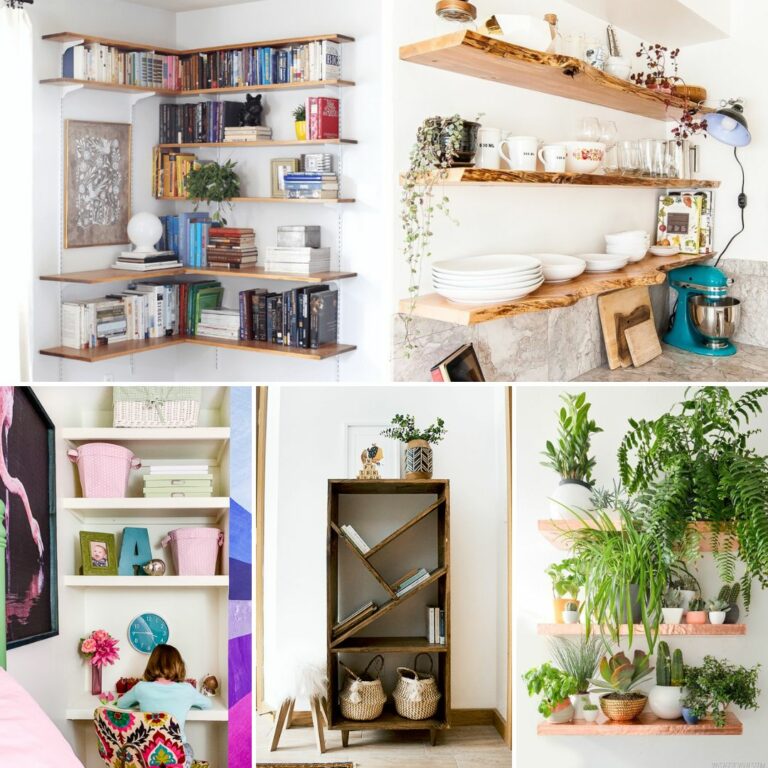
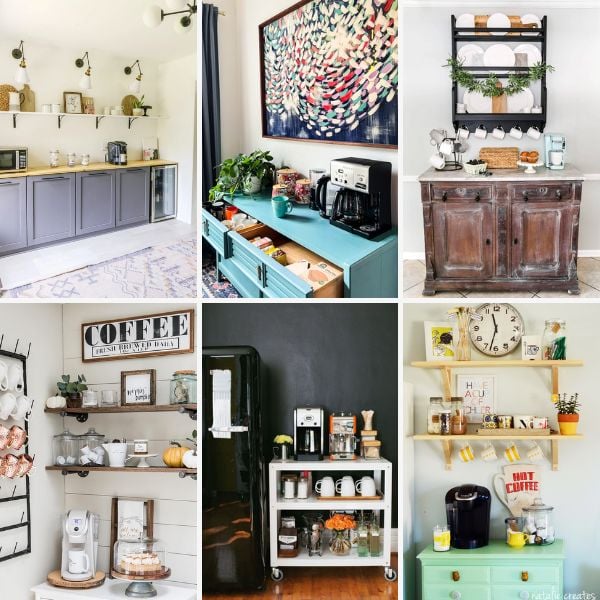
DIY Home Decor
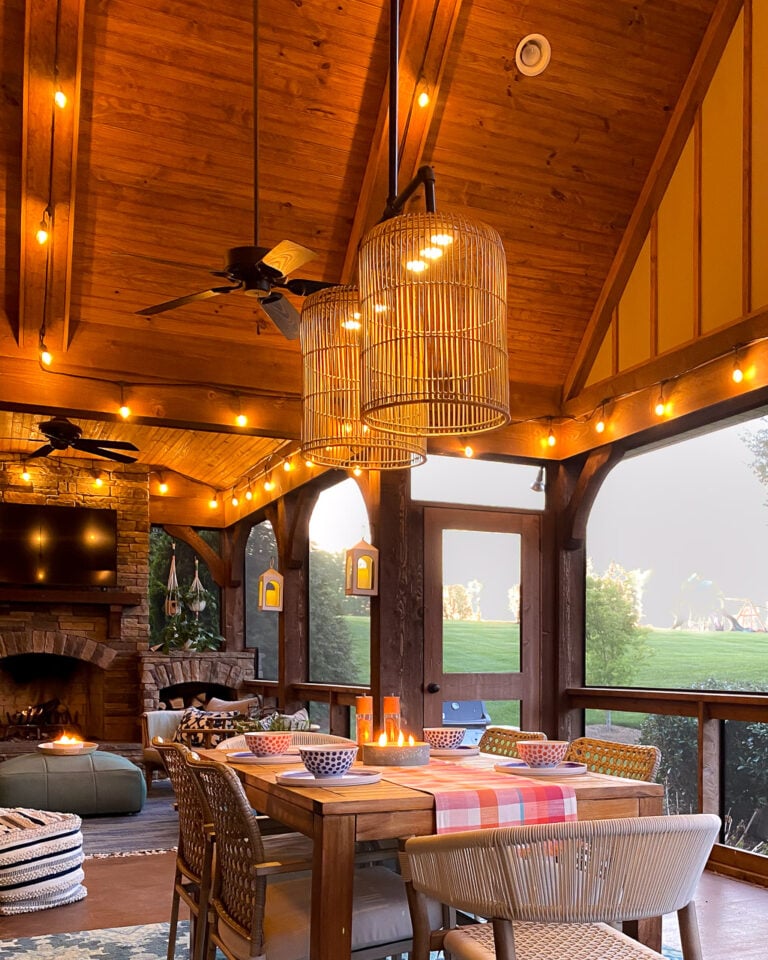
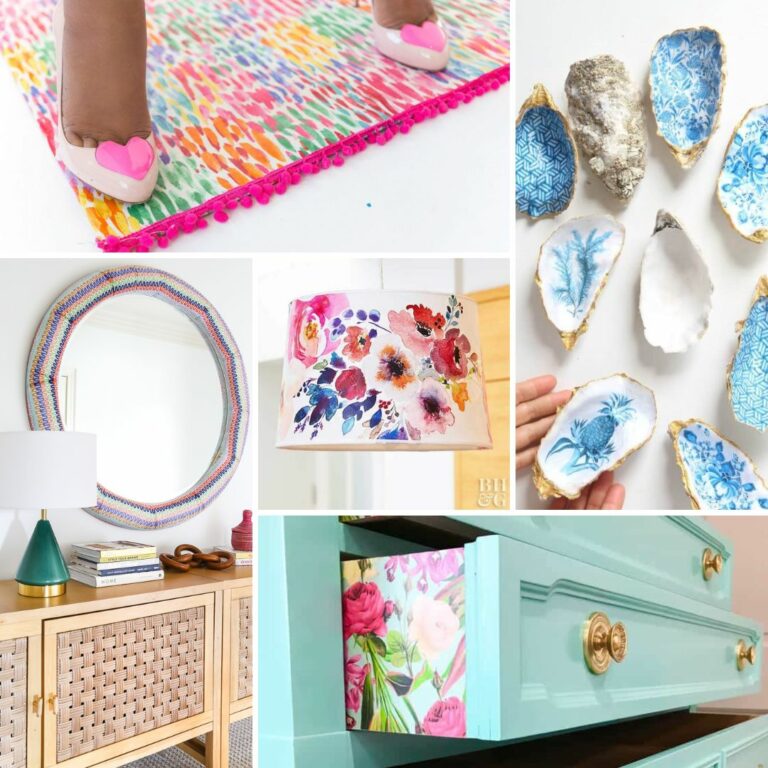
DIY decor is an affordable way to fill your home with things you love. This is our amazing collection of DIY home decor archives to show you how to create great interior design looks at home on a budget.
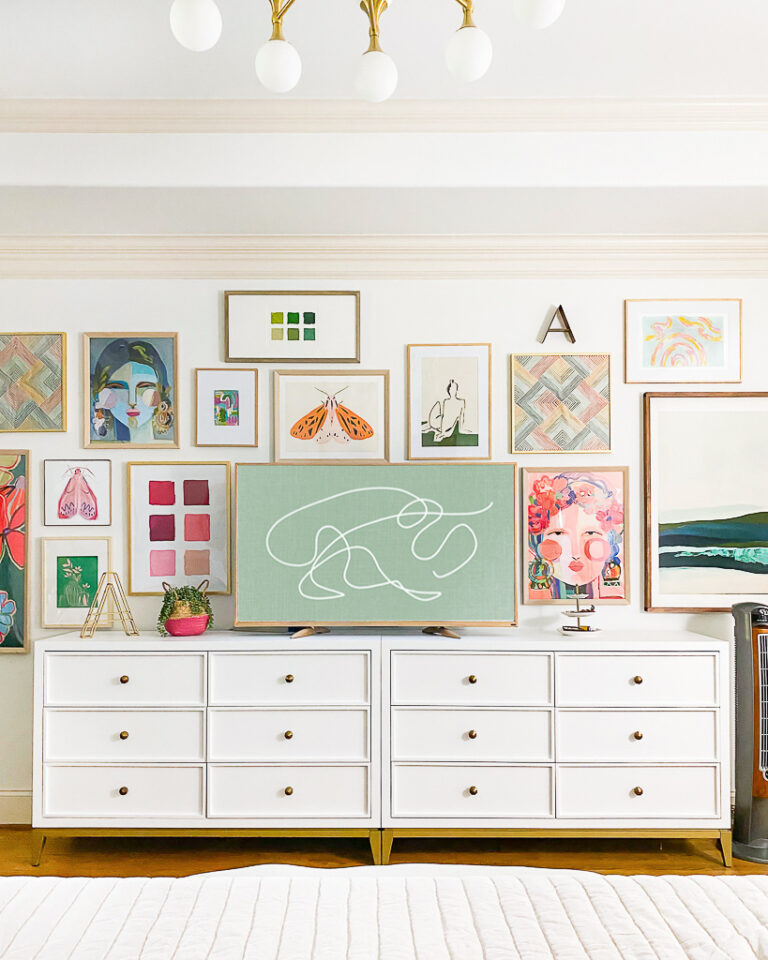
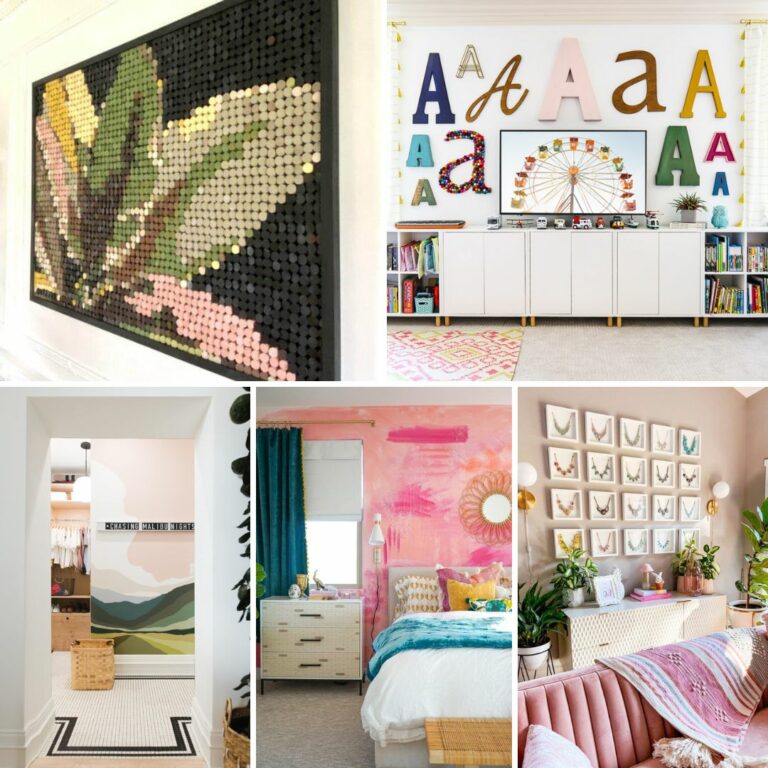
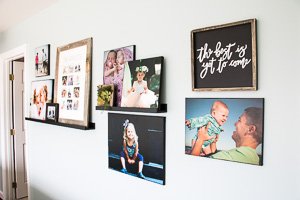
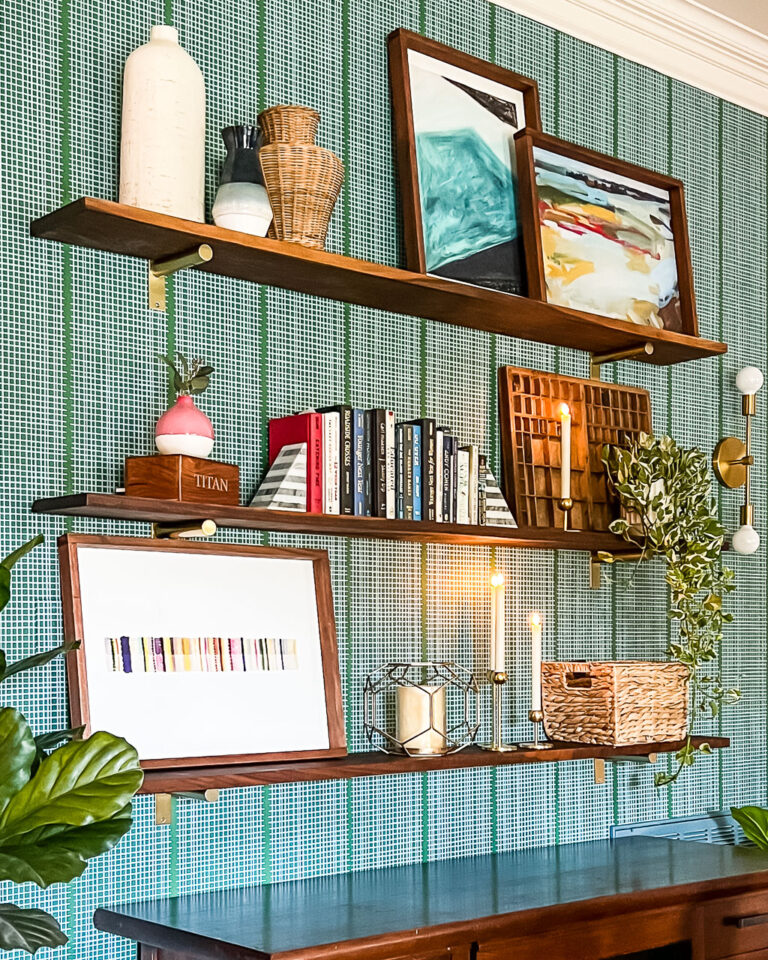
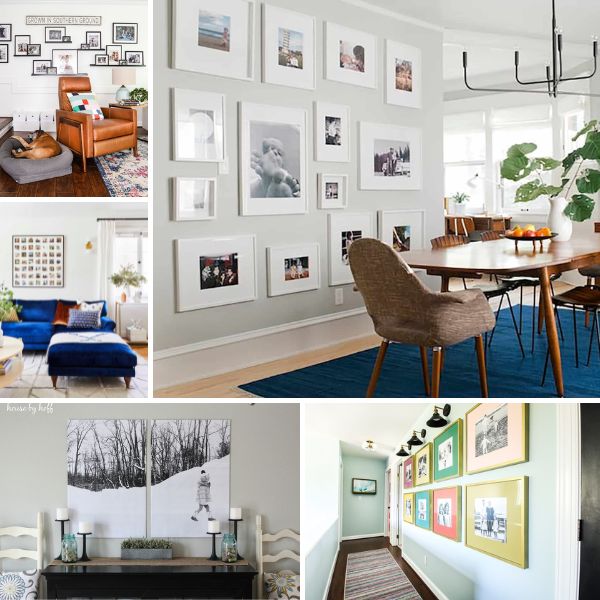
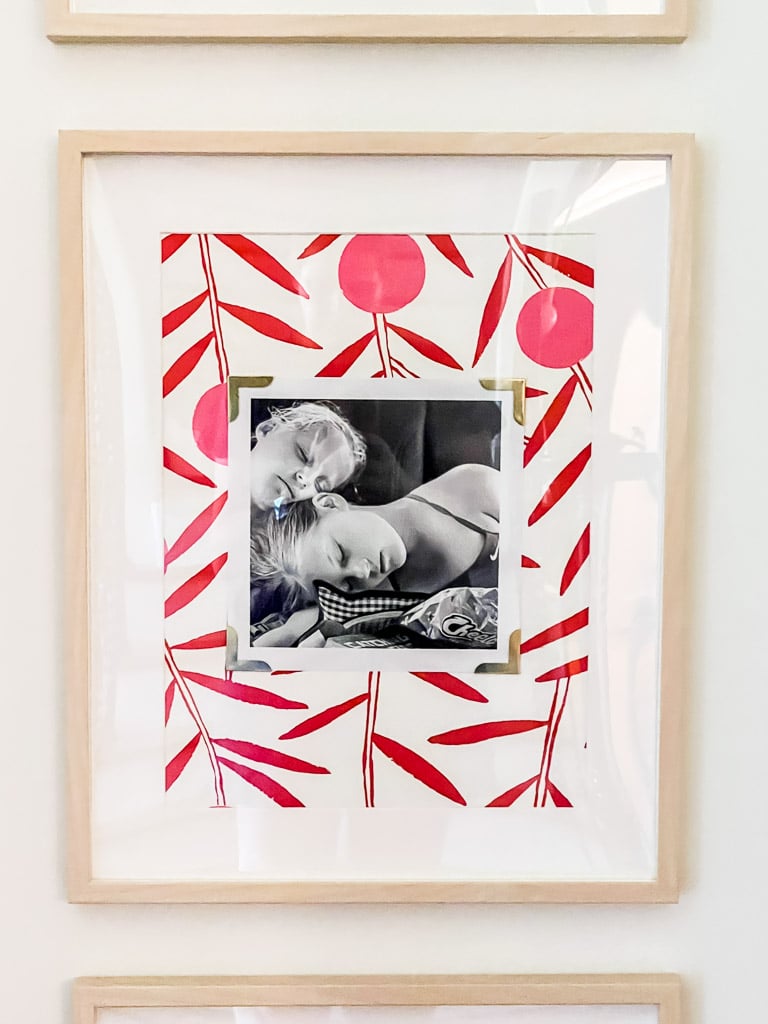
One of my most popular DIY decor posts of all time is how to make DIY photo canvases. My post on how to decoupage furniture with fabric is a personal favorite of mine.
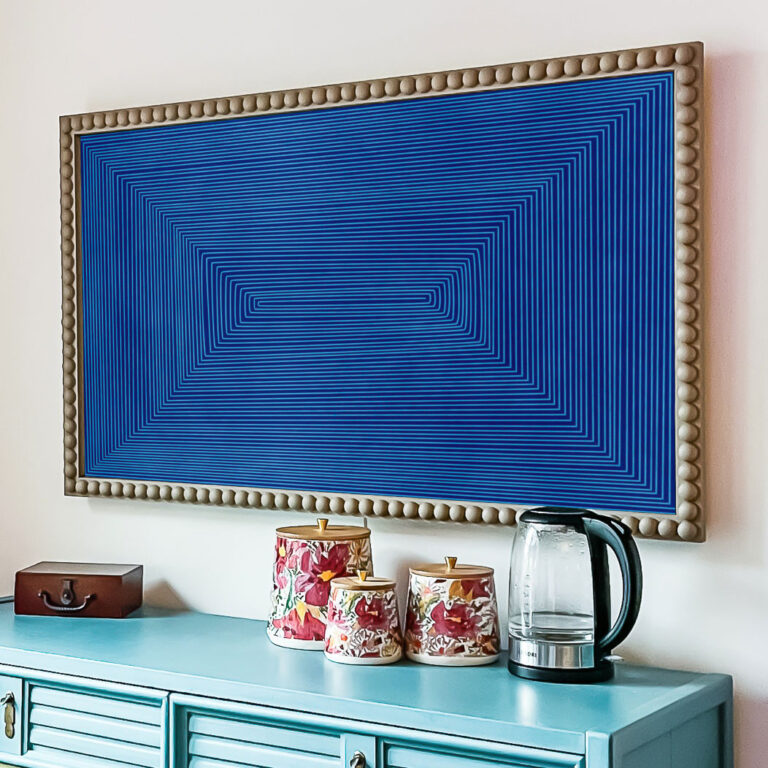
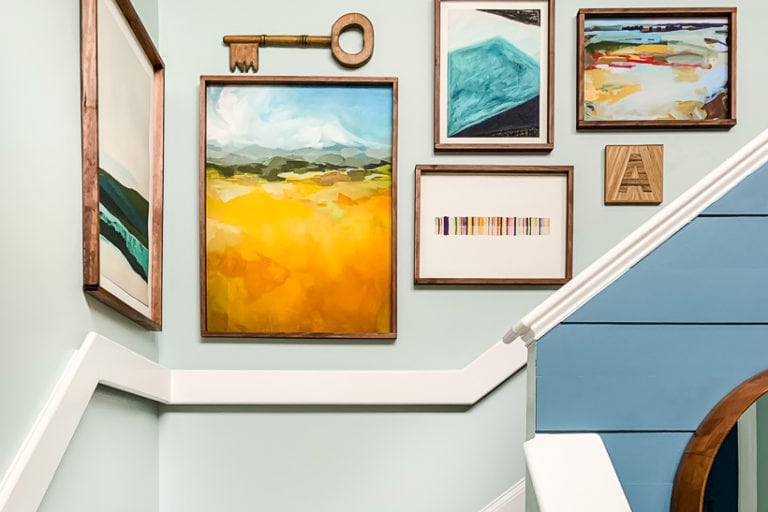
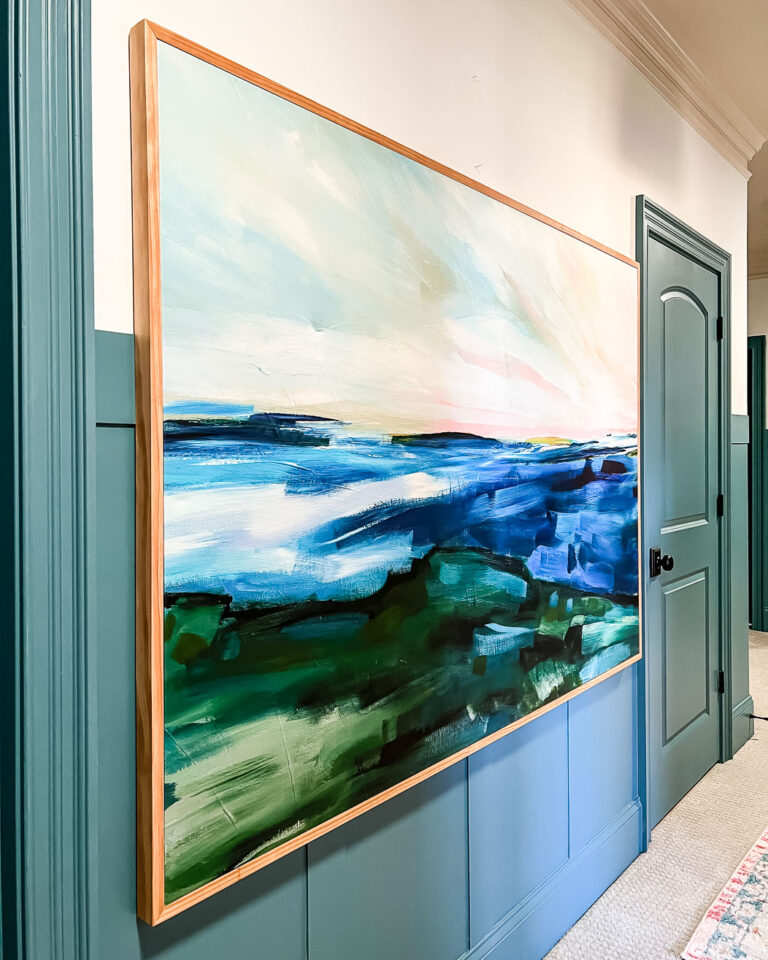
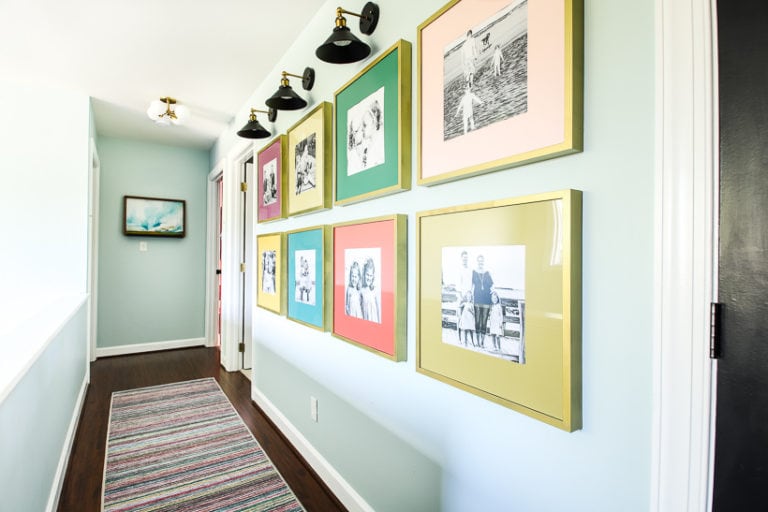
I’m a huge lover of including art in our home, but I don’t love framing costs, so we have great tutorials for how to make a DIY canvas frame and how to make huge DIY frames for art prints for under $20 each.
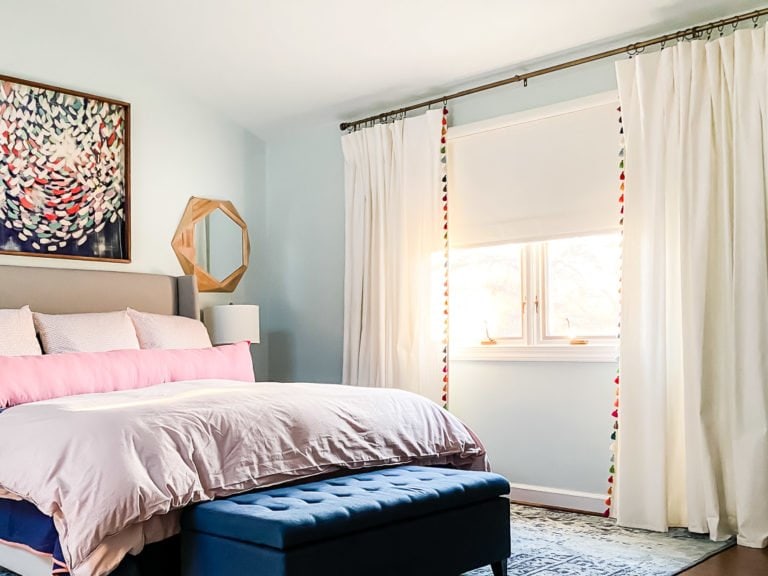
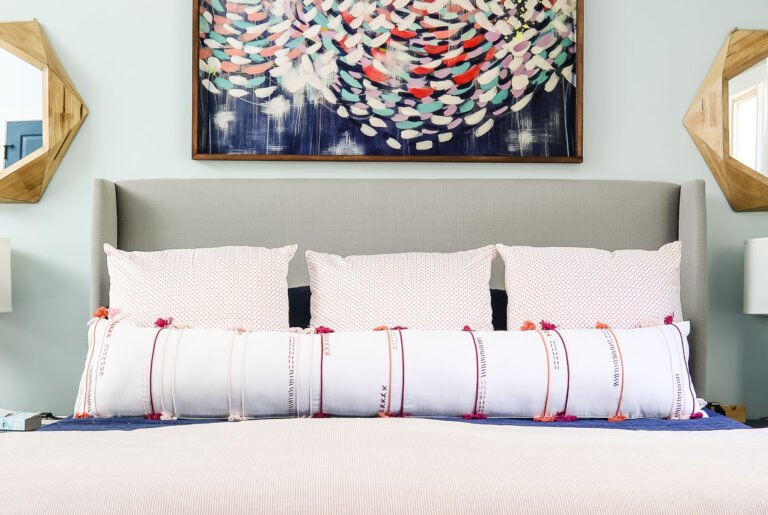
I also have plenty of tutorials for curtains and other textiles, including how to make a no-sew bed skirt and how to make no-sew curtains.
Bottom line… Whatever your DIY decor needs and wants, we’ve got you covered!